 Hello My Repurposed Life fans, it's Joan from Scavenger Chic. Today I have a great frame idea made from corrugated tin and all the bits and pieces I tend to accumulate. I think this is the seventh frame I've created from my scraps, you may remember the pallet wood frame that I shared here back in December and you can find more frame ideas on my site, Scavenger Chic.
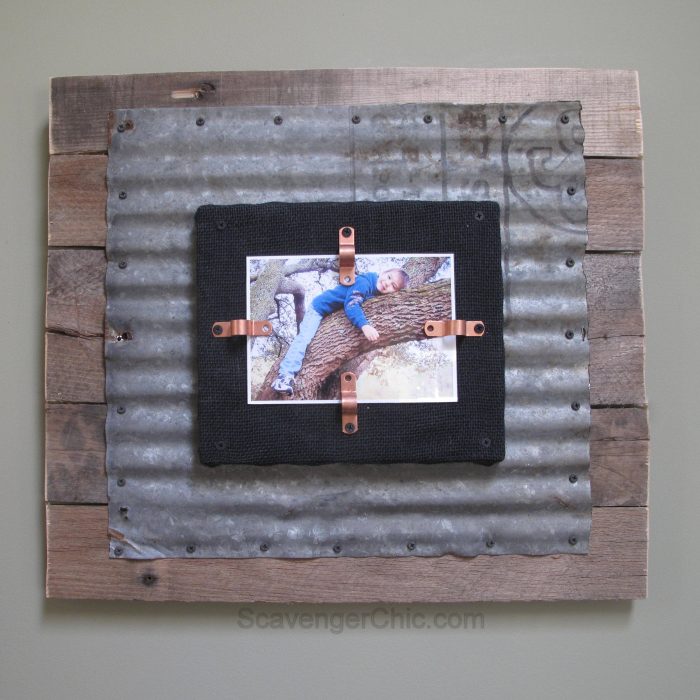
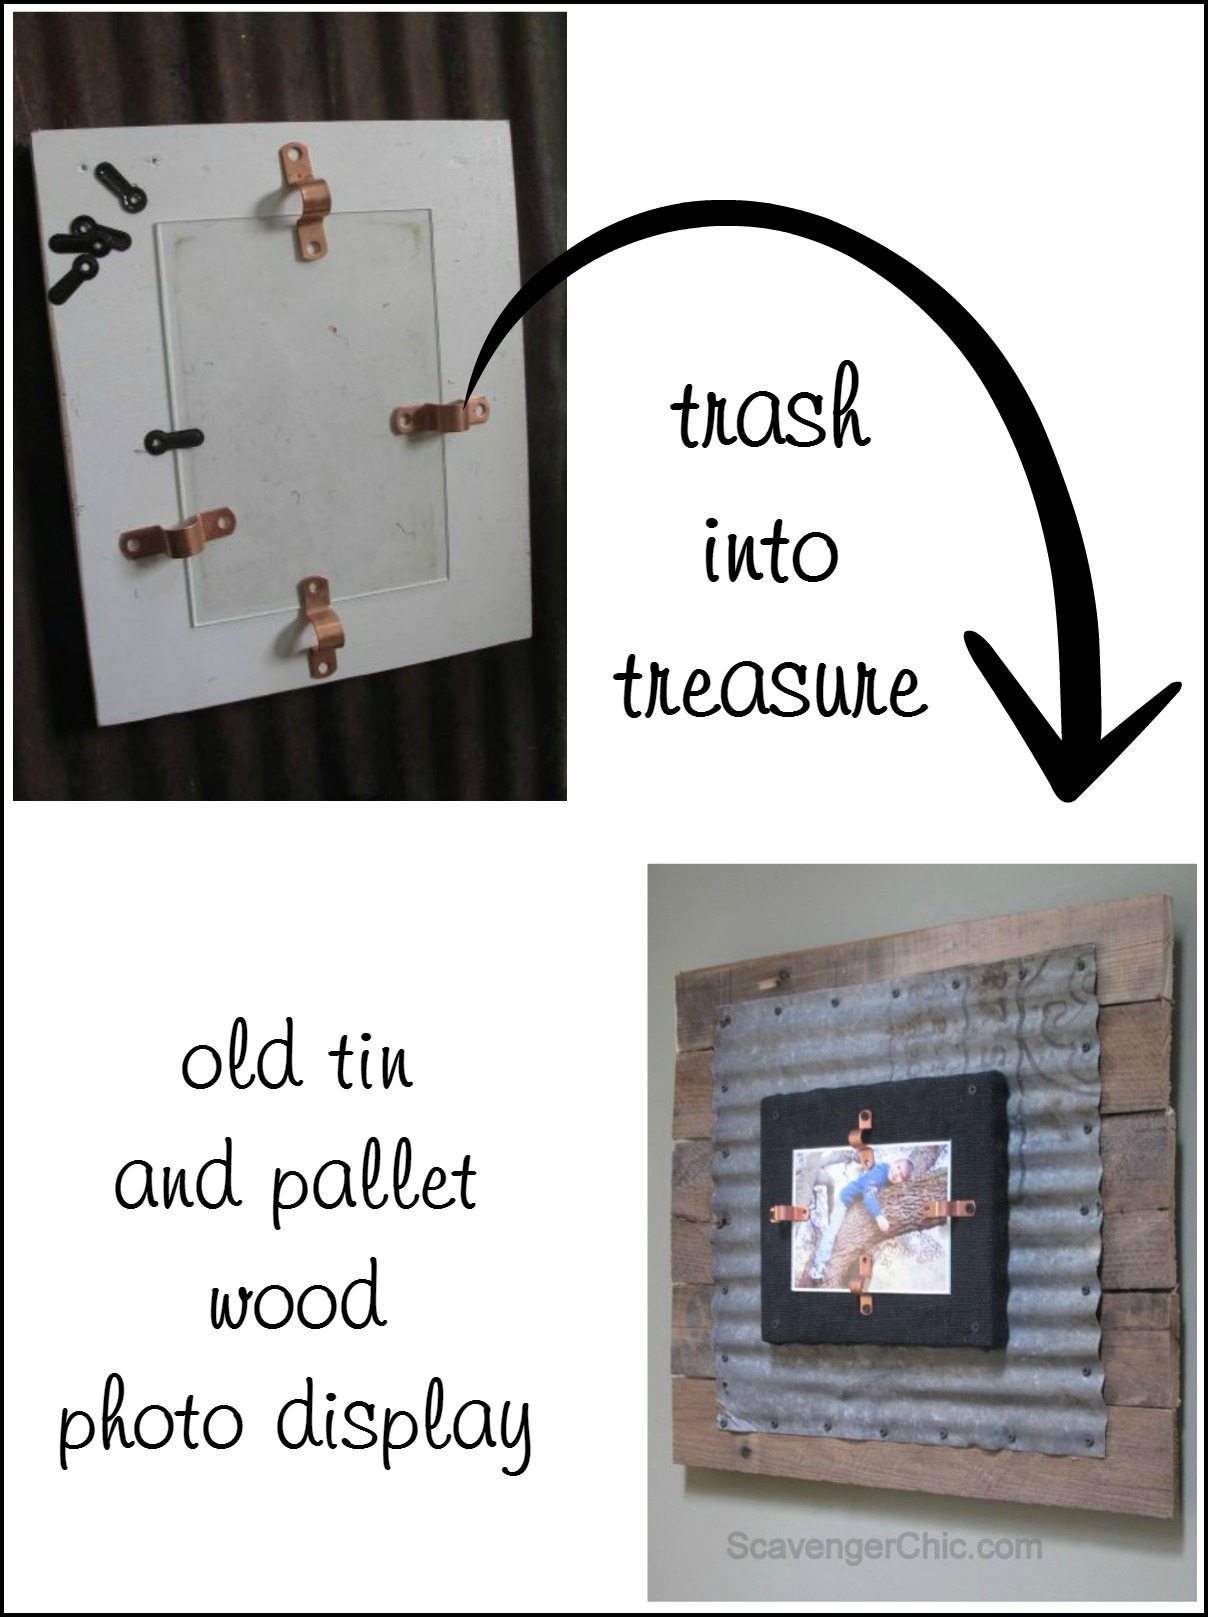
This one takes my old friend pallet wood and pairs it with some corrugated metal tin I found next to a river. I love when somebody's trash becomes my treasure.
Assemble from the inside out
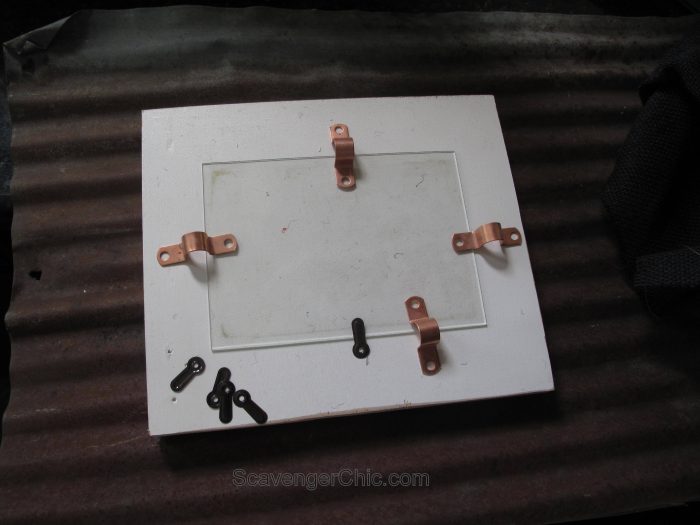
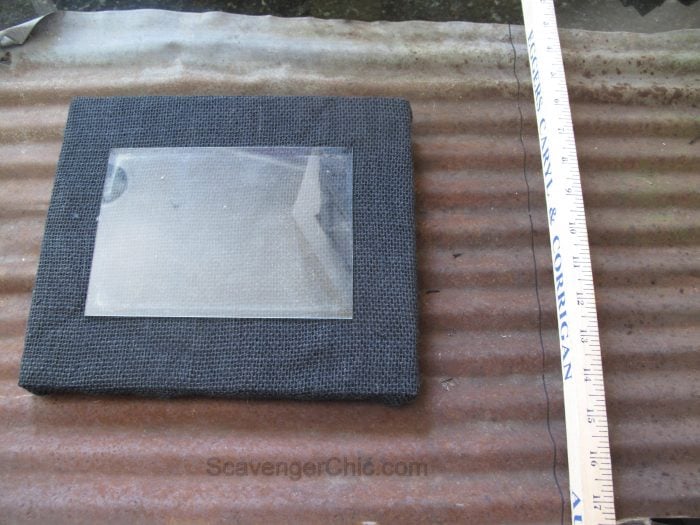
For measuring, start with the inside and build out. In this case, I'm starting with the one thing that I can not cut, the glass.
This piece of 5x7 glass was from an old discarded frame. While craft stores like Michael's sell glass, it's rather expensive. Raid your old frames first, flea markets, thrift stores...the most you should spend on a piece of glass is $1 for a cheap frame at the dollar store.
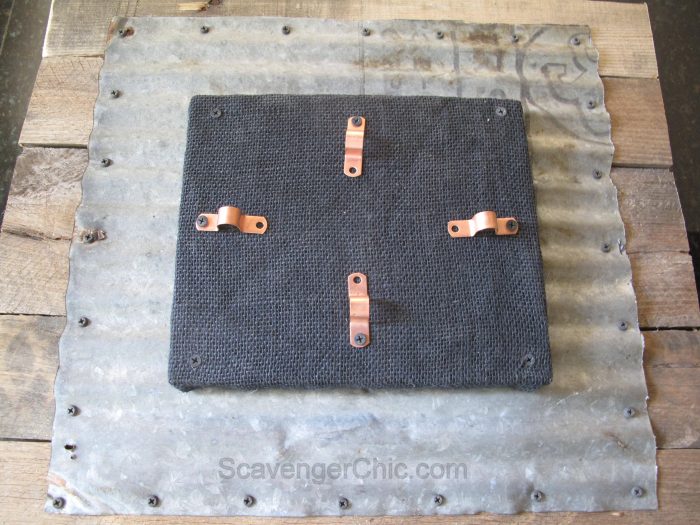
To hold the glass in place I'm using copper tube straps, normally used to hold pipes in place, available from the hardware store. Want to be a bit more traditional? You could also use the black turn buttons.
Building out, a piece of one inch plywood was cut to 8x10 which left a 1 ½" border around the glass.

I wanted to cover the plywood with black burlap, but as you can see, the white from the painted plywood shines through.
Paint wood black
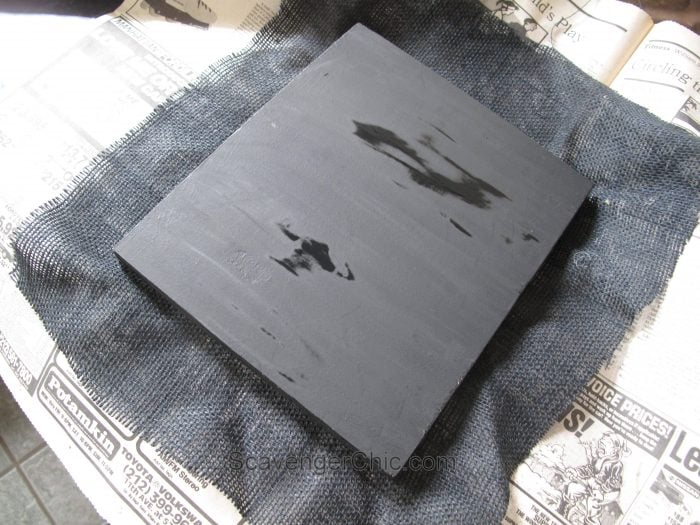
By painting the plywood black you can't see the wood through the burlap any longer. So, cut the burlap wide enough to be wrapped around the plywood.
Staple burlap
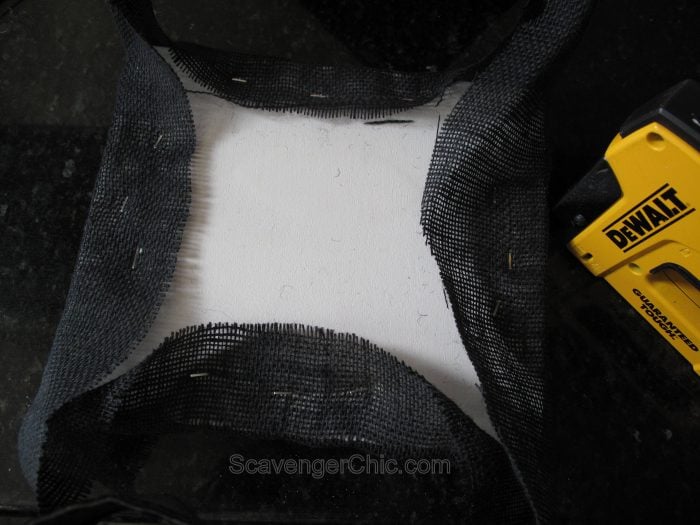
Use a staple gun to attach the burlap to the plywood working from the center out to the corners.
Measure and cut corrugated tin
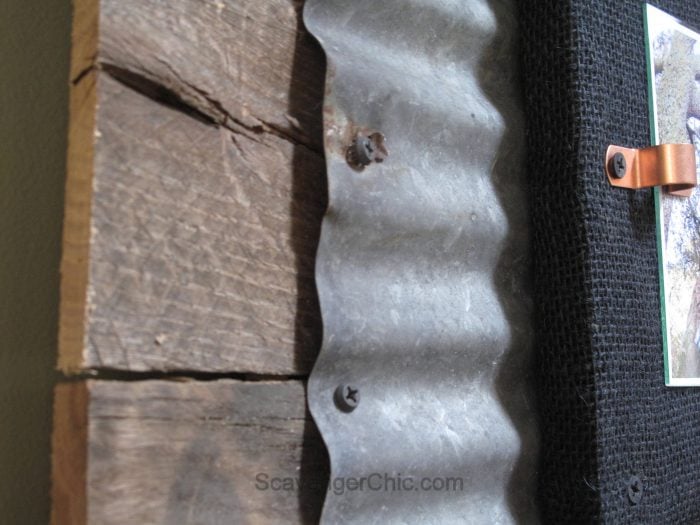
Now that I know how big my interior frame will be, I'm ready to cut my corrugated tin. This time I left a 3 inch border around the frame (more or less ).

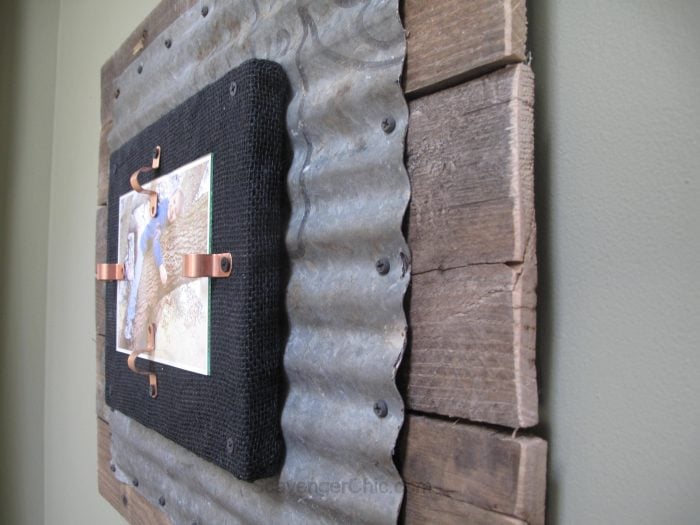
Final layer is the pallet wood. Again, cut the wood so there is an even border around the corrugated tin. The size of the border is up to you.
Assemble corrugated tin frame
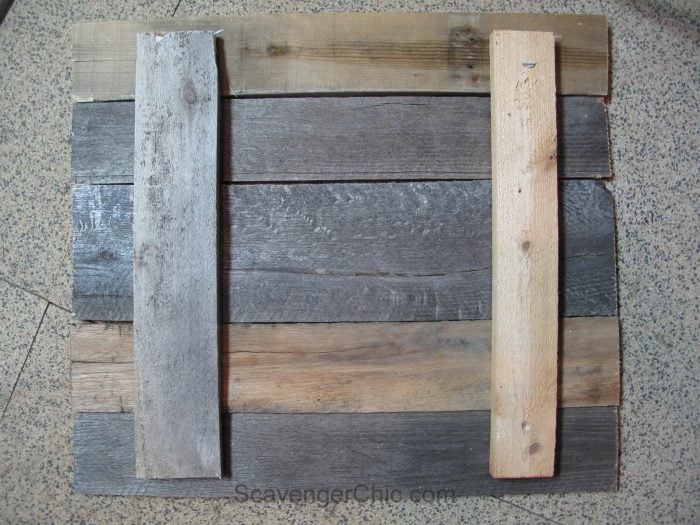
Now that all the pieces are cut, it's time to put it all together. Scrap wood nailed to the back of the pallet wood holds the pallet pieces in place.
Secure tin with screws
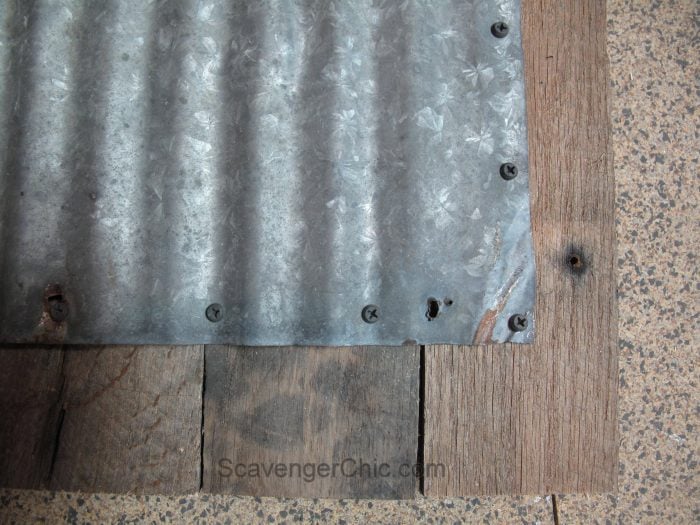
Screws hold the corrugated tin to the plywood.
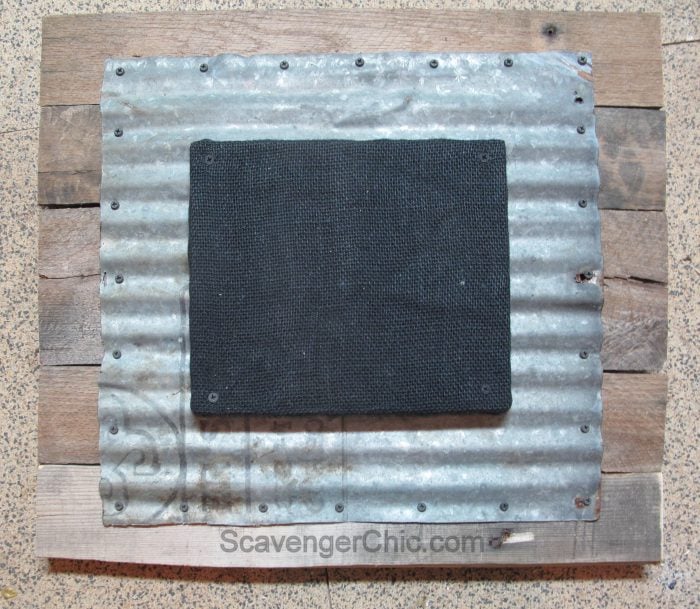
Four more screws hold the burlap covered plywood to both the tin and pallet wood.
Use tube straps to hold photo
And four more screws hold the tube straps in place. The screws were screwed in tightly without the glass. Therefore preventing the glass from breaking. Then the screws were loosened a half turn to allow the straps to be turned so I could insert the glass and picture.

I used another piece of the tin to make a vintage style coffee sign inspired from a trip I took last month.
Have a great weekend and I'll see you back here next month.
Click Here for more information about dismantling pallets.
see more of Joan's projects here
Related Content: Picture Frame Ideas For Home Decor and More
Cecilia
I love this! Can you tell me what you used to cut the tin and then did you have to smooth the edges? Thanks!
gail@myrepurposedlife.com
Joan,
What an awesome photo display! I love that you found that corrugated metal by the river. It's a win/win. You picked up trash, and now it's been put to great use.
gail
Joan
Thanks Gail, one can never have too many frames and it's even better when they are free!