
I am so excited to be guest posting here at My Repurposed Life! I can't wait to show you my first time to upholster chairs. I'm Cassandra and I spend my free time doing renovations and projects with my husband Nate. We share our adventures on our blog The Life of CK and Nate.

Here is the chair that I started with. Nate and I picked it up at the Habitat for Humanity Restore in Orlando for $45.

The shape was exactly what we were looking for but the fabric was gross and definitely not our style and so I decided that, for the price, it was worth trying to reupholster it.
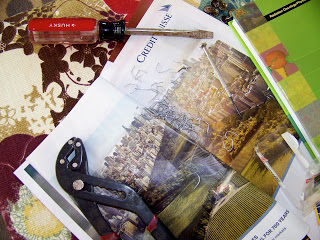
The first thing that I did was take off all the fabric. I think this chair has been reupholstered at least once before because there were so many staples that it took about 3 nights (working a couple of hours at a time) to take them all out. By the end I had gotten into a pretty good rhythm of using a flat head screwdriver (a small one) to pry up the staple and then using pliers to grasp them and use the wood frame to leverage them out. I used the micro flathead for the staples that were really attached.
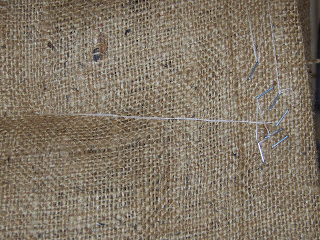
Once the fabric came off we were able to access the condition of material underneath and were pleasantly surprised that everything was in really great condition.


You may notice that I decided to do something a little different on the front of the chair. Instead of having another piece of fabric that wrapped around the front, I decided to just pull it taught and attach. I like the smoother look that this gives the chair.
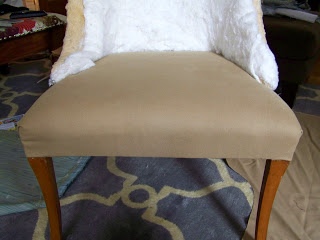
The only tricky part of this piece was the corners. I cut a slit up the fabric right in front of the leg and then folded the fabric into a "hospital bed" corner.


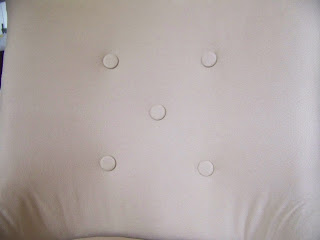
I then stretched the fabric over the little arms and attached with my staple gun so that the fabric was nice and tight. As you can see, I wanted to add some buttons to the chair and initially I thought it would be easier to attach the buttons and then attach the rest of the fabric. I was wrong. I couldn't get the fabric to lay right no matter what I did. This is when I almost lost it and just gave up. But, I regrouped and cut the buttons off. Without the buttons attached, I was able to stretch the fabric over the top edge of chair and secure it so that the fabric lay correctly.
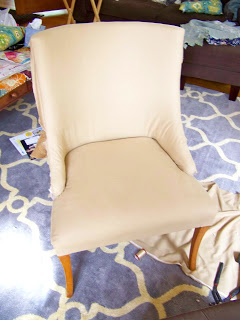

This is the front view

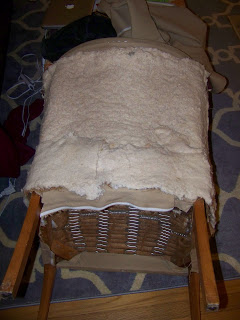
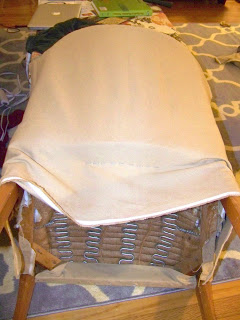
Then I put the batting back onto the back
And this time I started from the top. As you can see, I put the last piece of fabric upside down and lined up the top of the chair with the top of the fabric.
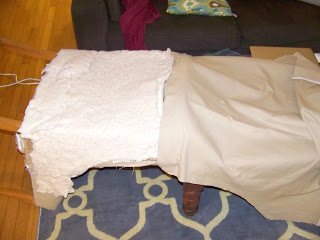
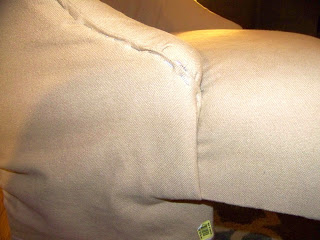
Once I stapled it all down, I flipped the fabric back over and had a really nice seam along the top of the chair.
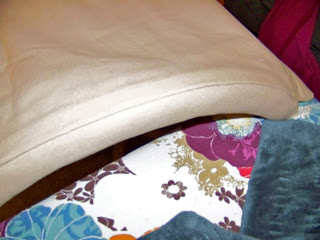
Then I pulled the fabric taught and put a few staples in the bottom of the chair.
Then I pulled the fabric tight to the side, folded the fabric over at the edge and then stapled on the outside. Don't worry too much, they won't be there too long but I wanted everything to be in place. Then I continued to staple around the bottom making sure the fabric was taught.
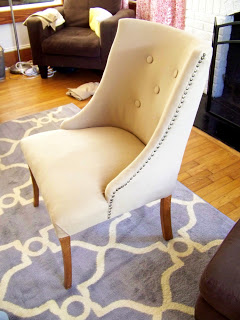
When I was done replacing all the fabric this is what the chair looked like
But I still had to deal with this
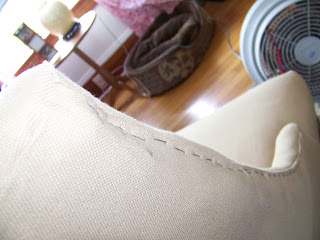
So, using nail heads, I replace the staples. Stapling the fabric first made it a lot easier to keep the fabric in place while I nailed the upholstery nail in.

After all the staples were replaced I had officially finished my first upholstering job!


I still plan on staining the legs, but right now I'm basking in the glory of not completely ruining my new chair!

I Love how Cassandra changed up that chair! It’s on my list to do a chair someday, but I’m a lot more comfortable with a table saw! Now when I do attempt it I have a great tutorial to refer to. Thanks for sharing this with my readers Cassandra!
Y’all go visit Cassandra on her fabulous blog!
gail
Gail Wilson is the author and mastermind behind My Repurposed Life. She is obsessed with finding potential in unexpected places and believes that with a little hard work and imagination, any old thing can be made useful again, including herself!
Gail reinvented herself during a midlife crisis and has found purpose again. She hopes you will find new ideas for old things and pick up a few tools along the way.
Stephanie
That is an awesome tutorial! And the chair? Love, love, love! The nail heads really finish it off!
Pattie @ On Hollyhock Farm
Hi, I found your blog so informative and interesting that I have nominated it for the Versatile Blogger Award. Please check it out on my post, http://myblog-bratti.blogspot.com/2012/04/versatile-blogger-award.html
Pattie
Ann
Beautiful work Cassandra! Inspirational!
Suzanne@Meridian Road
Wow, she did a great job! I love how her chair looks now!
derrydown
What a great job! I started reupholstering my Dad's old armchair and it's sat there, almost finished for months. It's that back part where you put the lovely nailheads. I'm having to sew it down with a curved needle and it's a tough job. He sits in it, with the back fabric puffing out like wings!
Corn in my Coffee-Pot
To Gail-- Thanks for the introduction to 'the life of ck and nate'
I don't know that I've visited there... this little chair was a great piece to see re-made! I look for these types of posts...cause you know, I still haven't done anything with my settee and chair.
to ck & nate: great job on the chair!
I love the nail-head trim especially! I'm off to read your blog.
~Pat
Pam
Adorable chair. I know whatever you do it will look nice.
Nicole @My Thrafty Life
Awesome transformation! Looks like something out of West Elm!
Stella
Great job. I had just picked a similar chair up at the Rehab store and it has been sitting in the basement. You have just given e the nudge I need to work on it. Thank you.
Paige @ Little Nostalgia
It looks fabulous! I'm always so impressed with people who can reupholster something without wanting to throw the chair out the window. 🙂
Cassie @ Primitive & Proper
the chair looks awesome! upholstery really intimidates me.
Rose @ Confessions of a Curbshopaholic
That came out fabulous! love the button detail and the nailhead trim on the sides.
Kudos to you!
I Play Outside The Box
Y'all did a beautiful job on that chair. One would not know by looking....that it was your first upholstery job. TFS.
((Love the makeover you did on your Ikea pantry unit too.))