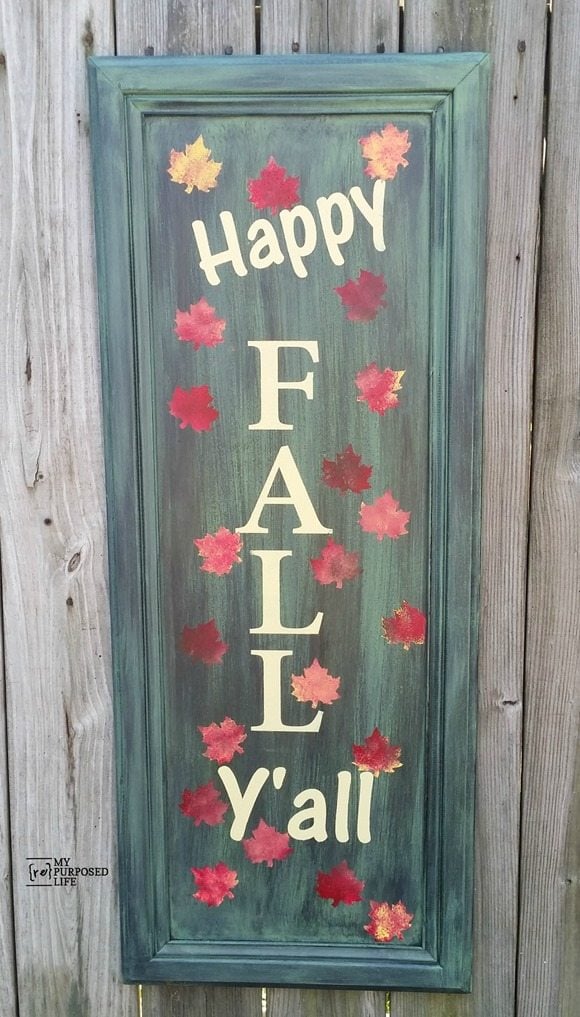
I love making stuff out of cabinet doors, and it doesn’t get any easier than paint and stenciling this Happy Fall Yall sign! While I was getting stuff ready for Glendale 2015, I was sort of on a painting frenzy, grabbing lots of cabinet doors from my stash.
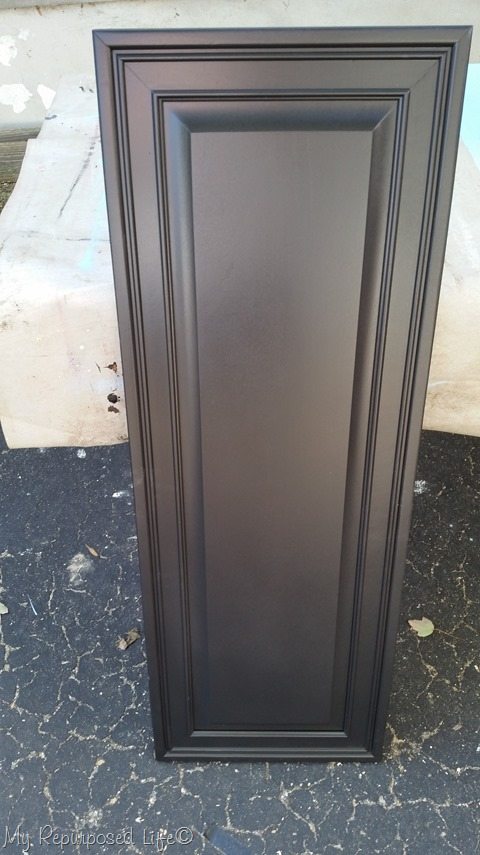
I painted them all black with my diy chalky paint primer with my Homeright Finish Max, then proceeded to change up some of them.
*Amazon Affiliate Links in this post*
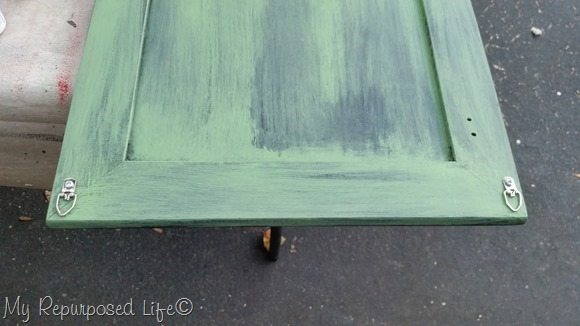
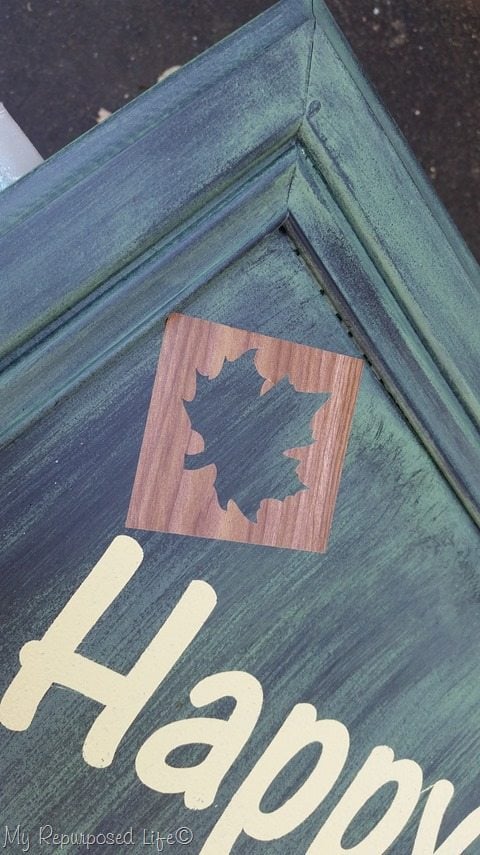
Apparently, I didn’t take any pictures while I was using a dry brush technique with some green paint. Basically I just used a cheap chip brush and some green paint to lightly paint over the black cabinet door.
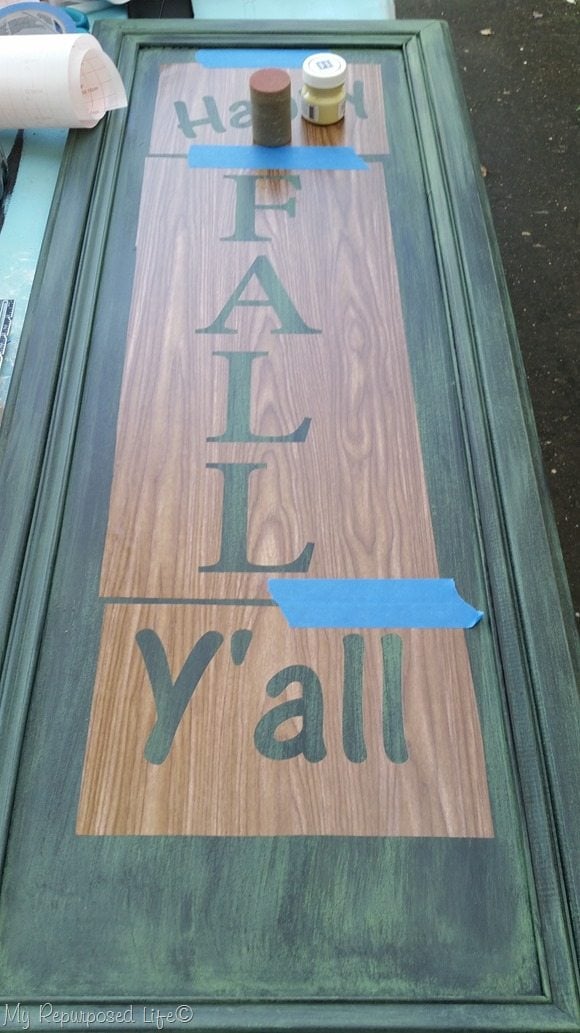
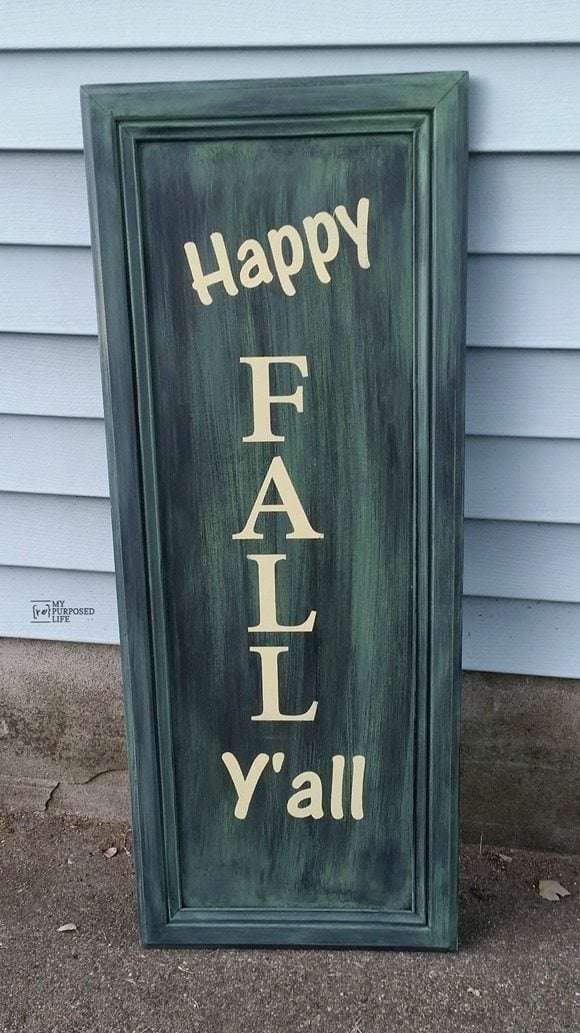
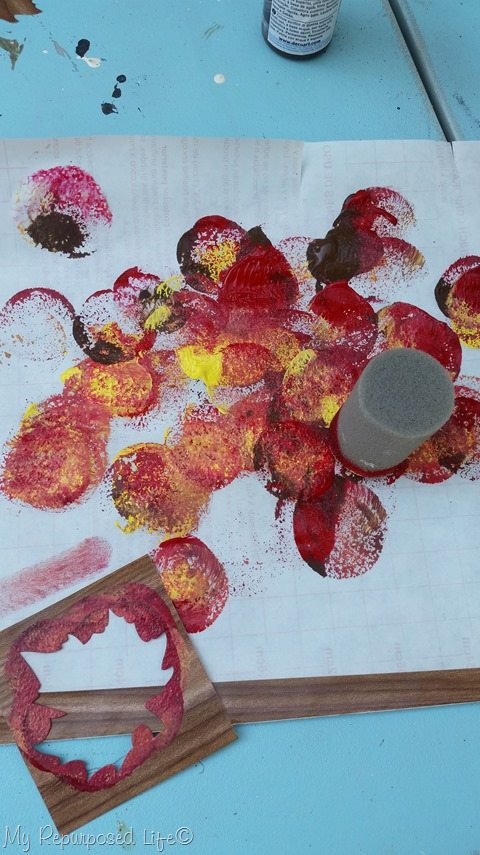
I was secretly hoping it wouldn’t sell at Glendale so I could display it at home. It wasn’t one of the first items to go, but it did find a new home.
Can you believe October is almost over! Where does the time go!
gail
sharing here: Be Inspired @Elizabeth & Co
see more cabinet door projects here
Gail Wilson is the author and mastermind behind My Repurposed Life. She is obsessed with finding potential in unexpected places and believes that with a little hard work and imagination, any old thing can be made useful again, including herself!
Gail reinvented herself during a midlife crisis and has found purpose again. She hopes you will find new ideas for old things and pick up a few tools along the way.
Lana Trest
Hi
Love this and even I think I could make this,and display it next to my Front doir. Thanks for the Great Idea!
Julie @ follow your heart woodworking
Very cute, love the maple leaves, they add a lot to the project!
stephanie wesztergom
Gail. I bought a silhouette some time ago during a promo that you were offering. I really like it but have failed to use it to its fullest potential as I have had frustrations in the cutting. I read one of your tutorials/explanation where you use contact paper as a stencil (like here). I tried this and I failed quite miserably. Can you offer any pointer/tips for success? The problem I seem to run into is when I try enlarge a design to fit a larger piece, etc.
My contact paper/card stock or what ever wants to crinkle all up and spin around in some cases. I have tried to cut setting/knife length recommended in the software.....
Any advice really. Thanks
gail@myrepurposedlife.com
Stephanie,
The best tip I can give is to make sure that you're feeding your stuff in STRAIGHT. If it goes in crooked at all, it may slip out of one of the rollers and that will mess up everything.
All contact paper is different, but currently I have mine set at 3, 10 and 4 (the ratchet thingy is set to three, but the actual blade IN the machine is set on TWO) My blade is getting a little dull, hence the higher setting currently. so, 3 is the ratchet, 10 is the speed, and 4 is the thickness.
It's a trial and error thing if you're not using silhouette products, as far as settings go.
However, the spinny thing happening are mostly likely due to not feeding your projects straight in. The rollers must be in contact with the medium at all times.
If you have any other specific questions, let me know. I want you to enjoy your machine as much as I do.
gail
Justine
Beautiful Fall project. Which leaf and font design did you use from Silhoutte?
gail@myrepurposedlife.com
Thank you Justine. Great question!
Happy and Y'all was Ar Cena and Fall is an Arial Font. The leaves is called three leaves in the Silhouette store. I used the maple leaf.
gail
chris aka monkey
adding the leaves made it all fally xx
Heather
This is such fun, Gail! What you can do with things the world just throws away is magical.
I wonder how the Silhouette compares to the Sizzix eClips? That's what I have - I love cutting my own stencils. It's one of the most satisfying things I do. Being able to customize a piece with your own design is such a great feeling.
October almost over? Wait, I'm not ready for winter!
gail@myrepurposedlife.com
I know nothing about the Sizzix eClips. I can tell you that the Silhouette machine has no cartridges, you can cut any font you have on your computer, and if you're looking for a specific image, you can search the online store and purchase it as an immediate download for about a dollar. If you have a simple image already on your computer, you can use the "trace" function to cut that out.
I hope that helps!
gail
Heather
Thanks for the detailed response, Gail! The Silhouette sounds like a great machine. I never bother with the eClips cartridges...but all the other functions you mention are shared between the two systems. I love to create detailed stencils from original designs - the trace feature is fantastic.
My favorite aspect of the eClips is the 'Print 2 Cut' feature. You print out an image on cardstock, etc, then feed the printed material into the machine to cut the outline. Not so important for furniture, but awesome for papercrafting! I used to be obsessed with decoupage, and spent hundreds of hours 'fussy cutting' intricate images by hand. My hands can't take that kind of abuse anymore, so I offload it onto the eClips!
Wendi @ H2OBungalow
You're a cabinet door master! It's time I pulled my Silhouette out and let it earn it's keep. You do so much with yours!