Let’s review a little of yesterday’s post--

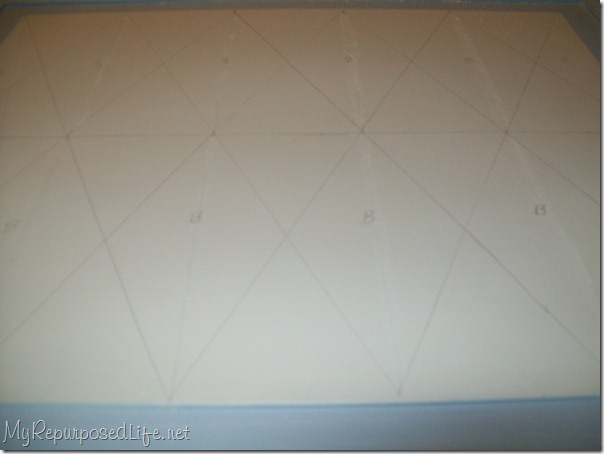
I measured and drew my lines for a Harlequin pattern.
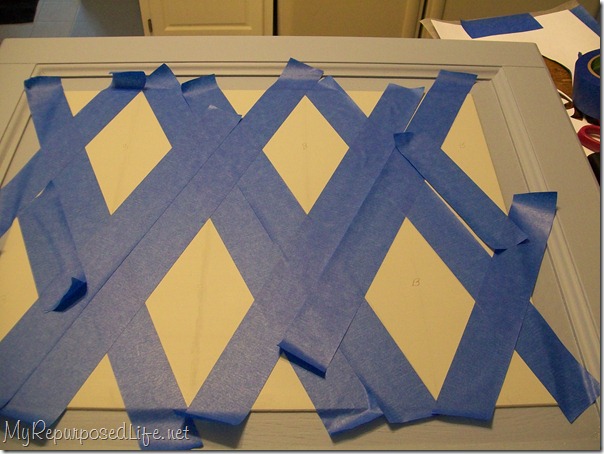
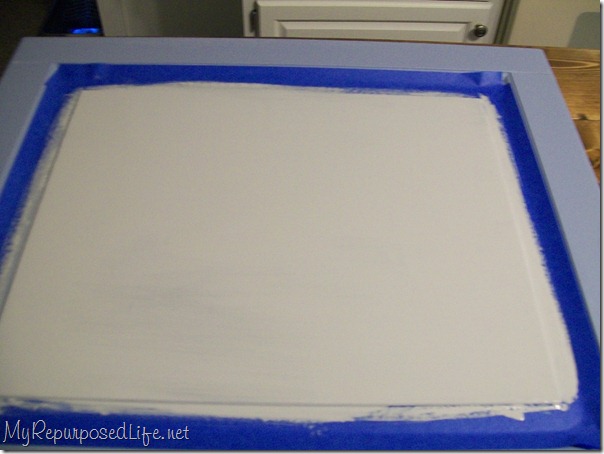
I used the Painter’s Tape to mark off my diamonds.
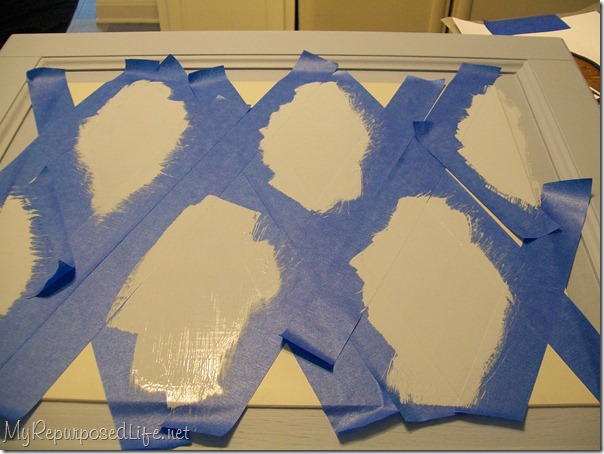
I painted the diamonds blue.
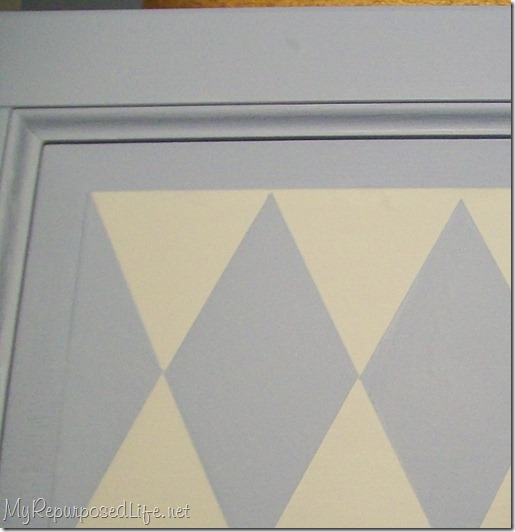
Okay, this is where we left off yesterday. I have a nice repurposed cabinet door with a pretty harlequin pattern painted on it.
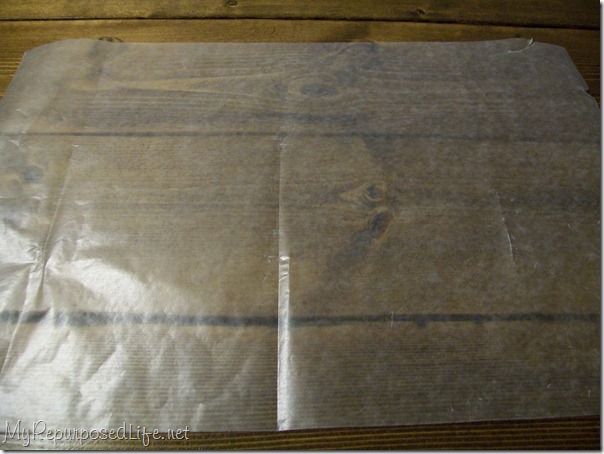
Those of us who do not have a vinyl cutter have to get a little creative.
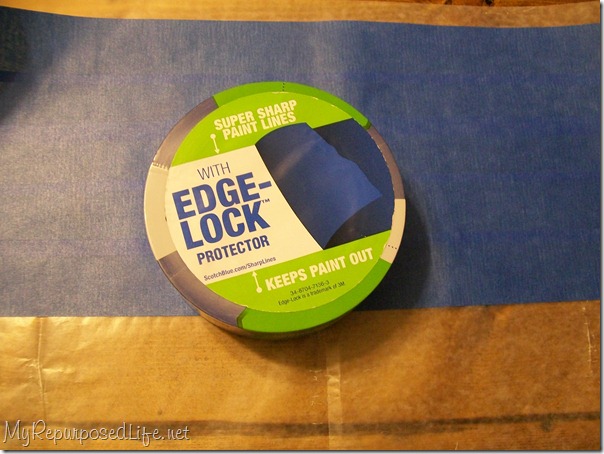
I used some Scotch Blue with Edge Lock Protector to cover my piece of waxed paper, slightly overlapping the edges.
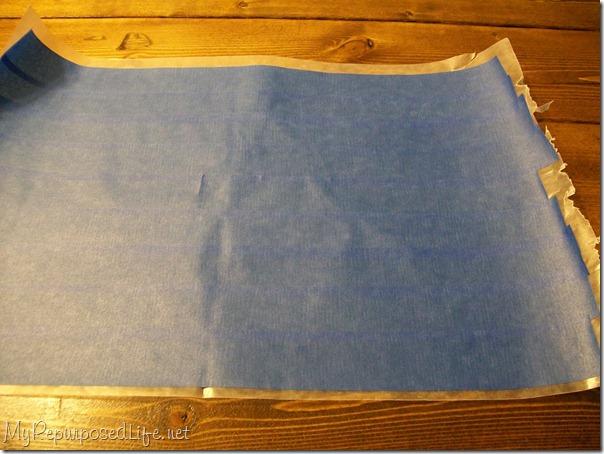
I have my piece of waxed paper covered with the tape. I think it’s best to use the non-waxed side of the paper. You can test this by scratching with your fingernail.
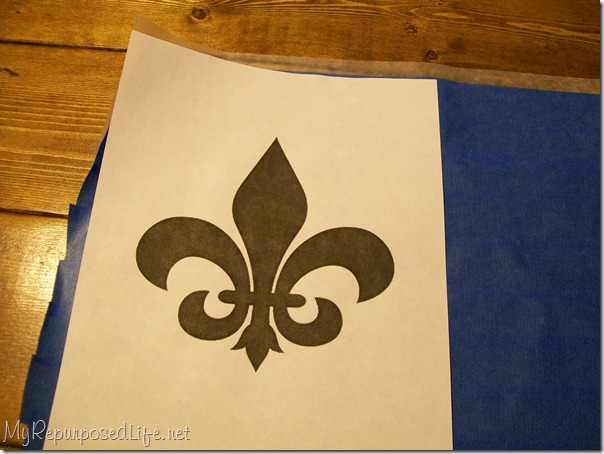
I printed out this free template available at Scotch Blue’s Flickr page.
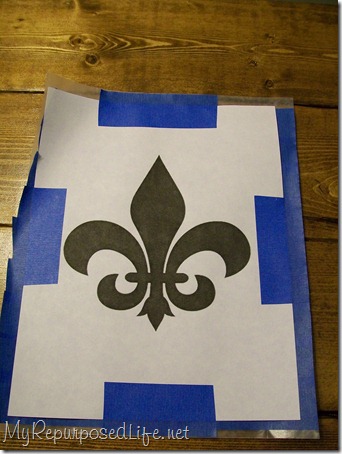
I taped the template to the tape/waxed paper sheet.
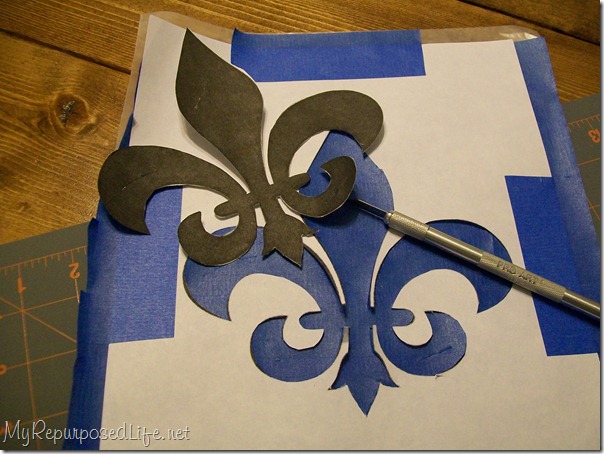
I used my exacto knife to cut out the fleur-de-lis on a self healing mat. Have you noticed I’m working on my new island/bar/craft table?
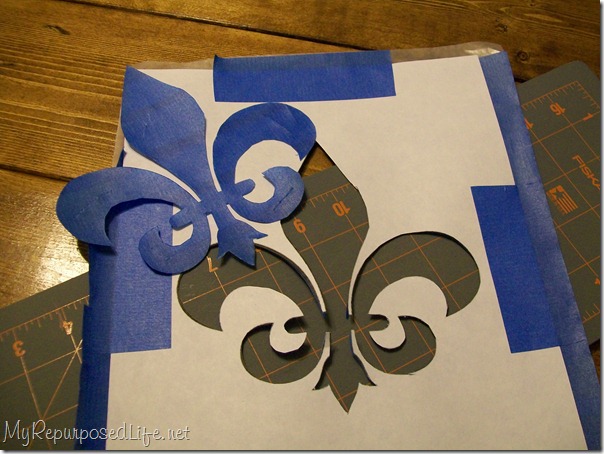
I’m not very good at this step, but having the three layers was easier for me than just cutting paper.
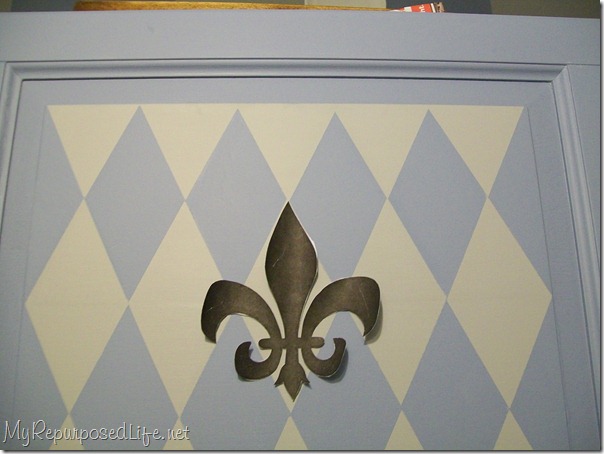
I removed the black portion that I cut out to see how my fleur-de-lis is going to look on my pretty harlequin pattern.
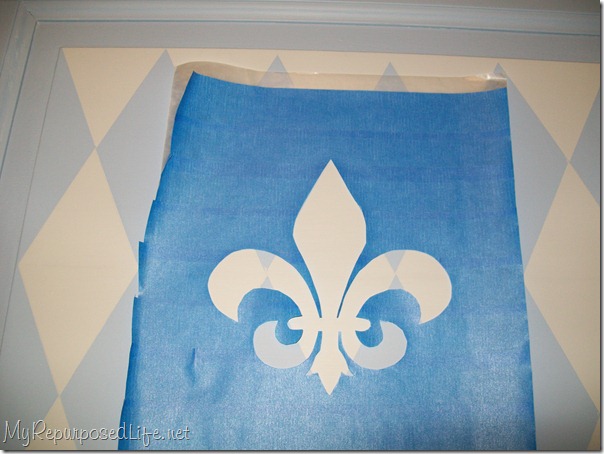
I dry fit the “template to see how it would fit.
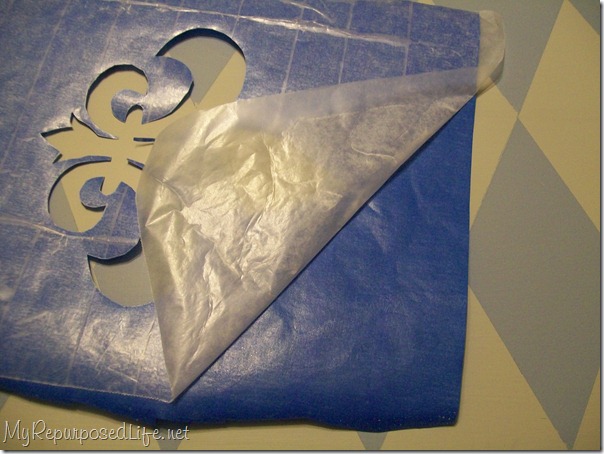
I carefully removed the waxed paper from the Scotch Blue Painter’s tape.
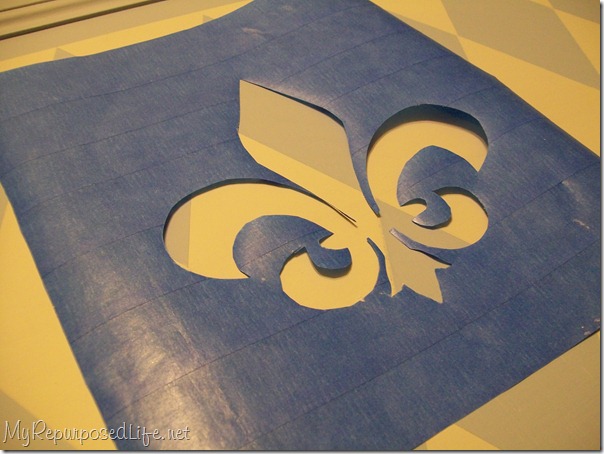
This is my “stencil” upside down with the sticky side up.
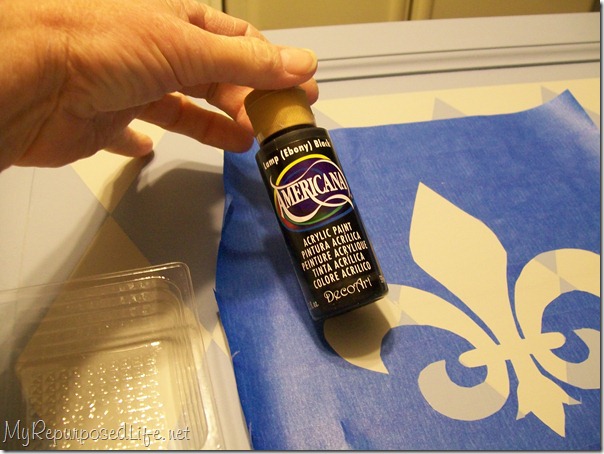
I placed the “stencil” on the harlequin pattern and burnish only the edges of the fleur-de-lis.
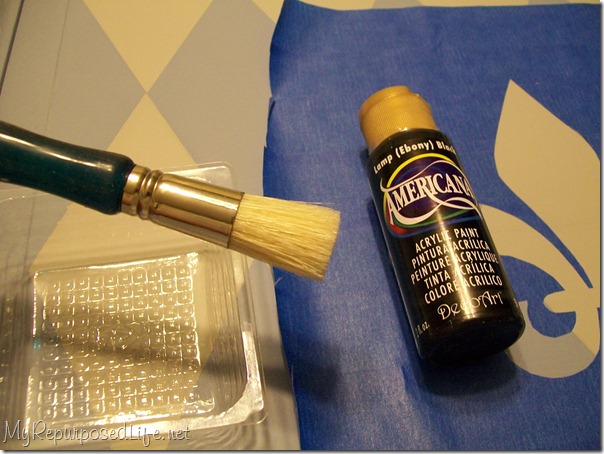
I used some of my DIY Club prize pack supplies for this next step. If you have not linked up your project to their monthly contest yet, what are you waiting for? The paint is from DecoArt, the stencil brush is from Cutting Edge Stencils.
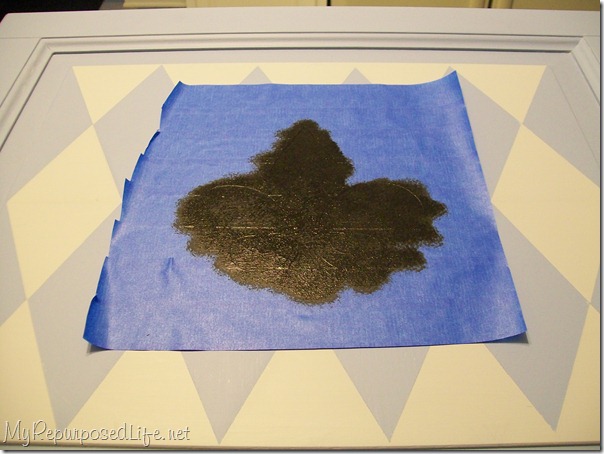
I blotted the black paint over the fleur-de-lis.
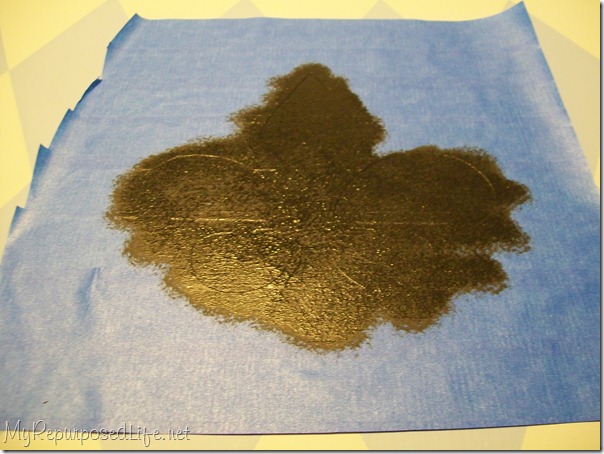
I of course removed it while it was still damp. I was hoping to move it to a new piece of waxed paper so that I could use it another time. However being a fleur-de-lis, it has those tiny little pieces and they did not stay in tact.
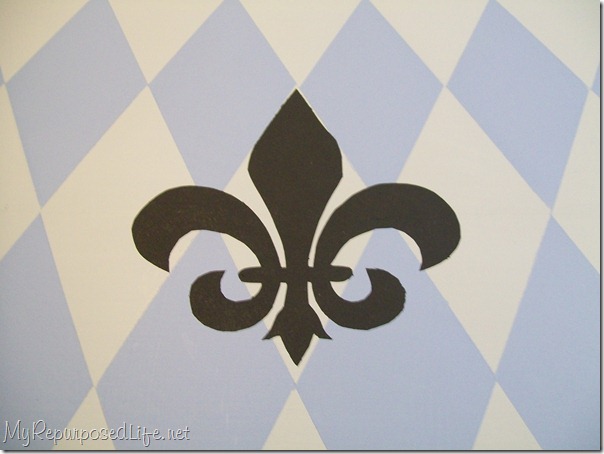
You can see that I have a couple of little flat edges on my fleur-de-lis. I got out a tiny paint brush and touched it up a little.
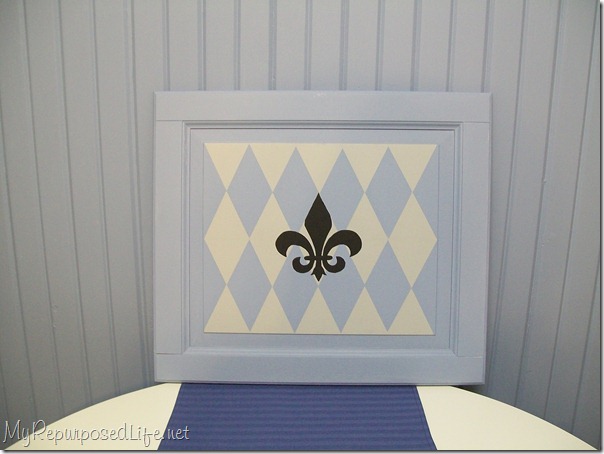
I really like fleur-de-lis for some reason. I think this one looks great on the harlequin pattern.
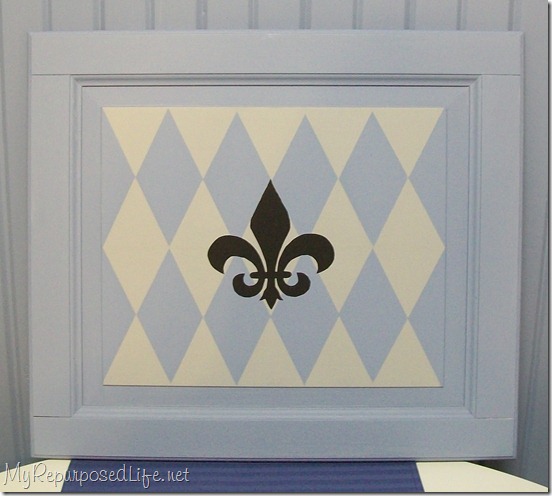
This is how it is now. I am undecided where I’m going with it next. I’m not sure if I want it to be artwork or put handles on it so that it can be a tray.
If I leave it as artwork (for my kitchen) I will probably paint the outer edge gray so that it will show up on my beadboard wall.
If I make it a tray, I will probably leave it painted as is and add handles and some cute little feet.
What are your thoughts? Do you think I already have enough blue and gray in my kitchen? Do you think the diamond pattern “clashes” with the square pattern on the floor? I’m interested in hearing what you think.
gail


Gail Wilson is the author and mastermind behind My Repurposed Life. She is obsessed with finding potential in unexpected places and believes that with a little hard work and imagination, any old thing can be made useful again, including herself!
Gail reinvented herself during a midlife crisis and has found purpose again. She hopes you will find new ideas for old things and pick up a few tools along the way.
Jo Ann
thanks for the info. going to use this ideal to paint on a homemade game board my husband cut out for a Christmas gift.
LAYNA JAN WILSON
correction to my posting - should read 'white or beige' not 'with or beige'...lol. l.
LAYNA JAN WILSON
hELLO THERE - Since you asked...Yes, there is alot of light blue there - and with the beautiful black fleur de lis - plunked down in the middle - it needs interest and 'grouunding' - kind of like when you rustic a room, and then leave an expansive ceiling, with or beige - which makes it seem to be flying and not connected to the lower, liveable space.
Anyways, my suggestion, would be to add another color - metallic - gold paint - to the inside frame rim - and the outer edge - a thin strip of the same black paint - you could invert this - putting the black in the inner frame rim and gold on the outer edge of the cabinet door - but, with the wall being one solid flat color of light blue - and the c.door being, again, the same color - it's just too much of the same thing.
I love harlequin - that was a good idea and the fleur de lis, I use in one corner of a cupboard door in my kitchen, next to the pull.
Otherwise, you did good. L.
Dayna
Looks awesome! Do you have any tips or perhaps a tutorial link on how to do the harlequin design? Thanks!
One Life Many Journeys
Love the whole thing. The tape stencil is pure genius!
Holly
LOVED the harlequin and then you added the fleur de lis! I adore fleur de lis! Pretty colors too...I love Mythic Paint.
Stencil Search
My first thought when I saw the final result was "That would make a great tray!", so that's my vote. It would also look great with some cabinet knobs across the bottom as hooks.
Suzanne@Meridian Road
Very cool! I vote for a tray. (Which can also be propped up like artwork when you aren't using it.) Your stencil looks great. I think it turned out just as well as one you'd get from a vinyl cutter.
I don't think it clashes with the checkerboard on the floor. If it bugs you, just add another pattern somewhere else. Like stripes or a floral. Or~polka dots!
Attempting Aloha
Ha! I just linked up to the Shabby Nest party, and when I went to check the link, your post was directly after my fleur de lis clock! How ironic. 🙂
Must be meant to be that I become a follower. 😉
Aloha and Mele Kalikimaka,
charlie
Anita @ GoingALittleCoastal
Brilliant idea to make your stencil out of tape. I will try to remember this one. I think I will star it in reader. I say make a tray too. I can picture it as one with little feet and handles. So cute.
Meghan
I love the design and how it all turned out! I personally think it would clash and be too much for the kitchen (with the floor), so my vote is for a tray!
SimplyStoked.blogspot.com
Shelly
I vote tray!! Maybe because I have a fondness for trays? Cute little feet? I can't wait to see!
Proper Prim
Love the fluer de lis... I vote for a tray too... but I also like the clock idea. Great project Gail... thanks for sharing all your tips. I will have to remember the tape trick for a stencil.
Hugs, Deb
Michelle @Shellsshabbyshack
Great idea to make your own stencil! I will have to check out that painters tape. I use tons of it but I haven't bought any in awhile so I'll have to try it.
Love how this turned out! I think it would be great as a tray with black handles.
Nice work! xx
Debilou~Mississippi Mama
Very cute Gail,,I like the idea of a tray. I have to get creative with how to do stencils too,, but never thought about using the tape,, will have to try it.
Cindy @ LeChaiseParfait
I think the handles would look really cute on both. You did a really good job I love the colors.
Cassie @ Primitive & Proper
i vote for a tray, or i would add a clock to it and make it a clock and then hang it on the wall. i love the fleur de lis in black though- it stands out nicely!
Cassie @ Primitive & Proper
i vote for a tray, or i would add a clock to it and make it a clock and then hang it on the wall. i love the fleur de lis in black though- it stands out nicely!
Valerie
I have to agree...go with tray. Before you even said anything and I just saw the picture of it leaning against the wall the first thought in my head is how it would make an awesome tray! It spoke to me. ;-P Love your blog keep up the awesome inspiring ideas. Some of our brains don't work that way so we have to steal ideas from awesome people like you. It's totally a compliment. ;-D
Megandvd@Beauty in the Attempt
Forgot to tell you...go with the handles for a tray. I can only imagine what cuteness will result. 🙂
Cheers~
e
Peggy
OH Gail, this is incredible! I absolutely love it! Hmm I agree with Rose. A dual purpose tray/wall decoration! Now I need to find some old cabinet doors... I've been looking for a tray haven't seen anything I would want to spend money on. Thank you for the inspiration! You know I really do LOVE your blog!!! I always come away learning something and inspired! Thank you for all the hard work you put into it!!
Megandvd@Beauty in the Attempt
You love them bc your a Louisville girl! It all is so cute..and I am not surprised. I think you can do about ANYTHING!
Cheers~
e
Marla @ Always Nesting
Gail, I love this project!!!!!!! You really make your instructions easy to follow. Maybe you need more practice? I think you should have a giveaway with this same project (in red) and add handles for a tray 🙂
Suzanne
So beautiful! I think it makes a fabulous tray too! Amazing.
Eates-A-Lot
I love it! I think the design is perfect. I would make it into a tray. Thanks for posting this.. I have bout 20 -25 cabinet fronts that I need to do something with, and this has TOTALLY fueled my creativity! Thank you SOOO much!
Coleen's Corner
I say make one of each : ) Really, that is so nice you just won't be able to get enough of it unless you make two and I do you hope make a tray because it sounds absolutely charming with handles and little legs!
Rose @ Confessions of a Curbshopaholic
I'm going to vote for a tray, just because I like trays. But it could definitely work on the wall too! Ooh, how about you add the handles to make it a tray, go easy on the feet(maybe just some cork pads) and use it for both wall art AND a tray when needed. Double duty! Another thought I had when looking at it, it would look cute with some words painted around the frame edges in a black cursive font, something to do with food/entertaining. Not that you need to put any more work into this, it's also perfect the way it is! Love the way that fleur-de-lis shows up against the harlequin pattern.
Your homemade stencil technique is great. I have to remember that one!
Heidi@TheCraftMonkey
LOVE! I'm a sucker for a fluer de lis!