You may have seen this a couple of weeks ago at The DIY Club, but in case you missed it, here it is on my site.
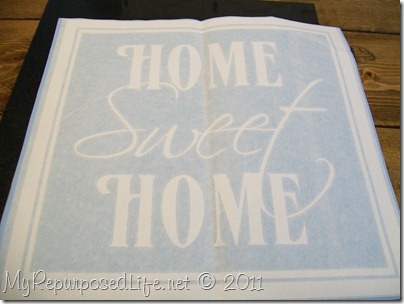
Home Sweet Home is one of my favorite phrases of all time. Being part of The DIY Club I received a 12x12 inch "Home sweet home" vinyl lettering decal from Design Divas. I normally do these types of projects on wood, but I was looking for something different this time. I chose a 12x12 granite tile from Home Depot.It was only $5.00!! That’s my limit ya know.
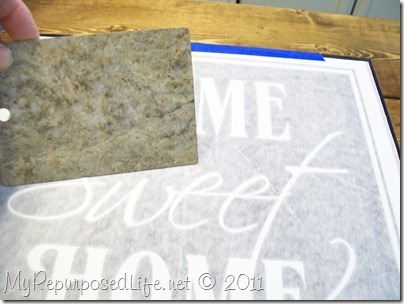
I laid the decal on the granite tile just to make sure it would fit.
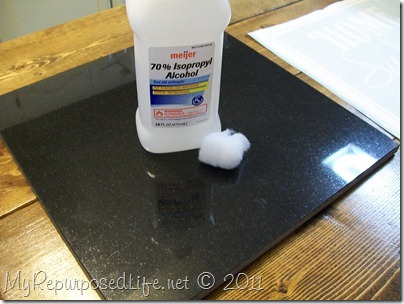
I cleaned the tile with alcohol, to make sure there was no oil or dirt.
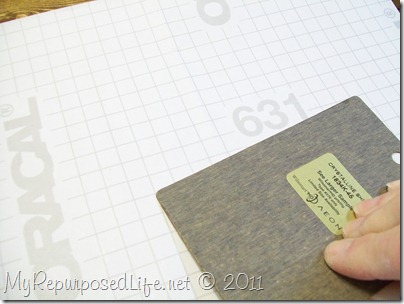
I burnished the vinyl applique to make sure it was adhered to the transfer paper.
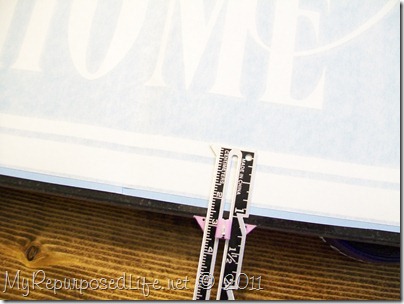
I measured to make sure the decal was centered. I love using this sewing tool for my indoor projects. For my outdoor tools I use the combination square.
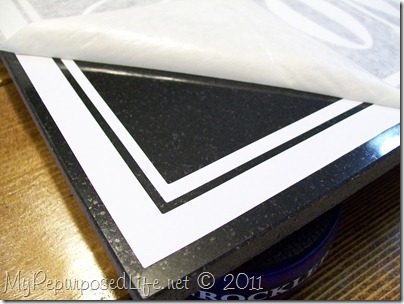
I used some painter’s tape to make a “hinge” as is suggested by Design Divas.
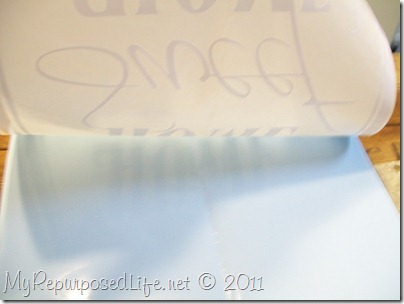
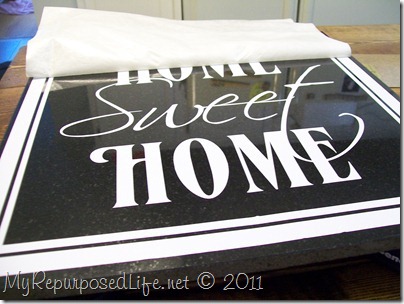
I lifted up the decal and removed the transfer paper.
I love the shininess of this granite tile!
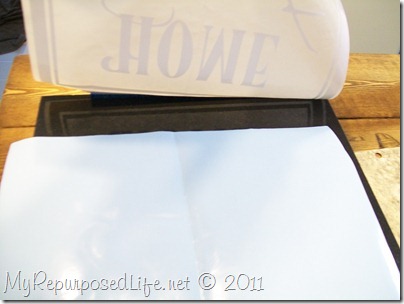
I lowered the vinyl decal onto the tile.
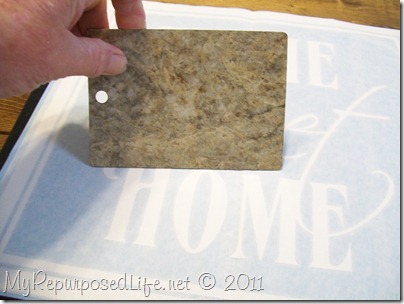
I burnished the vinyl decal onto the tile. I use an oversized countertop sample, it works like a charm.
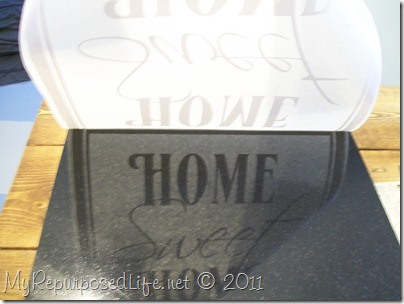
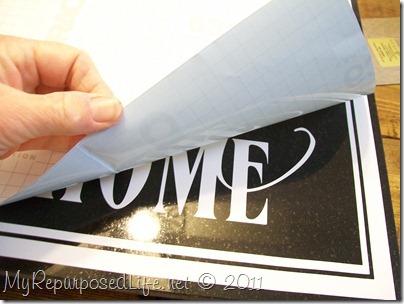
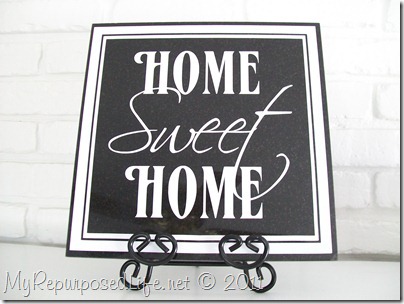
I gently peeled back the paper to reveal my new Home Sweet Home tile.
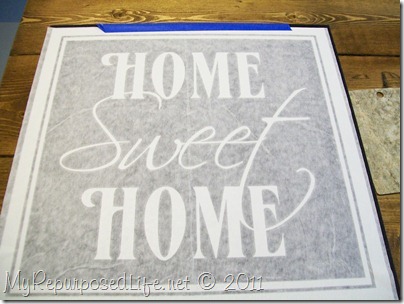
To make sure that I have a good seal, I put the glossy transfer paper over the new vinyl wording . . .
. . . and burnish it one last time.
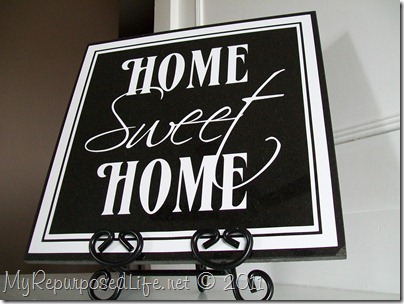
I really love my new plaque, displayed on an easel on my fireplace. If you’re looking for some great vinyl, check out Design Divas!
gail
Pin It
linking to:
Gail Wilson is the author and mastermind behind My Repurposed Life. She is obsessed with finding potential in unexpected places and believes that with a little hard work and imagination, any old thing can be made useful again, including herself!
Gail reinvented herself during a midlife crisis and has found purpose again. She hopes you will find new ideas for old things and pick up a few tools along the way.


Anonymous
is there a sealer used over the top of the vinyl and granite pieces that I have seen people do for outdoor projects? I have seen a family use this type of project (using a cricut machine die cutter for lettering which was placed on a remnant piece of granite) for a head stone for their Mother. The elements will eventually affect the adherence of the vinyl lettering unless sealed, correct? What type of sealant would one use?
Full Circle Creations
Now I'm really jealous that I don't have a silhouette. I have some tile that I've wanted to paint a sign on but have been putting off doing. Love how it turned out!
Holly
The Sterling Cherub
That turned out really nicely, I love how you centered it EXACTLY! Great job!
Best,
Kimberly
Suzanne@Meridian Road
That looks so sharp! Still love it!
Cassie @ Primitive & Proper
i love the way it looks against the black granite! so pretty and polished!
Cassie @ Primitive & Proper
i love the way it looks against the black granite! so pretty and polished!
Home Made Quilts By Granny
I do remember seeing this. I really like it. Trish
A Vintage Green
Love the black granite. Classic. Black and White.
Thanks for the clear instructions.
- Joy
Nana's Fun Stuff
Oh that is beautiful!!! That is one thing I haven't put vinyl on so now guess I'll have to do that one too 🙂 Thanks Sweetie for the idea!!
~ Regan
Great idea! I wouldn't have thought to use the granite!
Peggy
This is great, Gale! It gives me another idea for a Christmas project that I can make using my Silhouette.. Thanks! And to think I have a Rubbermaid tote filled with tiles which we found at Lowe's for $5. Yep a filled tote for $5! Some were broken but some where NOT!
Carmel @ Our Fifth House
I love the white on black! So smart to use a granite tile - perfect size and so inexpensive!
Shannon
I missed this the first time! (not surprising since I've become a blogging slacker lately :))
It looks great! Very crisp and clean!
Midwest Cottage and Finds!
I LOVE this!! It looks great on your easel--i also love the shine that granite has--my eyes are always drawn to it--another great project by gail 🙂
Jen T
Gail I LOVE this and what a great tutorial! It's awesome! JenT
Jester
WOW! what a cool idea! love the color to!
Granny
That looks great. I'll bet it would be a good seller at flea markets.