Do you have an online subscription to the Silhouette Online Store for purchasing images? I do, and I love it! However sometimes they don’t have exactly what I’m looking for. As in this case, I needed a scales of justice and an inkwell image. This is a custom piece for some newlyweds. One is a lawyer, the other a newspaper editor.
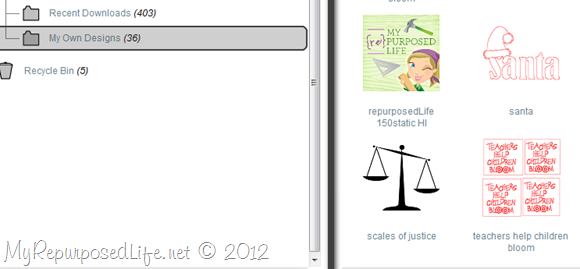
I located this image online, saved it to my computer, then I was ready to work with it in my Silhouette Studio® Designer Edition.
After opening my software, I click File-Import to my Library
When the window opens, browse and choose your file.
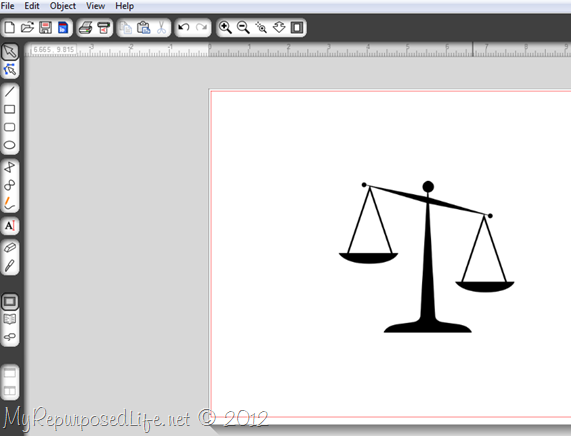
My file was Scales of Justice. You can see that it was placed into “My Own Designs”. Then you will click on your image and put it into a new project.
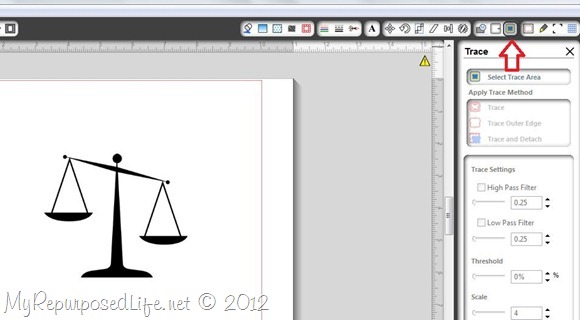
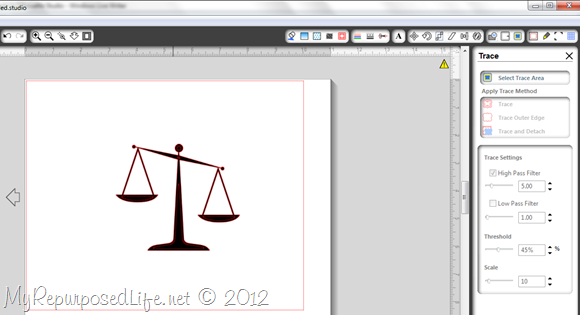
Choose the Trace option.
Under the red arrow, click select trace area.
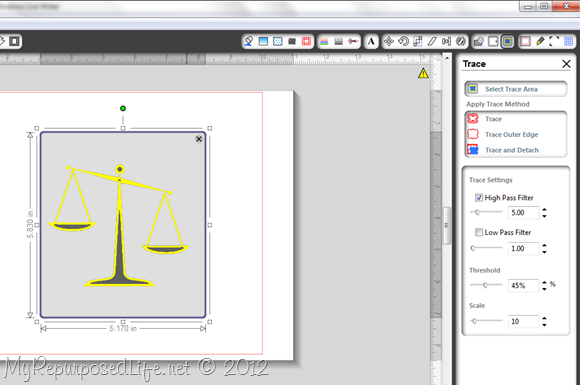
Draw a box around the image. It will turn yellow.
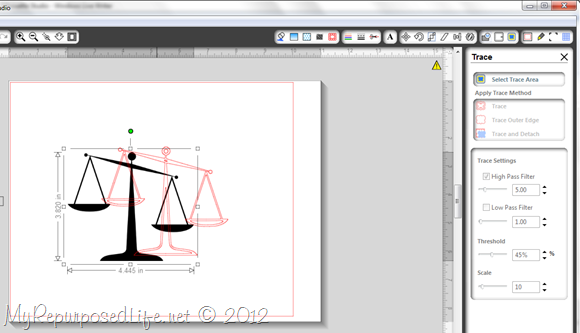
Click Trace (can you see that it’s red under the black?)
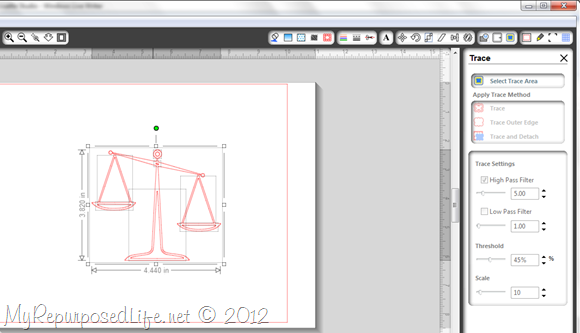
move the black image and you will see the red image behind it. I delete the original black image from my project.
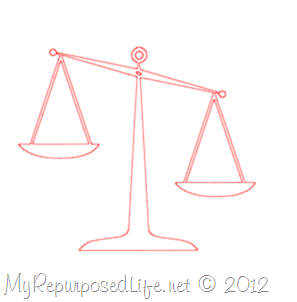
On the top, click Object, then Release Compound Path, then ctrl a (select all) and you will get all the bits and pieces. I just want the silhouette of the image, not the inner parts. Now that they are separate, I can click on them and delete the ones I don’t want, leaving only the outer traced line.
You can click this design, and save it to your library so you won’t have to trace it the next time you want to use it.
Now I’m ready to trace my second image and create my design.
The font is Brock Script. You can see that I have traced my images.
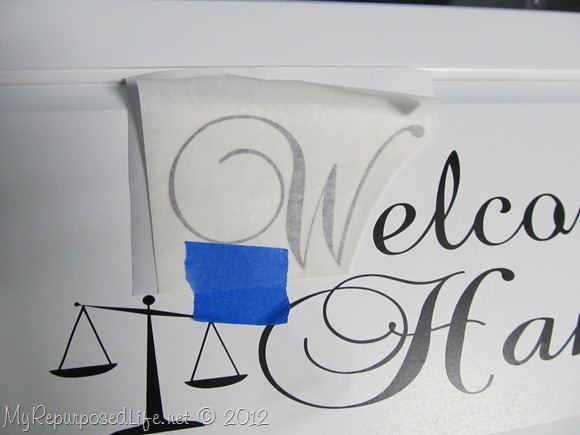
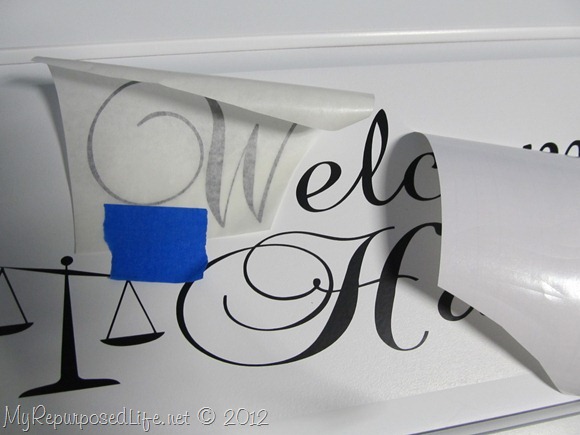
I cut the design out of Silhouette Premium Vinyl (black)
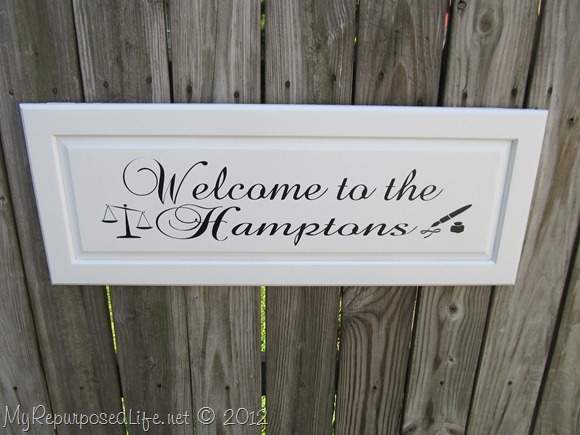
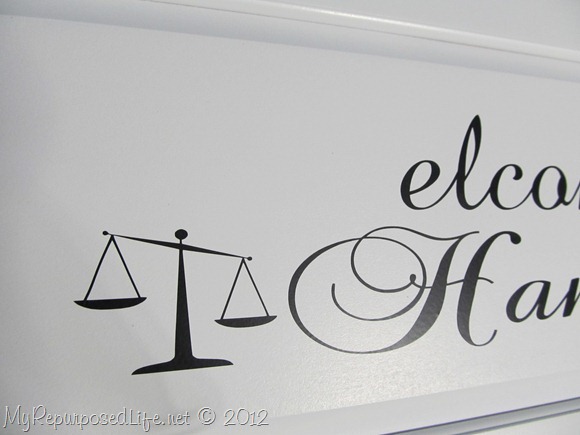
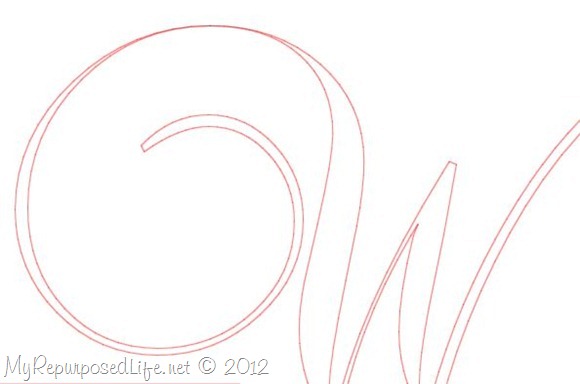
You can see that the cutting problem was not with the CAMEO, but with the font. See how thin it is?
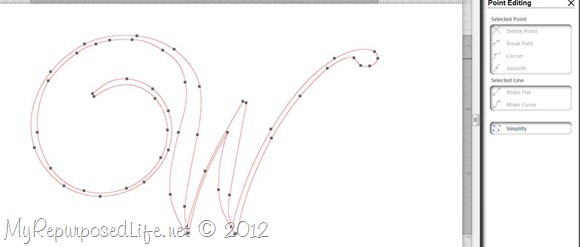
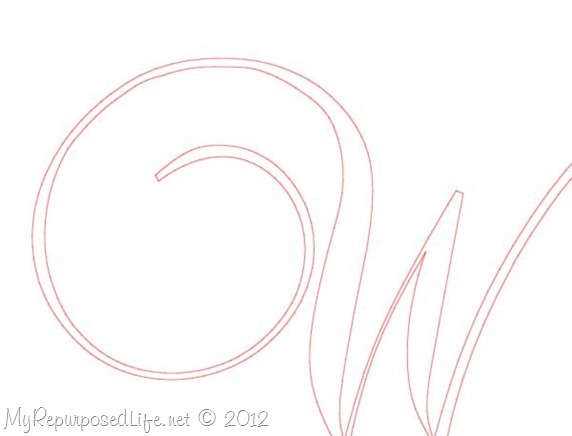
I’m sure you’ve seen this screen before. I accidentally get it often, and have to click off of it to get it to go away. This time I needed to use it. I clicked the “points” and separated the lines little by little, trial and error till I got enough space that I felt the “w” would cut right.
It doesn’t flow as perfect as it should, but I’m pleased with it.
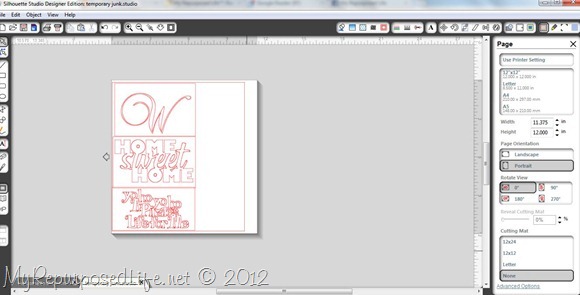

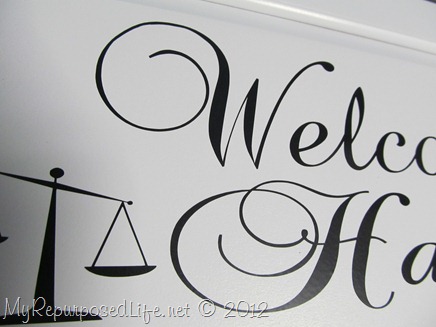
So, I’ve taught you two new things you can do with your Silhouette—how to trace images and how to repair and change up an image/font. I love that my CAMEO will cut “most” fonts I have on my computer without any problem at all. I have a LOT of fonts!
Don’t forget about the great promo that Silhouette is running until the end of the month.
Visit Silhouette America to get this great deal!
I know I’ll be stocking up during this sale!
gail
disclosure: your purchase using the code REPURPOSED, helps support My Repurposed Life, thank you!
Check out other door projects here: [categorythumbnaillist 18]
Gail Wilson is the author and mastermind behind My Repurposed Life. She is obsessed with finding potential in unexpected places and believes that with a little hard work and imagination, any old thing can be made useful again, including herself!
Gail reinvented herself during a midlife crisis and has found purpose again. She hopes you will find new ideas for old things and pick up a few tools along the way.



Rachel
Thank you for this post. I am trying to remove a double line. Can you explain it in more detail. I get up to objects, release compound path but i do not know how to delete without deleting everything.
Gail Wilson
Rachel,
hmmmm I haven't done this in so long. Have you tried using the "ungroup" function? I wonder if the double line "has" to be there to actually give you vinyl to cut. (or paper) Does that make sense? If there's only one line, and you cut it, nothing will be there..... gosh I hope this helps. If you want to reply to my email gail@myrepurposedlife com maybe you can share a screen capture with me and I can be of more help.
gail
Sherri Cunningham
Thanks so much for sharing your tutorial!!!! It's so much easier to do with pictures and a good explanation of what's going on 🙂
Julie
Thank you so much! I am a very new cameo owner and these were some of the exact problems I was having trouble with. Excited to get home and try it out!
gail@myrepurposedlife.net
You are so welcome Julie, happy you found help with my tutorial. If you have any other questions, I'd be happy to help if I can.
gail
Melissa
Thank you, thank you, thank you!!! I'm not very good at figuring things out on my own with my Silhouette.... Thank you SO much for this tutorial!! It saved me a lot of time trying to figure out how to trace!
gail@myrepurposedlife.net
You're so welcome Melissa! Happy to help out a fellow Silhouette friend. LOVE my machines!
gail
Sy Peddlesden
Thank you so much for this tutorial. I have just upgraded my Silhouette software and had downloaded some SVG files. I had to export them as PNGs or any other format that the Silhouette takes, but I was having problems with what used to be called "Get Outline." I Googled for "Get Outline with Silhouette Studio" and your blog entry came up very close to the top! Now I know how to fix the strange extra lines I've been getting, thanks to you!
You may well have saved my crafty life this time..... 🙂
gail@myrepurposedlife.net
I'm soooo happy that my tutorial helped you. Thanks for letting me know how you found me, because I always wonder how people land here. Fun to know I was near the top of the google search... every blogger's dream. I love what I do, and helping other's learn new tricks is always a bonus!
I LOVE my Silhouette machines!
gail
Kristie Green
I love this project and would use it often (the technical aspects of tracy my own images). You totally rocked this tutorial!!!!
Toqua's Crafts
Tracing is one thing I've not done on my Silhouette. Thank you for these instructions. You know I appreciate your tutorials!!
Corn in my Coffee-Pot
Wow!
That was pretty neat. I don't have a Silhouette...but this makes me think "I should have one." ha !
...love your work, Patricia
Suzanne@Meridian Road
That doesn't seem as complicated as I'd assumed.
The sign is SO cute!
Erin
Love it! Thanks so much for the clear tutorial.
Korrie@RedHenHome
I have used the "trace" function and love it, but haven't really known what I was doing...thanks for the great tips!
Julie @ followyourheartwoodworking
I don't use a Silhouette, but I enjoyed your post! That sign is really creative with the scales and the pen and ink, I'm sure the recipient with love it.
Bliss
Every time I have to letter something I tell my family I want one of these.
~Bliss~
Terri
Thanks, Gail...I will definitely be bookmarking this for future use! Great tutorial!
Is this "new and improved" vinyl from Silhouettte? I have to say, I have had horrible issues with their vinyl not sticking to the project in the past. Very frustrating!
Full Circle Creations
Great info! Thanks so much for sharing. I hope you had a great trip!
Holly
Sharon
Nice post and sign Gail! I dont have a Sil or that soft ware. I have a KNK and use KNK studios or Make the Cut. And I love to use slim fonts but find the same issue you do with some thin lines. And what I do is select the font and Outline, or make a mat just a tad thicker then the original and delete the original and use the mat. That way the lines are a little thicker. Im sure your soft ware has this option.
Sharon