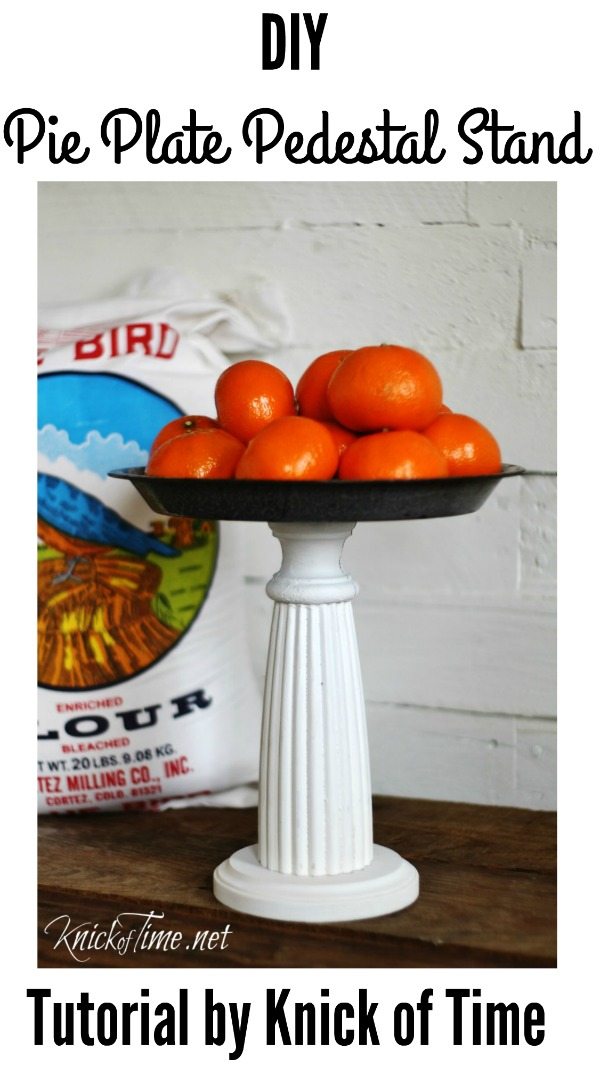
Hi there, MRL friends! It's Angie from Knick of Time, back with an easy tutorial to turn a pie plate into a pedestal stand.
I've lost count of how many pedestal stands and tiered stands my husband and I have made together, but it's well into the double digits.
The tiered stands are best-sellers in my online shop, but I often have a hard time coming up with 2 bowls that match to make them, but I often come across a pie plate in thrift stores, and those make great pedestal stands.
Let's get started!
Pie Plate Pedestal Stand Tutorial

Supplies Needed: (includes affiliate links)
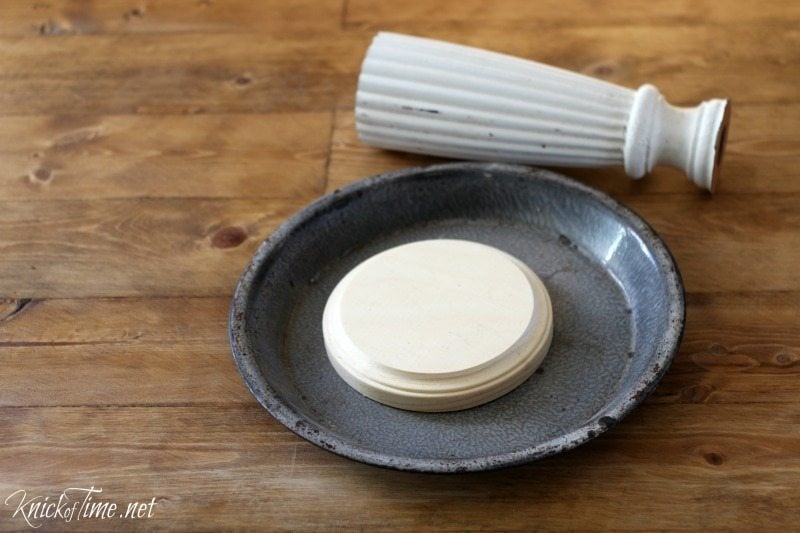
- pie plate (metal or enamelware)
- wood spindle
- round wood plaque ( I generally use 4-5" wide round plaques.)
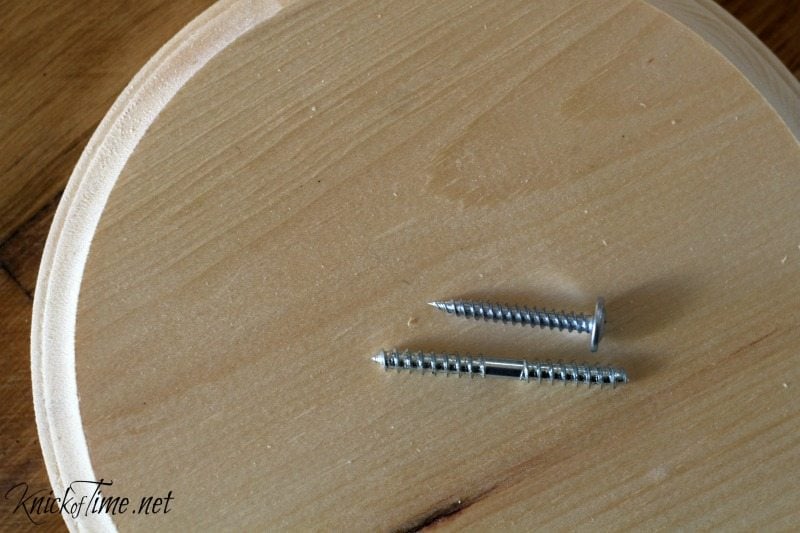
- dowel screws
- automotive washer screw
- drill and screwdriver
This is the type of screws you'll use. The top one is the automotive washer screw, but bottom is the dowel screw.
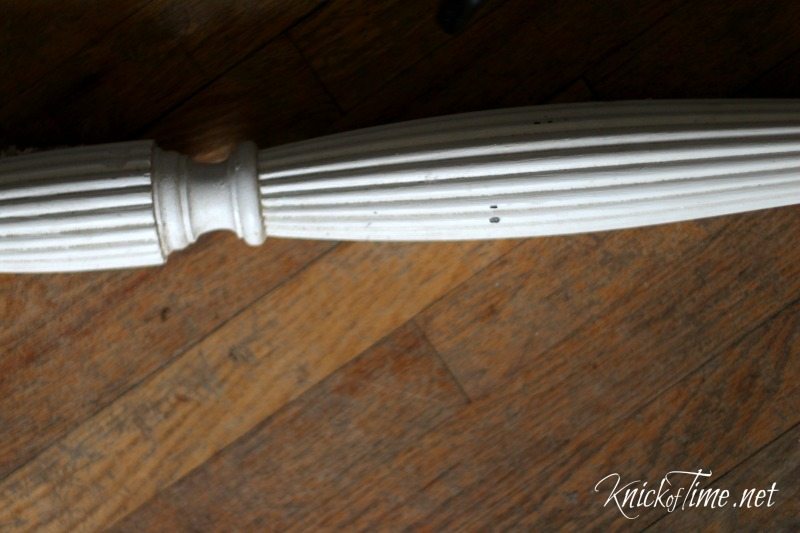
Use a large wooden spindle
The wood spindle I used for this stand was originally a side post from a headboard, but I've also used wooden candlesticks, table legs and chair legs in the past.
Directions:
- Decide how tall you want your stand to be, and cut your spindle. The section of the headboard post I cut as my spindle is 8-½" long.
How to mark the center of the wooden base
2. Mark the center of the wood disk, the pie plate, and the widest end of the spindle
I'm not a huge fan of measuring things, so I use a cheater technique to mark the center of the wooden disks. Most plastic lids that come on food containers have a raised little bump in the center of them. Just screw through the bump to make a hole. Now it's very easy to place the plastic lid over the wood disk or pie plate and "eye ball" that you have the lid centered from the edges. It works great!

Be sure to pre-drill pilot holes
3. Pre-drill a pilot hole into the wide end of the spindle, and through the wood plaque and pie plate.
4. Use vise grips to grasp one end of the dowel screw, while screwing the other end end into the spindle.
Half of the screw should be in the spindle, and the other half sticking out.
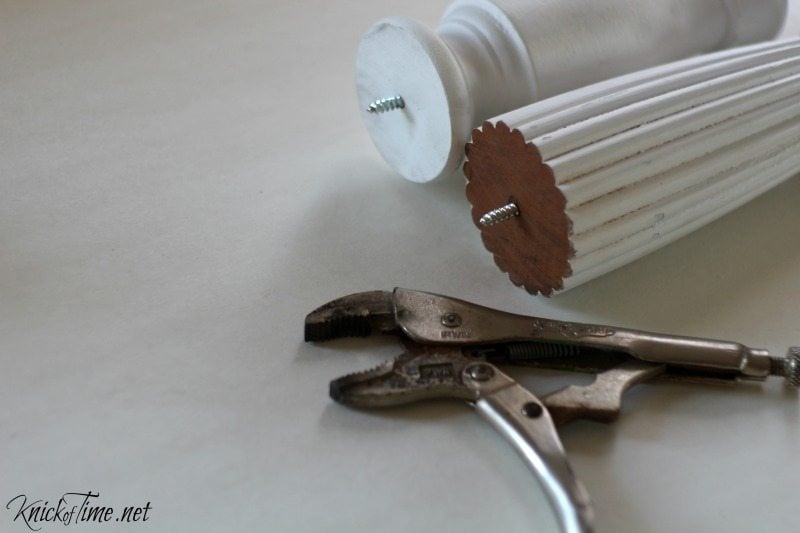
5. Screw the part that's sticking out into the wood plaque, as seen below.
Paint wooden pieces
Paint the spindle and the wood plaque to match. It's quicker and easier to paint them once you have them connected together. Allow to dry.

Complete the assembly of the pie plate pedestal
6.Insert the dowel screw through the pie plate and into the pilot hole in the spindle, then tighten the screw.

That's it - all done!

Pedestal stands are great for holding fruit, and they also make wonderful table centerpieces.

If you love this stand, but don't want to make your own, this one is available in my
Knick of Time online shop here.

Here's a different version I made using a leftover piece of the bed spindle, and a metal tray I painted white.
See more tiered stands at Knick of Time.


See more of Angie's projects on MRL here
dodie
You always have nicely detailed and clear instructions. Thank you, Angie !
girlfromwva
this is so neat! so glad you showed us pictures of the screws to find to use for making our own. thanks!
gail@myrepurposedlife.com
Angie,
I love your pie plate pedestal stand! The shorter one is my favorite. I have so many bits, pieces and parts. I have been collecting some pie pans as well, but none as cute as yours.
Great tutorial-love your tips!
gail