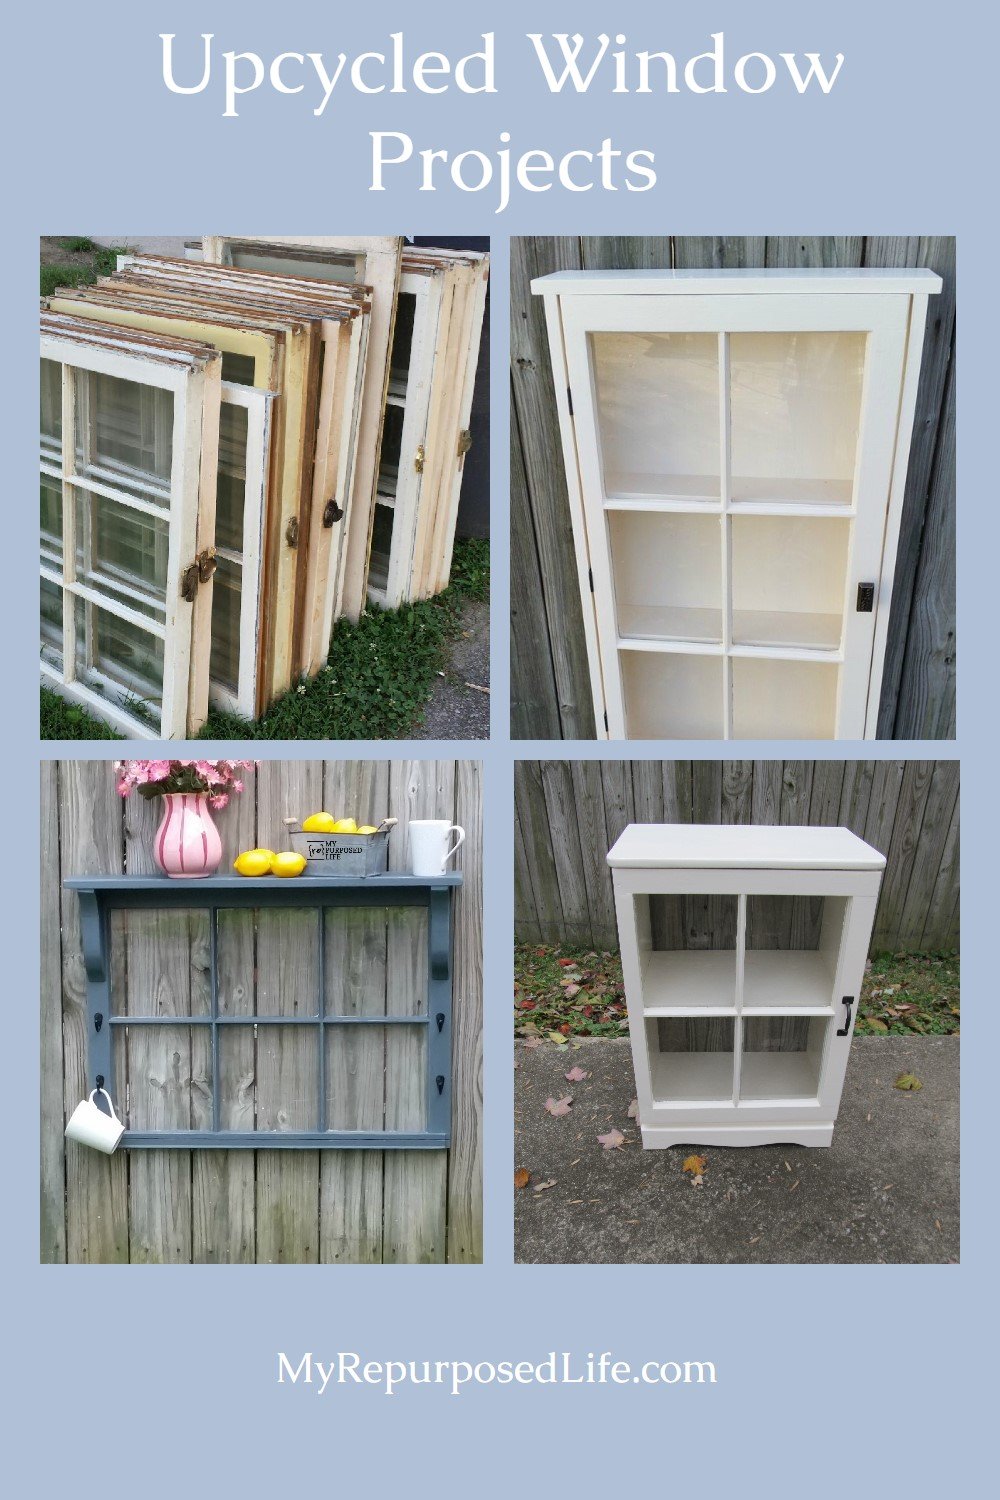
This roundup of old window ideas will inspire you to think outside the box to repurpose that window you found at the thrift store or on the side of the road. Visit the links for more details.
.
Use a Window In Your Fireplace
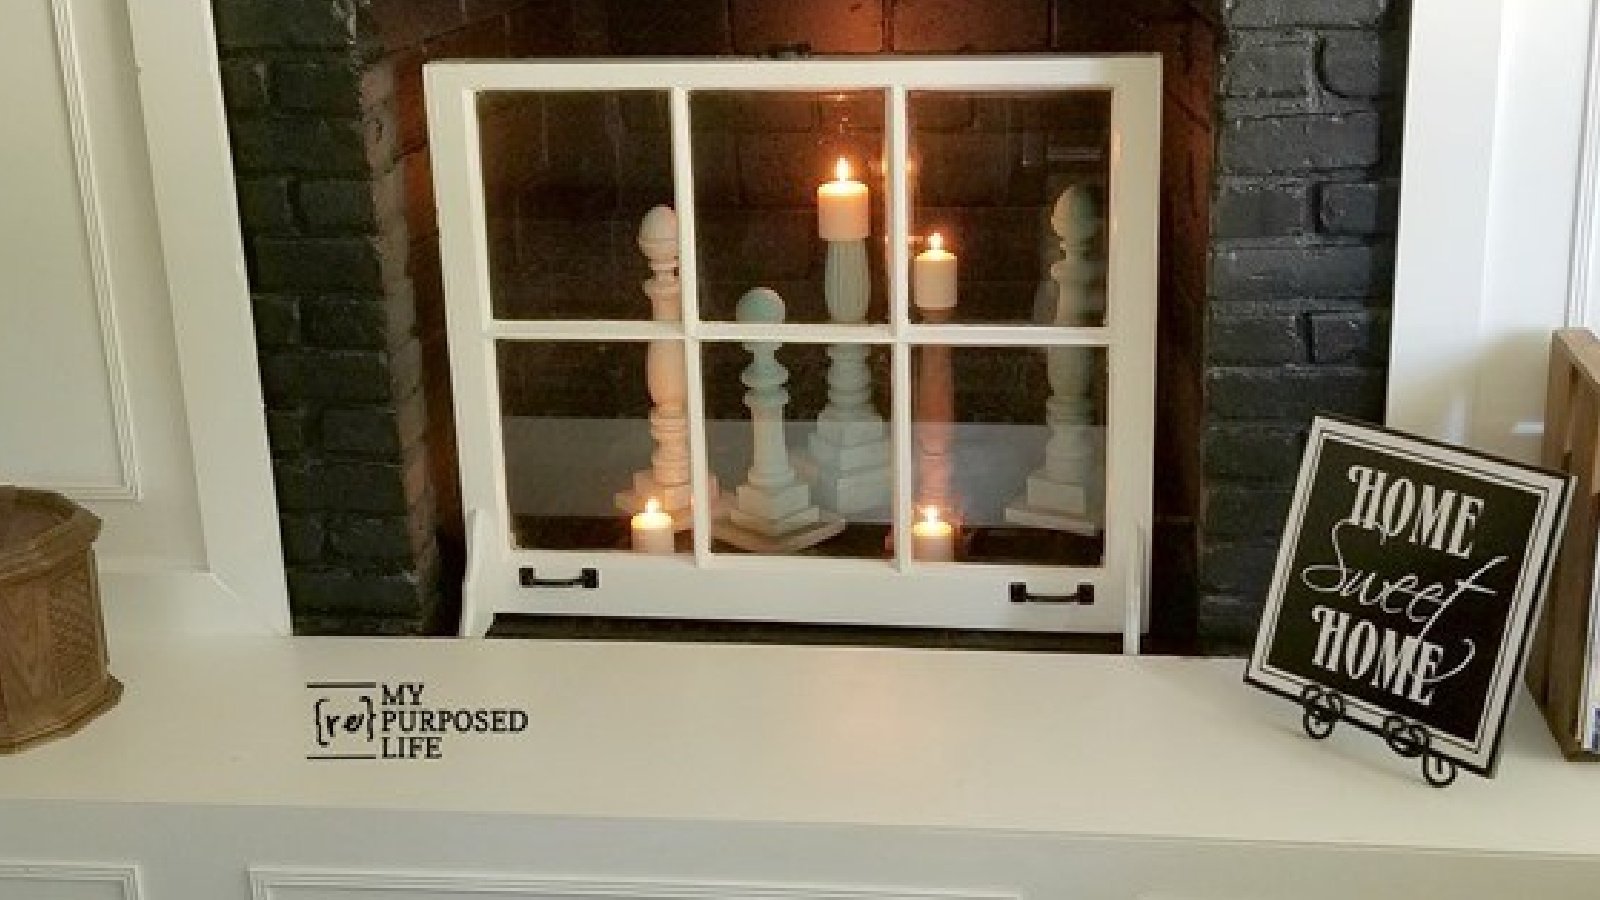
Don't you love this fireplace screen made from an old window?
Old Windows as Decor
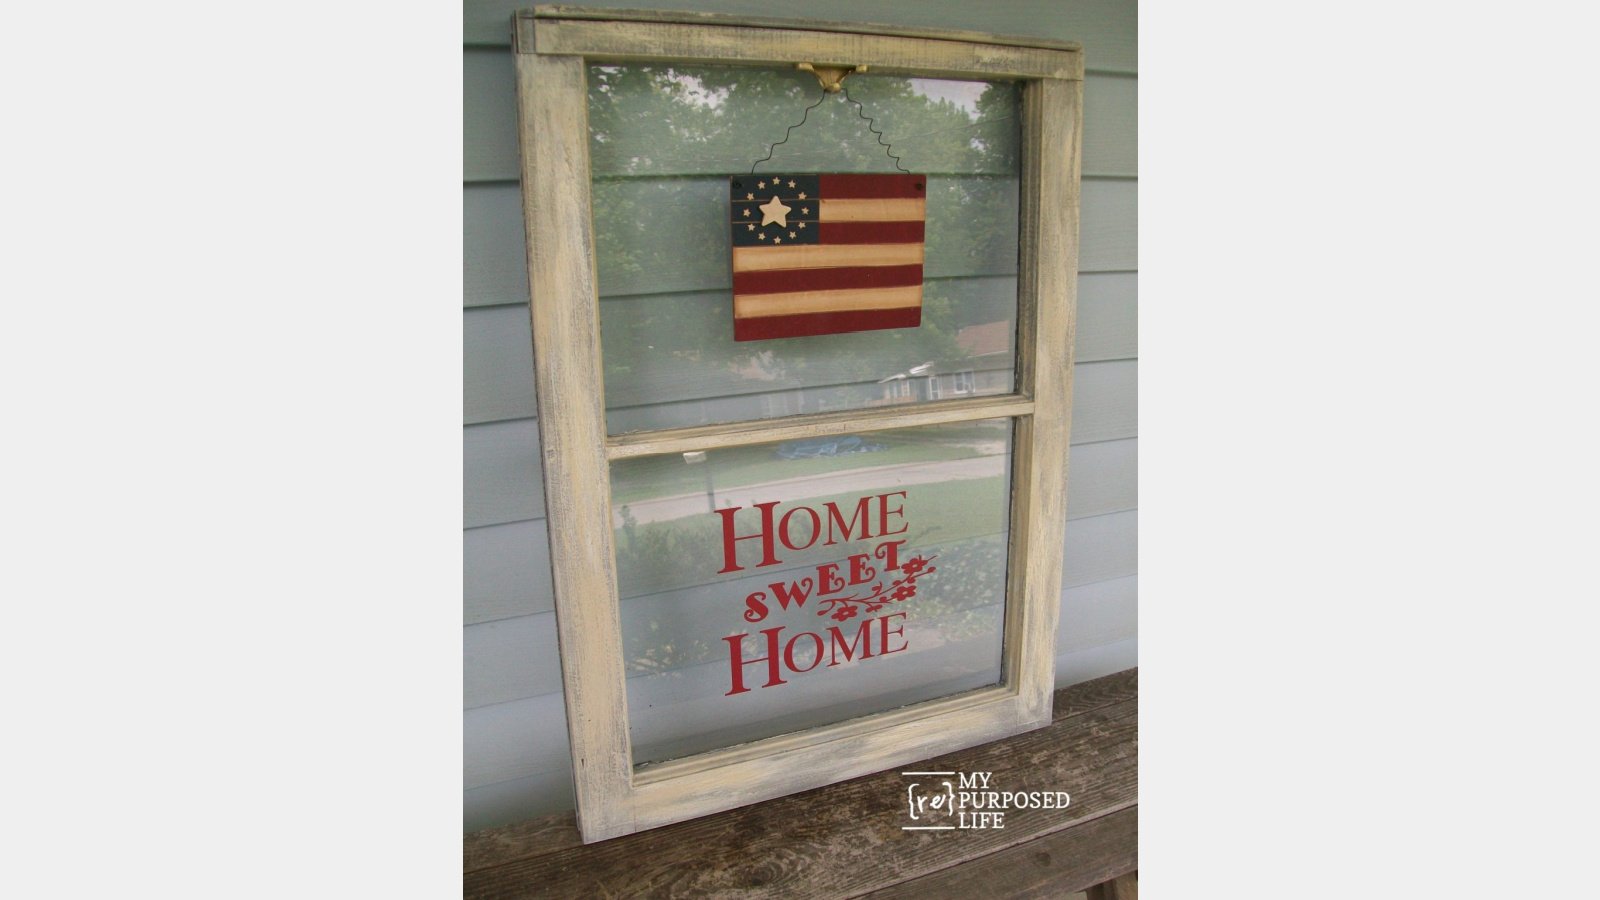
Decor options for upcycled windows are limitless. You can use quilts, photos, rub-on transfers, old doilies, vinyl transfers, and more!
Visit the My Repurposed Life Amazon Store to shop my favorite items.
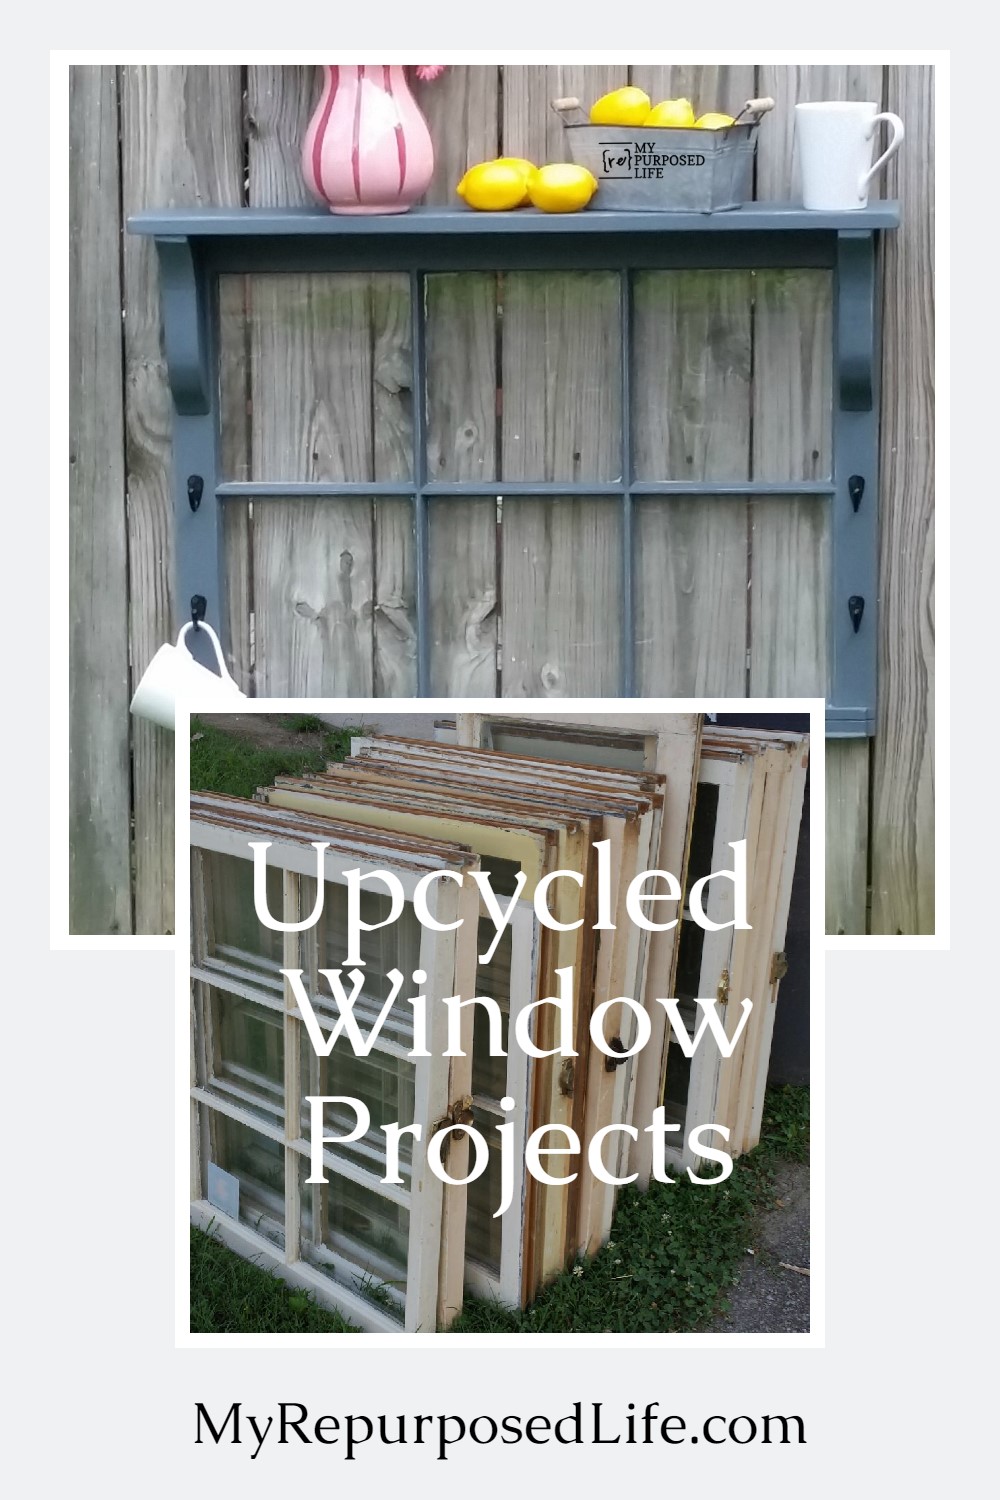
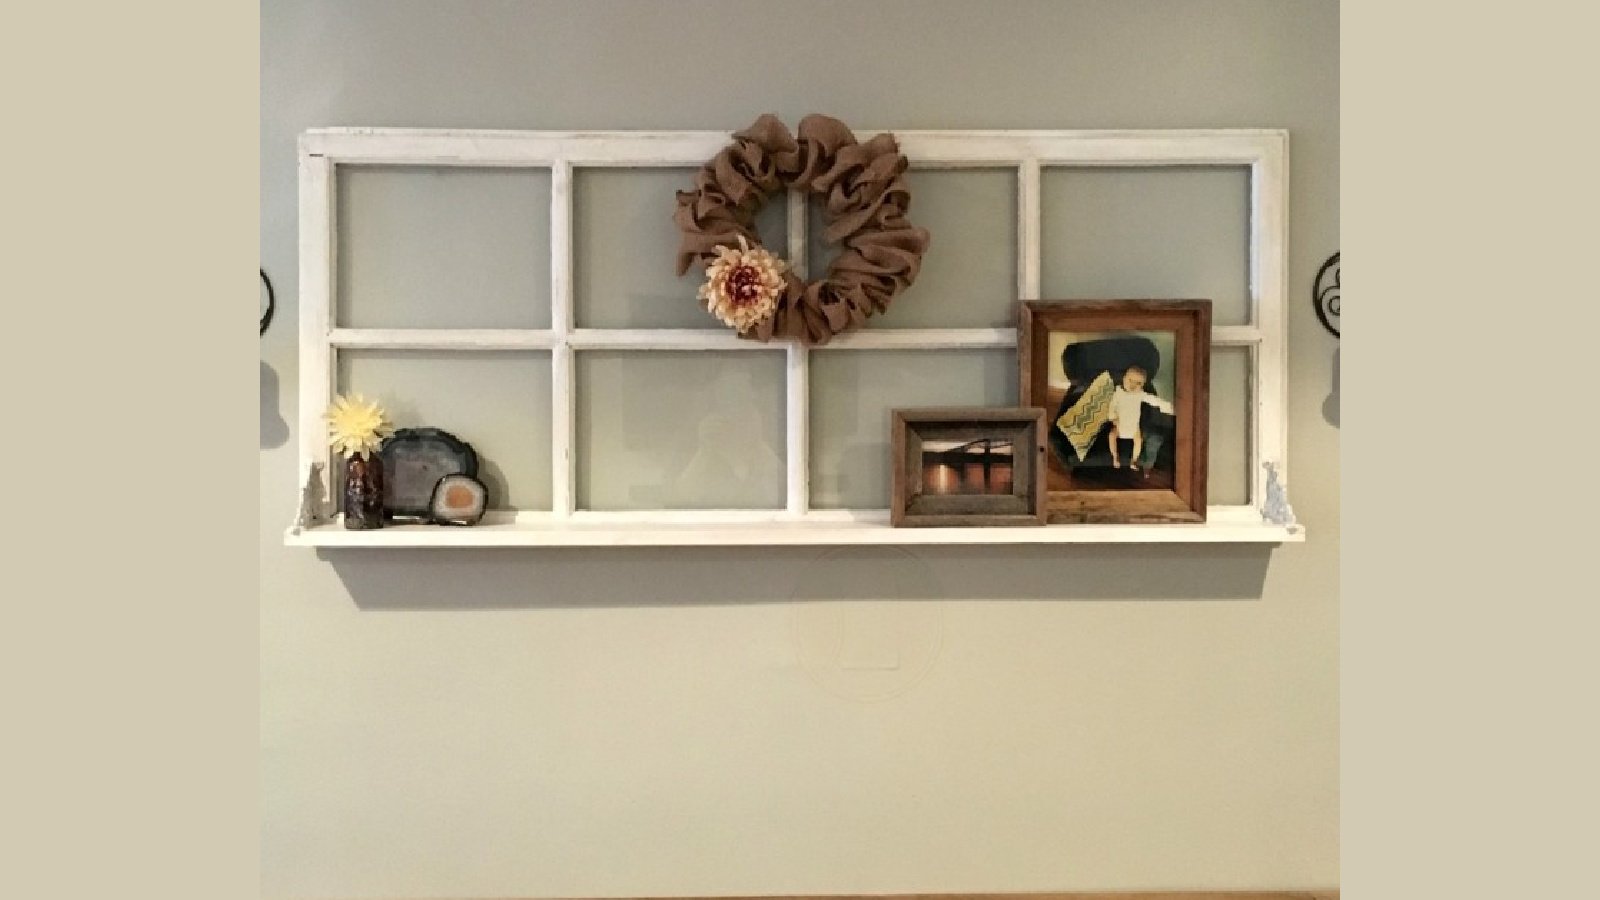
Window Shelf With Hooks

This Gray Window Shelf project is perfect for your kitchen or mud room.
Decorative Window
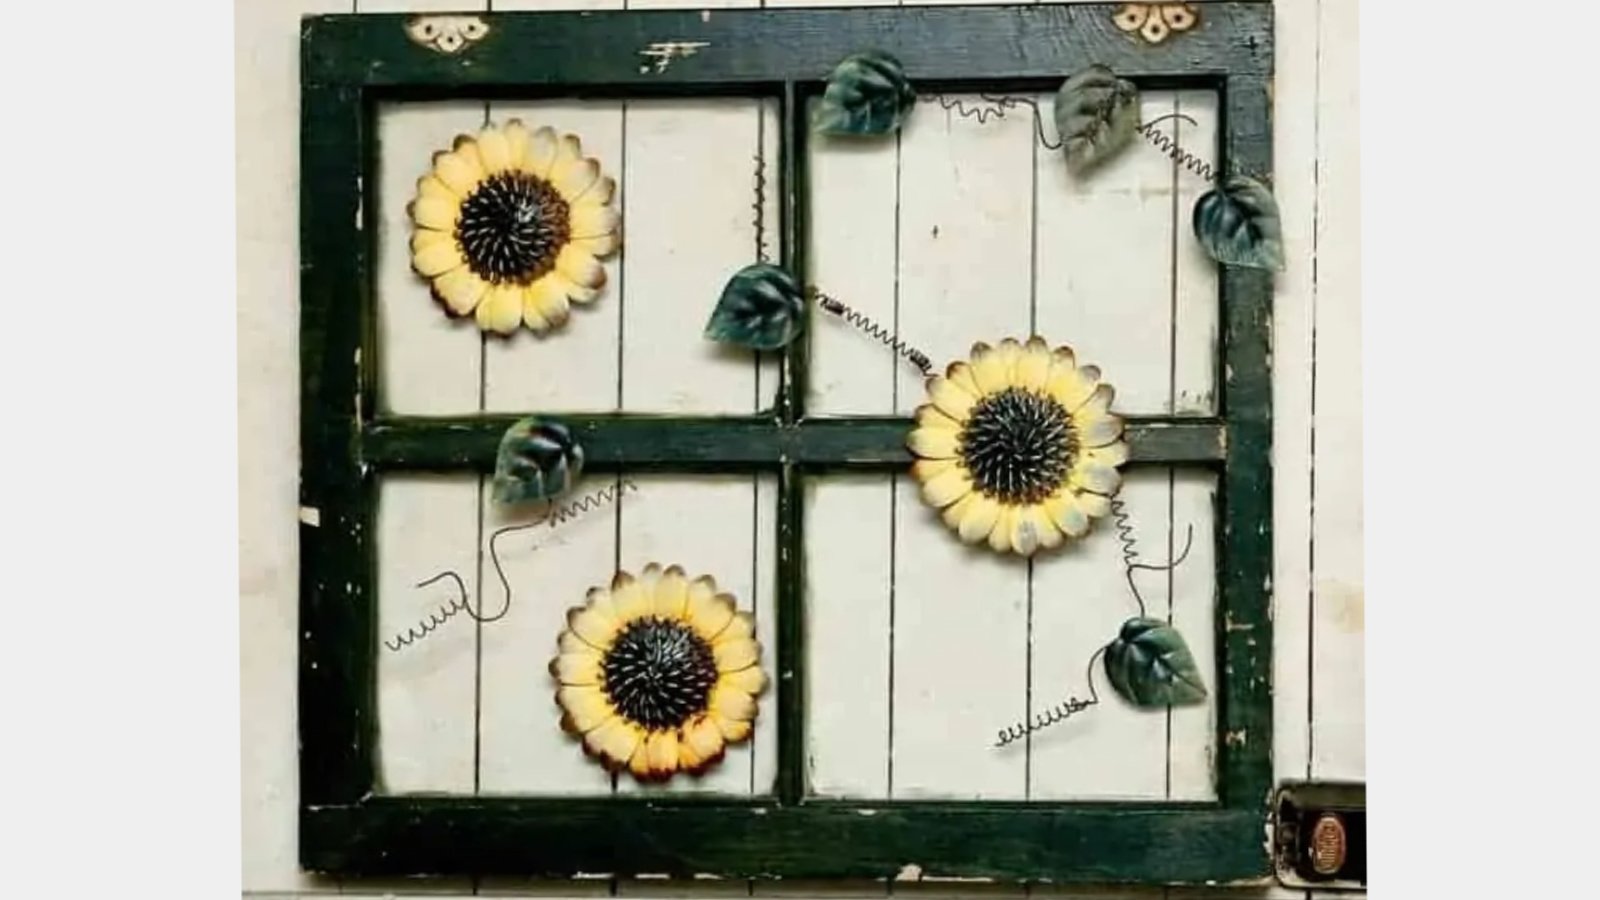
Decorate an old window with metal sunflower pieces.
Make a Cabinet out of Old Windows
With some DIY know-how, you can turn your old windows into cabinets or cupboards. One of my first old window ideas-- a Window Cabinet
Double Window Floor Cabinet
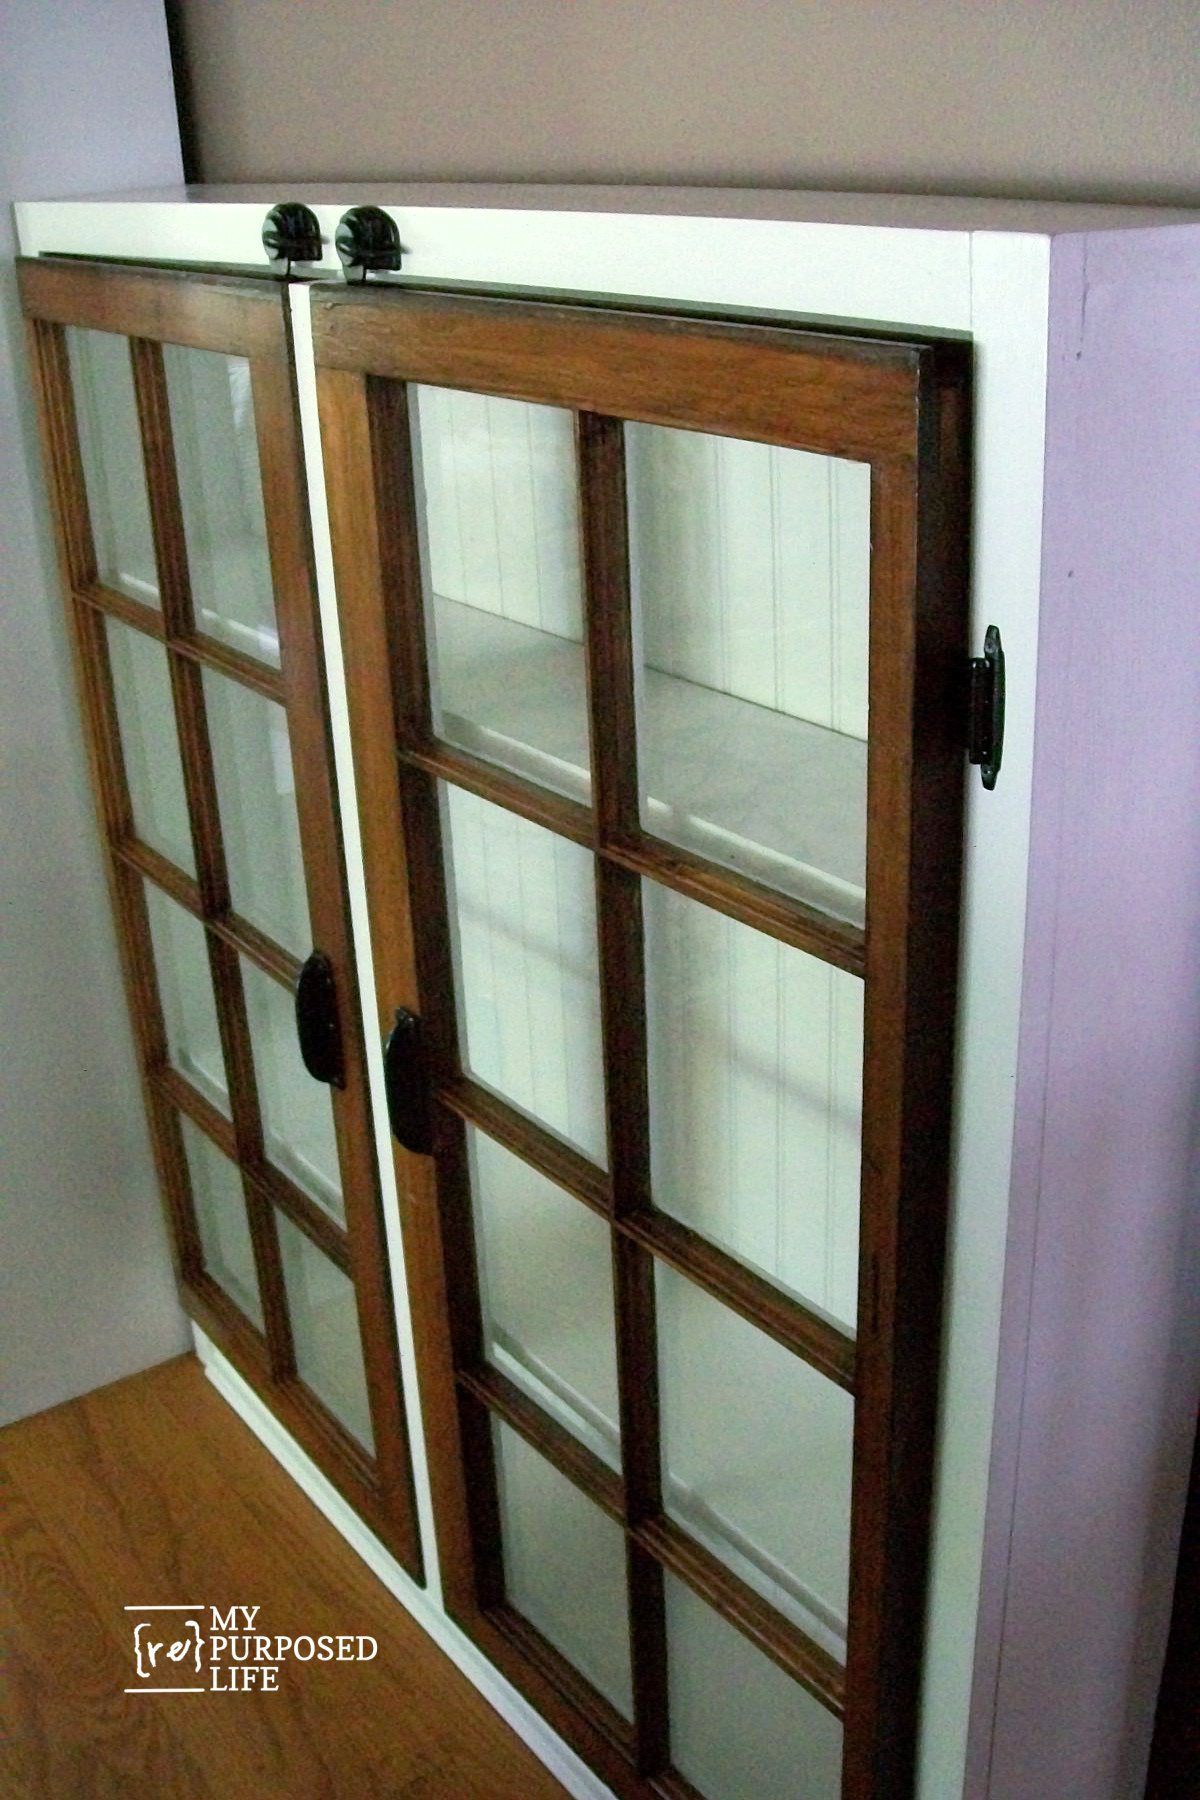
If you're lucky enough to find a couple of matching windows, hop over to see this Double Window Display Cabinet tutorial.
Easier Than Decoupage
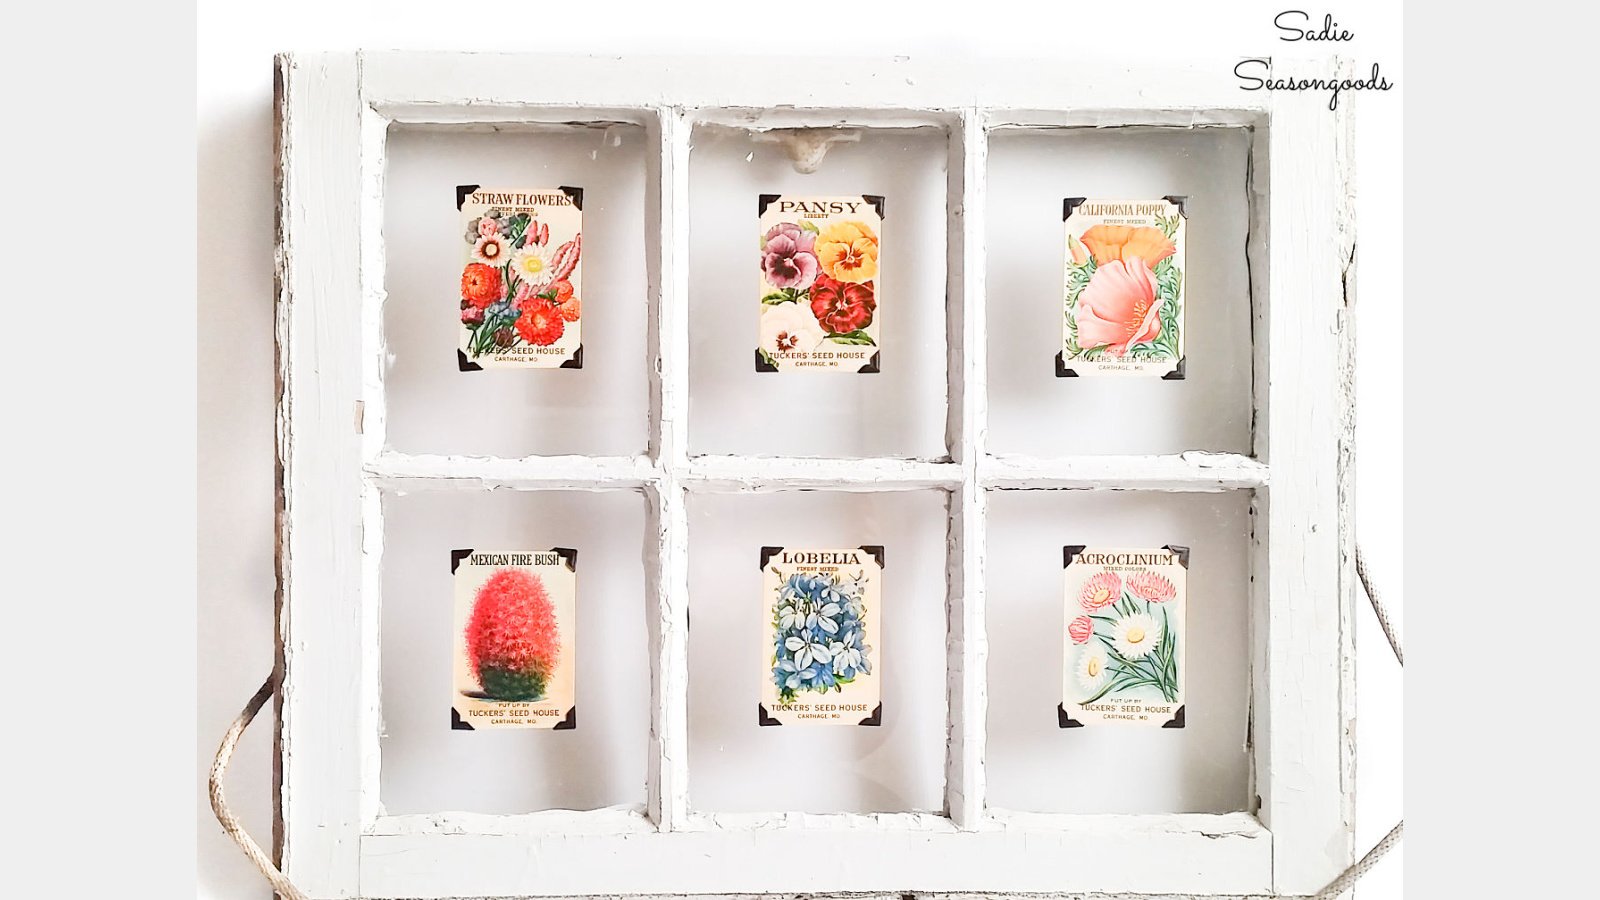
Use photo corners instead of decoupage to make a delightful seed packet display.
Add Legs to Make a Unique Knick-Knack Cabinet
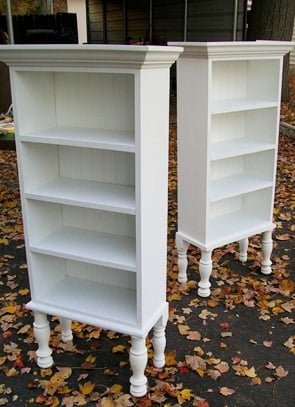
Build a simple box, add trim and legs to make unique Twin Window Cupboards.
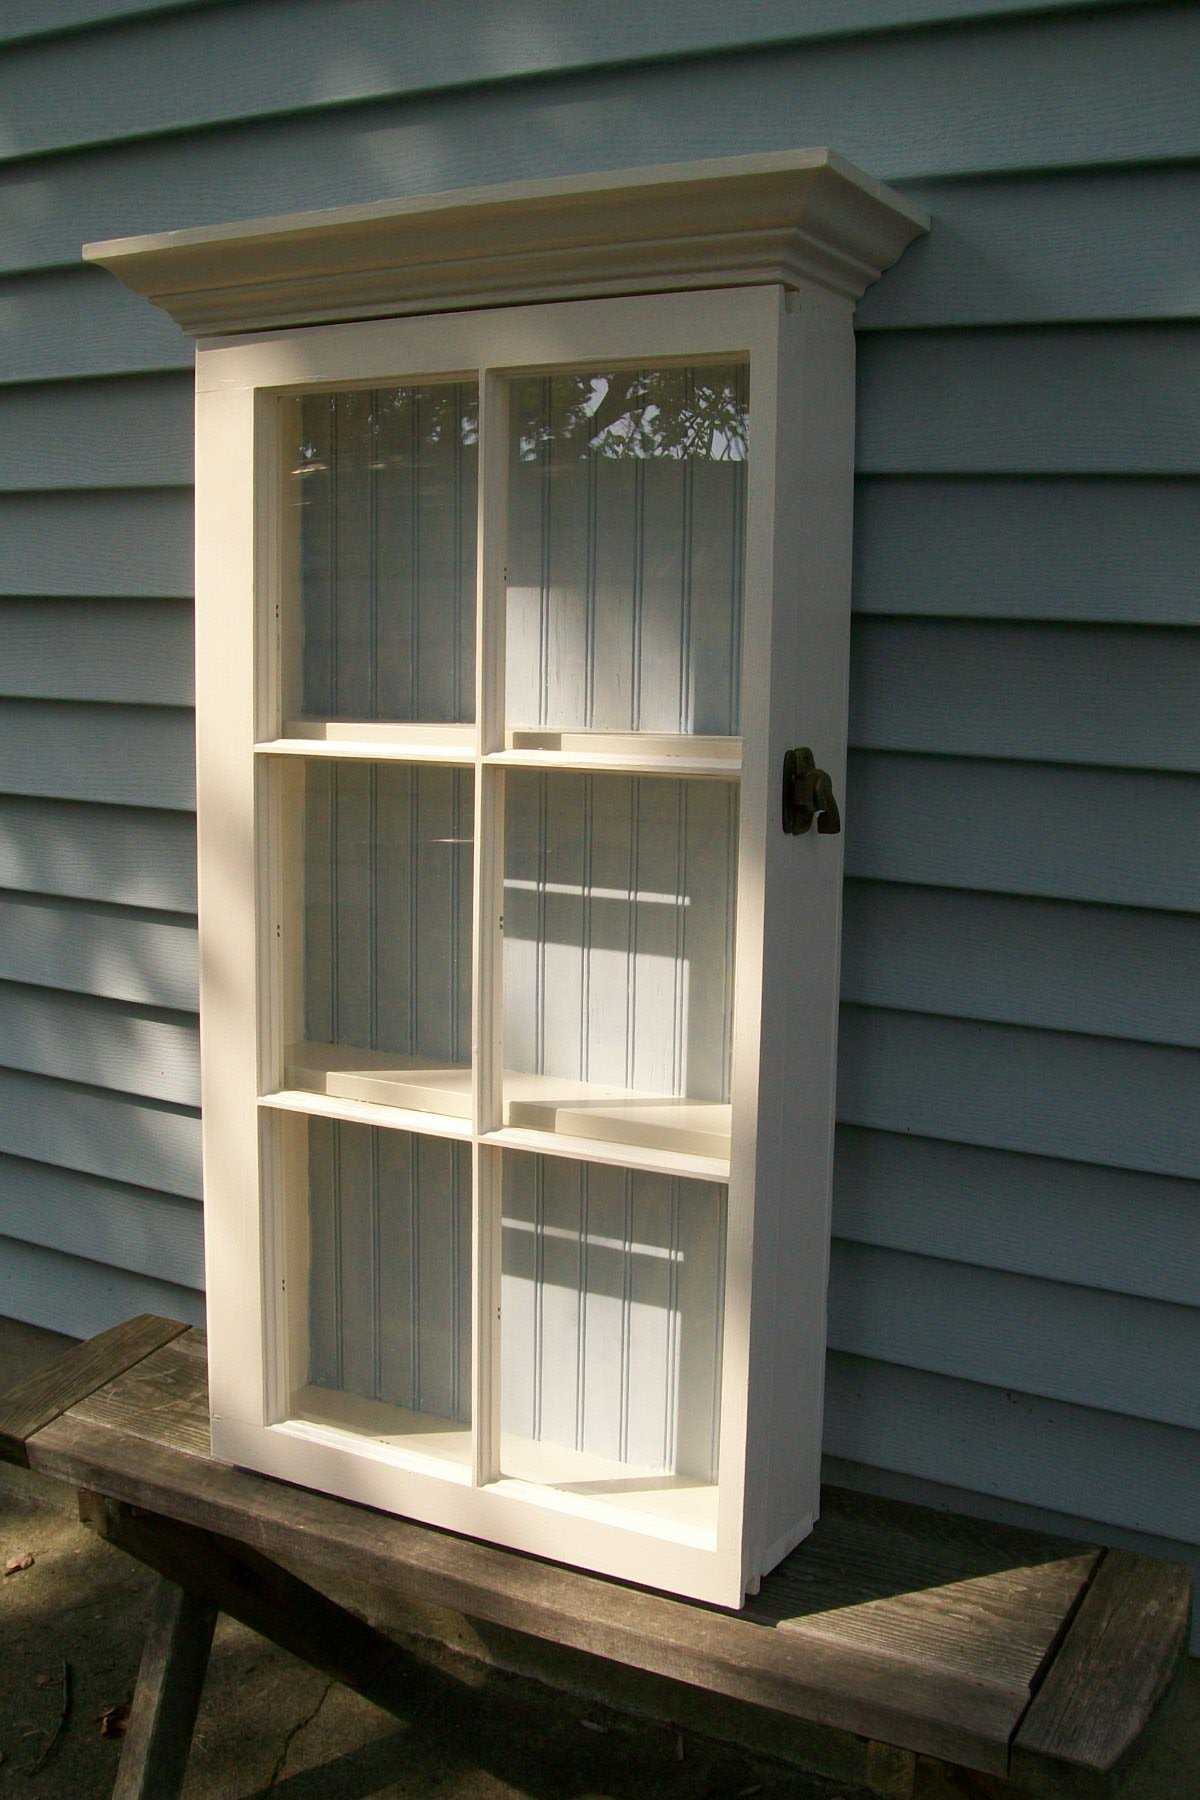
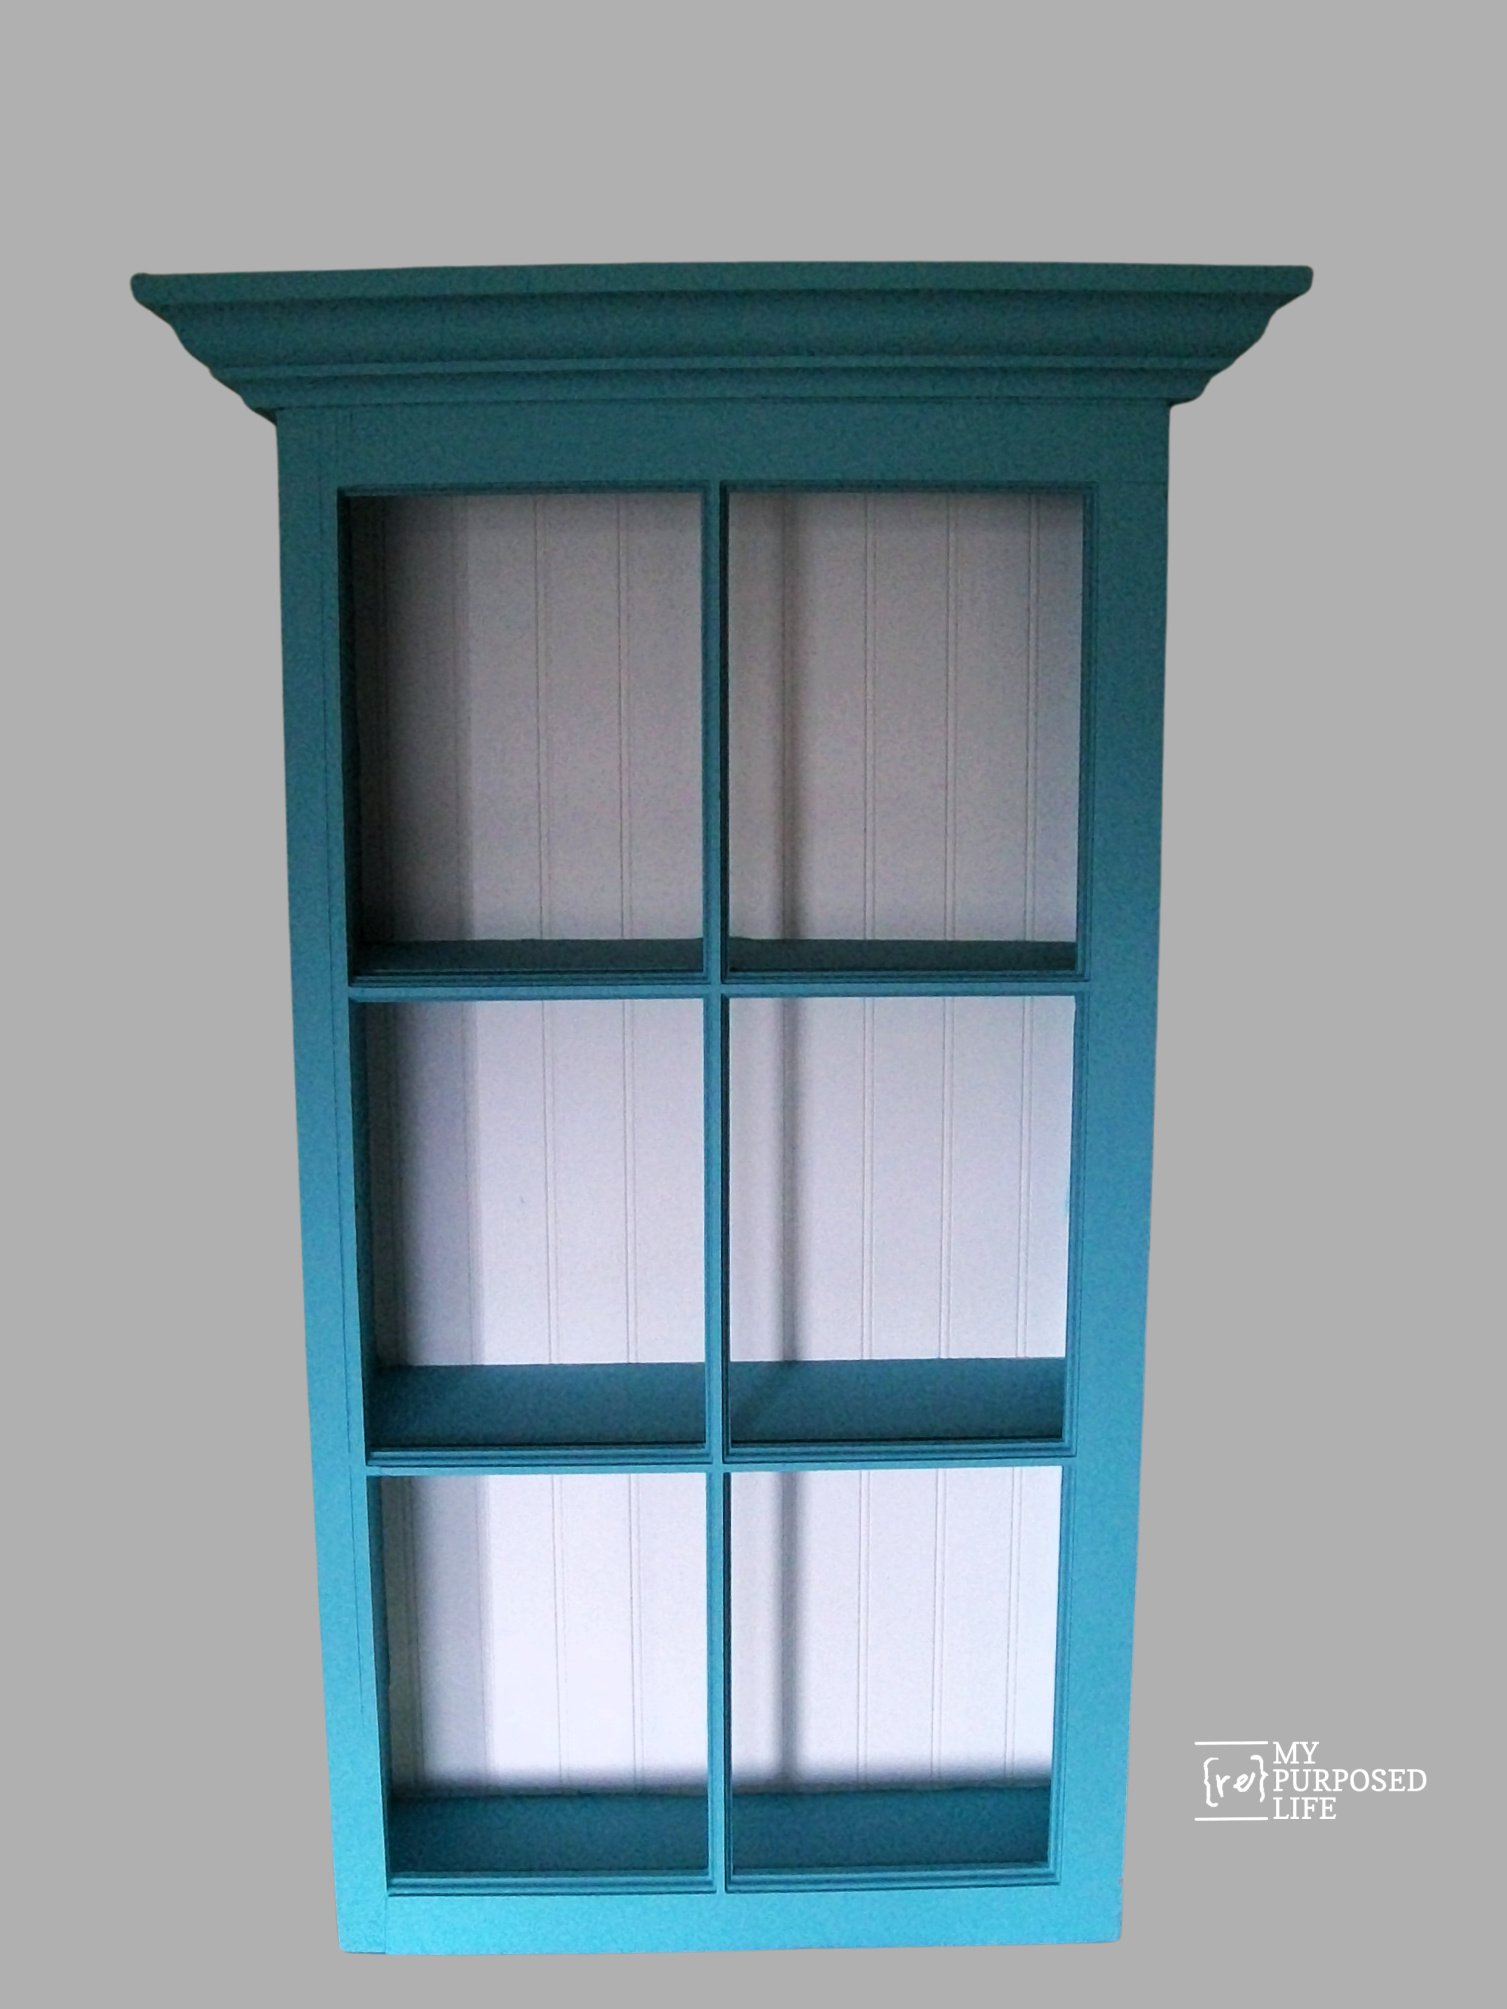
White Wall Cabinet
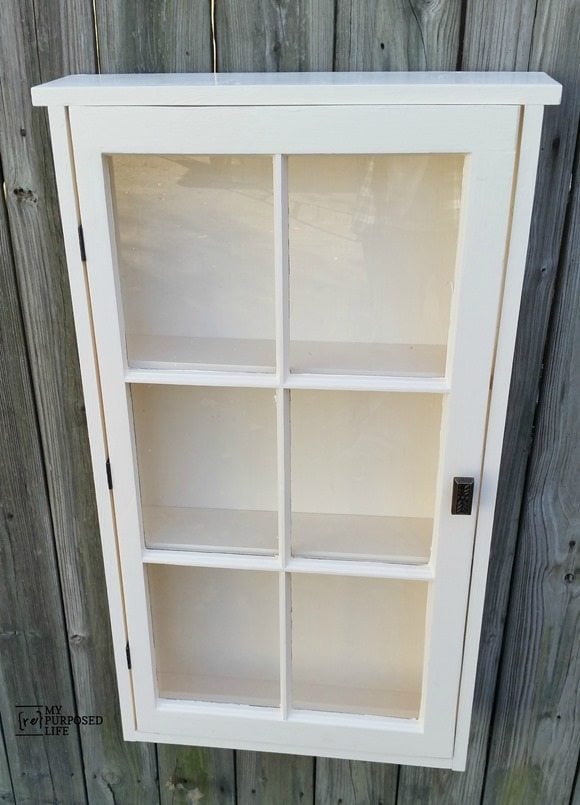
Another Easy Wall Cabinet made from a window. These cabinets are great for bathrooms and guestrooms.
Window Shelf With Metal Brackets
Step-by-step directions to make your own window shelf with metal brackets.
Paneless Window Cabinet
Even if your window has broken panes, don't throw it out--make this cute window cabinet (without panes)
Chalkboard Memo
A double-pane window makes a great chalkboard memo board.
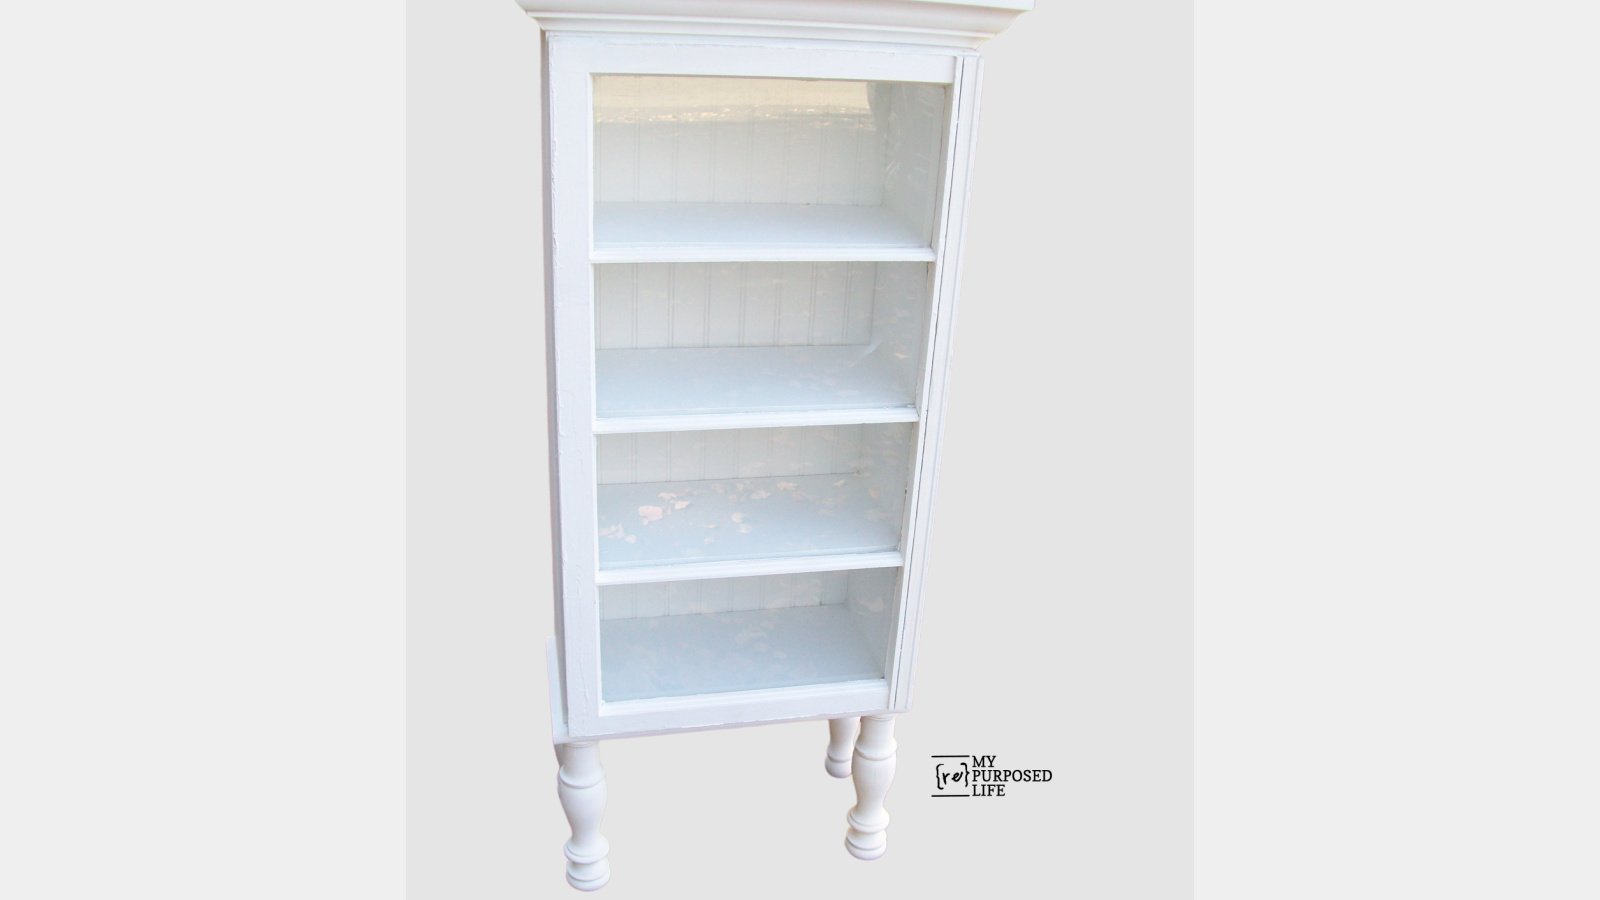
Nightstand Window Cabinet
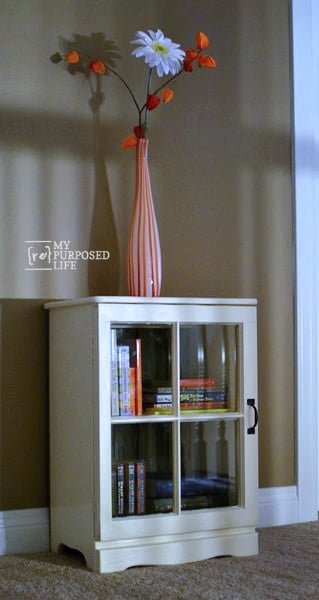
Even the ugliest nightstand can be salvaged to make a very pretty Repurposed Nightstand with a window door.
Coke Crate Cabinet
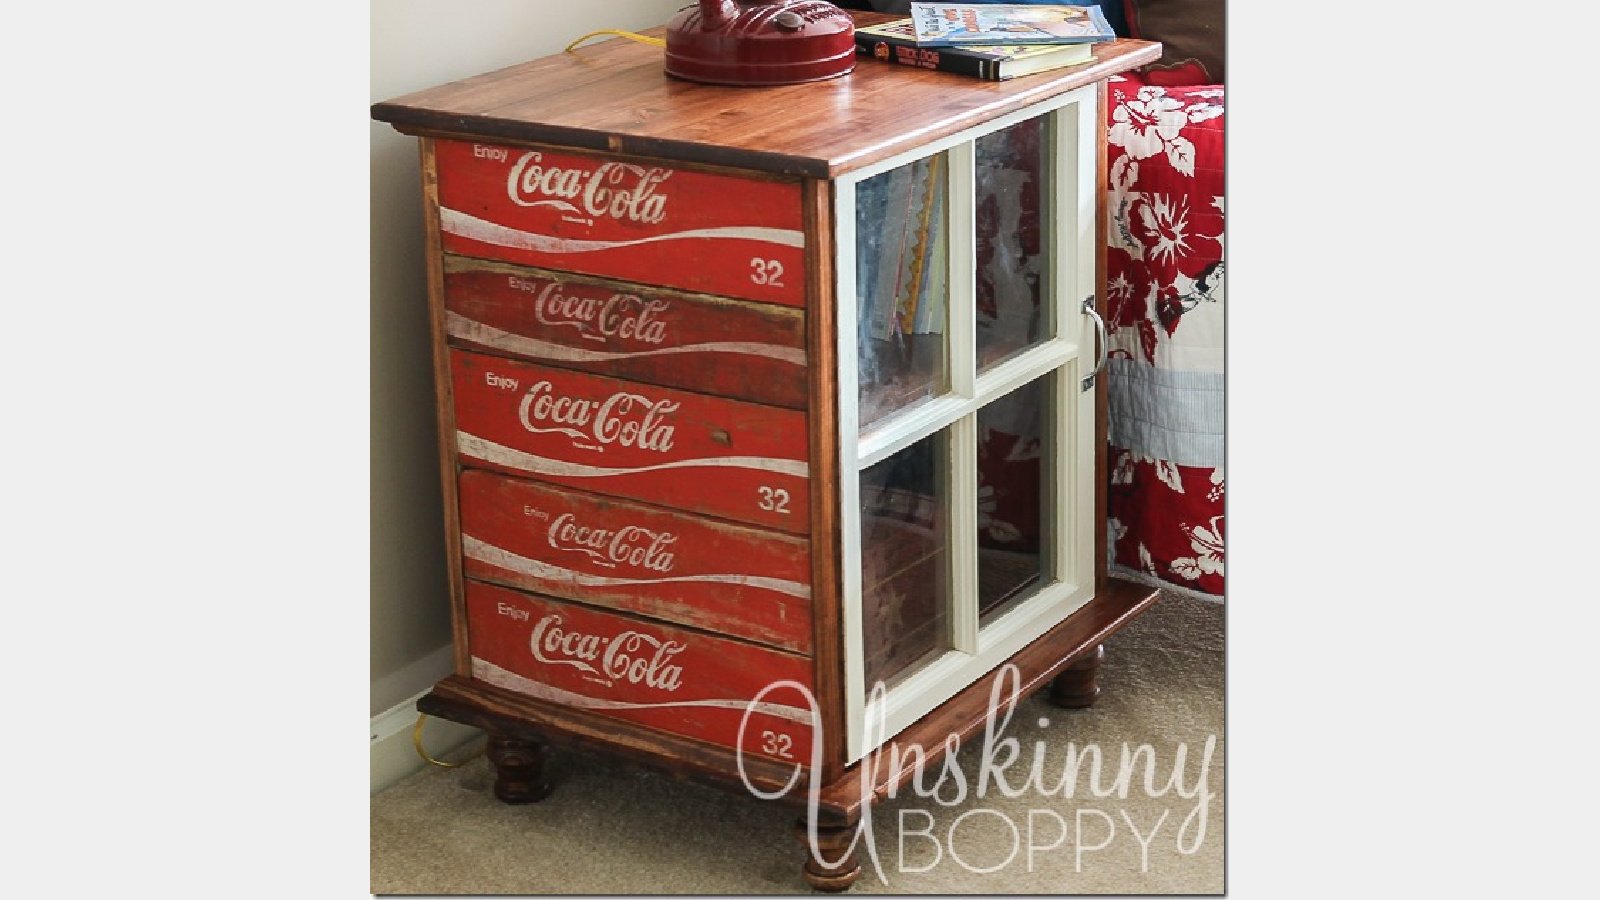
Make a fun cabinet using Coke crates and a window.
Barbecue Station
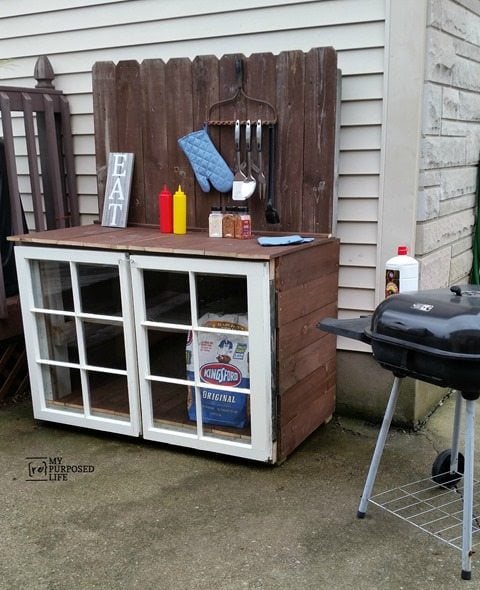
The great thing about using building materials, such as windows, is they can be utilized outdoors for greenhouses, barbeque cabinets, potting benches, and so much more.
Chippy Window Shelf For Outdoors
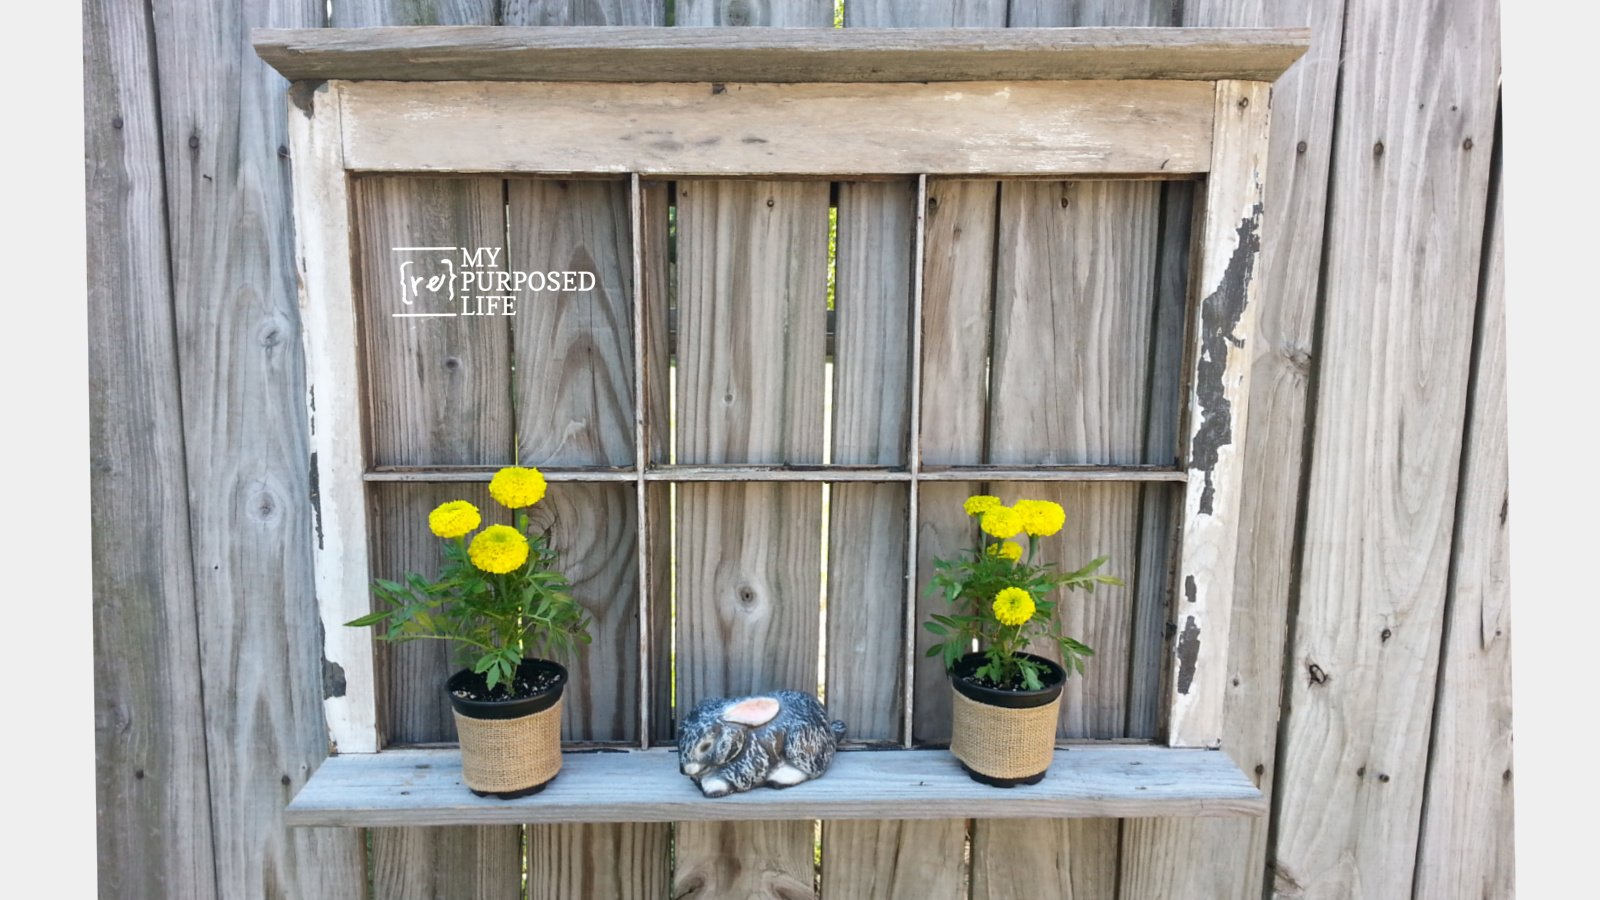
Reclaimed windows and wood are paired to make a chippy window shelf to hang in your home or outdoors.
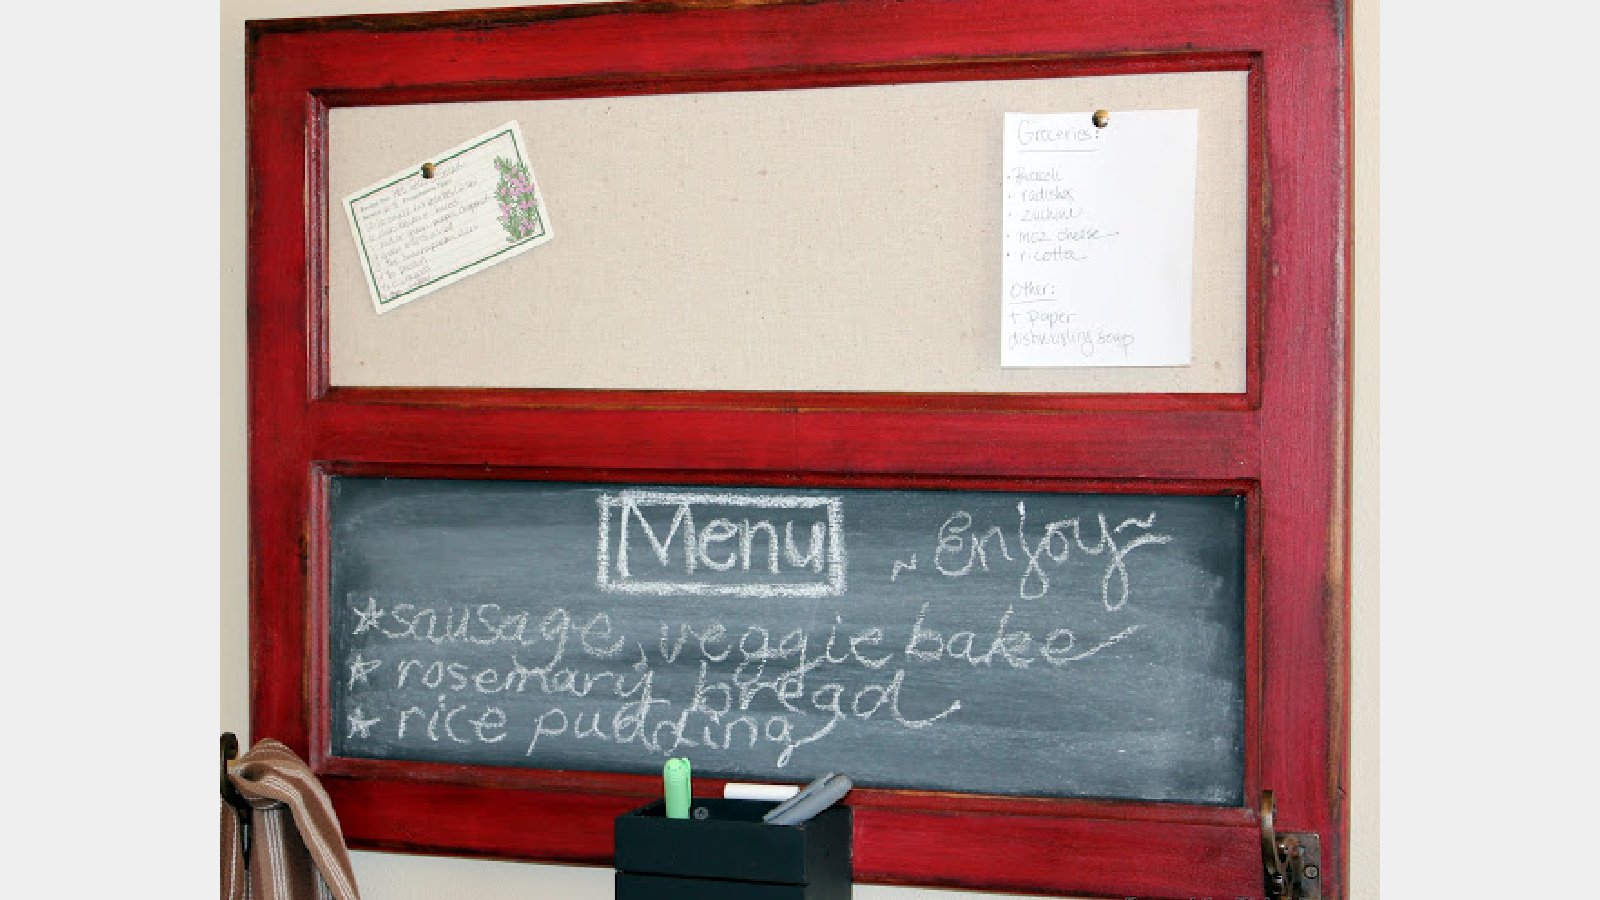
Repurposed Old Windows as Chalkboards
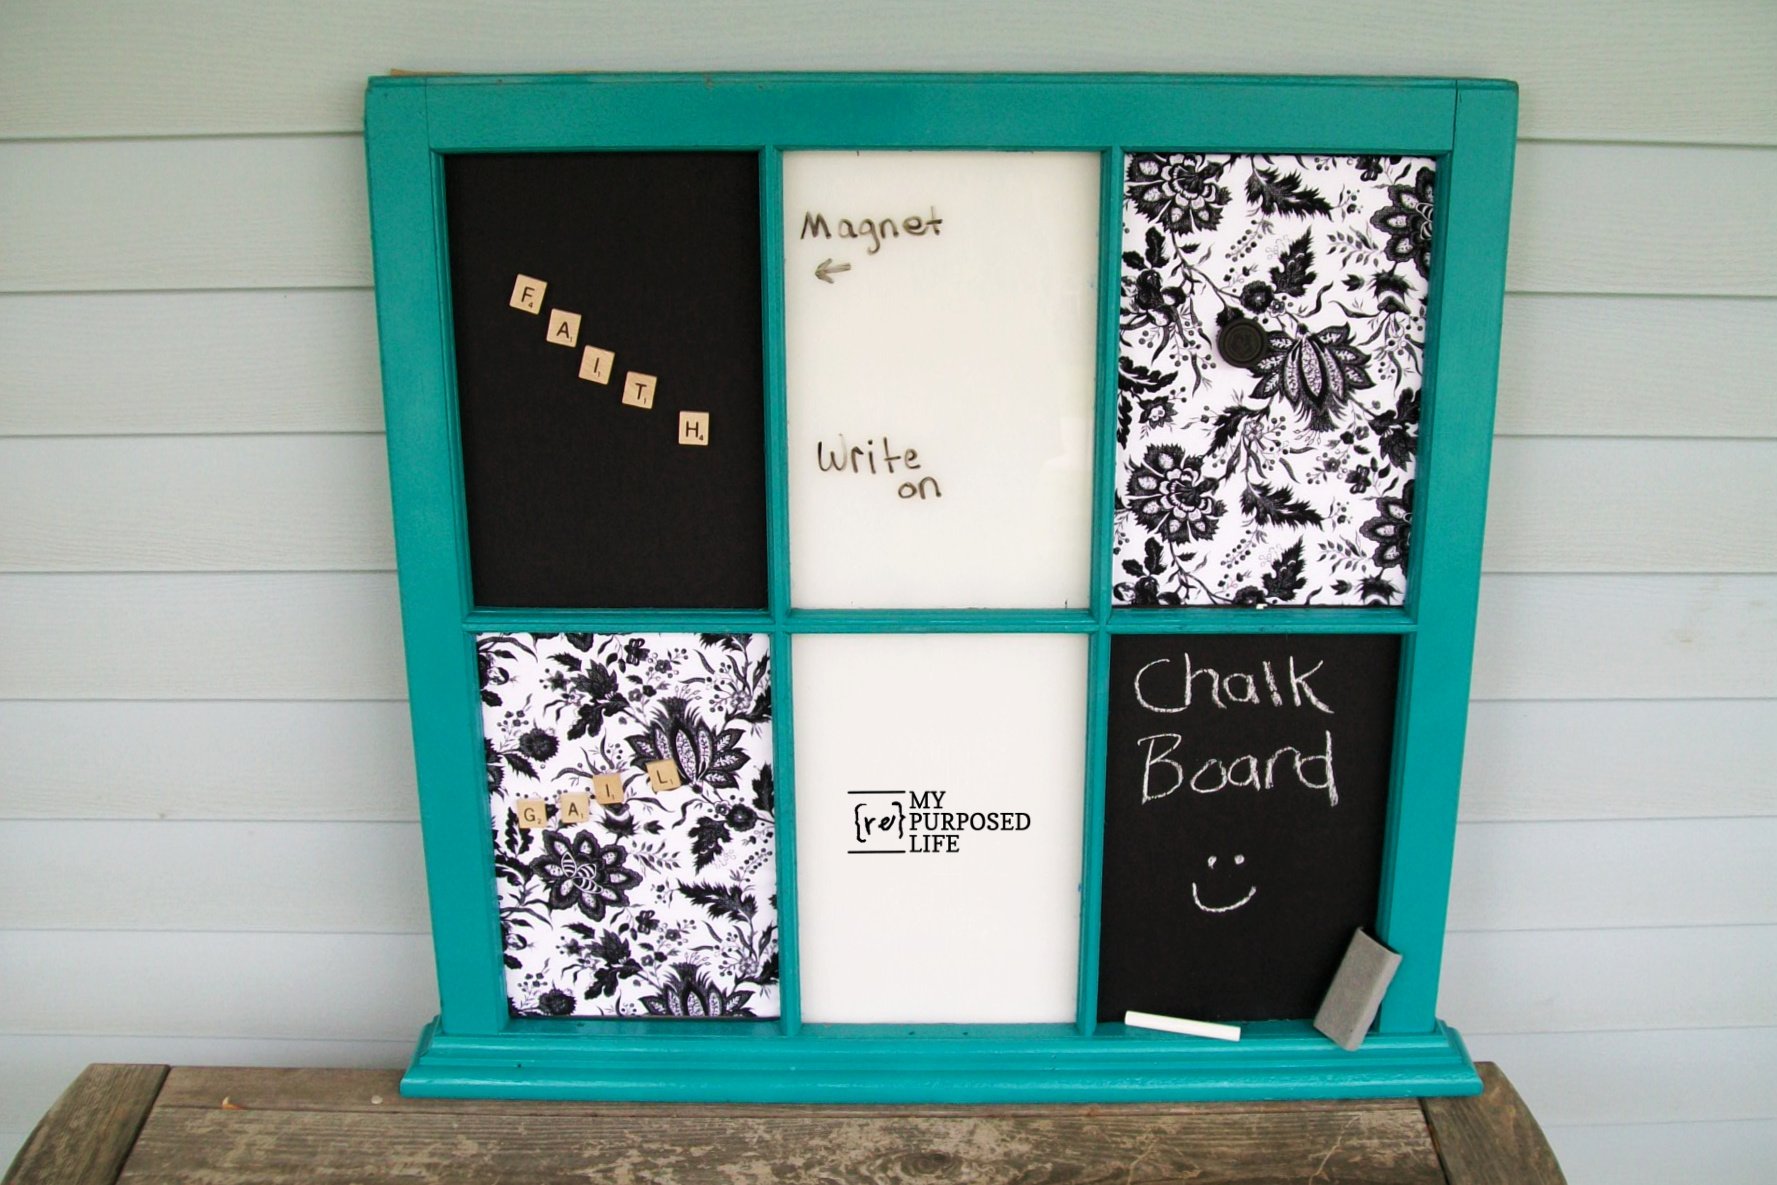
This project may be one of the simplest ways to upcycle an old window into a Window Memo Center.
Decor Transfers on Old Windows
From the archive of old window ideas, a pretty blue window with a rub on transfer.
More Window Ideas
See more window upcycle ideas on My Repurposed Life.
Spindle Project Ideas
Whether your spindle is from a chair, porch, bed, or something else, you can make many creative projects. See the article Thirty Spindle Projects.
Gail Wilson is the author and mastermind behind My Repurposed Life. She is obsessed with finding potential in unexpected places and believes that with a little hard work and imagination, any old thing can be made useful again, including herself!
Gail reinvented herself during a midlife crisis and has found purpose again. She hopes you will find new ideas for old things and pick up a few tools along the way.
Gail Ferguson
Nov.17 2019. Have 12 old windows and needed ideas for cabinets for displaying ceramic items I have collected. Thanks for the ideas.
Gail Wilson
Happy to help out Gail! I love old window projects!
gail
Joyce
I am so excited to stumble across this site today. It is just what I needed to cheer me up as I am home sick and could use the inspiration since retiring! I look forward to many great ideas.
Gail Wilson
Thank you Joyce! I'm happy you found me!
I'm always here if you have any questions.
gail
Patricia B
Hey Gail, love all your ideas!! Now I need to find some old windows!! lol You've inspired me to try to make some of these projects!! Love ya'
chris aka monkey
gail love so many but the window cabinets blow my dress up ha ha love them xx
Mindi
Love me some good inspiration! Such a great round up Gail!
Claire
What a great round up. I just love that bathroom cabinet !
TTess
Me too,now if i could just get hubby to help me make one
Angie @ Knick of Time
Thanks for sharing my window in such an awesome round-up, Gail!
I'm pinning it, and sharing on FB! 🙂
Angie @ Knick of Time
I love, love, love using old windows in new ways! Thanks for including mine in this awesome round-up, Gail!
Pinning & Sharing on Facebook!
Debbie Refresh Restyle
Love them all! I have a couple more windows and you have me thinking! Pinning for later!
Melissa Schneck
I have an old window that's about 5' X 5' with glass panes. It is large and heavy but would be perfect on a large wall in my living room. Any ideas on how to hang this thing? Im afraid to drill into it because of the glass panes. Thanks.
Sharon Clair
Gail,
I am a lover of DIY genre!! Not creative on my own, but I love getting ideas from other talented people, like you! I picked up over a year ago the side rail of a discarded baby bed at the end of someone's driveway. I just knew it could be repurposed into something wonderful, I just didn't know what. I have painted it all black and it has leaned up against the wall of my craft room for a year now. I am waiting for the right "ah-ha" moment. Maybe you could provide that?? It is 50" inches tall & 26.5" inches wide with 12 slats/bars, that are spaced 3 " apart.
Ideas?? And lest you think I'm a total wimp, I have repurposed two different window frames and love both ideas; one. Hangs in my laundry room with vintage kitchen tools hanging from it and the other one is outside on my patio that says, "This is my quiet space, my happy place " in black painted letters.
gail@myrepurposedlife.com
Sharon,
Here are some projects I've done with old cribs. https://www.myrepurposedlife.com/crib-projects/
gail
Jorunn M. Nilsen
Very Inspired!
Mad Maine
CanI order 2 oz of your creativity? I'll pay for priority shipping.
Anne
thanks for putting them all in one place!! Still looking for narrow windows to use as doors...
Full Circle Creations
The cabinet ones are my favorite. I love seeing them all together!
Holly
Cassie @ Primitive & Proper
the chicken wire and the chalkboards are my favorite! 🙂
I Play Outside The Box
I love all of these...the cabinets are my favorites...and I love the shelf window too! I tried to leave a comment a bit ago....and it came up as an error....hope it works this time.
Sue
Can't believe I never saw the decoupaged one, tztz. Still have a beautiful window frame, but no glass pane in it. Otherwise be temped to copy=cat that one ;o).
Have a wonderful day,
Sue