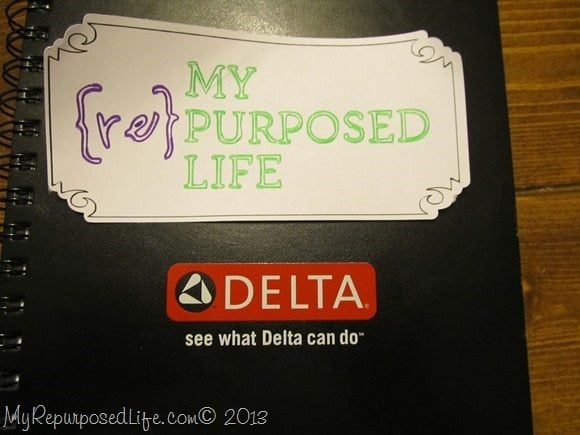
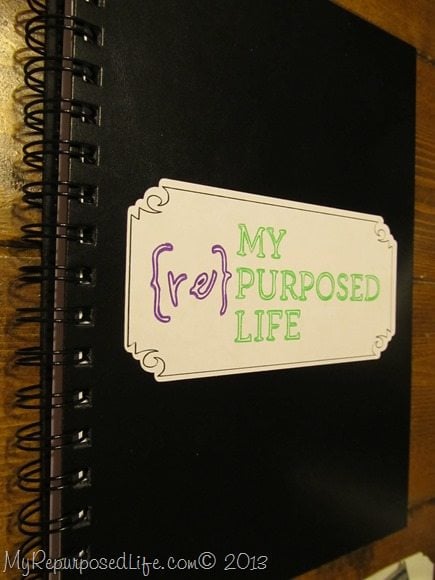
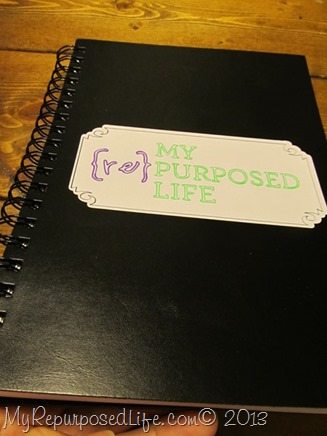
I made a custom logo label (sticker) to personalize a notebook.
Sit back, relax and grab something to drink, I’m going to give you a Silhouette Sketch tutorial.
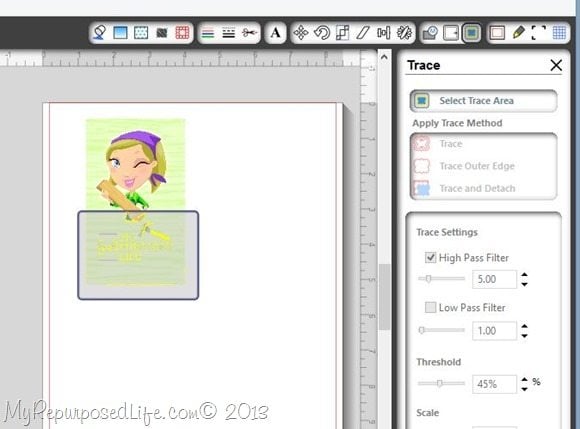
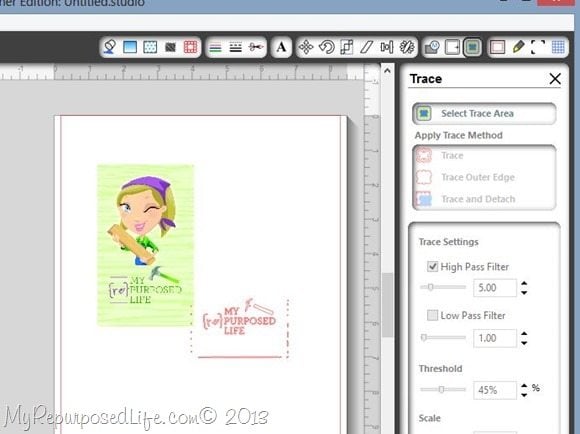
Import your image into your library, and place it into a new design. Click Trace, Click Select Trace Area, click Trace.
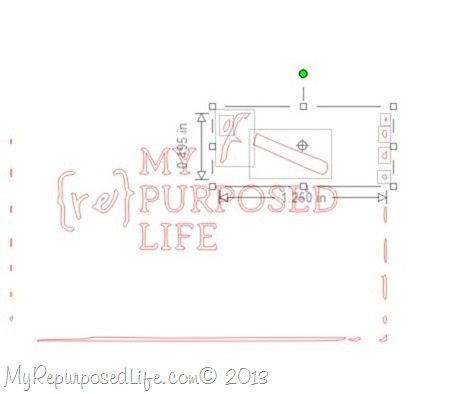
Separate your new image from your original.
To separate the unwanted parts, I right clicked and chose “unweld”. It sort of ungroups the pieces. Click an area and drag your mouse, it highlights everything you pass over. Then once the pieces are selected, click delete on your keyboard.
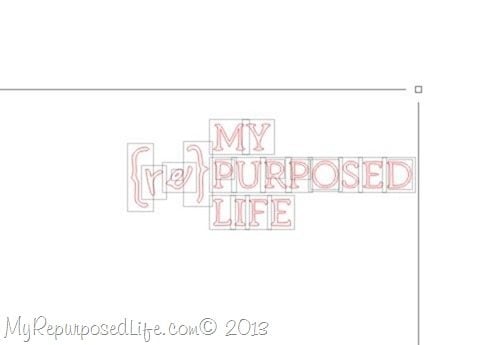
Then select all, and “group” so you can move it and resize it.
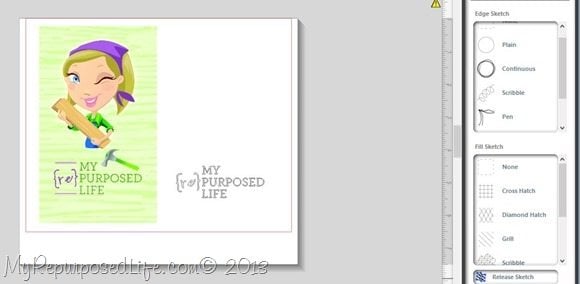
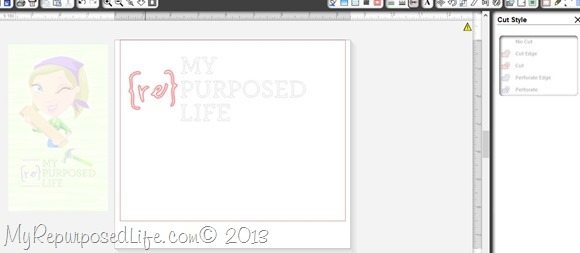
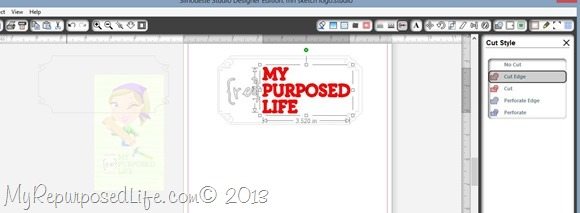
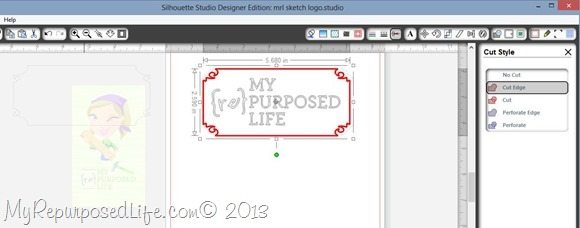
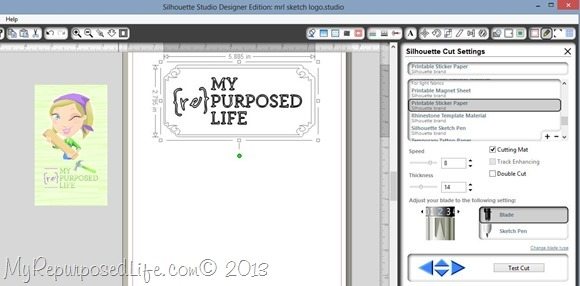
I then move my original image to the side of the work area so that I can still refer to it for color choices. I click the cut function (scissors on top right tool bar) Then click “re” and “cut edge”
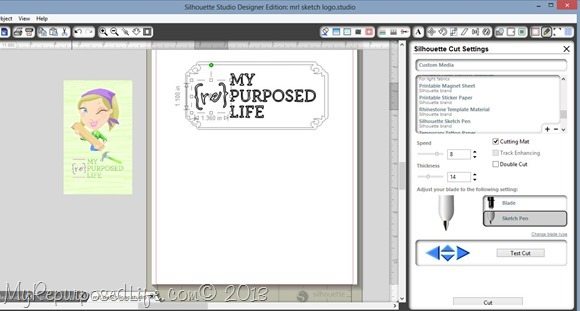
Do NOT remove the cutting mat until after you have everything sketched and cut.
I switch back to the cut function, click “re” off, and click MY PURPOSED LIFE on, choose cut edge.
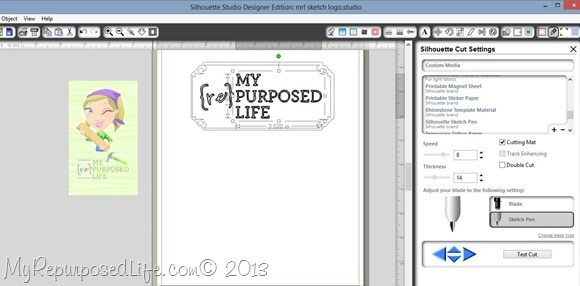
Go back to the cut function, click MY PURPOSED LIFE – no cut. Click the inner frame, click cut edge.
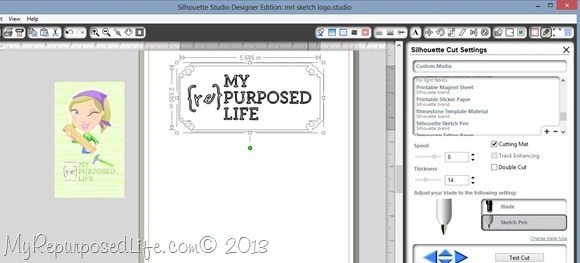
Send to Silhouette, take out green sketch pen and put in the black sketch pen. cut (sketch)
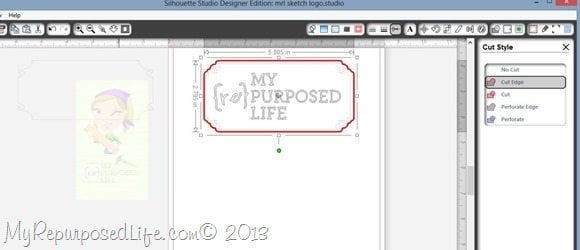
Switch back to cut function, click inner frame-no cut. Click outer frame, cut edge.
Send to Silhouette, change cut settings to BLADE, and remove black sketch pen, replace blade into the machine. CUT.
It seems confusing, but if you think about it as several little projects, with each one being a different color, you’ll get the hang of it in no time. Have fun creating!
Check all of your colors, and cutting before you remove your mat. You can make changes now, but not after you remove your mat.
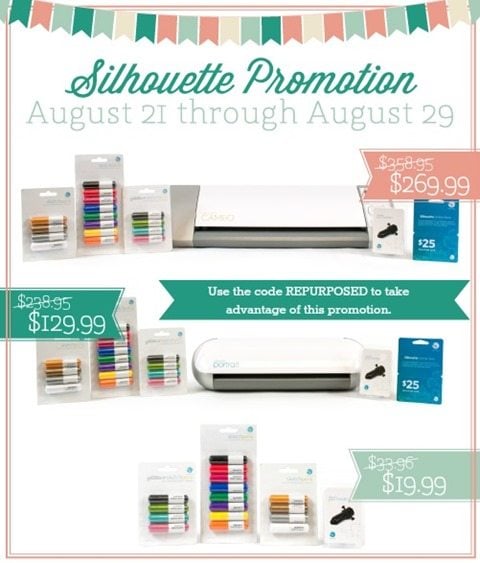
- CAMEO plus sketch pen starter pack, metallic and glitter collection packs, plus a $25 gift card and a penholder for $269.99 ($88.96 off the retail price)
- Portrait plus sketch pen starter pack, metallic and glitter collection packs, plus a $25 gift card and a penholder for $129.99 ($108.96 off the retail price)
- Sketch pen starter pack, metallic and glitter collection packs, plus a penholder for $19.99 ($13.97 off the retail price)
Have you ever traced an image in the Silhouette software? If you could, what image would you like to “sketch”?
gail
disclaimer: I’m an affiliate with Silhouette America. Purchasing something from their store with my code helps support My Repurposed Life, thank you. All thoughts and opinions are my own. Your experience may vary.
Gail Wilson is the author and mastermind behind My Repurposed Life. She is obsessed with finding potential in unexpected places and believes that with a little hard work and imagination, any old thing can be made useful again, including herself!
Gail reinvented herself during a midlife crisis and has found purpose again. She hopes you will find new ideas for old things and pick up a few tools along the way.

kirby carespodi
I actually used my Silhouette! (It was relatively successful, given it was the first time.)
Terri
Very cute! Maybe I should have held off and bought my Cameo with the pens instead of the vinyl 😉
LinhC
I've tried the sketch pens and I love the cute look sketches give the the projects.
Sharon @ Elizabeth & Co.
Very cool!
Pauline
Hello Gail! Thanks for posting the tutorial! I got a Silhouette Camep a little over a month ago. I don't have the pens. Yet 🙂 Its a very versatile machine. I might also try out the new stamping kit. Enjoy the rest of your summer! -- Pauline
Holly
Great job. And I like the way you personalized that notebook. 😉