
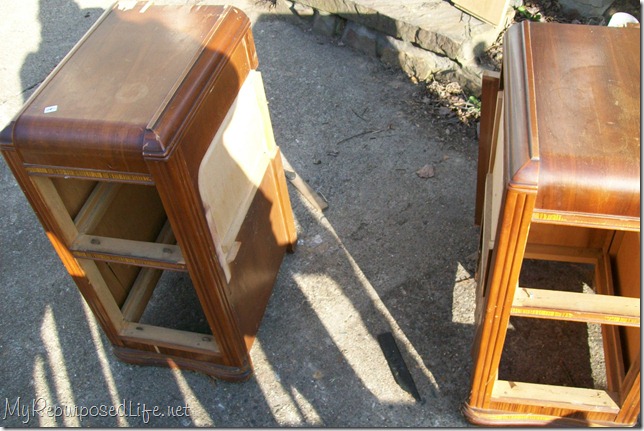
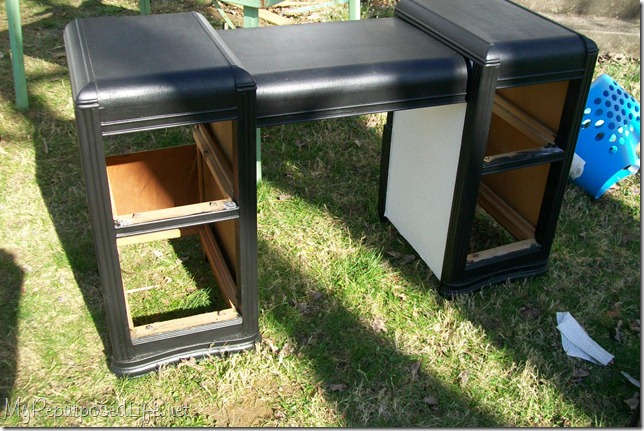
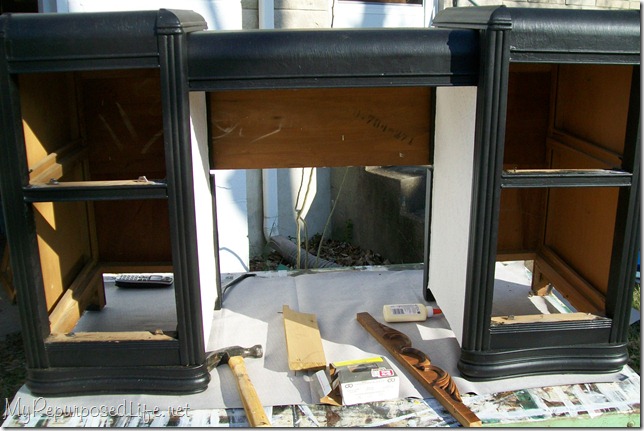
Here is the “before” of my $5.00 vanity. See how low the middle part is? That’s what I didn’t like about this piece. I felt like no one would want it unless they could get their legs under it. So I had three choices. 1) I could separate it and use it as two nightstands. 2) I could raise the middle portion to make a desk. 3) I could lower the middle portion to make it a settee sort of piece.
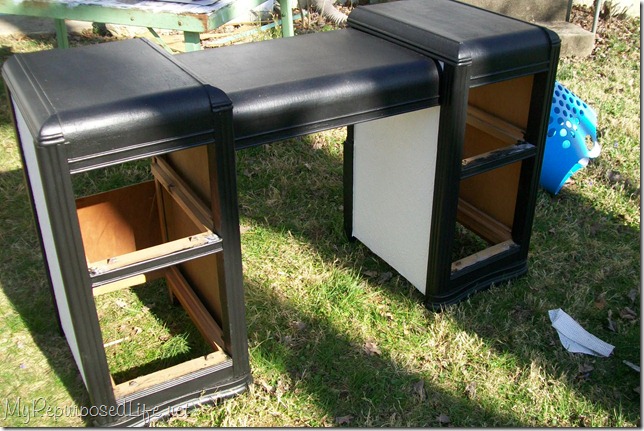
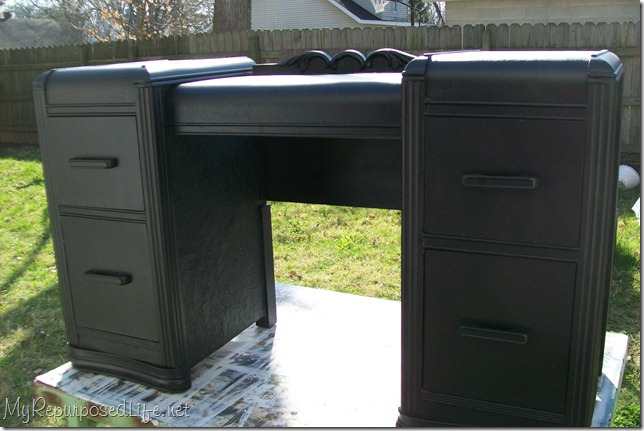
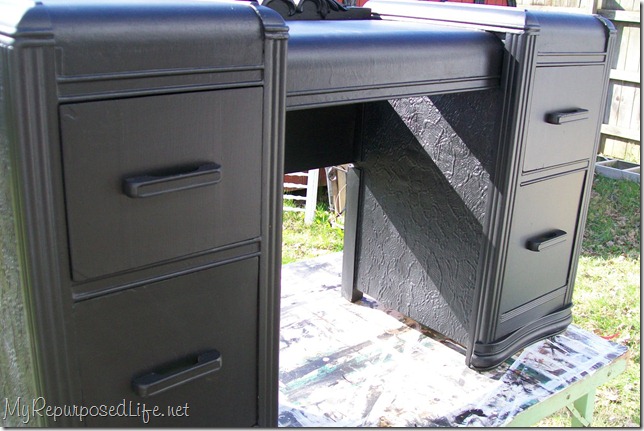
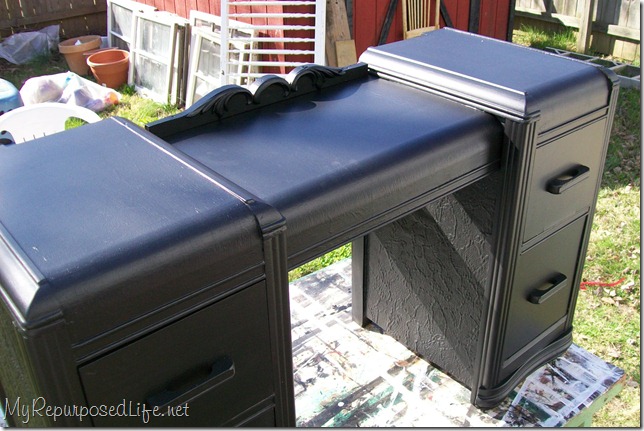
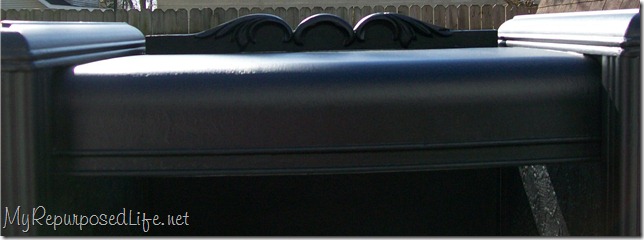
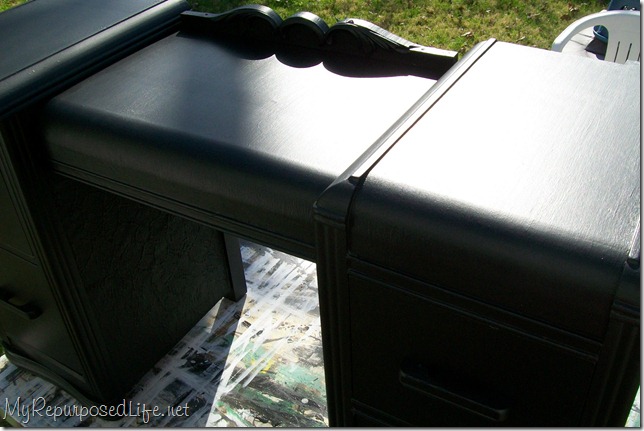
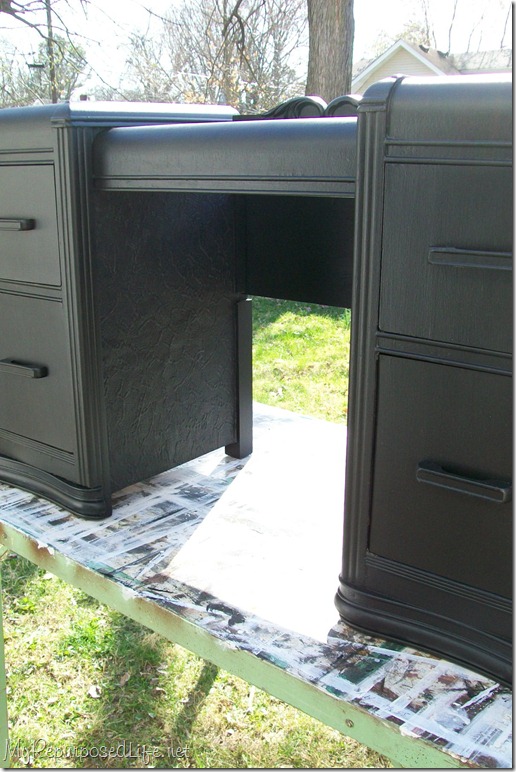
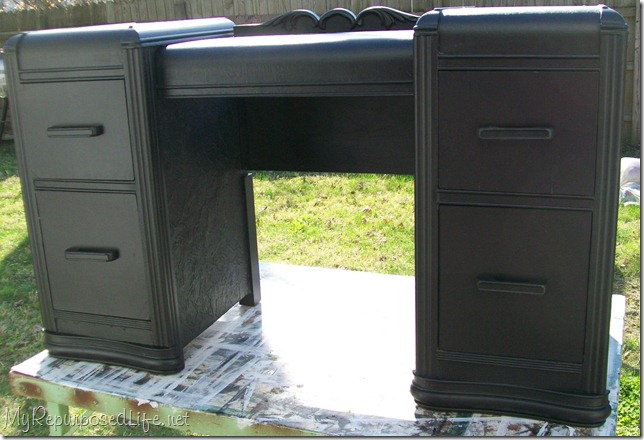
There she is in all her glory! What do you think? Did I improve it, or should I have left it as it was? I think that might be a matter of personal choice. Hopefully she’ll be off to a new home, as soon as I paint a chair to go with her. The drawers were placed in their spaces for the picture, then I removed them. The paint needs to cure for a couple of days.
gail
ps if you'd like to see another option to cover bad veneer, check out my brown paper bag technique.
Related Content: See More Desk Projects Here
Gail Wilson is the author and mastermind behind My Repurposed Life. She is obsessed with finding potential in unexpected places and believes that with a little hard work and imagination, any old thing can be made useful again, including herself!
Gail reinvented herself during a midlife crisis and has found purpose again. She hopes you will find new ideas for old things and pick up a few tools along the way.



Martha
Nice! I am thinking of doing this only putting a vessel sink in the middle.
Gail Wilson
Thanks Martha,
Good luck to you!!!
Susan
Hi,
I looove what you did with the vanity. I have one that's extremely low that I got at Goodwill, and I'd love to try raising the middle like you did. What did you use to cut the sections apart? I don't want to just dive in with a big saw, lol.
gail@myrepurposedlife.net
Susan,
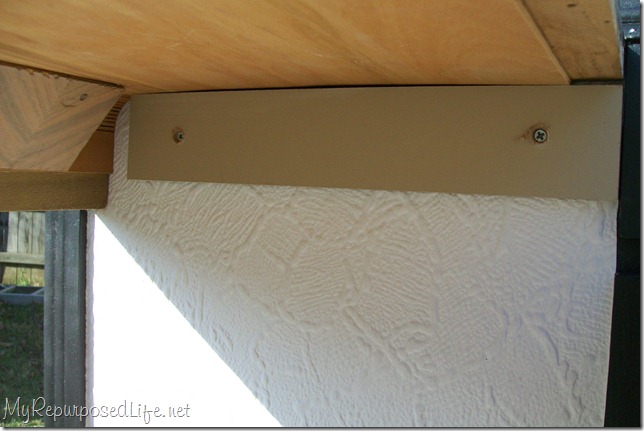
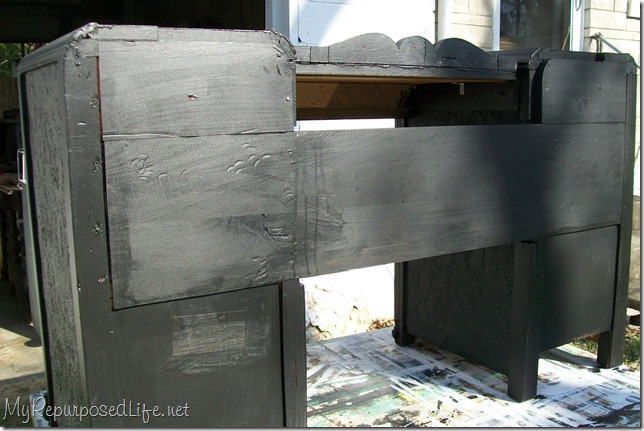
I didn't use a saw, I basically attacked it with a hammer and pry bar. If you crawl underneath it, you will see that it is probably in THREE pieces, so it's just a matter of separating them. 🙂
So, remove the drawers, raise it up on a table, lay it on it's back, and start investigating the situation. Some of the demolition will probably be done from inside the drawer area (at the top)
good luck, have fun!
gail
Hope
Just found this tutorial after buying (accidentally) a waterfall vanity that had seen better days. tonight i tore into it gently and plan to strip and re-stain from honey colored to red! may have to re-vener, but it will be worth it!
i have the mirror that attaches, so have an extra do-da piece to play with! thank you for your tutorial!
gail@myrepurposedlife.net
yay! sounds like you have a little bit of work ahead of your, but I think it will be worth it in the long run!
happy you stopped by and took the time to leave a comment.
gail
Shirley
I couldn't decide to leave the vanity alone or make me some much needed side tables for the bedroom. ~I don't understand why they made those so little you can't put your legs underneath, the ladies were probably smaller. (ha)~ I am using your idea TODAY to redo my vanity into a desk side tables can wait. Wish me luck with your inspiration maybe I can do it. I'll post pic's later if successful if not then I'll post pics of side tables:( . I love your blog please keep it going.
abby jenkins
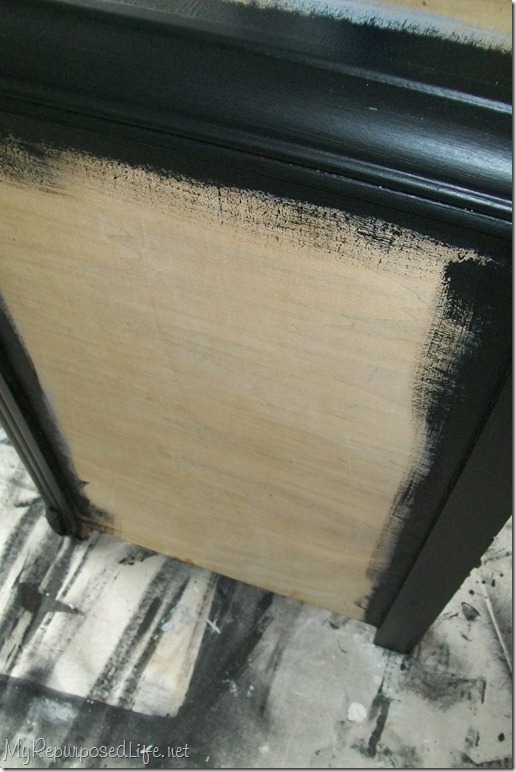
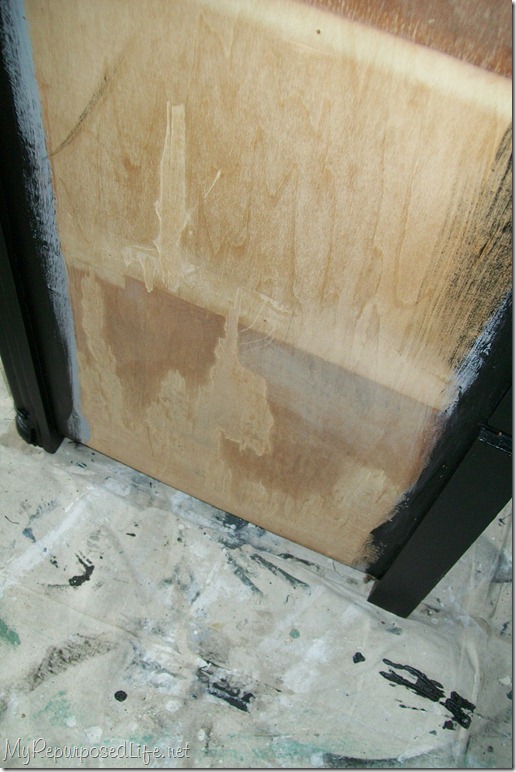
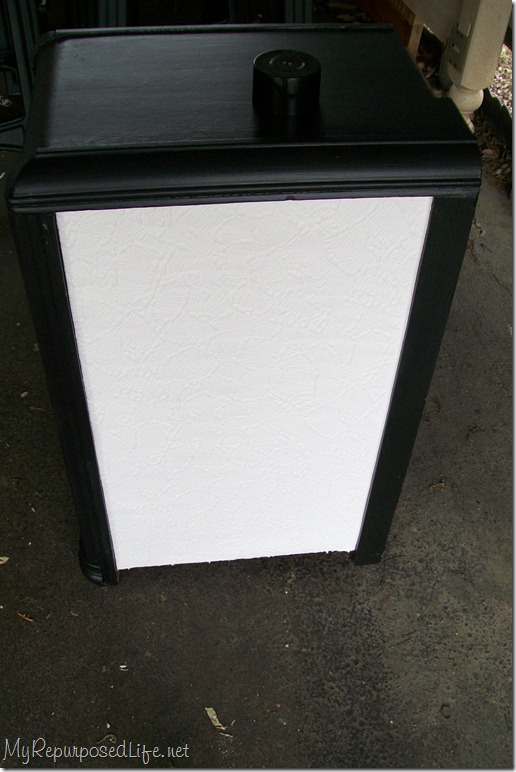
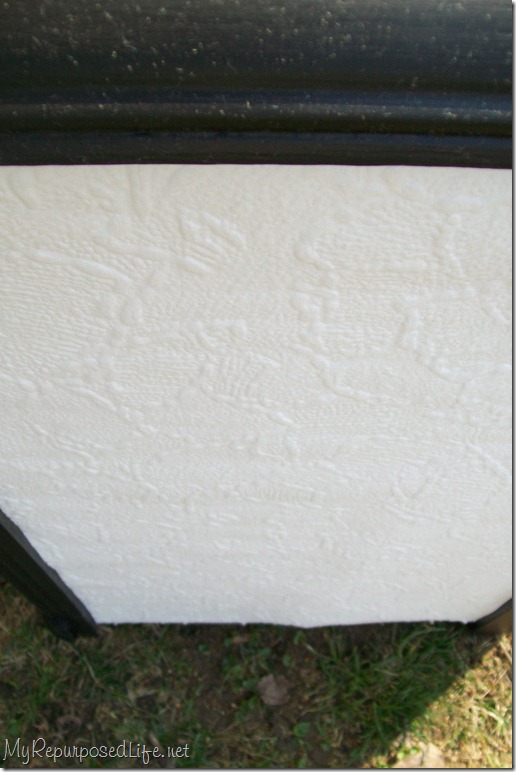
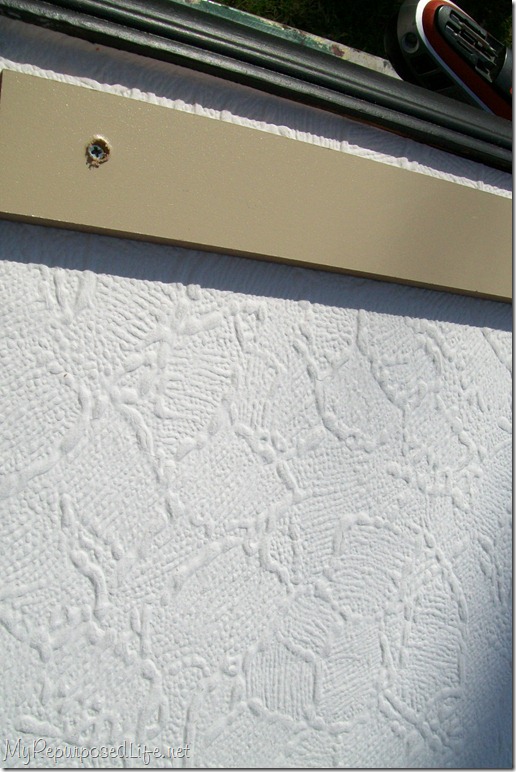
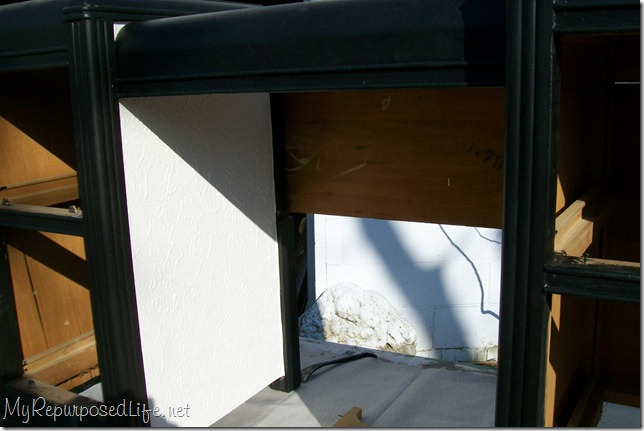
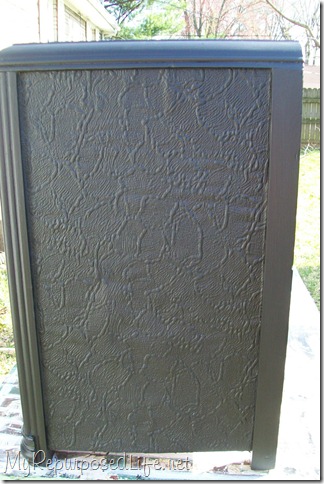
HOw clever! I love that you used the wallpaper on the inside, what great texture. I might just 'borrow' that wallpaper idea if you don't mind, I am making some surfaces for a cookbook that I working on and that would be A LOT easier than making tabletops! thanks
::cottage instincts::
Love this Gail! What a cool idea to add the paintable wallpaper....and the black is way neato. I love your creativity!
Ericka
looks awesome...
I love what you did with this!
Pam
I love the natural wood on older items but if its just in really bad shape...then paint! Looks great.
Dianna@decormadesimple
Great way to add texture by using wall paper. Great results.
Nicole@CraftySisters-nc
Holy Smokes Gail! It looks Fabulous! I actually just saw a desk just like this in our thrift store here but they wanted a whopping $45 for it and I just couldn't do it for that. There have been several days I have wanted to go back and talk the manager down. After seeing your transformation, I might just have to. You do such amazing things! Love it!
:)Nicole
Mary Beth @ Live. Laugh. Make Something
absolutely beautiful! What a project you undertook! ...and you did such a great job! I hopped over from Cottage Instincts and am so happy that I did. Please accept my invitation to drop in at my place one day this week when you get a moment. I have become a follower and hope that you will do the same. until later...
Miss Mustard Seed
Wow! This piece really took you through the wringer. I love how you solved problems and made it work. It looks really good. Nice work!
Dragonfly Treasure
What an awesome vision you had. Looks amazing!
*hugs*deb
Wendy
Wow! I was glued to this post reading each step...excited to see how it turned out! What a great transformation! I am also loving all those windows in the background of the one picture!
Wendy
One Cheap B*tch
Looks fabulous! Great makeover!
Jeanine
One Cheap B*tch
Looks fabulous! Great makeover!
Jeanine
Infarrantly Creative
Great job Gail. I love how it turned out. You keeping it or selling it? Gorgeous.
Kendra Joyner
This was a cool way to add texture!! Looks great!!
Coleen's Corner
Do I like it better than the original design? Oh my yes! You did a fantastic job! Thank you for the nice tutorial as well.
Funky Junk Interiors
What a beauty!!! Oh goodness, that piece has nice lines.
And for the life of me, I couldn't spot a mess anywhere. Looked like good loot to me. 🙂
Thanks for linking up to SNS!
FJ Donna
Hopemore Studio
Given the state of the original piece I think you gave it a whole new life. The antique styling still comes across even painted black because the lines of the piece are fantastic.
I don't think I could paint my set black, it would be too huge a project since I have 4 pieces in the set but you opened up my mind to the possibilities.
Have a beautiful Easter weekend,
Angie
Tracy's Trinkets and Treasures
Now I will never be able to look at a piece of furniture without wondering if it can be torn apart and made into something new. You did a great job. Good thinking on the paintable wallpaper. I have a project I have been wanting to do with the beadboard wallpaper. Just haven't had the time.
Tabitha
My daughter has a similar vanity with similar problems that we've been trying to think of ways to fix. Thanks for the inspiration--your redo is gorgeous!
slommler
Fabulous!!! Awesome makeover!! Well done!
Hugs
SueAnn
~ Regan
Great job!! I alway thought I didn't like the waterfall collection... Until I saw what could be done with it! That looks lovely, and the textured paper adds a special touch! Just wonderful....
judi
Gail,
This is a fantastic makeover. Love the new look and transformation into a desk!
judi 😉
Jess
I love the way it looks. I think the black is very pretty.
Rosemarythyme
You did a great job! I really like the paintable wallpaper on the sides...that's an idea I'll have to try.
Kristi
Beautiful. You did a great job on this!
Maryann @ Domestically-Speaking
GORGEOUS!!! LOVE it with the textured wallpaper & of course I love it black. Fab job!
Sue at Serendipity
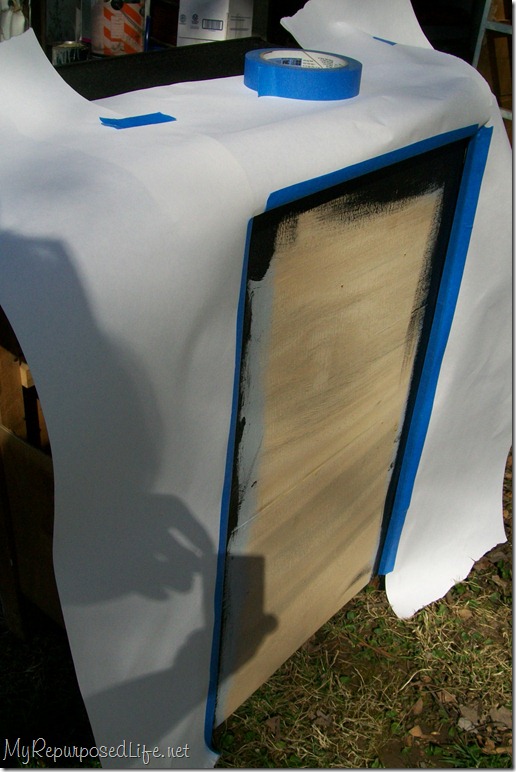
Great redo and I never thought to lift the center section! When we use textured wallpaper, we just wet it and use its own adhesive for applying it. Very few bubbles when you paint it after that. But the downside is you have to wait for it to dry to paint.
We have a very similar vanity in the basement of our shop to redo and we just have to try this "lift" technique! Thank you for the info!
Jennifer@3sonsandadaughter
WOW! What a great transformation! I love it...
Jennifer
Kathy
Oh yes, much better. Like Shannon, I have found it VERY difficult to get my legs under those vanaties.
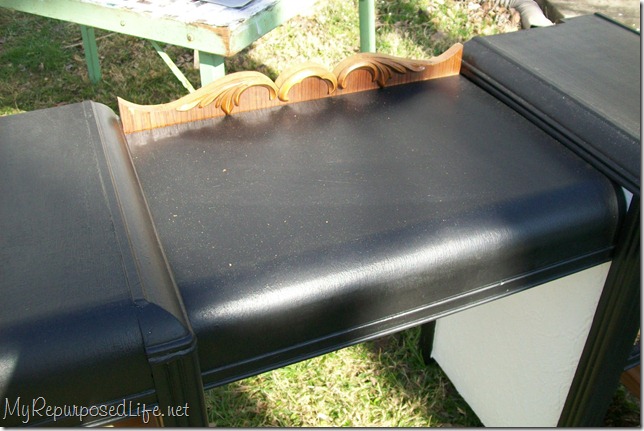
I like the little added do dah on the back. I need one for the back of my bathroom vanity that I made from an old oak dresser - got any more ya wanna rehome?
I used the textured wall paper on a bookcase redo I did for a coworkers office. Same problem with bubbles when I used brush on paint, but spray paint worked very well.
Shannon
Although I think those vanities are cute, I agree... where do your legs go?
Not that I didn't expect something great, but this turned out great! It is such a cute little desk!
(I couldn't help but notice the windows in the background.. my mom has been collecting them for her greenhouse lately... but, I've seen really cool coffee tables made from them. I'm sure you don't need any ideas 🙂 But, those tables are SO neat!)
Sheri
Wow! That looks wonderful!
Marianne@Songbird
Wow, you did a true transformation on this one. I think it is a huge improvement.