I’m going to show you how to use your Silhouette SD to cut a stencil to make a You Are My Sunshine sign.
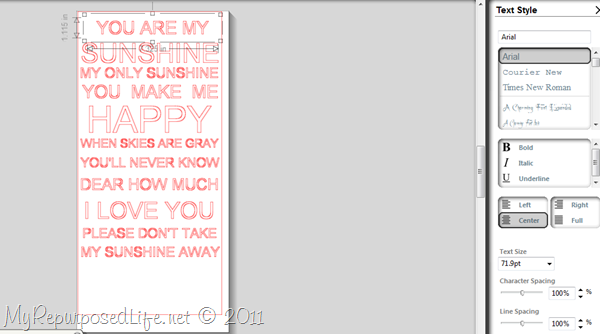
I designed my layout in the Silhouette program. You can see I used Arial (font). I cut the stencil out of contact paper. I use a speed of 3 and a thickness of 3.
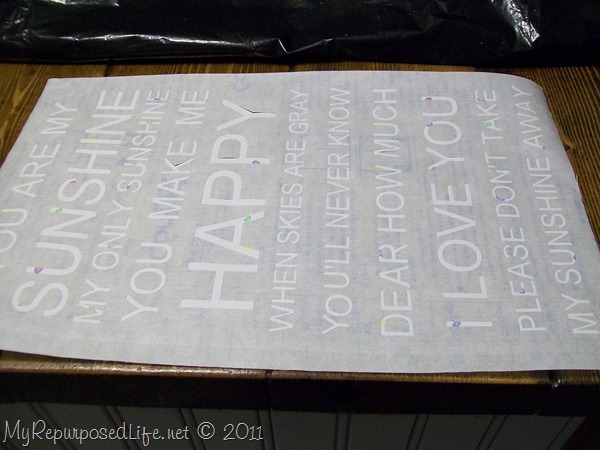
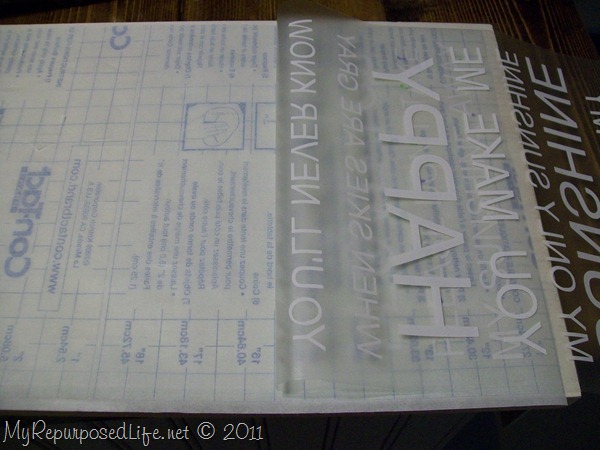
Here is my stencil after I have peeled away the negative parts.
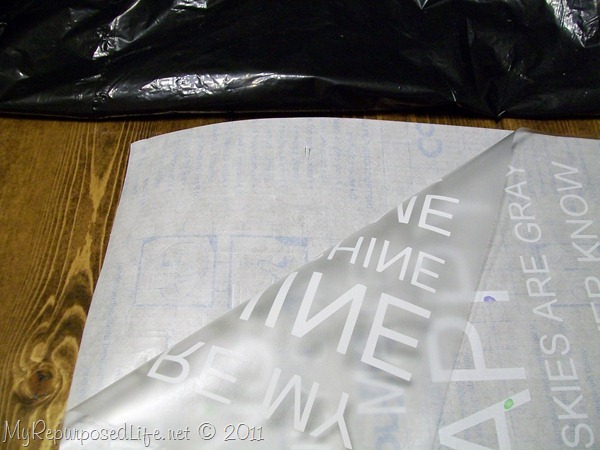
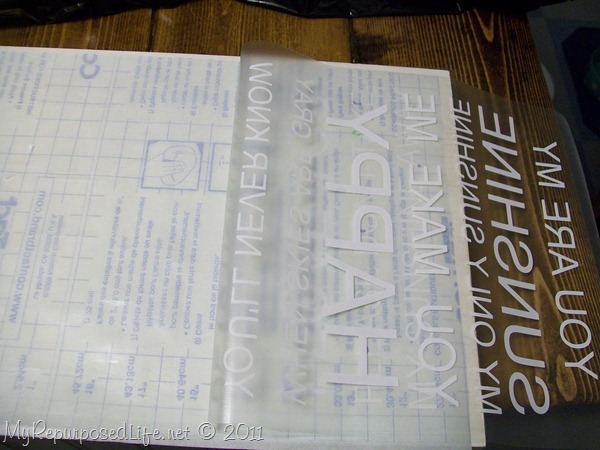
I placed some clear contact paper (using it as transfer paper) over the contact paper stencil. (I have it peeled away so that you can see how it looks.
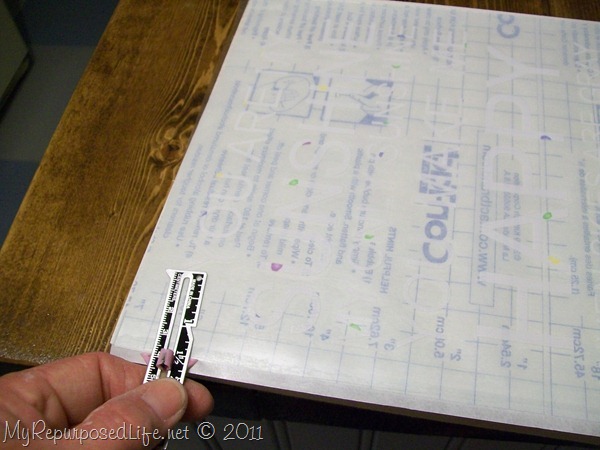
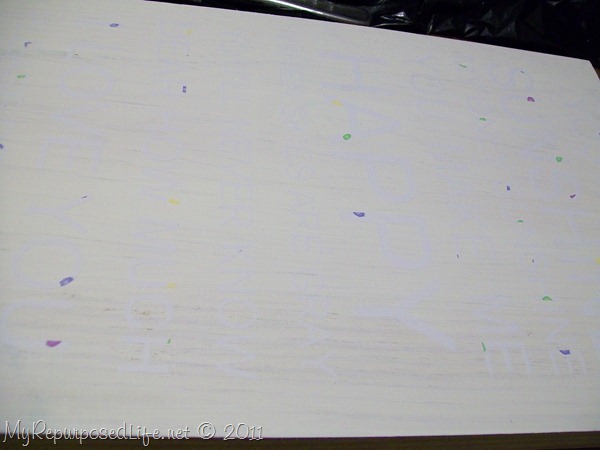
I started lining up my stencil. I use a seamstress’ hem gauge to get equal sides all around the stencil. I use this on EVERY sign I make.
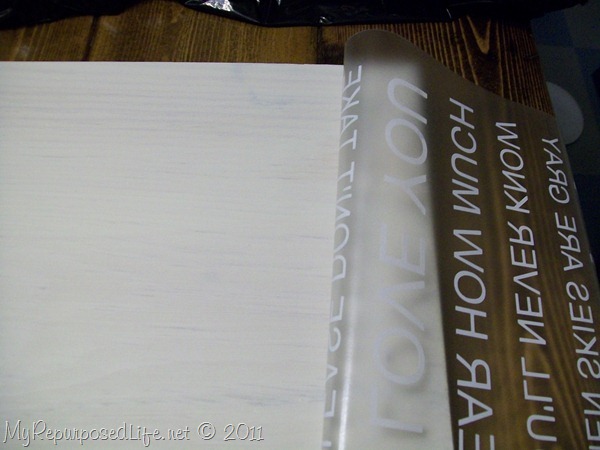
I peeled back the stencil. Generally I use the “hinge” method, using painter’s tape to hinge the vinyl. However this time, I had a small edge of the clear contact paper all the way to the left that “clung” to the board. (can you see that the paper backing ends short of the edge?)
I removed the paper backing and the very right edge had been stuck to the board. (by the way I had previously painted the board with Martha’s Sample pot of Heavy Cream.)
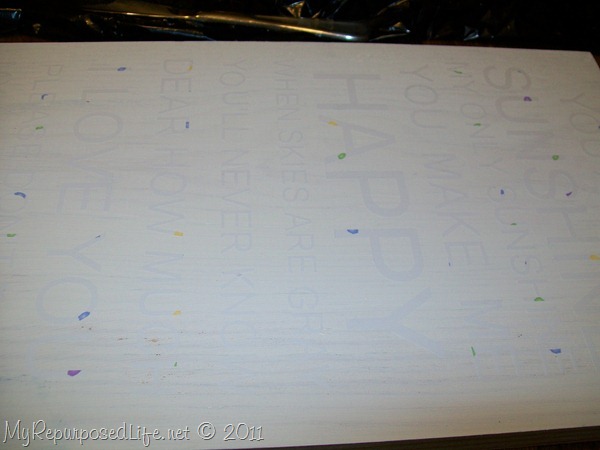
I continue to lay down the stencil.
After the stencil is in place, I peel away the clear contact paper, leaving the letters stuck to the board.
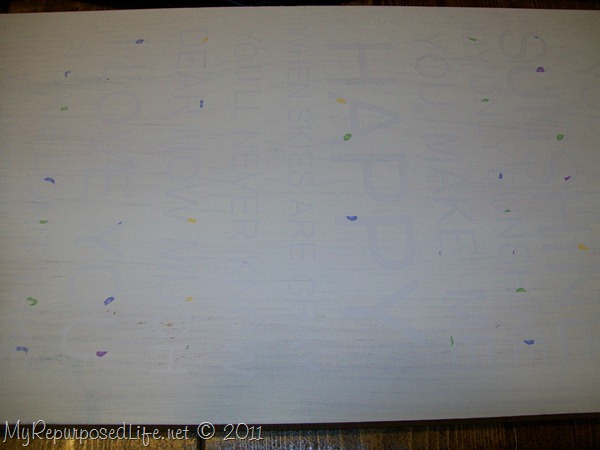
Here is a very special tip. Pay close attention to this part, if you don’t know this secret, you can thank me next time you use it. After the stencil is stuck to the board-paint the board again, right over the stencil with your base color. (Heavy Cream)
This step will decrease your bleed by 99.9%.
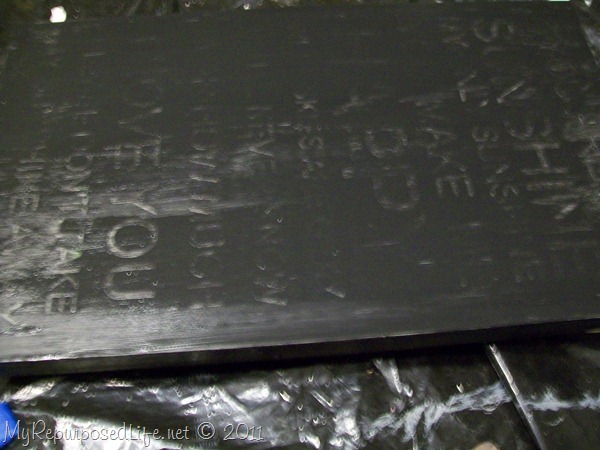
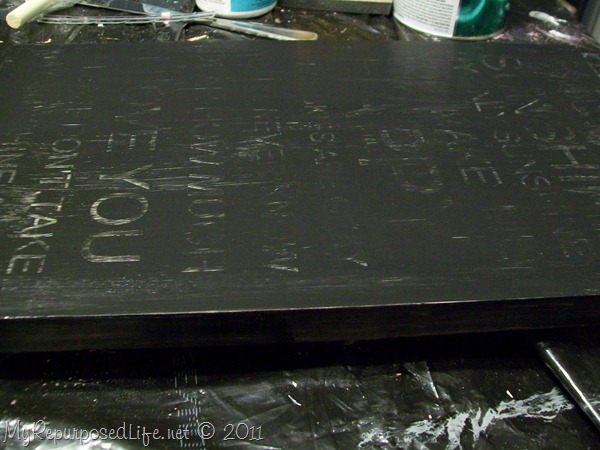
After that coat of Heavy Cream dried, I painted over the entire board with black.
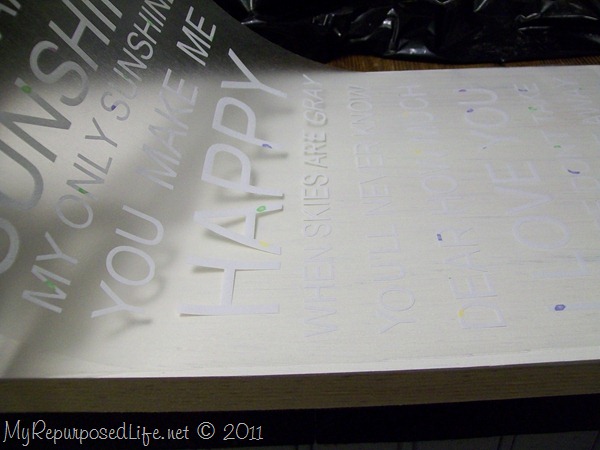
I painted two coats, but didn’t take a picture, I got too impatient and started peeling off the letters. You will notice a few of the letters are askew. Contact paper does NOT work as well, nor is it as easy to work with as Silhouette Premium vinyl is. However, I choose NOT to waste good vinyl for a stencil. You can see that I have peeled most of the letters off by the time I remember to take a picture. I like to pick my stencil off while the paint is still somewhat damp. (I use tweezers to pick the letters)
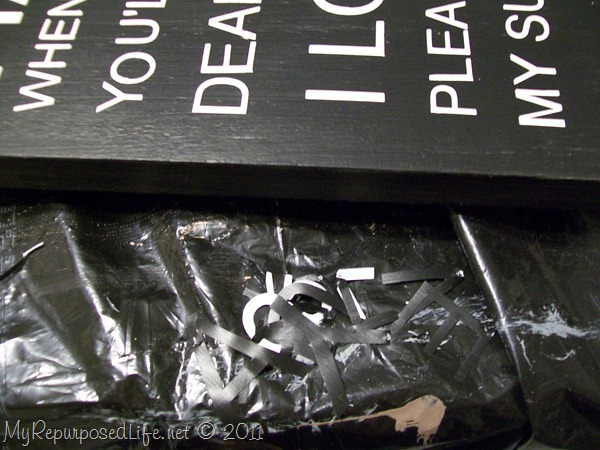
Here is my pile of letters.
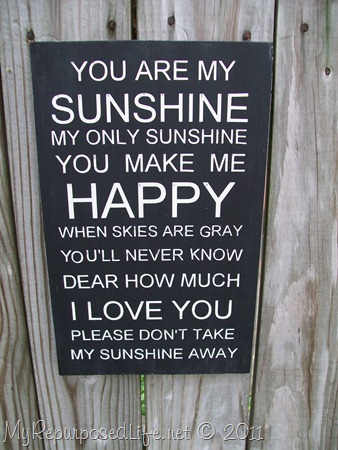
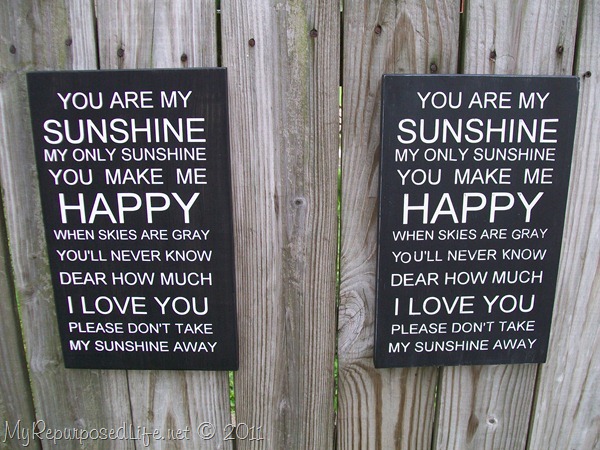
Because this sign was “stenciled”, it looks more like it was hand painted. Therefore I distressed the edges a little. I made this sign for Jan. She asked me if I would make a couple of signs for her, I will show you the other one next week.
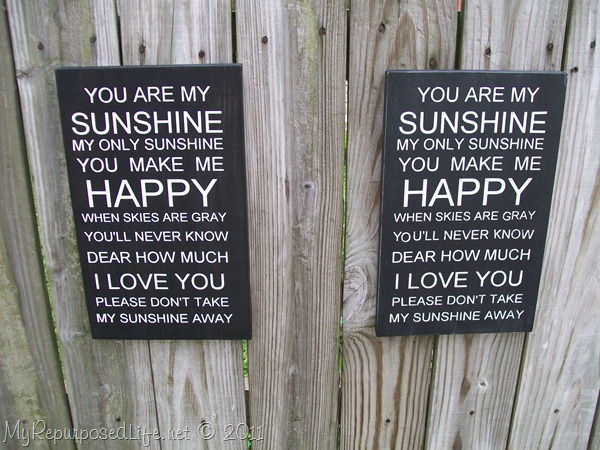
Since I had the layout already designed, I also cut out letters in white vinyl. In person, it’s easy to tell the difference in the two signs. I like them both, however, the stenciled sign (lightly distressed) is my favorite look. The sign with the white vinyl letters was a birthday present for a friend.
Which do you think you prefer? Stenciled or Vinyl?
gail
Gail Wilson is the author and mastermind behind My Repurposed Life. She is obsessed with finding potential in unexpected places and believes that with a little hard work and imagination, any old thing can be made useful again, including herself!
Gail reinvented herself during a midlife crisis and has found purpose again. She hopes you will find new ideas for old things and pick up a few tools along the way.

Mary
Hi Gail, Thank you for this tutorial. I think this is exactly what I would like to learn to do. And after reading and re-reading and re-reading, I'm pretty sure I must have a learning disability. 🙁 Do you happen to have a youtube video of this? I'm just not grasping it. I really appreciate you ladies that share you knowledge with us beginners. 🙂
Thank you!
gail@myrepurposedlife.com
Mary,
Here's another post similar to this that may help https://www.myrepurposedlife.com/2012/01/tutorial-vinyl-stenciling-you-are-my.html
I'm here if you have specific questions.
gail
Kaitlyn
How cool! I wasn't even aware of this machine "silhouette"...where have I been??? Lol kind of a pricey investment, but I love the outcome. Great job!
PitterAndGlink
I just wanted you to know that I LOVE this tutorial! I used your technique in my latest tutorial and linked back to you. 🙂 http://pitterandglink.blogspot.com/2012/03/wood-sign-hall-tree.html
shellyandrade
Great tutorial! I have my machine and am trying to figure out a cost effective way to make stencils for signs. This may be the dumbest question ever, but doesn't it work to use the negative of a stencil and just roll or dab over it with paint! Can the vinyl be used or is it a one time deal?
I have the machine but cant seem to find much on making signs.
Full Circle Creations
Great job! I finally got my Silhouette, but haven't had the time to use it yet. Thanks for the tut! Love them both!
Holly
Erin
Gail, Thank you so much for such a clear explanation and terrific pictures...after a summer spent traveling, working outside, and away from my blogs, I'm so excited to be heading back inside.
Holly
love them both. I really think the distressed one is neato. Is it for sale? I would love to buy one from you!
Connie @ Sensible-Redesign
Thanks so much for the Tutorial, how big is this sign if I might ask?
Oklahomaredhead
I love those signs. Every time I see one made it reminds me of my 4 year old grandson singing this song to his Aunt Kim at her wedding. We have it on tape and it was precious.
Heather
I am a huge fan of the stenciled and distressed look. I am just dying to have a Silhouette. I keep promising myself, soon! Love your signs 🙂
Suzanne@Meridian Road
They're both great, Gail! Thanks for the paint tip~I can see how it would make things MUCH easier!
I think I prefer the stenciled look, though. Sometimes vinyl looks too perfect and that's not always my favorite look.
Proper Prim
Thanks for posting this Gail... answers all my questions and I now have a visual which really helps this brain remember.
I see what you mean with the stencil, I do like it better... although they both look great.
I am going to have to give this a try now.
Hugs, Deb
Always Nesting
You must have been reading my mind with this post. I was just wondering how to stencil.
Korrie@RedHenHome
Stenciled all the way! Great tips!
Betsy
They look so similar in the pictures, but close up I think I prefer the stencilled one. Great tip about painting over the stencil first. I do that when painting stripes or a border on a wall....sure saves time from having to go back and touch up the bleeding. Thanks for the great tutorial.
Terri
I like them both...it is nice to know both ways and have options depending on the look you want to achieve! Thanks so much for the tutorial!!
Sharon @ Elizabeth & Co.
Well, I prefer almost everything with a little bit of distressing! Love these! And I really need a Silhouette!!!
Sharon @ Elizabeth & Co.
Well, I prefer almost everything with a little bit of distressing! Love these! And I really need a Silhouette!!!
Cassie @ Primitive & Proper
i definitely prefer the stenciled look- it is softer and not so stark a contrast. and it looks more like true subway art.
Cassie @ Primitive & Proper
i definitely prefer the stenciled look- it is softer and not so stark a contrast. and it looks more like true subway art.
Peggy
I think I like the stenciled, slightly distressed look the best... and that is "our" song! I have a spinning top and a tiny music box that Chris gave me when we were dating that both play "You are my sunshine!" They don't play as well as they once did due to years of use especially when the boys were little as they loved nothing more than to spin the little top to make it play music! Thank you for bringing back memories!
Susan @ homeroad.net
Gail I love the stenciled sign... I've really got to get a silhouette machine one of these days... is it easy to learn the software? Love the sign! Susan
Rose @ Confessions of a Curbshopaholic
I like the distressed one, stenciled, the best. They both look great though!
Clare G
I like them both. I've done both with good results. I usually use the stencil if I think it would be in a high traffic area (little hands, outdoors, etc.) I know there is vinyl that is specifically for outdoors, but I still like to use paint if I know it will be used for outdoor decor.
Anonymous
I like both, I think I am finally starting to understand how to use this machine, just need to get started using it.
Linda/MI