Hardwood Flooring as a Tabletop
As an Amazon Associate, I earn from qualifying purchases.
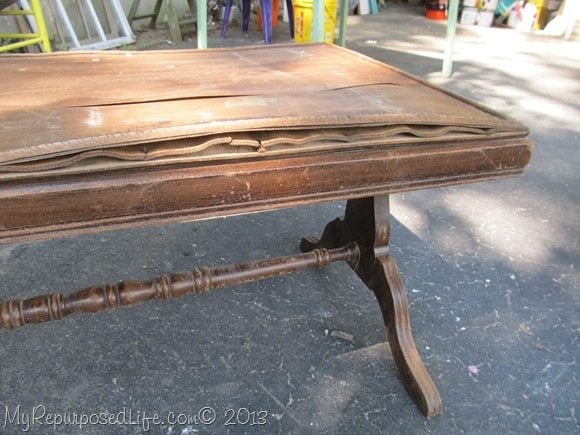 I told you about this table over a year ago, in my post Recent Finds June 18, 2012. This table landed on my doorstep. I love it when I don’t have to hunt for junk, so fun when it finds me.
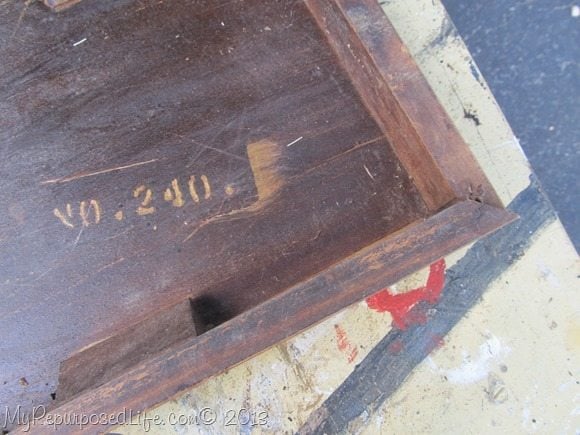 I wonder why this has a number stenciled on the bottom of the top.
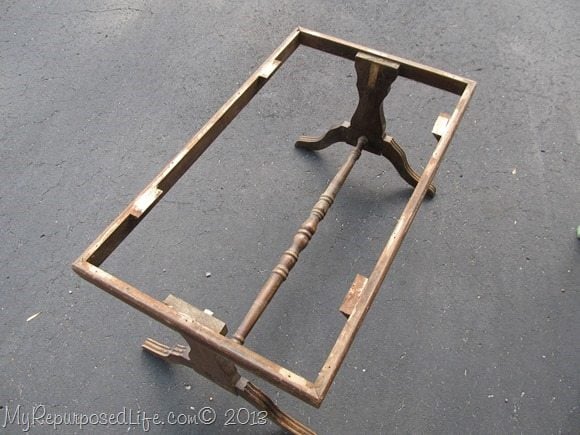 I removed the top.
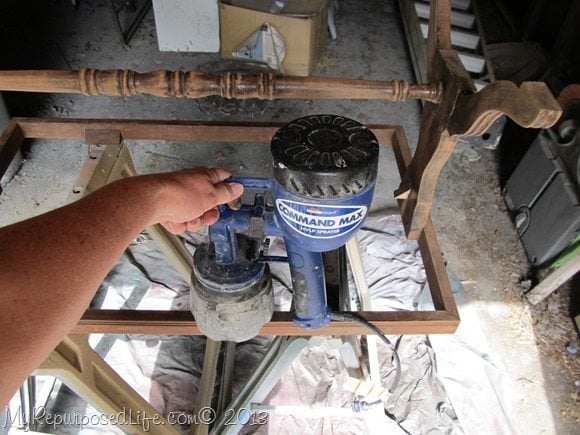 I used my Homeright paint sprayer to give it a quick coat of black paint.
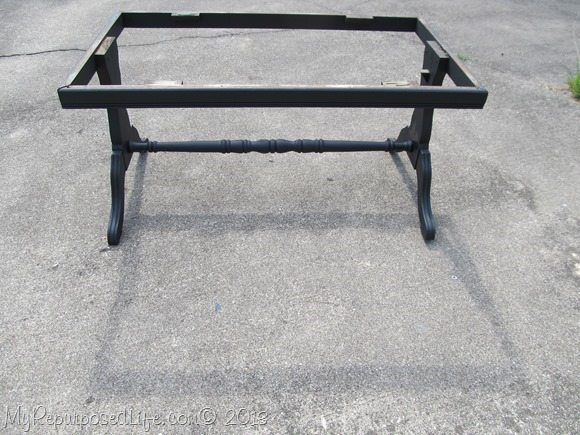 That was last year.
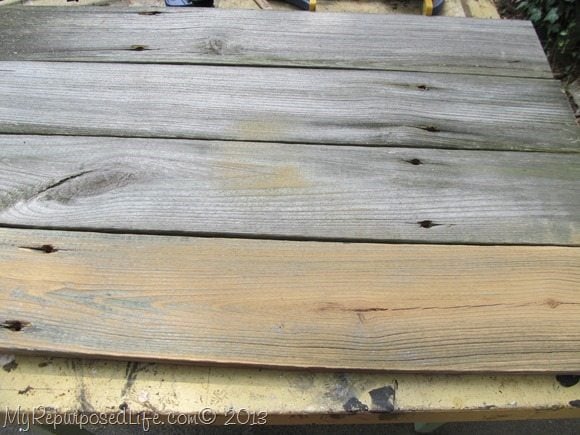 I contemplated putting a reclaimed fence top on it. It was rough, and when I sanded the wood, all of the patina was gone.
then.I.put.it.aside. for.a.year.
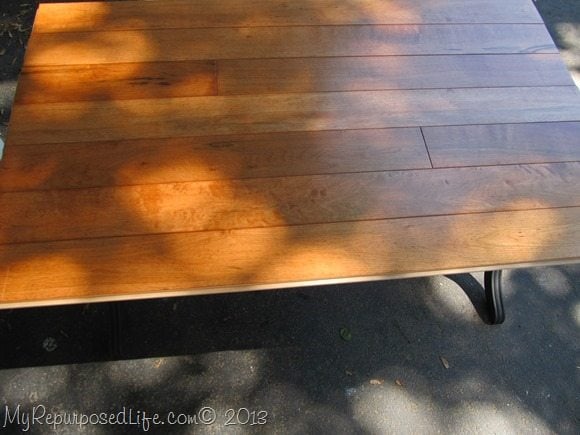 I recently dug it out of storage, and decided to use some spare hardwood flooring on it for a top. I was short one board using full length boards. I had to opt for adding two rows with one long and one short board. This picture is from a dry fit, to see if I like it.
I decided to go for it, I had nothing to lose. The table and the flooring were both just waiting for a purpose, and they both were freebies.
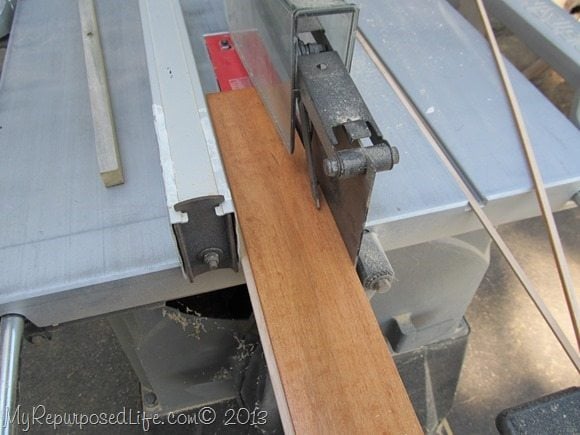 I had t rip the tongue off of one of the boards, and the groove off of another.
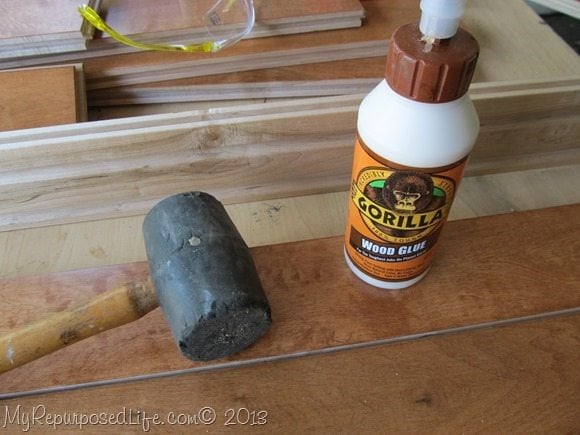 I worked on putting the boards together and gluing them.
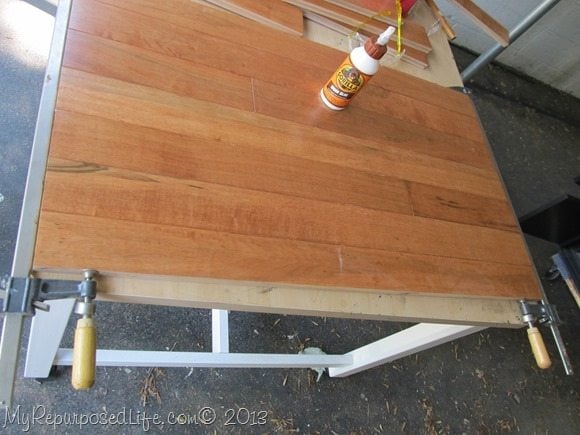 After I glued all the boards I clamped them.
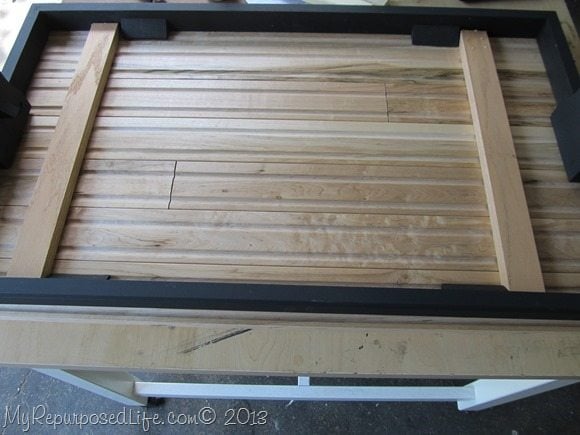 For added strength, I decided to use two supports underneath. I used two scrap pieces of wood.
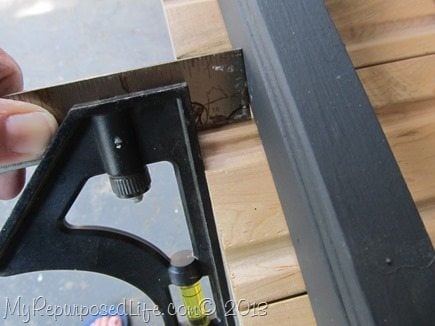 I used my combination square to adjust the boards all the way around.
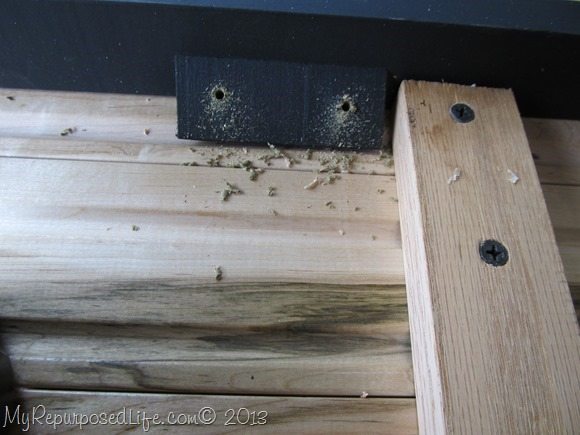 I screwed the supports to each board. I drilled pilot holes in the original brackets on the table, and attached the top to the brackets with screws.
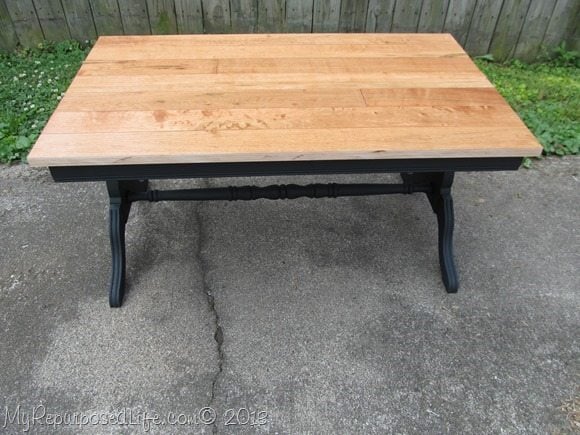 Here is the new coffee table. I’m not loving it.
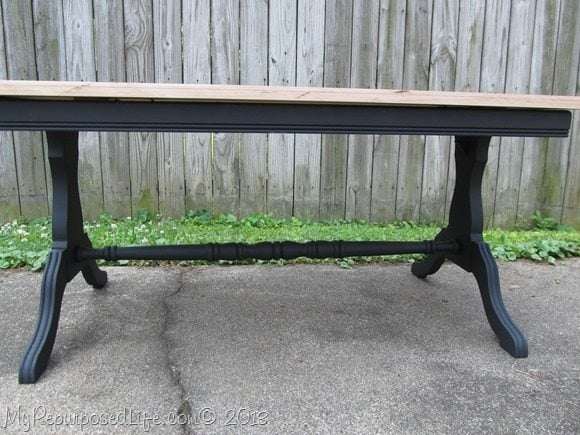 I do like the thickness of the table top, but being heavy, it makes the table a little wobbly. I believe I need to add another spindle about midway to the top.
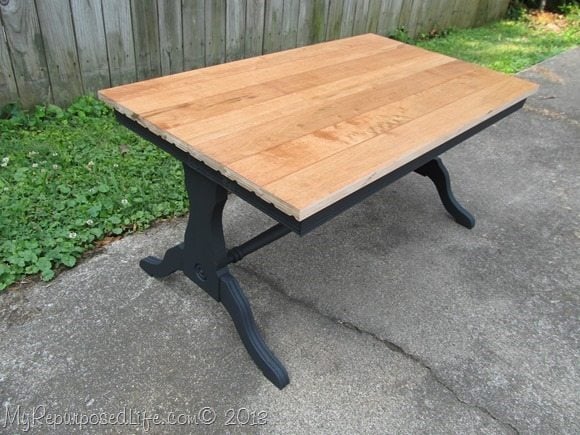 You can see the little ripples in the flooring on each end.
Have you ever used flooring for a table top? This is not my first time, I used it on smaller side tables a LONG time ago.
Thoughts? Is this a project fail? Did I waste my time?
gail—


I have tried to upload a picture but an unable to.
PS..the number located on ‘the bottom of the top’ in YOUR Picture, is either a model number for this particular product. (NO: 240.) or the 240th unit made. Hard to say with this age. I have just come across an old solid maple table, which had both a model number and place of origin, hidden under a coat of paint. IT reads No 128, Colonial table company, Toronto, Ontario. Sad that there is no date, BUT I have found literature stating the company was around at the turn of the last century.
I have done a similar project, a coffee table..but I placed the boards so the tongues fit into the slot of another piece turned 90 degrees, at both ends. This eliminated the ‘wobbly end look’. I then cut the tongue off the one end of the flooring and the groove off the other end I then just sanded well. As my flooring pieces were shorter, I used another piece through the mid point of the table, thus creating an interesting design feature. For the legs, I used 4 random pieces, planed and then glued together to make a solid block for each corner.
You should have added an edging to “frame” the table top. This should have mitered corners and can be as deep as you like to add depth of the table top.
Did you leave the edges raw? Or did you create some type of trim/border?
Sad to say, the table still looks the same. I need to get it out and do something with it. I may totally rework it as the flooring probably is too heavy for the table.
gail
What did you do to the edges-? did you trim it out or just sand the edges ?
Love the idea.!
I have set this project aside, and have never gotten back to it yet. 🙂 I will eventually (probably) add some edge banding.
gail
Try routing the edges a bit to finish it up
Hi Gail! Know what you mean about setting it aside…sometime the right solution/answer/design has to hit you! I googled this b/c I’m making a large table from a giant (this sucker’s heavy) desk with steel supports & some heart pine flooring. I was trying to decide about leaving the tongue n groove on or not (& using other side). Why did you chose to cut yours off?Most of the ones I’ve seen have an edge added to it – so if you framed out an edge, (perhaps overhanging the table base?) then would this solve your problem? I love your table!
I would rip 1/2 ” or 5/8″ strips from the same wood or from something else if you like contrast and glue and brad nail it on the 4 outside edges as a band. It will hipe the ripples.
Thanks for the input Roger!
I appreciate you taking the time to leave a comment.
gail
I have two end tables with same boards. To cover the ripples, could I use a water putty to put into the ripples? Then stain with a water based stain?
Jennifer,
The ripples on the end of the boards? That sounds like a lot of trouble. You could use edge binding (it irons on) That’s what I should have done with this table top-but the table top was really too heavy for the base anyway. It still waits in the storage garage for it’s new look. 🙂
gail
I love this idea! I have a 140 year old Victorian style house that I will be working on in the kitchen soon. I will be using some flooring I have left over from my master bedroom when it was re-floored a few years ago to re-face my kitchen cabinets. I plan on ripping them down to 3/4 in and then cut them to the size I need to frame in each cabinet door. I’ll use bead-board inside of each door frame.
About your bench, I agree it needs a little “something” added….maybe a design like a scroll or colored drawer pulls….just needs something to help it shine more. Love it but….just a tad too “calm” right now.
The table…I agree with others here….great idea! If it is top heavy like you said….the additional spindle will help steady it. Like the idea of running a trim around the outside so the ripples on the boards don’t show like they do. Will give it a nice finished look. About the dark color on the base….looks good but…the top needs to compliment that more. Maybe paint/stain that a little darker or paint the base lighter. Right now…to me….they look like they belong to other pieces and are only sitting together for a “visit”. Very nice though!!!
Renee
Treasures by Renee
I know this all happened last year and I am sure the table is gone, but after looking at the pictures and remembering my grandma’s old table, I had some thoughts. I think cutting the boards shorter and installing inside the frame will do two things. I think it will solve your top-heavy problem by lowering the center of gravity and thereby, help the wobble. It will also make it so that you have finished ends. Kill two birds with one stone. 🙂 I know I was not the first to mention this solution, (see above) but I wanted to second the idea.