
How to Turn an Old Crib into a Storage Bench
As an Amazon Associate, I earn from qualifying purchases.
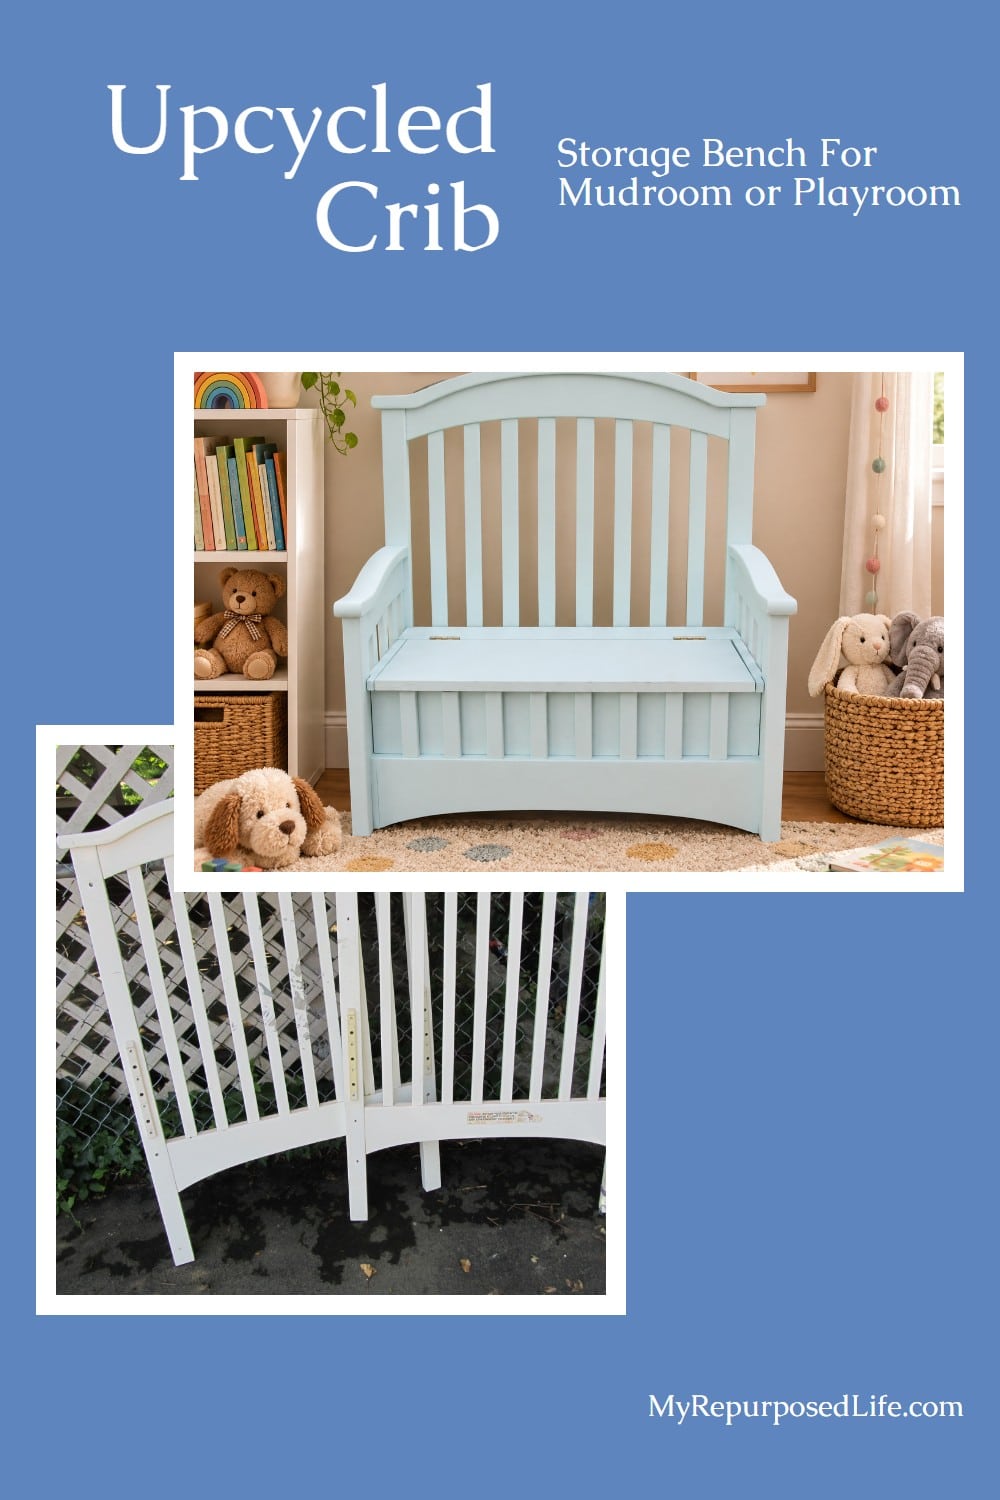
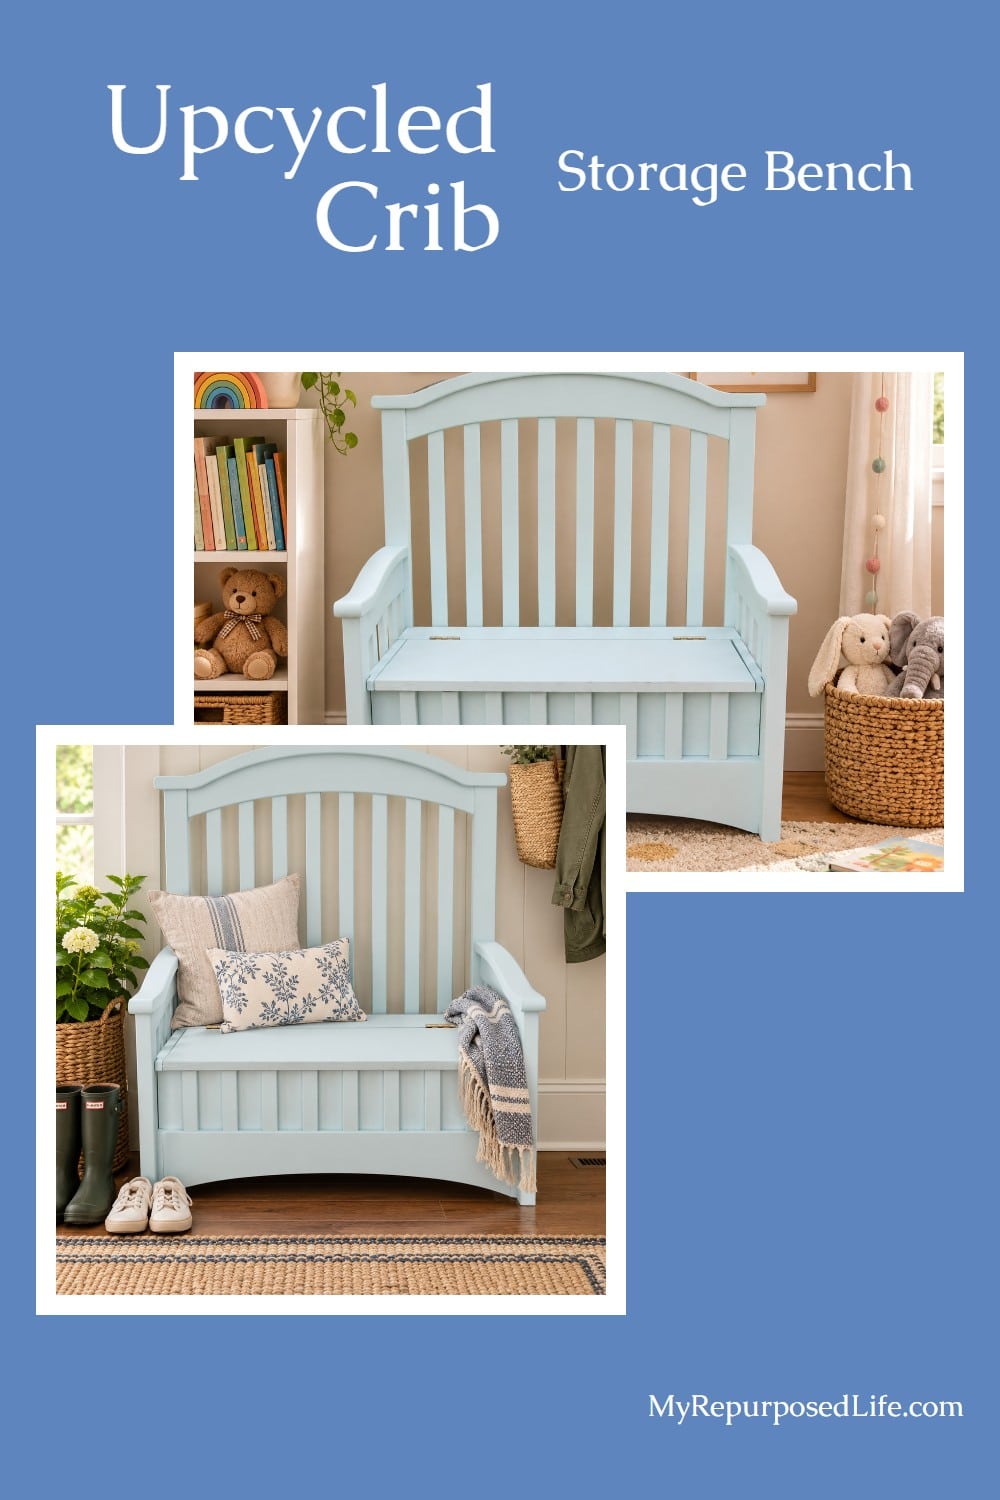
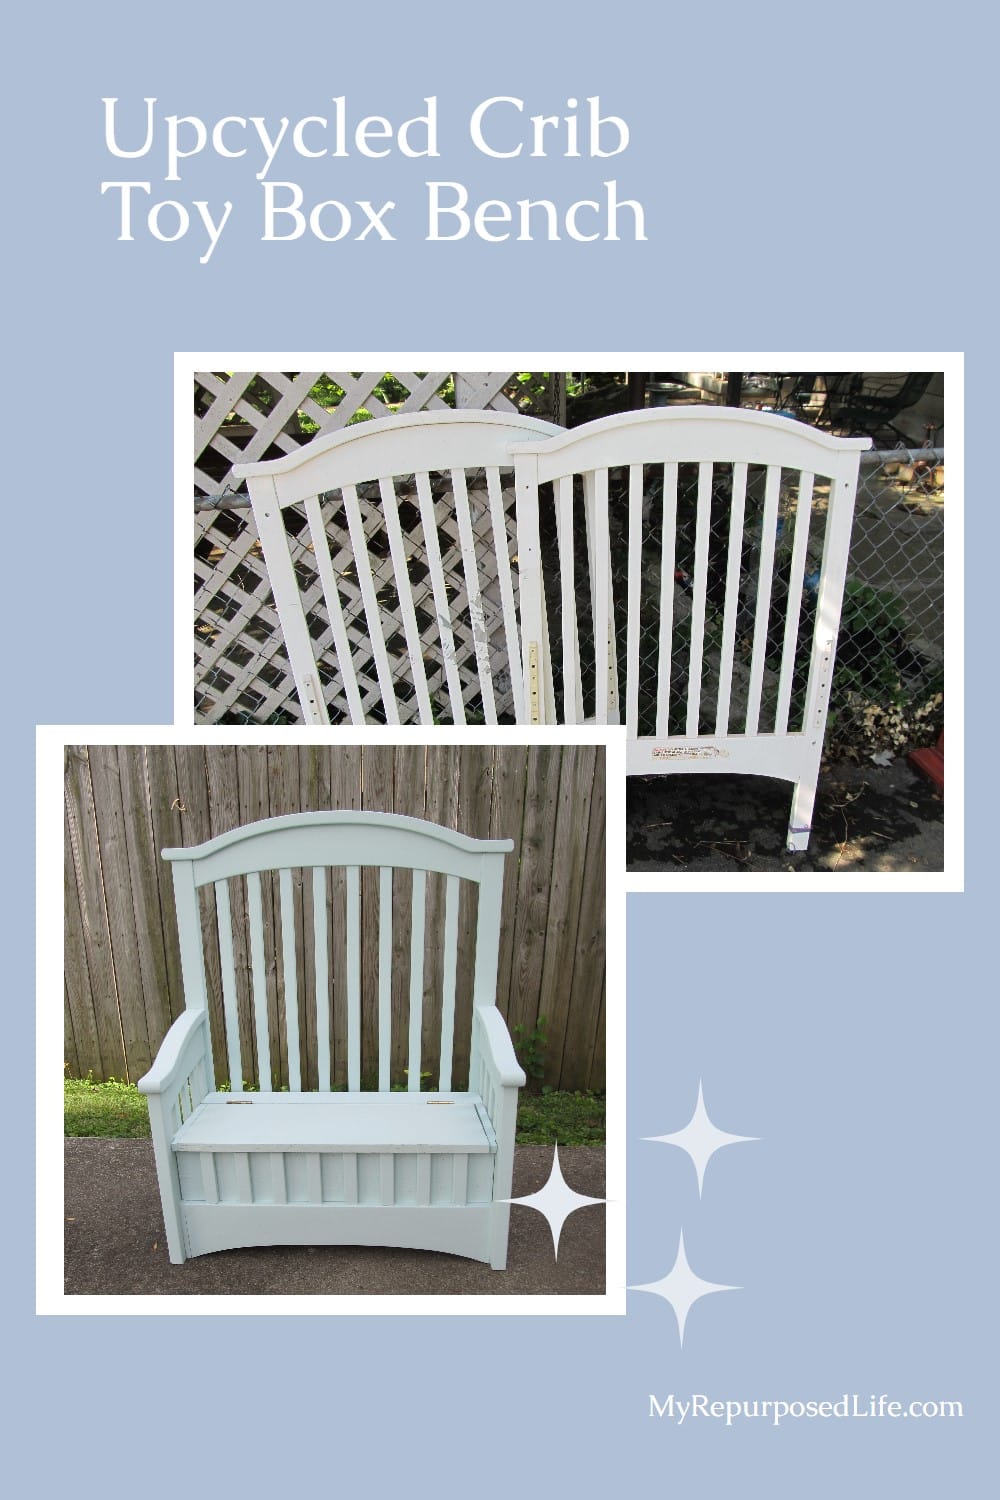
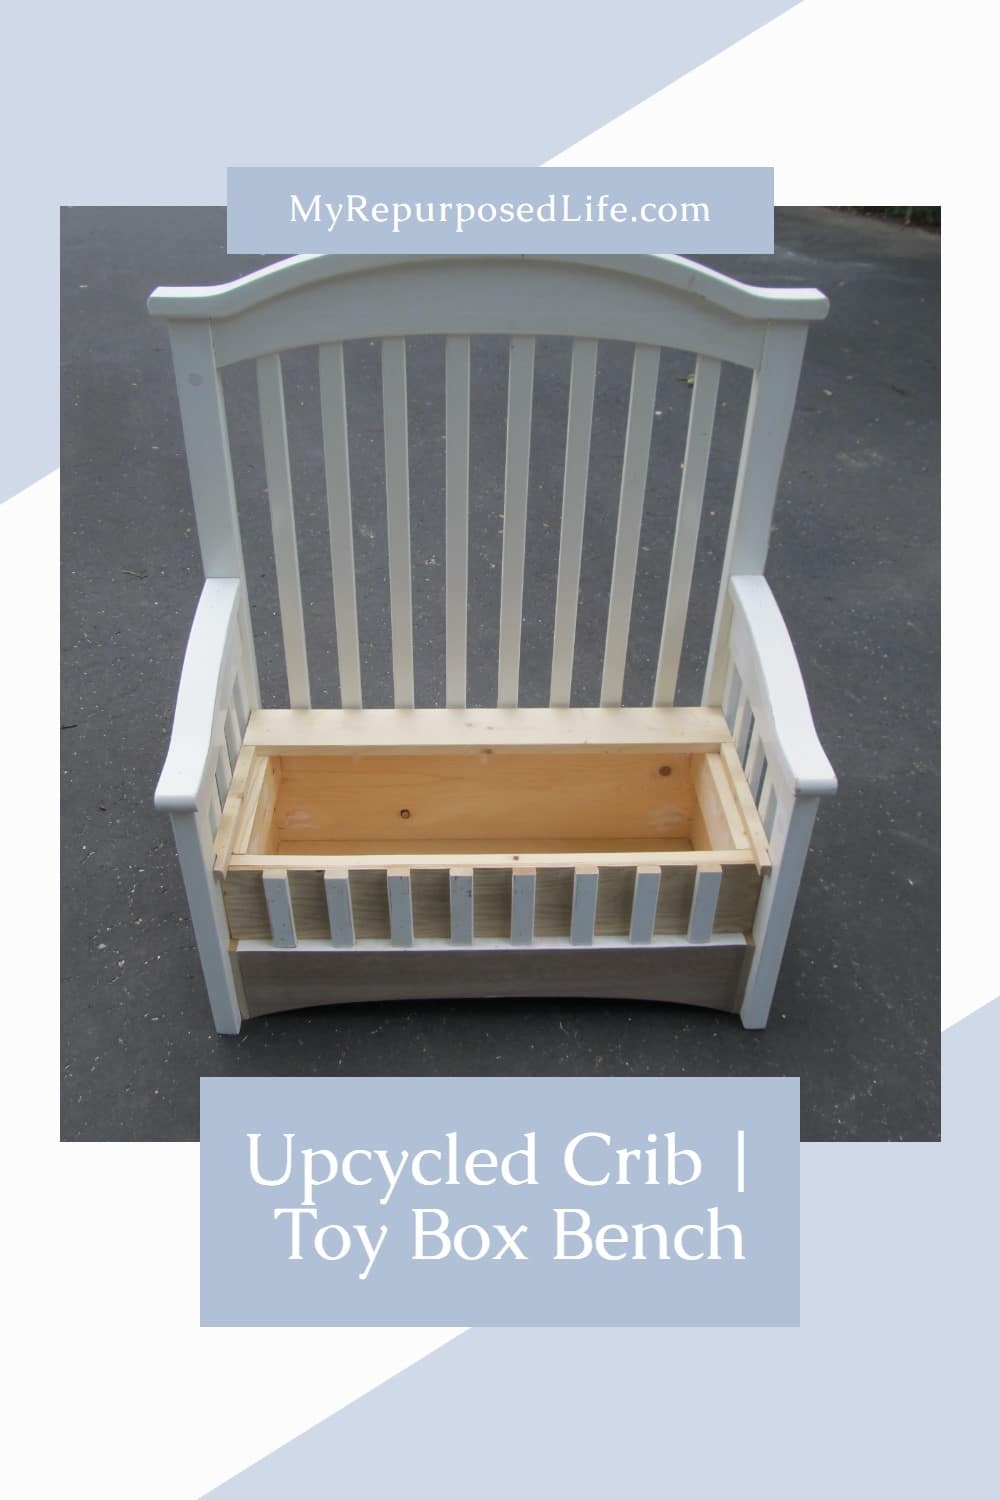
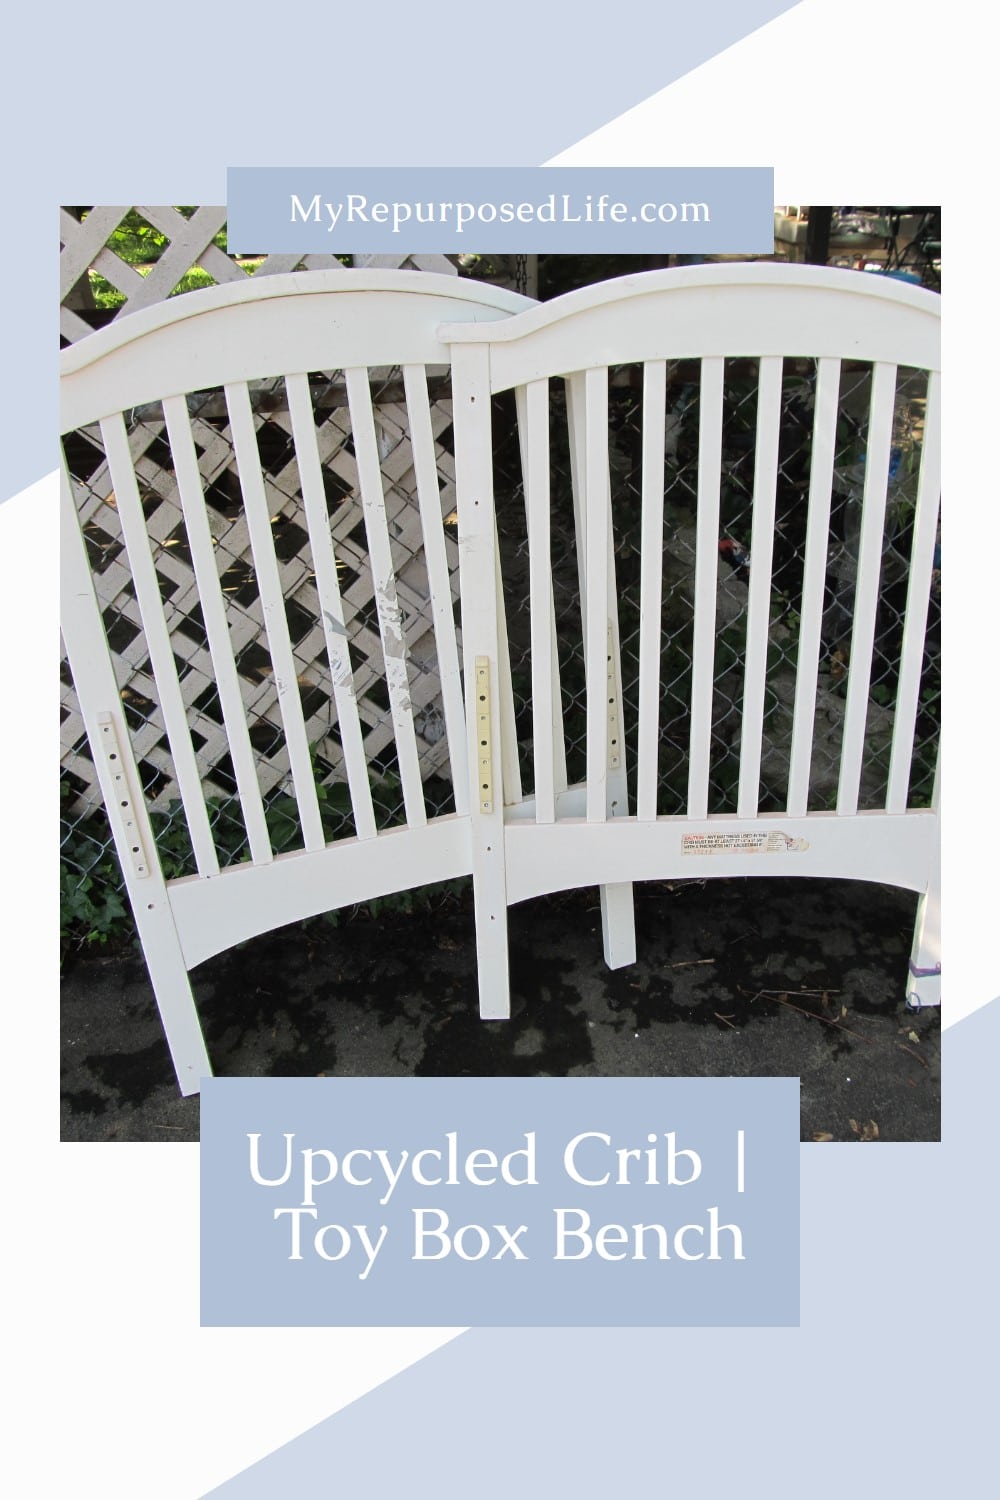
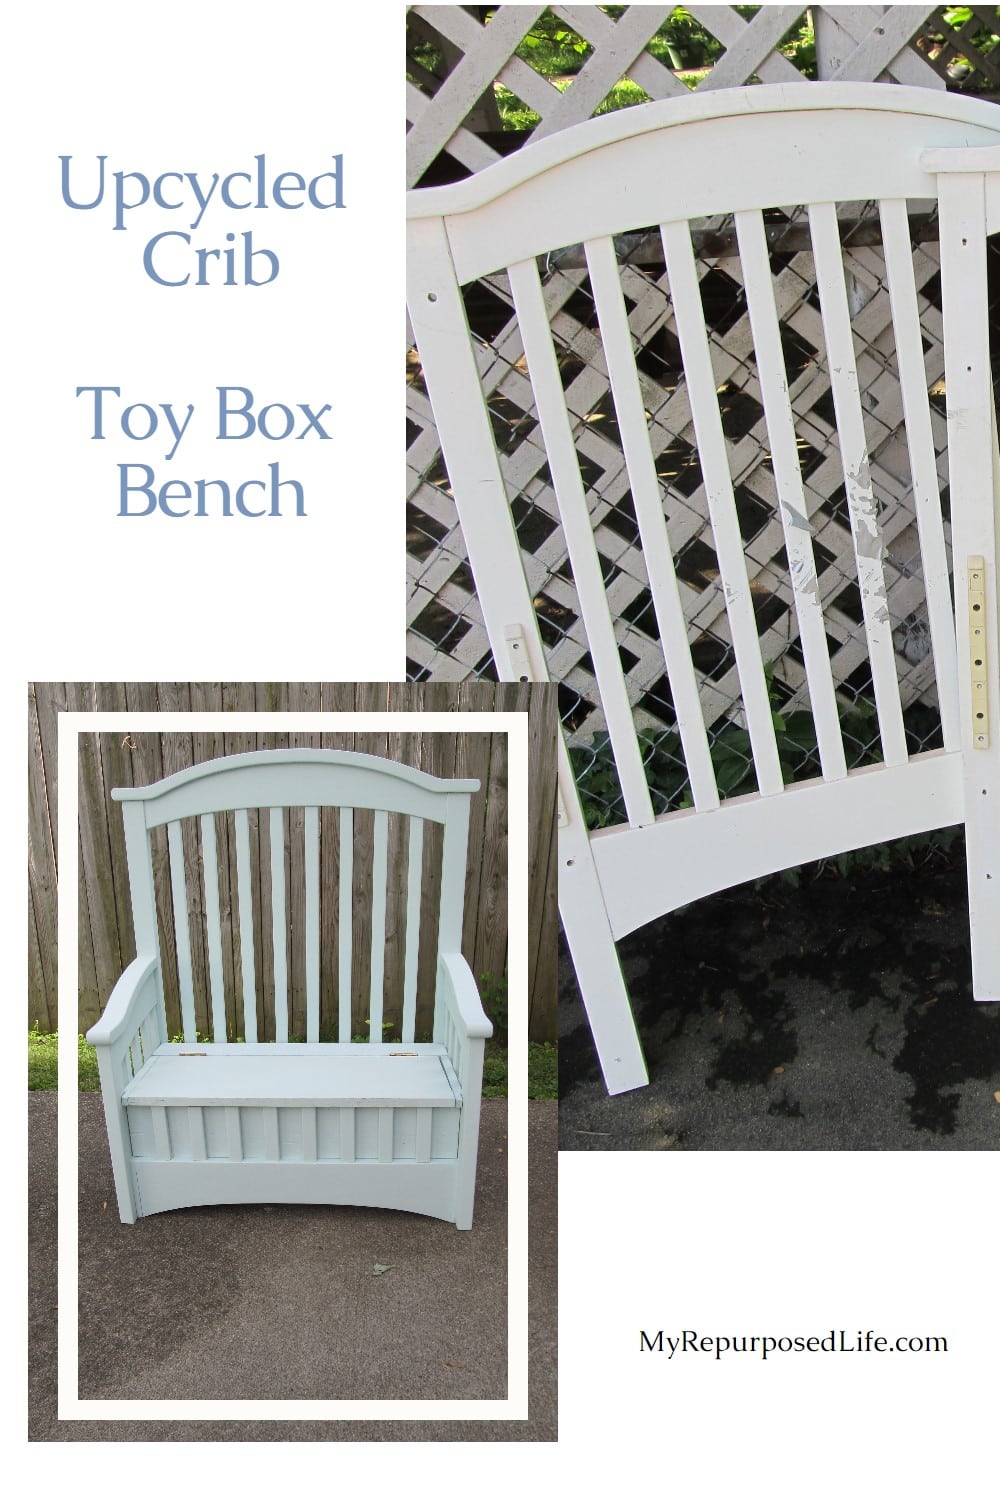
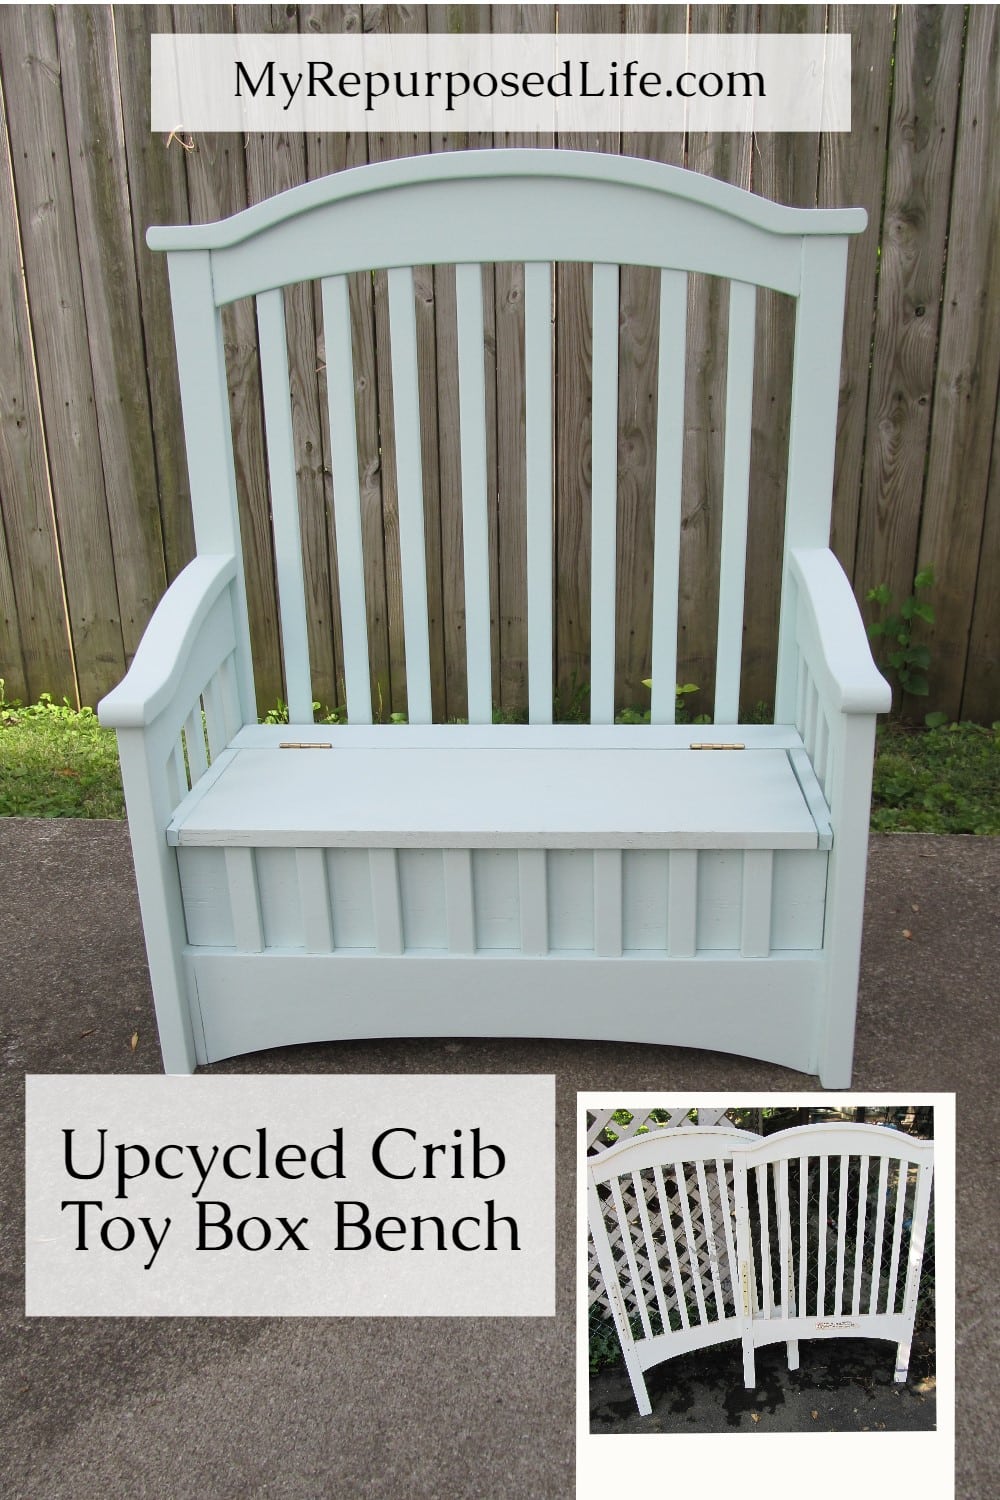
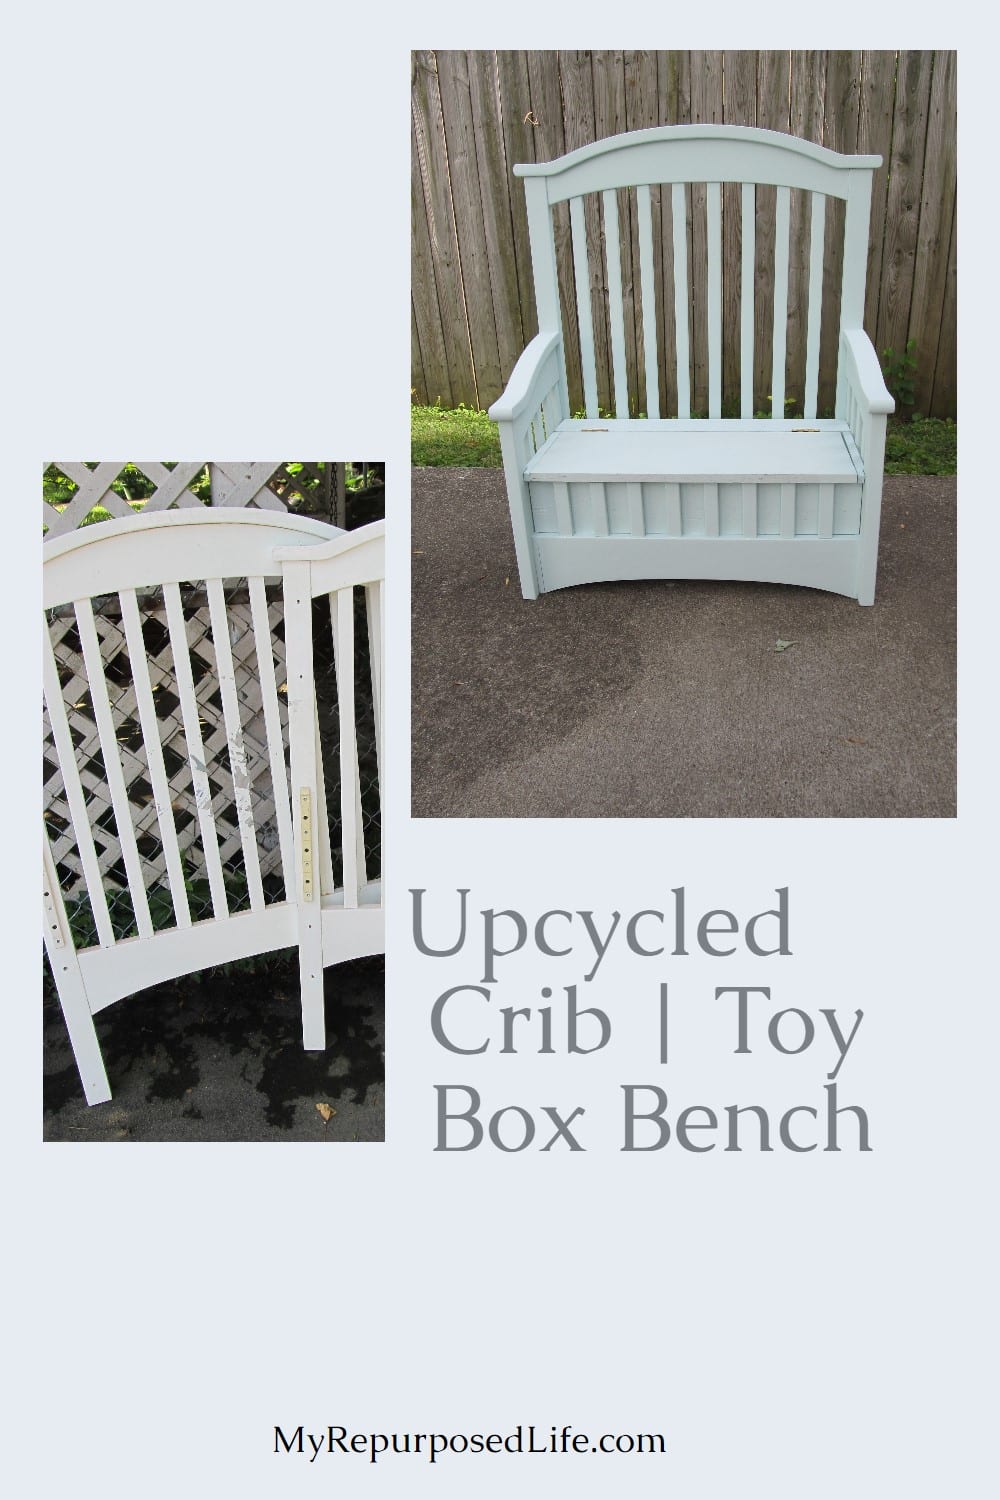
Have an old crib that you can’t bear to get rid of? This repurposed crib storage bench is one of those projects that gives old furniture a completely new purpose.
I originally made this bench as a toy box, and it worked perfectly. But now that I look at it, I can see so many other places it could be useful. The lift-up seat gives you a surprising amount of hidden storage, while the crib pieces make a sturdy little bench.
It would be right at home in a child’s room filled with toys, but it could just as easily sit in an entryway holding shoes, hats, and bags or in a mudroom storing blankets and other things you want to keep out of sight.
This was definitely one of those figure-it-out-as-I-go projects. I made adjustments along the way, used plenty of scrap wood, and ended up with a useful piece of furniture from crib parts that might otherwise have been thrown away.
Fair warning, this is a picture-heavy tutorial, but the photos really help show how the whole bench came together.
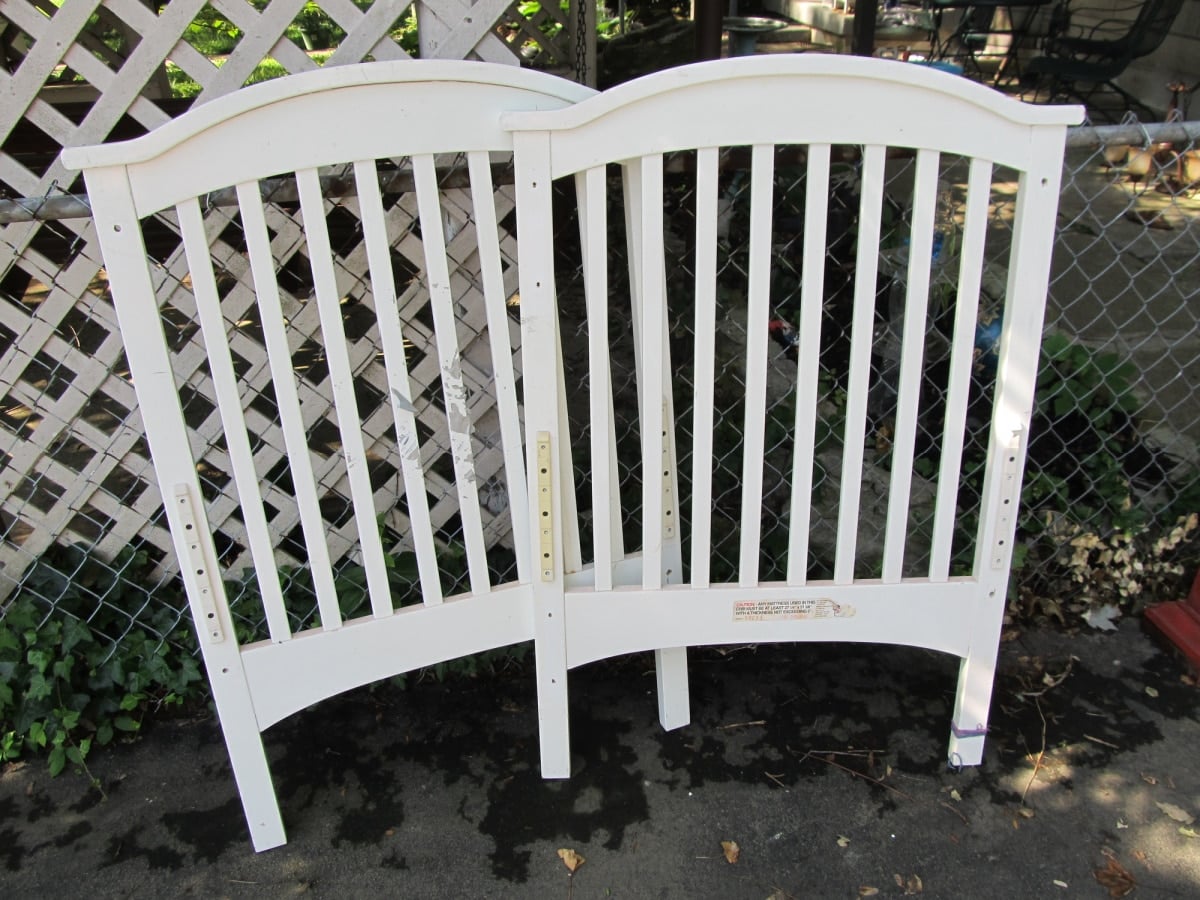
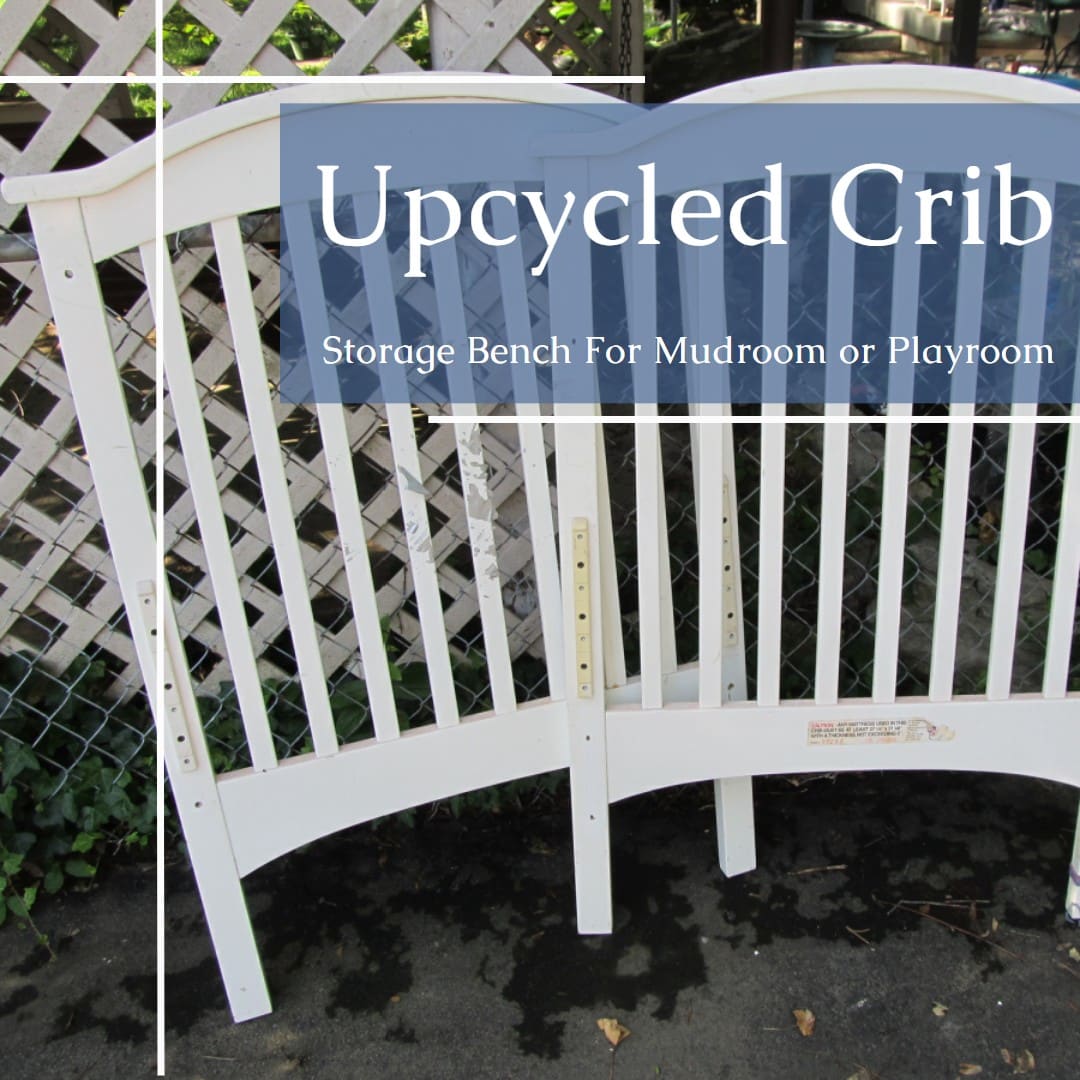
My Cousin Sandy passed these crib ends along to me. She planned to upcycle them herself, but after they sat in storage for a while, she decided to rehome them.
They weren’t especially sturdy, and one leg had already been repaired, so I knew a simple crib bench probably wouldn’t work. As usual, I didn’t have a detailed plan. I started cutting, dry fitting, and figuring things out as I went.
Eventually, those old crib pieces became a sturdy bench with hidden storage. It took a little problem-solving along the way, but that’s half the fun of repurposing furniture.
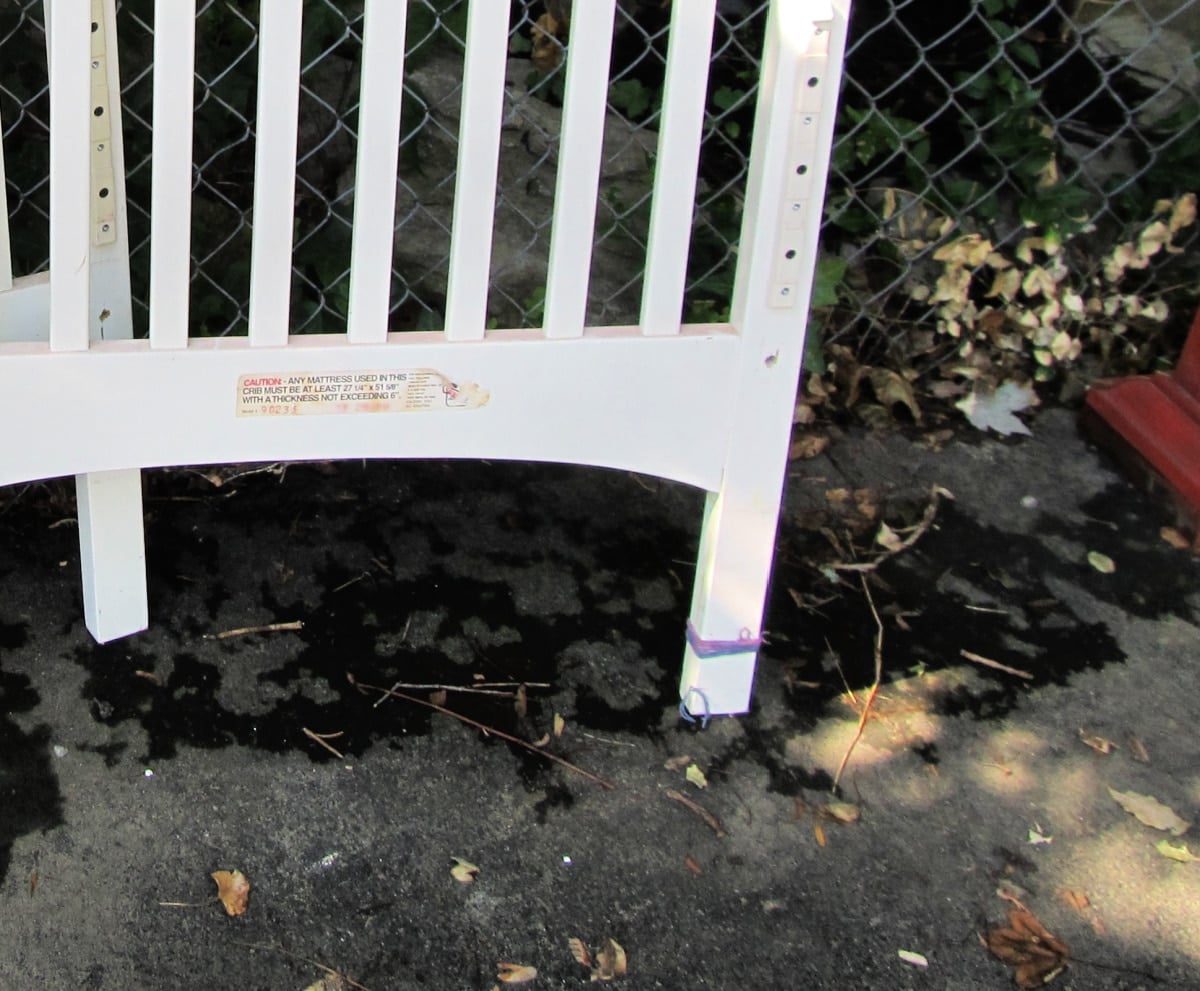
A close-up of the damaged leg.
Make Repairs and Adjustments to Your Crib
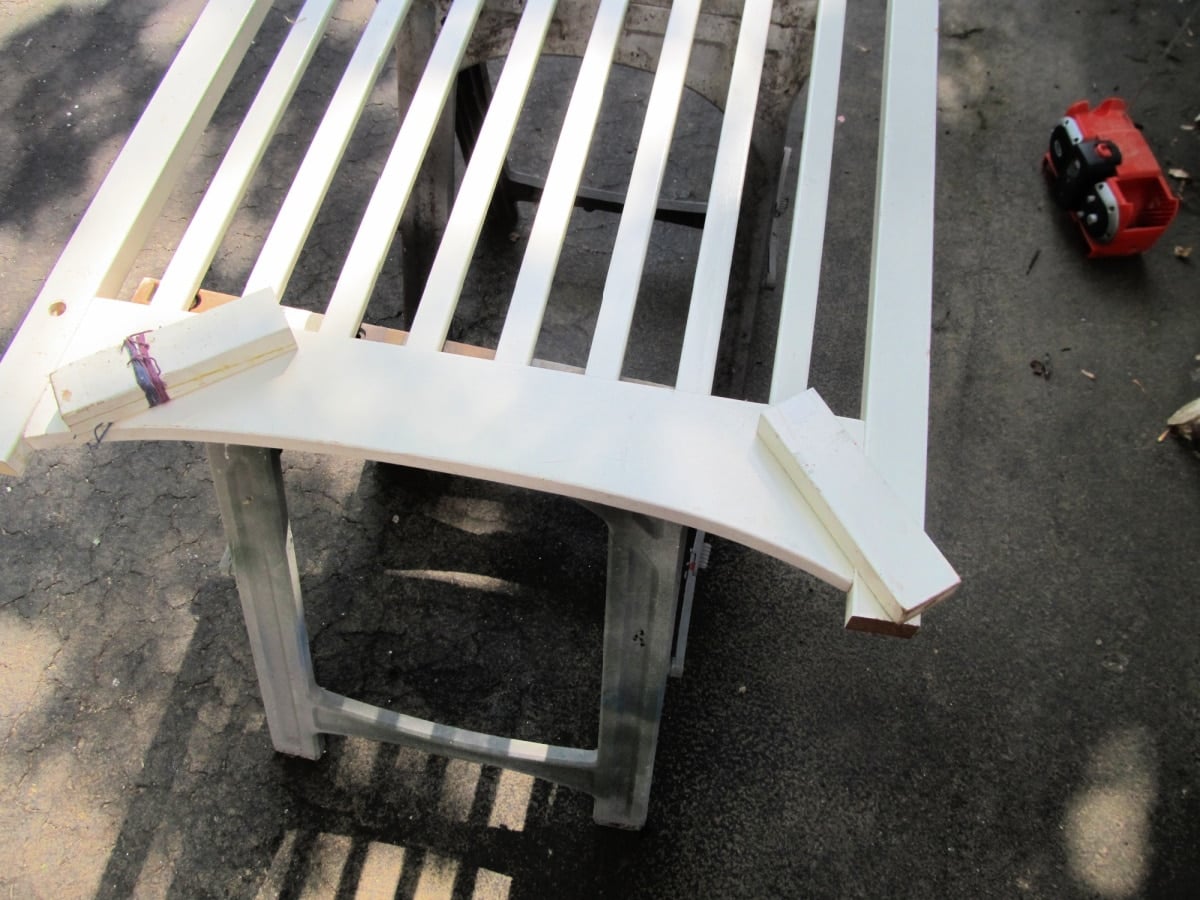
Because the crib ends were much taller than I needed, I shortened the legs first. That also allowed me to remove the damaged portion of the repaired leg.
When you’re working with an old crib, take a good look at the condition of every piece before you start cutting. This is a good time to remove anything damaged or unstable and decide which parts are worth saving.
Prepare Slatted Crib to be Cut Apart
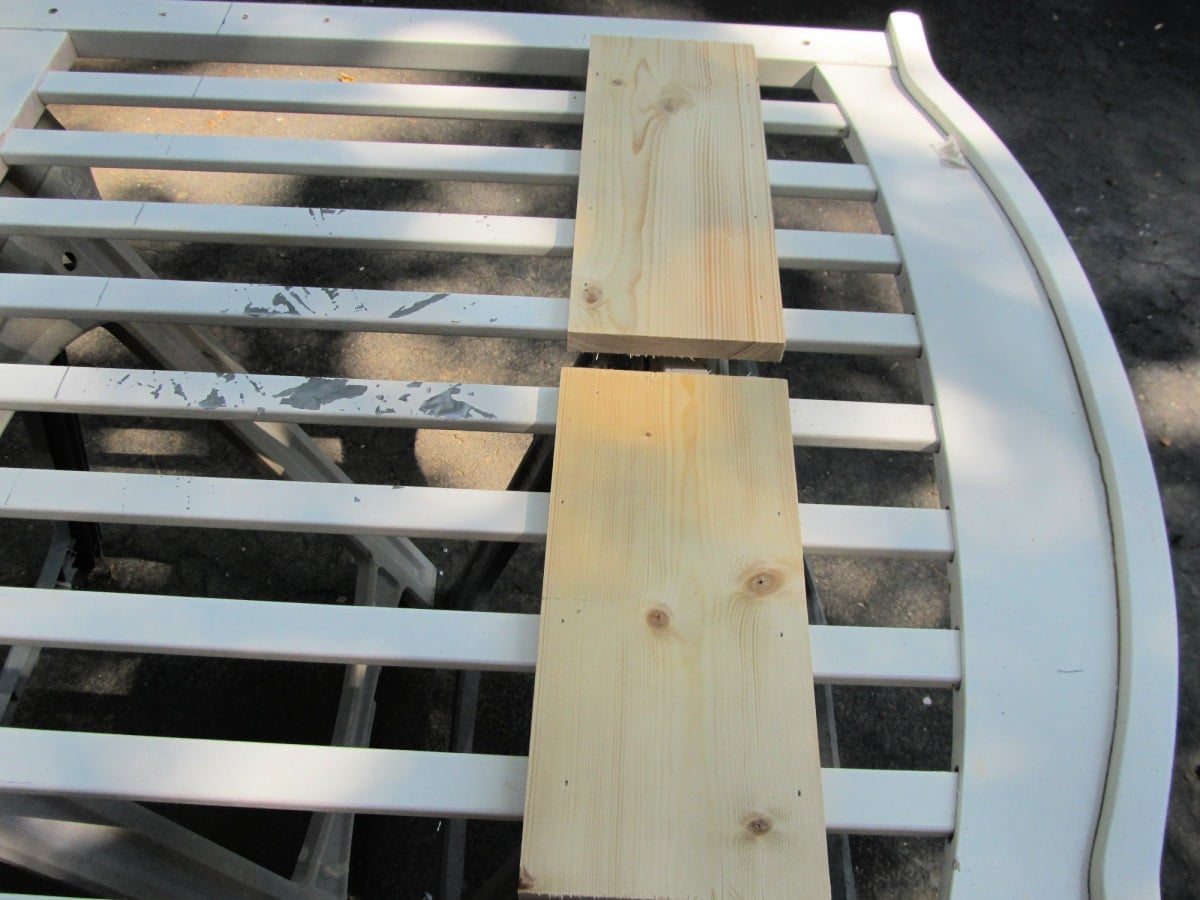
I knew the crib would get pretty wobbly once I started cutting through the slats, so I temporarily braced it with scrap lumber.
I simply nailed the scrap boards across the pieces to hold everything in position while I worked out the design. You can see the lines I drew showing where I planned to cut.
These braces weren’t part of the finished bench. They were just an extra pair of hands while I worked.
Use a Jigsaw to Cut The Upcycled Crib
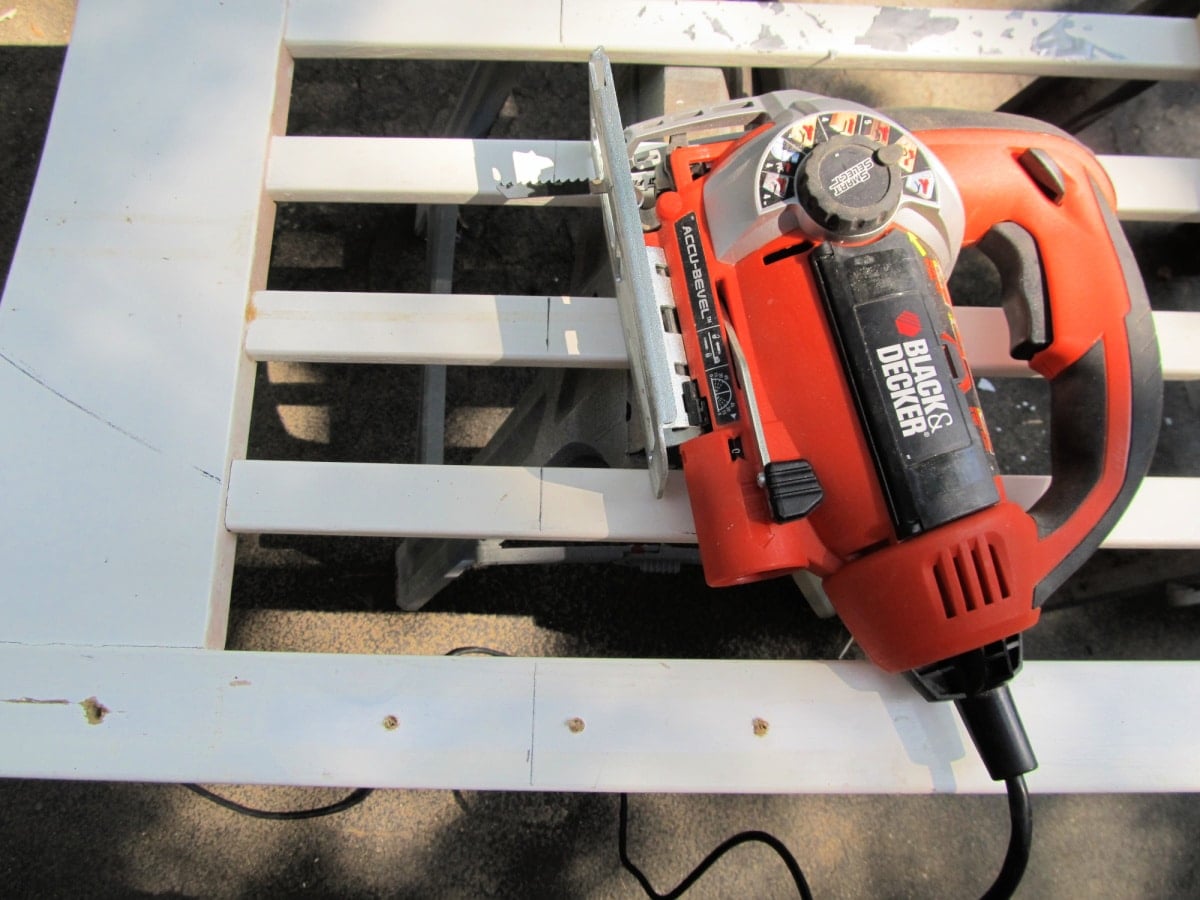
I used my jigsaw to cut through the crib slats. A handsaw would work too if that’s what you have.
Whenever you cut apart furniture like this, take your time and support the piece well. Once you remove several slats, the remaining sections can shift more than you expect.
A Miter Saw Makes a Straight-Cut
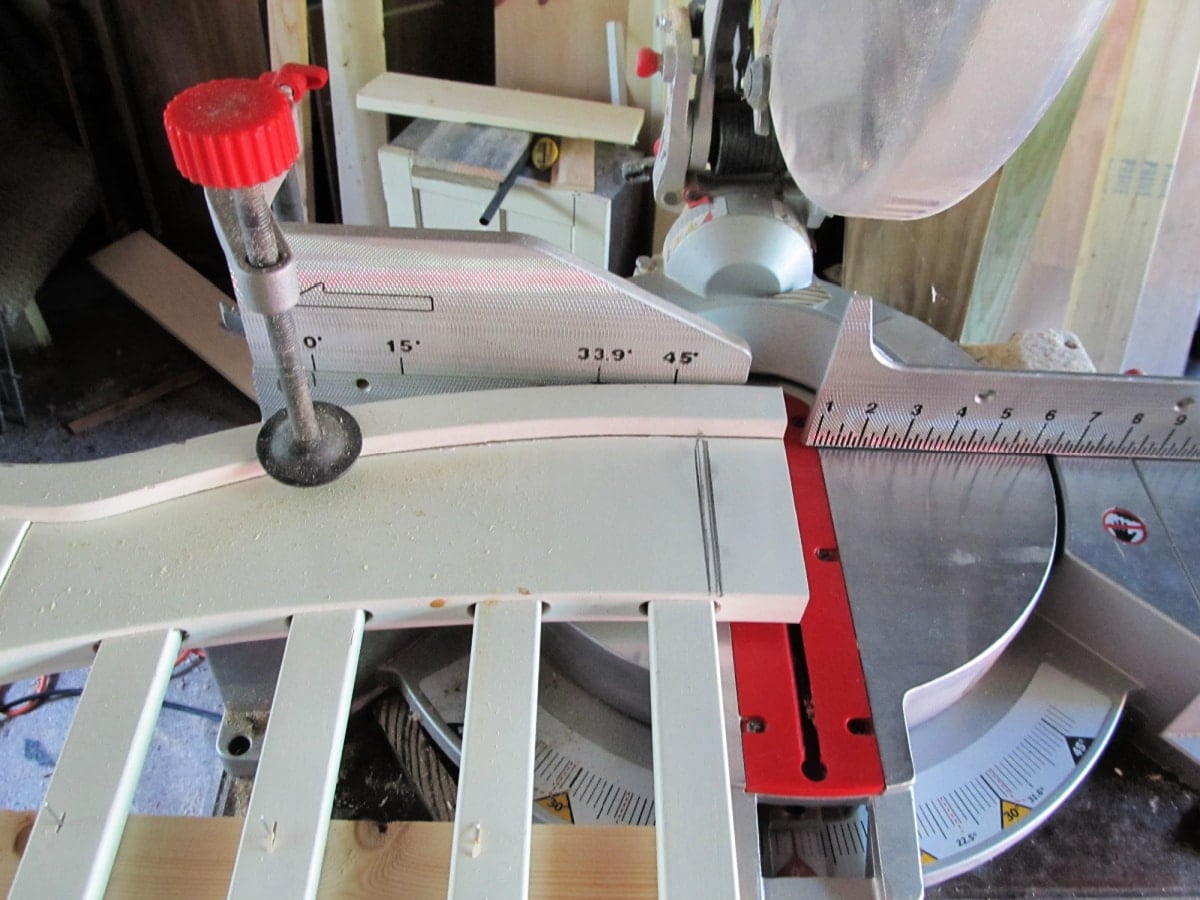
After separating the sections with the jigsaw, I moved the pieces to my miter saw. That gave me a cleaner, straighter finished edge.
The jigsaw did the rough work, and the miter saw helped tidy things up.
Make Sure The Measurements Fit Your Child
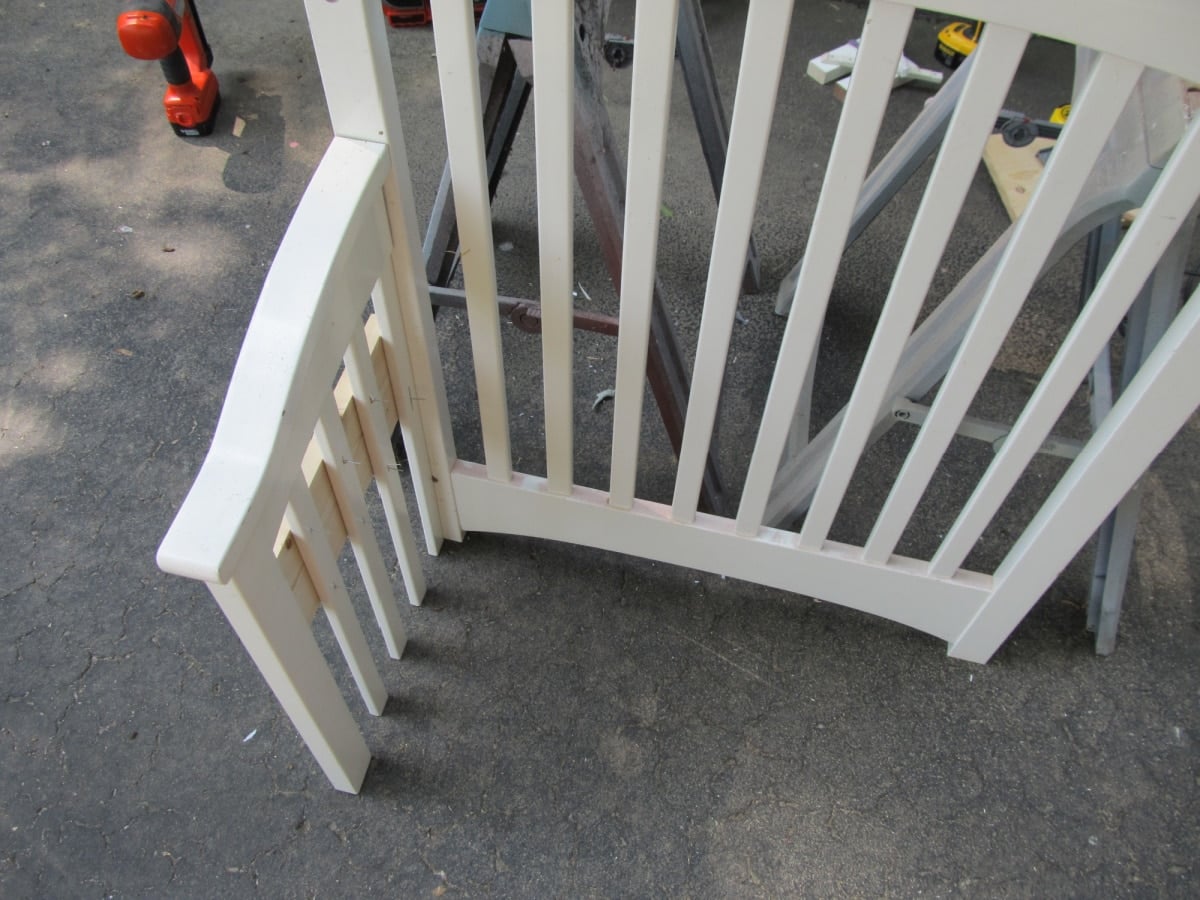
I did a dry fit and realized I really needed an actual child to check the proportions.
Luckily, my neighbors had their children and grandchildren visiting, so I walked across the street with my tape measure. Thank you, Layla Grace!
That little test showed me the arms were still too tall, so I went back to the jigsaw.
I don’t have exact finished measurements for this bench because I built it around the crib pieces I had. If you make one, I recommend doing the same thing. Dry fit the pieces and adjust the height and width to fit your particular crib.
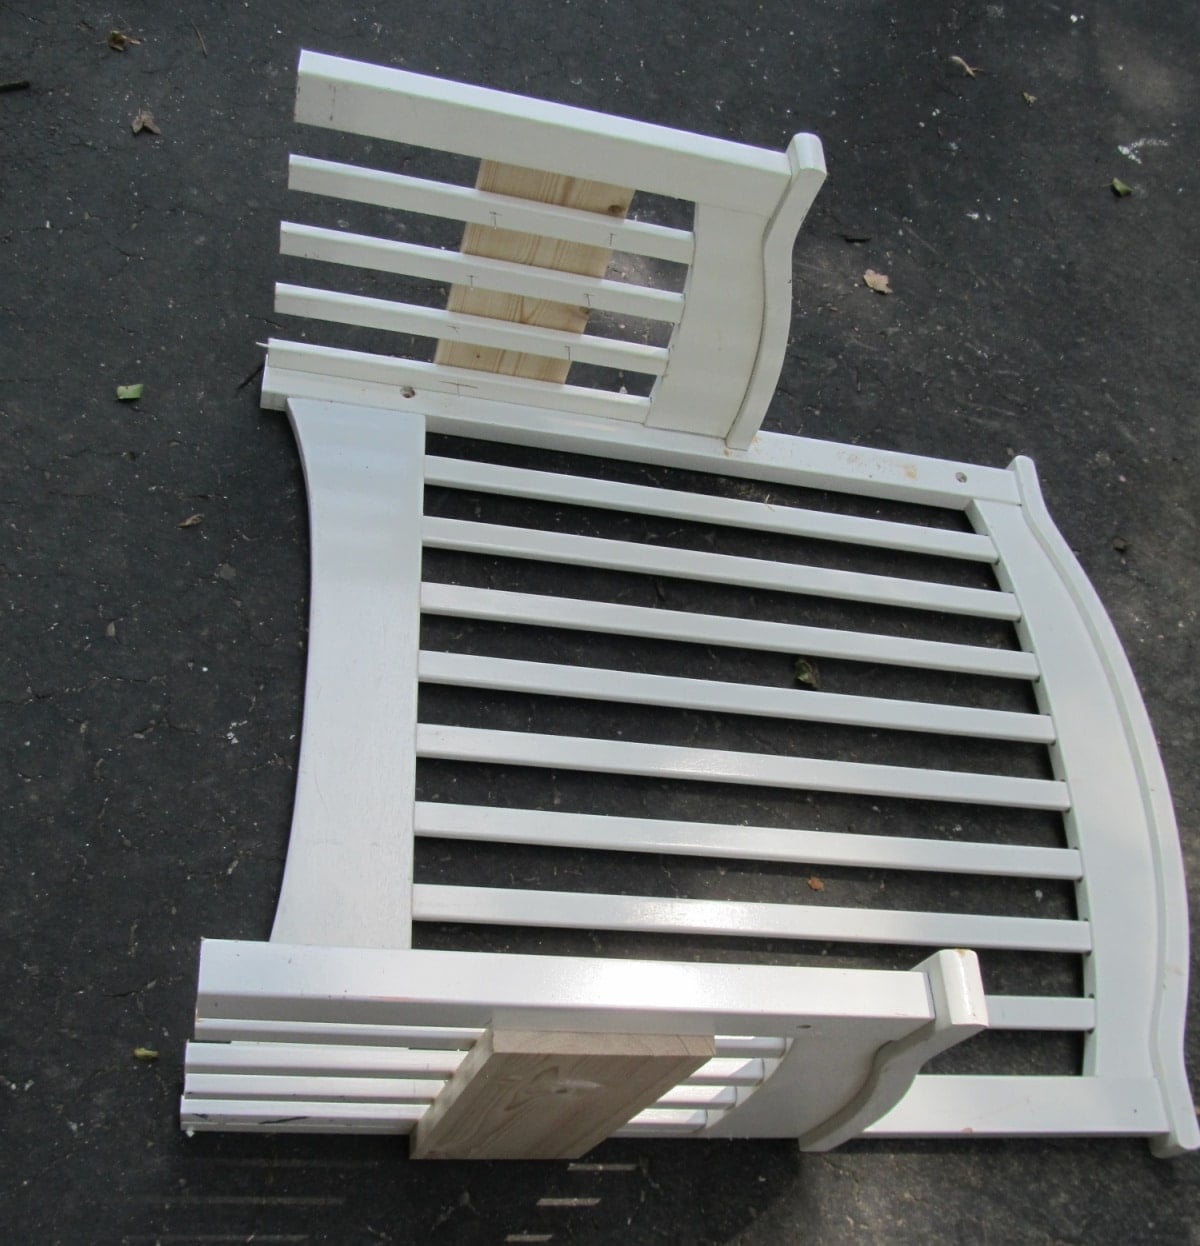
I put the upcycled crib project down on the driveway to make more design decisions.
Build the Storage Box for the Crib Bench
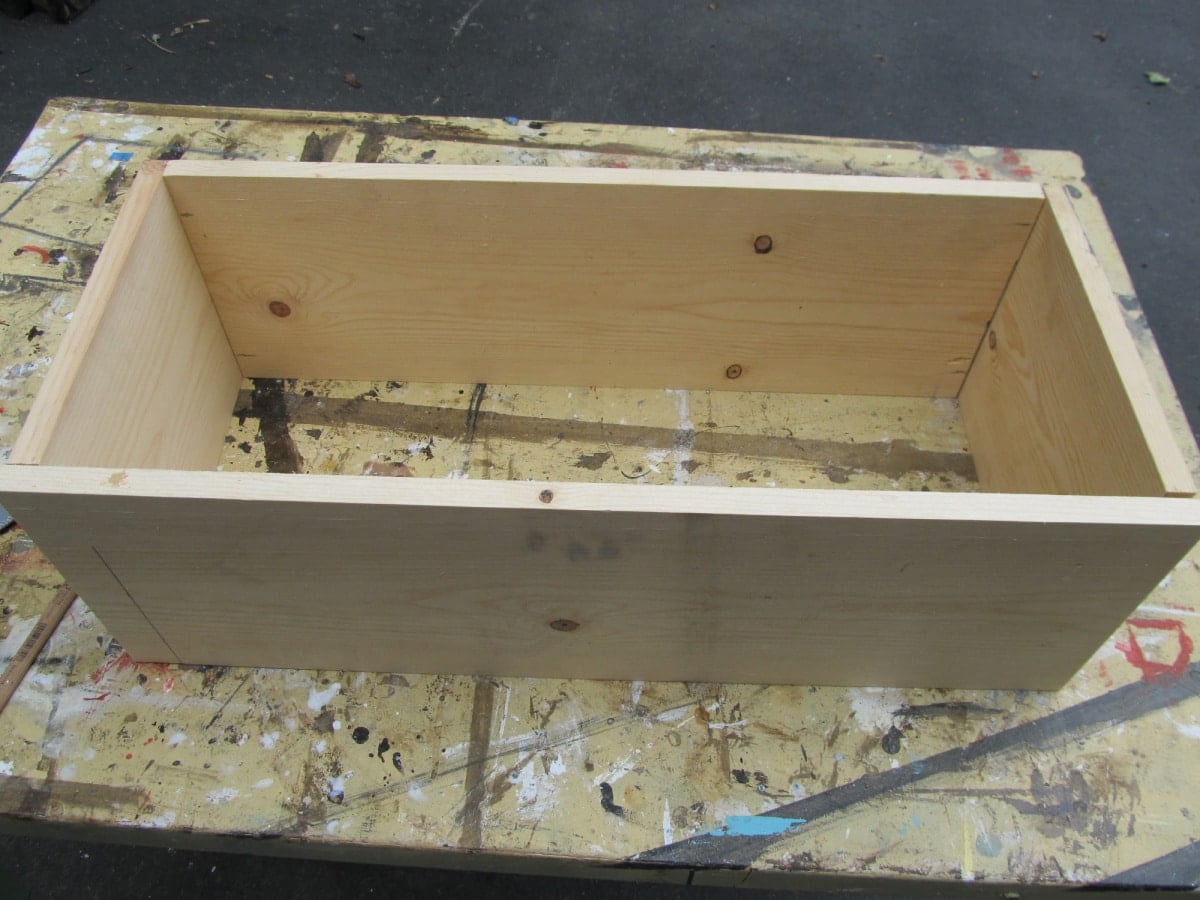
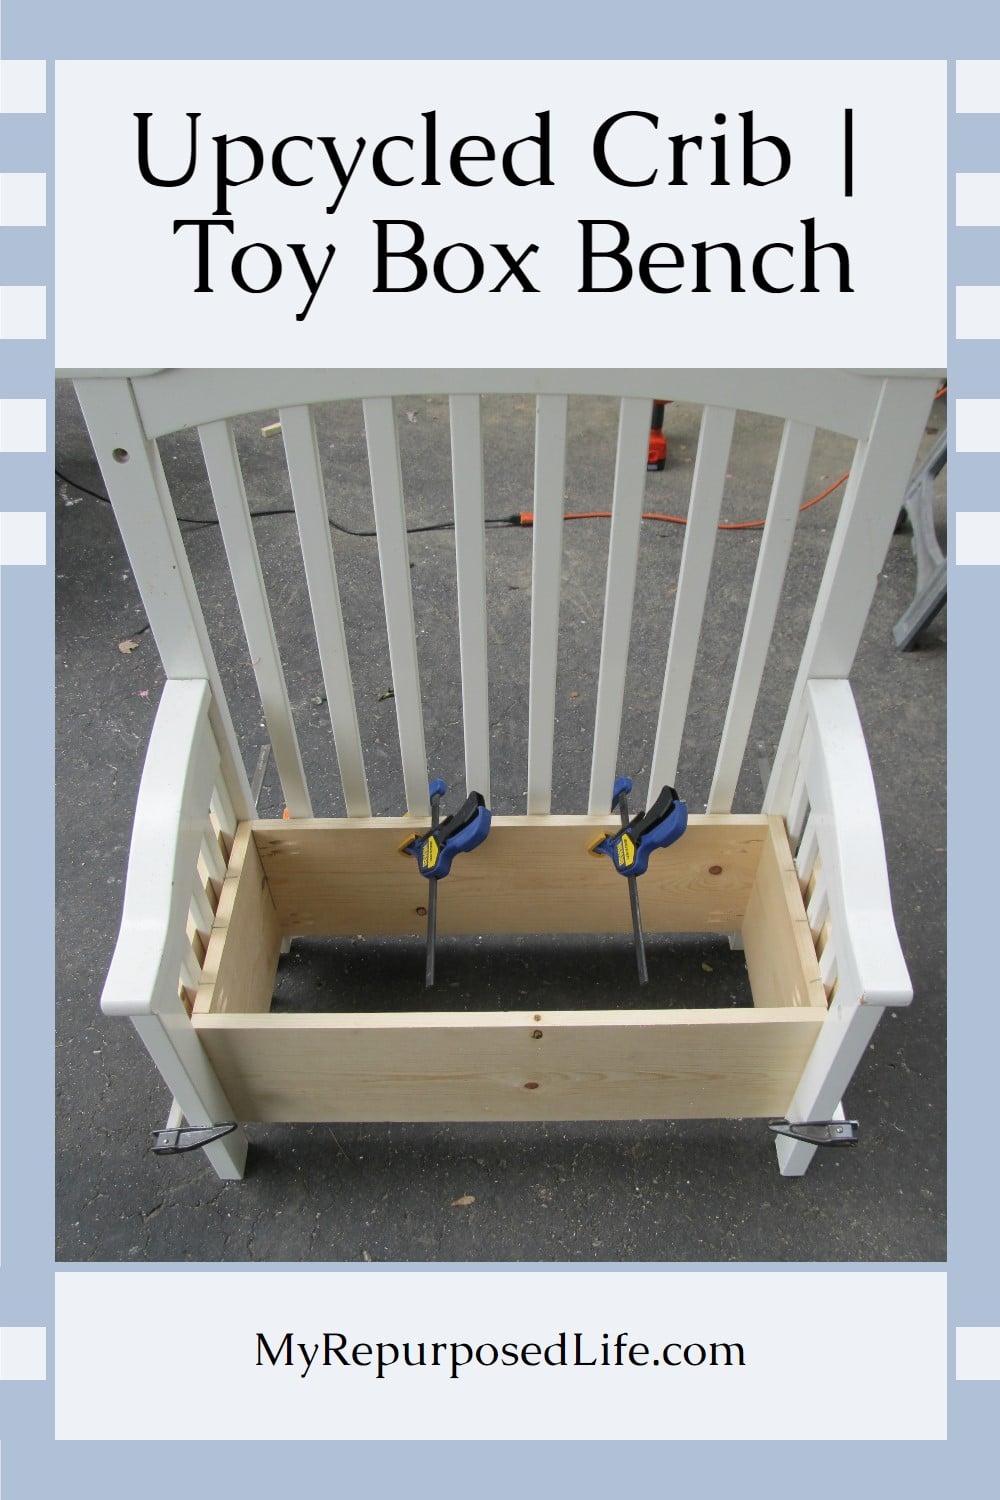
The key to making this bench sturdy was the wooden storage box.
The crib pieces alone weren’t strong enough for the bench I had in mind, so I built a box that would become the project’s main structure. You can then attach the crib pieces securely around it.
I used leftover boards from my DIY barn doors and assembled the box with my Kreg Jig Jr.
Your box dimensions will depend on the size of your crib pieces. I recommend dry fitting the crib back and sides first, then building the box to fit inside them.
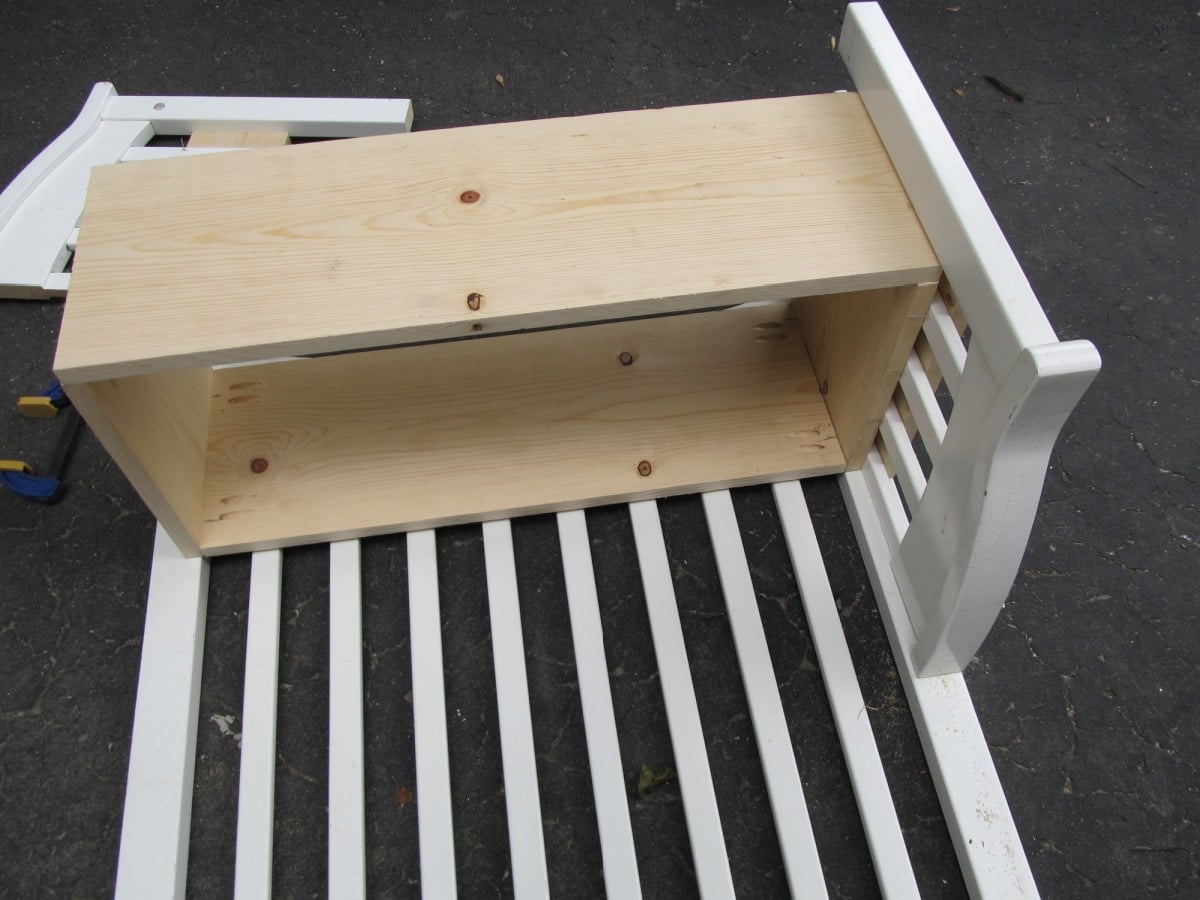
Yep, it’s coming together!
Secure The Wooden Box to The Back and Sides
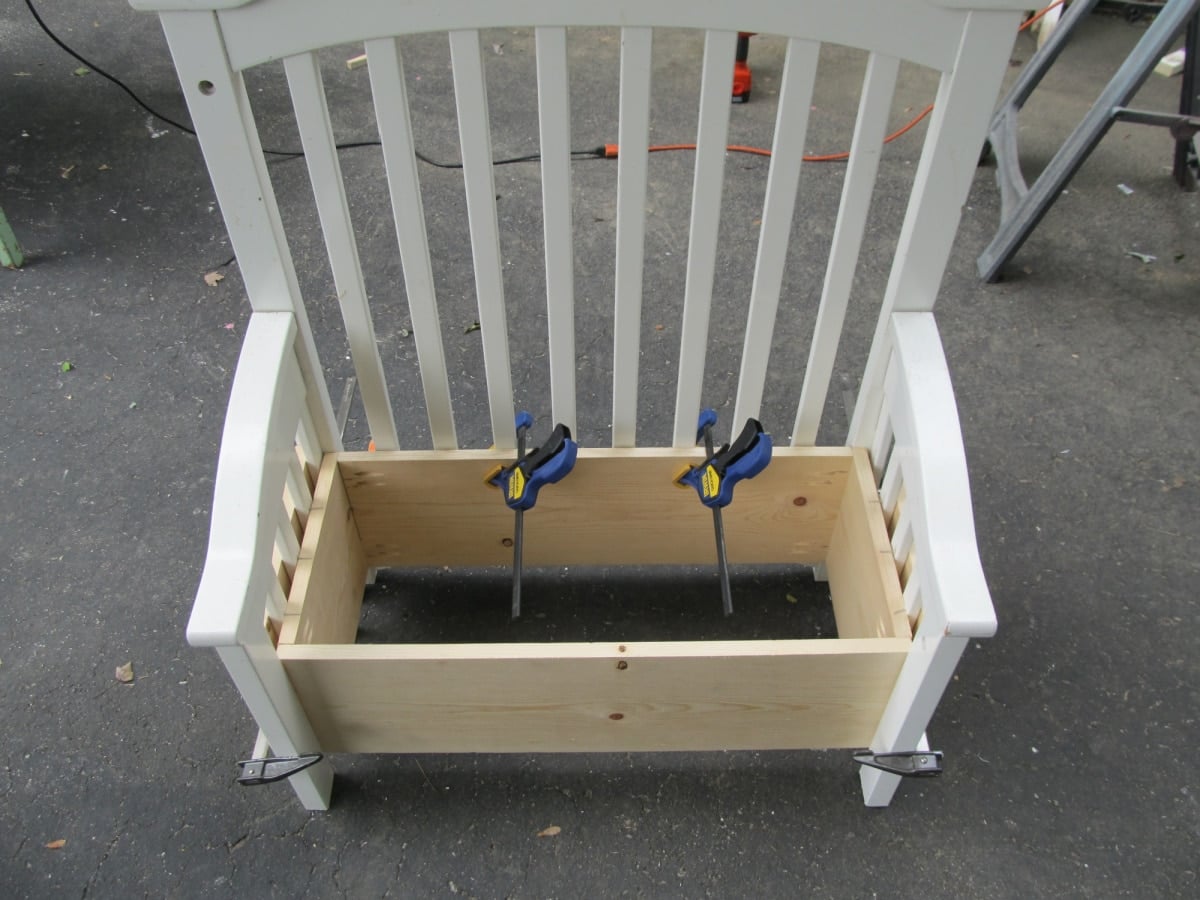
Before permanently attaching anything, I did another dry fit with clamps. I do this constantly on projects like this because it’s much easier to move a clamp than remove a screw.
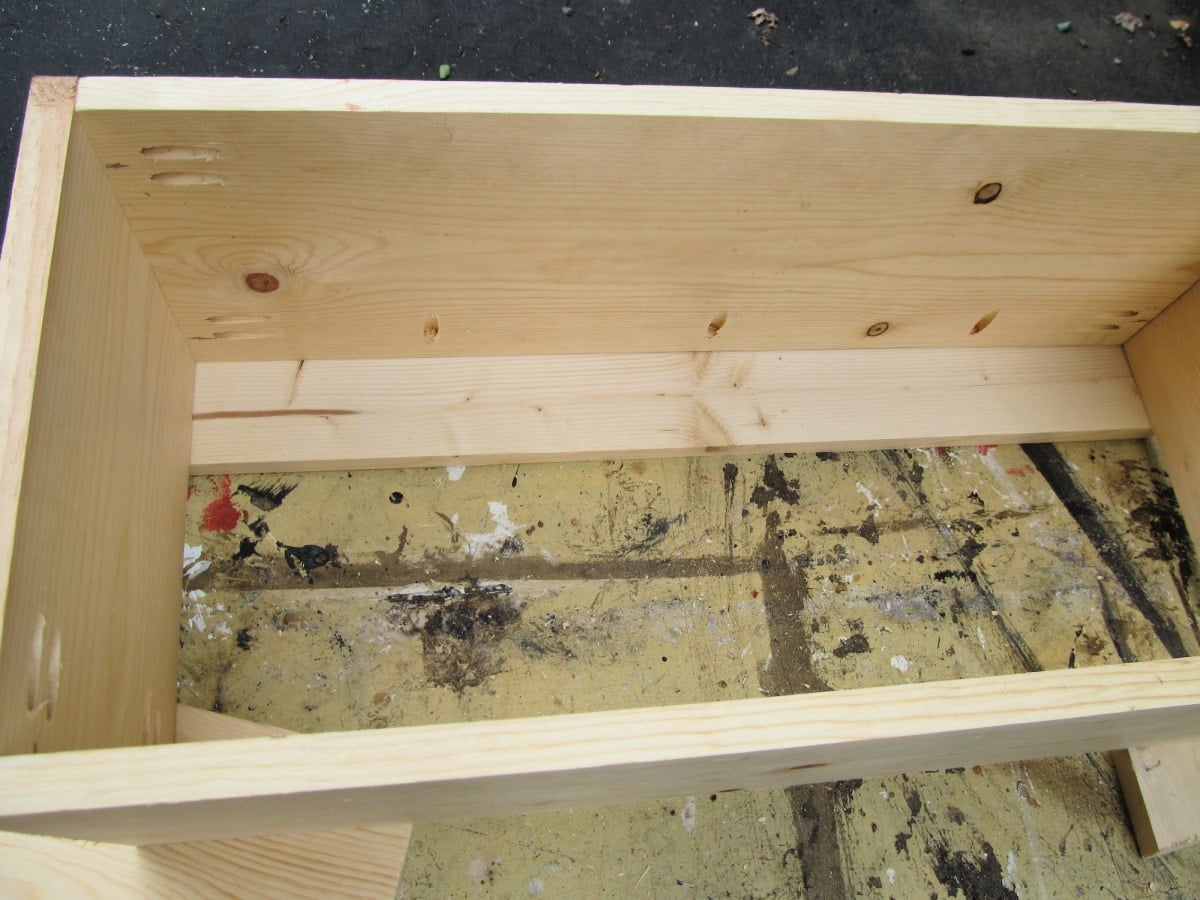
Once I was happy with the fit, I added a board across the back of the box. That gave me a solid place to attach the lid later.
Make a Hinged Seat for the Storage Bench
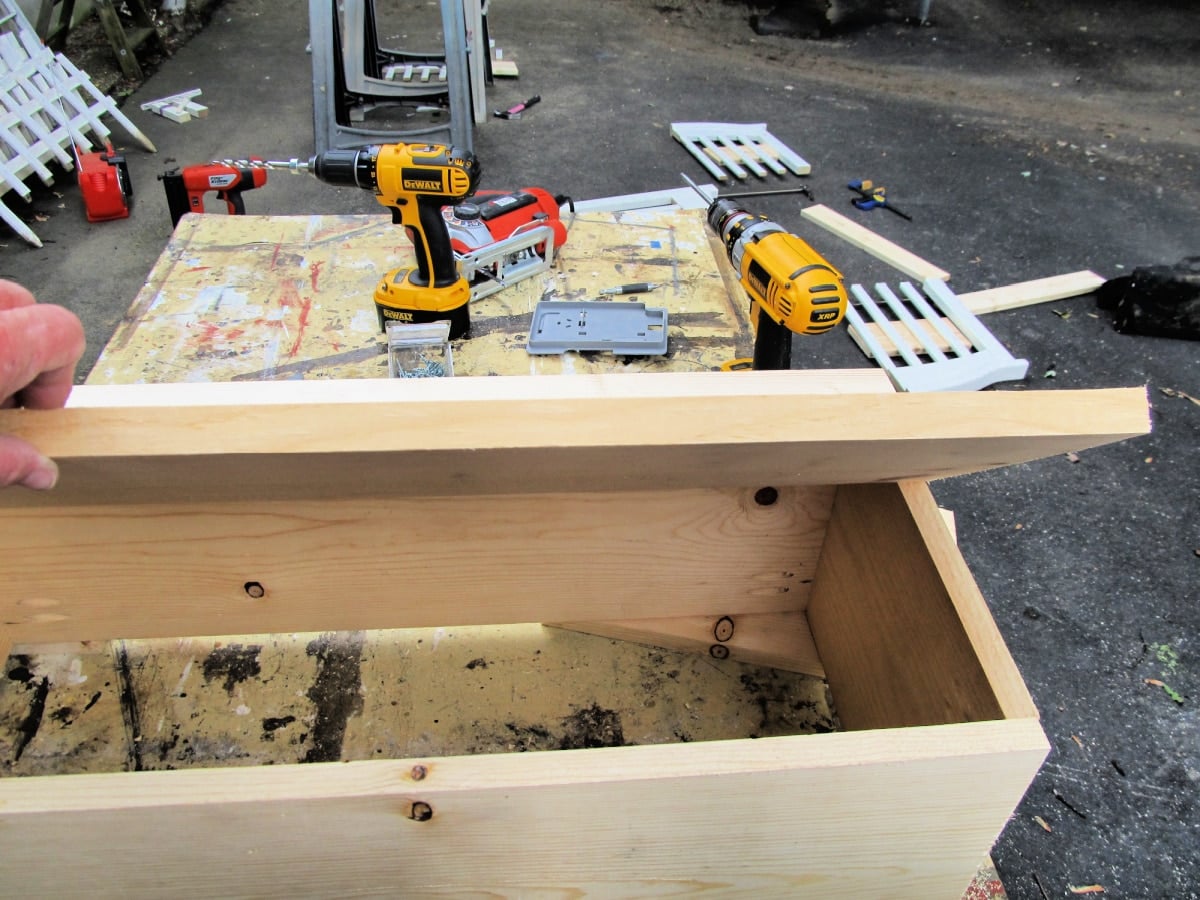
Testing the “lid”.
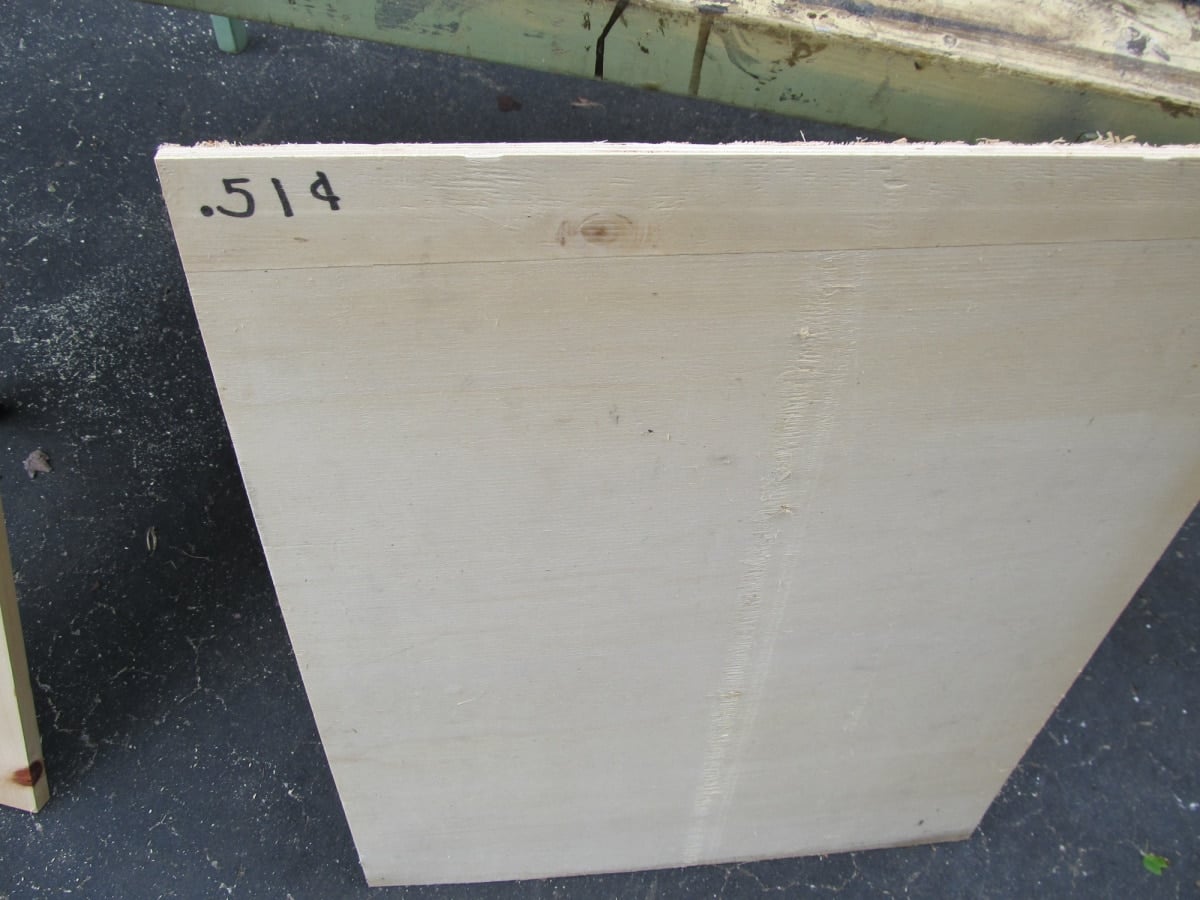
I have had this board forever!! I bought it on a trip to The Home Depot in Nashville while visiting Jamie.
I tested the board in place before cutting anything permanently. At this point, I was still making design decisions based on how all of the pieces worked together.
Attach The Bottom of The Toy Box
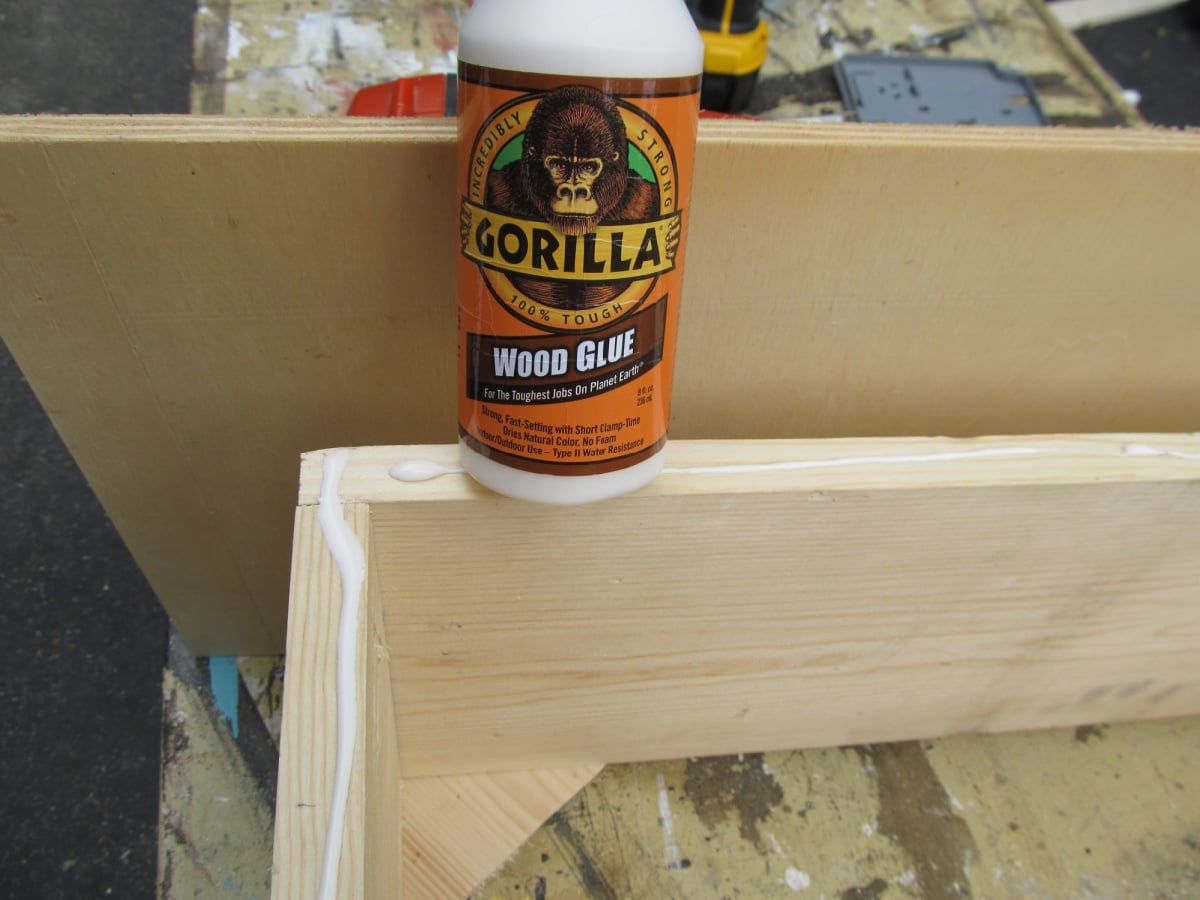
Once I was satisfied with the fit, I attached the bottom of the storage box using wood glue and my nail gun.
Make sure the box is square before securing the bottom because the bottom helps lock everything into position.
Secure the Storage Box to the Crib Back
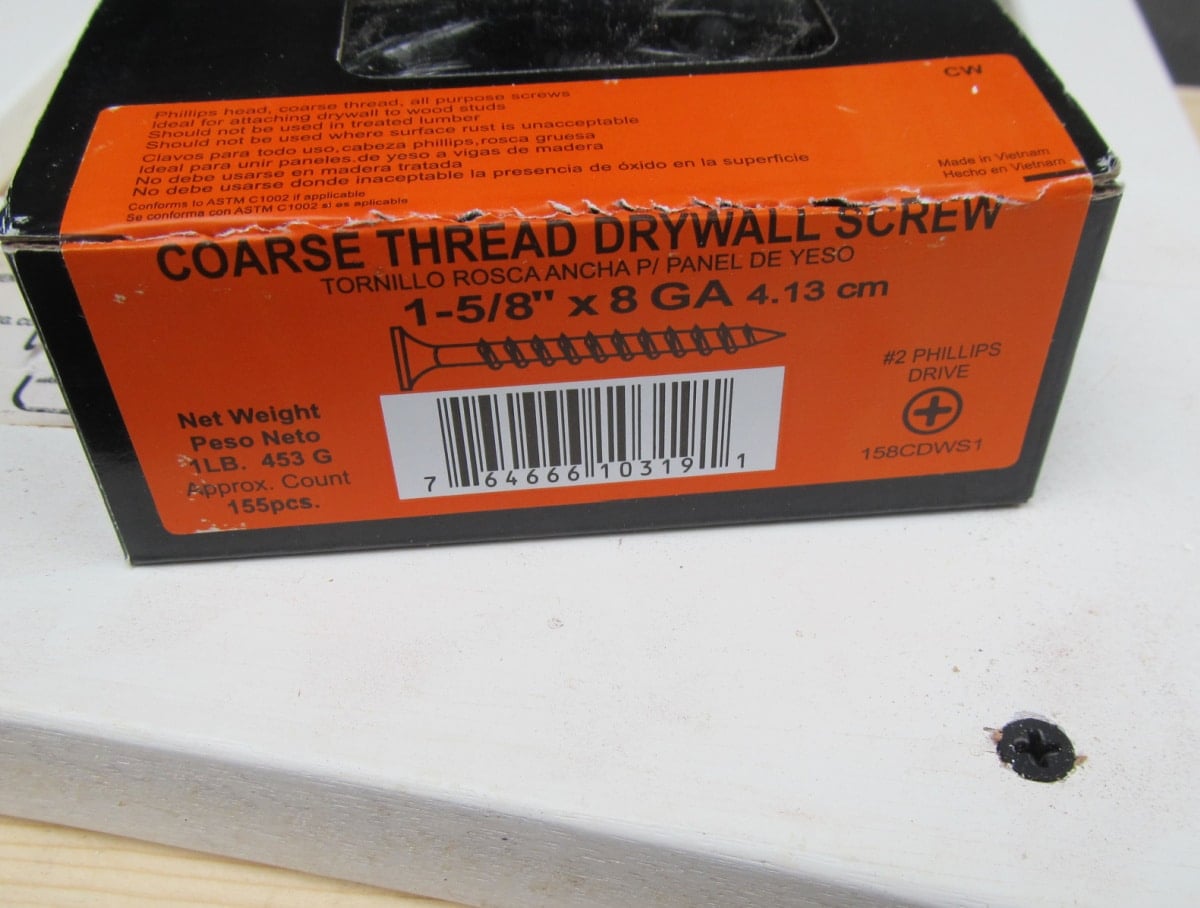
I used 1 5/8-inch screws to attach the crib back securely to the wooden box.
I placed the screws into solid areas of the crib frame rather than relying on the thinner decorative sections.
Note: I used drywall screws because I had them on hand. I recommend using wood screws when building a project like this.
Add The Sides
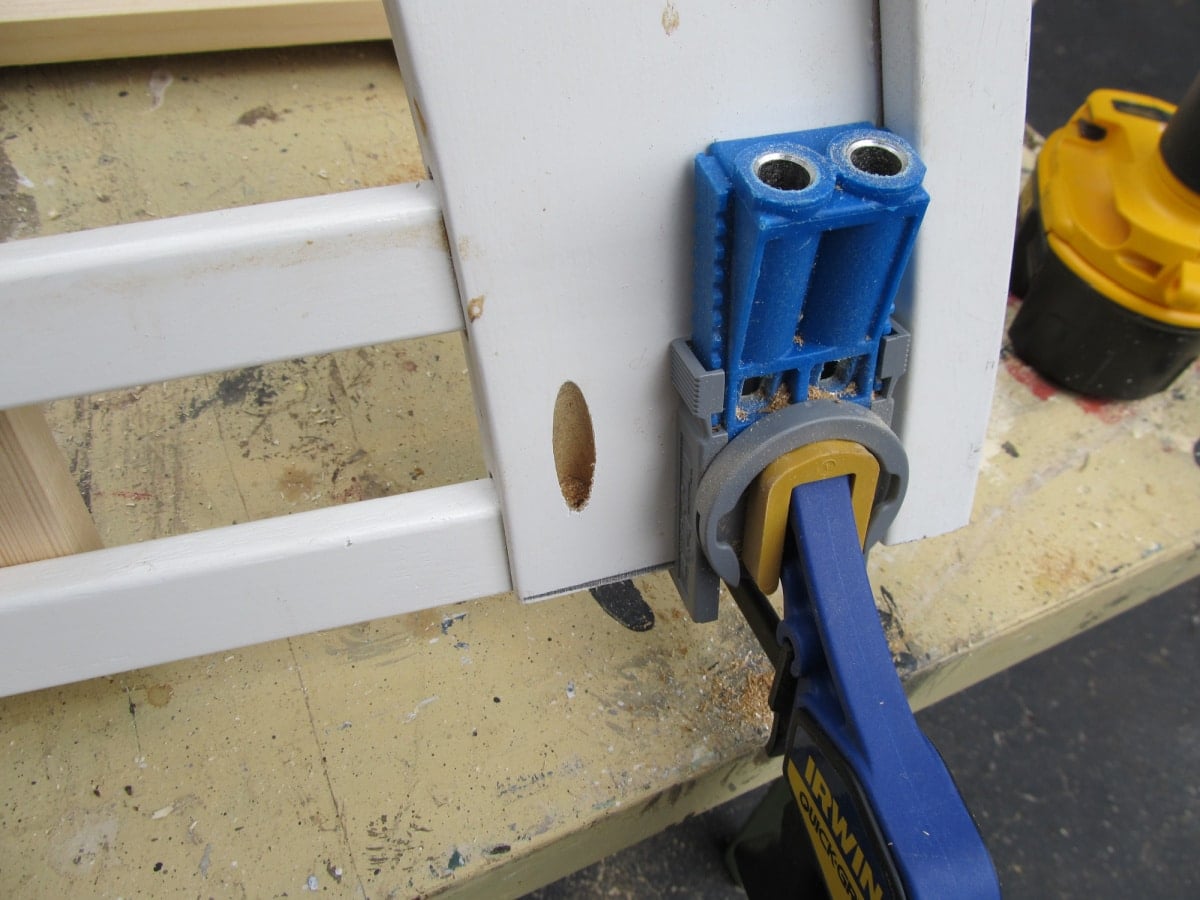
I drilled pocket holes where the arm pieces met the back and attached them with pocket-hole screws.
This is when it finally started looking like a bench instead of a collection of crib parts.
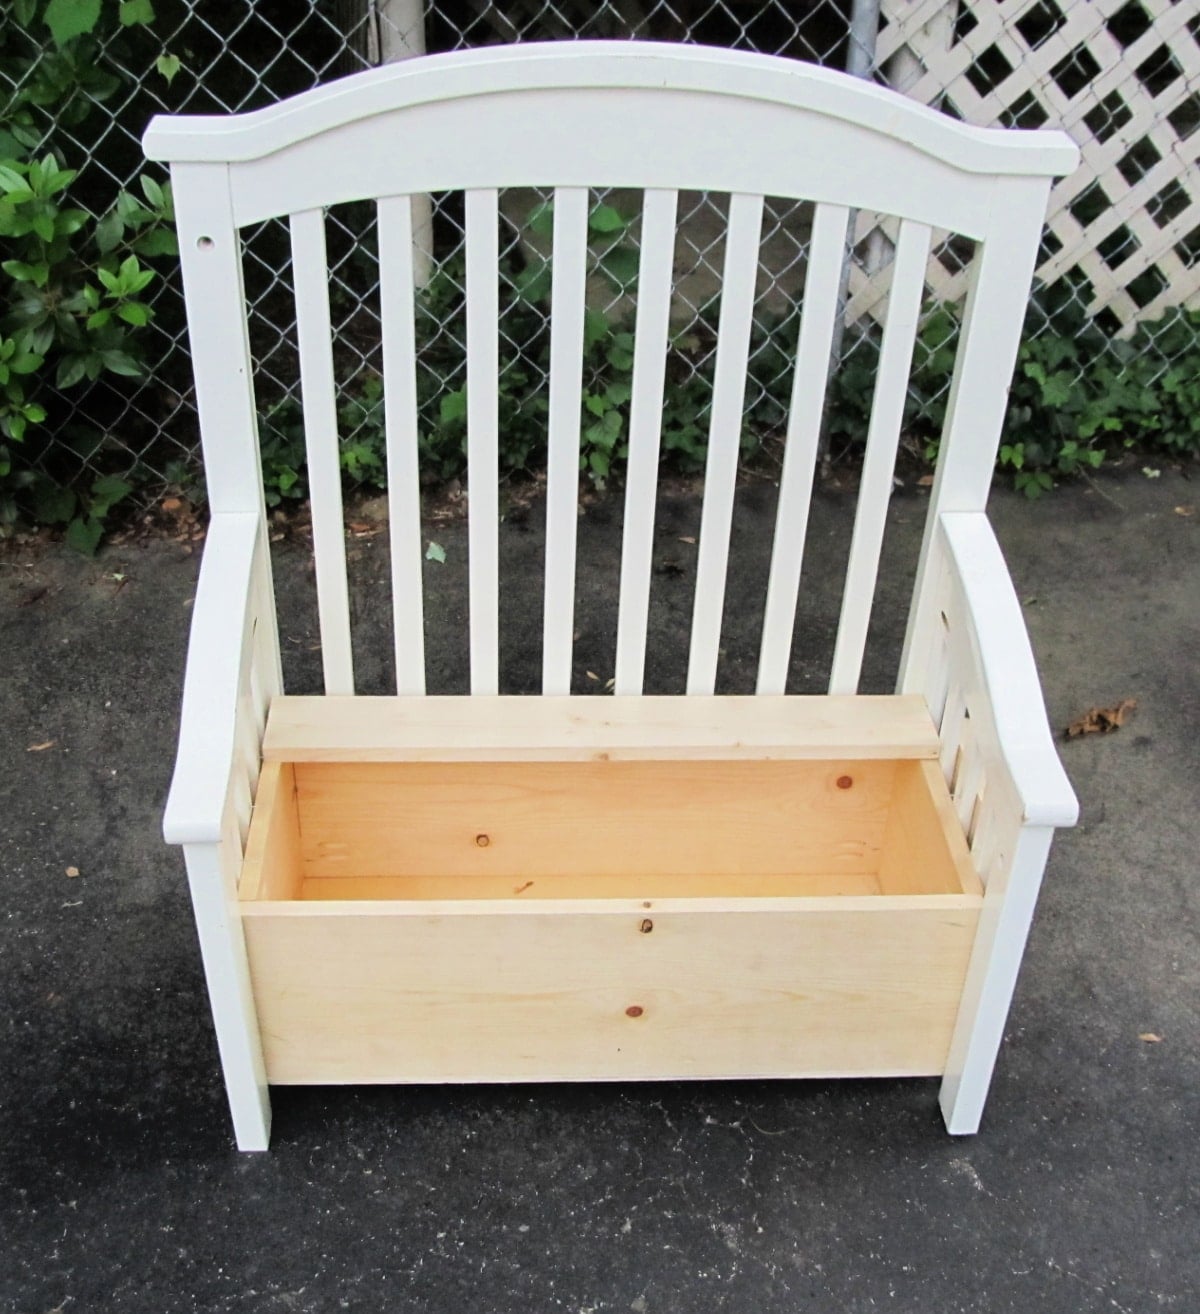
It’s so satisfying when a design comes together, especially when you fly by the seat of your pants.
Go With The Flow When It Comes to Design Changes
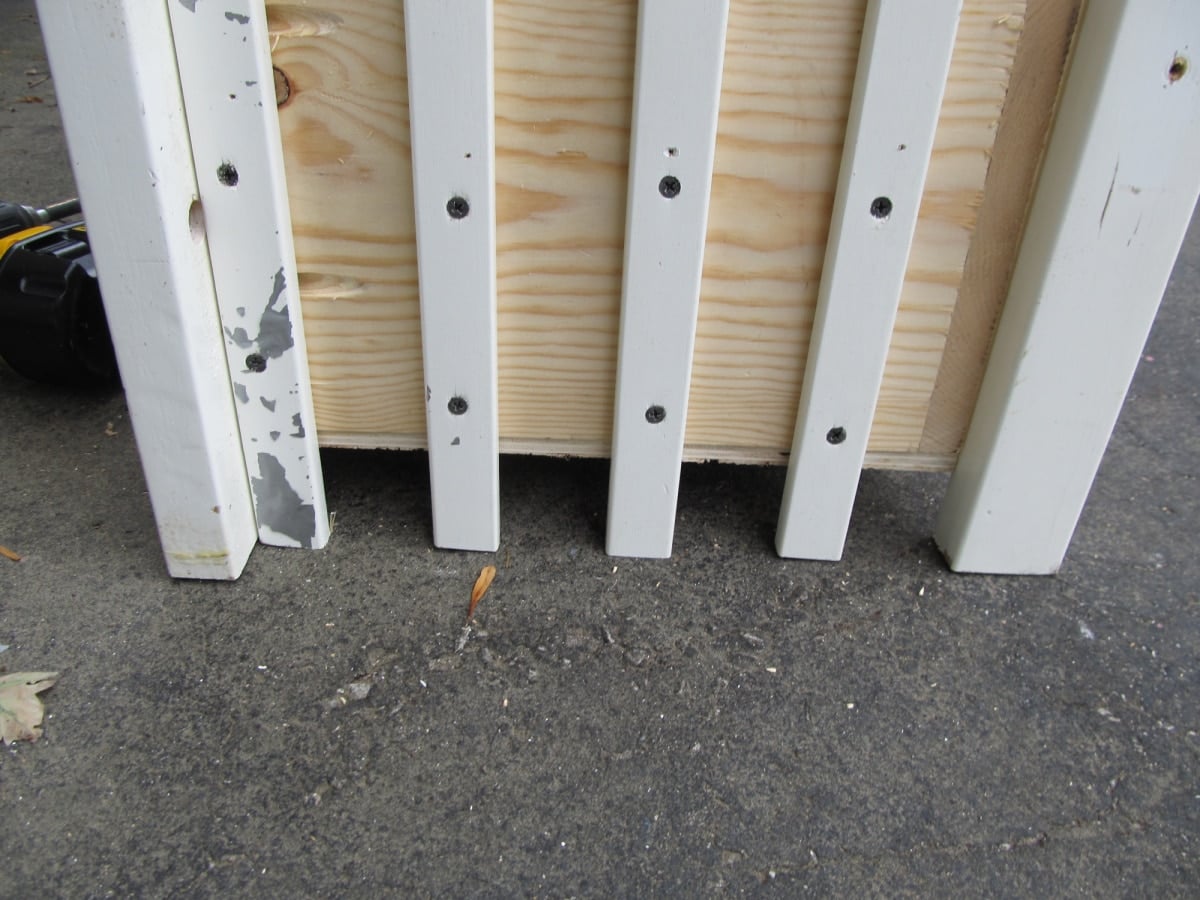
Once I stepped back and looked at everything, those three slats hanging in the middle of nowhere clearly had to go. I trimmed them off with the jigsaw.
This is why I like dry fitting and standing back to look at a project from a distance. Sometimes the next step doesn’t become obvious until you actually see everything together.
Are ya still with me? Need a break? Go ahead, I’ll wait.
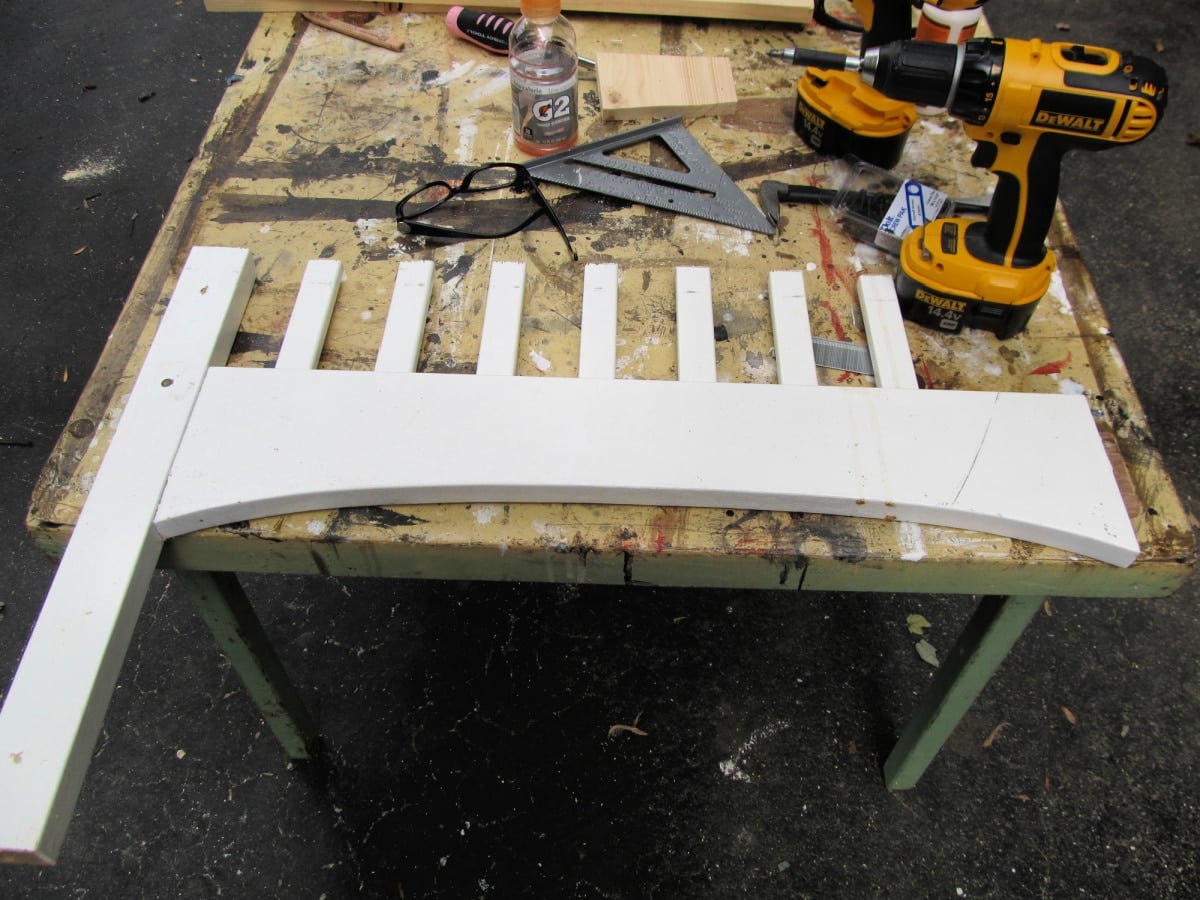
This is one of my favorite parts of the project. The piece I cut away while making the armrests fit almost perfectly across the front of the box.
It tied the new wooden box back to the original crib and made the whole thing look much more intentional.
Use Scrap Wood to Fill the Gaps
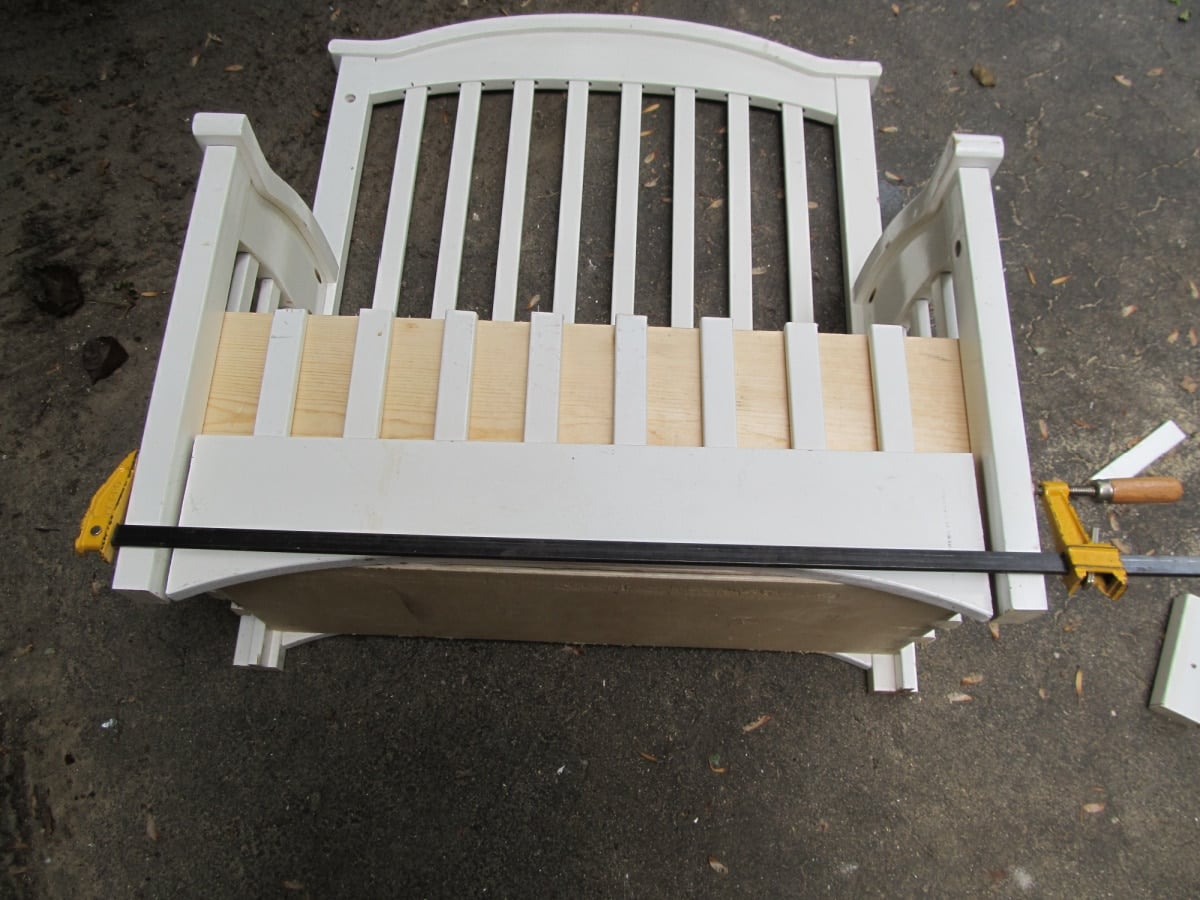
voila! Look how nice that looks on the front, tying it all together! Do you think it’s looking less like an upcycled crib?
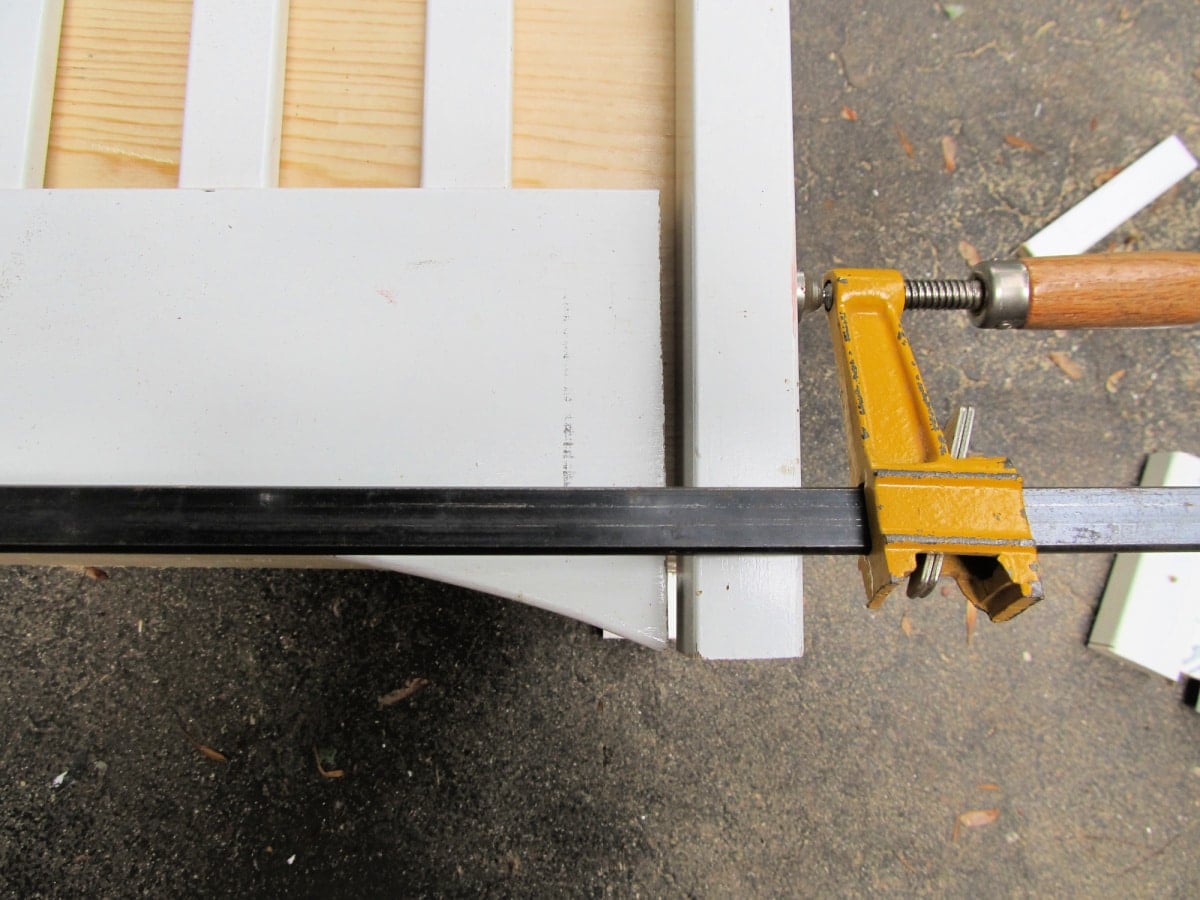
The decorative crib piece was just a little short on each side, so I filled the gaps with small pieces of MDF.
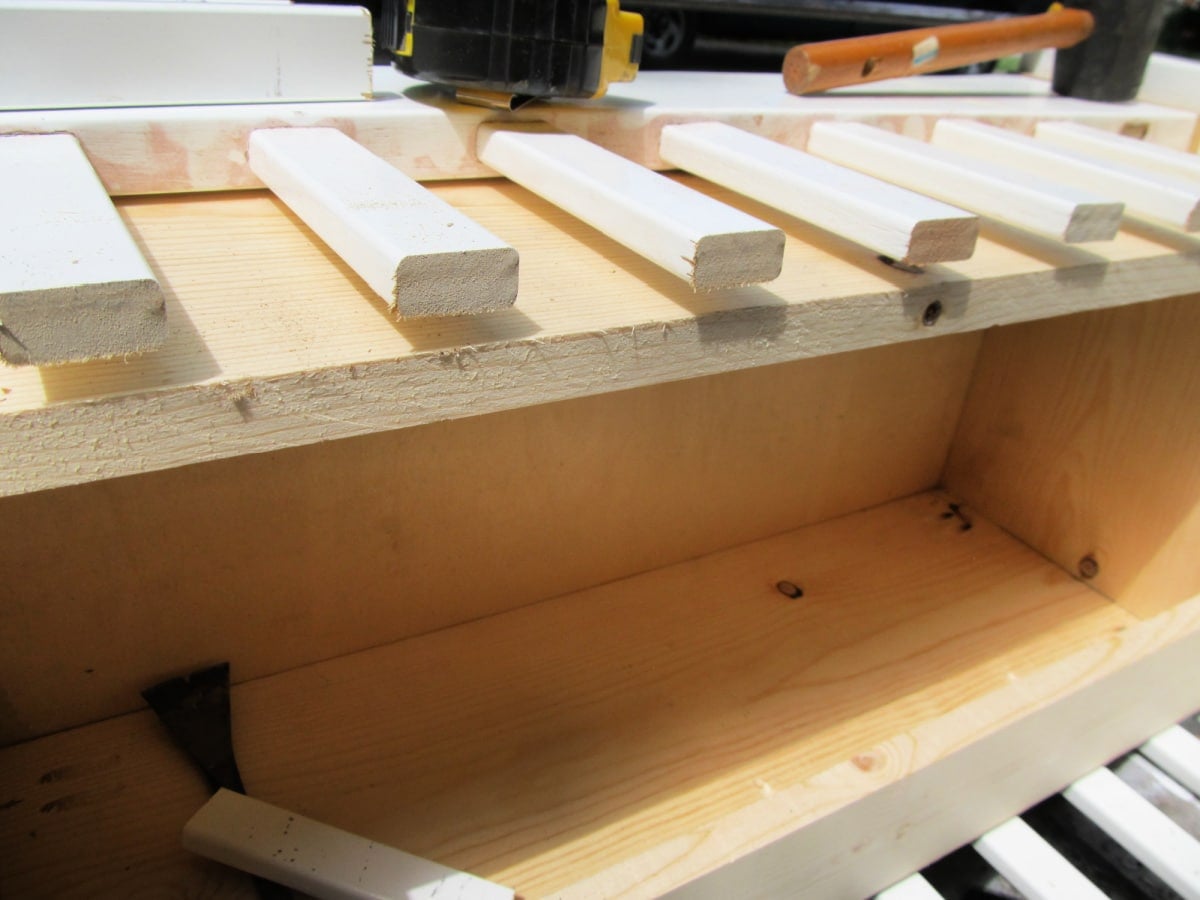
I also discovered that some of the slats didn’t actually rest against the wooden box. Another scrap piece behind them gave everything the support it needed.
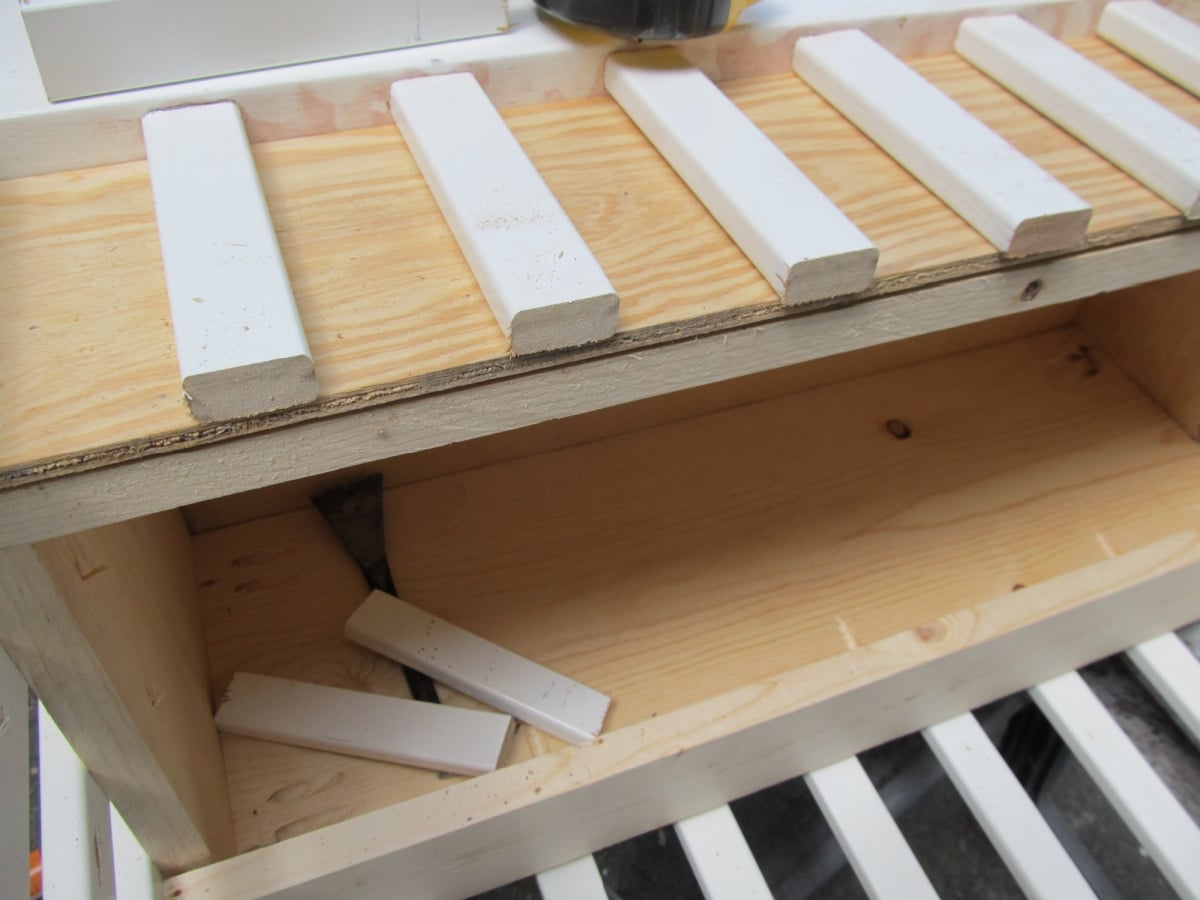
These aren’t glamorous steps, but they’re pretty typical when you’re repurposing furniture. Very little fits the first time perfectly, and scraps often solve the problem.
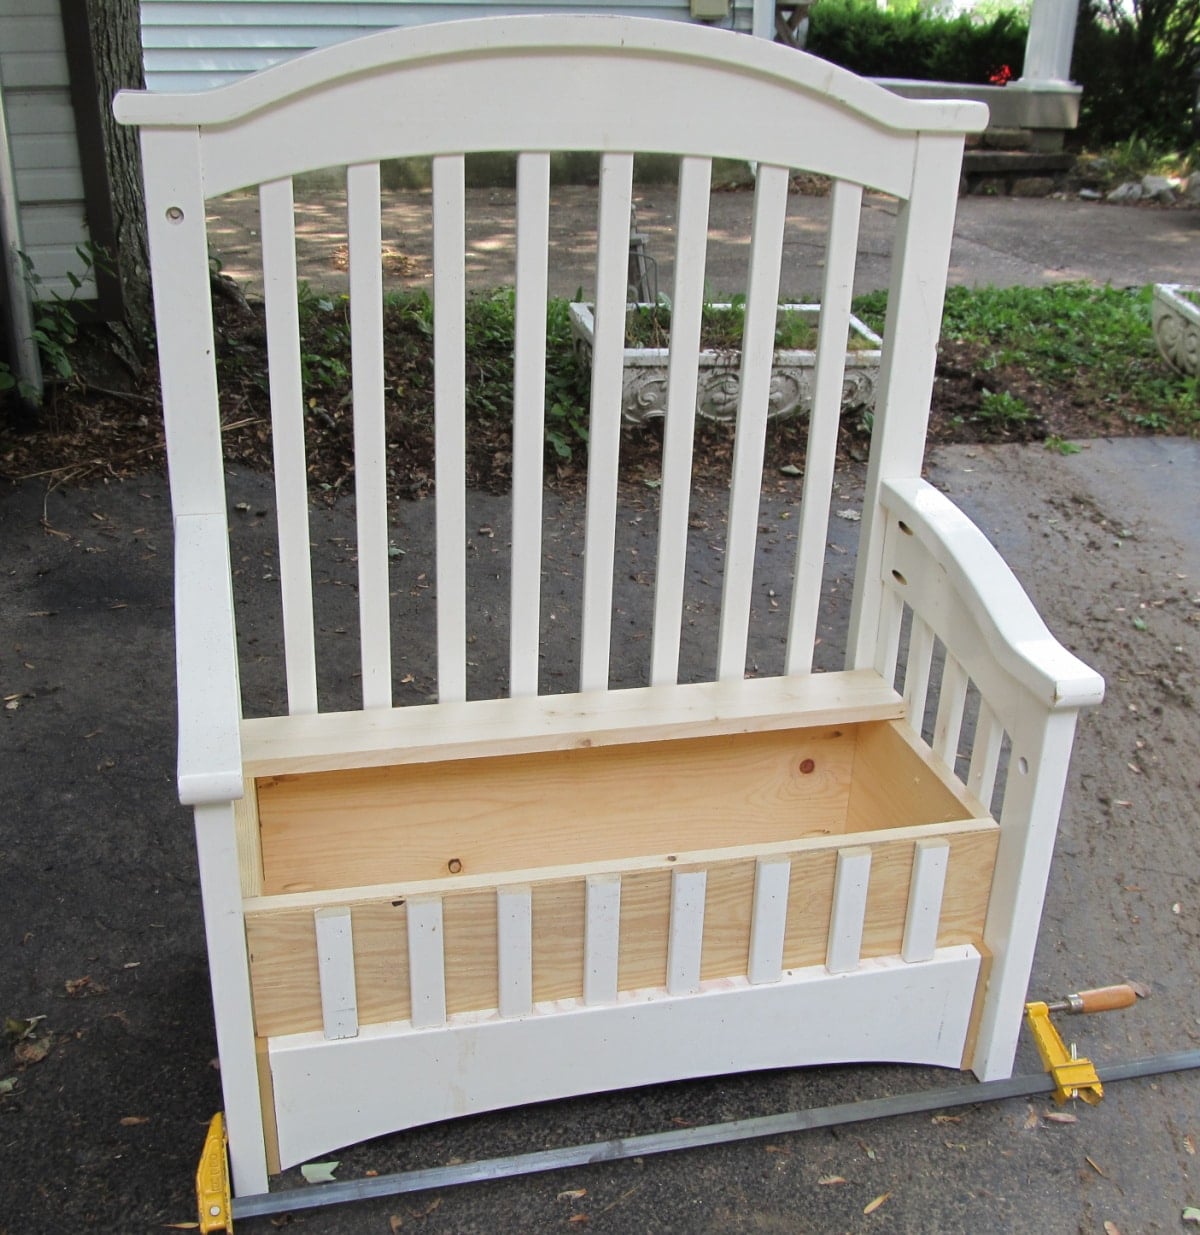
Here, you can see the MDF pieces on each bottom front side.
More Design Adjustments
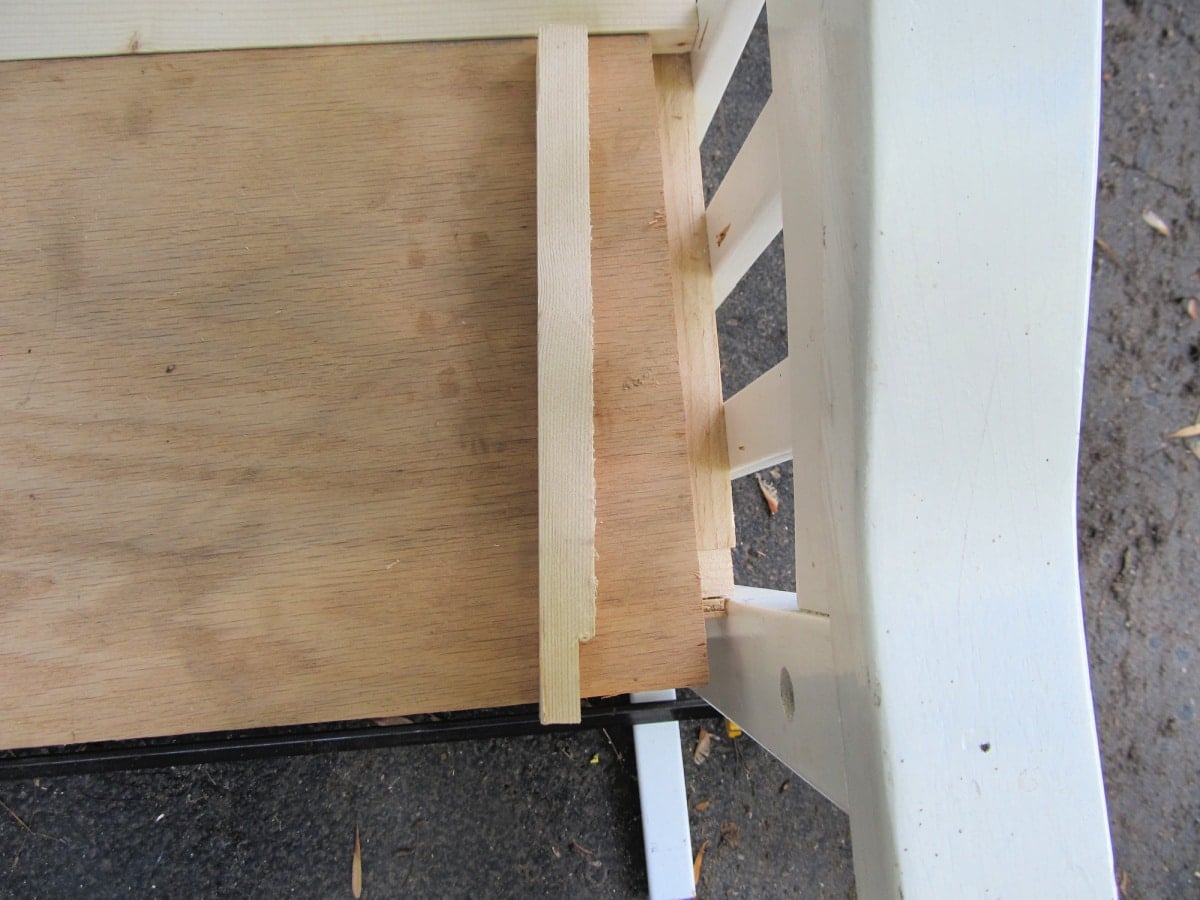
Here’s another spot where the project made me change direction.
The overhang on top of the armrests prevented the lid from opening properly. Rather than changing the armrests, I shortened the width of the seat/lid.
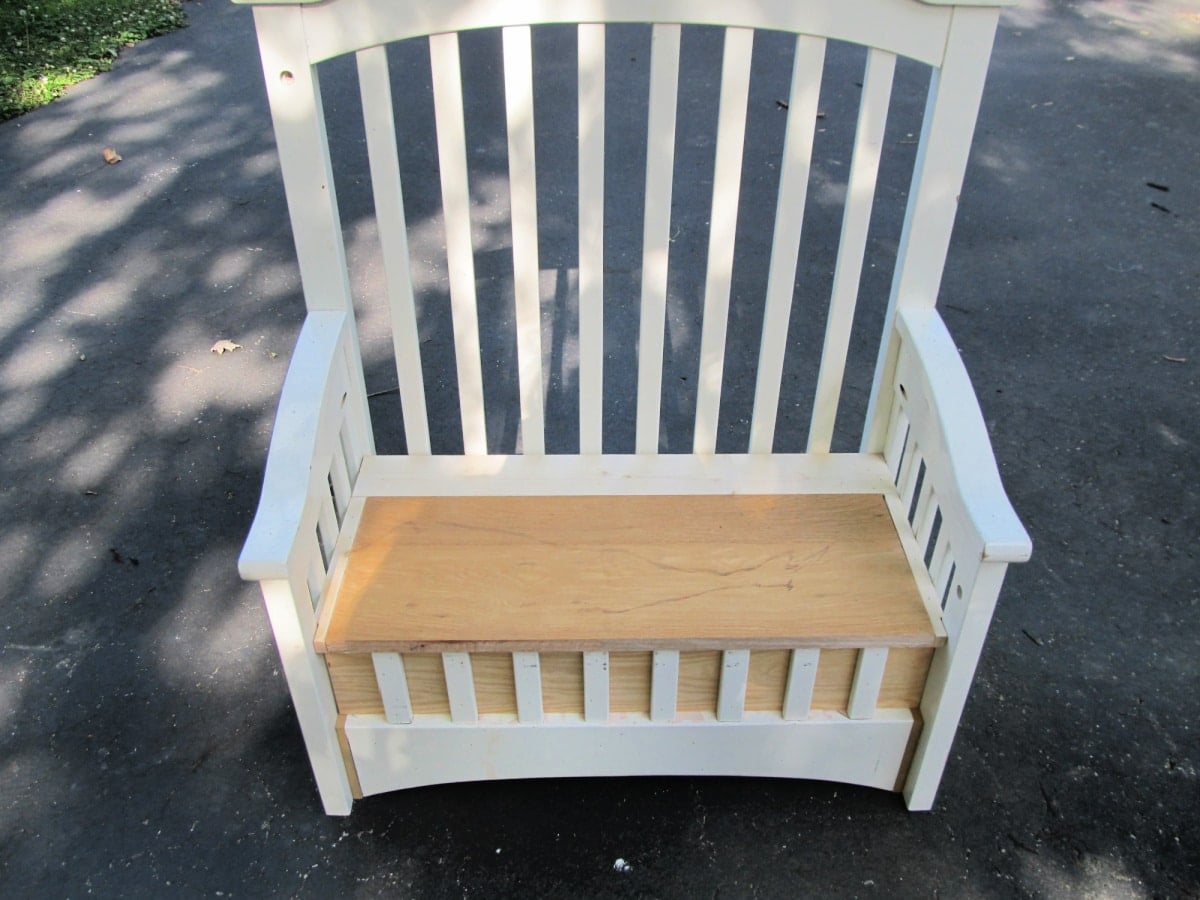
The upcycled crib toybox is looking much better!
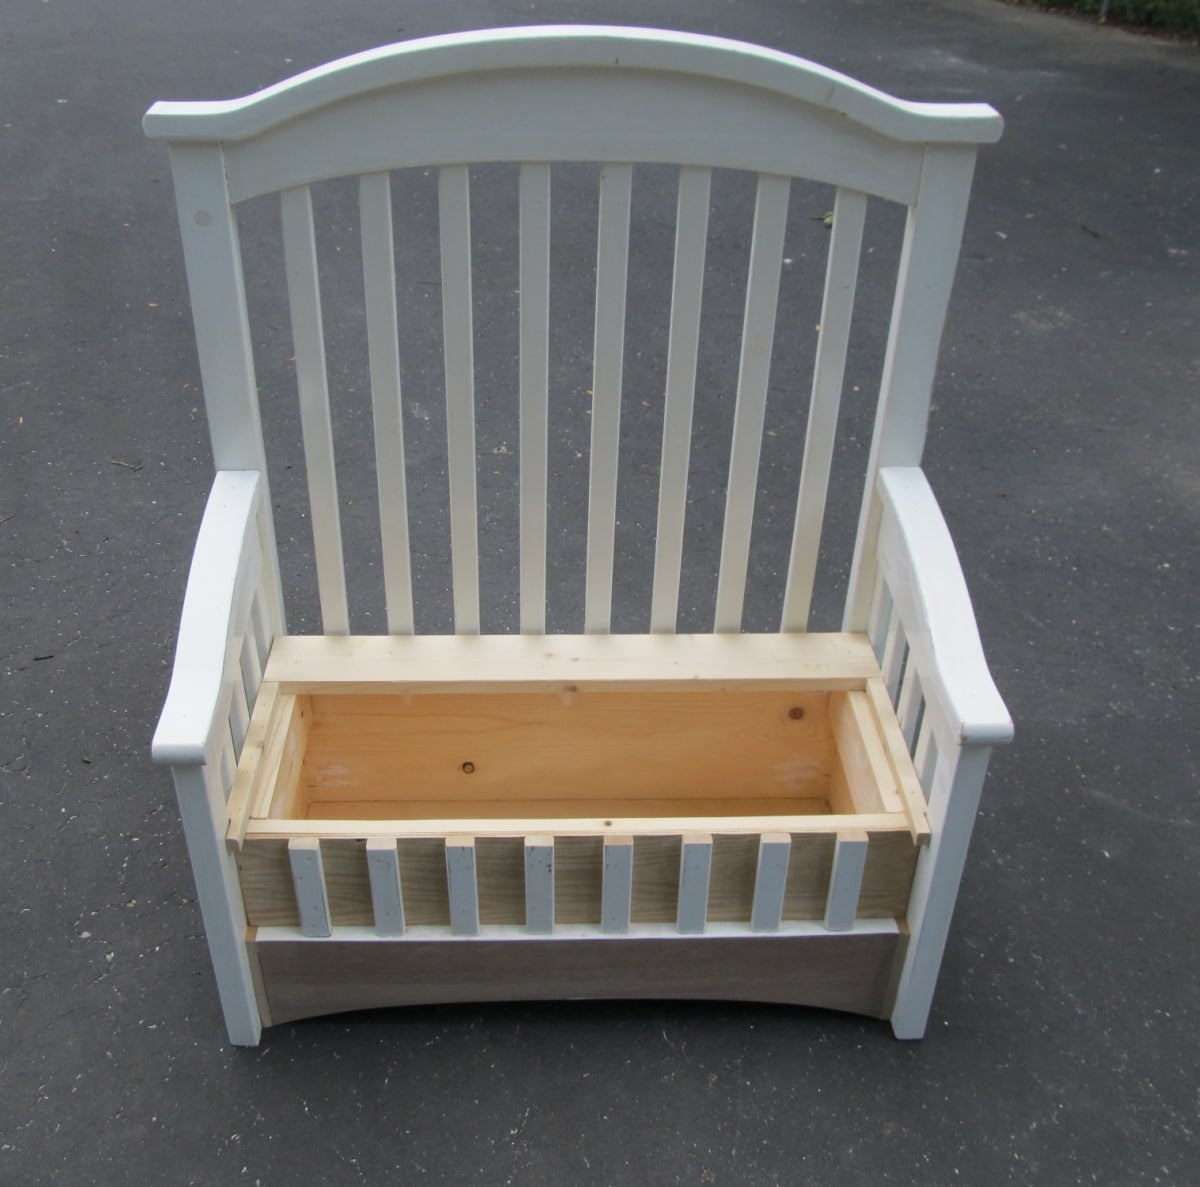
Are you loving it?
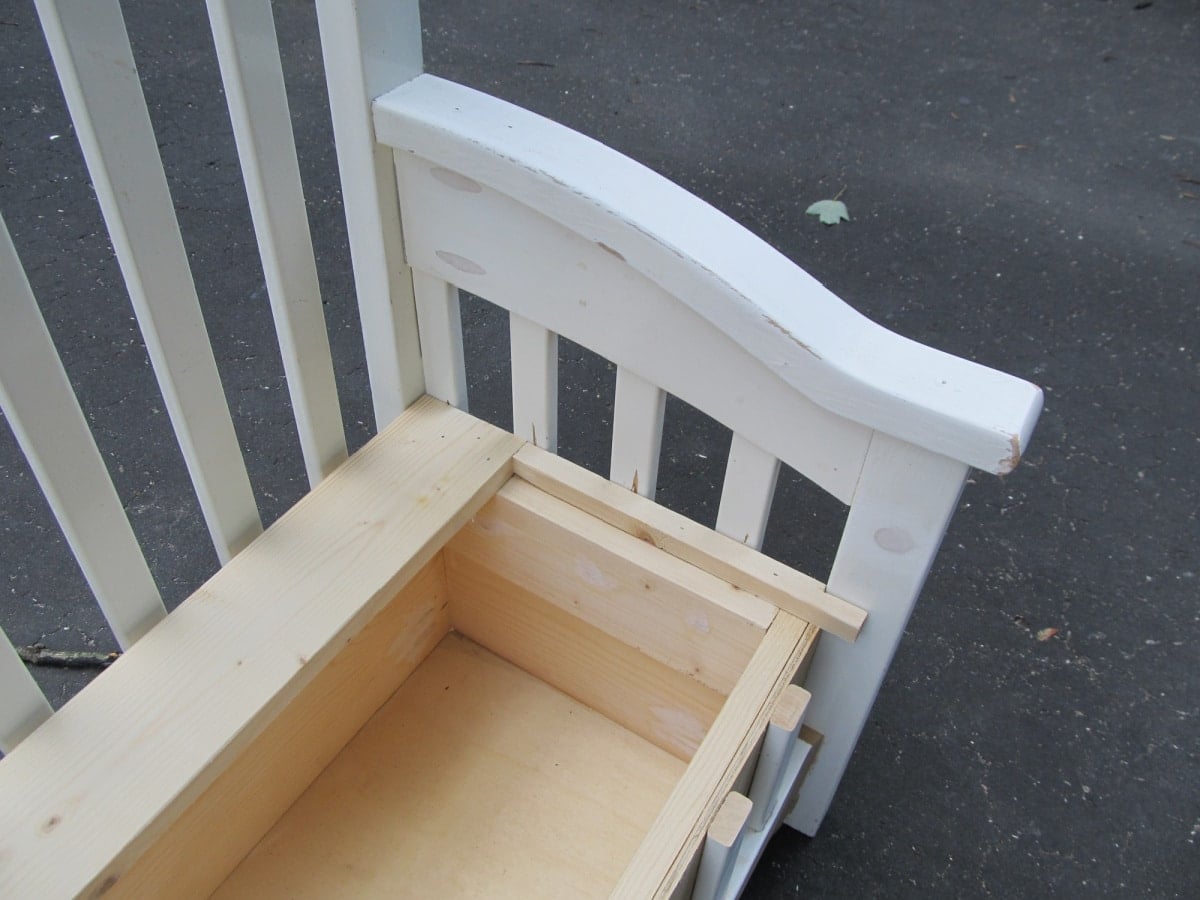
Of course, that left a larger gap on each side than I wanted, so I made small filler pieces from scrap wood and notched them to fit around the existing crib parts.
I also added a 1×4 on each side so the lid would have a solid place to rest.
A little of the MDF stuck out past the front, but my orbital sander took care of that and blended everything together
Time to Use The Paint Sprayer
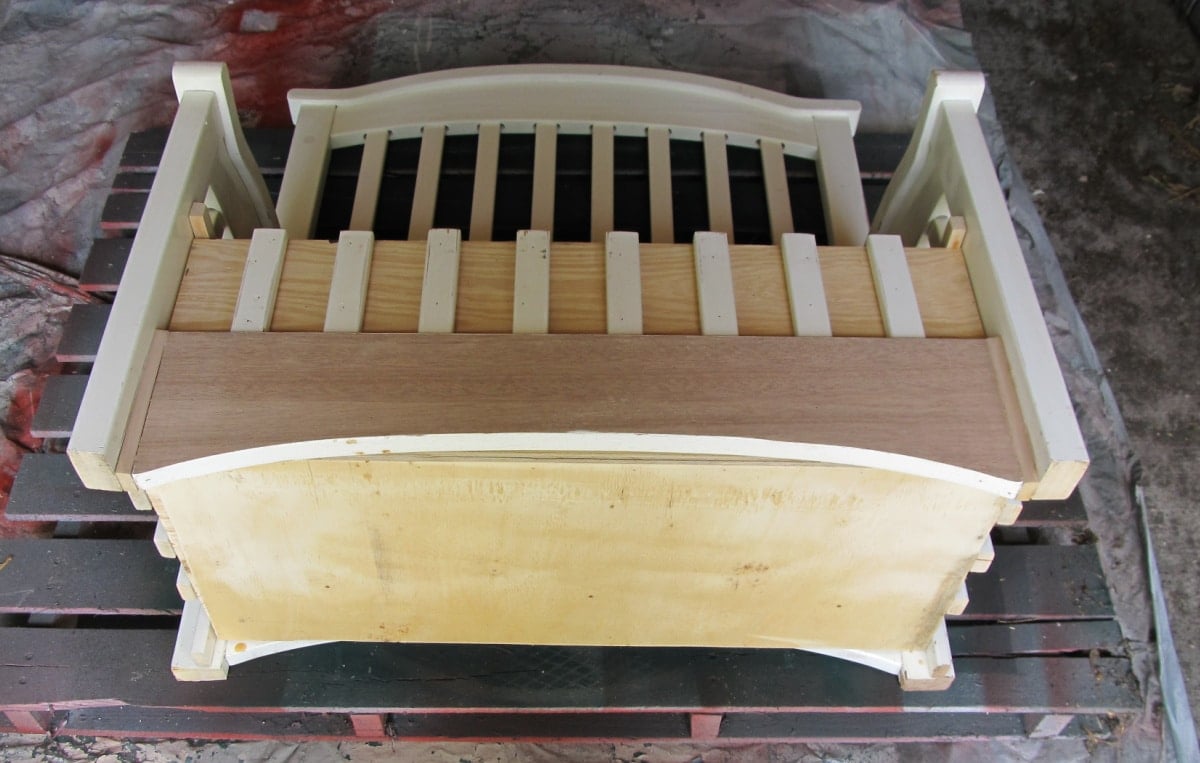
With the construction finally finished, it was time for paint.
I always start by painting the underside first. It’s much easier to get into the corners and awkward areas before flipping the project upright.
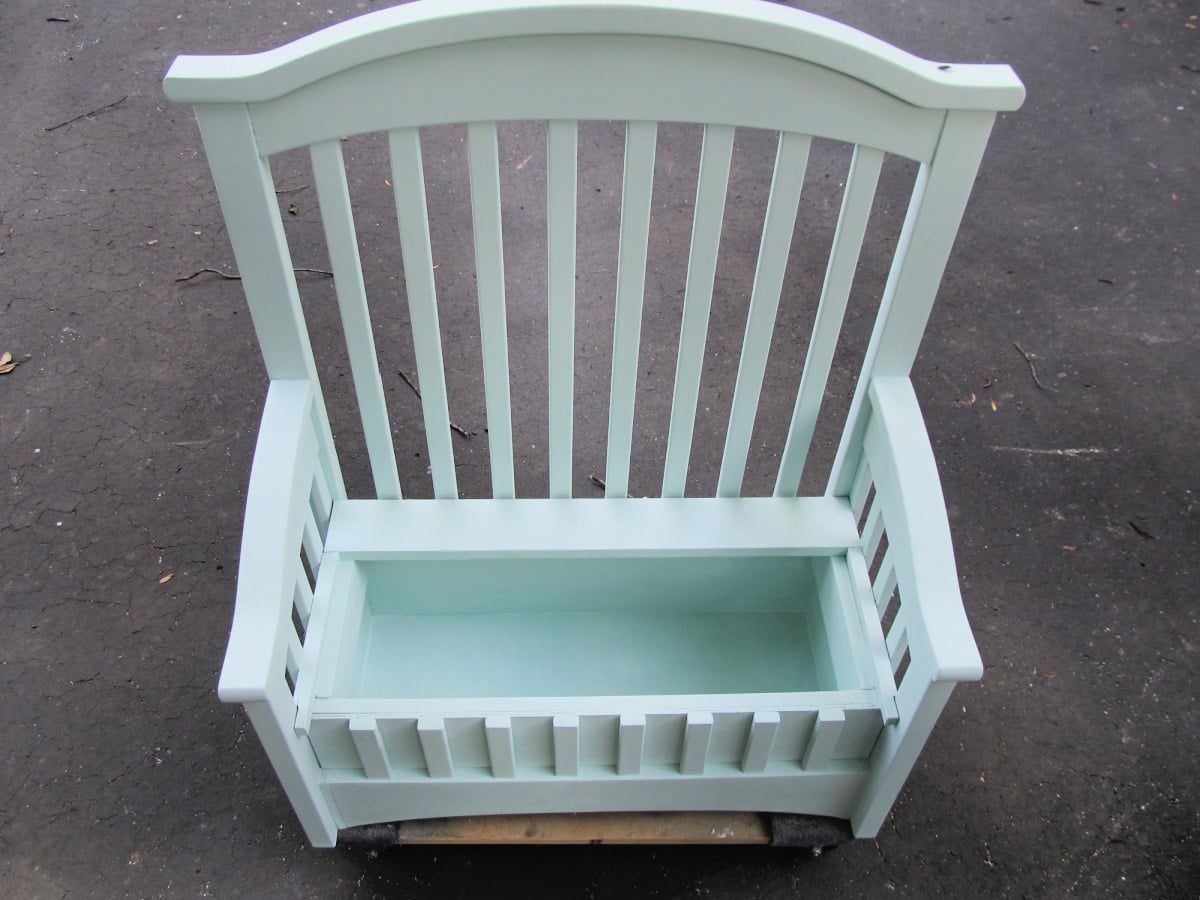
I used my HomeRight Finish Max Fine Finish Sprayer and chose a color from my rather large stash of oops paint.
Repurposed Crib Storage Bench
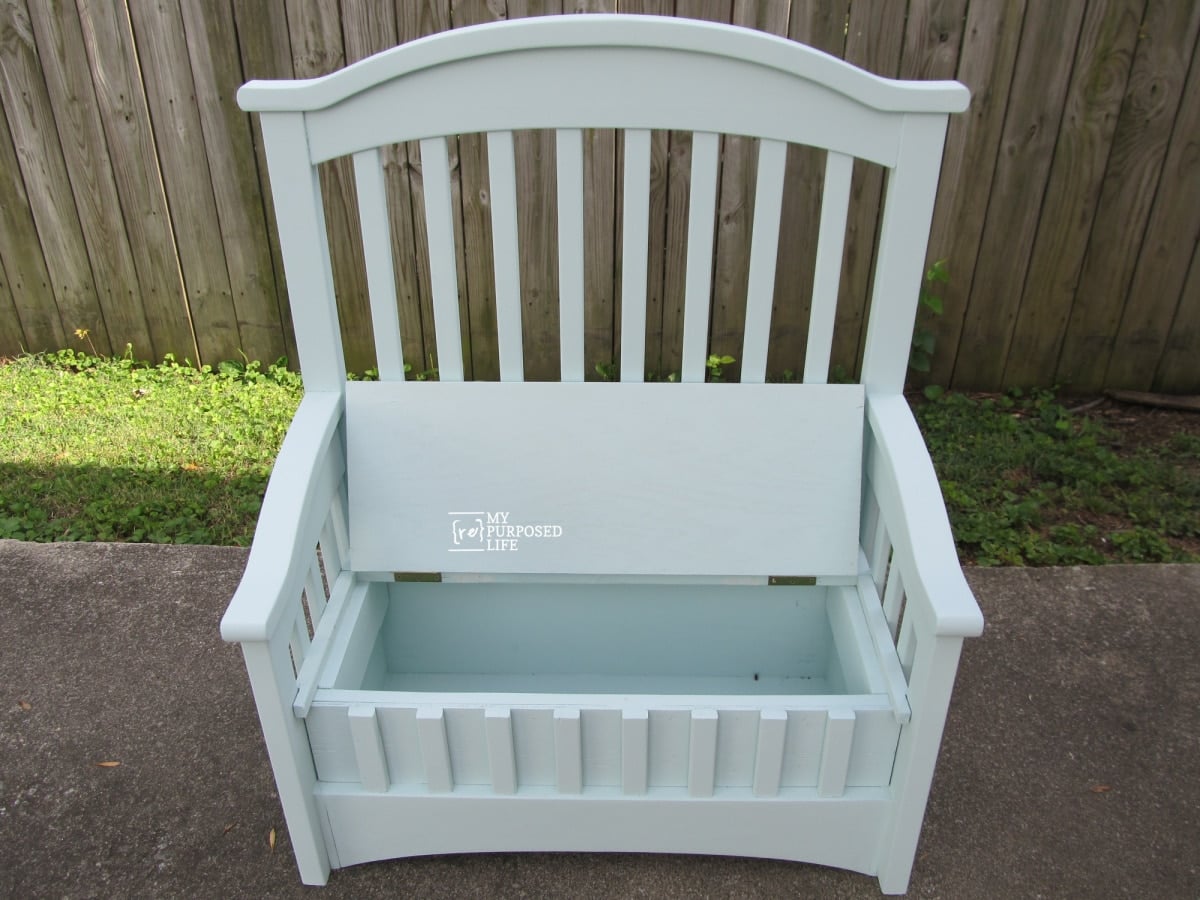
Of course, I had to put the hinges on and off several times to get them perfect. I always struggle with hinges!
A quick toy box safety note: If I were building this project today, I would add a soft-close or toy-box lid support so the lid couldn’t fall freely on little fingers. For children’s storage, it’s also important to avoid a lid that automatically locks and to make sure an enclosed box has adequate ventilation.
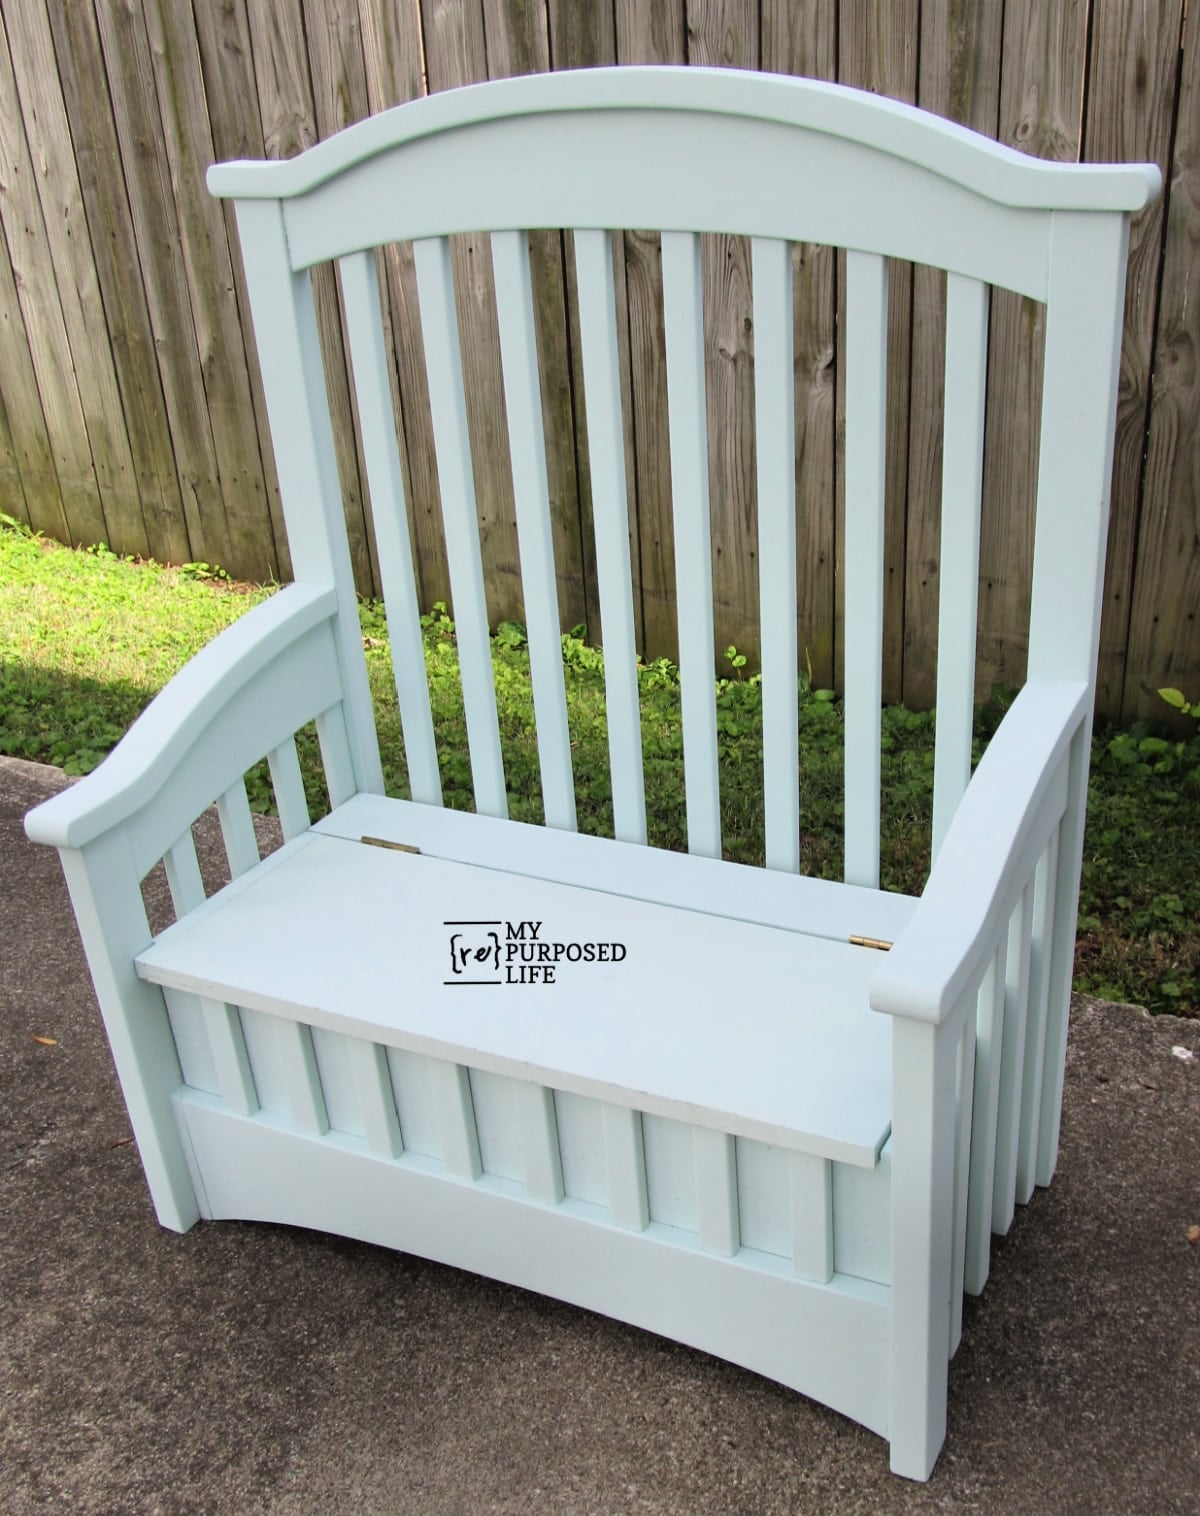
This was my first bench with built-in storage, and I couldn’t have been happier with how sturdy it turned out.
The storage box solved the structural problem while giving the bench a whole second purpose. There’s plenty of room for toys, blankets, or other kid stuff that always seems to need a home.
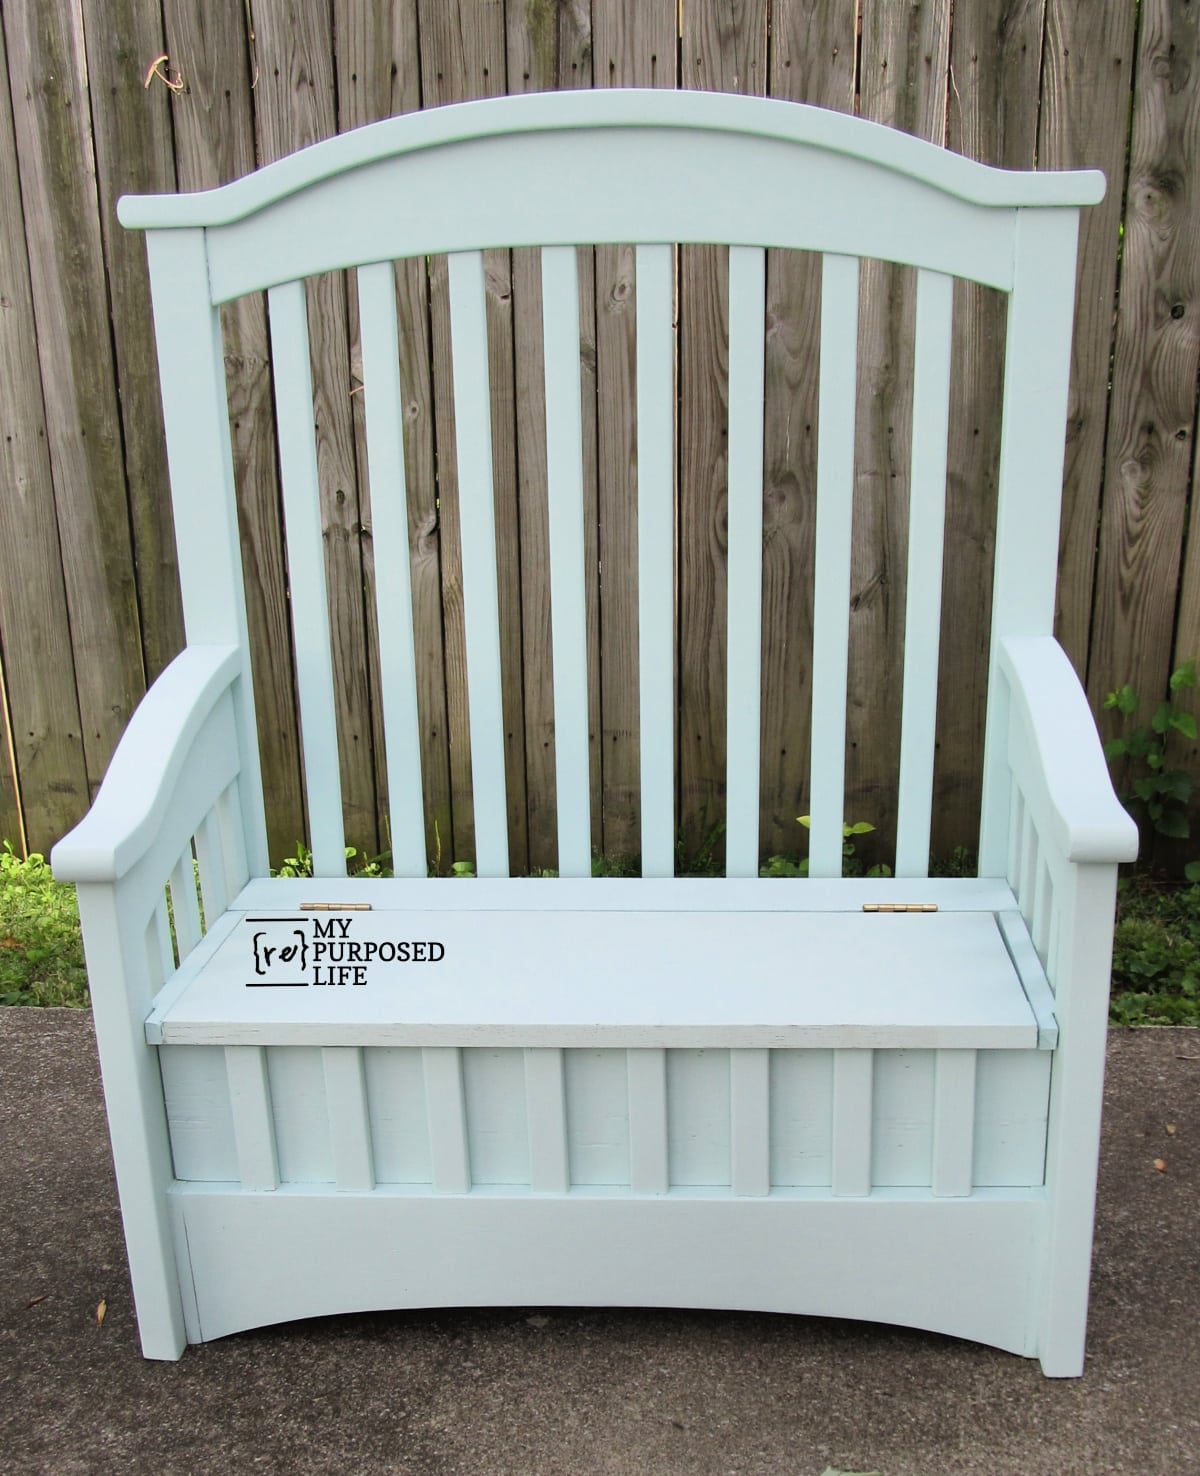
You could also personalize the back with a child’s name, change the paint color, or leave the storage area open instead of using a hinged lid.
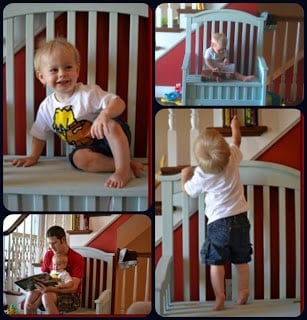
I gave it to this little guy for his birthday. Do you think he loves it?
Styling Suggestions for a Toybox Bench
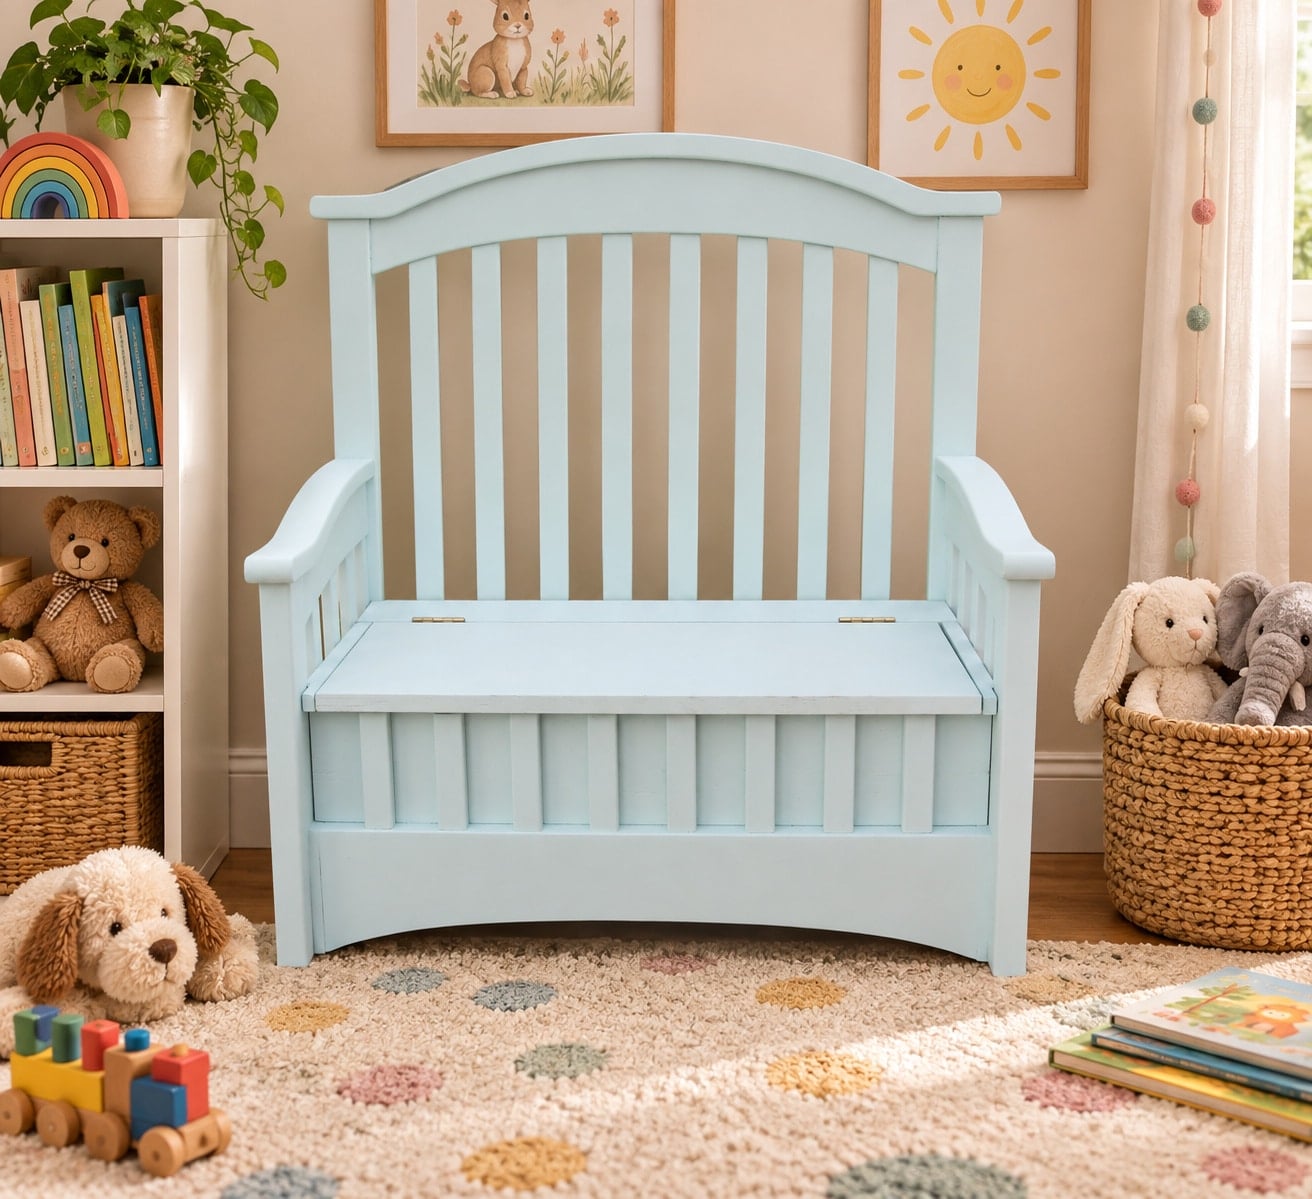
The color would be perfect in any child’s room for storage. Add a few pillows, and it becomes a cozy nook for reading their favorite book.
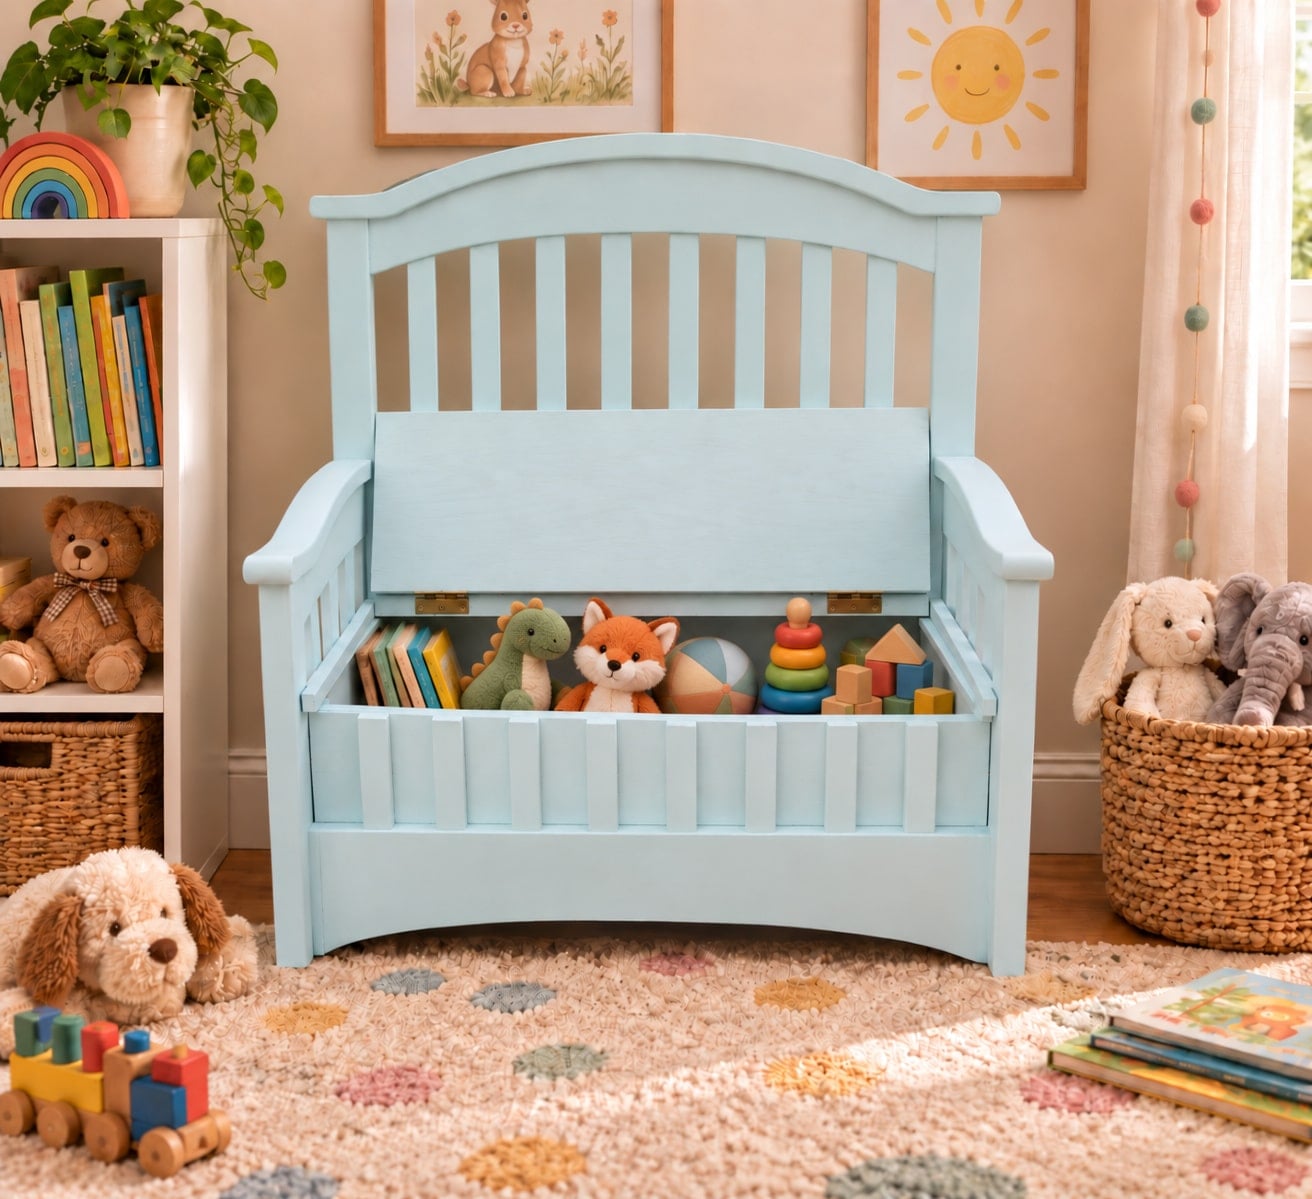
I so enjoyed building this upcycled crib bench!
Using an Upcycled Crib Bench in an Entryway
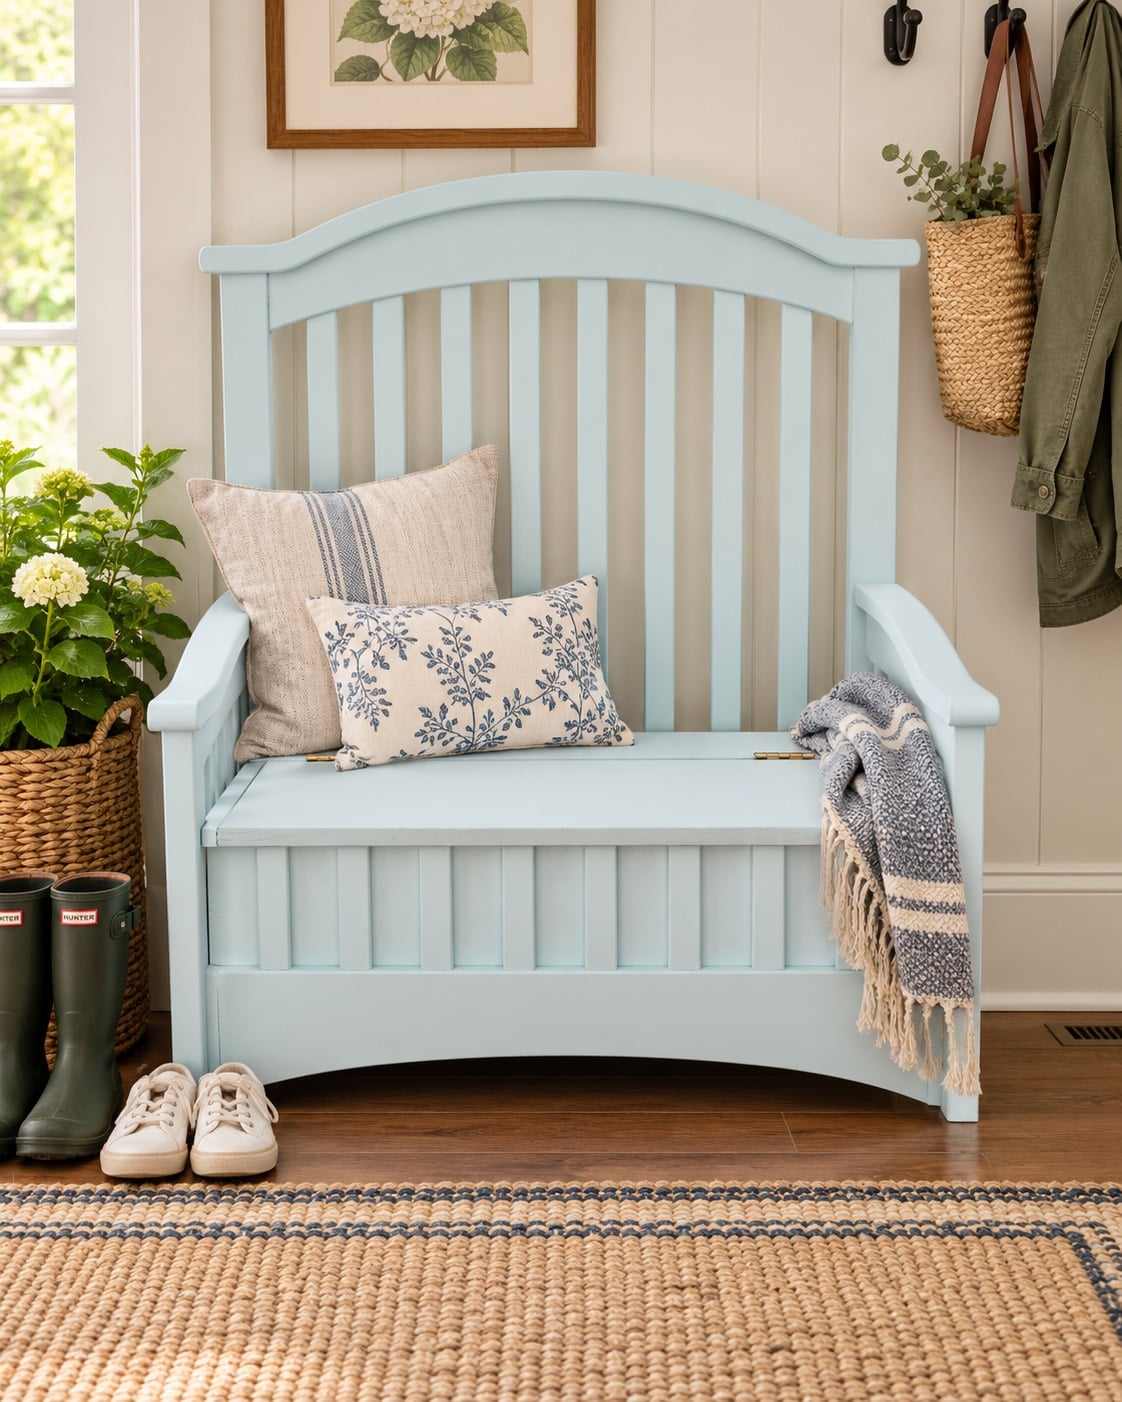
When I originally built this bench, I pictured it holding toys. But hidden storage doesn’t have to be limited to a child’s room.
This would also make a really useful mudroom or entryway bench. The seat gives you a place to sit while putting on shoes, and the storage underneath could hold blankets, shoes, bags, seasonal accessories, or whatever tends to collect near the door.
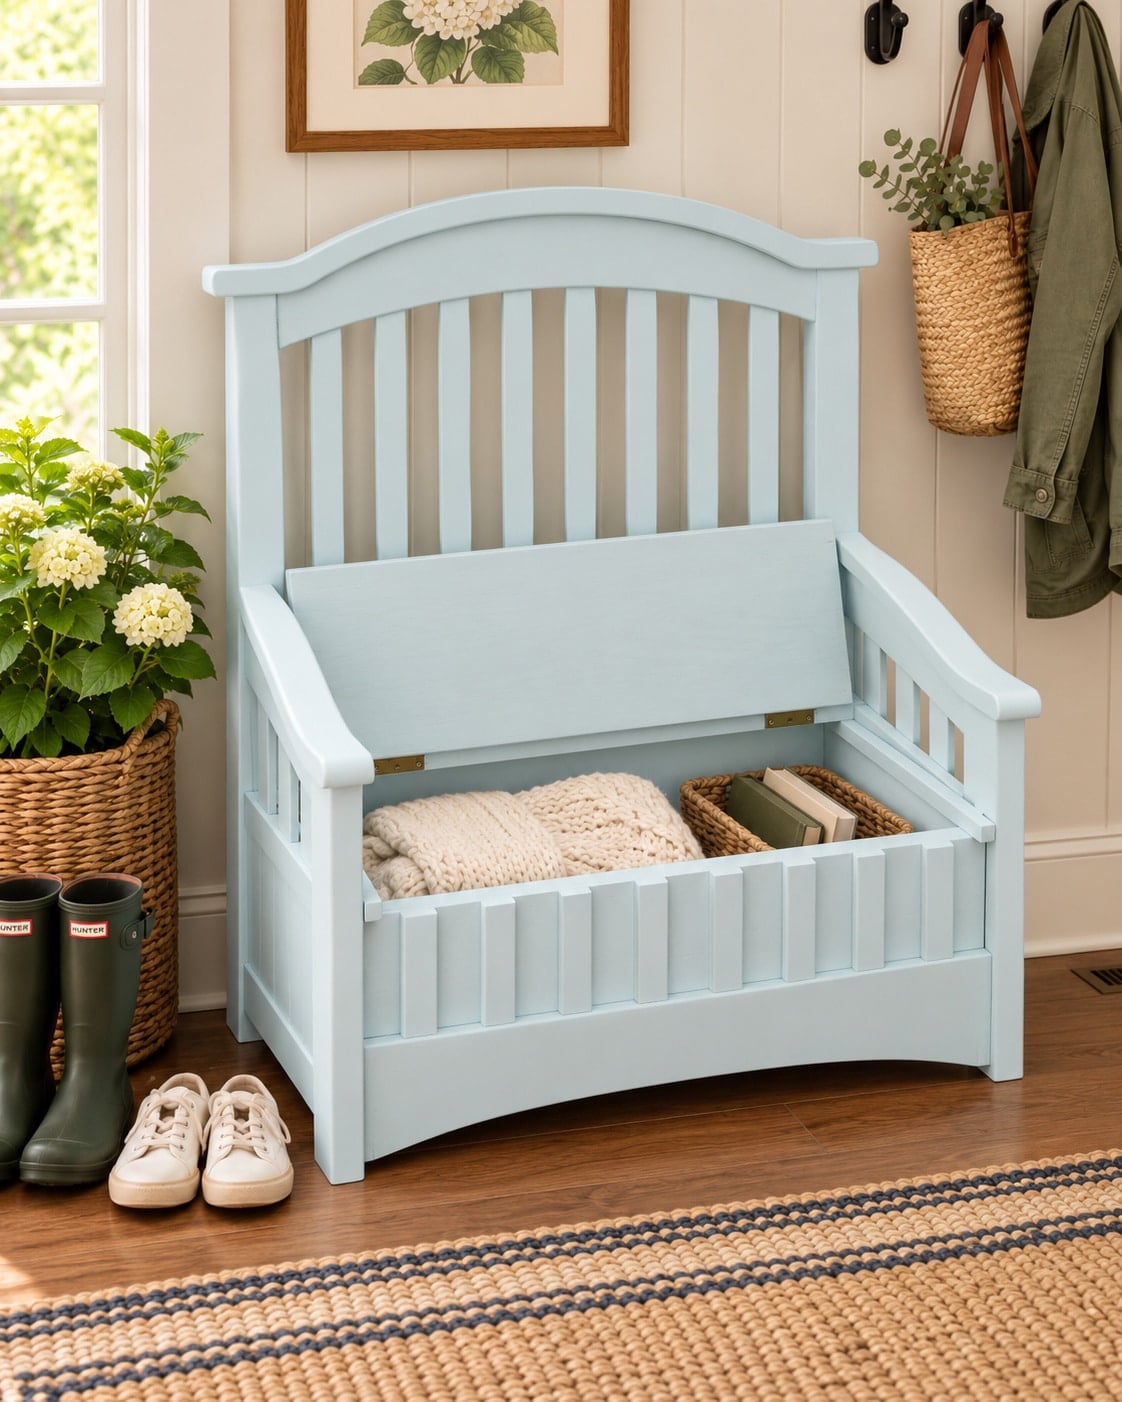
A storage bench like this could work in a child’s room, an entryway, a mudroom, or even at the foot of a bed. Change the paint color and what you store inside, and it could take on a completely different look and purpose.
That’s one of my favorite things about repurposing old furniture. You don’t have to use something the way it was originally intended. Sometimes an old crib just needs a little imagination, a few scraps of wood, and a new job.
Do you have an old crib tucked away somewhere? What would you store in your bench?
Check out more crib projects here.
I like how you just go for it and change it as you go along. It turned out so cute and I’ll bet he loves it! Maybe it was even his crib – how fun would that be! Extra storage is always a good thing and when it looks great that’s even better. Great job! Love the color!
Janet,
You comment made me smile! I don’t think it was his crib, but his grandmother passed it on to me. 🙂 So, at least it stayed int he family.
Thank you so much for stopping by and taking the time to leave a comment.
gail
Excellent Gail! Your post are so instructive and help. Everything looks beautiful and inspiring.
awwww, Albertie! Thank you so much for taking the time to read my repurposed crib tutorial. It means more than you know!
gail
I have been wanting to repurpose the crib I have since it’s not even legal to donate side drop cribs anymore .I couldn’t bear to just take it to the dump. It held my babies. Now I’m inspired. Thank you.
I’m thrilled that you found this project to have a purpose for your old crib! Wishing you lots of luck when you start your project.
gail
I LOVE LOVE this!! We have the crib that my husband hand made for our two kids (now 27 and 30 years old.) We are expecting our first grandbaby (a GIRL) in May and want to make something very similar to this. I think we can make 2 from our crib. Do you possibly have or know the finished dimensions for the one your build? I would really appreciate it if you could share that info.! Thank you, Granna to be!
ohhh, sounds like a perfect project for your new grandaughter! I’m sorry I do not know the dimensions of this bench. Since it was made from the crib I had, I let that be the guide for the size.
I appreciate you stopping by and taking the time to leave a comment.
gail
I love remaking old things into new things for my home.
I LOVE this idea! I have 2 ends from a baby bed I re-purposed by using the
sides as ‘pot racks’ to hang cookware on for my daughter & myself on our kitchen walls.
I was hoping I could find something to incorporate them into, & your idea has come
to my rescue! Your bench looks SO nice! My granddaughter will love one too!
Thank you for sharing!
Theresa,
I’m so happy you found this project to inspire you. 🙂 Thank you for letting me know you stopped by and taking the time to leave a comment is much appreciated.
gail
I just wanted to say I like what you do as I do the same thing and currently have 10 benches ready to market.
It’s always fun to find a piece and turn it into something else with new life and purpose. Please check out my site and comment when you have the time… Great Job … Never give up !!! Your creations are wonderful and have meaning and usefulness. Greg
LOVE, LOVE LOVE….. Your first storage toy box, uh no pressure or nothing on your self right… geez that is amazing…. I want your talent… !!!!
hey check out this person using your picture and instructions for her own personal gain……..
http://www.listia.com/profile/2564336
my email is bobnjanner@hotmail.com
Thank you so much! I really appreciate the heads up!
gail