adding trim to fireplace
As an Amazon Associate, I earn from qualifying purchases.
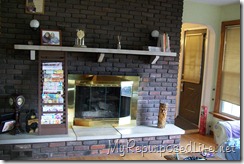
Before (just a reminder how I started)
I’ve added the trim to both ends of the mantel. See that little empty spot to the right? Today I cut the piece of wide trim for it, and I trimmed (using the jig saw) the lauan to match. Lots of piddling little things that take a lot of time!
I taped and glued this trim on Tuesday night. I also taped and glued the trim on the other side of the firebox. Then I sat back (around midnight) to admire my work. Suddenly I noticed on the right side, it was ALL WRONG! Wish I had taken a picture, but pure panic set in, I jumped up and started ripping off tape, hoping that I was in time to remove the trim without any damage. Whew! I was just in the nick of time. I decided to call it a night and head to bed, start fresh on Wednesday.
It was a sunny day (but very cold) on Wednesday, a good day to set the miter saw up and get busy. I drew a rough sketch of what I wanted my trim to look like, took some measurements and got busy.
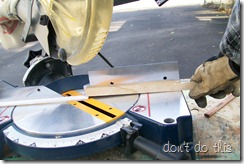
I am showing you how I cut the trim. I do NOT suggest you do this! In fact I highly recommend you NOT do this. This trim is very thin and fragile. It is nearly impossible to cut the tip off without splintering and splitting it. I did that several times and then decided I needed to find a better way so as not to have so much waste. If the piece I was working with was long, I used a scrap piece of wood to hold down the very tip. This kept the tip in place, not flying up and hitting me. It also kept the trim from splitting.
I don’t have a picture of another way I cut the trim. If it was a short piece, I cut one end off of a long piece. To cut the other end off I laid a piece of small scrap wood on top and cut through both pieces at the same time. This allowed me to keep my fingers a safe distance away from the blade. Remember, I am not suggesting you use this method. I highly recommend you using a yellow miter box and hand saw. (I do not have one)
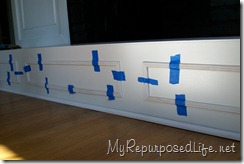
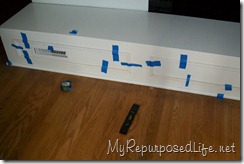
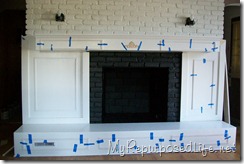
This is the hearth taped to “dry fit” everything. I wanted to fit it all, step back and take a look. I didn’t want any near disasters like I had the day before!
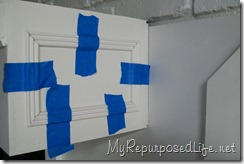
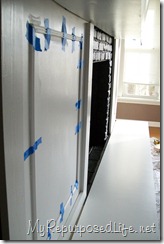
This picture is another view of the dry fit process. Sort of reminds me of my hands of late…full of band aids. I think I can finally see some light at the end of the tunnel!
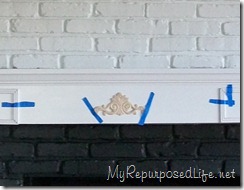
See that cute applique? That was a Christmas gift from Jamie. I’m always complaining about how expensive they are. She bought me this one and two smaller ones. Isn’t she the sweetest? love ya girl!
gail

LOVE it! You are doing such a great job! Now, I KNOW that is a LOT of work! Beautiful!
Looking good!
I too whined about how expensive the little decal doo hickeys are. I ended up doing a spackle stencil treatment on my new fireplace. If you have a second, come check it out, you might want to add something in your side boxes, and this is cool.
Your fireplace is beginning to look like a piece of art!
Karyn
Gail, it’s looking fantastic! I’m loving all of the detail. Great job!
WOW, great transformation, Gail.
Looking great. You have done a fantastic job.