Jenny Lind Bed Bench pt 2
As an Amazon Associate, I earn from qualifying purchases.
Yesterday I showed you how I used parts from several beds to raise up this foot board to make a bench.You can see that post here: Jenny Lind Bed Bench Since I only had the foot board, I didn’t have anything to use as sides to make armrests.
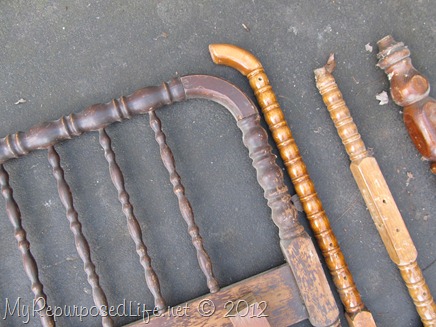 When I gathered my parts for this bench, I started looking for a way to mimic the bed so that I could make armrests.
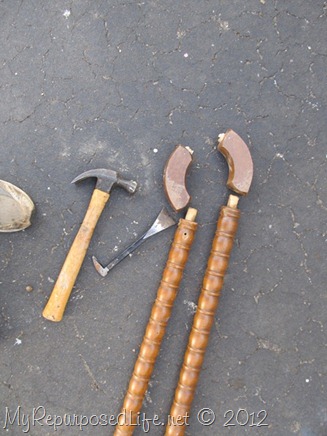
I dismantled some crib parts.
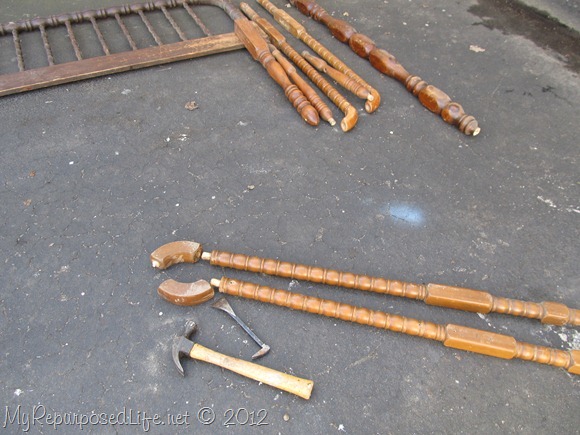 I also looked for something to use for the front legs.
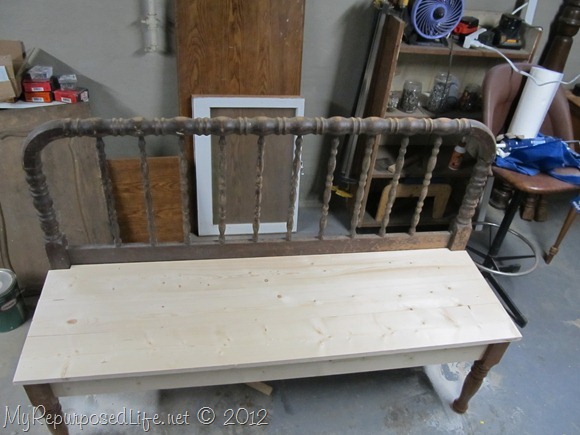 Here we have the finished bench. It looks okay, but I think it would look better with armrests.
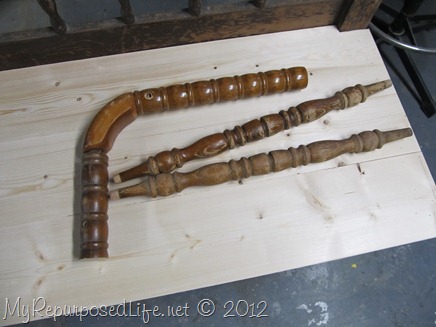 I cut the crib parts to the the actual armrest, and found some random chair spindles to help support the armrest.
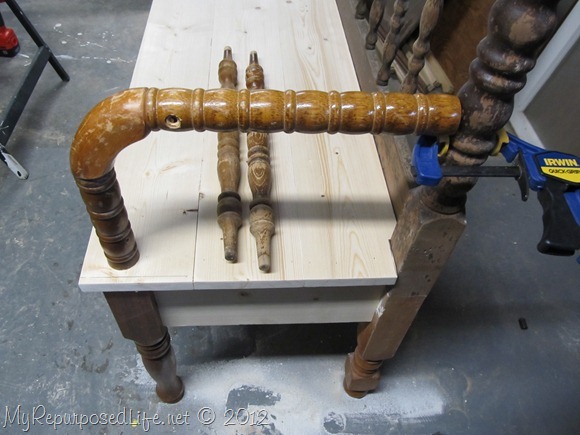 During this “dry fit” I use a clamp to hold the armrest in place.
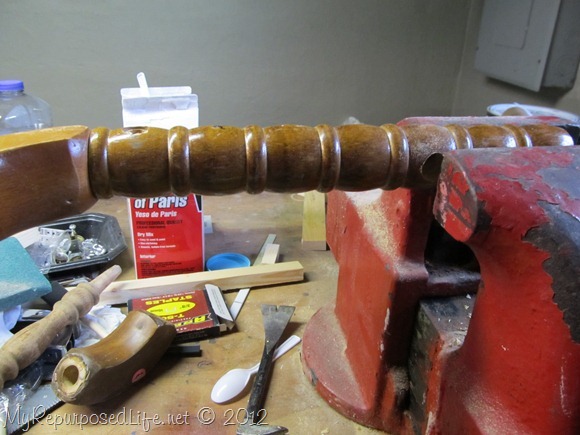 The armrest needed a couple of holes drilled into it to hold the chair spindles.
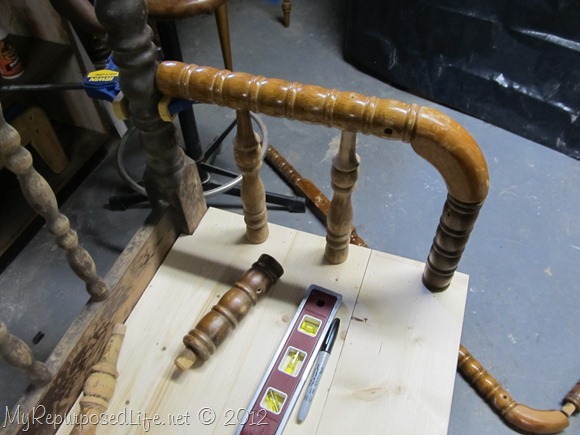 Still dry fitting them to see if it’s all going to line up and work. Do ya see my new level? I won’t be stepping on this one and breaking it.
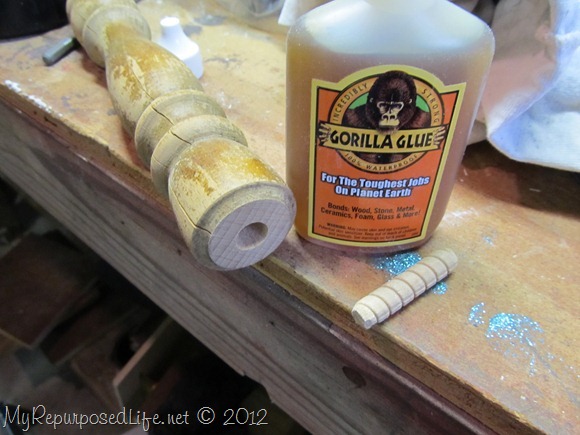 This is the cut off end of the chair spindle. I drilled a hole for that small dowel.
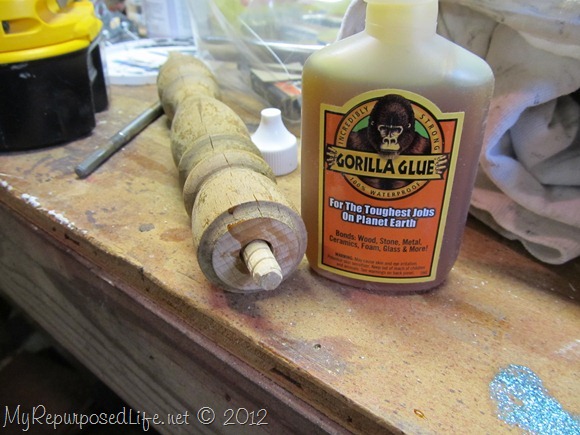 Because my dowel doesn’t fit quite snug enough, I used Gorilla Glue to secure it. This glue expands and will fill that hole nicely.
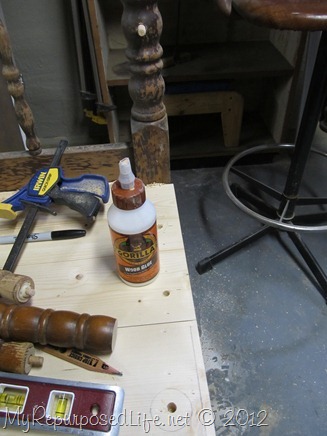 I drilled three holes in the seat, two for the chair spindles and one for the armrest. I used Gorilla Wood Glue for this step.
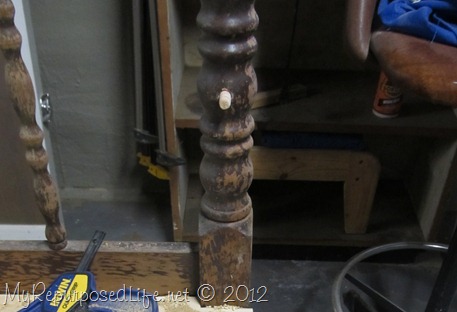 In order to get all the dowels in place I drilled this hole all the way through the back of the bed. (In this picture I’m testing the dowel to make sure it’s snug)
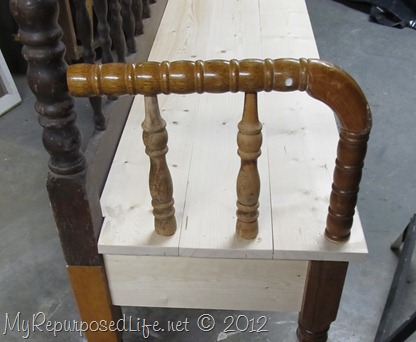
To clear things up:
- I glued the chair spindles (top) into the armrests.
- I glued the dowels into the seat.
- On the far right there is a third dowel connecting the armrest to the seat.
- After I got all of that glued and situated I inserted (from the back) a dowel into the top of the armrest.
- I used an extra dowel to hammer it in so that it was in place in the armrest. I used the Gorilla Wood Glue on all of these joints.
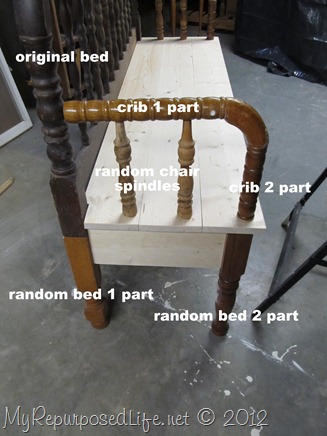
This bench is made up of 3 beds, 2 cribs and a chair.
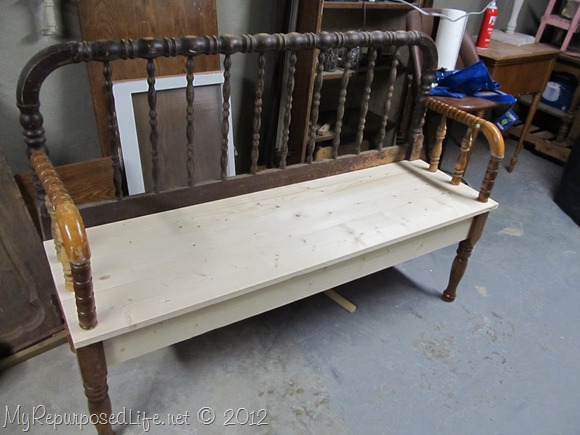
Hopefully, tomorrow I’ll be able to show you the finished bench (painted).
You can see the finished bench in the post Final Installment of the Jenny Lind Headboard Bench
gail

Well, now I can see why you posted on FB that you were having some frustrations with this project! Your patience and perseverance definitely paid off though! It is fabulous!
completely wonderful!
I must say this– and I know you’ll be painting it; BUT… I think some stain on the seat and an all over sealer would be so sweet on this piece with all it’s bits and pieces different shades of wood!
I’m sure when you’re finished with it — the end product will be absolutely gorgeous.
it was just a thought.
What a great way to repurpose old cribs (and beds and a chair)! Looking forward to seeing the painted bench.
This is awesome Gail! I am going to have to make one when Rachel outgrows her crib. Thanks for sharing such detailed instructions!
My thoughts exactly–HUMPH! Stoopy valentines day!
Love love love this bench! And I do love the colors you chose!
I enjoy seeing the new ways that you come up with…. using old to make new. Happy Valentine’s Day.
Amazing!!
This bench is truly a work of art- graceful and sturdy at the same time! Is the hard part figuring out what color to paint it? You put things together effortlessly. I’d want a whole handful of these just so I could paint them in different colors to see the effect! You are a wonder and I’m jealous!
I am always in awe on how you can pull those random pieces together and make them into something so spectacular. The curved part of the arm rests was genius on your part, can’t wait to see it all prettified.
Wow Gail, you never cease to amaze me! I love your creativity and think that if I learn enough from you maybe some day my brain will come up with it’s own ideas! Thanks for sharing! I love it!
Yup, the arm rests put it right over the top! But seriously Gail, how do you come up with this stuff? You have an amazing vision to see a finished project and you know how to get there. Clearly you have that engineering gene! My husband and son are engineer and their minds just work differently. That’s you!
I am so impressed with your woodworking skills. When I see the work involved in something like this I am willing to pay a good amt of money to won it. Will this one be for sale or just for you?