Large Rustic Clock
As an Amazon Associate, I earn from qualifying purchases.
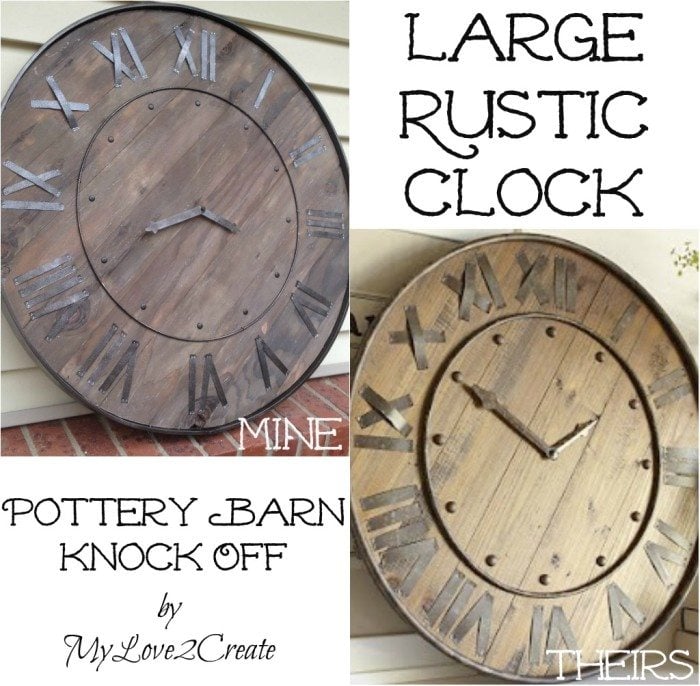
It is not exactly the same, but it totally filled my need for a large rustic industrial clock, and it works! My kids were pretty amazed that it actually tells time, funny. 🙂
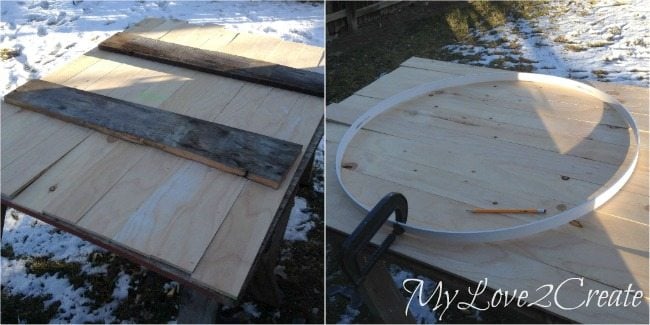
I started with some wood that I had gotten from the cull bin at Home Depot years ago. (mine doesn’t have a cull bin anymore, boo!) It was 1/2 inch plywood that I had ripped down into 3 1/2 inch strips. I used some of this plywood for my plank wall in my master closet makeover. I decided to just use scrap barn wood for the back and glued and nailed all the plywood together. I later went back and screwed the boards on.
In the photo on the right I measured my circle. What is that I am measuring with you ask? It is PVC Lattice in white and it is 8 feet long just under 2 inches wide, and really bendy. Which is why it was perfect for my faux metal band. I didn’t cut it at all, which gives an idea of how big this clock is. Since it will be the outside of the clock, it made since to use it to trace my inner clock circle.
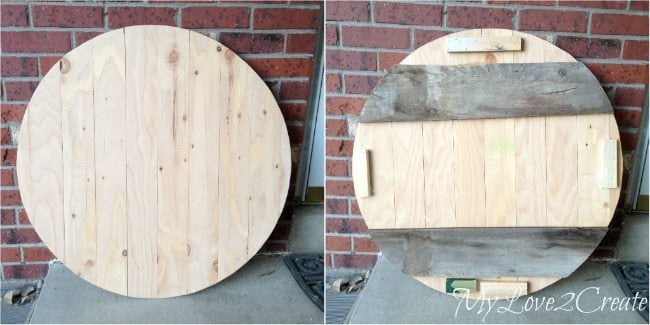
After cutting my circle with a jigsaw, sanding it, and adding a few more support boards, I was ready to make a clock!
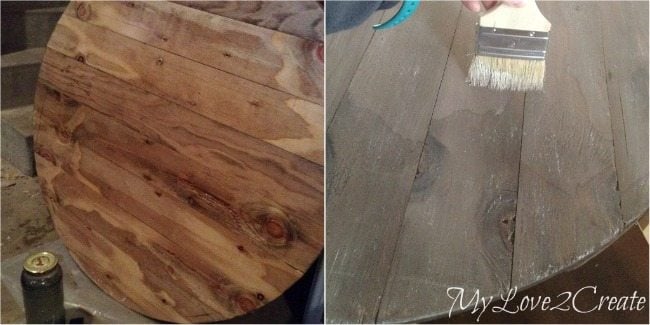
I used my “natural stain” which is 0000 steel wool and vinegar in a jar that has sat for at least a day or two. Then to give it a little more “old wood look” I dry brushed on some white paint very faintly.
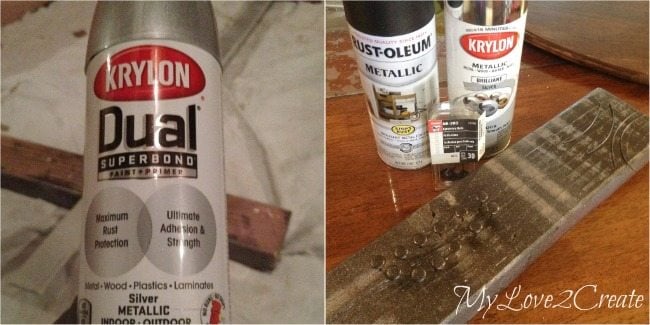
I set to work spray painting my “metal band” with Krylon dual superbond. I knew this would ensure I wouldn’t have any PVC lattice poking through my faux metal. Then I gave my lattice and carpet tacks a coat of oil rubbed bronze and then a light spritz of metallic silver. This was done from really far away it kind of gives it a hammered look but without the texture.
All this spray painting was done in 30 degree weather in my garage…I know, but it was sooo much faster to wait for the cold weather dry time rather than painting all these small pieces by hand. I kept my spray paint inside except when I was using it, and it worked like a charm.
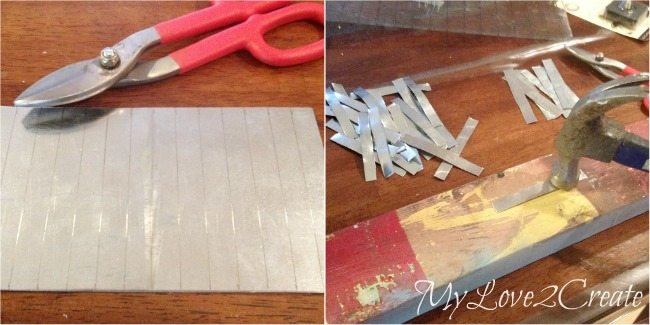
I happened to have some small scraps of sheet metal around from another project and used it to make my roman numeral numbers. I cut them in strips with tin snips, each strip was 1/2 inch wide by 4 inches tall. I used a hammer on a board to flatten them out. Then I used the same spray paint method as above.
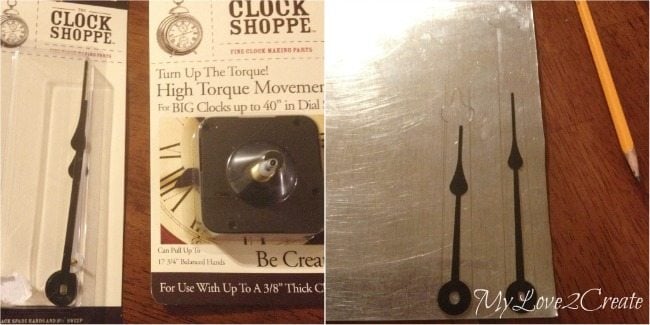
I did go to Hobby Lobby and purchase clock gear, and used a 40% off coupon. I also bought the big metal ring that is in the center of the clock at Hobby Lobby. The PVC lattice I got at Home Depot. Everything else I already had on hand so this clock was around $20 for me. Not bad for a Pottery Barn Knock Off!
In the photo on the right I am measuring the clock hands on the metal. I originally had them longer, which is how I wanted them, but my High Torque Movement wasn’t as “High Torque” as expected and I had to cut them down…
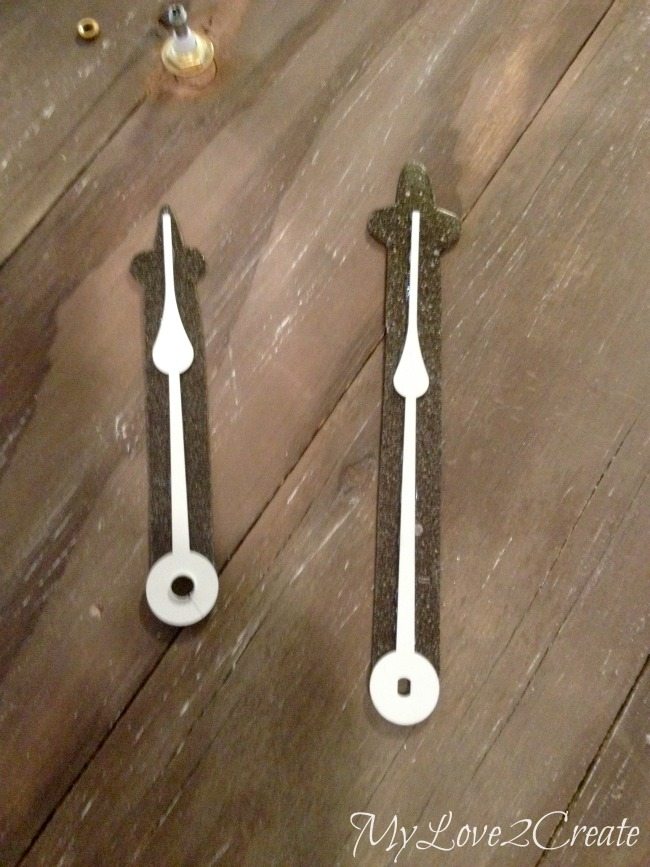
Here I am attaching them with hot glue to the original hands. Too bad I had to cut them, they looked way better longer. Oh well. Sorry for the blurry picture, when I get in project mode I forget to check if my photos are good.
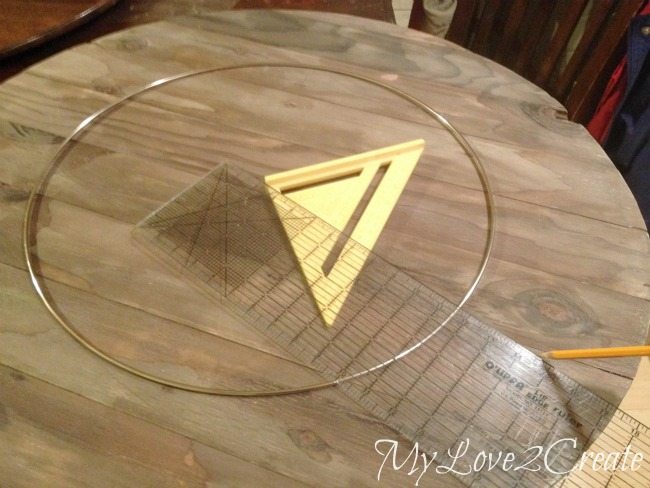
I measured and marked the center, and also the placement for the metal ring. In the photo I am marking where the Roman Numerals need to go, by measuring every 30 degrees from the center. This is my least favorite part, because it needs to be pretty accurate, and that takes time, so I was happy to be done!
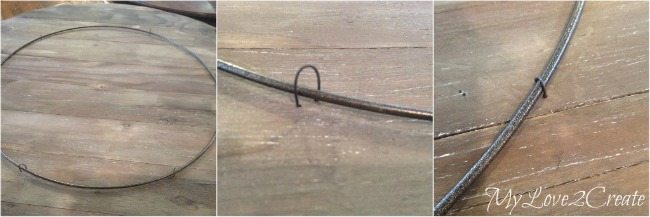
To attach my ring, I hammered in some nails to make holes and then added wire to hold it in place. I simply twisted the wires together in the back and it is nice and secure.
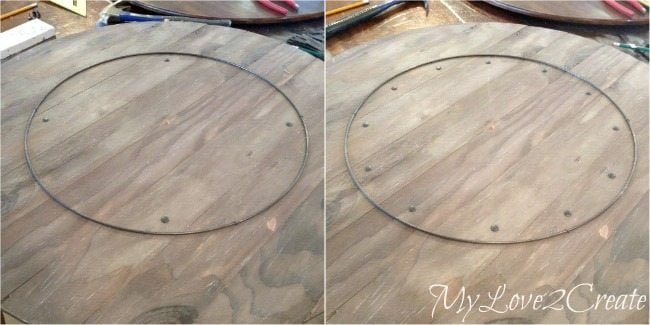
Then I added my carpet tacks for the hour markers.
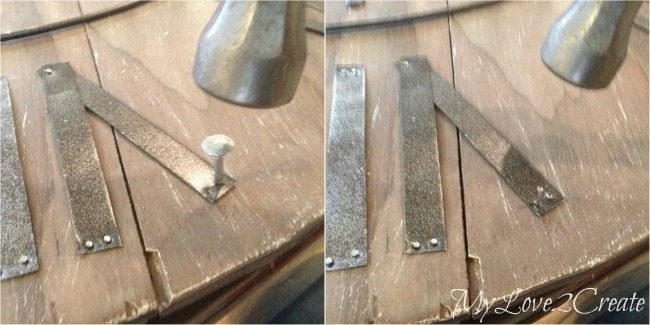
I used a big nail to puncture the metal for my numerals and then used my smaller nails to hammer them onto the wood. This took a while, most went in easily, but the knots in the wood really gave me some trouble in several spots.
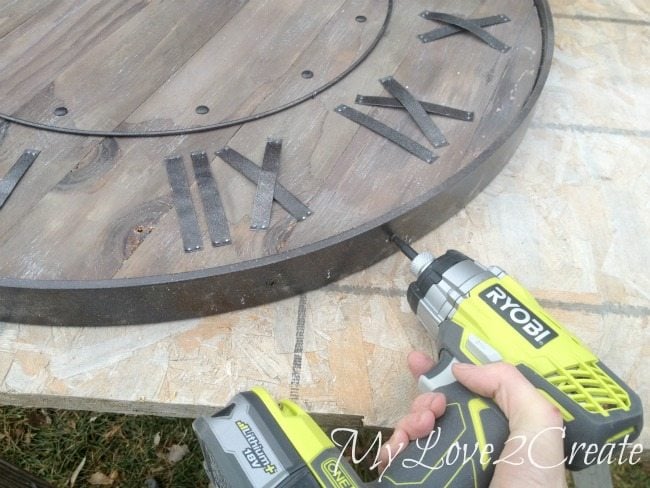
Last up was attaching my faux metal band. I used a nail gun to hold it in place and then used screws to secure it. I had to touch up where the nails went in, but that was easy. I filled them with wood filler, then just sprayed oil rubbed bronze onto some newspaper and quickly used a small paint brush to paint the holes.
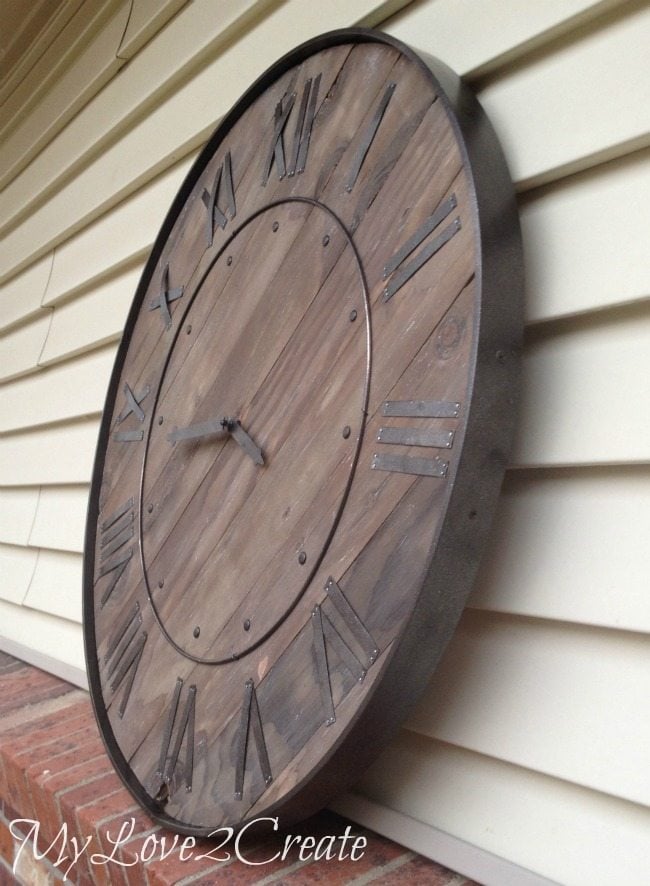
So does it look like a metal band to you?
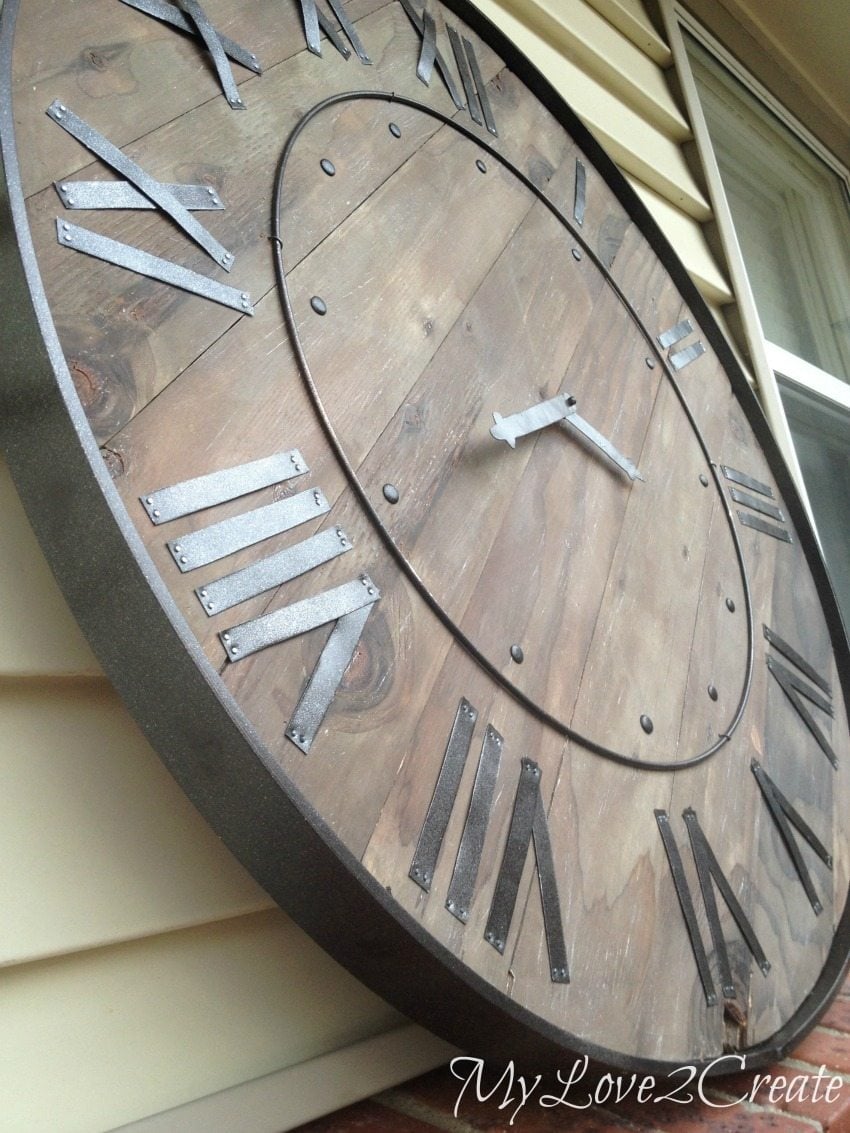
It is close enough for me! My husband said that he thought it was metal, which made me happy.
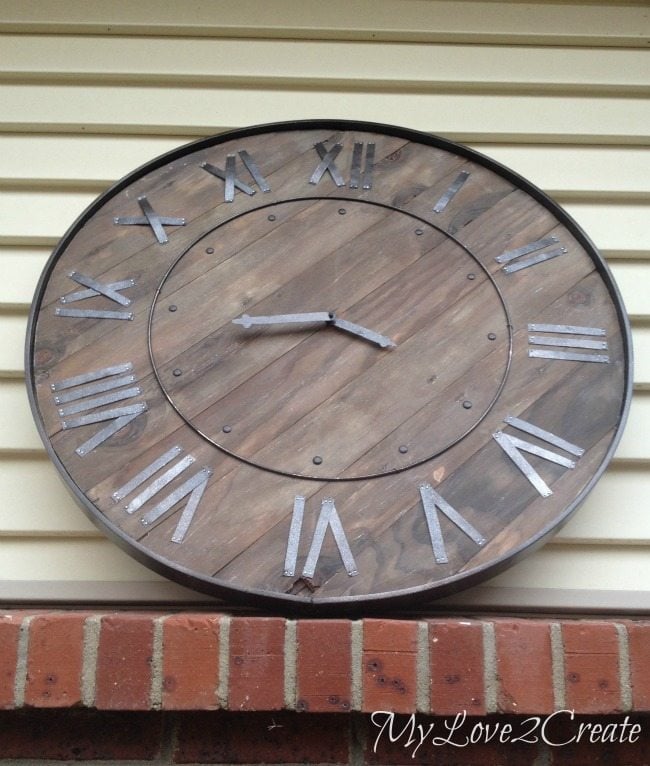
I have to be honest, this looks way better in person. Just sayin’.
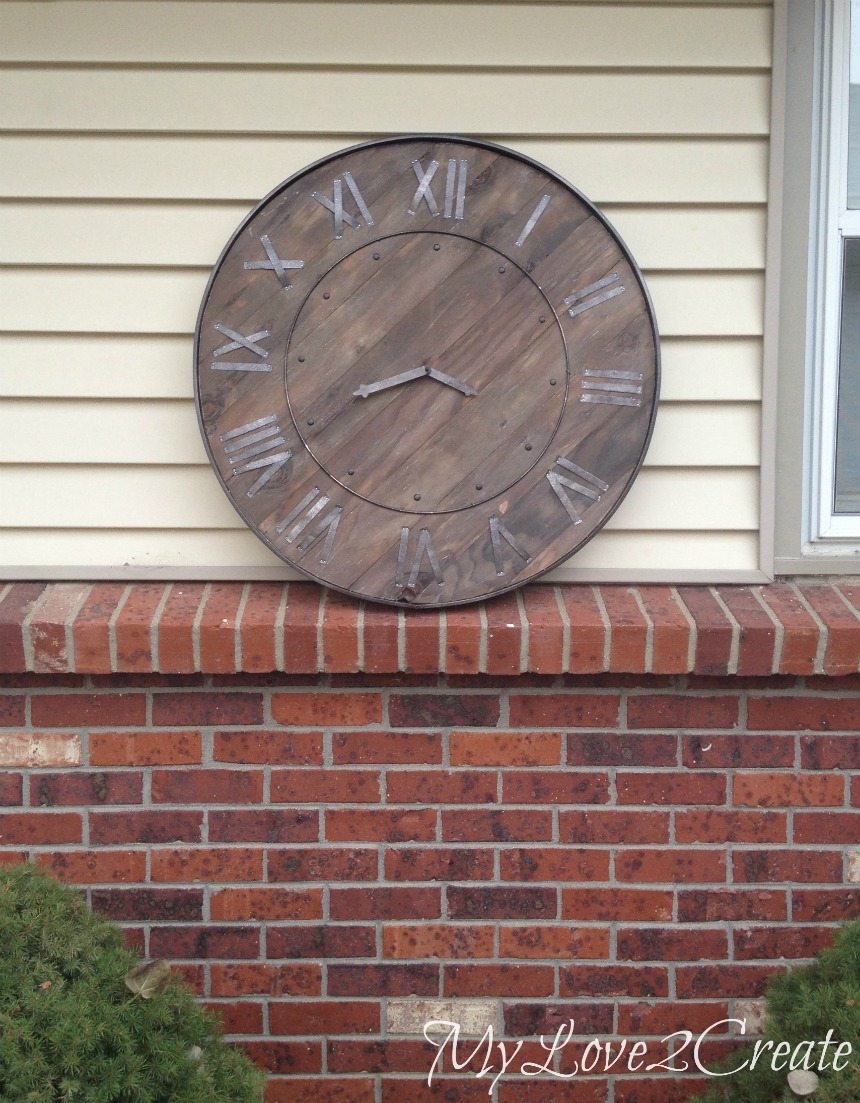
It looks so small staged on my house, but it is approx. 32 inches tall and wide.
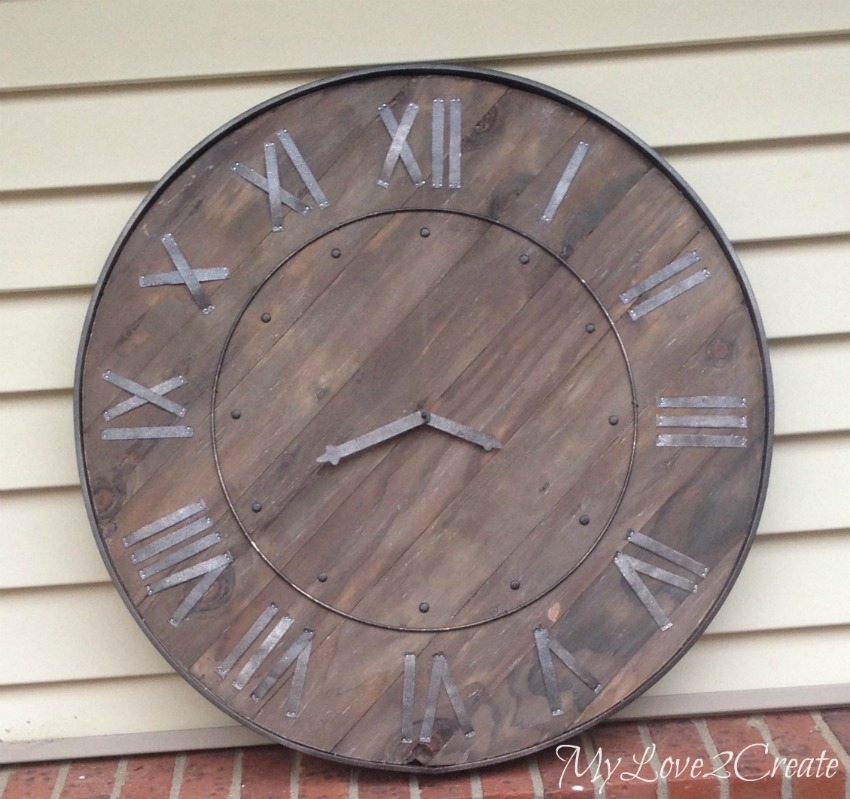
I can’t wait to get it hung up on the wall! Eeek!
I love it, even if the hands are smaller than planned. 🙂 I guess I can’t get everything I want…
If you like knock off projects then come check out my Restoration Hardware Chalkboard and my Pottery Barn “It’s the Most Wonderful Time of the Year Sign”.
Happy Holidays!
Mindi
Sharing here:

see more of Mindi’s posts on MRL below:
[categorythumbnaillist 274]


I’m just finding this amazing clock you’ve made – I’m not sure if you’ll see my post – How did you get the ends of the PVC to stick together? Thank you!
The band is attached all the way around the outside of the “clock” with a nail gun and screws. So just tack each end close to the edge, voila! You have a faux metal band. I hope that helps!
This was my friend Mindi’s project. She’s pretty brilliant, eh?
gail
My experience with pvc lattice is that it expands in the summer and shrinks in the winter. Now that your clock has seen the test of time has this been a problem?