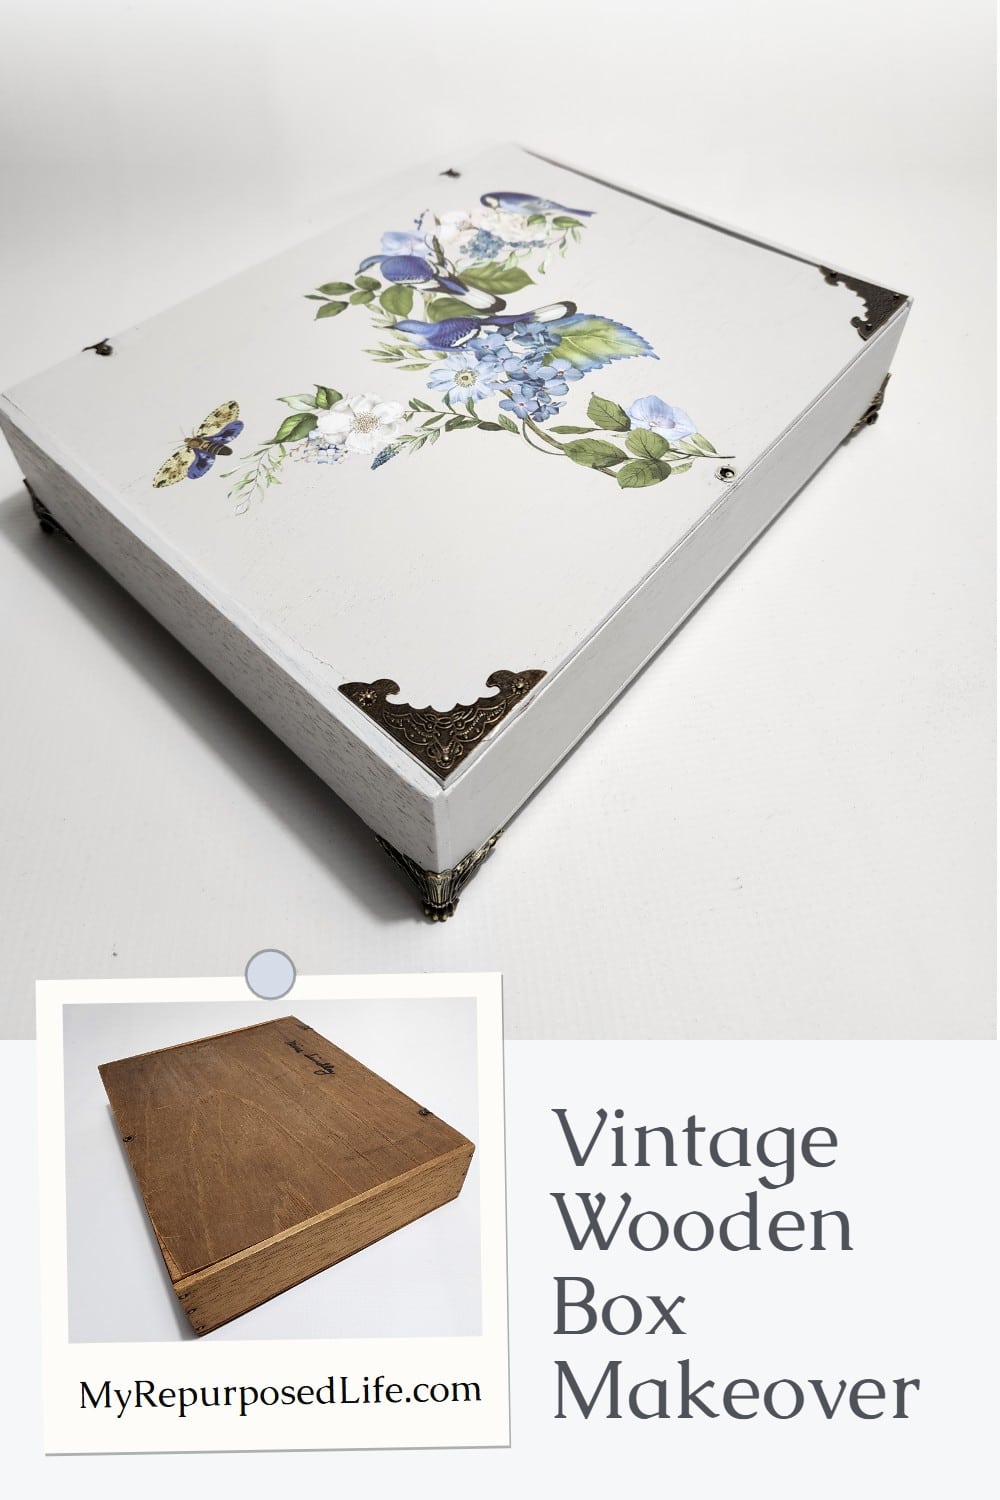
Wooden Box Makeover With Paint
As an Amazon Associate, I earn from qualifying purchases.
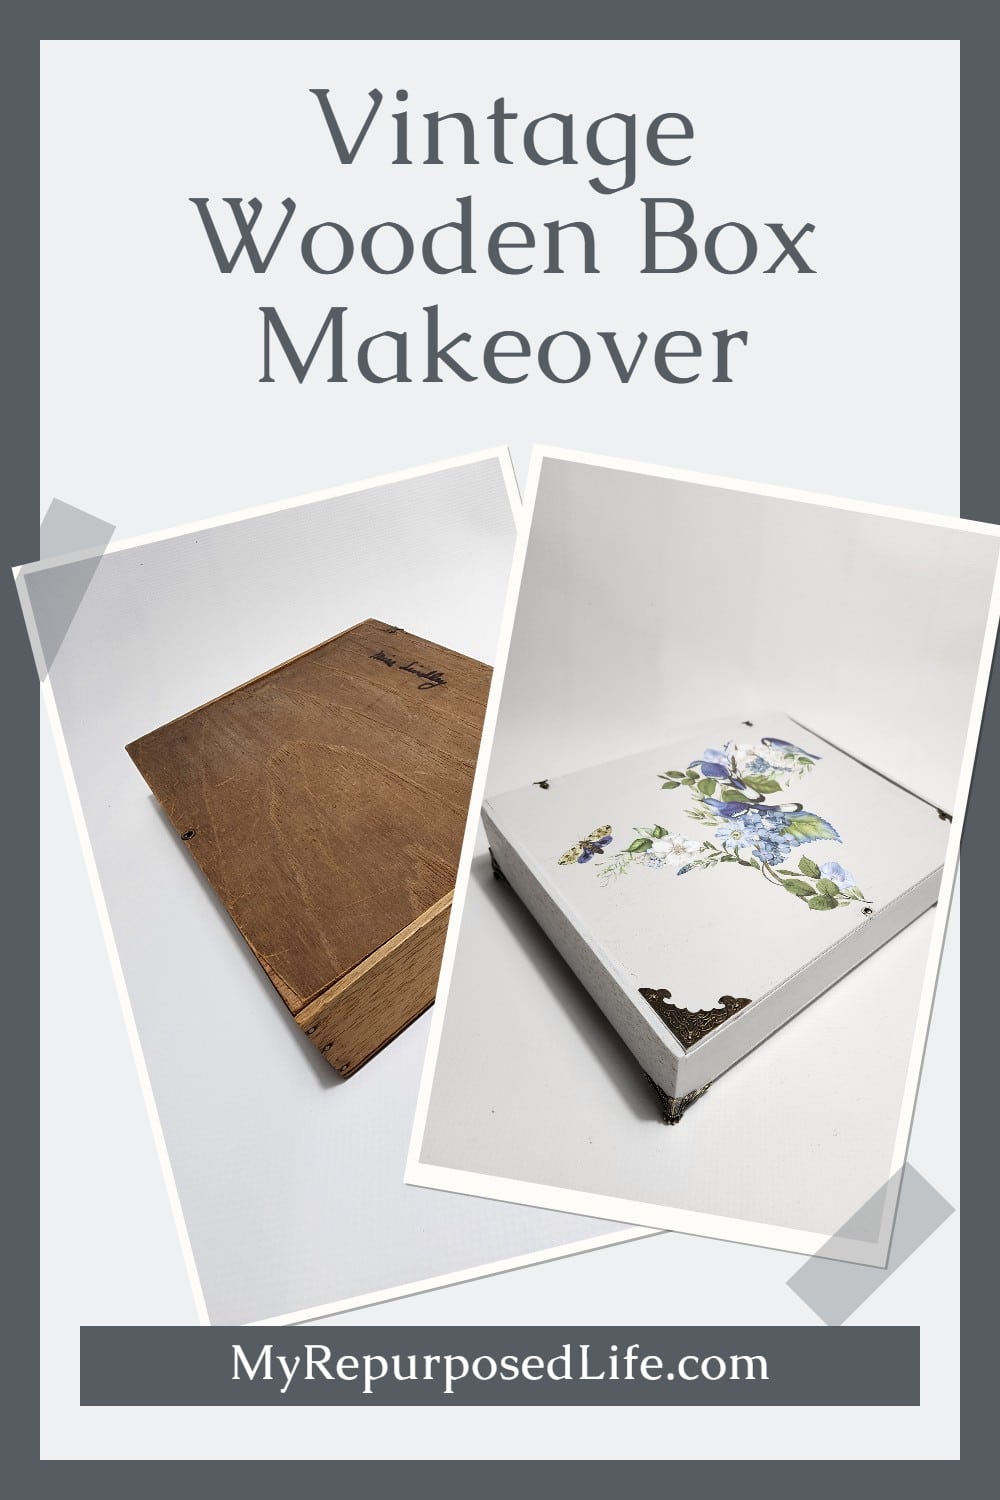
Sometimes, the simplest projects can bring the most charm to your home, and this painted thrift store wooden box is the perfect example. Whether you use it to store keepsakes, organize craft supplies, or office supplies, this easy makeover demonstrates that with just a little creativity, and without spending much money or time, you can create something you genuinely love.
Did you know it’s Thrift Store Tour Day, so be sure to check out the other great projects from my friends, listed at the end of this article.
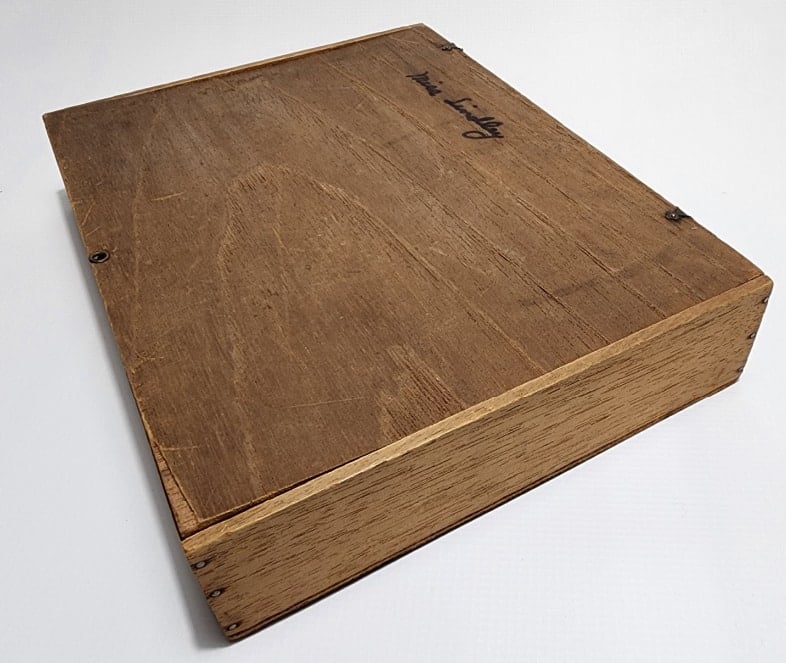
One Dollar Wooden Box
Looking at the price tag lets me know that I’ve had this in storage for many years. It came from one of my favorite vendors back in the day.
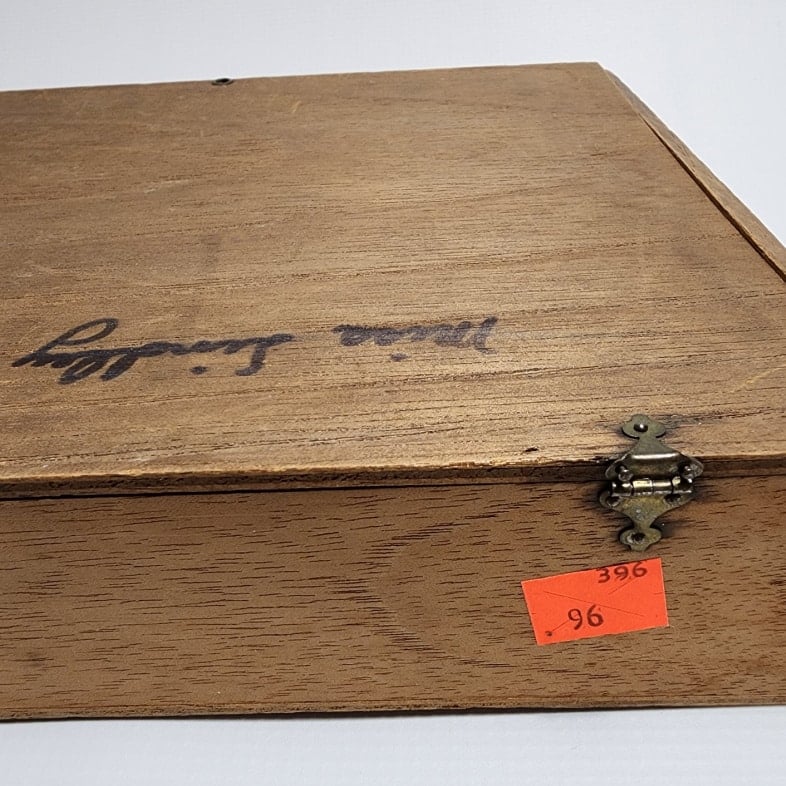
I suppose the $1 wooden box was made for a special teacher many years ago. The construction is very basic, using small nails.
Inspect Your Project and Make Repairs
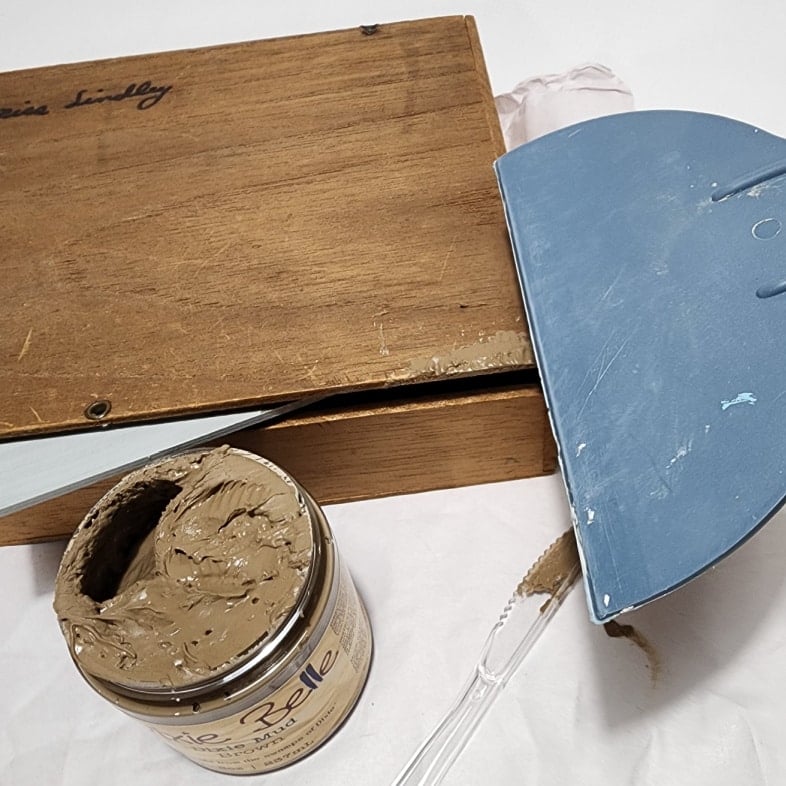
Dixie Mud was used to patch a small corner that was damaged. Up close, you can see that the box has been heavily used.
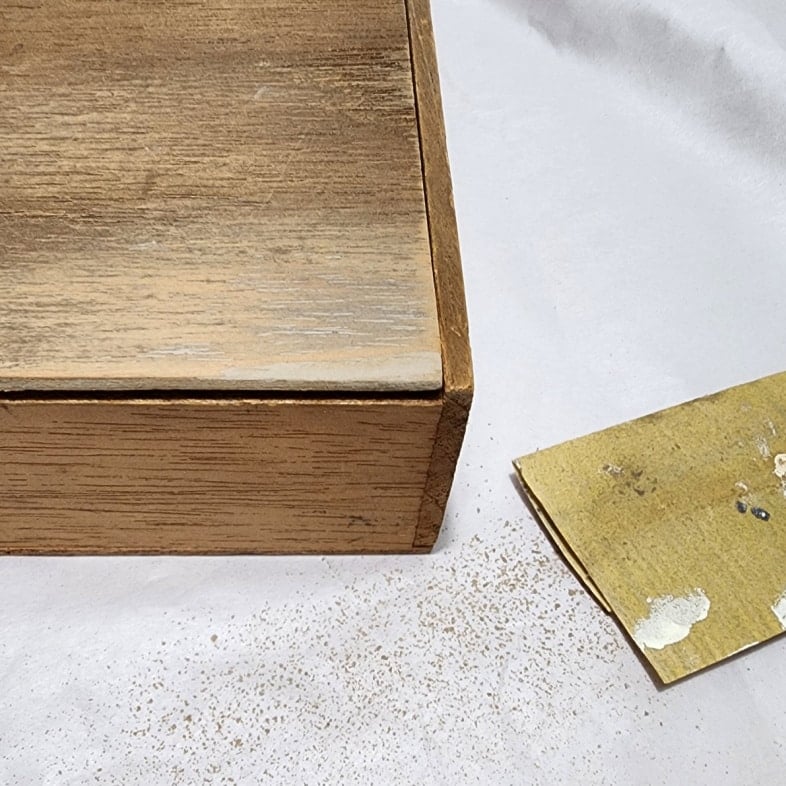
I used a fine grade of sandpaper to smooth out the repaired corner of the handmade wooden box.
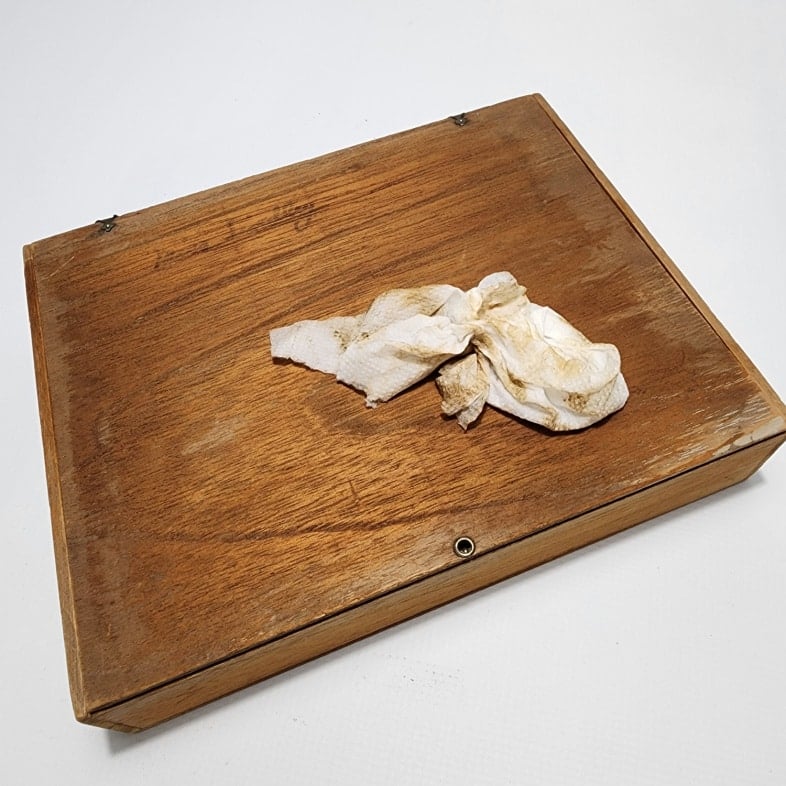
After scuff sanding the entire keepsake box, the dust was wiped away with a damp paper towel to ready the project for painting.
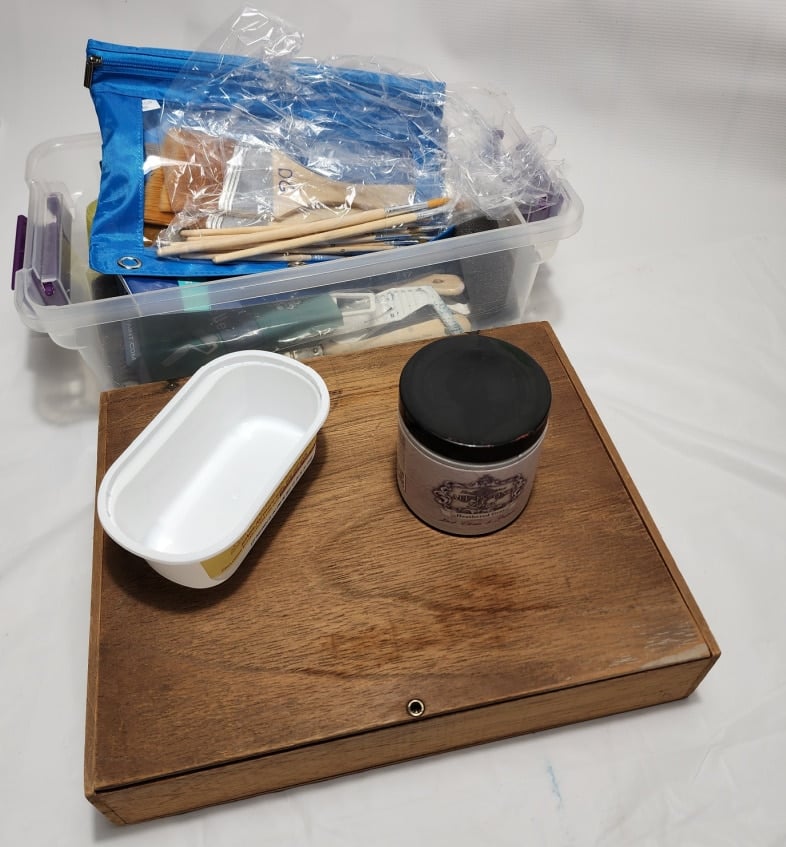
As I prepared to paint the wooden box, I got out my small paintbrushes that I store in a plastic shoebox-sized tote.
Paint a Wooden Keepsake Box
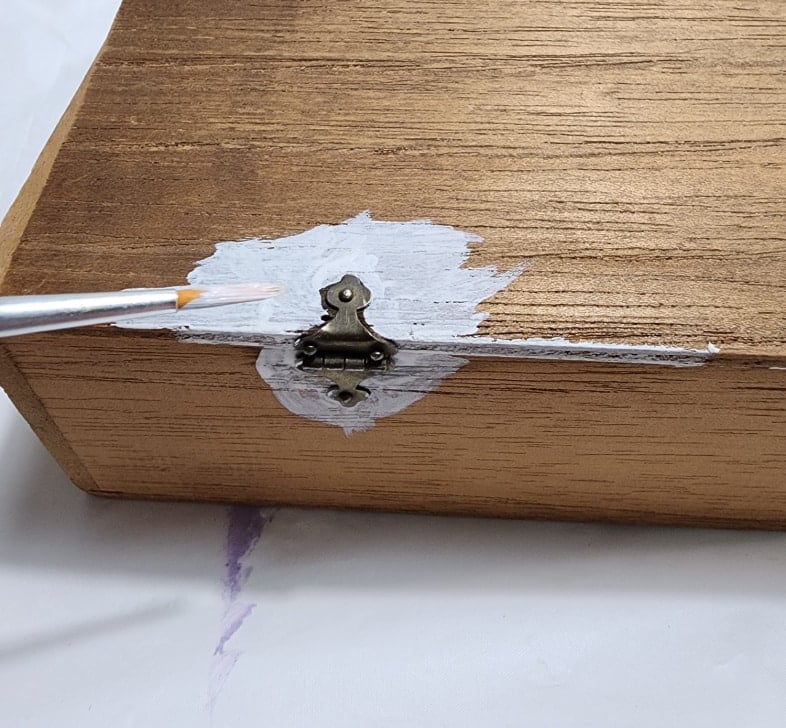
As I attempted to take the vintage hinges off to paint, I quickly realized they would be easily removed and reattached. So, I opted to leave the dainty hinges on the wooden keepsake box. Using a tiny artist’s paintbrush was the only option.
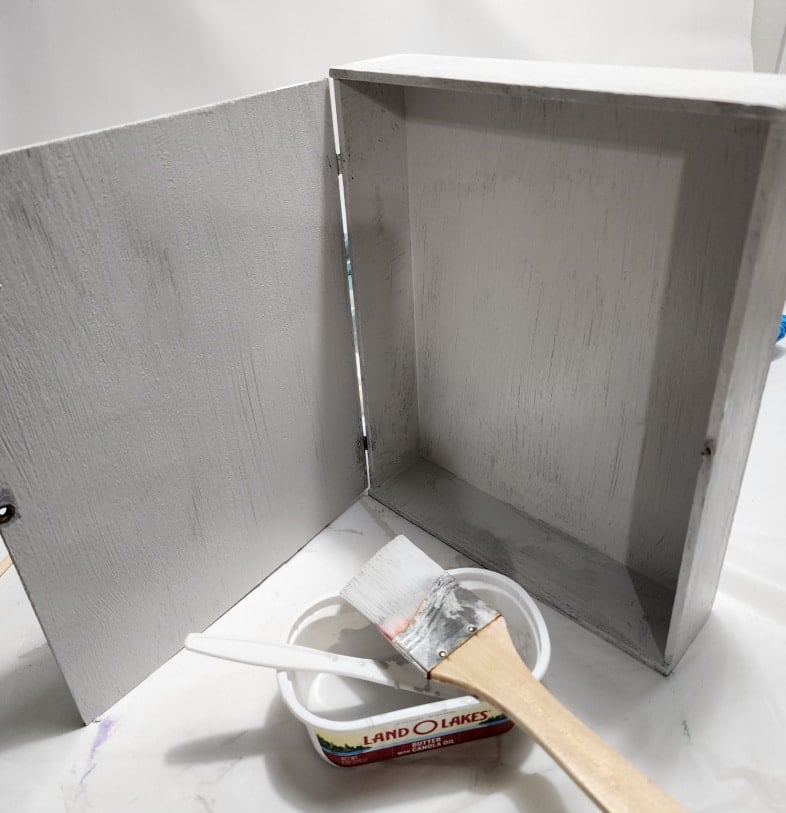
The color is Weathered Gray from Heirloom Traditions. Because I was going for thinner coverage, I diluted the paint slightly in the butter tub.
Garden Whispers Decor Transfer
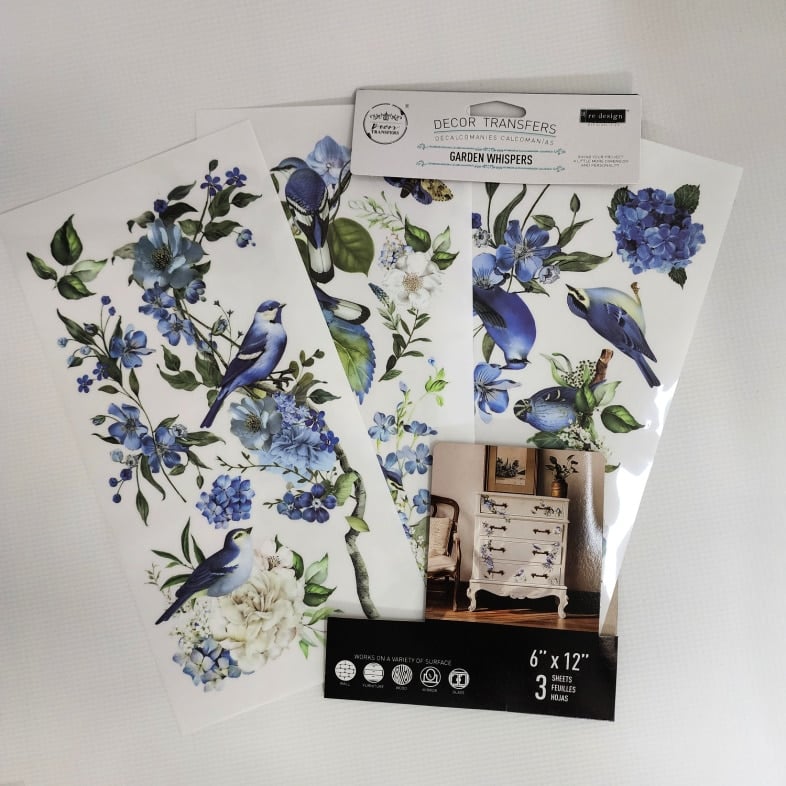
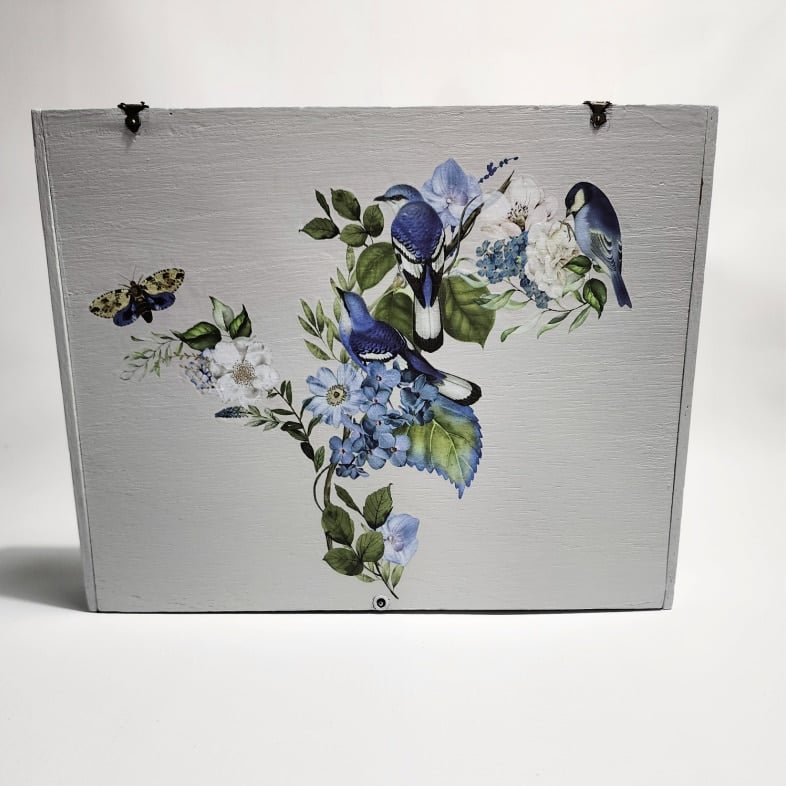
I chose to embellish the small wooden keepsake box with the pretty Garden Whispers in shades of blue.

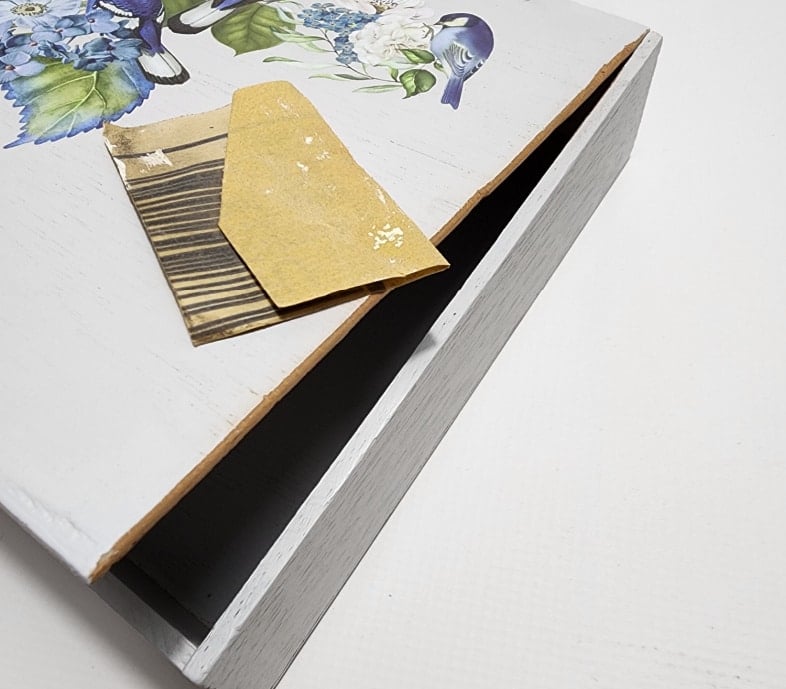
Tip: I find it’s easiest to place the transfers by cutting the pieces apart.
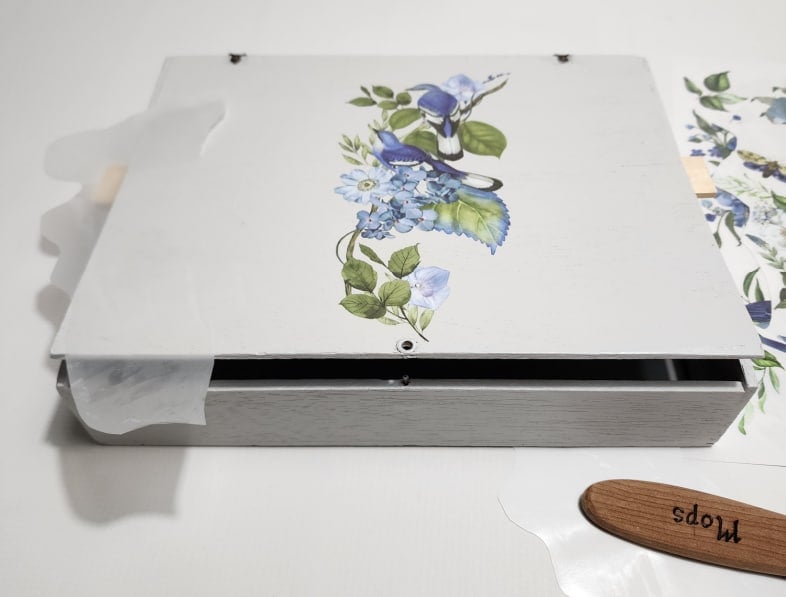
I applied the pretty bird and branch transfer with my wooden spurtle. It’s quite large, which makes it easier for my hands to grasp and maneuver.
After placing this section onto the lid of the wooden box, I realized that I should have separated the two pieces and moved the insect further away from the branch.
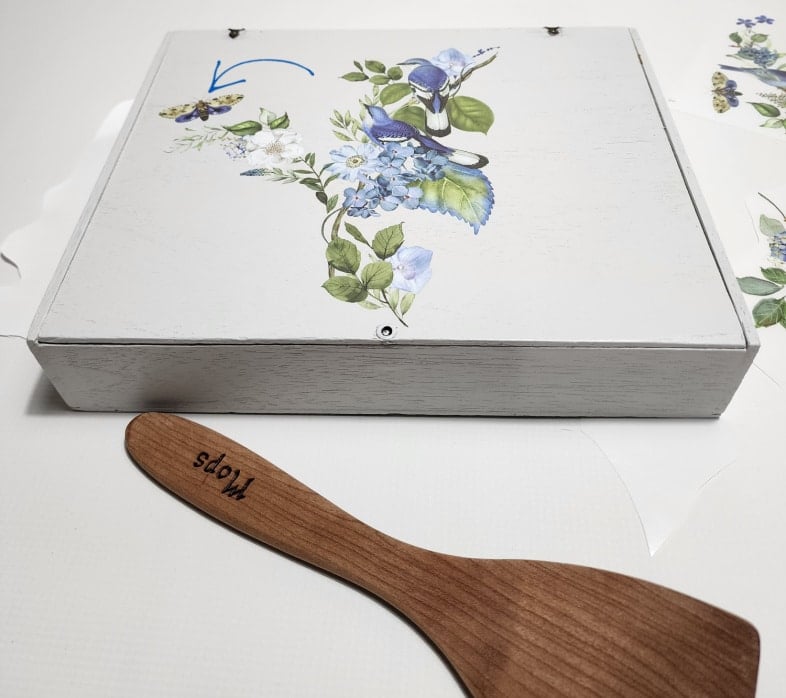
In the image above, you can see what I was referring to. Just because the images on the transfer are close, that doesn’t mean you can’t make adjustments. Another small piece of the transfer was added to the right of the original piece.
Make Adjustments to Wooden Box Lid
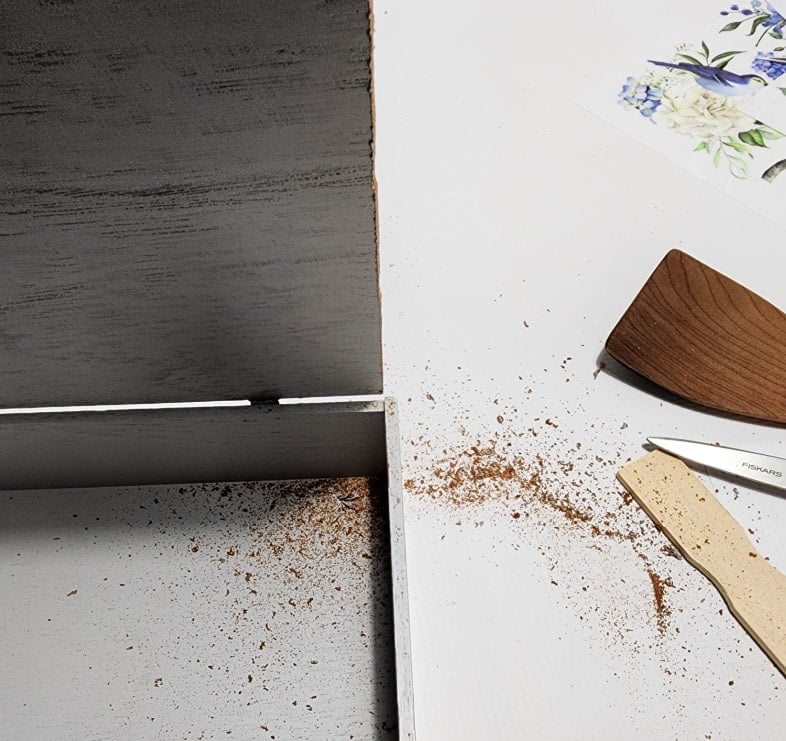
After two light coats of paint, the lid of the wooden box was rubbing on the right side. I used the scissors to “scrape” the side of the lid to remove a smidgeon of the wood to allow the lid to close properly.
Fine-grit sandpaper smoothed the wood, readying it for another light coat of paint.
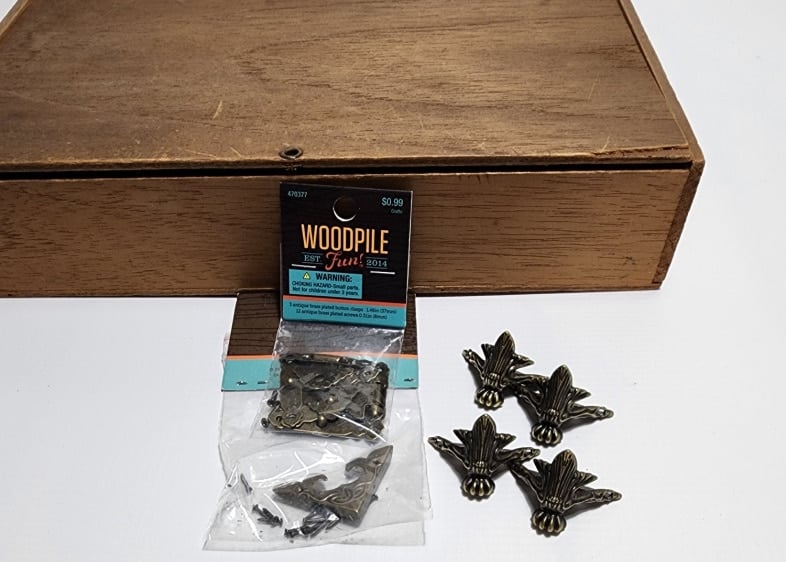
I purchased a few metal embellishments for the wooden box to dress it up a bit. The small metal feet are available on Amazon. The book corners shown in this photo are from Hobby Lobby; however, they wrap around the edge of the wood.
To get a temporary hold on the feet, I used a small glue gun, intending to use the screws after the hot glue set up. The screws were too long for the very thin wood on the keepsake box. After test-driving the box for a day, I decided the hot glue was secure enough to hold the feet in place permanently.
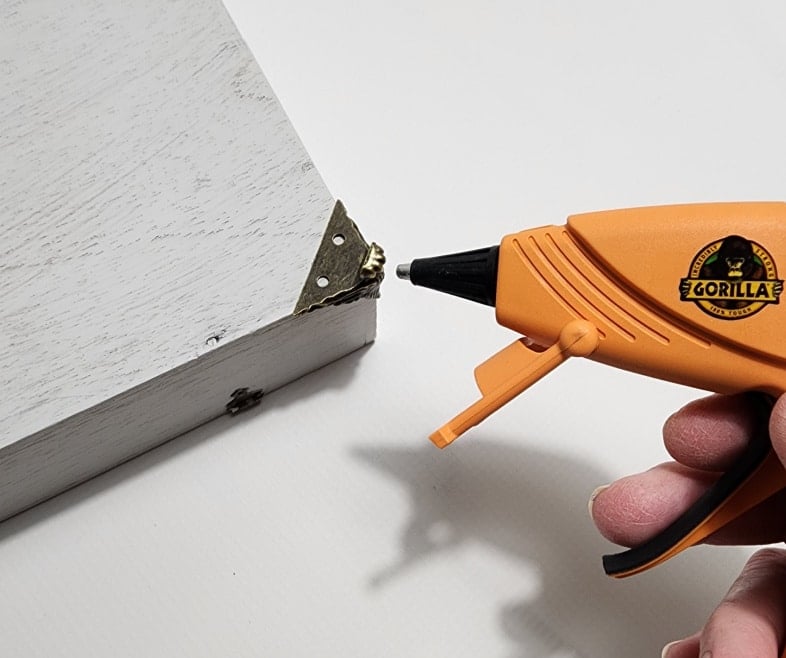
Adding Metal Embellishments to Keepsake Box
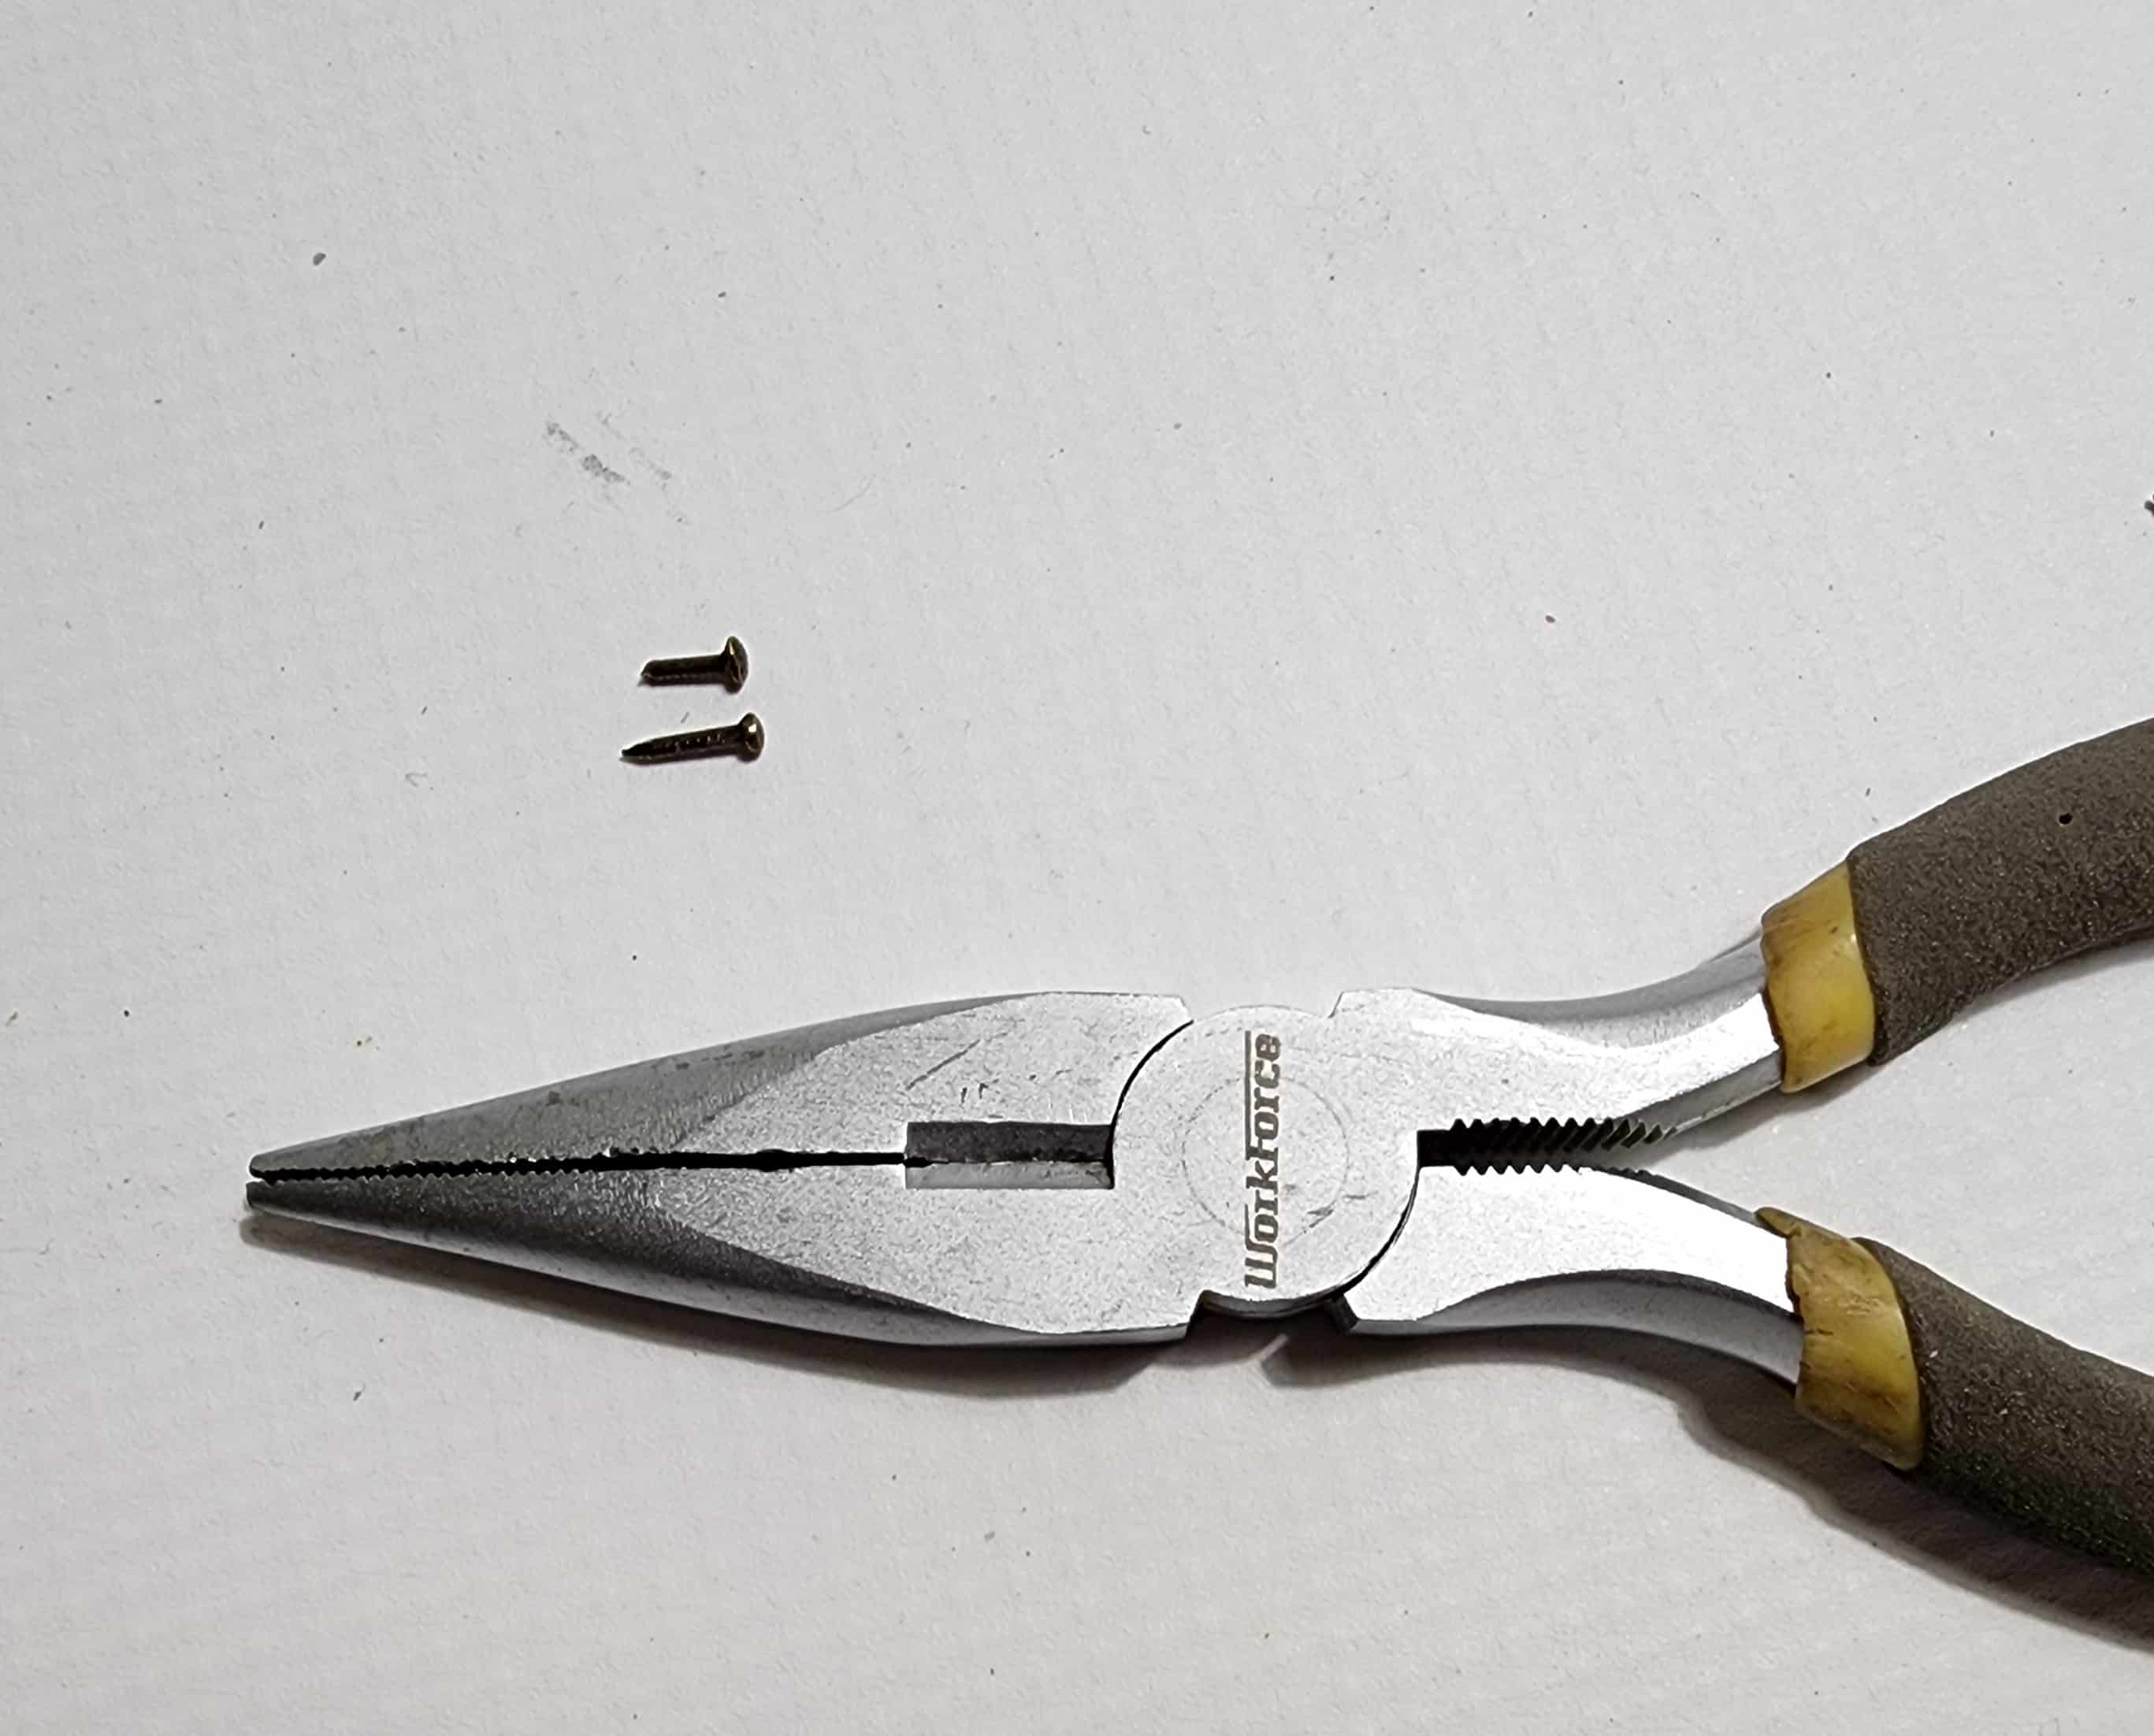
While securing the book corner metal embellishments, I realized the nails included were too long. I used needle-nosed pliers to snip the nails. Then I used an original nail to tap a hole that would accept the shorter nails.
The corners were tacked in place with hot glue to hold them while I drove the nails in.
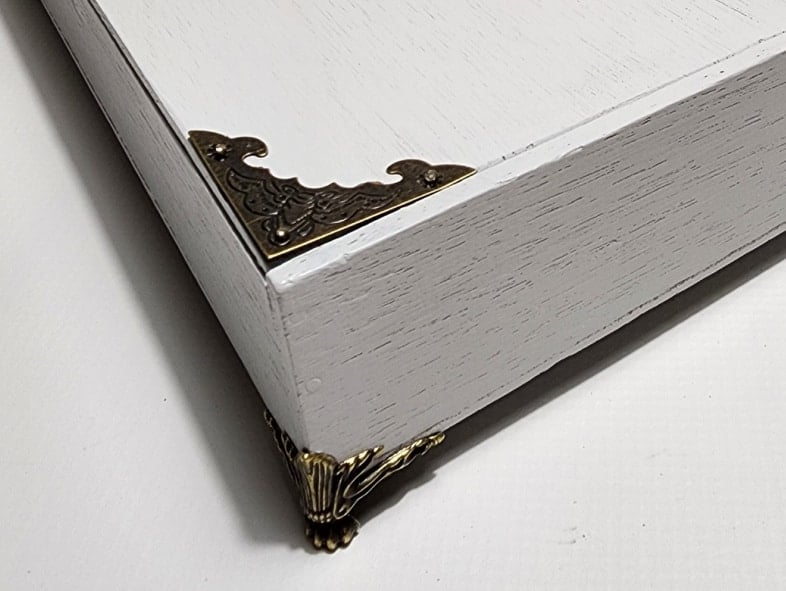
These book corner pieces lie on top of the box lid without wrapping around the edge. This is information you may need should you want to do a project like this.
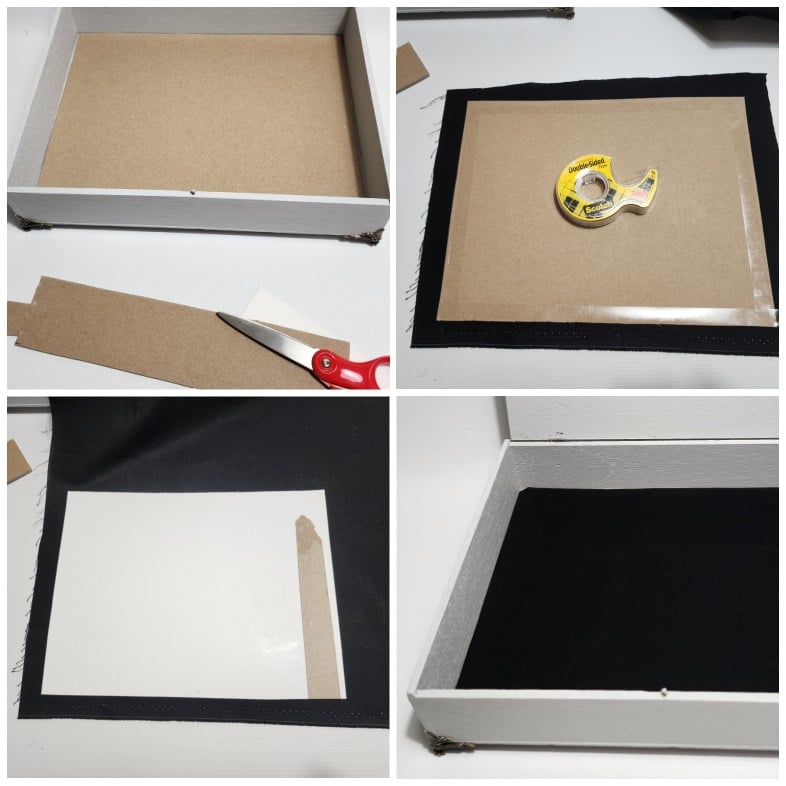
I used a fat quarter to cover a piece of cardboard to line the bottom of the keepsake box. It’s easily removable to reveal the original paint finish.
Related Content: Trinket Box Makeover
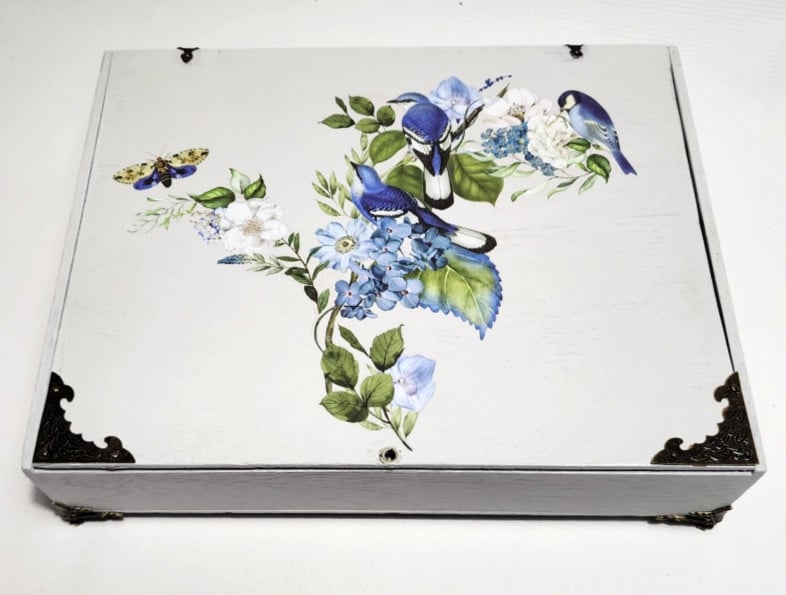
In photos, the wooden keepsake box looks white, but it’s a light gray. I love how it looks with the sweet embellishments.
Wooden Box Holds Vintage Keepsakes
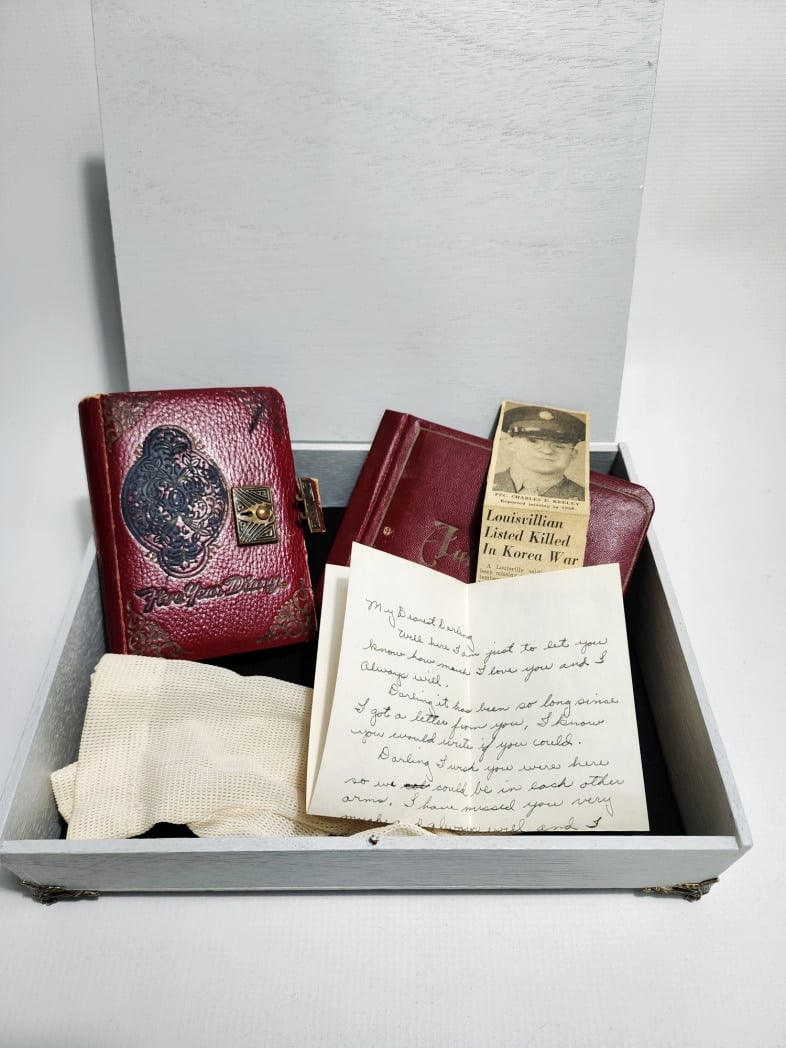
These are some precious mementos I have from my late Aunt Polly. Sadly, she died when I was only a few months old. My mom named me after her sister. We share the same first name. I’ve had her cedar chest since I was 16, over fifty years ago!
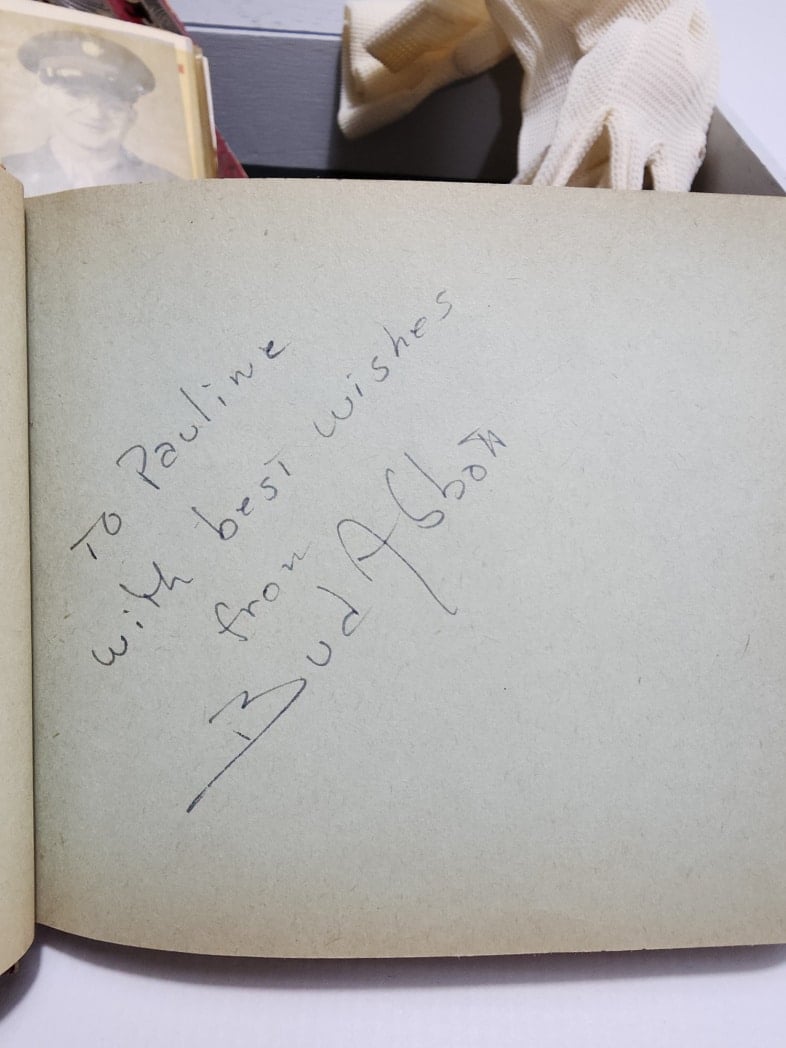
I’m sure she was very proud of this autograph of Bud Abbott.
Uses For a Small Wooden Box
- Craft and Hobby Items
- Yarn or Crochet Hooks
- Small Art Supplies
- Sewing Supplies: Needle, Thread, Scissors
- Keepsakes and Mementos
- Old Photographs and Postcards
- Special Letters or Greeting Cards
- Vintage Jewelry and Watches
- Organization
- Keys and Sunglasses
- Mail Sorting, Stamps, and Envelopes
- Office Supplies, Pens, Notepads, Paperclips

What would you store in this wooden box?
Before you run off, won’t you take a moment to share this with your friends on Pinterest?
Let’s take a look at the team’s projects for this month:
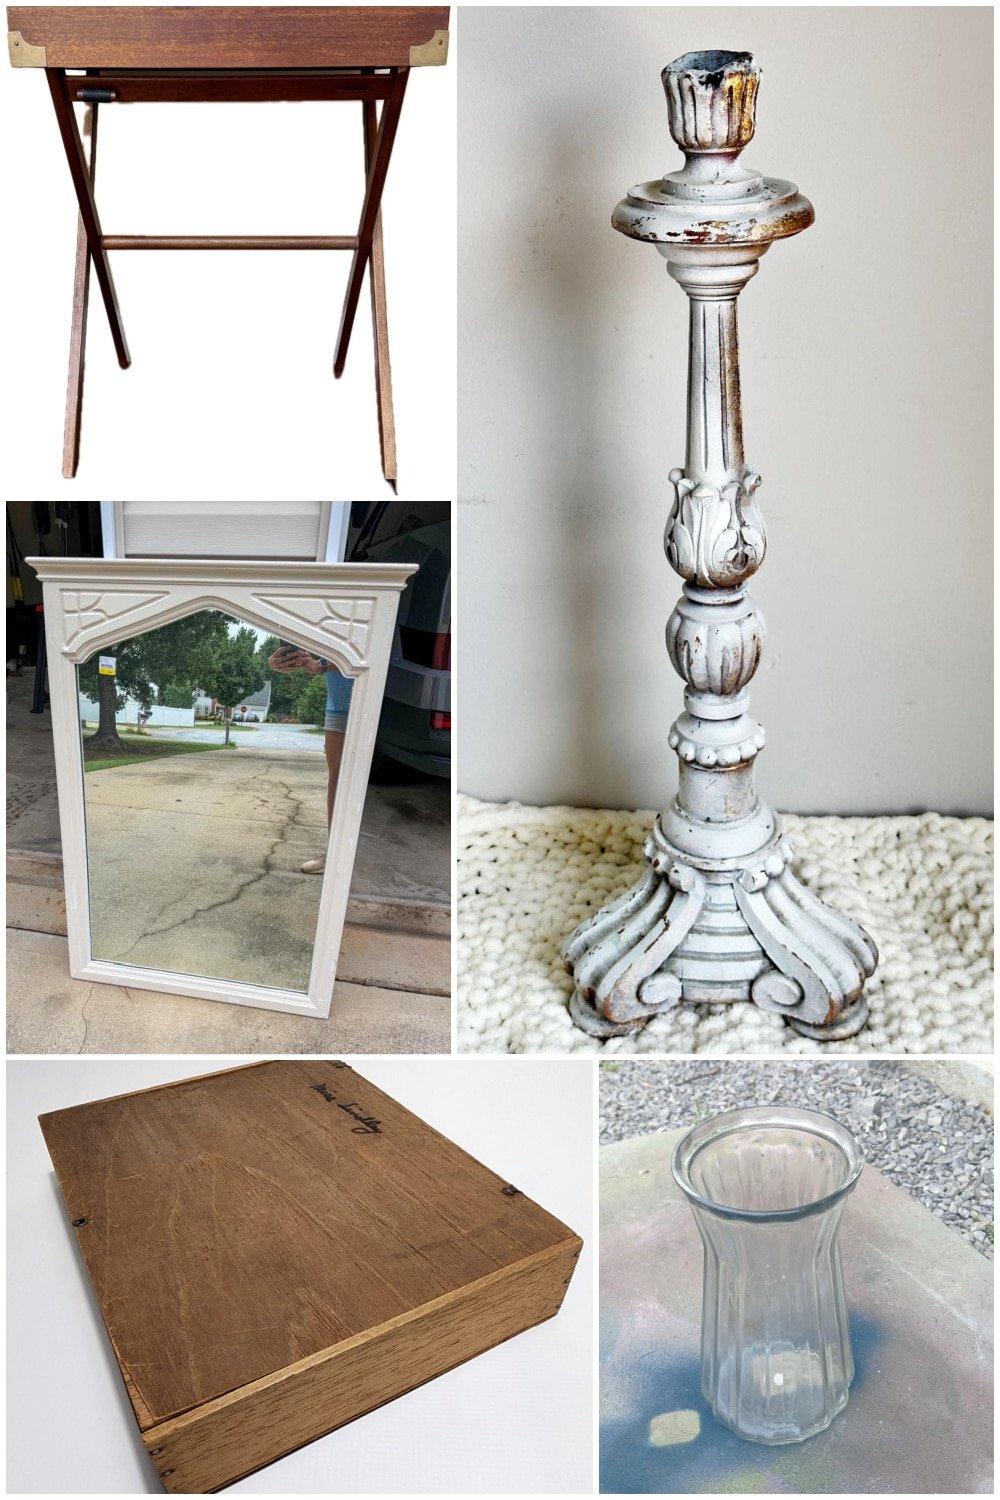
- Easy DIY TV Tray Makeover Using Paint – My Uncommon Slice of Suburbia
- Refinish a Vintage Mirror-Our Southern Home
- DIY Candle Holder Centerpiece – My Crafty Mom
- Wooden Box Makeover- My Repurposed Life
- DIY Frosted Glass Vase –Petticoat Junktion
Did you learn something today? Did the creativity of the team inspire you? We will be back next month with more great ideas. But until then, you can see more Thrift Store Projects here.
Gail, what a score this piece was! I love the embellishments you added, especially the floral bird design. Great makeover!
Thank you Michelle for your kind comment. I appreciate you stopping by to check out my small wooden box.
gail
What a beautiful makeover on this wooden box! It reminds me of something my grandfather would have made. And what a sweet story of you being named after your aunt. I’m always so intrigued by family history.
XO Kristin