Stackable Pallet Crates
As an Amazon Associate, I earn from qualifying purchases.
Hello! Remember a couple weeks ago when I shared my Cheap Cabinet into Nice Bench? Well today I am going to share my Stackable Pallet Crates that I made to go inside the bench cubbies.


First of all if you follow me at MyLove2Create you know I LOVE crates! So when I turned the cheap cabinet into a bench I knew exactly what to put inside…
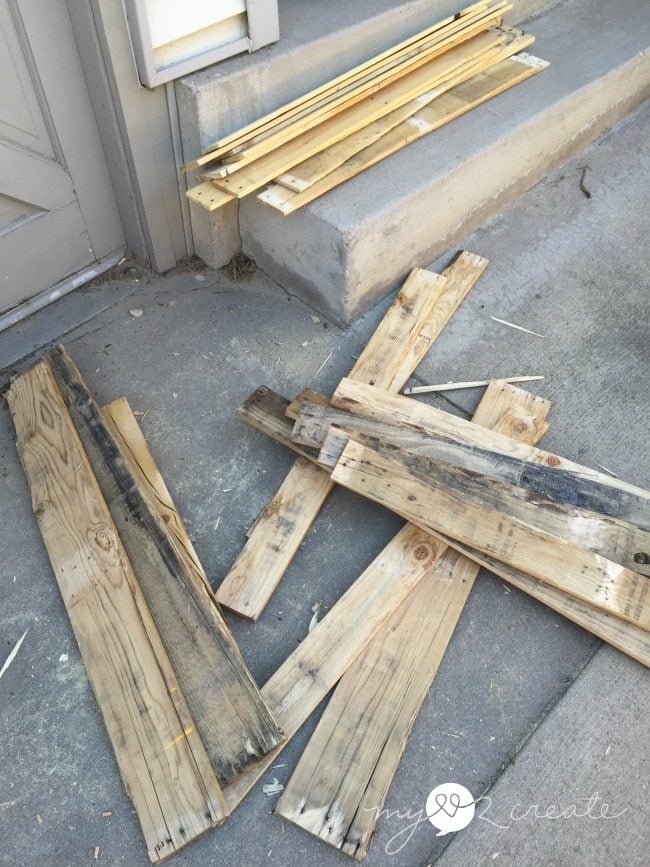
I wanted to make these crates from free wood and my husband had a few pallets at his work, so I brought them home and set to work cutting them up with my sawzall.
Learn how to safely dismantle pallets and get inspired with easy pallet project ideas! 👉 Pallet Projects + Tips for Dismantling
I have always wanted to try making stackable crates. I love the idea of having a “crate dresser” so I thought I would try it with these crates, even though they will be inside a bench.
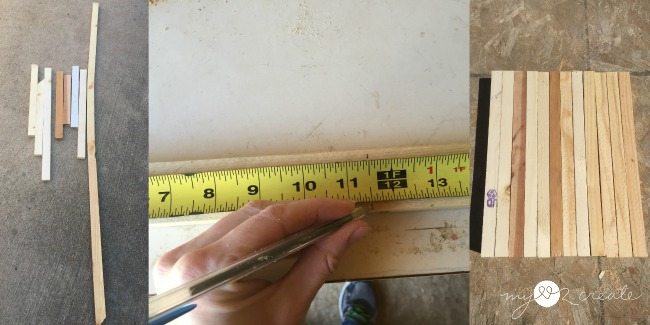
For the inside supports I needed 1×2 boards so I gathered as many as I could from my scrap wood pile that were over 11 1/2 inches (top left). I measured and cut 12 at 11 1/2 inches. I got this length from measuring the inside of my cubbies, you can make them any size you want. 🙂
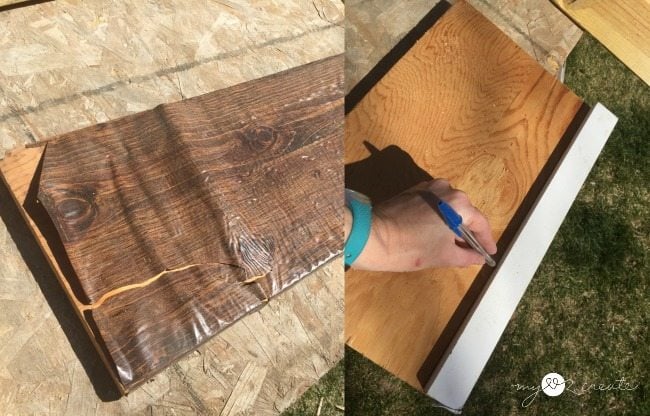
To make the crates stackable, they needed some little feet that would fit into the top of the crate it would be stacked on. I needed some longer 1×2’s but I was out. So the next best thing? Improvise! I grabbed this old plywood shelf covered in very old contact paper, it peeled off very easily, thank goodness. I cut it to the length I needed and used a 1×2 to mark strips.
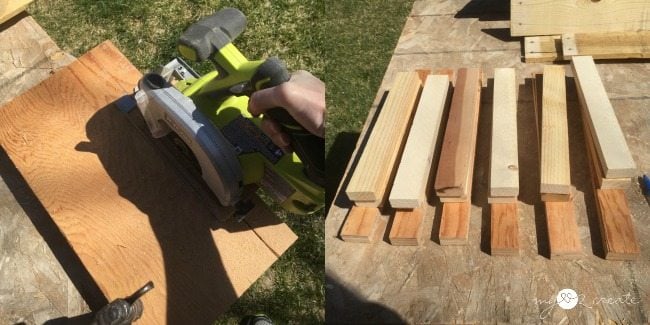
Then I ripped them with my Ryobi circular saw. This gave me a bottom support piece for the crates. I needed two for each crate so I cut 6.
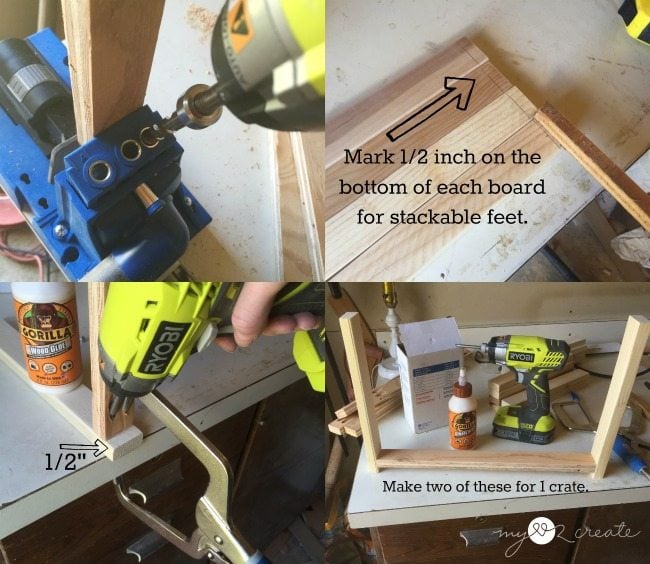
I drilled pocket holes into each side of the plywood strips (top left). Then I marked the side support 1×2’s with a mark 1/2” from the bottom of each piece (top right). I glued and attached the plywood strips at my 1/2” mark to connect them to the side supports (bottom left). I was left with 6 support pieces, two for each crate (bottom right).
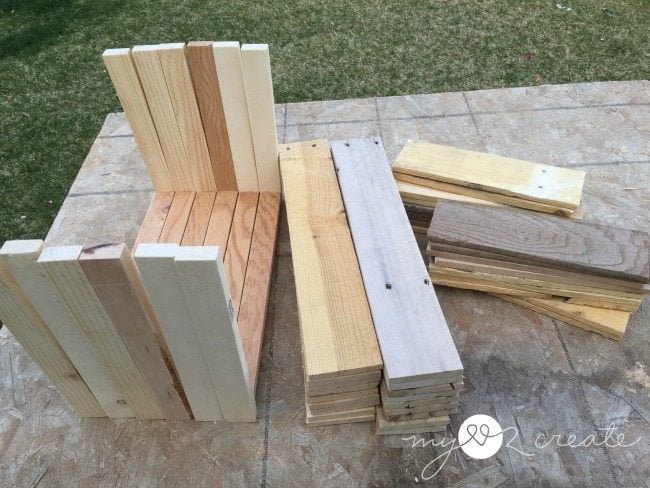
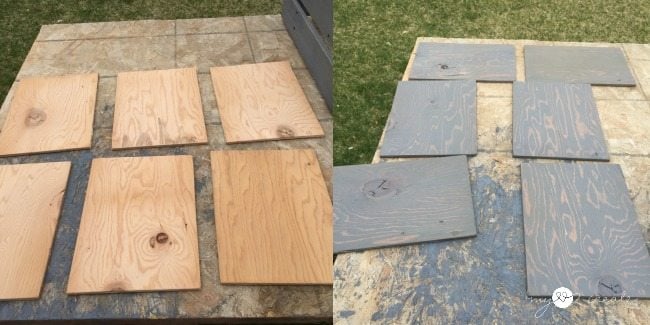
I measured and cut all my pallet wood for the sides of my crate.
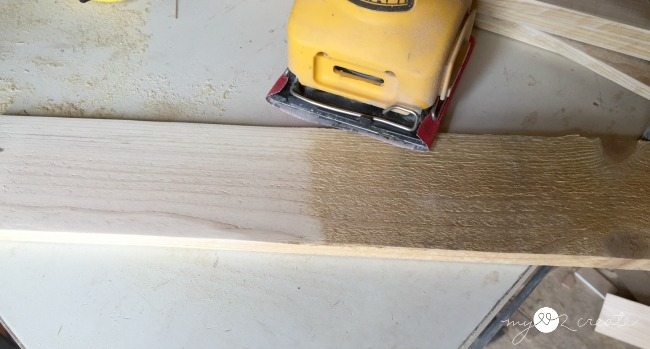
I thought you would appreciate the difference a good sanding makes in pallet wood, the left side is sanded the right is not. Amazing isn’t it?!
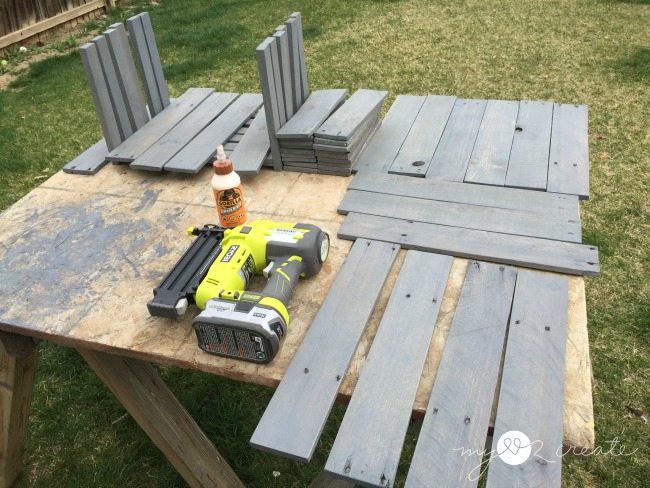
Since I had done the top of the bench in Rustoleum’s Weathered Gray I thought the crates would look good in the same color. The pallet wood took the stain a little darker, since it is a rougher wood, it soaked it in a little more than the pine. I still love the color though!
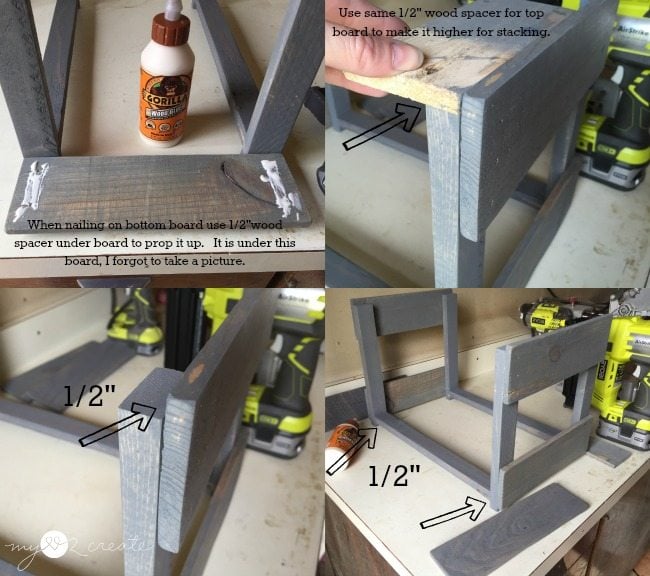
With all the boards stained it was time to build, yay! I stared with two side supports and a bottom side board (top left). I forgot to show a photo, but I used a scrap 1/2 inch board to set my pallet board on top of while I nailed it to the support boards. That ensured I had the little 1/2” feet for stacking. In the top right photo I used the same board as a space for the top board to make sure I left room for the feet to stack into. You can see the 1/2 gap in the bottom left photo. On the bottom right I am pointing to the 1/2 little feet. I hope that makes since. 🙂

Next I added the middle boards on each side (top left), I just eye balled it. Then it was time to add the long front and back pallet planks. I made sure to use Gorilla wood glue for a strong hold and finishing nails.
With the crates all built they just needed some bottoms! I had some thin scrap plywood I cut into bigger planks.
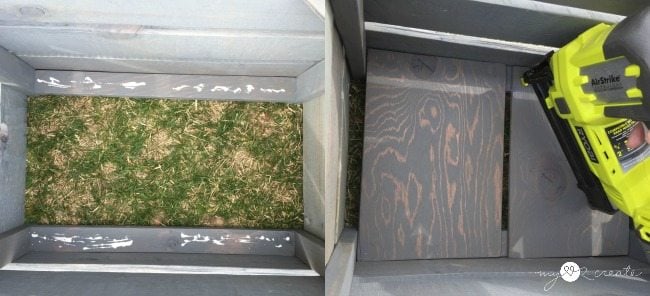
I glued and nailed them inside of the crates onto the 1×2 plywood strips. All done!
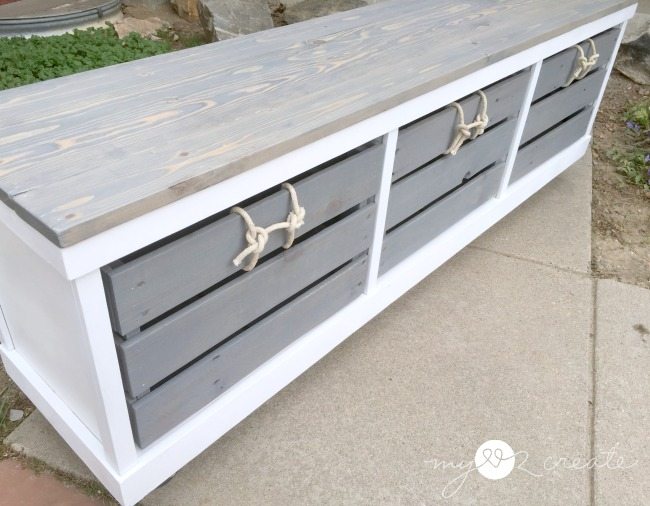
I couldn’t wait to try it in my bench, they fit perfectly! You can see the difference in the color of the stain on the crates compared to the top, but I am ok with it. 🙂

I really wasn’t sure that I wanted a permanent handle, and I didn’t like how the ones I had looked with the crates so I tried something new. I just grabbed a rope and tied them around the top boards of each crate. I could have used hot glue to secure them, but for now I like how random they look, kind of beachy or nautical, which I think is the feel of this whole bench.
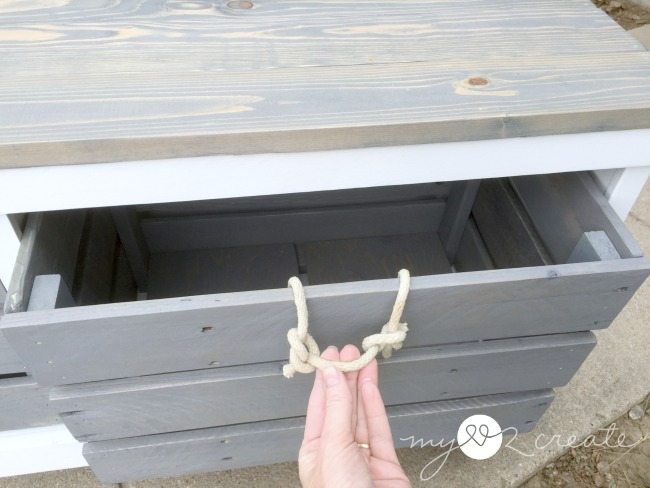
The knots actually hold pretty good when you pull, so it works. 🙂
It gives them a little character.
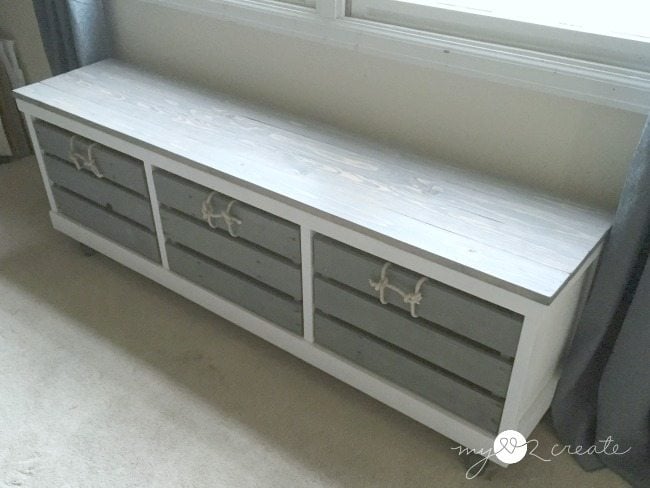
Here they are in their new home ready to be filled up.
These crates will pack a good amount of storage, perfect for keeping organized. They could be filled with anything!
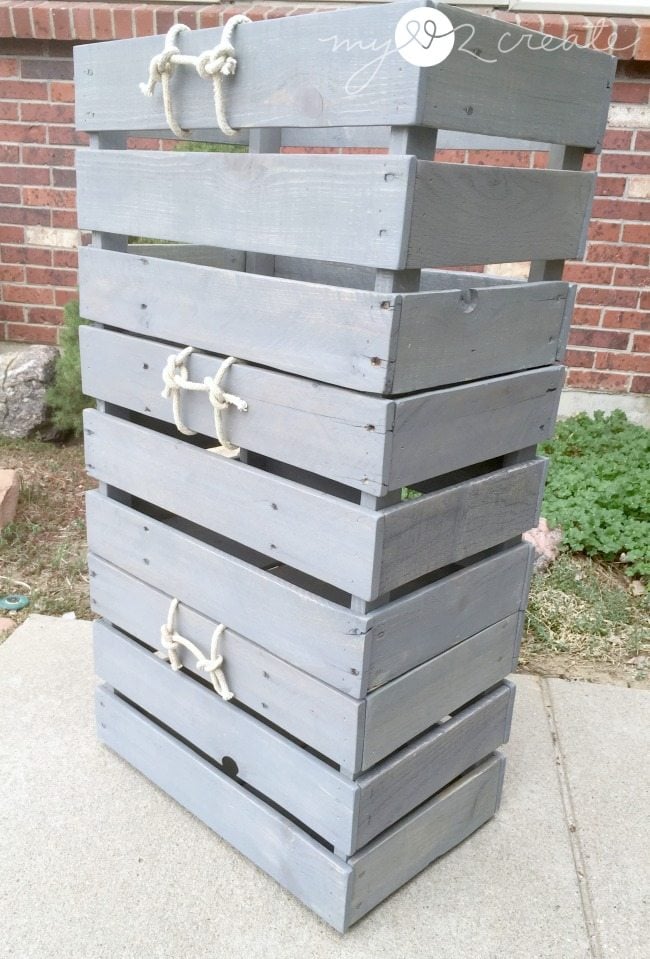
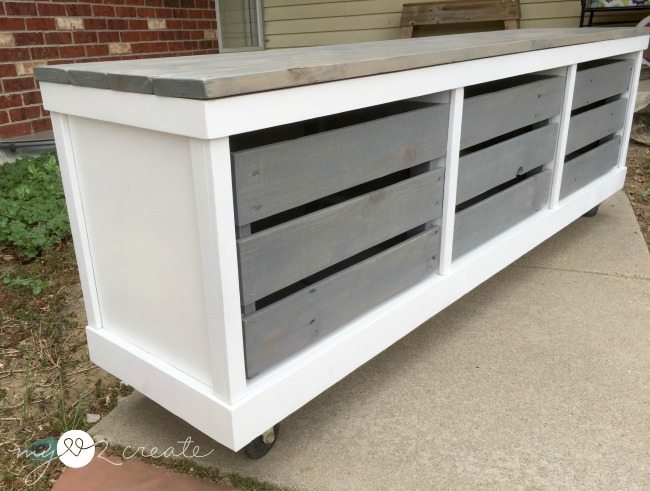
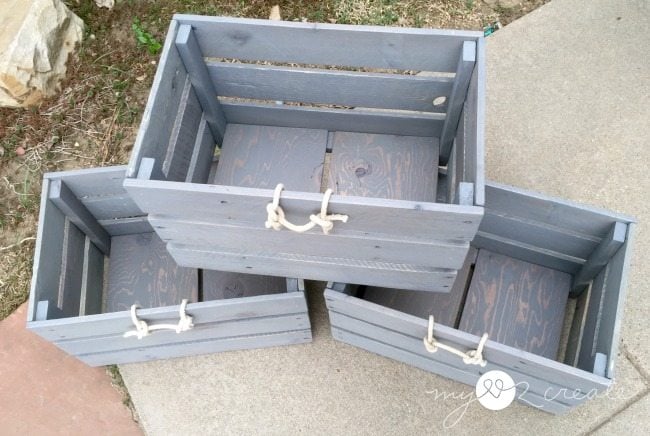
I think they look great stacked! This is a perfect way to get some vertical storage in a small space, plus it’s cute too! If you want the crates to look evenly spaced throughout, you can see they sit flush on top of each other, you would simply add more length to the legs on the bottom. A simple fix, and the best part of DIY, you can do it the way you want!
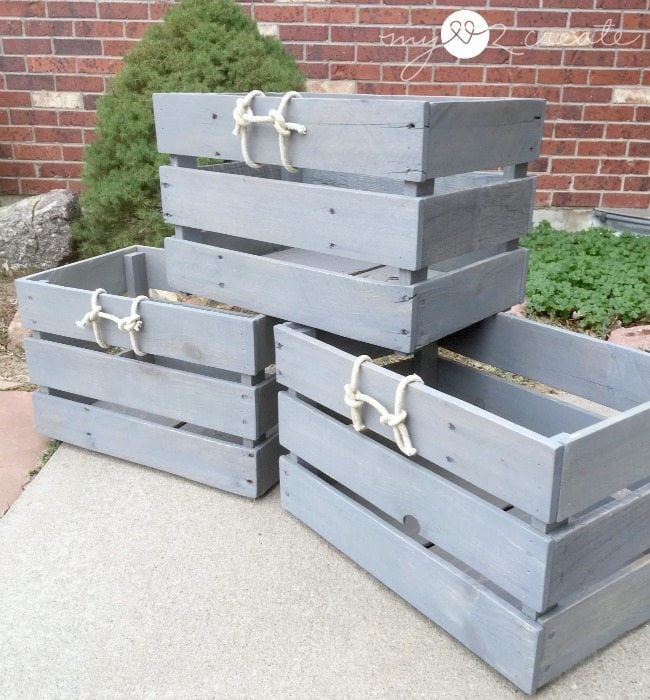
My crates are pretty large 18 1/2” wide by 12” deep and 12″ tall, but you could make them any size you want, bigger or smaller to fit your needs.
For more fun crate inspiration check out my 20+ DIY Crates! Have you built any crates lately?
Hugs!
Mindi
Click Here for more information about dismantling pallets.
Great as usual! As I said before, I love the colour (whether it’s a bit different than the top or not!)
Mindi,
I love, love, love your free diy stackable pallet crates. They look fabulous in your bench. It’s so hard to believe I’ve yet to do a pallet project. I need to get busy.
gail
Looks good..
This is a great pallet project. The crates fit your bench like a glove and the little rope pulls are just what they need. I love pallet wood creations, they seem very versital. You have so many great projects, where do you have room for them all?