Repurposed Cabinet Doors into a Desk
As an Amazon Associate, I earn from qualifying purchases.
It was warm and sunny, the puppy didn’t chew up the carpet, and I cleared out some of my hoard and made it into something useful.
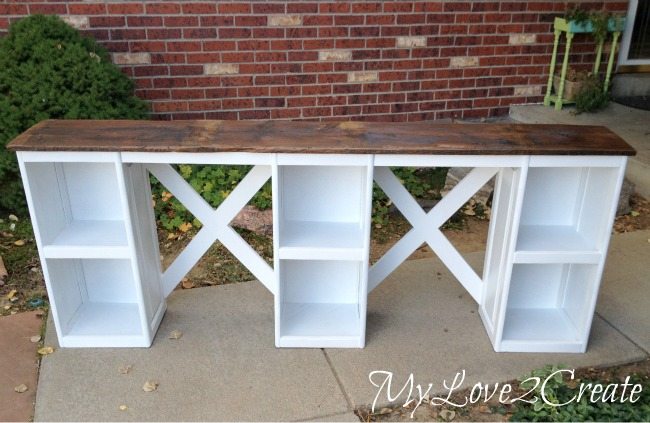
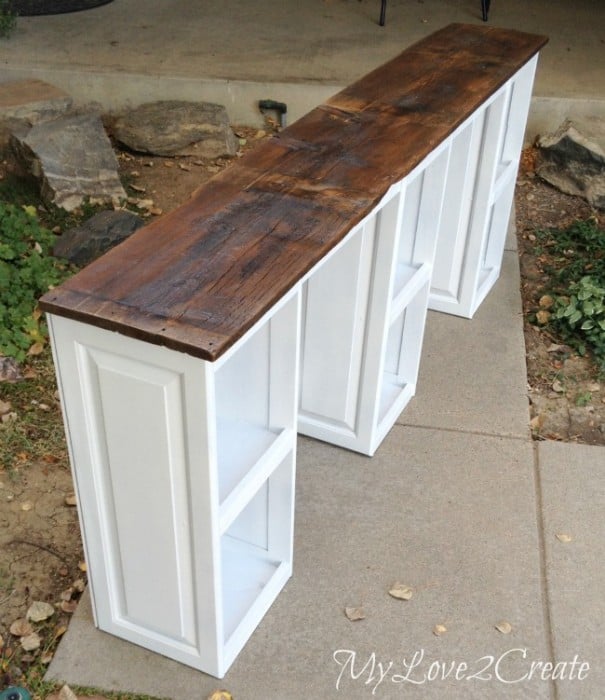
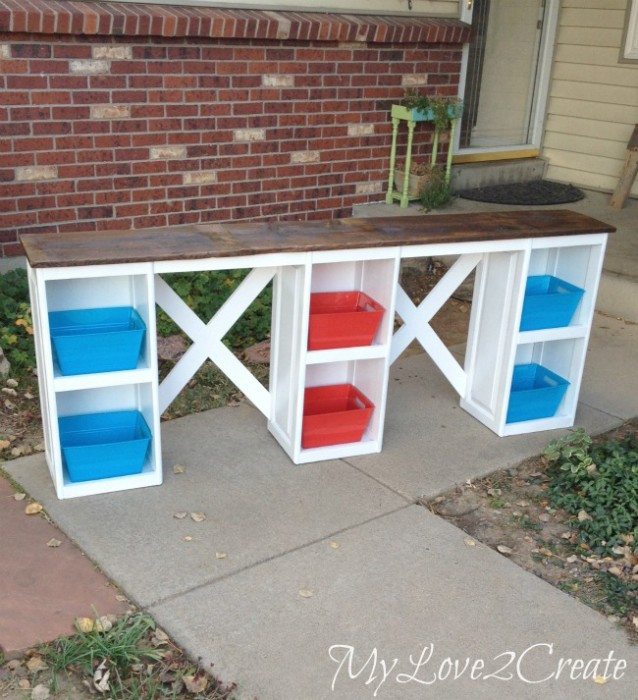
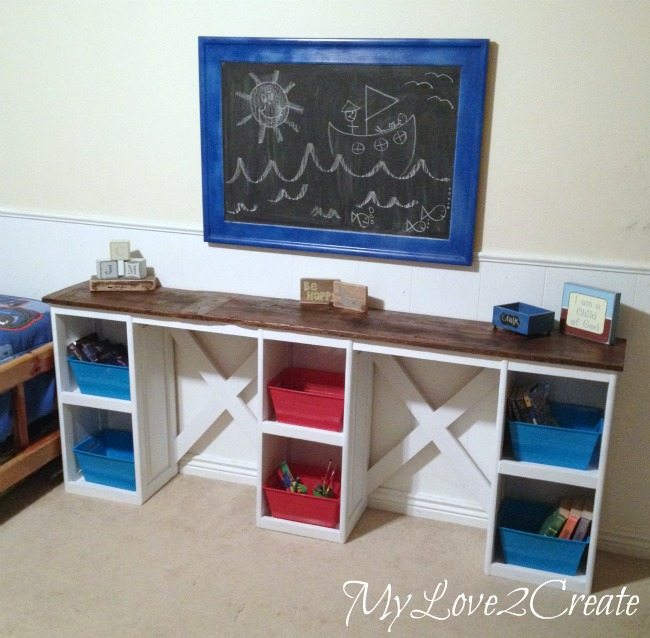
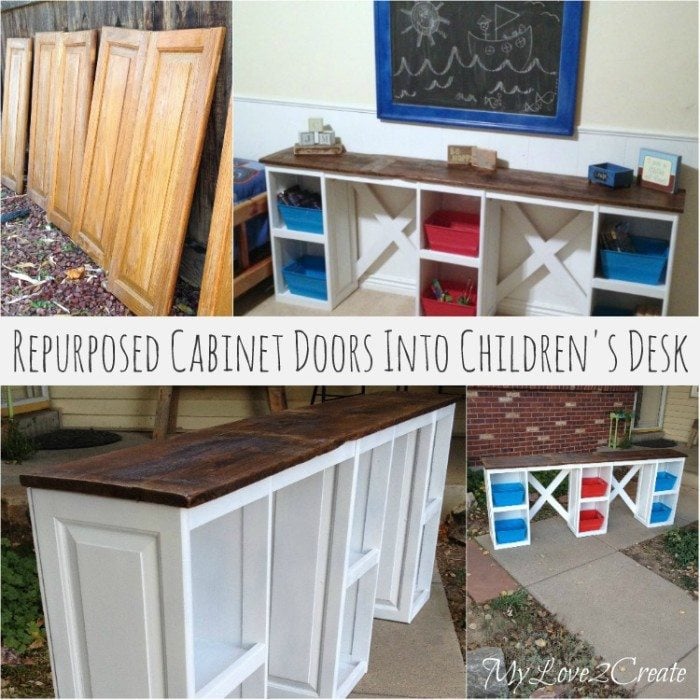
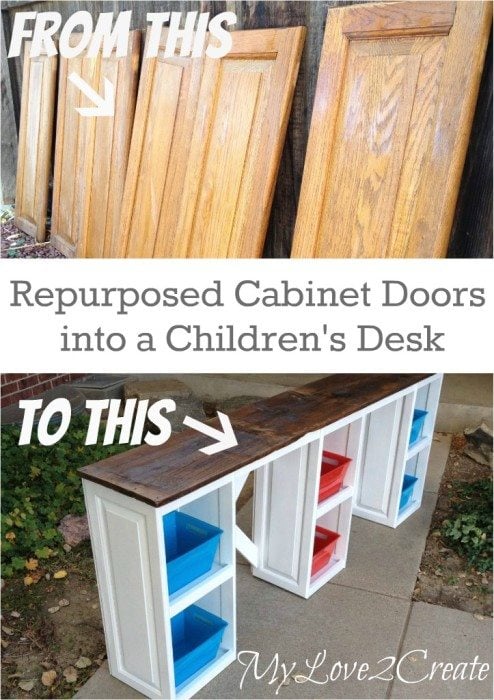
I give you, Repurposed Cabinet Doors into a Desk …
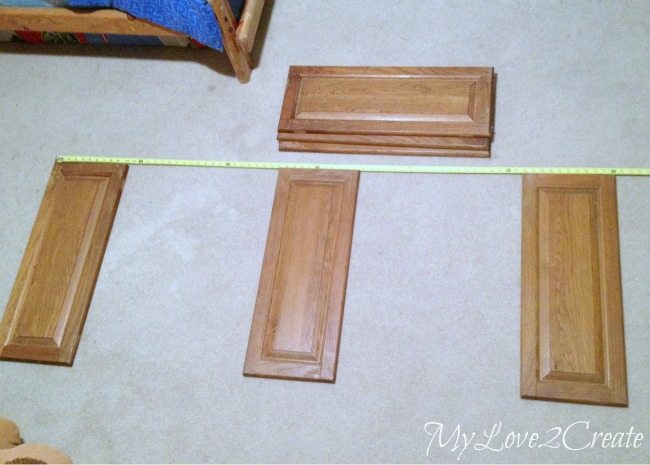
I have had these cabinet doors for a while. They caught my eye on a rainy day, well pouring actually. It was a classic drive by spotting. I slammed on the breaks, made a quick U turn, and threw them in my trunk, saving them from the trash. They were pretty grimey, but they came home non the less, and I gave them a good cleaning with TSP.
I have thought of many ways to repurpose them over the months, but this desk idea won out in the end. I started by measuring the wall I was going to use to see how long it needed to be, and then began trying different options on the floor with the cabinet doors.
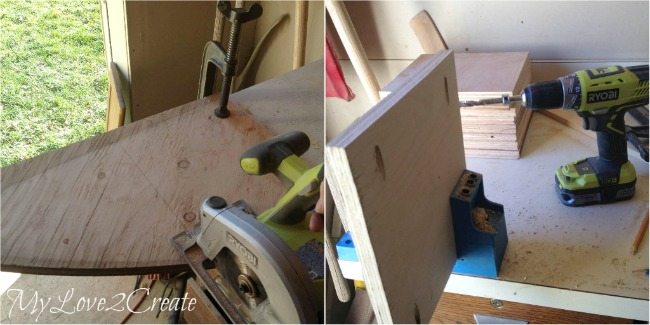
Once the size was determined, I set to work cutting shelf boards. I used the same plywood scraps that I used in my Drawers and Drawer Slides, Master Closet Makeover post. On the left I am cutting them with my Ryobi Circular Saw, and on the right, drilling pocket holes on two sides of each board. I cut 9 shelf boards.
Need more details on using a Kreg Jig? See my article How to use a Kreg Jig Pocket Hole System
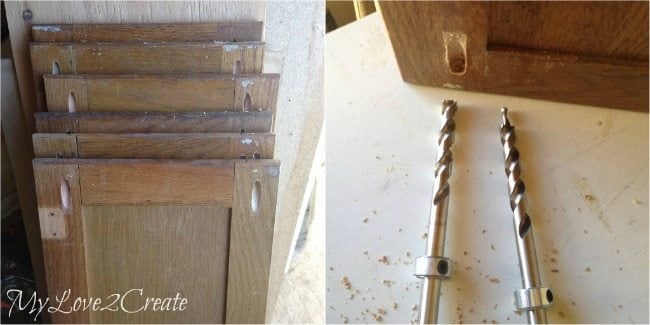
For attaching the desk top later on I drilled pocket holes in the top of each cabinet door. While drilling one of my pocket holes my bit broke inside the cabinet! What? That has never happened before. I guess it is two years old and I use it all the time…luckily I had a spare, because had a feeling it was on it’s way out…phew!
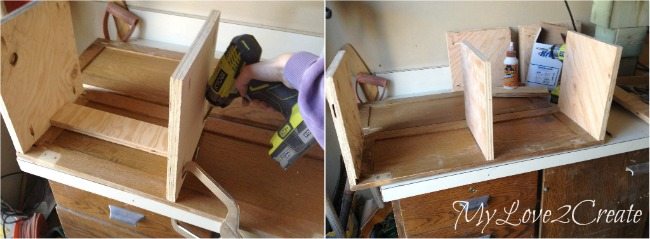
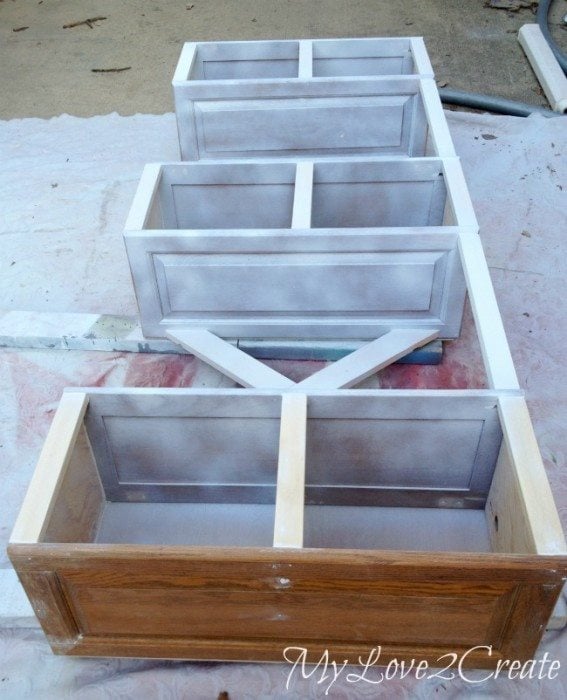
Next, I was ready to attach the shelves to the cabinet door. I attached the top and bottom shelves flush with the ends. For the middle shelf I measured where I wanted it and used a spacer board to keep all three sections the same without having to re-measure. I used my Kreg Right Angle Clamp to hold my boards in place while I drove in the first screw, this is the best clamp ever! I also made sure to use my Gorilla Wood Glue. 🙂
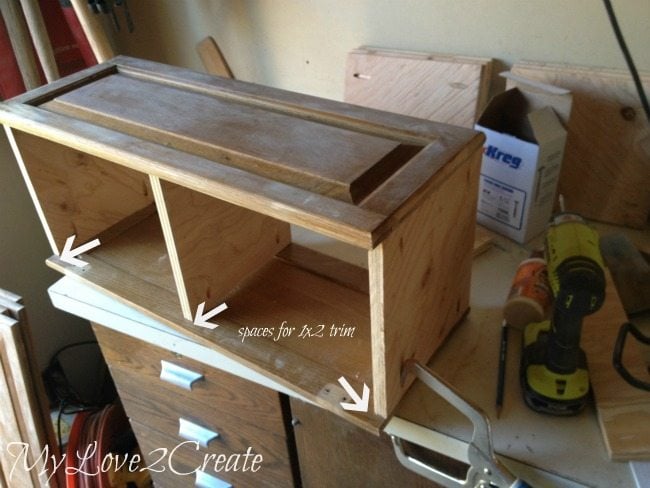
When I measured for my shelf size I made sure to leave room for my 1×2 trim that I was planning to add. You can see here I am attaching the other cabinet door.
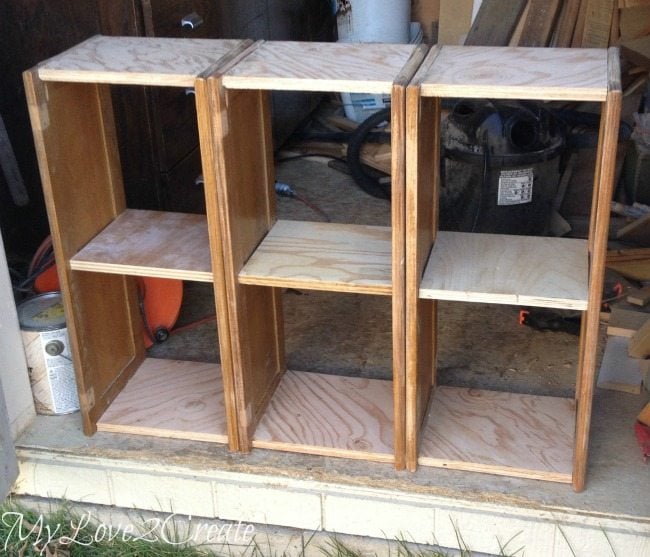
Here are all three sections built.
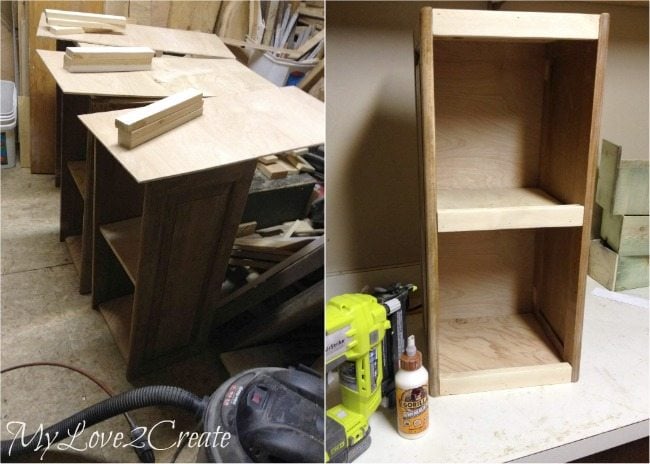
I just had to add the back and the 1×2 trim. My Father-in-law totally hooked me up with some awesome free wood when his neighbor was moving. That is where I got the nice 1/4 plywood backing, I had the 1×2 in my stash. I measured and cut them to size and glued and nailed them on.
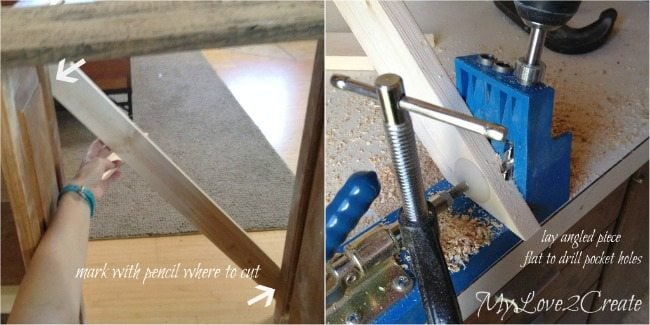
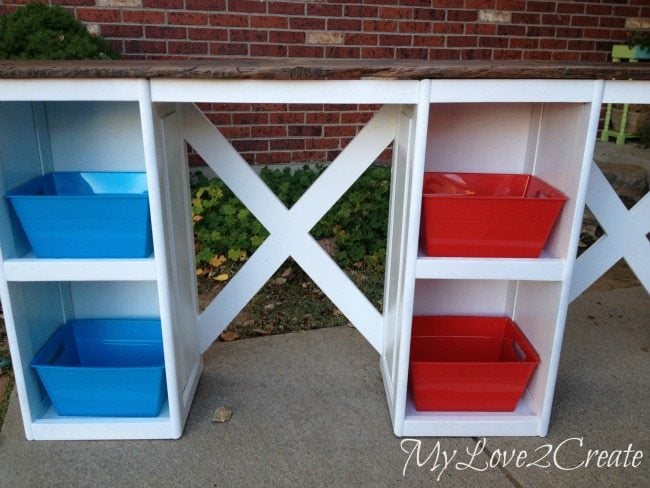
With the sections built I had to come up with a way to connect them. I ended up trying an X pattern, because I have always want too, and I love they way they look.
Disclaimer: So just be aware, I was winging it, and this may not be the best way to do it. Mmmkay? My sister-in-law gave me some old bed slats and they were perfect for this job. I placed the 1×3 where I wanted it, and marked with a pencil where to cut. Then I drilled pocket holes in each angled end.
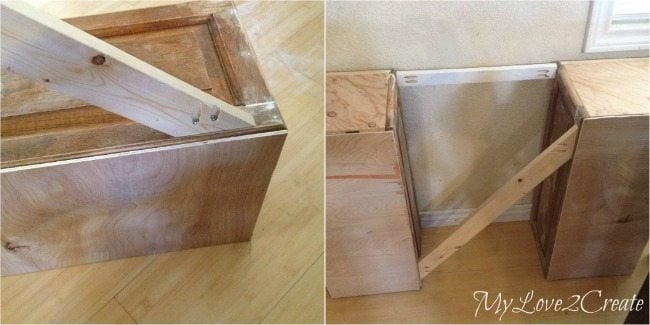
I attached the first side with the cabinet laying down. Then to help me out, I used the wall to keep my shelves from moving while I attached the second side. I also cut and attached another 1×2 trim piece for the top to connect the shelf sections in the front.
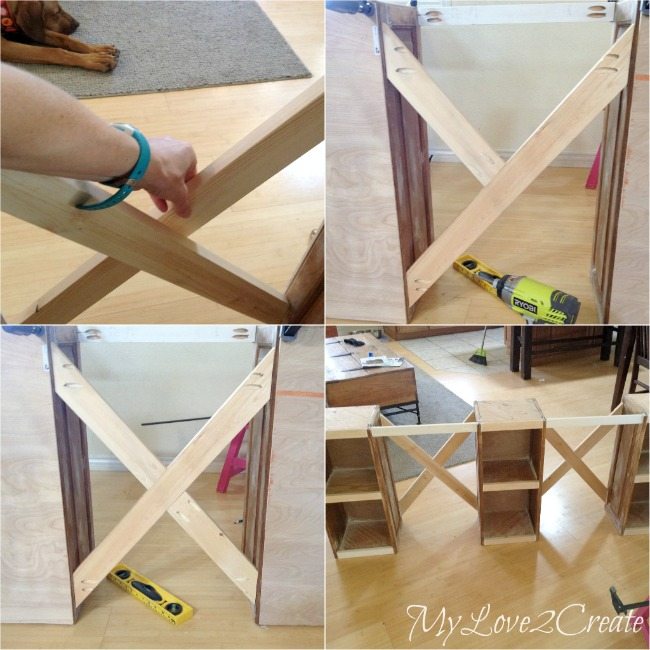
To complete the X pattern I used the same method, except I cut two pieces, and attached them one at a time. And that was it, not too bad! They are not perfect, but I am good with that, especially for my first time. 🙂
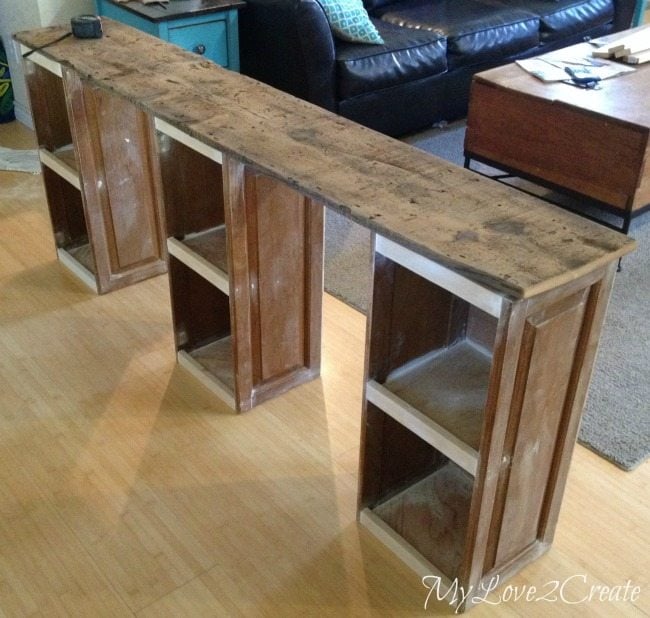
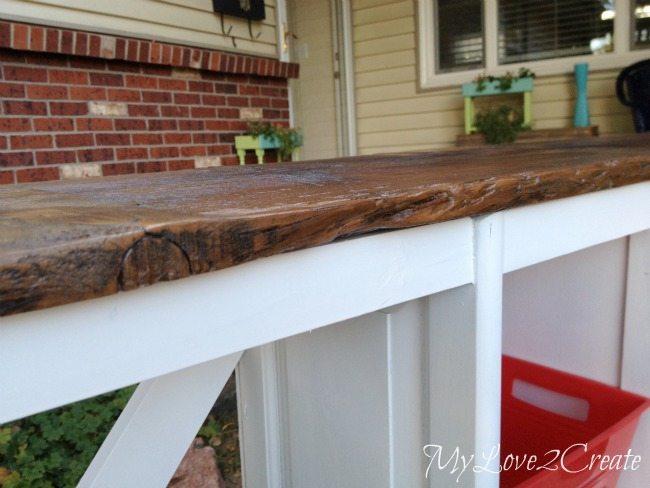
You may recall my Cubby Shelf Makeover that I shared last month. I really loved the reclaimed wood top I put on it, so I went to see if I had a piece of that 70 year old barn wood to fit for the desk top. Yay, I had one left in the right size, sa-weet! I actually did this before I attached the shelves together. I needed the overall length so I knew how far apart to have the shelves spaced.




WHAT AN EASY, USEFUL AND CHEAP PROJECT. THE LOCAL ‘HABITAT’ SELLS ODD DOORS LIKE THIS FOR A COUPLE OF BUCKS.TY
I just came across your post on Pinterest. I had to re-pin it! Your project is wonderful.
Thank You for sharing.
So creative AGAIN Mindy!
You are so darn creative and I am jealous! Great job a usual.
God Bless!
MINDI!!! You rock!! 😀 and I love you desk creation, from cabinet doors. It is a real gem, you know? I look at my cabinet doors and there is no way this kinda’ wood would work for such a sturdy creation, as you have created. Enjoy it along with the boys.
I cannot believe the wonderful projects you come up with. Please come to my house and build me something…
anything. I would love to have your talents. Great desk or entry way piece. LOVE IT!
Wow this desk project is amazing. You always think of the most unique furniture to make.
Once again, you amaze me. I think one day I will log on and not be surprised, so far, that has not happened! I so love this piece. My boys could keep their toys all picked up and in place with a piece like this. Thank you for sharing as always.
Gail, You are such an inspiration! You are so amazing in your creativity, I truly jump for joy and anticipation when I see an email from you in my inbox! Keep it up, you are definitely doing what you are meant to be doing…Tali
Love, love, love–sharing on FB!
Brilliant as always!
What do you mean a desk for kid?? I love it! I would be so happy to have something like this in my craft room. Great job!
This is amazing…you did a beautiful job on this!
Nice job…….bonus you have happy boys. Making the chairs from scratch?