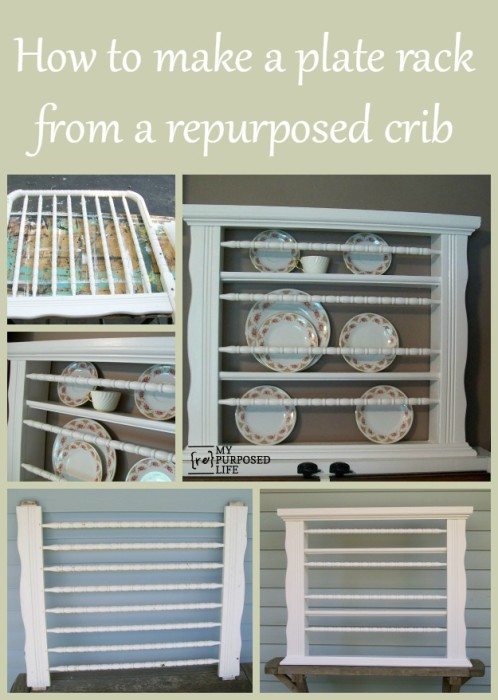
Repurposed Crib into Plate Rack
As an Amazon Associate, I earn from qualifying purchases.
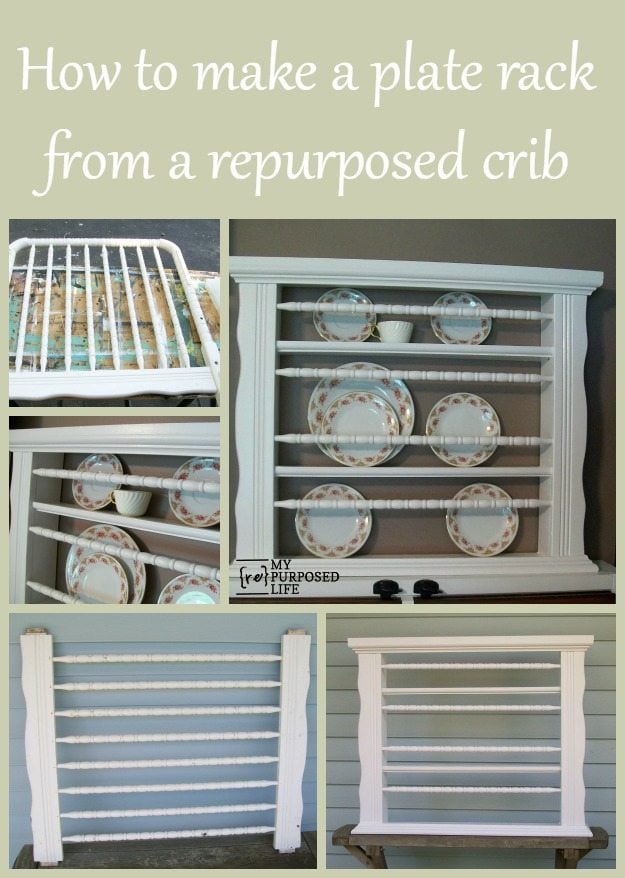
Today I’m going to show you how I turned a repurposed crib into a plate rack. I took apart some cribs and parted them out. After I took them apart I had a couple of the end pieces I swapped out. I turned them this way, and that way, almost standing on my head. I asked people who stopped by… “what does this look like” while holding up the pieces. No one was any help. Then one day it finally came to me what this crib part wanted to be! Here’s the story:

I had some crib ends. I used the legs of these crib ends to make a sweet little table. Notice how the top is a spindle and the bottom is a decorative piece of wood.
Dismantle Crib
 I swapped them out, making two identical pieces.

This is the piece I am using for this project.
Build a Box Frame for Repurposed Crib Rails

I used a jigsaw to remove some of the spindles. Yeah, I could have cut them in the middle or pulled them out, but I wanted the end pieces to stay put, so I wouldn’t have to fill the holes left behind.

I proceeded to build a box to fit the crib end.


I attached the box to the crib end using wood glue and my nail gun.

The lumber I used for the box and shelves was “cull bin” lumber. (Home Depot) The cull bin is sort of like OOPS in the paint department. It is leftover lumber that people didn’t want. They are sold by colors. These were all painted green on the ends. Green is only paid .51 cents for each board. For this project I used 7 boards for a total of about $3.50.
Add Trim

I really had no “plan” in place. I sort of just made it up as I went along. After attaching the box, I decided it needed some trim. I added the last board on the top, with it overlapping in the front.

You can see it a little better in this picture.
More Trim | Crown Molding

I added some scrap crown molding to the top and the bottom to trim it out.

Because I’m a “use what you have” kind of girl, I had to piece the crown molding. Do you see that it doesn’t quite match up on this corner? Not one of my best miter cuts, but not to worry. Because I mess up frequently, I know just how to fix such problems.
Sand Trim & Molding Smooth

I simply sanded it down to smooth it out. Voila! Look at all of those nail holes. They are NOT all mine! Seriously! Look to the right and you will see that I had to use two pieces on the bottom, because I didn’t have a piece long enough.
")

If you look closely, you’ll see a nail sticking out. I fondly refer to this as a “blowout”.
Shoe Molding Holds Plates
")
I used some scrap shoe molding to the front of the shelves to make a little lip. This will help keep plates from falling off.
Repurposed Crib Plate Rack

Here she is all painted up, ready to be adorned with beautiful plates, cups and saucers.
")
")
This is the corner that was not mitered perfectly and the place where I had to have two pieces of trim butt up against each other.
")
Add Plates to Repurposed Crib Plate Rack Display

I chose not to put a back on this pate rack. Okay, the truth is I’m short on supplies! I didn’t have a piece of plywood or bead board large enough to fit the back.
")
But I like the wall color showing through.
")
These plates are nothing special, just some random plates I had that I used to stage this plate rack.
")
I set it on top of my window display cabinet to take pictures.

However, I think this plate rack would look great hanging on the wall or sitting on another piece.

I love using repurposed crib (s) for projects!
gail
More wooden spindle projects here
see more bits and pieces projects here
That is so cute.I found you through google images. I’m a new follower.
I love what you did!
Katie
Hello Gail! I just had to link this to my plate racks post today – you rock girl!
Wow you are so imaginative! Thanks for all the inspiration!