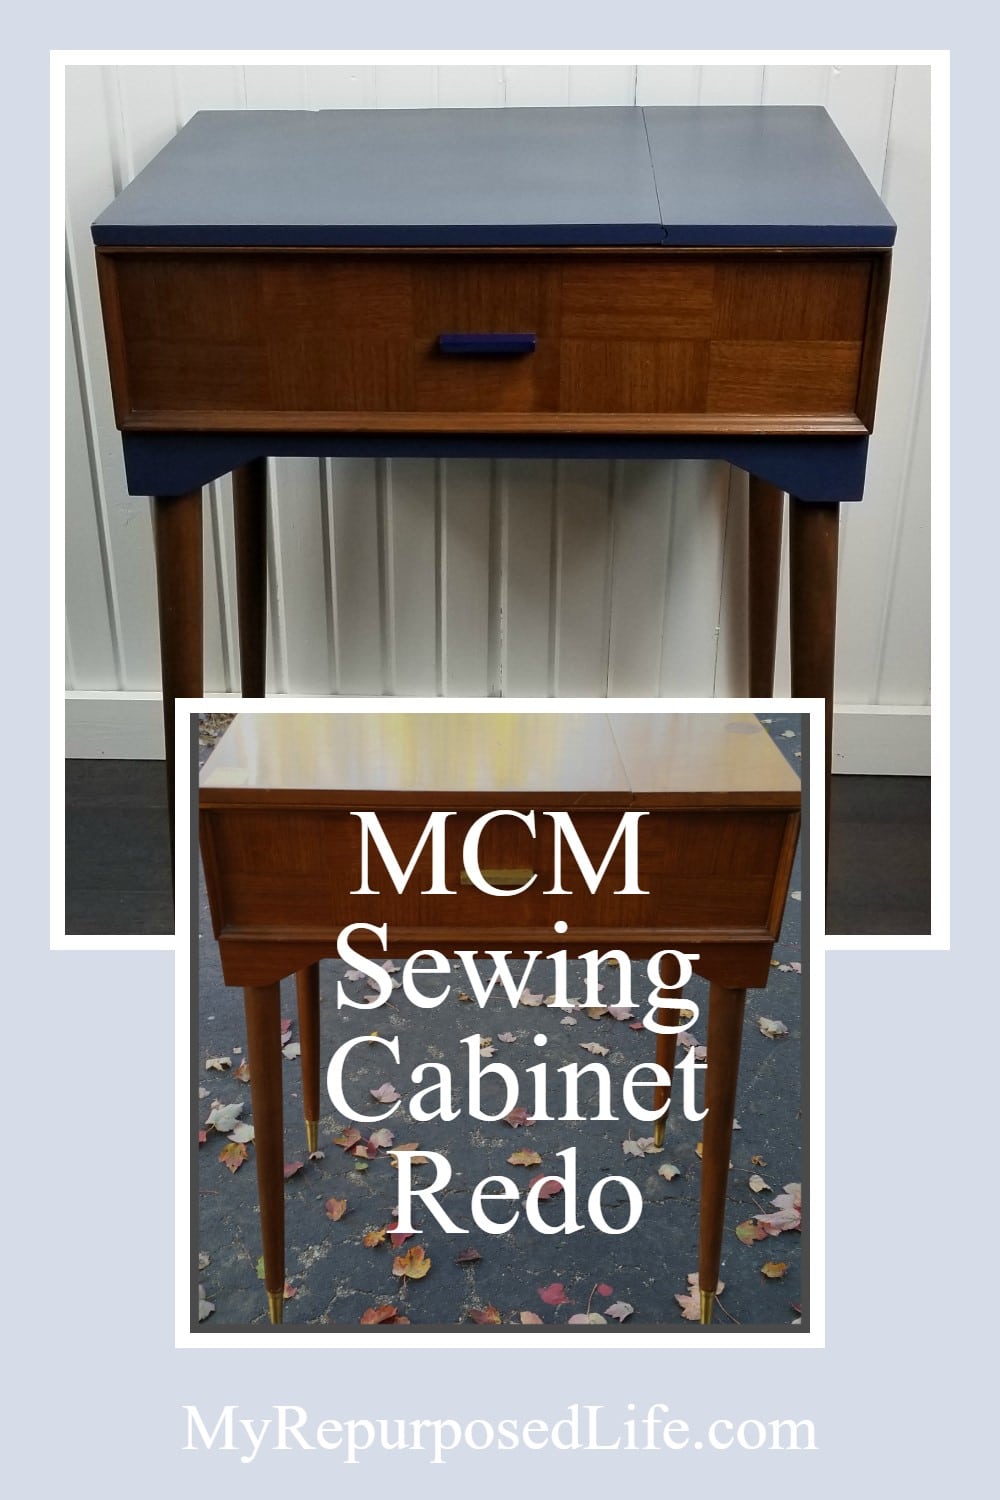
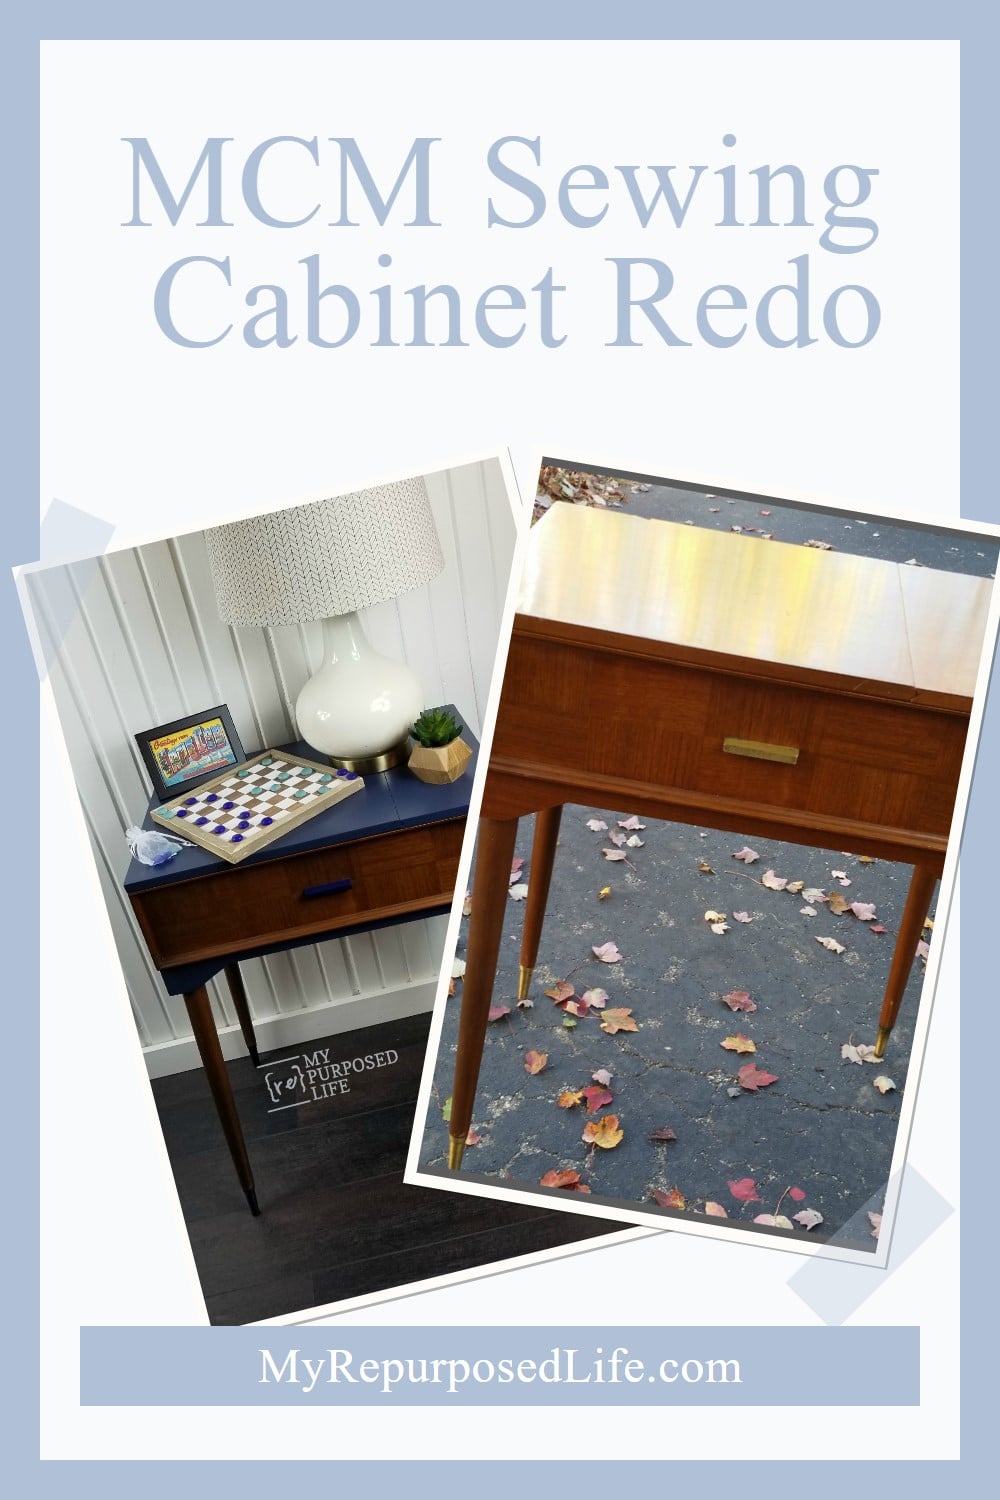
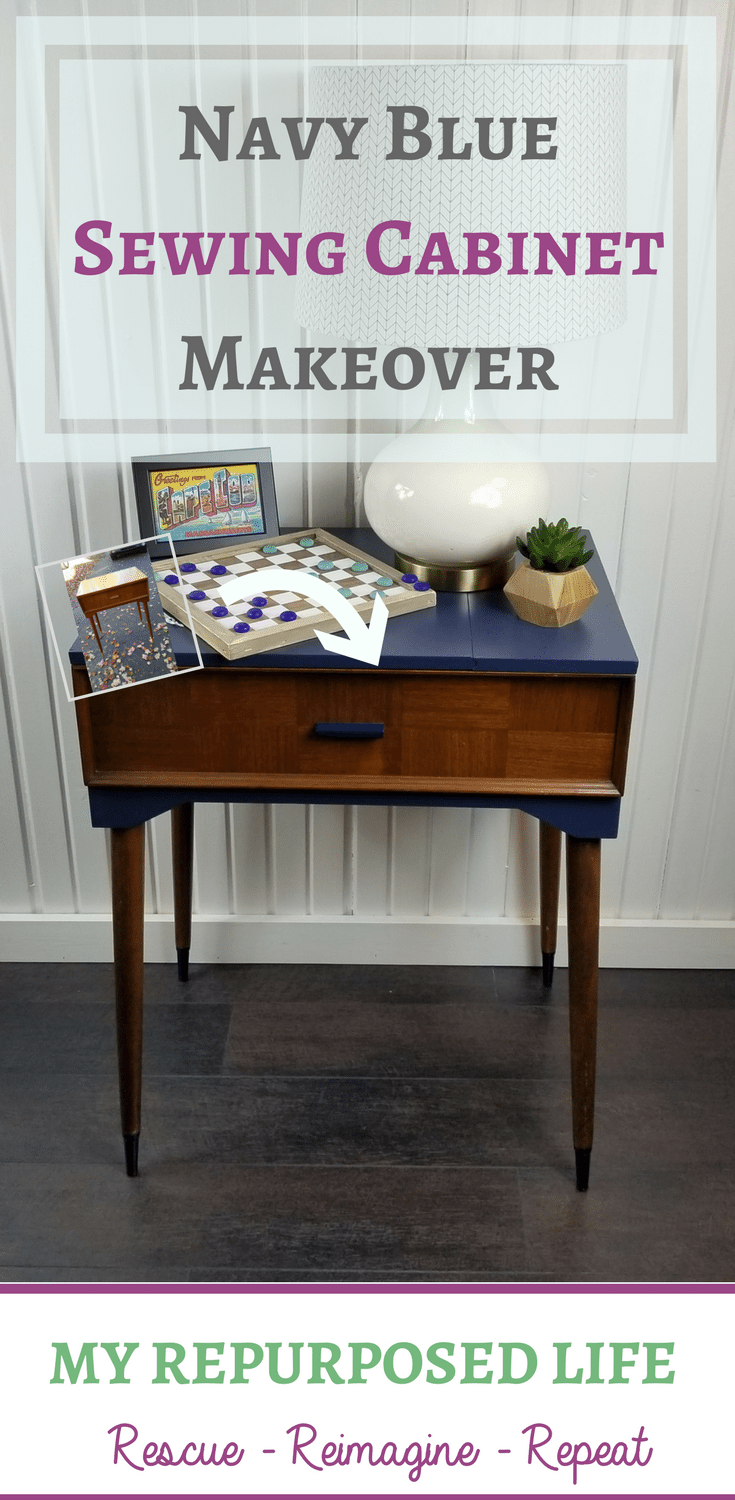
Doing this navy blue sewing cabinet makeover only took me a year!
Do you ever have one of those projects that don’t go as planned? That’s the case with this Sewing Cabinet Makeover. What I thought would be an easy and quick makeover was frustrating and nearly a project failure.
Vintage Sewing Machine Cabinet Makeover

I got a good deal on this mid-century modern sewing cabinet. Almost exactly one year later, I dragged it out and worked on it. It was early December, and I had just finished working on my DIY laundry cart. I suppose that’s why I was drawn to the navy blue.
Remove hardware

The very first step of doing a sewing cabinet makeover is to remove the unnecessary hardware left behind.
Visit the My Repurposed Life Amazon Store to shop my favorite items.
Prepare to paint

As always, I mixed up some DIY chalky paint primer. Of course, I used plaster of Paris and semi-gloss Behr paint (Naval).

I used a cheap chip brush, as I do on 99% of my projects, but something went wrong with this paint job.
Sand metal feet

I sanded the metal legs (feet) for the sewing cabinet makeover. Initially, I thought about leaving them as they were.
Spray Paint

But I decided to paint them. Please excuse the blurry picture.

The jury’s still unsure whether I like the blue metal legs.
Too many brush strokes

I generally love the two-toned look of wood and paint. I felt like the pretty veneer of the front of the cabinet shouldn’t be painted. While closely looking at the top of the cabinet, I’m sure you’ll notice all the brush strokes. I think the weather was too chilly and overcast when I painted. I kept applying more coats of paint, thinking it would improve. You would think I’d be better at this by now, but it happens, you know?

I chose to leave the inside of the cabinet its natural color and the front and the legs.
Plan b

The poor little cabinet was banished to the garage for over a month. It was time to fix this gal and get her on her way. I brought her into the house to allow her to warm up. We had a week of very cold, icy, and snowy weather. This was one of the few places that wasn’t snow and ice-covered.
Step 1
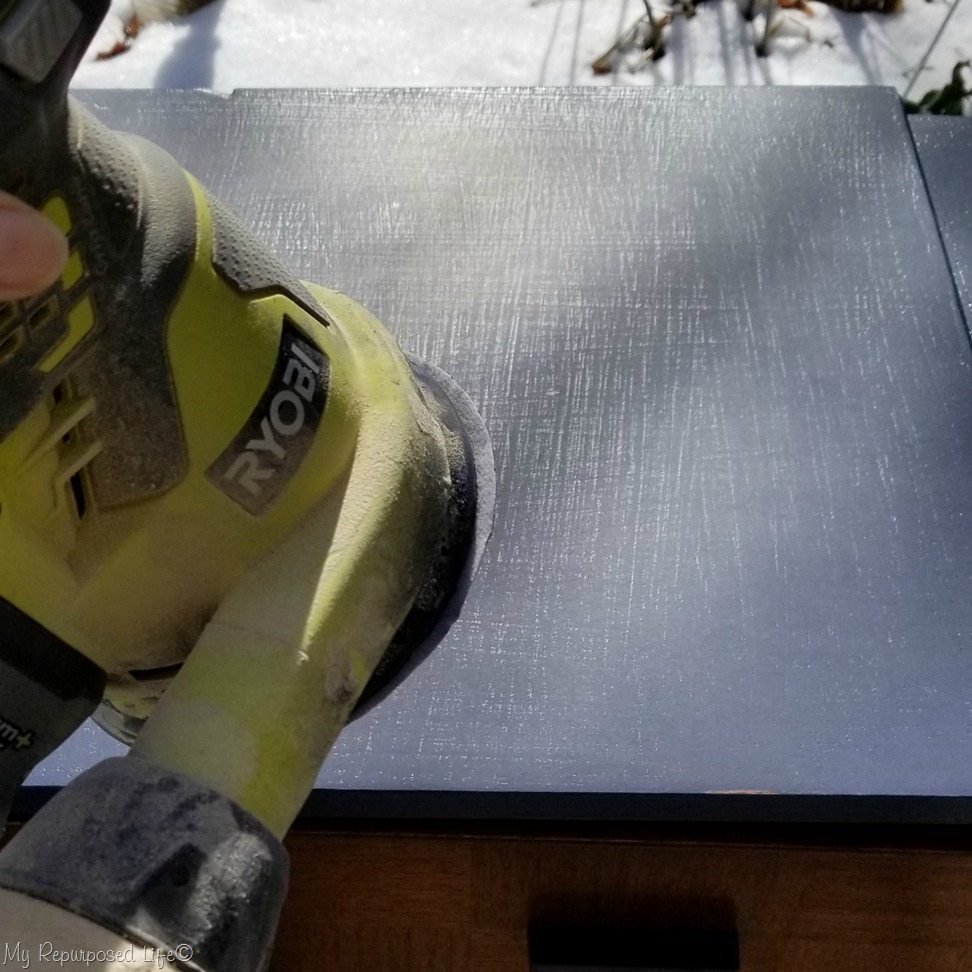
All is not lost when you have a piece of furniture with a rough paint job. Lightly sand the finish with an orbital sander and fine-grit sandpaper. Wipe away all dust.
Step 2

Use plastic wrap and painter’s tape to protect areas not painted with the Finish Max.
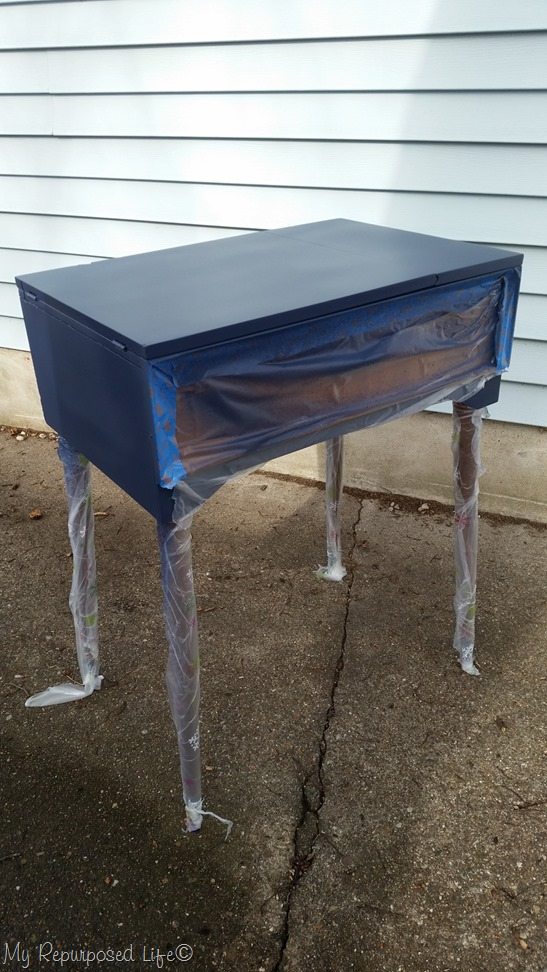
Step 3
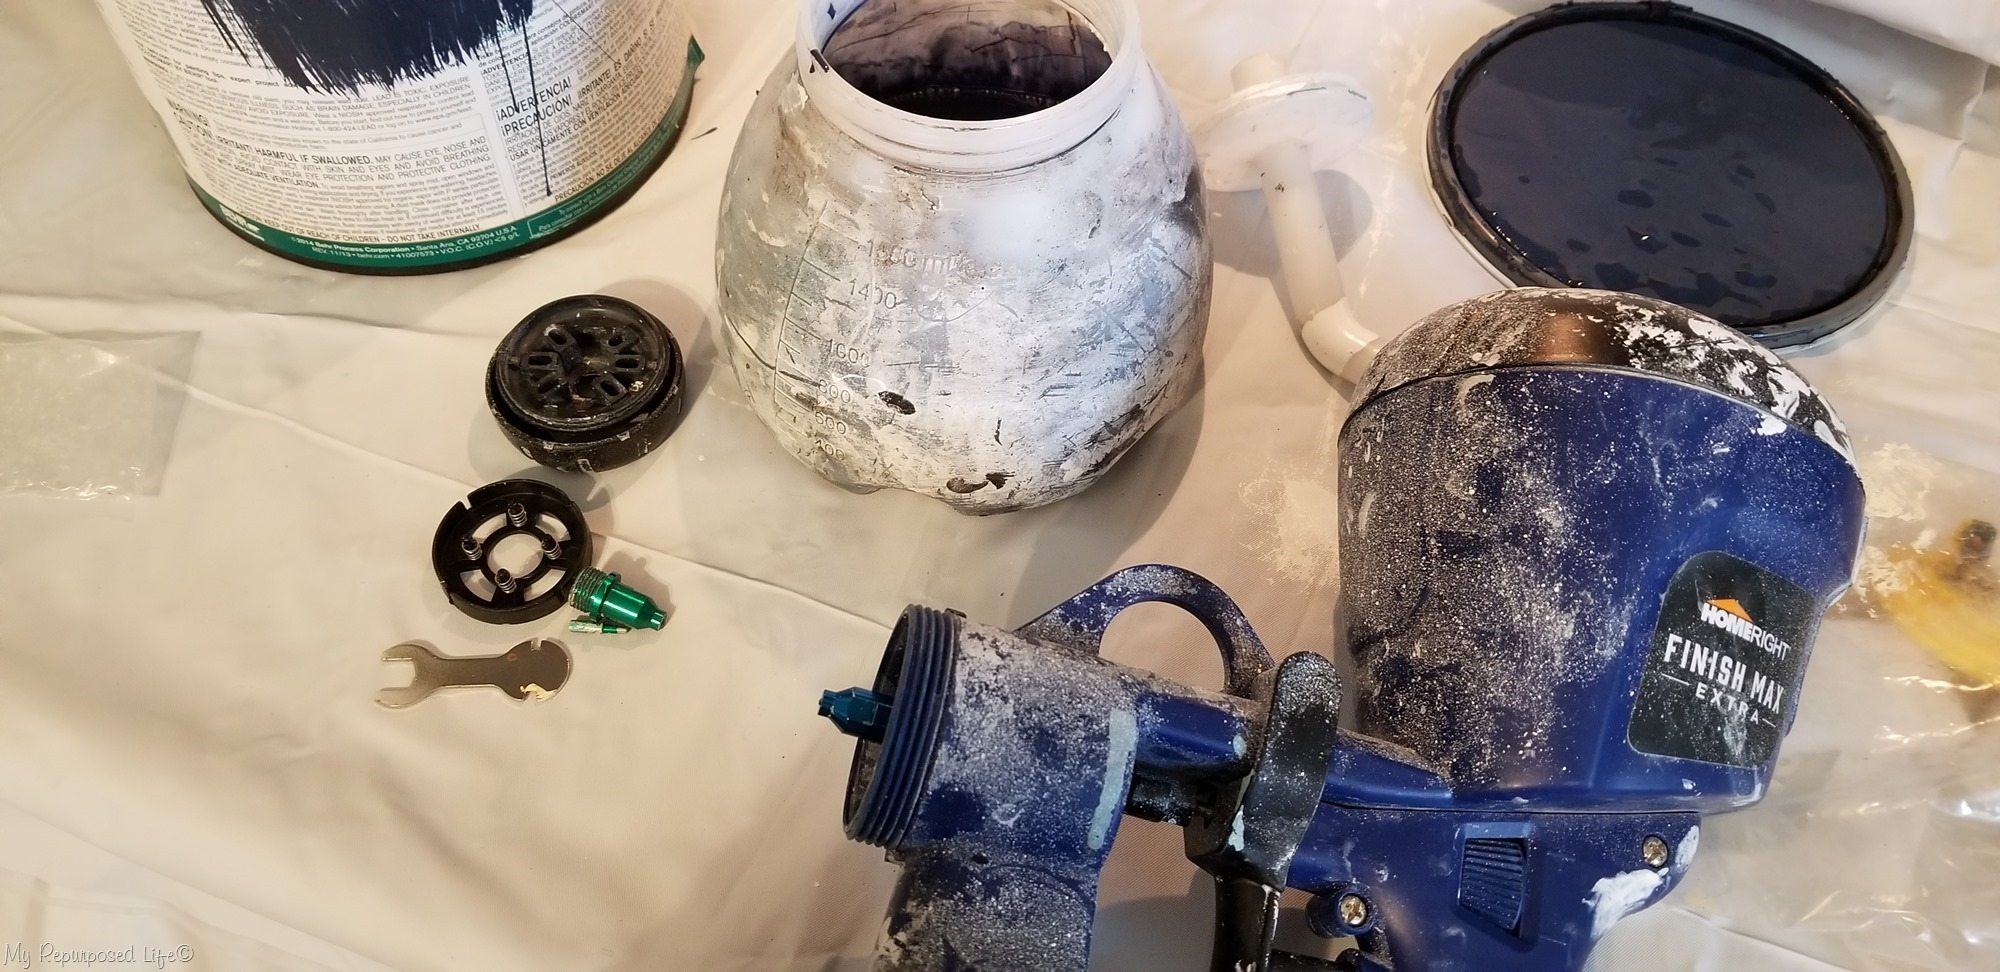
Choose the desired nozzle for your paint project. For this project, I used a blue nozzle (2.0mm). Proper precautions were taken because the weather was not ideal for using a paint sprayer. Before starting the job, the paint, sprayer, and furniture were all brought to room temperature.
Step 4
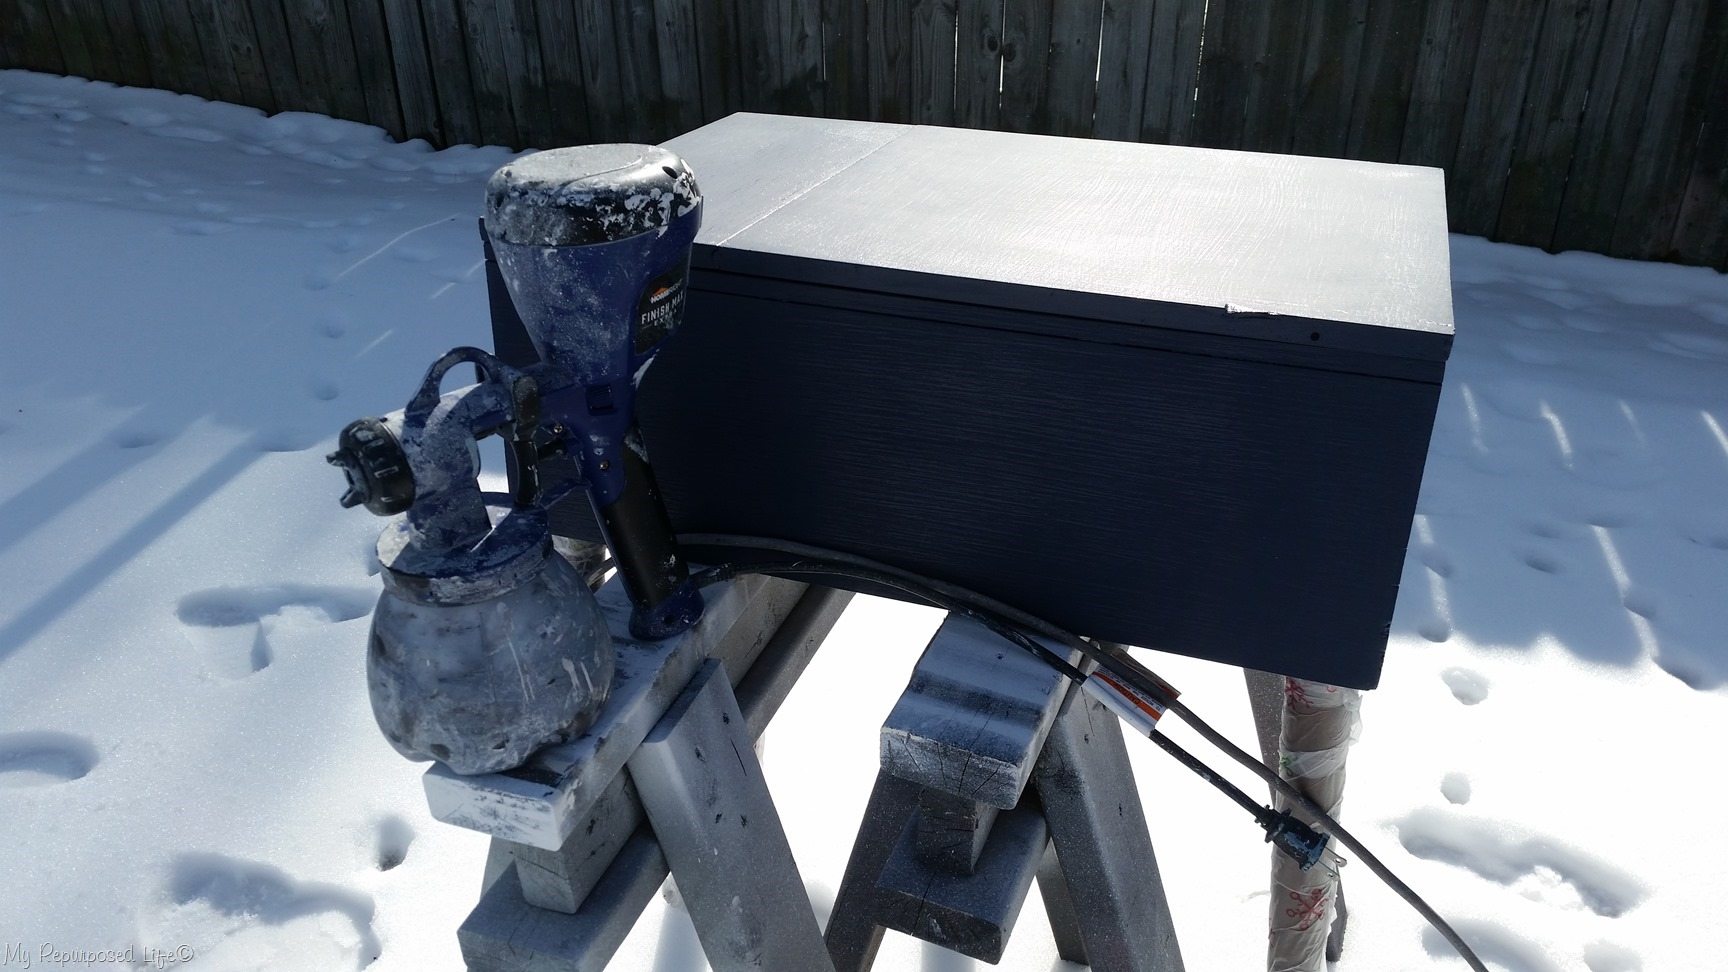
Prepare to paint. Due to the snow on the ground, diy sawhorses were used to hold the sewing cabinet. Although the top of the cabinet appears to have brush marks, the sander did a great job smoothing the paint. This is when you close your eyes, run your hand across the paint, and feel the smoothness. If you feel something less than perfect, keep sanding.
Step 5
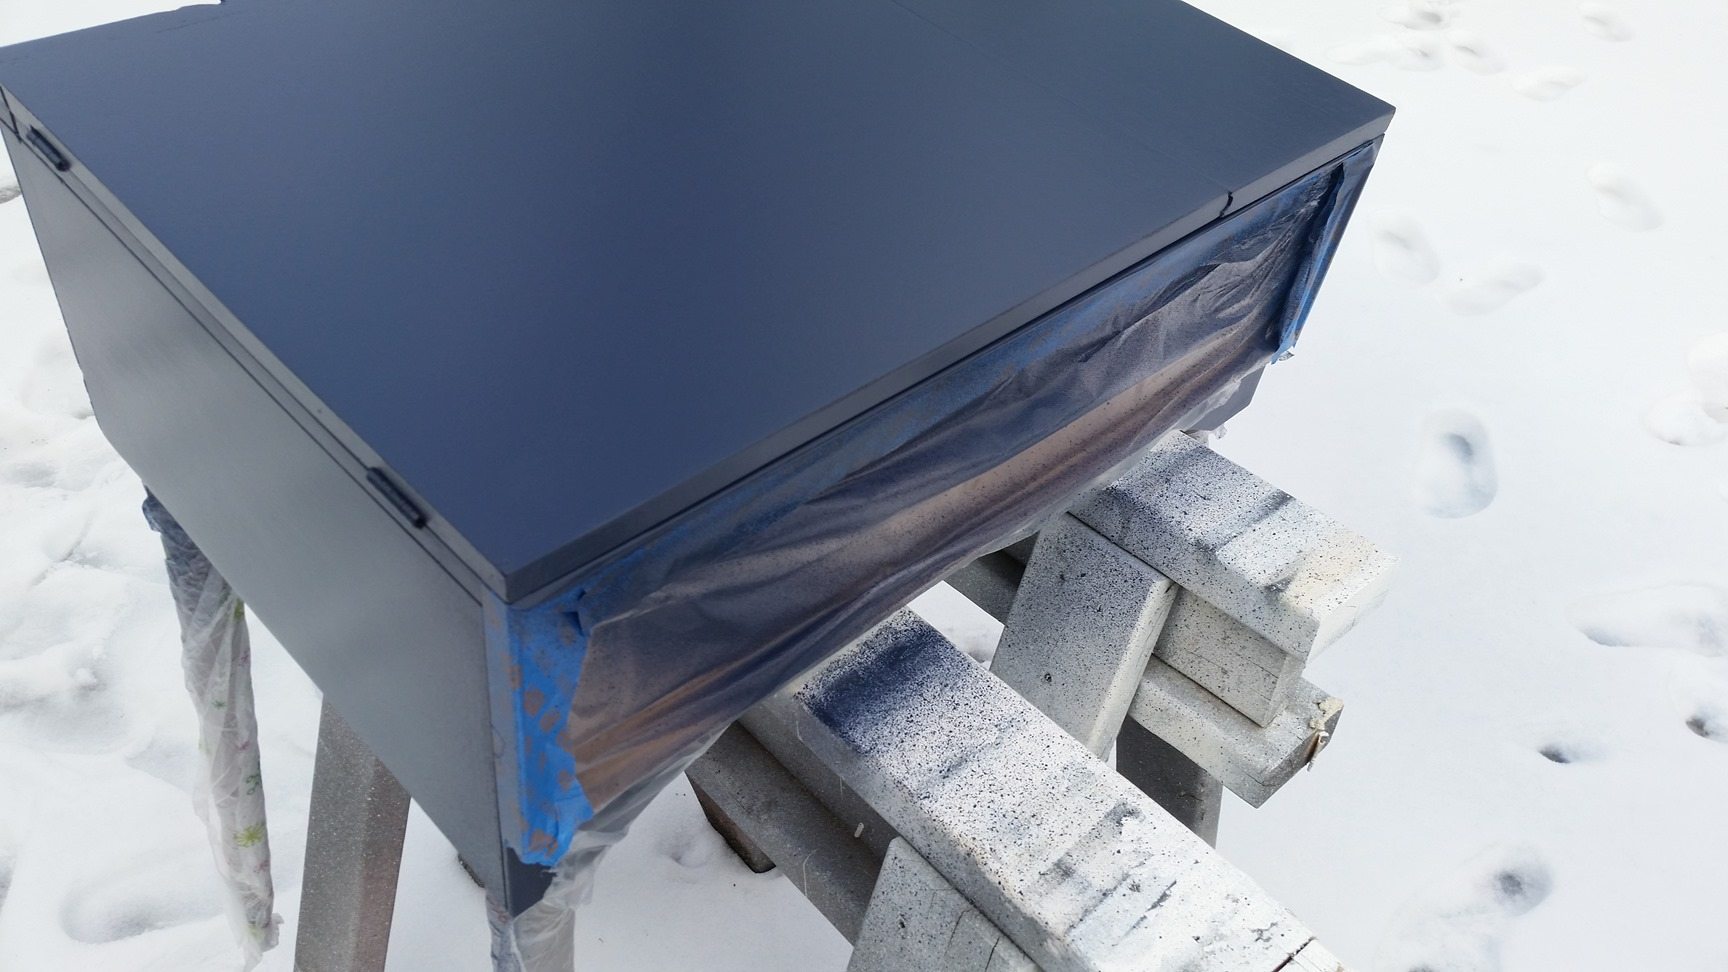
Spray two light coats of paint, allowing the first coat to dry thoroughly before applying the second. The plastic wrap and the painter’s tape did a perfect job of protecting the wood-toned wood.
Step 6
Admire a job well done, and I wonder why you didn’t use the Finish Max in the first place.
Paint Spraying In Winter

Have you ever painted furniture in the snow? The temperature on this day was 50°. Sunny and 50 is okay as long as everything is room temperature.
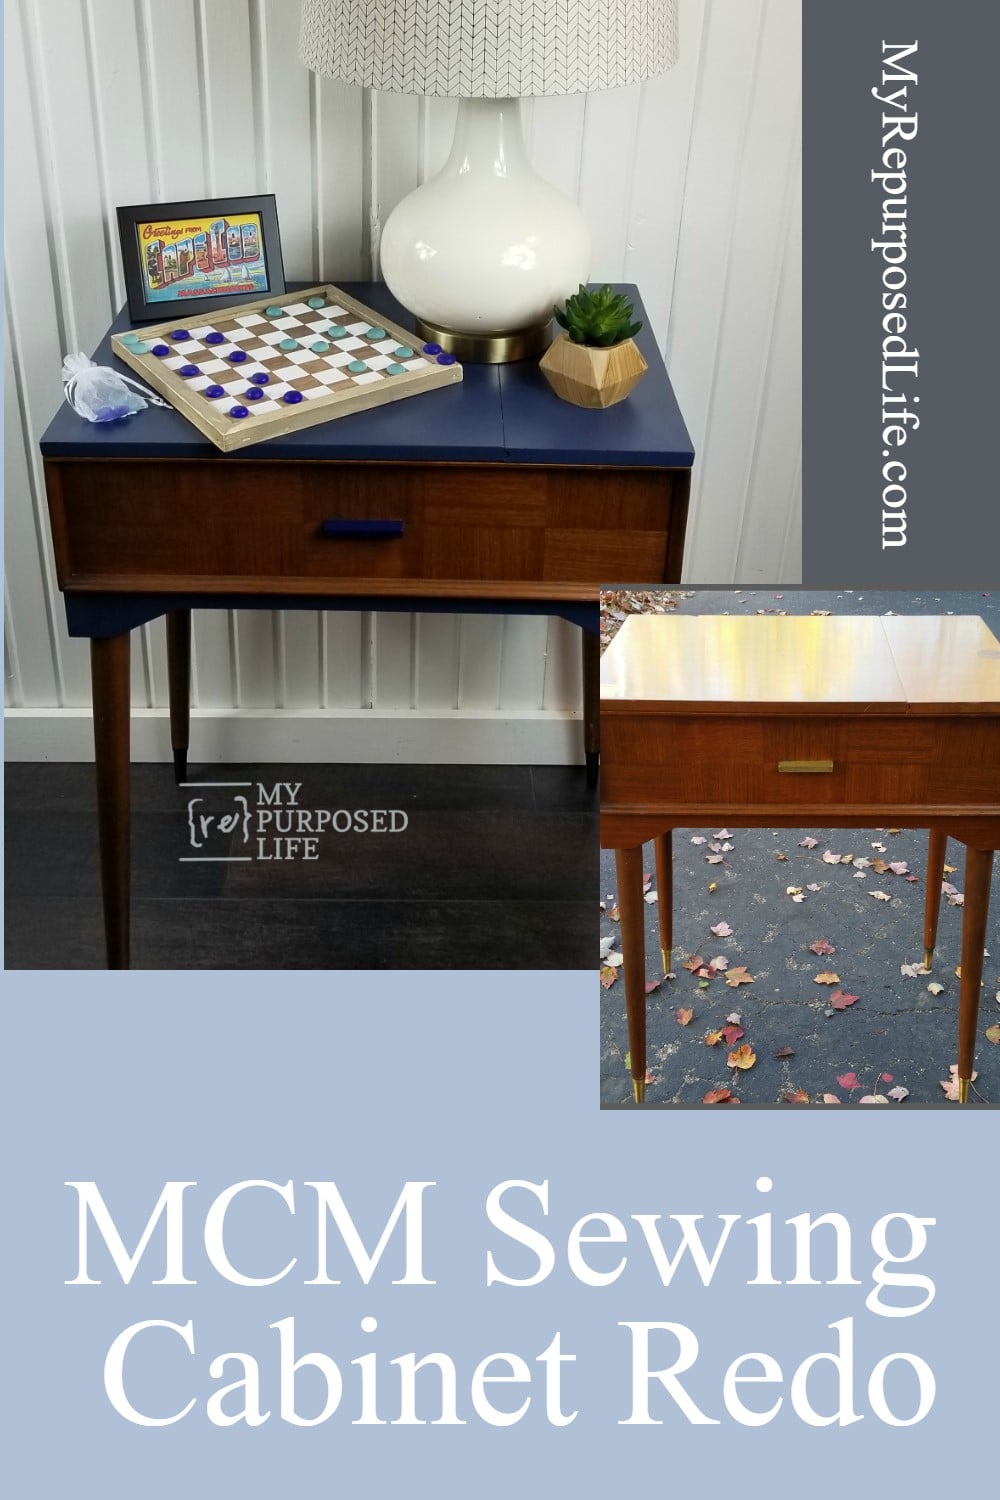
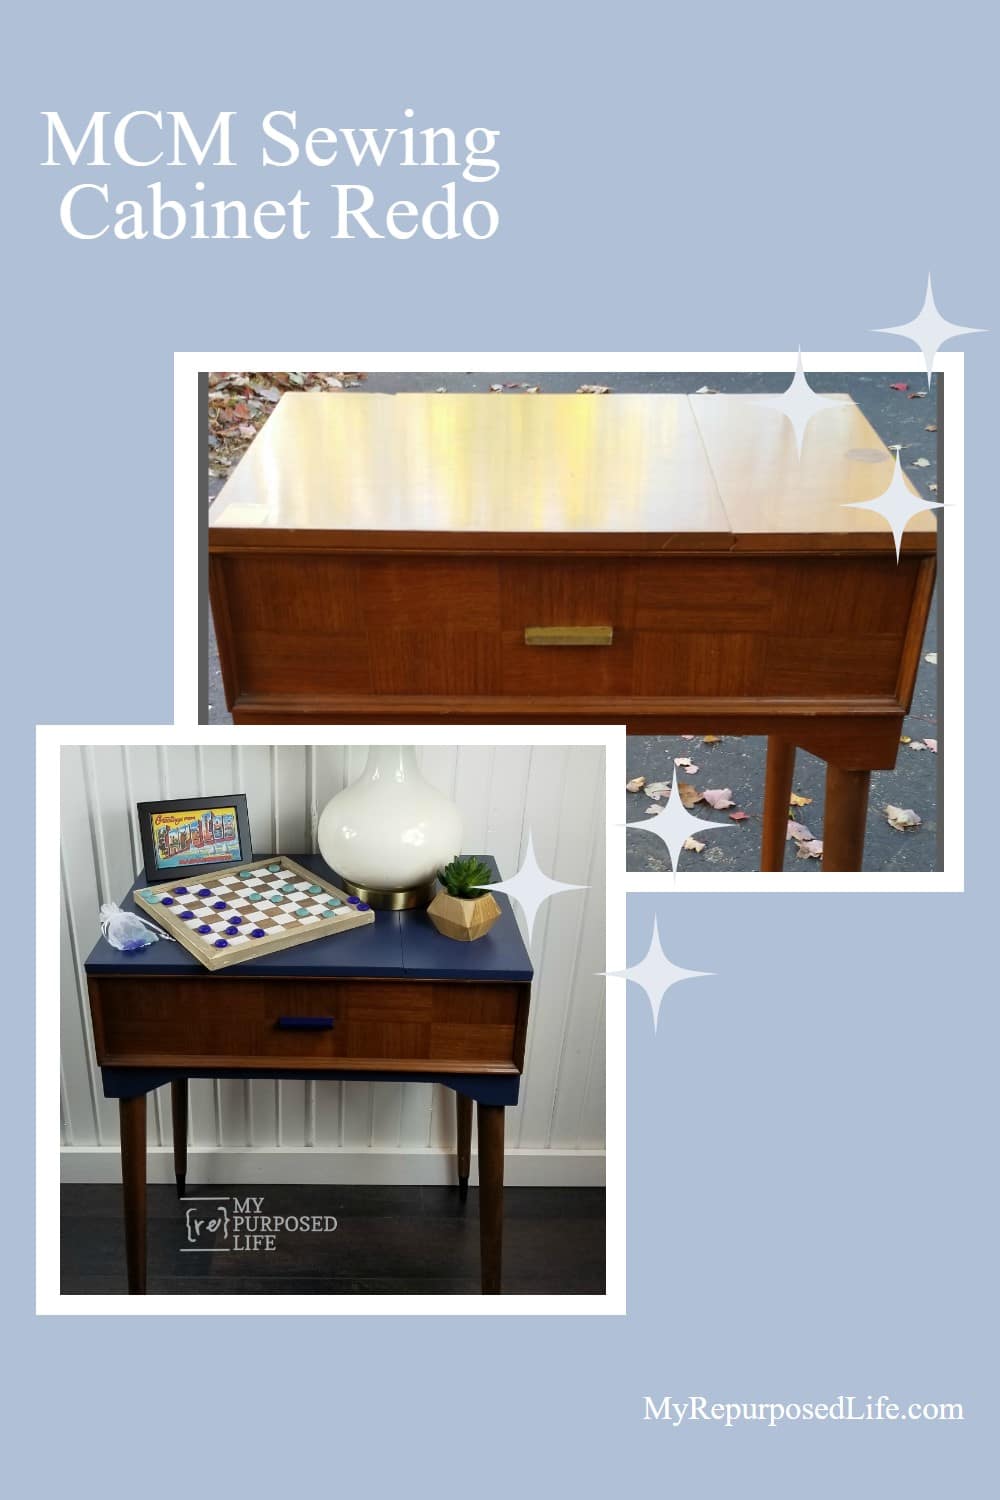
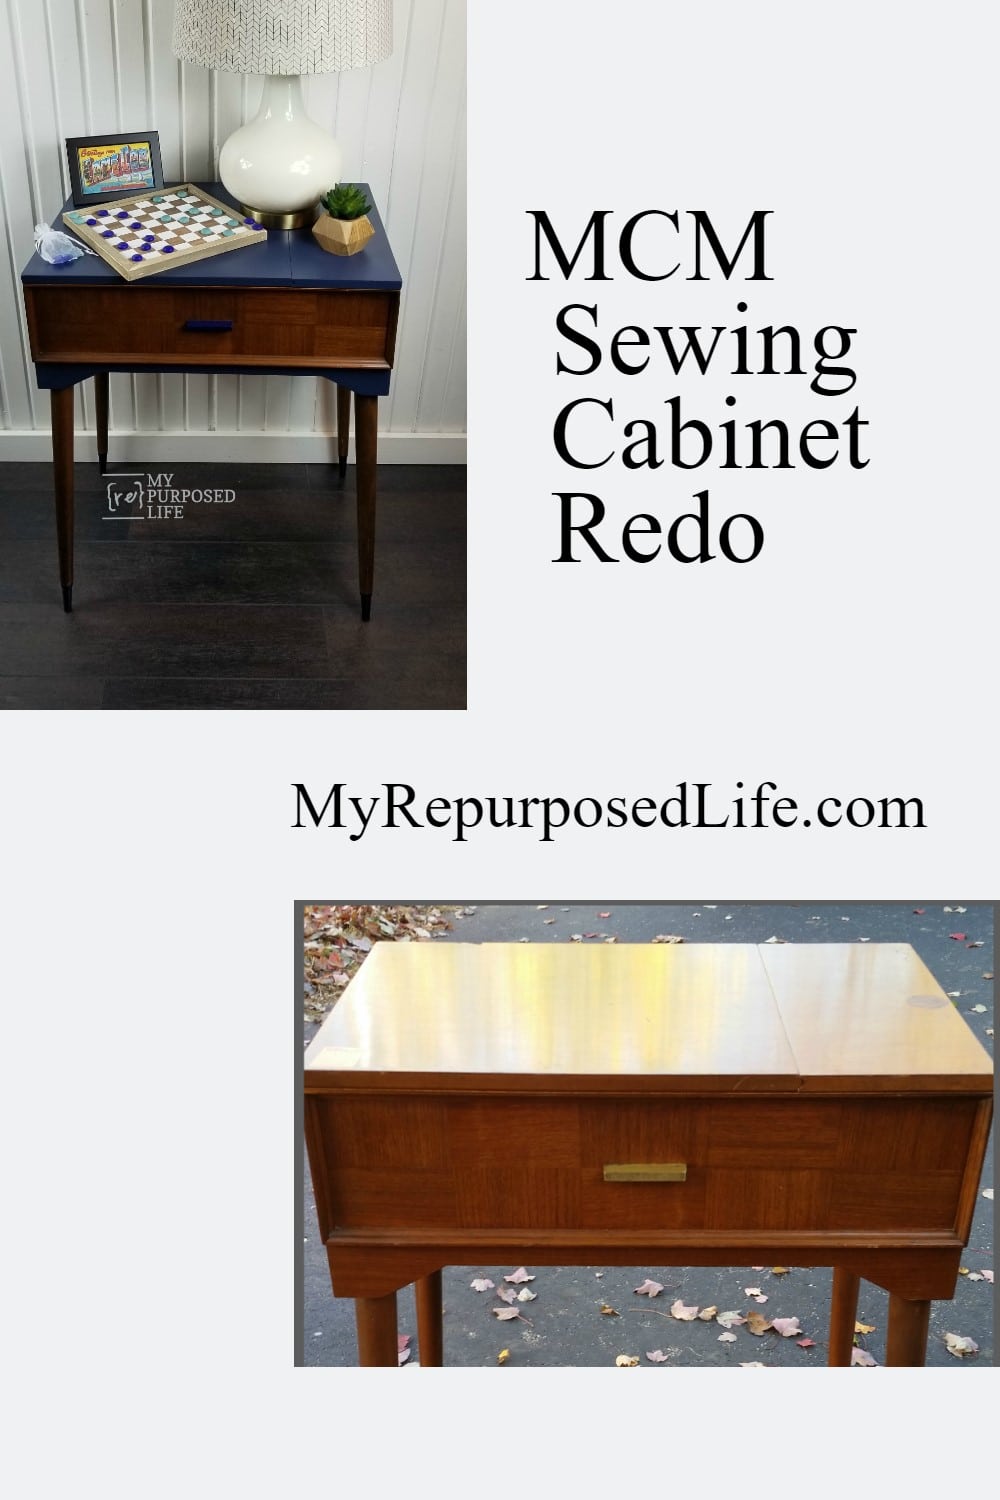
Now, look at the new and improved sewing cabinet makeover that was nearly a project failure. ![]()
Navy Blue Sewing Cabinet Makeover

The difference in the paint job is fantastic! I love how smooth it is now.
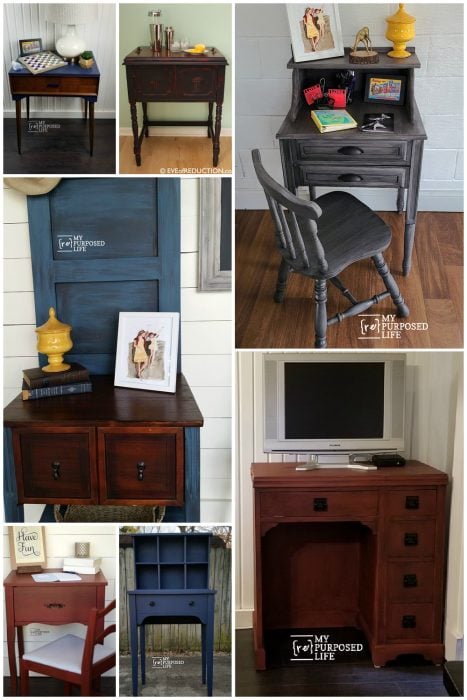
Related Content: Navy Blue Furniture Projects

So pretty! I love the original wood tones with the navy blue paint.
Pin IT!
Thanks for stopping by!
gail
See More Sewing Cabinet Project Ideas
Gail Wilson is the author and mastermind behind My Repurposed Life. She is obsessed with finding potential in unexpected places and believes that with a little hard work and imagination, any old thing can be made useful again, including herself!
Gail reinvented herself during a midlife crisis and has found purpose again. She hopes you will find new ideas for old things and pick up a few tools along the way.
Audra @ Renewed Projects
Navy blue is one of my favorite paints to use for a makeover. It creates such a classy look. Yours is stunning
Gail Wilson
Thanks so much Audra. As I mentioned to someone else, I have a couple of navy projects currently for sale at the booth with no takers.... go figure!
gail
chris tucker
hi gail it's been a while since i commented old age problems lmao, but i had to comment i love this color combo and i think your originality is not commented on often enough, i do appreciate it i get tired of looking at the same old same old all the time and i do still read you every time you post xx
Gail Wilson
Ohhh, how sweet Chris. I thank you so much! Old friends are the best!
take care my friend!
gail
Jennie
So glad you did wood and paint. It’s adorable. I think the brass or even silver contrast with the wood and paint would make it richer looking. But, it really depends on the person that buys it and their taste. Your homeright link doesn’t work even signed in.
Gail Wilson
Yeah, it's always difficult to know what people are going to like. I may change up the feet and handle in the future.
About the Homeright link... they haven't published my post on their site yet. It's suppose to go live very soon. I apologize for the inconvenience. 😉
gail
Jennie
Gail, I was wondering if you did a solid writing surface where the sewing machine was? It works great as an end table, maybe a little tall. Down sizing has made me realize everything has to have multiple purposes.
Gail Wilson
Jennie,
The top (closed) is a solid writing surface (so to speak). I didn't do anything on the inside. These cabinets make great bedside tables these days because the beds are so high. Vintage nightstands are much too low for today's beds. 😉
I have done solid writing surfaces on other sewing cabinet redoes. You can see one here: https://www.myrepurposedlife.com/red-side-table-repurposed-sewing-cabinet/
gail
Donna Marie
I think the feet should be gold with the "handle". Just one girl's opinion!!!
Gail Wilson
I appreciate your honesty AND your opinion!
It's just paint, right? 😉
gail
girlfromwva
i love it. the navy with the wood finish is a nice contrast. it could go well with so many color combinations in a room. the feet are so cute on this table.
Katie
Nice! I painted my center island navy blue when i switched out the old laminate top for walnut and added some seating. Loved it so much I used the remaining navy for two small dresser redo's, leaving it part natural wood part painted like what you have. I admit I'm partial to the color 🙂
Gail Wilson
Yay! so happy you like the navy color. I have two projects at my booth waiting for a new home, so I guess not everyone likes that color. This isn't my first two toned navy paint job. I love the look as well. I bet your projects look awesome!
gail
Katie
Well, the one dresser turned out better than the other, but that's b/c I apparently didn't mix the stain well enough so all of the color ended up on the second one (whoops). Ended up more of a cherry instead of "American" I think it was called. Not a bad color but a bit much with the navy blue accents.
I can understand that, it's definitely a bolder color! I painted my center island when my roommate was away for the weekend. I had told her blue but apparently she was imagining something very different. Took her a while but she likes it now. Personally I love the look of neutral walls, etc, and a statement piece or two.
Eliz~
I love this sewing cabinet! I've never seen one like this! It looks like a 60's Stereo cabinet! I love the makeover. I would not have painted the feet. I have a couple of my Grandma's pieces with those "gold" feet. I love them! :o)
Gail Wilson
Yeah... the feet may not stay painted navy. They may go gold or silver. hehehehe