Antique Sewing Machine New T.V. Table
As an Amazon Associate, I earn from qualifying purchases.
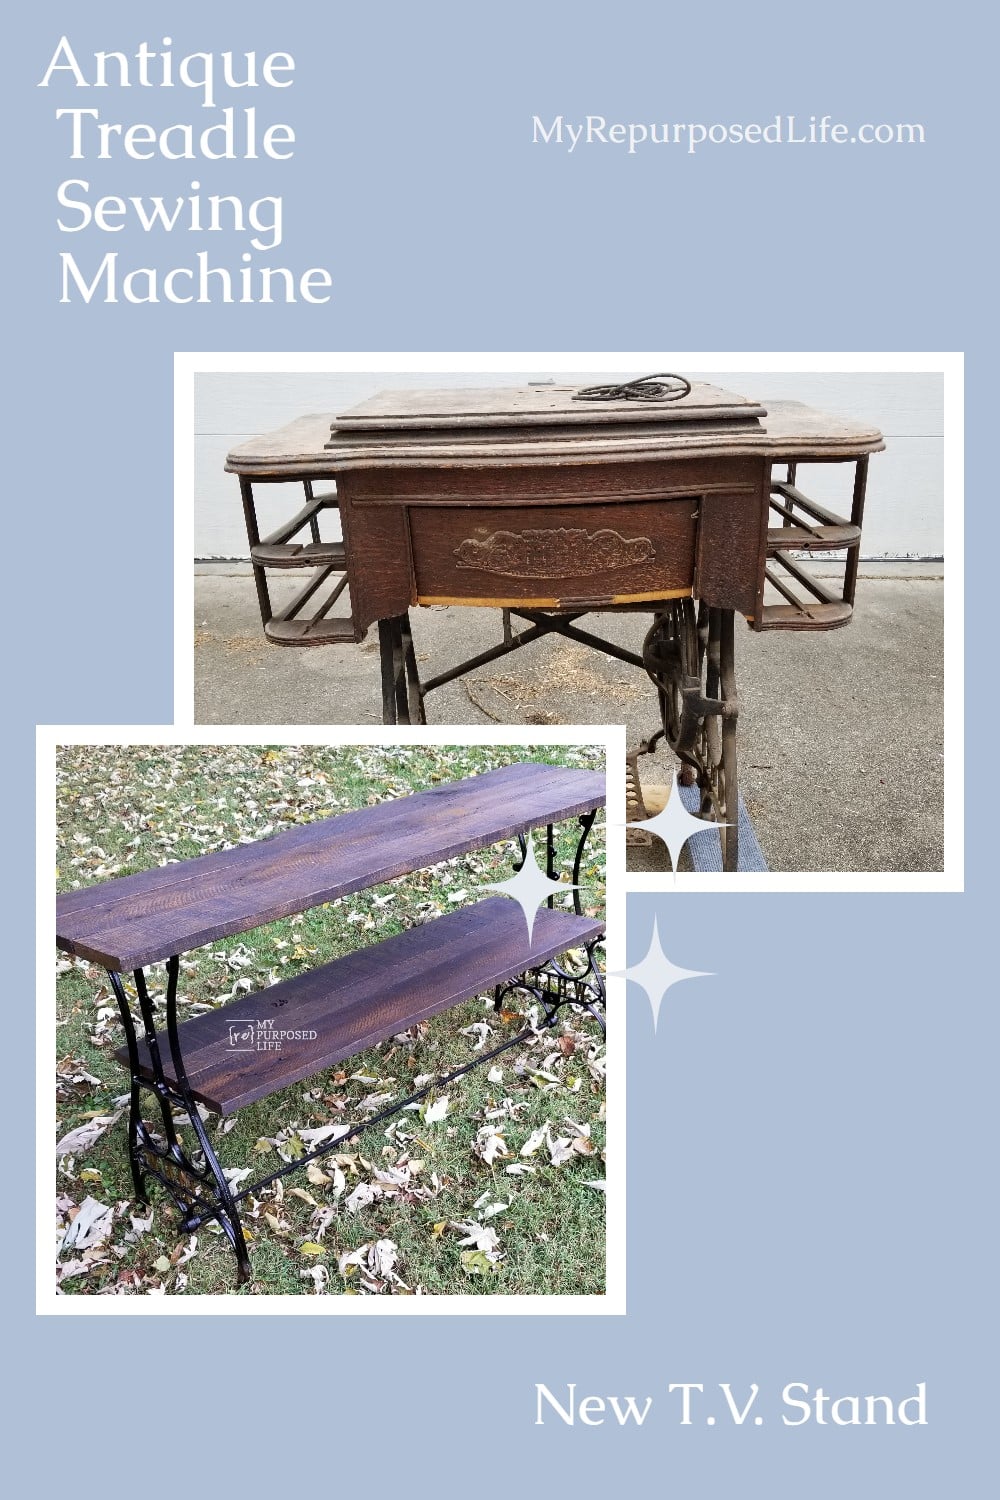
Okay, I know many of you don’t like it when people repurpose an antique sewing machine. I wouldn’t say I like to mess with family heirlooms. This new t.v. table was made from someone’s abused White Sewing Machine. My cousin Jeff brought this machine to me. He’s had it for years and assured me it had no family history.
This month’s building challenge is “Get out of your comfort zone and build something out of wood + an additional medium (concrete, ceramic, metal, etc.)”
This was out of my comfort zone, so my neighbor Rodney helped a little. Be sure to see more projects from my DIY friends at the end of this post.
Repurposed Antique Sewing Machine

This little gal has seen better days. Someone had already removed the antique sewing machine; the drawers had been given away. In addition, the chassis was rusted and abused.
But! I had a plan!
Dismantle Antique Sewing Machine

Step one was to start dismantling the sewing machine. There are screws everywhere. Resist the urge to take a hammer to anything.
Related content: Sewing Machine Cabinet Ideas

More screws to remove. This photo gives you a good look at this piece’s rough shape, even the metal parts.

More evidence of all the work I have ahead of me! Sadly, I only kept a small portion of the wooden components. Over the years, I’ve learned what I might use and what will hang out in storage for years.
*this post contains affiliate links, read more here*

Seriously, I wonder why I even bothered at this point. The rusty bolts had to be removed with locking pliers.

Some of the screws were hard to remove. Finally, I used WD40 and a strong screwdriver. I was on a mission. For this project, I would only use the left and right sides of the old treadle machine.
Tips For Dealing With Rust
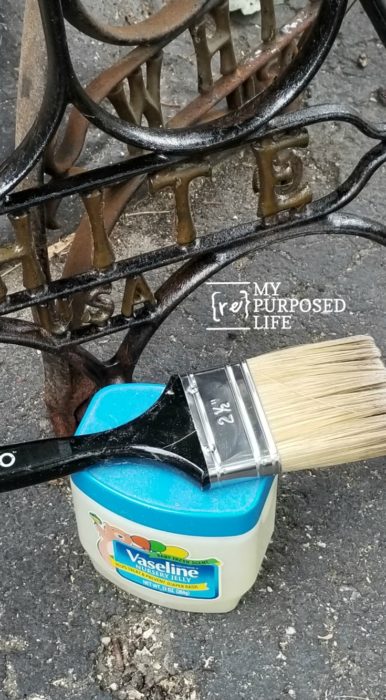
What? Vaseline helps remove rust? YES! I was digging around the shop for my wire brush when I came across the Vaseline I use for distressing furniture. What could it hurt? The bottom of this machine was so rusty! You can see the difference it made in the two end pieces. I applied the Vaseline with a large paintbrush. I let it set overnight for good measure. Heck, I had no idea what I was doing.
SAVE this tip on Pinterest!
 I used the locking pliers to loosen the rusty wheels. The Vaseline really helped loosen the rust.
 After letting the Vaseline set on the rust overnight, I hit the rust with a wire brush. Then, I used a baby wipe to remove rusty residue. Wow! Aren’t you amazed at how good the sewing machine chassis looked? This is where I’ll let you know that I don’t intend to paint the chassis. I’ve painted old sewing machine bases before. I wanted a different look for this project. That will all make sense soon.
Reciprocating Saw for Pallet Demo

My neighbor Rodney gave me this ginormous heavy oak pallet last year. I knew I would eventually find a use for it. I usually use my Duckbill Deck Wrecker to take pallets apart easily. Yeah, not this bad boy! I brought out my reciprocating saw, a metal cutting blade, and safety glasses. It quickly cut through the nails.

If you noticed all the nails, you will see why a pry bar was necessary on the middle boards where the saw wouldn’t reach. Having the pallet up on my easy diy sawhorses made this job more manageable.

I made the boards a little smoother using my orbital sander and 60 grit sandpaper. I didn’t want to mess with the pretty patina too much or remove the rough-sawn patterns. But the boards needed to be safe to handle without injuring anyone.
Wash Vaseline off the Sewing Machine Base

I used hot, soapy water and a stiff broom to remove the Vaseline from the sewing machine base.

The sewing machine base looked so much better. I was thrilled that I wasn’t painting it.
Staining Oak Pallet Wood

Isn’t the board beautiful with the Walnut Stain? I used a rag on most of the board, but I had to use a small cheap chip brush in some of the knots and flaws.
Kreg Jig Joinery

If you’ve worked with pallet boards, you know they aren’t uniform. Because of this, I had to arrange them to get the best fit. Then, I marked the boards for pocket holes.

Marking the pocket holes helps you ensure you don’t accidentally drill the wrong side of your board while making the pocket holes.

I secured the tabletop (top of image) and the shelf with pocket hole screws. I stained the underside of the top but not the lower shelf. The lower shelf consists of two pallet boards and a third piece in the middle that was ripped on the table saw. I’ll try to explain why below.

This is the part you need to pay attention to. The left and right sides of these sewing machine bases do not MATCH. The holes near the top match on both sides—that’s not enough room to put a shelf. The lower holes match up, but one is on the outside of the base, and the other is on the inside. I wanted to put my shelf right where that cross brace with the diamond shape is. I didn’t realize this until I started putting the table together.
How to Assemble Shelf on Sewing Machine Base

Rodney helped me find a solution. One long hurricane strap was cut with tin snips into four pieces. Each corner was snipped to make them all match. They were folded in half on a giant vice I have in the basement (no pics). The pieces were spray-painted black.
All Thread Brace for Bottom

But first, let’s support the bottom of the antique sewing machine table.
I purchased a very long piece of all-thread to help support and strengthen the sewing machine base. Rodney helped with this step as I took pictures and held up the base.

To the outside of the right side of the base is a washer, locking washer, and nut. Repeat on the inside of the base and the left side. The 1/2 inch all-thread does not thread through the original hole but fits snugly.

The excess of the all-thread was cut with a hack saw. A piece this size was right at $10 at The Home Depot. The all-thread plus nuts and bolts were the only purchase I made for this sewing machine t.v. table.

I feel like adding this all thread will help support the tv table overall. Can you see that the holes don’t line up for the middle shelf?
Attach the Lower Shelf with Straps

Now, it’s time to add the hurricane straps to support that shelf. Self-tapping screws were used to go through both layers of the straps, cinching the straps tight around the sewing machine base. The top shelf has not been added yet. To make this easy, the middle shelf is supported on a work table, and the chassis is sort of hanging in the air.

The hurricane straps blend right in and are barely noticeable!
TIP: use a strong magnet covered with brown craft paper to remove metal shavings. Simply gather the paper into a ball and throw away the shards, leaving none on the magnet. Genius, eh?
Secure Antique Sewing Machine Table Top

It’s time to add the top of the t.v. table. I recommend pre-drilling holes here. When you get to the end of your project, you do NOT want to take a chance of splitting this wood.
Paint All Thread Black

It just seemed like a no-brainer to paint the all-thread black, right?
Add Wipe-On Poly

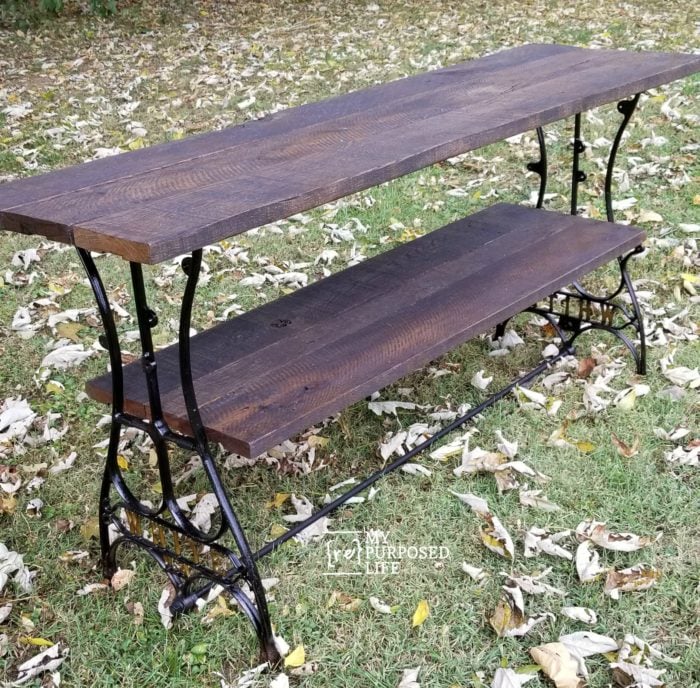
While applying wipe-on poly to the boards, I got a little on the base. It made a huge difference, so I used the wet rag and quickly wiped down all of the base inside and out. You may have painted it, but I’m oh so glad I didn’t paint the antique sewing machine base. I love how it looks with the rough-sawn pallet boards.
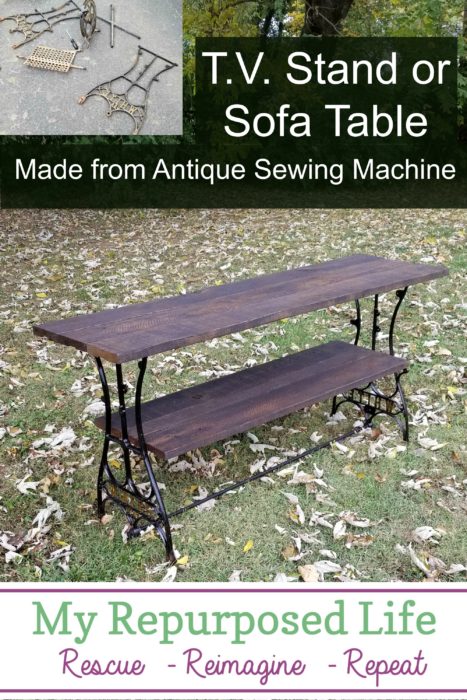

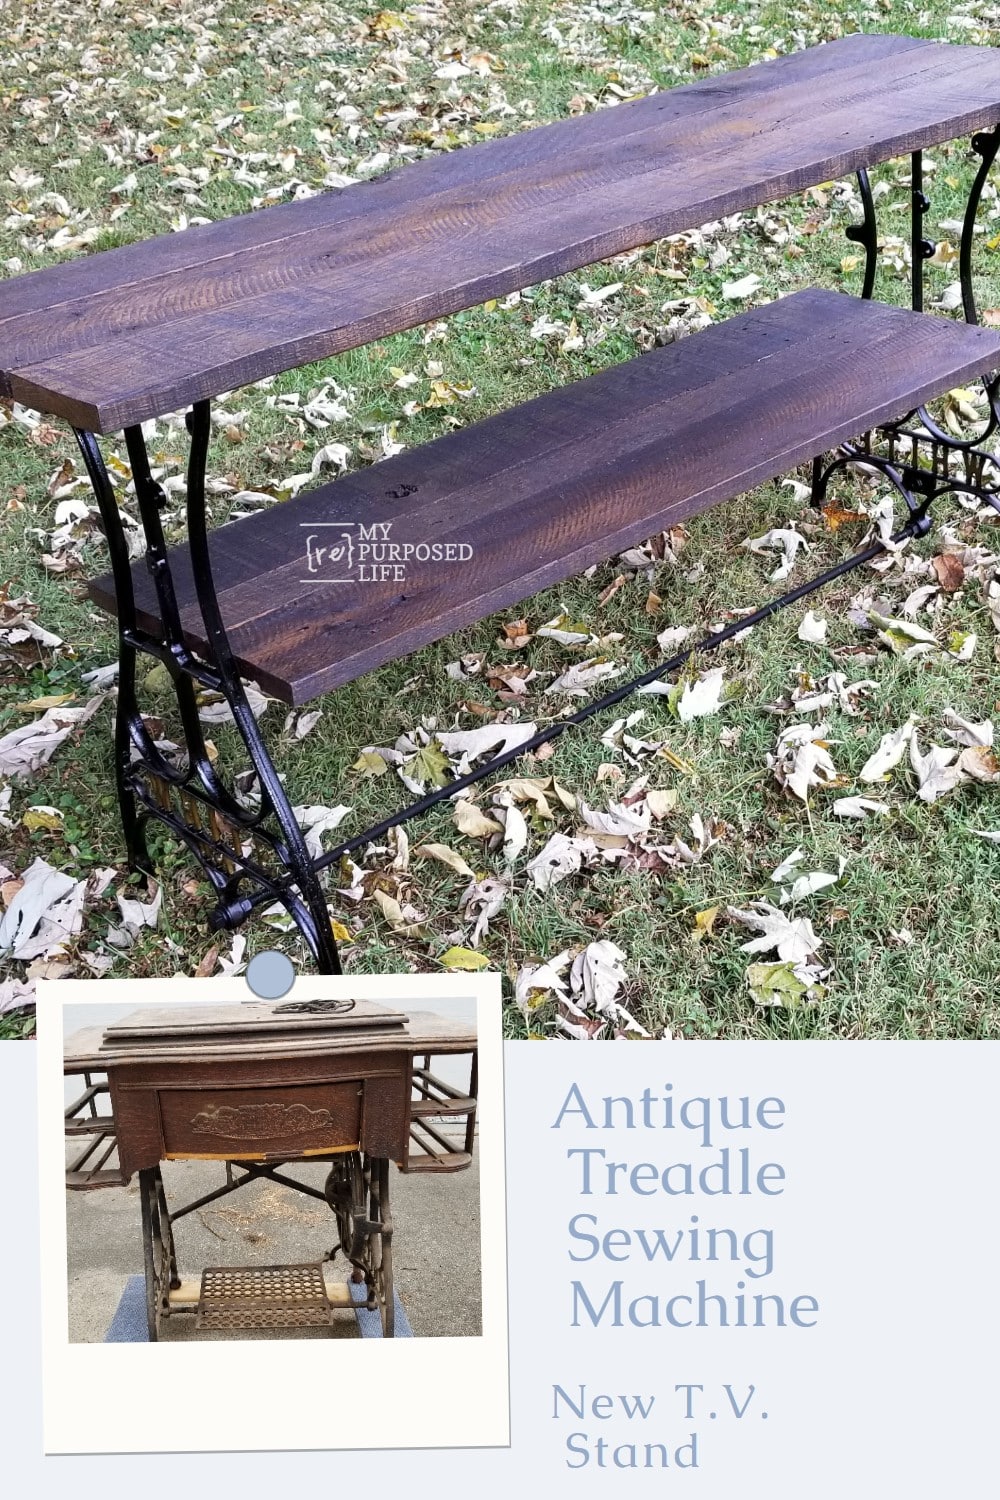
Do you see how nice that sewing machine base shines now? That wipe-on poly is like magic in a can. The top boards of this piece are 5 feet long. The middle shelf boards are 4 feet long. This is for a HUGE TV. with very wide legs.
I’m so pleased with how the antique sewing machine TV. table turned out, and the new owner loves it too!
Now, let’s check out the projects my friends made.
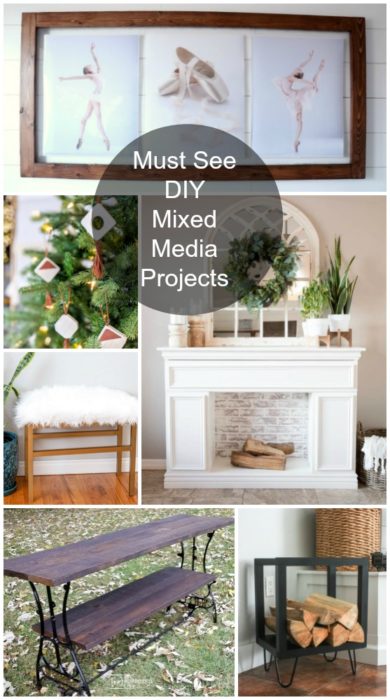
- DIY Wood and Acrylic Floating Picture Frame My Love 2 Create
- Wood & Leather Ornaments Ugly Duckling House
- Upholstered Metal Bench by Anika’s DIY Life
- How to Build a Faux Fireplace Addicted 2 DIY
- Repurposed Sewing Machine Sofa Table Television Stand (you are here)
- DIY Firewood Holder The Inspired Workshop
Thank u for not painting the wood WHITE !~~! It seems like everyone is painting EVERYTHING white !!!
But I must admit, there was a LOT of work involved for the average person…..it turned out beautiful.
Thank you Vicki, but I promise I AM an average person. This project proves that with just a bit of help a grandma can do great things and make beautiful furniture.
gail
What a neat job! I would love to see if you do something with the treadle.
Fran,
I haven’t used the treadle yet, but I should definitely put it on my to-do list.
gail
This was quite the project, Lots of work to retrieve the metal pieces. But it made a great sofa table. I’ll keep it in mind to use as a plant table.
Kathleen,
Oh yes! This would make a great plant table. The best part is, you can make it any size you like.
Thanks for stopping by and taking the time to leave a comment.
gail