Avengers Subway Art
As an Amazon Associate, I earn from qualifying purchases.
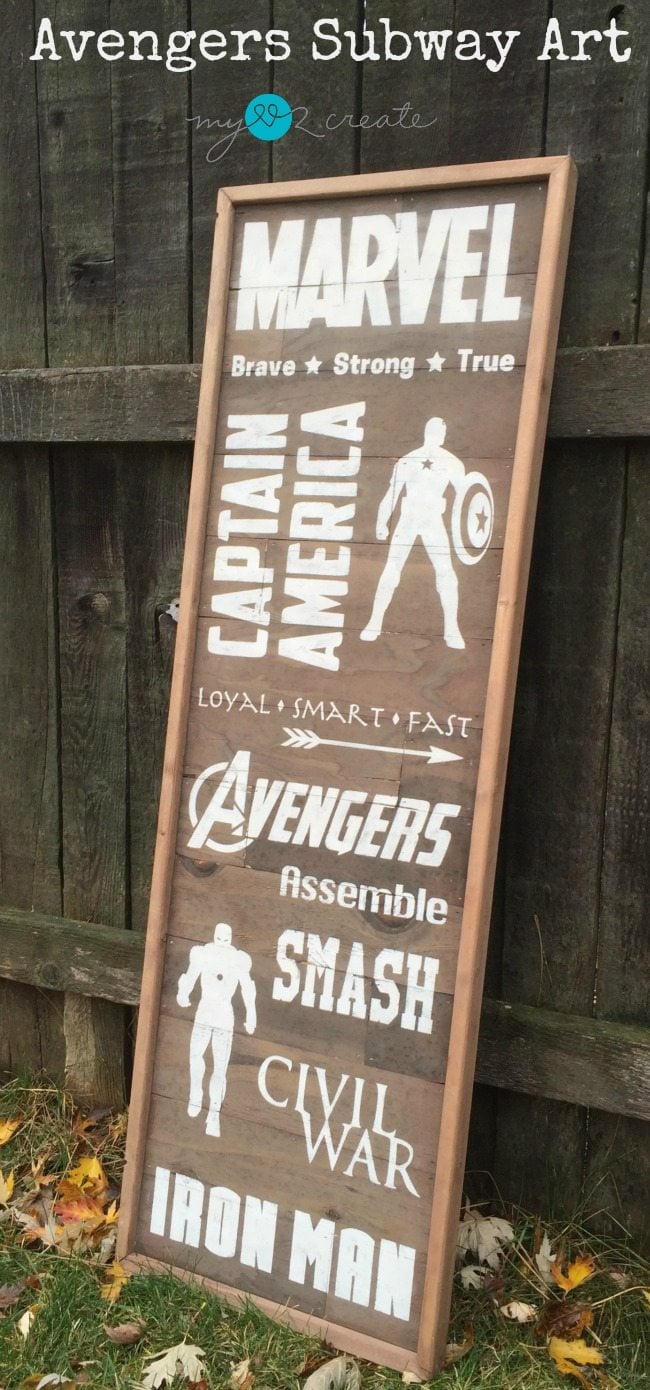
I am super excited to share my latest project with you, it is a fun Avengers Subway Art Sign that I made for my oldest two boys.

My boys love it, and so do I!
I am redoing their room right now and have less than a week to get it done.
Scrap wood to make Avengers Subway Art
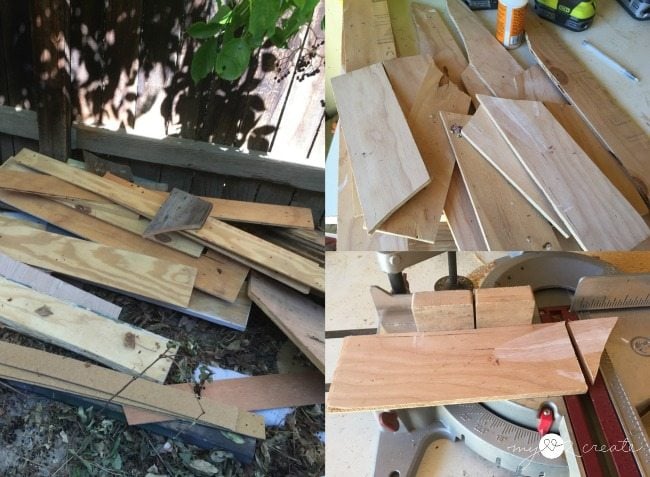
Because I am working on a VERY tight budget I needed this to be a free project. So I went to a scrap pile that I was getting ready to trash (photo on the left). I try to keep most of my scraps.
In the top right photo are the scraps I salvaged. I started cutting them to make them square. Maybe you wondering why they are curved? Well they are the scraps from my Pottery Barn Know of Clock or Large Rustic Clock, which I originally shared here! Crazy!
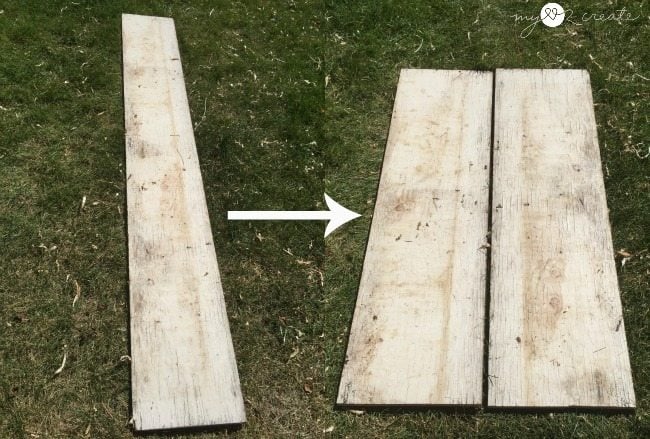
I wanted to do a planked look with the scraps which meant I need a board to mount them on. I dug this very weathered piece of plywood out from the depths behind my shed. It was a little warped, but I wasn’t going to fret about it. I cut it into two pieces and set to work.
Attach smaller boards to larger board for support
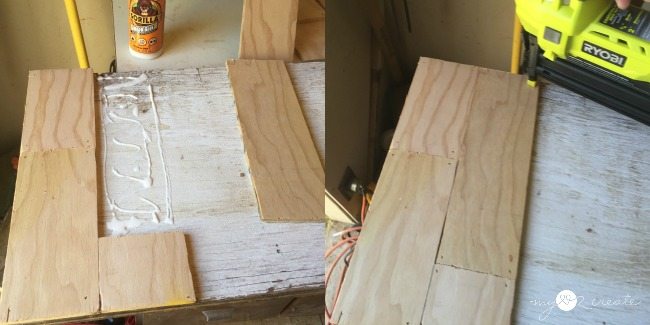
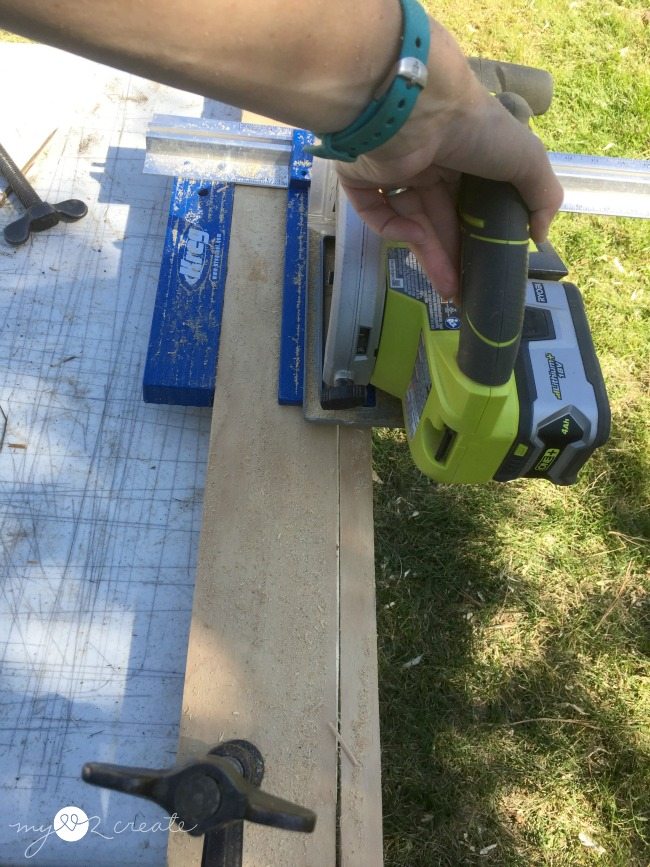
Using wood glue and nails, I started cutting my 1/4 scrap plywood to fit my back board. I made sure to stagger my lines so it had a varied planked look.

Before I started gluing and nailing I had put scraps on to see how long my back board needed to be. Then I drew a line and cut it so my strips would fit perfectly.
Trim backer board to size
I originally purchased this 1/4 plywood. I had them rip it into strips for me. The last piece ended up being wider and I hadn’t used it yet. So I used my rip cut to make it the same width as my scrap strips, which was 3 1/2 inches wide.
I also used this 1/4 plywood for my Master Closet Makeover Plank Wall, which I still love, man that is a lot of bang for less than a buck! 🙂
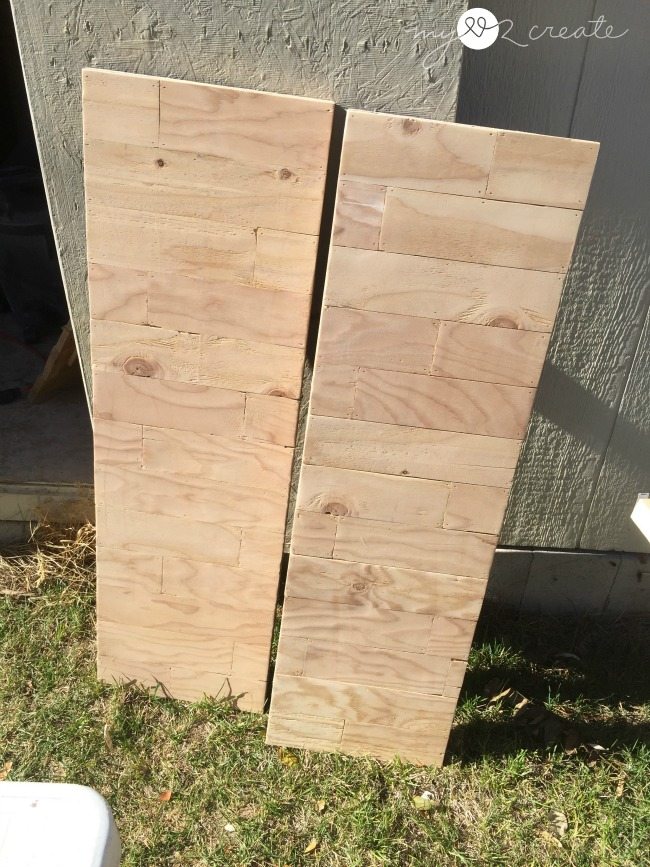
I made two planked boards, because I was planning on making the avengers subway art as well as another style. However, when I took the boards down to the boys room, they were HUGE. So we decided to do just the one.
Frame out planked subway art
I framed them both anyway, because I knew I could use the other planked frame for something else. In fact my other boys decided they want an avengers subway art in their room with their favorite Avengers, Hawkeye, Hulk, and Thor. So I guess I already have a plan!
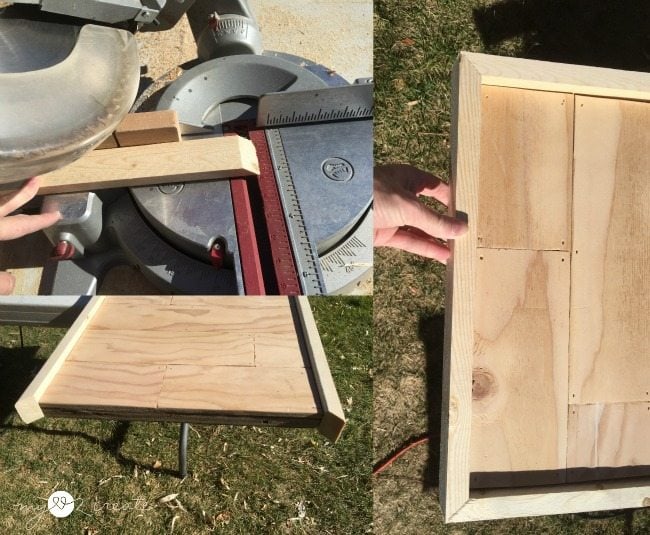
I used 1×2’s to frame the outside. The ends were cut at a 45 degree bevel to meet the corners, but you could also do it the same way I did my “It’s the most wonderful time of the year” sign, that way you could just do straight cuts. 🙂 I like both ways.

Then I brought it inside to glue and nail the frame on. I know, I know. Working in my kitchen, but his is the best work space for me that is level and flat, I am so weird! 🙂 I sanded the corners nice and smooth. If you look closely you can see a sneak peak of my boys lego tables that will be in the final room reveal next Thursday, eek!
Vinegar and steel wool stain process
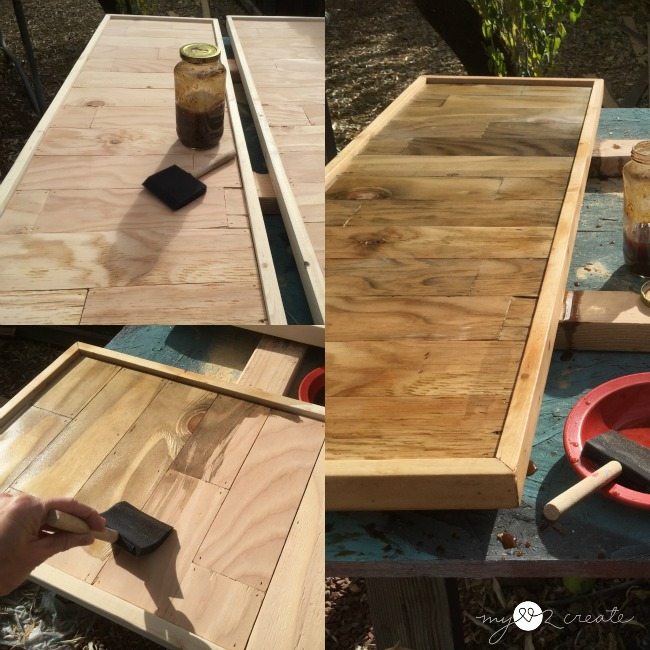
I used vinegar and steel wool natural stain (the same thing I used on my camping crate) to change the color of the wood. I wanted to use this stain because after doing my clock I knew that the 1×2’s would be lighter than the plywood, and I really wanted the contrast, with less work!
Vinyl lettering for avengers subway art
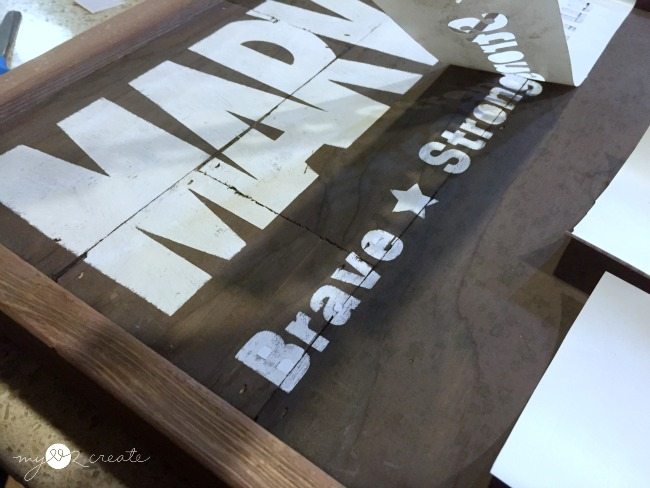
After the stain was dry, and I saved the signs from the rain…which actually left some water spots, oops. I started designing the subway art.
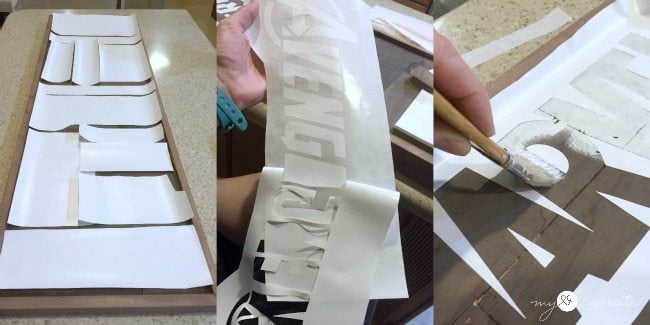
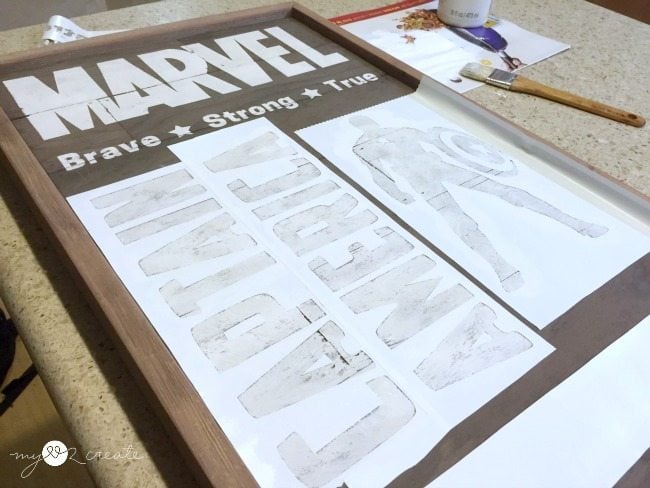
Once we figured out what we wanted, I cut the words and photos with contact paper on my circuit. Then I put them on the sign to see if they would fit, and where I wanted them. Then I pulled off the outside of each stencil and placed it on the board. I finished it with white paint, loading and unloading my brush and pulling into the center of my stencil.
As soon as I was done painting I pulled off the stencil and then removed the center parts of the words.
It was easiest to work in small sections or one word at a time.
To distress or not to distress
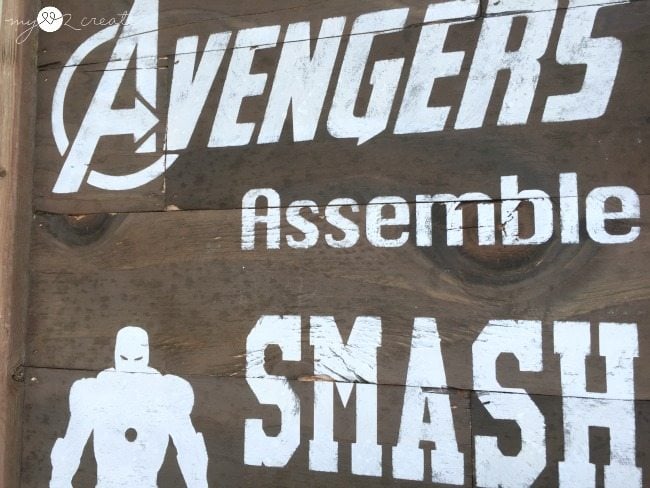
I might distress it a little more, but I really like it as is. It is harder to see in the photos, but the planked wood really makes it more rustic.
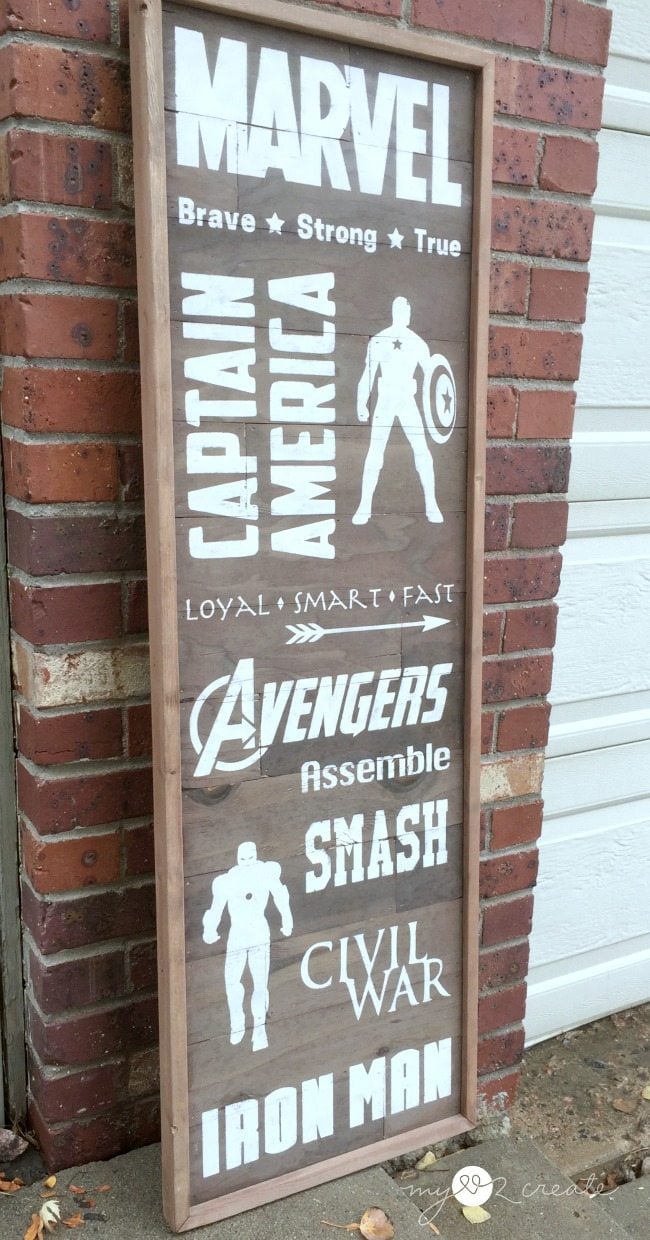
My oldest two boys favorite avengers are Captain America and Ironman, so that is why they are featured on this avengers subway art. Like I said above, it looks like I will be featuring the rest of the Avengers on the other board…eventually.

Here is a shot of the avengers subway art sitting in my boys room against their new faux brick wall. I think it will go great in their space.
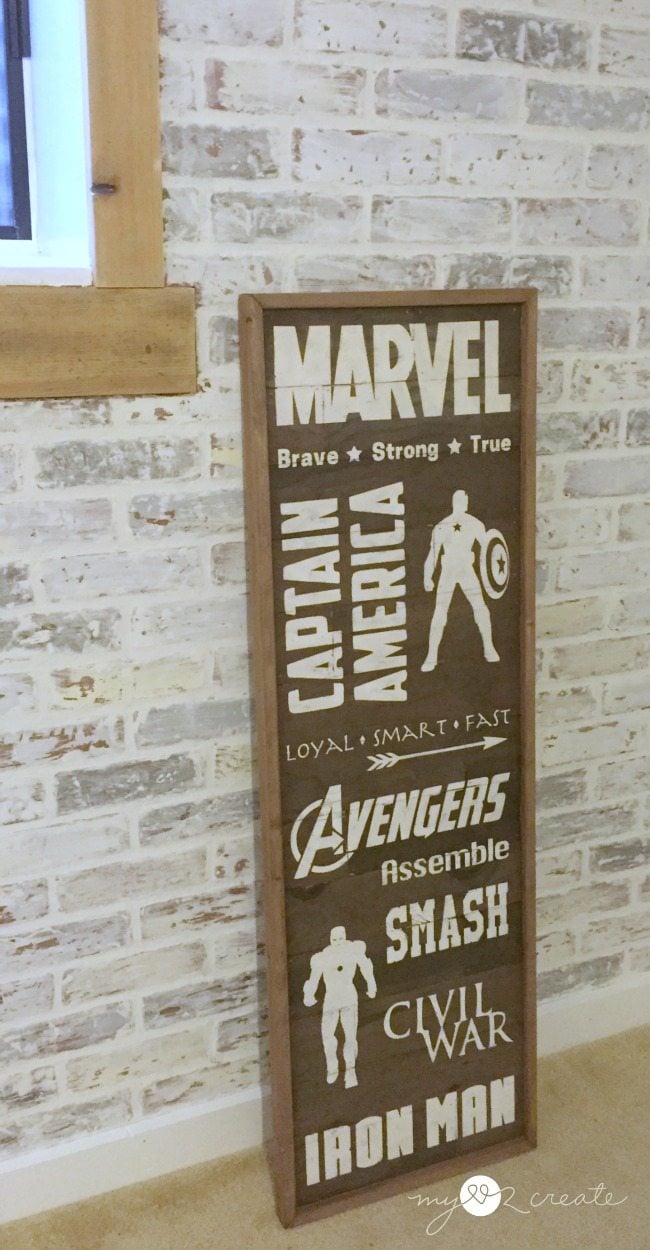
This frame would also look sooo good painted white to really show off the planks….hmmm. It is perfect for any type of subway art, or even with something else, I actually thought about putting cut out letters on the Avengers Subway Art too!
What would you do with it?
Hugs,
Mindi
My daughter would like that sign. I like how you used the different lengths of planks, instead of just one piece of wood… I just might steal that idea for some signs!
That is a great sign. I’m sure your boys will love it. I would, however, be careful about using copyrighted text or images. Just something to think about it. Great tutorial. Thank you for sharing it with us.
You amaze me with every single project – so inspiring! I want to do this so bad.
Thank you Catherine, you are sweet! I hope you do one!!!
Mindi,
You do the BEST tutorials! I love all the tips you share. This Avengers subway art is going to look great in the boys’ new room!!!
I love everything about your art, the graphics, the build, the color. Great job!
gail
Thank you so so much Gail! That means a lot to me, especially since you make such awesome signs…and always have awesome tips! I can’t wait to see it in the room too! 😉
Hugs,
Mindi
Wow, that’s really cute, Mindi! I’ve got 3 little boys, ages 9, 5, and 3, and this would look awesome in their bedroom! I haven’t gotten to their makeover yet, but when I do, I’ll be sure to make something similar to this! 🙂 Thanks for the inspiration!
Thank you so much Serena! Aren’t boys so fun!? You should totally do something for them like this…they would love it! 🙂