Board & Batten Backsplash Reveal
As an Amazon Associate, I earn from qualifying purchases.
You can see the tutorial of how I did this project in my post Board and Batten Back Splash
![100_7366%5B2%5D[1] 100_7366%5B2%5D[1]](https://lh6.ggpht.com/_TrDKdmiRg0Q/TTZMQg4N-lI/AAAAAAAAMSA/WwP9buthHwA/100_7366%5B2%5D%5B1%5D%5B2%5D.png?imgmax=800)
Before
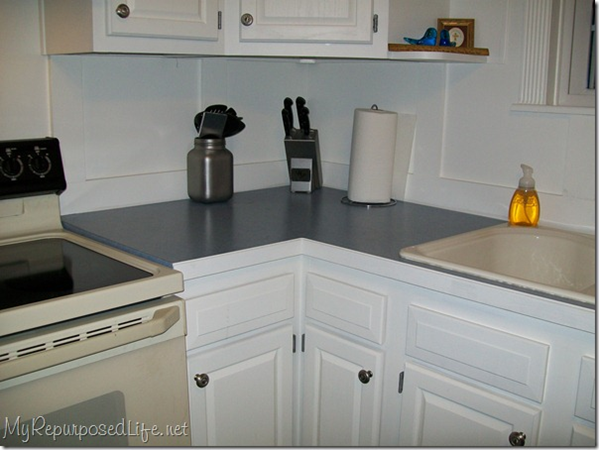 Voila! It’s finished. (note to self, get a new paper towel holder)
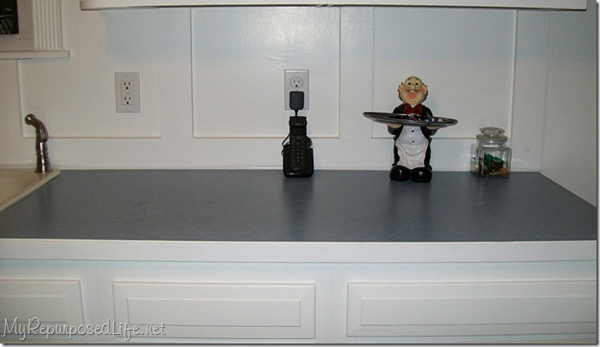 I used my Dutch Boy Refresh Paint (Sweetened White) semi-gloss on this project.
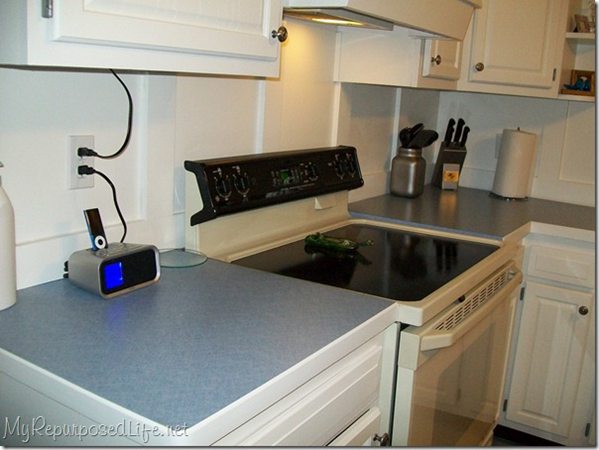
Do you see that Ipod? A gift from jamie! See the Ipod dock? A gift from Uprinting.com. I won a $100.00 gift card for my Thanksgiving post. I got the Ipod dock and some new flatware.
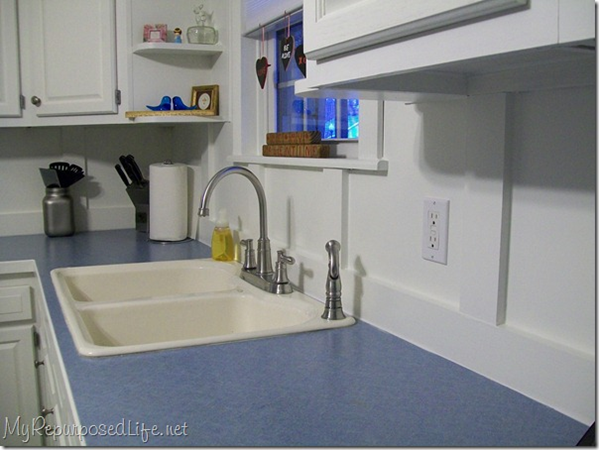 This board and batten may be a temporary fix, but I really do love how it looks. I also used my Dutch Boy paint when I painted the kitchen cabinets.
Do you have board and batten in your home? I’m thinking about doing it in the bathroom, not chair rail height. You know the board and batten that is a little higher with a ledge? That’s what I originally saw in a magazine last week that inspired me to do this backsplash. Any thoughts?
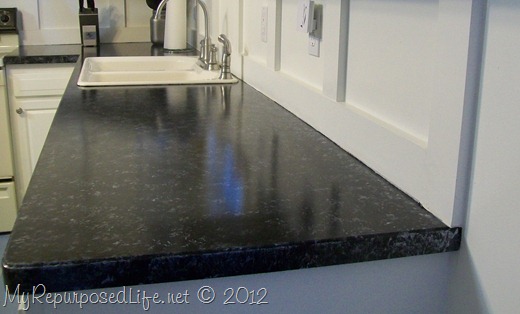
UPDATE: I painted my countertops!
gail
ps don’t stand still too long around here, you may get painted!


Oh wow again, I love it. I am so hoping to do this to my tiny kitchen….. all of what you have done.
Thanks Gail! Now I know how to refinish the oak cabinets in my bathrooms–so NOT me! I also discovered I can paint my linoleum kitchen floor into black and white squares as well. Woo-Hoo, thanks to YOU!
That looks great! Wow…
What a unique and beautiful result! I love it! Never would think to use B&B for a backsplash, but it’s lovely! Great job!
You sure got that done fast! It turned out great. I am looking forward to warmer weather so I can start on my cabinets. I think I’m ready to dive in!
Gail, the kitchen looks fabulous! You’ve done such a wonderful job!
xo*tricia
Great job! The board and batten was such a great idea for a backsplash!
oh gail!! that is PERFECT!! i just love it! Another project well done!
chris
Your back splash looks flawless! I really like it The whole kitchen is so pretty. You’ve really done a great job on it.
And I love board and batten that’s goes up high on the wall. It’s a great look.
What a beautiful transformation! I DID notice the ipod hehe. What’s on your playlist I wonder? I also love those two blue birds on the shelf. It all really looks fresh and clean, you did a great job.
I love the clean white and the board and batten application gives the kitchen a huge boost in character!
I love it, it looks wonderful. I think your kitchen has turned out really good.
It looks amazing! I love this idea, and your tutorial makes it seem so easy! I have been staring at an ugly, plywood wall in my kitchen for the last 18mo. I originally was going to put tiles up, but the family member that was going to install it (husband is not handy, and it’s not a type of project that I would feel comfortable doing) may never get around to it. This is a project that I feel I just may be able to tackle and would make me feel just a little bit better about my kitchen. (It could seriously be in the running for an “ugliest kitchen” contest)
This looks so great, it’s clean, crisp and adds tremendous character – love it – great job!!
Ciao ~ Eva ~ http://houseofdeva.blogspot.com/
It looks great! (of course!)
I’m glad you included a complete before in there too. You have REALLY done a transformation in there. I know it has been a lot of work, but the results are fabulous!
Congrats on the Ipod dock! Ours just bit the dust :(. We use one quite a bit.
I really like the ‘tall’ board and batten that you mention. I think it looks so neat and tidy. If you can figure out how to cover 1950s paneling with it (without having to hang drywall behind it!) let me know :).
Your kitchen is truly an amazing transformation. The board and batten is a great addition to the space. Just beautiful!
I love the finished kitchen! The board and batten is a great idea and I hope to do a bit of it myself once the addition is built. (Delays on starting the ground breaking due to inclement weather….)
I think this would look great in a bathroom especially if it is done a bit higher than chair rail height. Some one I know has a bathroom done like that. And it looks gorgeous! In fact they whole house makes me feel as if I am at a resort.
Looks great!
Carmen and the Primcats
Just beautiful! You are so inspiring!!
It looks spectacular! You r so fabulous with home renovations. Your afters r definitely worth waiting for.
Cheers~
e
Love the board and batten. Rose is right, you did them so perfectly spaced. Great job my friend. Great tap too and so proud of you for installing that all by yourself.
Hugs, Deb
WOW!!! Looks great~
Gail, that was a great vision you had and I love how you made it work for your space. The dimensions you chose, the spacing of the battens, really it all works perfectly. I’m totally loving the look and think this should be considered a lot more than just temporary!
I think you’re right about the bathroom, going higher than chair rail height would look great!
The board and batten looks great! I did a wall in my living room right after Thanksgiving and I love it!! I already had paneling (70’s style) that I had painted so I just used joint compound to fill in the grooves, nailed on my battens, topped it off with a 1×4 shelf and some molding, and painted it the same color as my trim. Oh, and I did mine higher than chair rail, too and it’s great! It was a wonderful place to hang stocking since I don’t have a mantel. 😉 So really, mine’s faux board and batten but you can’t tell.
This is amazing! Great job! I love board and batten and we are thinking of adding it to our powder room too! Love your blog as well 🙂
Lovely as usual! :0) Love the new faucett…I’ve been looking for a new one, but haven’t found one I like better than the one I have, so we’re keeping this one for now. 🙂 I have the board and batten in Carson’s room, but am thinking of doing my dining room and masterbath. I can’t make my mind up about the dining room, because I want to do something in my foyer and might put the b&b in there instead. Just can’t make up my mind…guess that’s my prerogative. 🙂 hee hee heeHave a great day girly!!Missy
Gail, WOW! Fantabulous, love it. You’re Amazing Girl!
I really like this…in fact I’m going to go check out ‘Restyled Vintage to see if she put pictures up of her project using this technique.
This comment has been removed by the author.
Your kitchen looks beautiful. The backsplash is the perfect finishing touch.
Gail…you are amazing. I wish you were my neighbor and we could diy together…or better yet I would just have you diy my house! Did I mention I am willing to move? This turned out just beautiful!
Yes, I do! We just did some in our bedroom last week, as a fix for me trying to hang a too-heavy mirror on the wall, failing dismally, and ending up with the wall plug pulled right out of the wall and leaving a large hole…oops! The wall was wallpapered and I had no spare wallpaper so board and batten was the solution.
We purchased two sheets of 2400×1200 3mm thick MDF at $10 per sheet, some battens, and some thicker plain molding for the top (ours went right to the ceiling).
We then used no more nails glue to stick the MDF straight onto the wall, then we glued and nailed the battens on. Caulked it all up with no more gaps then slapped on the white paint. Even my DIY guy Dad was totally amazed at our efforts, it really looks cool.
Alot like yours actually. Just floor to ceiling, and in a bedroom.
I cannot wait to use it as a solution again (in fact I don’t even need it to be solving a problem, I;d just do it anyway for the character it adds!)
xx Karen