
Chair Seat Wall Shelf
As an Amazon Associate, I earn from qualifying purchases.
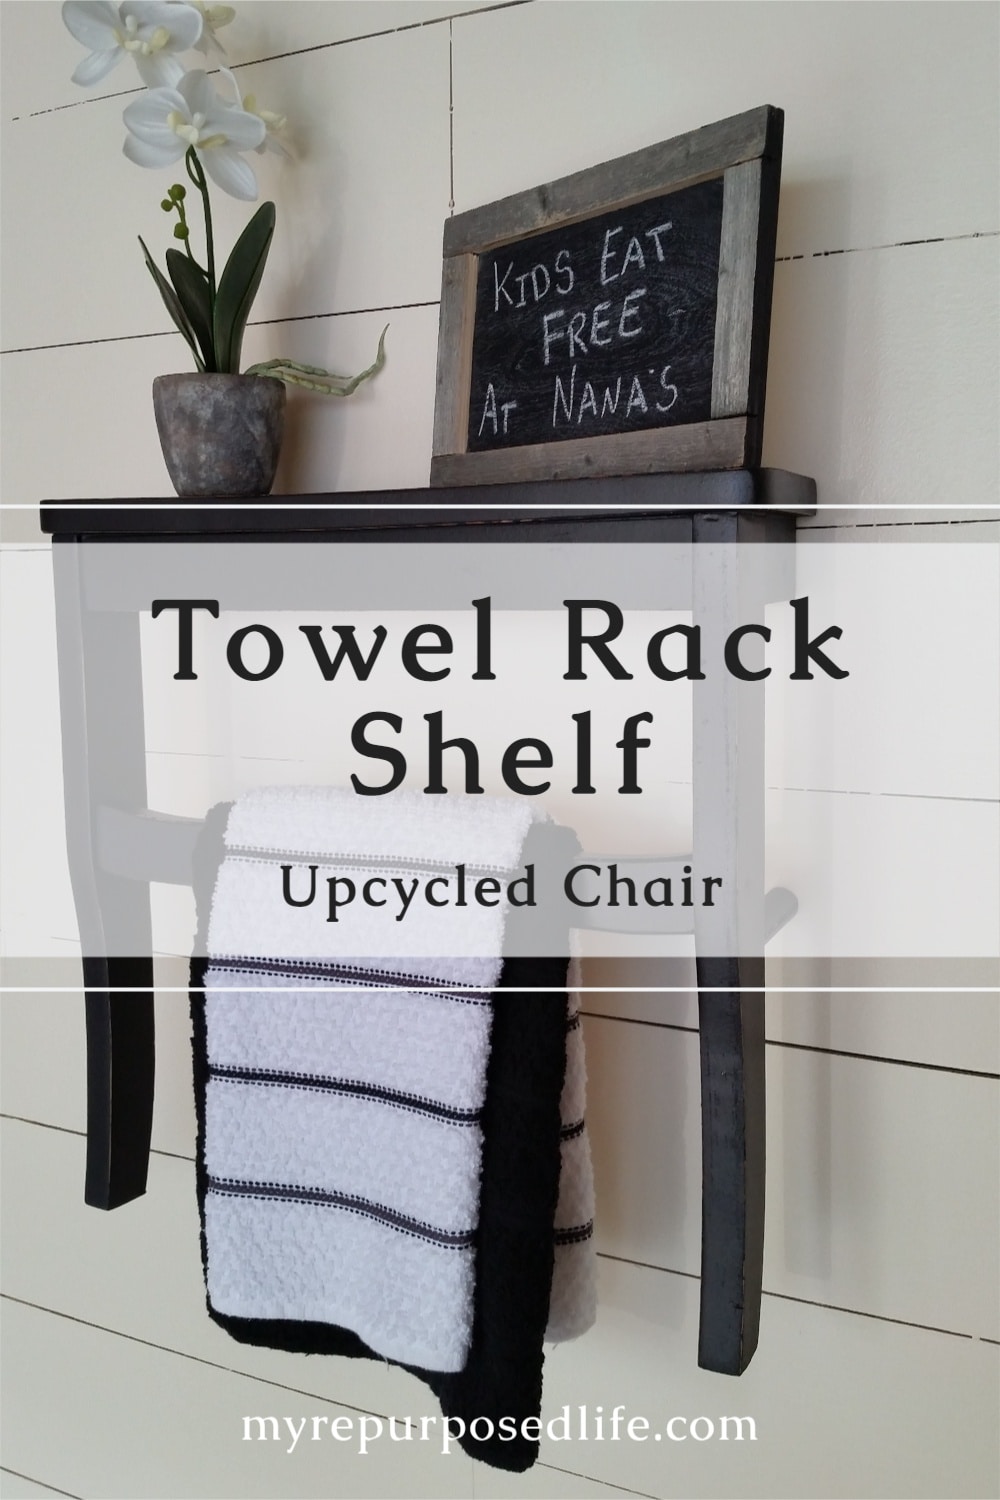
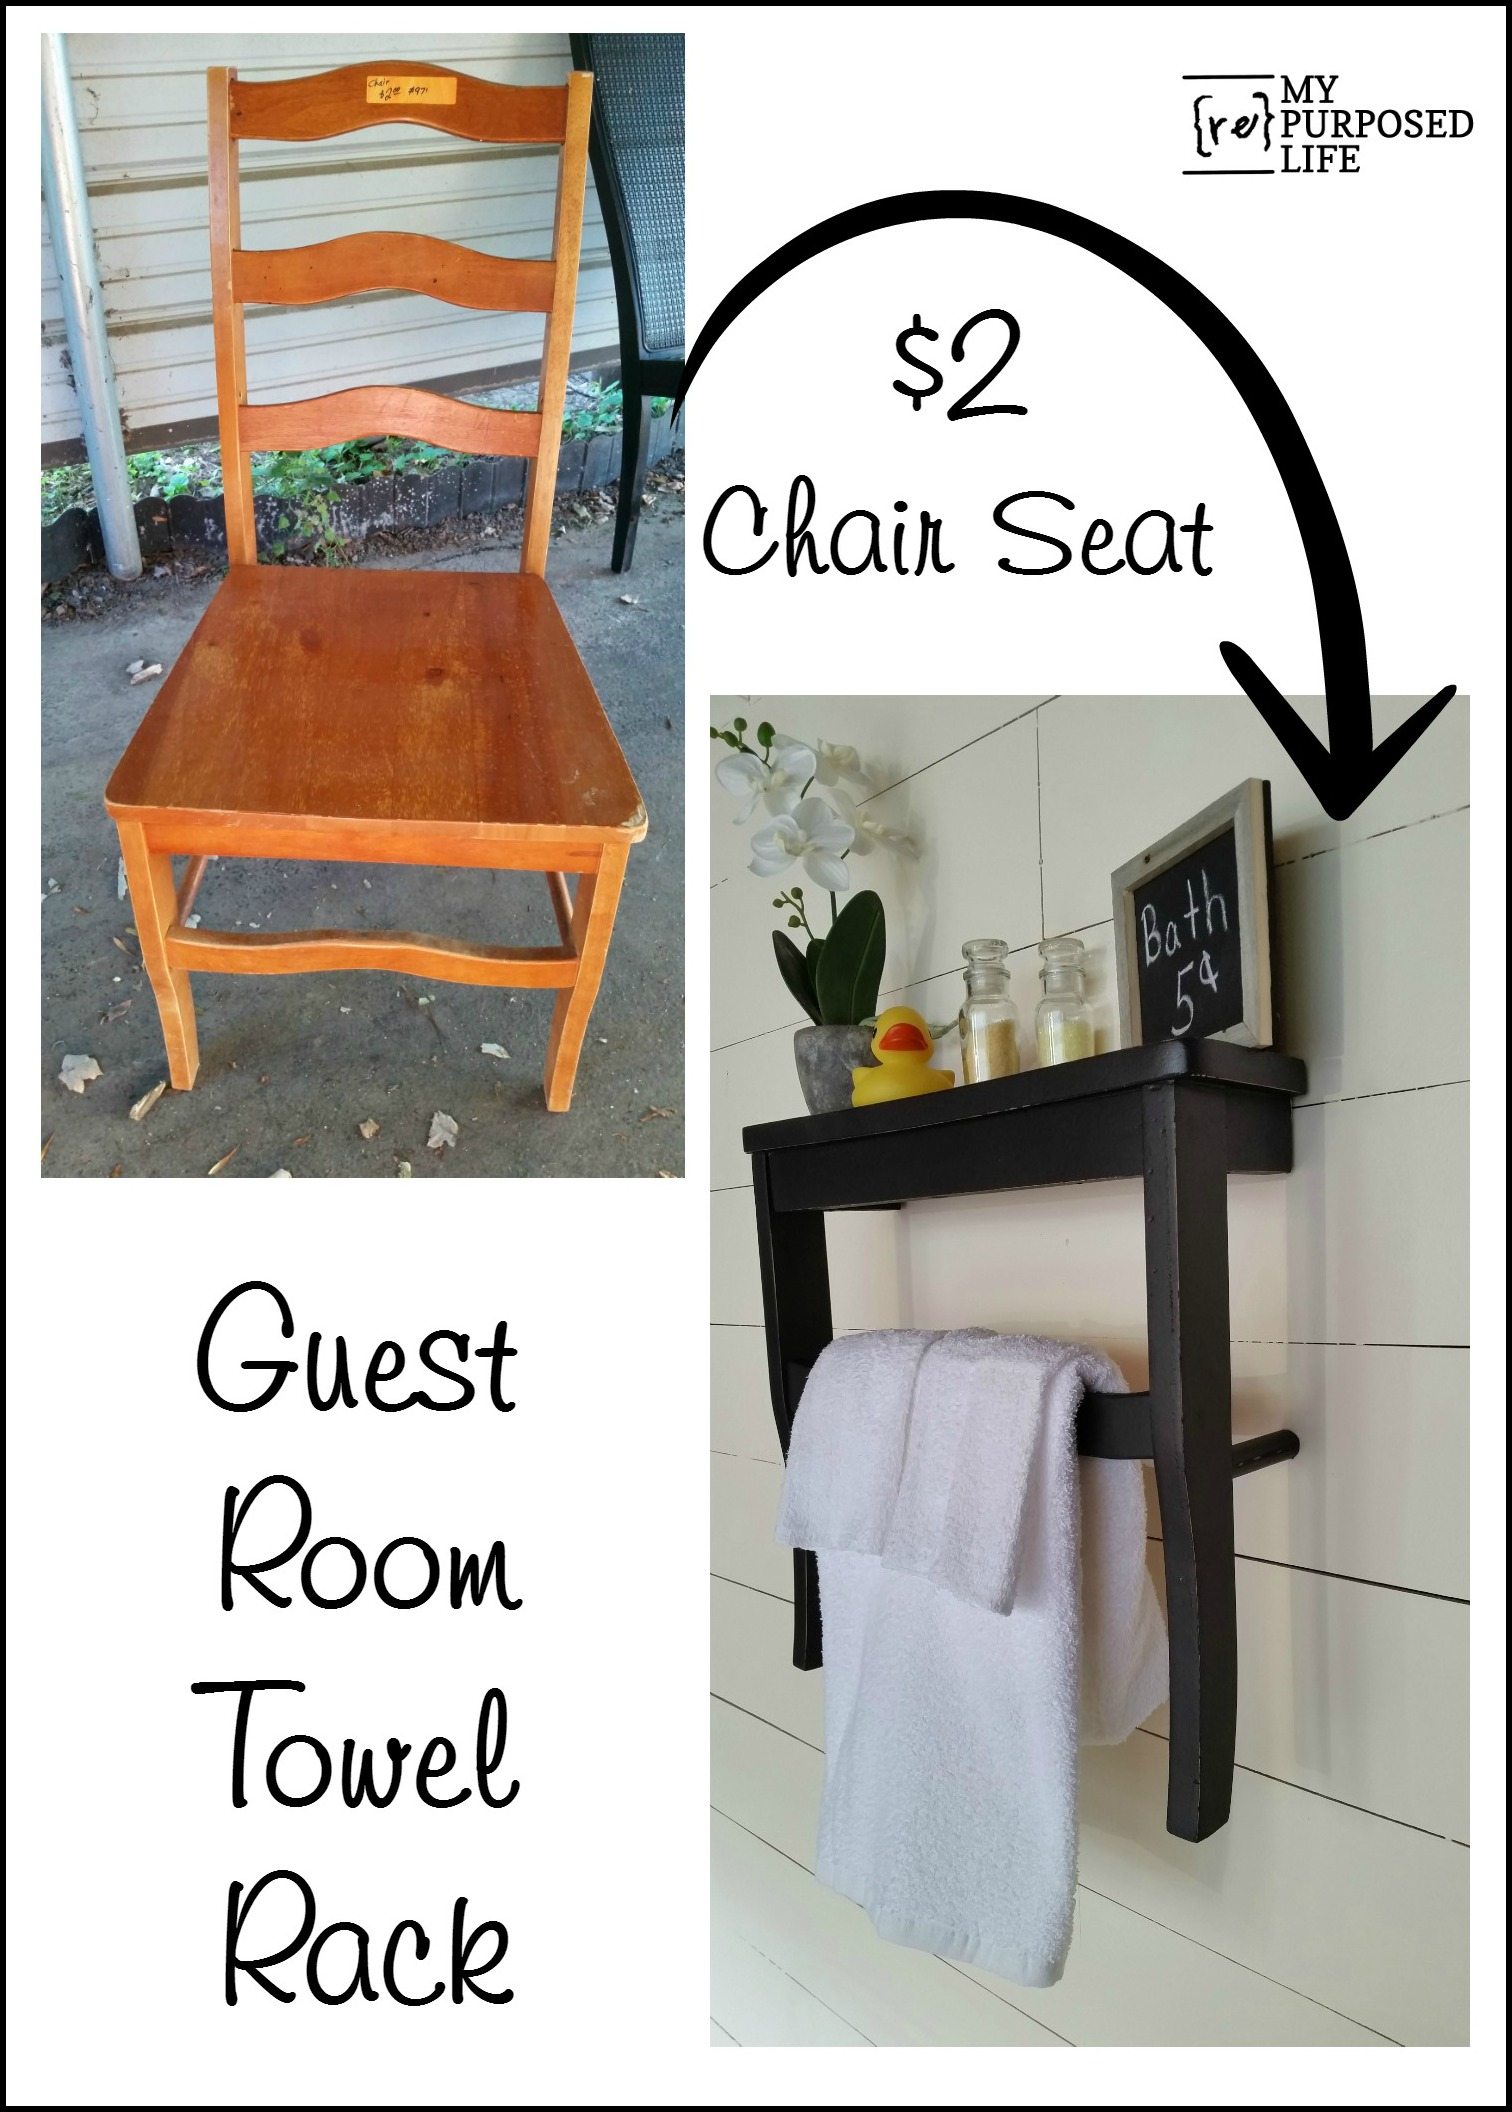
Yes! A chair seat wall shelf, perfect for your kitchen or guest bath. One $2 chair I got at Vendors’ Village made two different projects. This is the first project, I’ll share the other one someday soon.
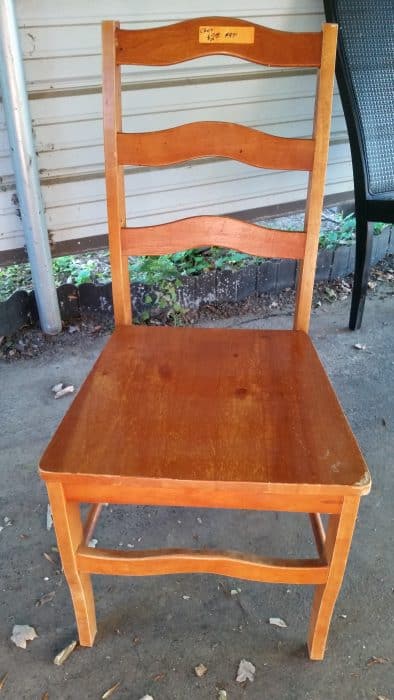
While thrift shopping, I always look for chairs. Currently I have more chairs than I need, but who can pass up a great deal for a $2 chair? Not me! This is not an antique chair, it’s not even a vintage chair. There were still “a” “b” “c” stickers stuck on it where someone had to put it together. I loved the shape of the rungs.
Dismantle Chair
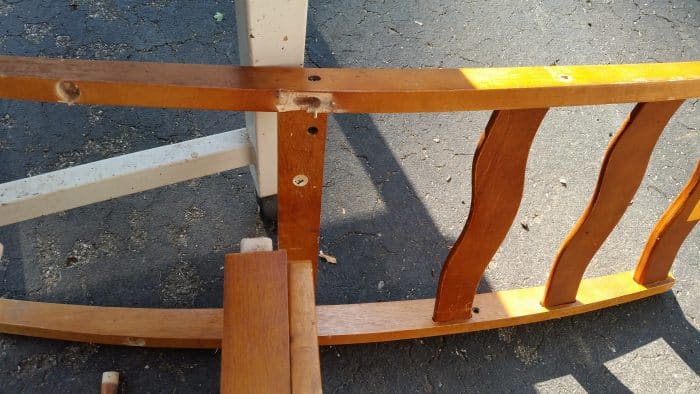
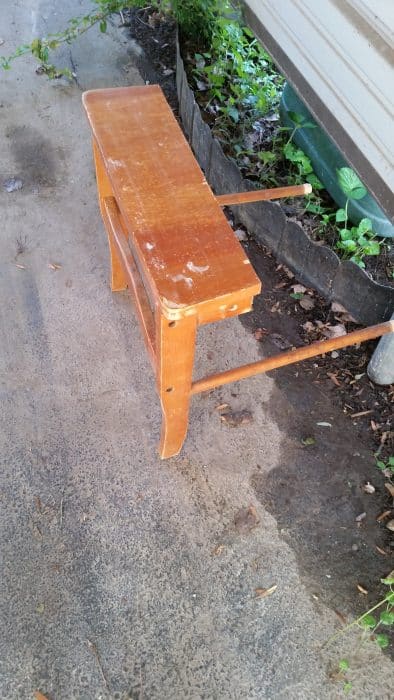
I began by dismantling the seat from the chair back using a pry bar and hammer.
This is how the seat looked after I removed it from the chair back.
Cut Seat to Size
I trimmed the seat with my saw—it probably isn’t something you should do unless you’re very comfortable using power tools. Now on to the dowels . . .
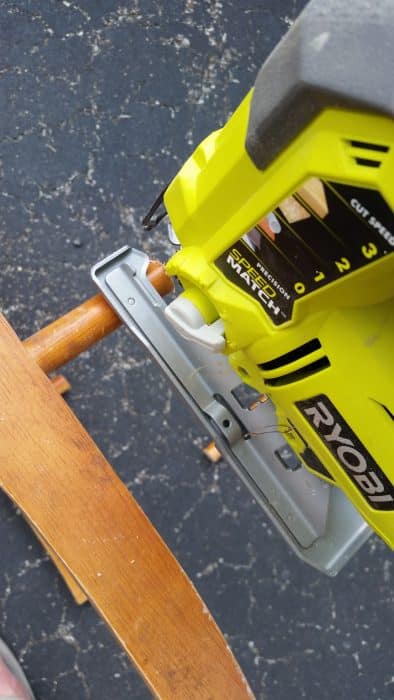
My battery powered Ryobi jigsaw was perfect for the task.
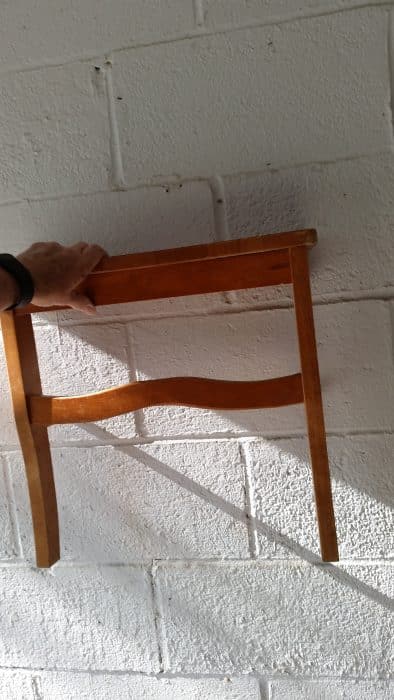
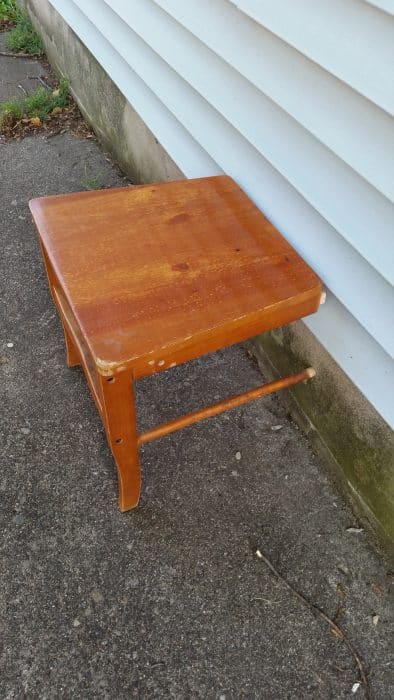
Here’s a quick test to see if it’s actually going to hang on a wall and make sense. ![]()
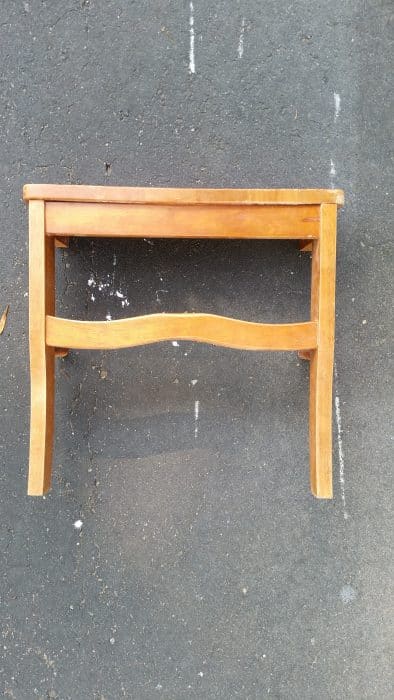
Laying it down on the driveway gives a better view of how it will look hanging on a wall.
Patch, Sand, Repeat
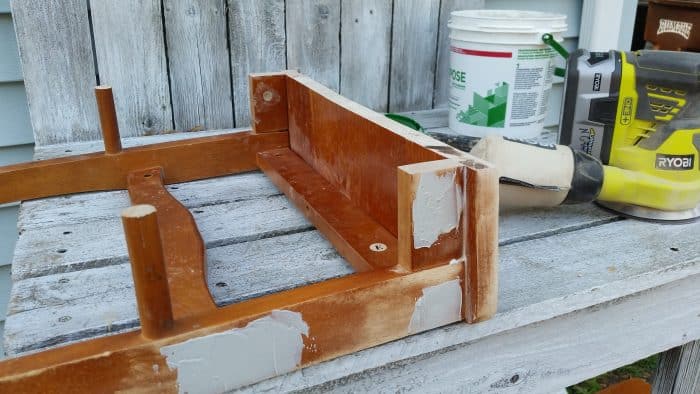
So, there were a lot of holes that needed patching and sanding. You can see the “E” sticker still hanging in there.
DIY Chalk Paint
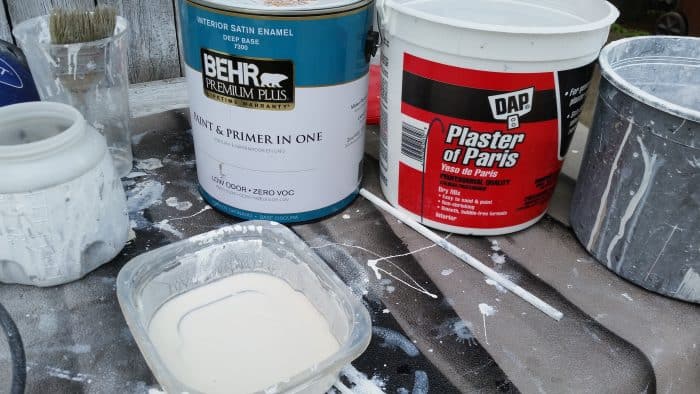
I mixed up a batch of diy chalky paint primer using plaster of paris and water using Beluga (Behr) in satin.
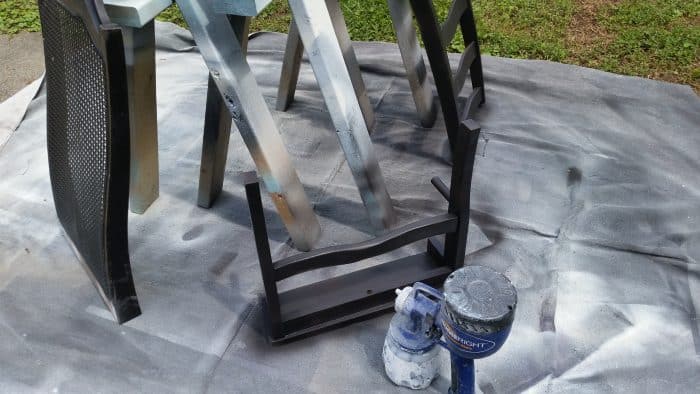
I love painting multiple projects at one time—here you can see several other projects I was working on.
Waxing and Sealing Upcycled Chair Shelf
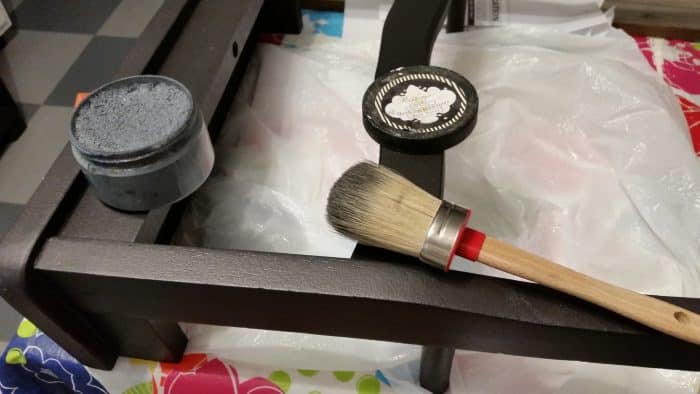
After painting with the chalky paint primer, I did a couple of more light coats in the satin paint which needed a little more protection, so I used some Heirloom Traditions Barnwood wax.
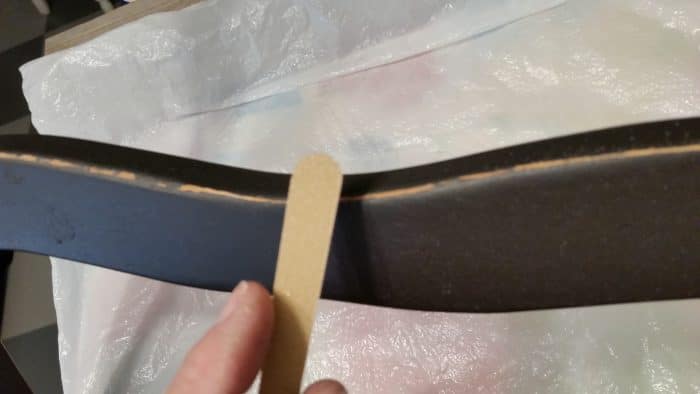
I used an emery board that I buy on Amazon by the box to do some quick and easy distressing.

If you know me very well, then you know I use these same d rings on all of my hanging projects.
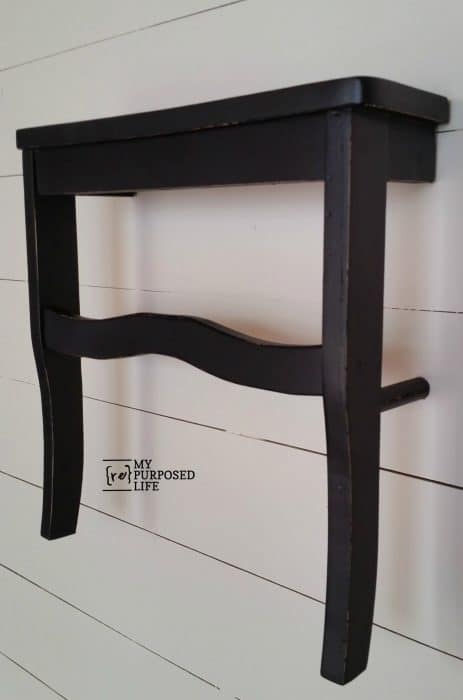
Voila! Here it is hanging on the wall!
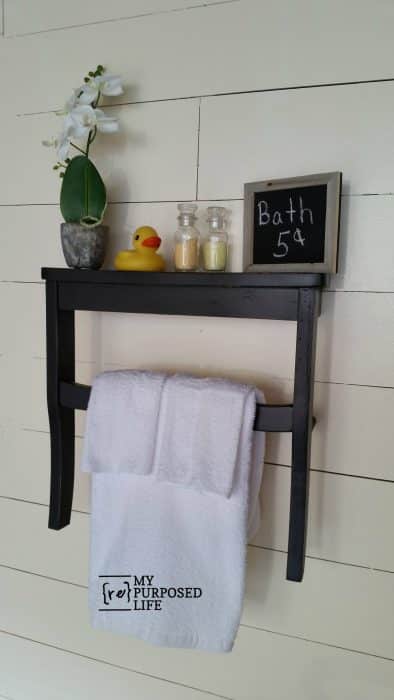
This chair seat wall shelf would be perfect for a guest bathroom (or bedroom) to hold just what your friends and family need.
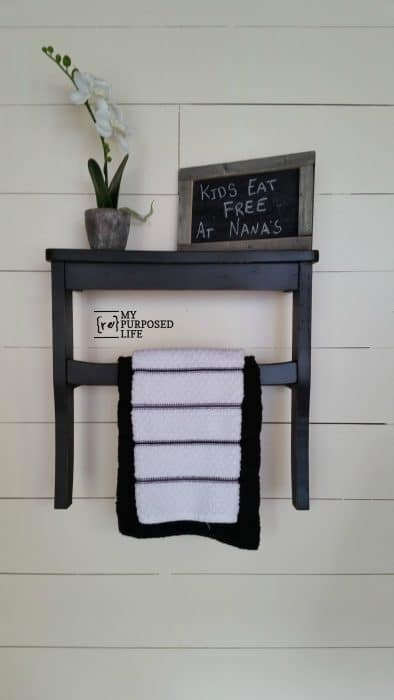
It would also be really handy in the kitchen. You could use some hooks for potholders and such on the chair legs. When making projects to sell, it’s difficult to know what the future owner would actually need.
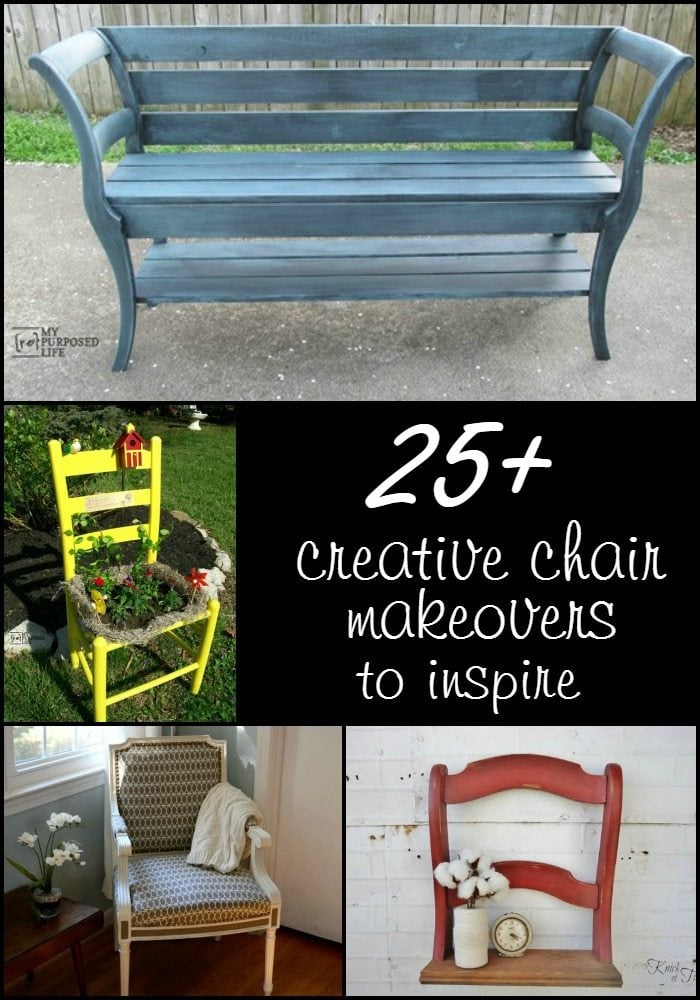
I love quick and easy repurposed chair projects! I hope you find some inspiration from some of the project ideas I’ve collected from friends below.
What have YOU made out of an old chair? I’d lohttps://www.myrepurposedlife.com/project-ideas-for-old-chairs/ve to hear because I still have many more chairs hanging out in the garage just WAITING for a new purpose!
gail
See one of my first, and an all-time favorite chair projects here
This is crazy good! Love it as a towel holder. Nice tip on the emery board too, I hadn’t thought of that one!
The emery board trick is soooo much easier for me to use than sandpaper on small projects. Buying them by the box is the secret. I have them everywhere, and guess what? They even work on fingernails! hahahaha
gail
You have the very best and most creative ideas!! Love it!!!
Thank you Barb! With all the chairs I have, I’m always trying to come up with something new. 🙂
gail
That is really so cool, Gail! You have the neatest projects.
Thank you Julie, this chair was just begging to be cut up! lol
gail
Such a CLEVER idea! Sooo brilliant! I could use a couple of these.
awesome chair wall shelf!!! i have to find a chair that i won’t mind using for one. your finish turned out beautifully!
Thanks Nova!
Orphan chairs are plentiful at Vendors’ Village-I think this was the best deal I’ve gotten. Usually I pay around $5. Maybe you will find one on the curb someday soon. 🙂
gail
What a great idea!! And I never thought to use an emery board to distress – so smart!! Thanks!
Cute!