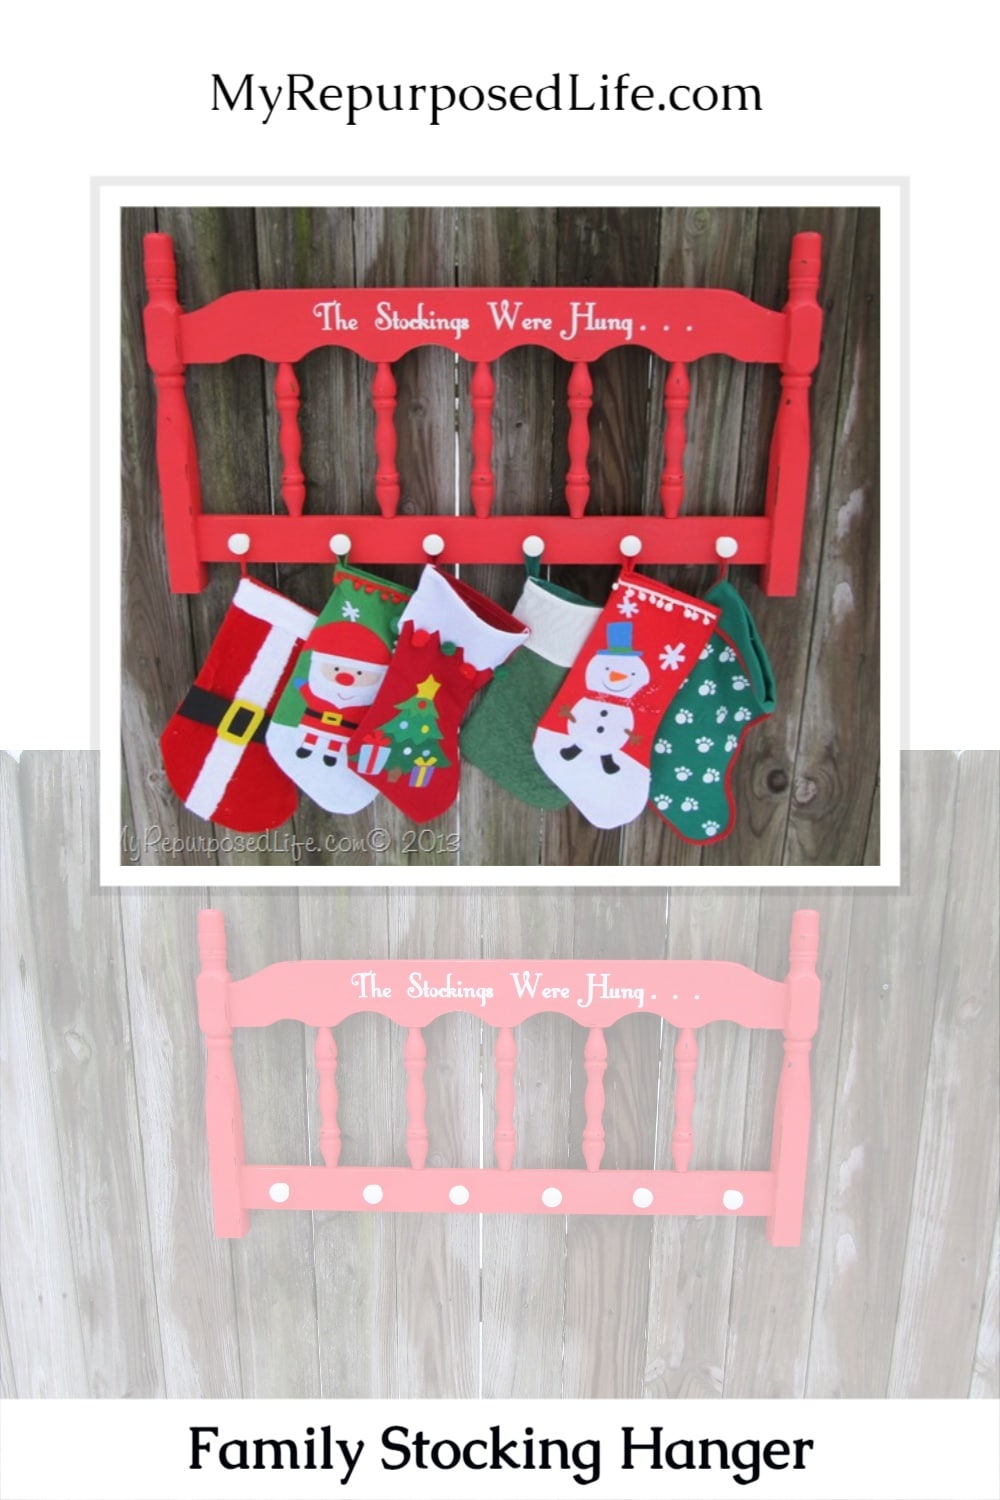
Christmas Stocking Hanger | Make Your Own
As an Amazon Associate, I earn from qualifying purchases.
This adorable Christmas Stocking hanger from my friend Terri at Fresh Cut Flours inspired today’s project.


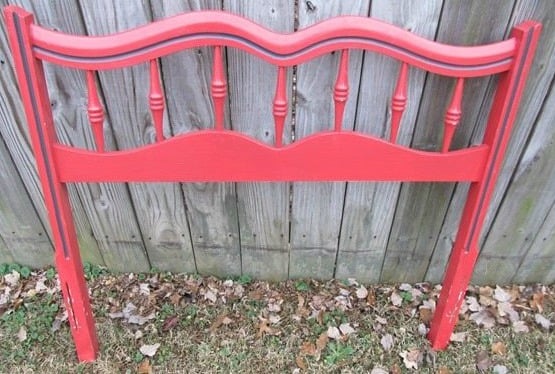
My friend Cathy gave me this red headboard, and I put it in the garage. Then, as I was looking at my Christmas Pinterest Board, I saw Terri’s stocking headboard and remembered I had this red headboard. As I got it out and examined it, I liked the way it looked, and I wanted to use it so I wouldn’t have to do any painting. But, there was no room for the phrase –“the stockings were hung”.
Edited to add: I kept this headboard and made a bench out of it using the headboard and a kitchen cabinet.
On to plan B.
How to Make a Christmas Stocking Hanger Out of a Headboard
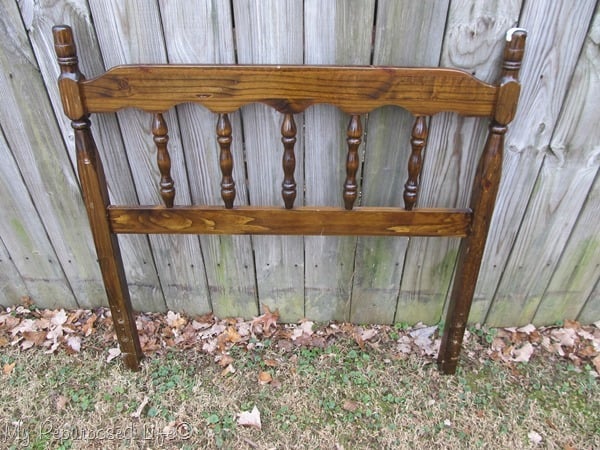
After a large neighborhood yard sale, I picked up this headboard off the curb. I try to visit the neighborhood the night of the yard sale, knowing that people tend to put less desirable pieces to the curb. If I’m lucky, I get a couple of items free each year. The price of this little piece was $15. Sometimes, I don’t understand people. Why not put $5 on it and sell it instead of putting it to the curb for the garbage pickup?
Cut the Length Off the Headboard Legs
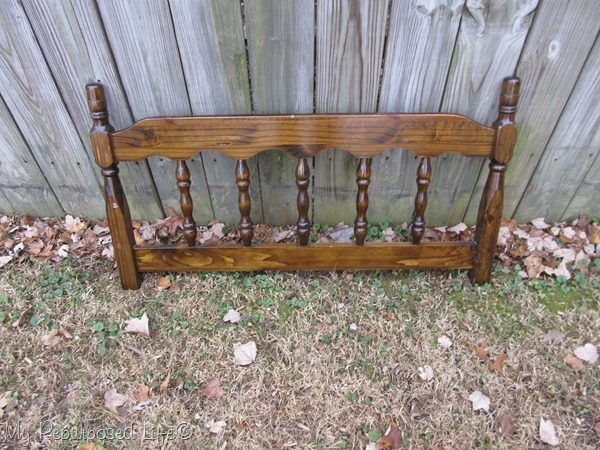
The length of the headboard legs is not needed for this to hold Christmas Stockings.
Visit the My Repurposed Life Amazon Store to shop my favorite items.
Spindles are Easy to Paint With a Paint Sprayer
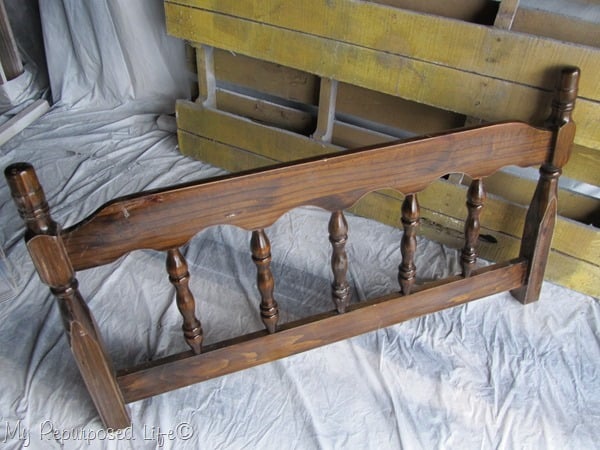
I’m in the paint booth, ready to get a coat of DIY chalk paint. The Christmas stocking hanger was easy to paint using my Homeright Finish Max.
With Red Paint, it Already Looks Like a Christmas Stocking Hanger
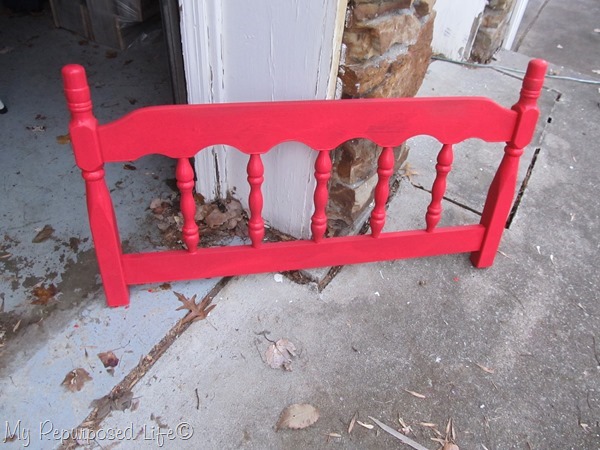
After one coat of DIY chalk paint with Plaster of Paris.
The day I painted this was the last day of nice weather, so I had to bring the headboard indoors to finish it up.
For some reason,, I didn’t take any pictures. It got another coat of DIY chalk paint, a light coat of clear wax, and some light sanding/distressing.
Apply Contact Paper Stencil
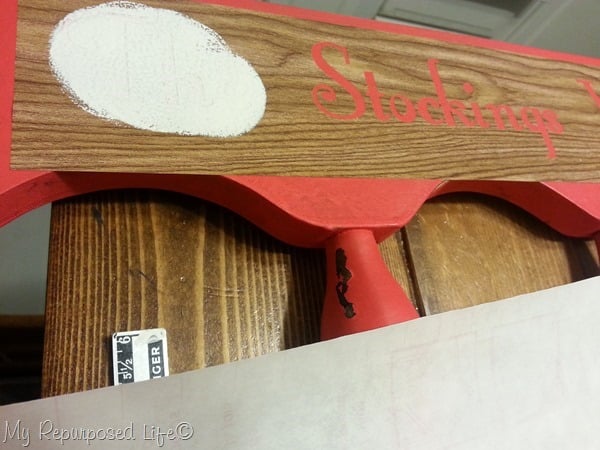
The stencil was cut with my Silhouette Portrait using contact paper, and paint was applied using one of my Martha Stewart Pouncers.
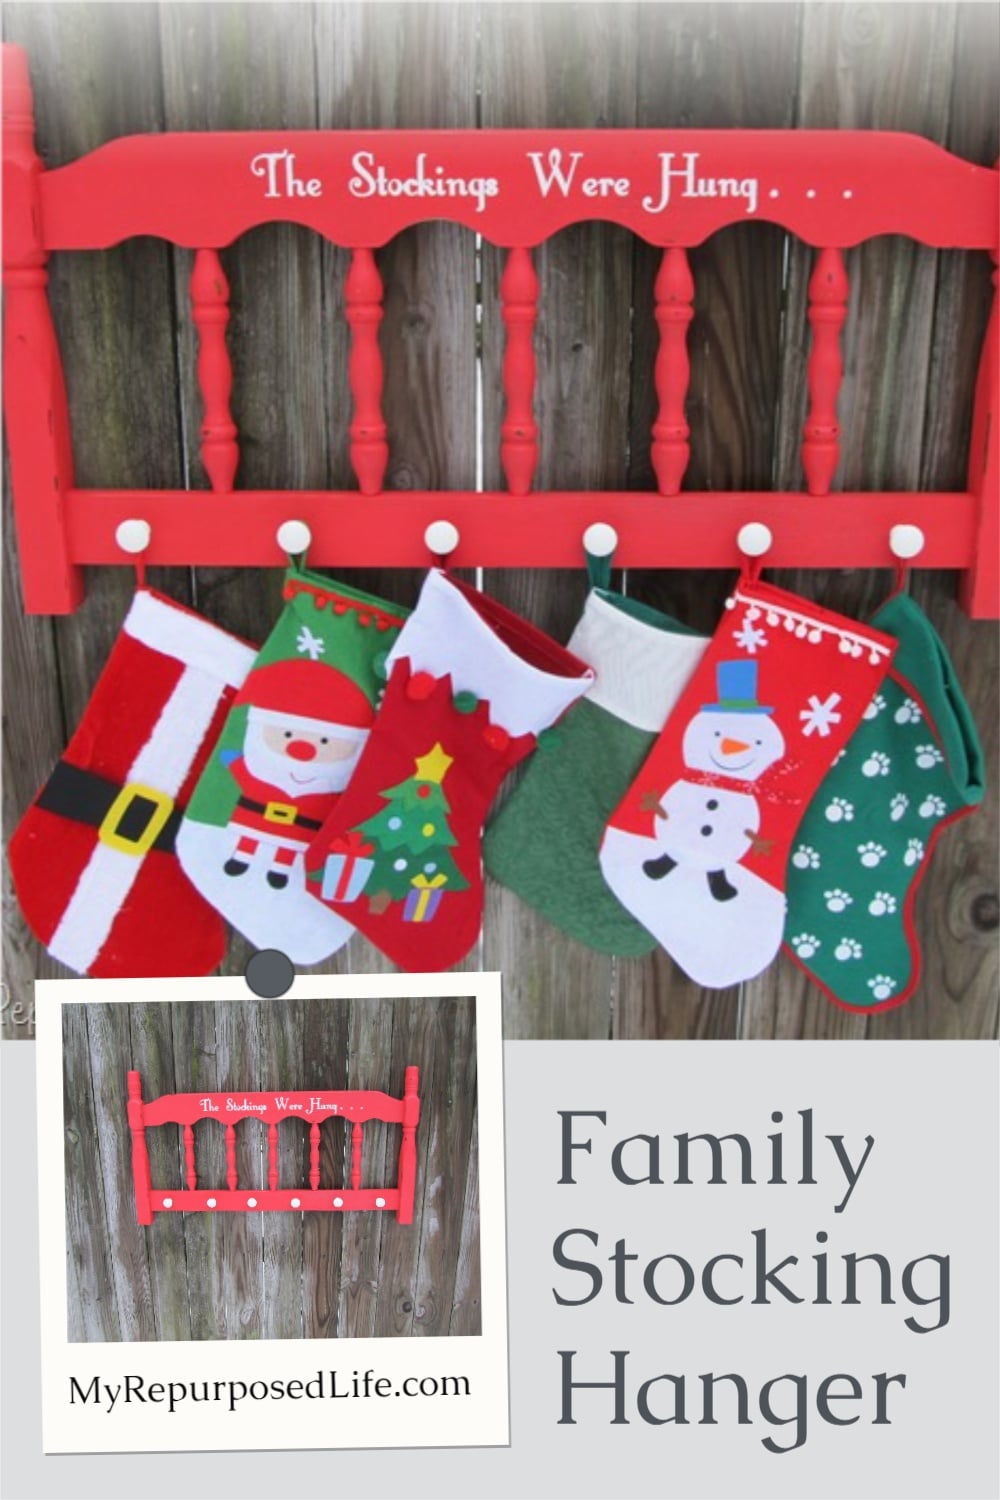
Christmas Stocking Headboard Hanger
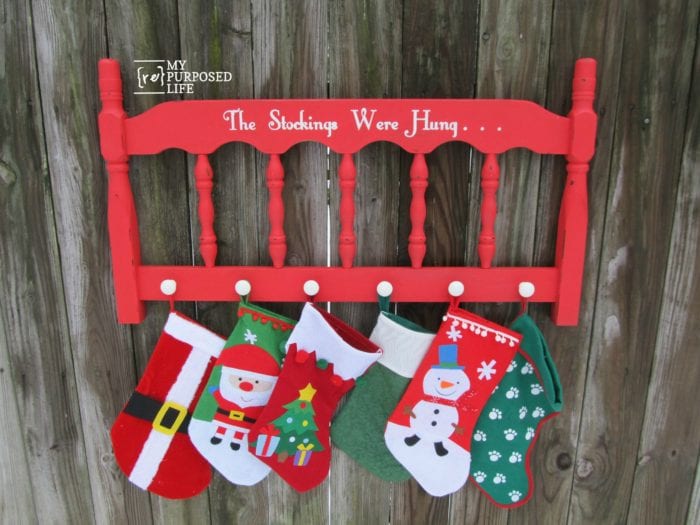
Reclaimed brass knobs were painted with DIY Chalky paint, then waxed to keep the paint from getting scratched off.

Of course, you wouldn’t hang your stockings outside on your fence, but a girl’s gotta take pictures, right? Can you believe these cute stockings were found at the $$$ Tree for a buck each?

I love quick and easy projects. Of course, this headboard Christmas stocking holder would have been a lot easier if I had used the red headboard pictured above.
Thanks to Terri for the inspiration!
gail
Related Content: Christmas Stocking Shelf Stocking Holder With Chalkboard
I never spray indoors. Lately, I’ve been spraying out in the open because at one time I was spraying in a carport without any light. It became difficult to see. I did a great post on how to make a temporary spray booth in the backyard here: https://www.myrepurposedlife.com/2014/01/easy-diy-paint-booth-tips-plus-a-giveaway.html
Homeright has a great spray paint shelter now, see it here: https://www.myrepurposedlife.com/2015/06/spray-paint-shelter.html
good luck!