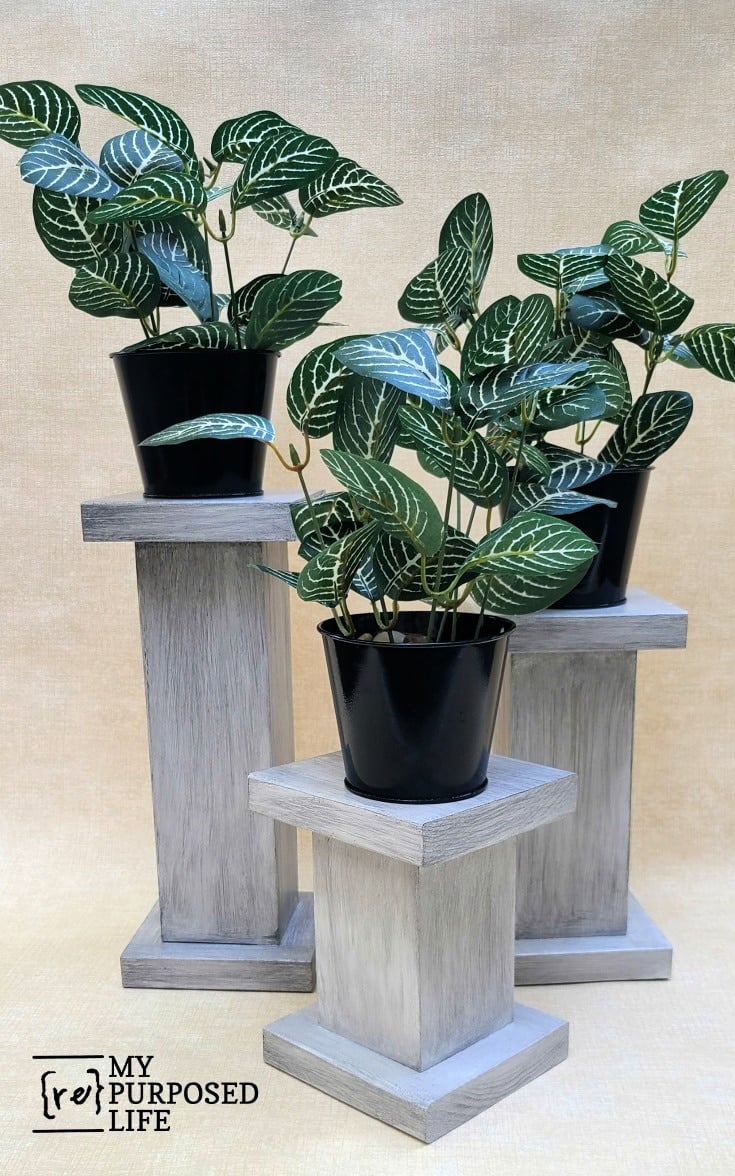
Chunky Pedestals Candle Plant Holders
As an Amazon Associate, I earn from qualifying purchases.
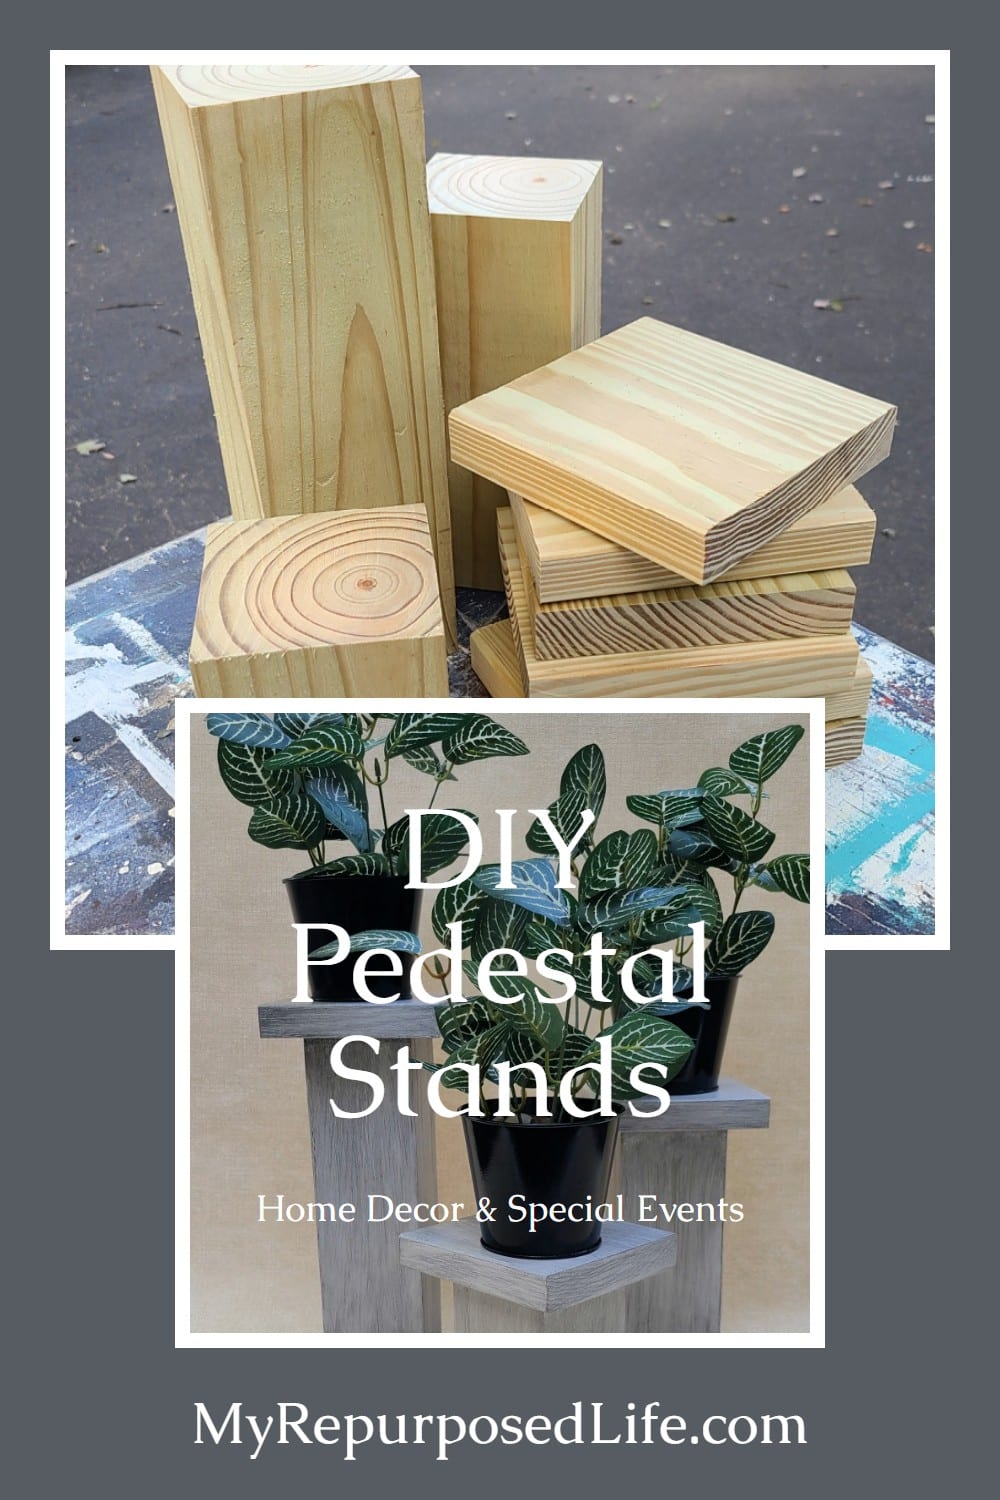
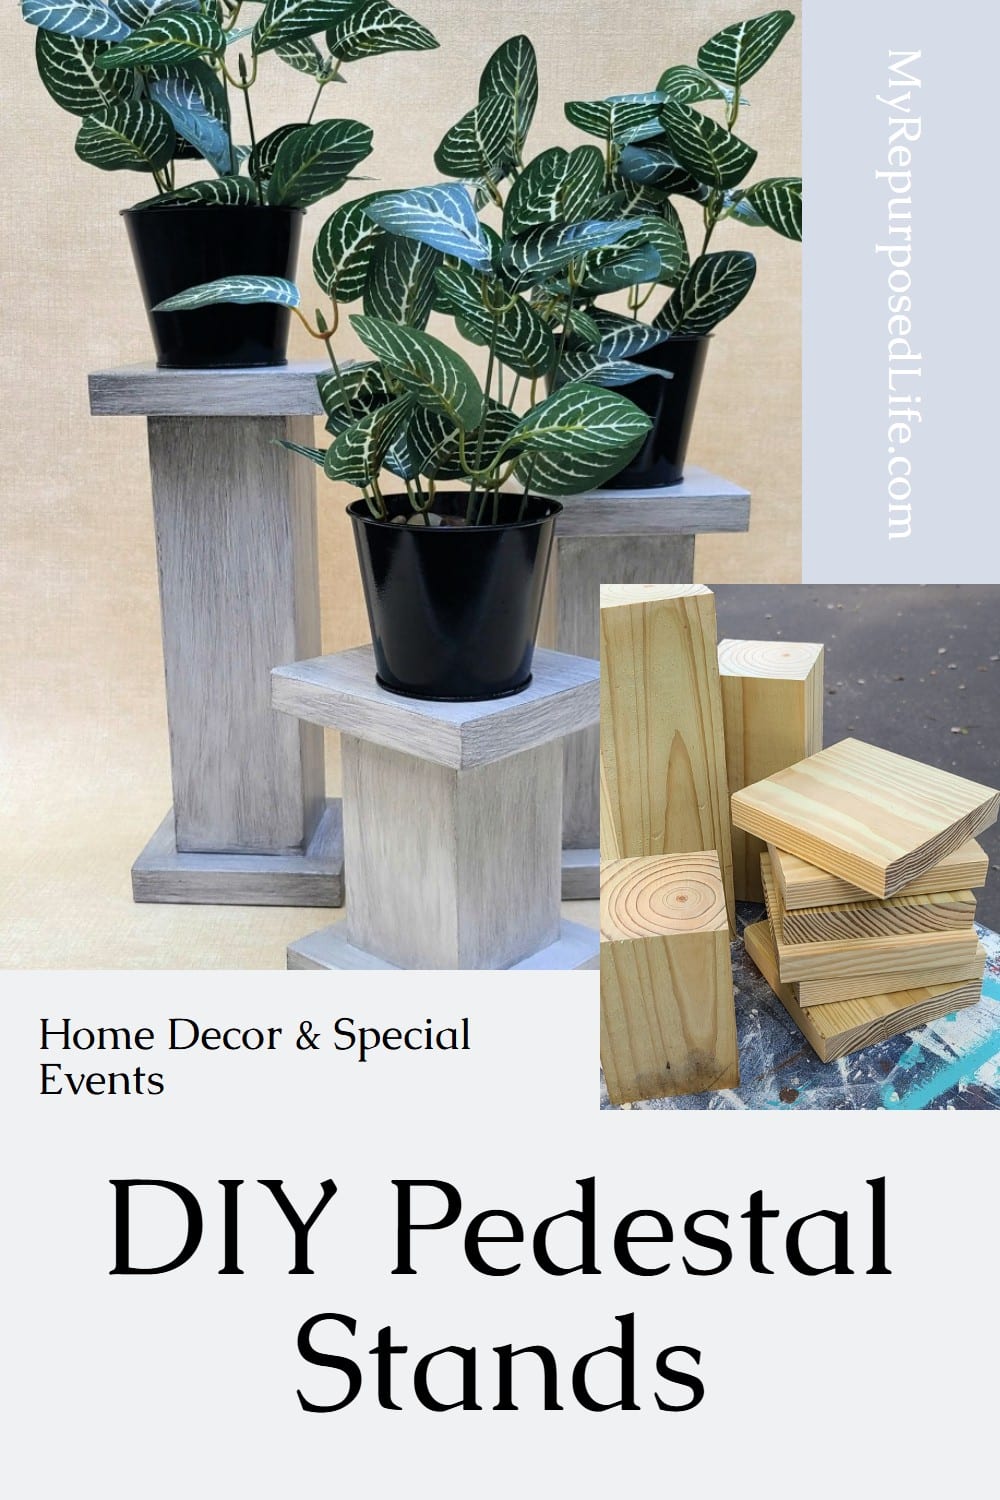
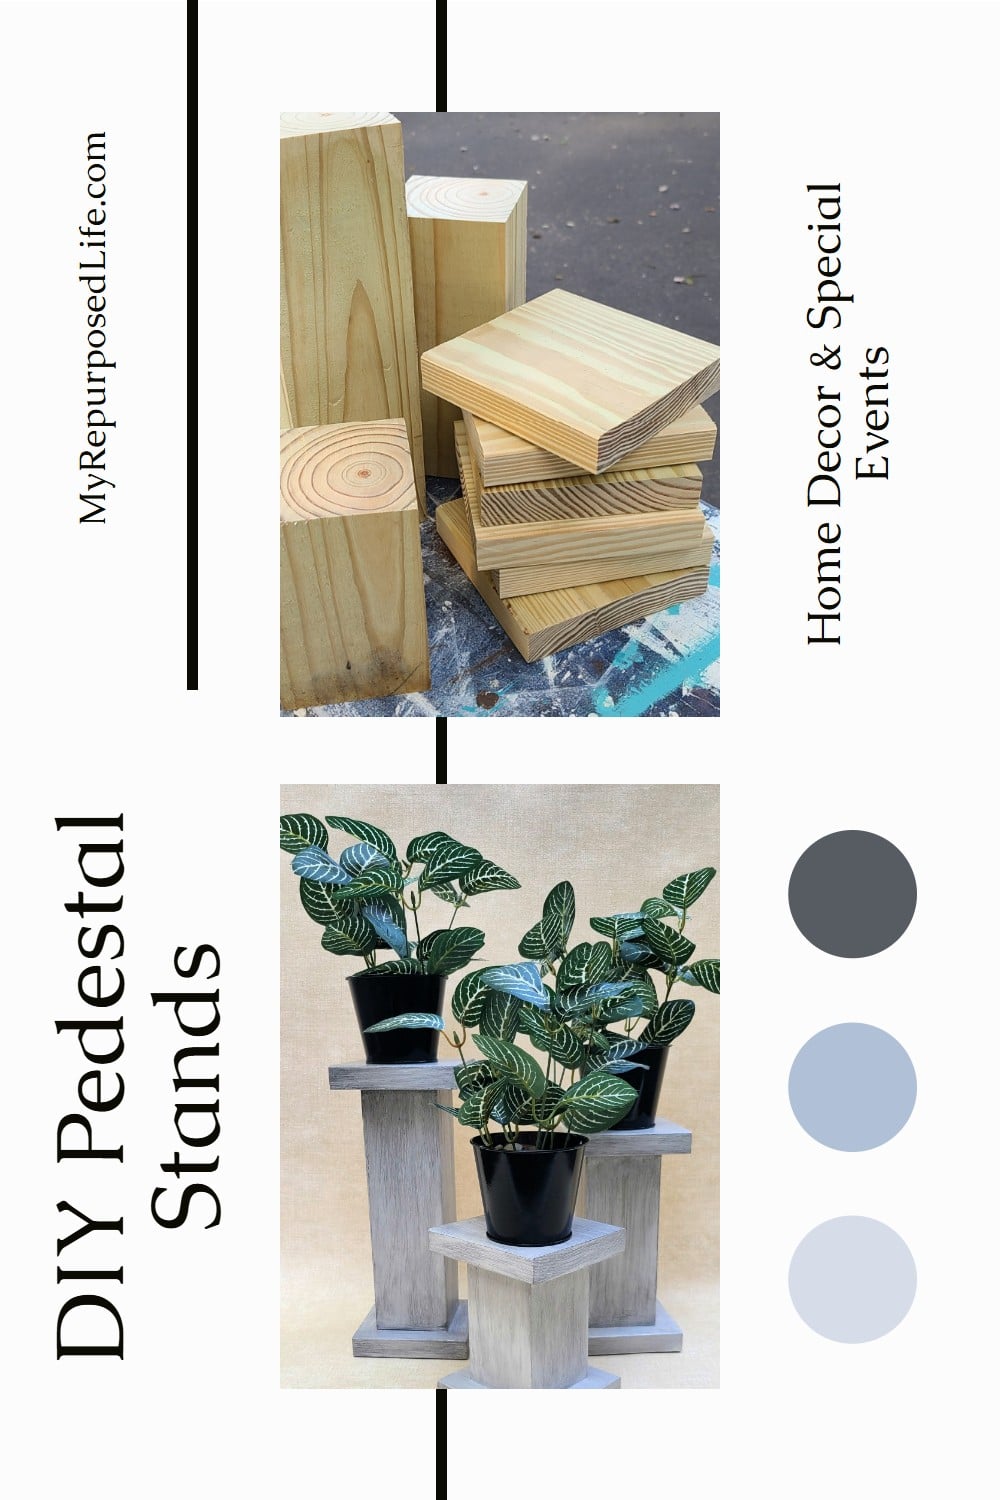
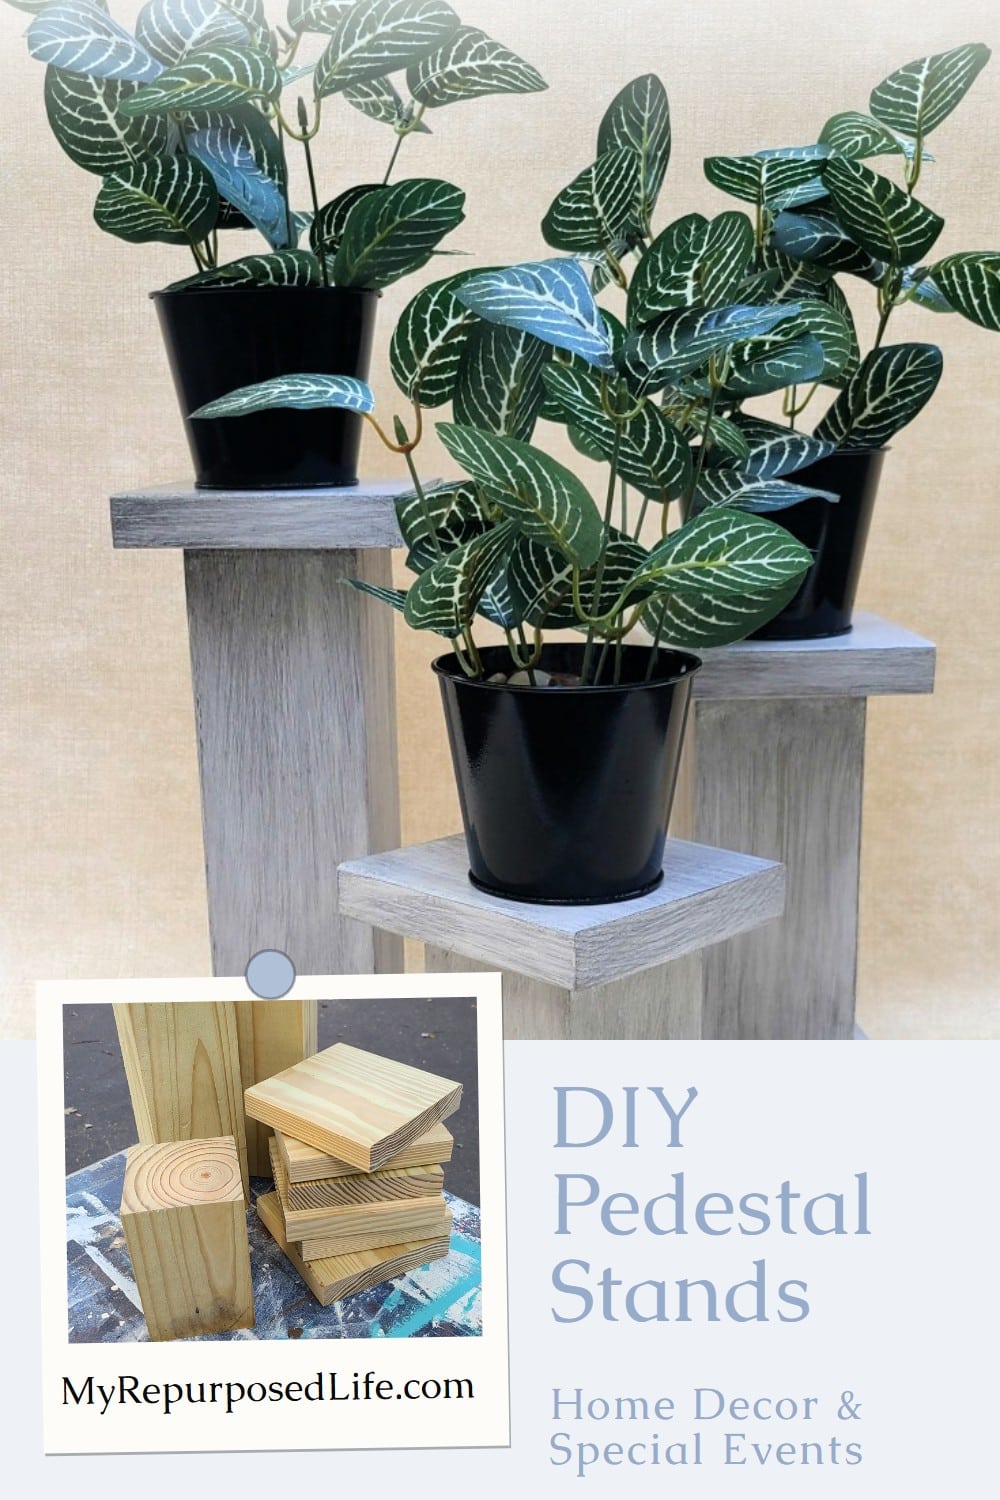
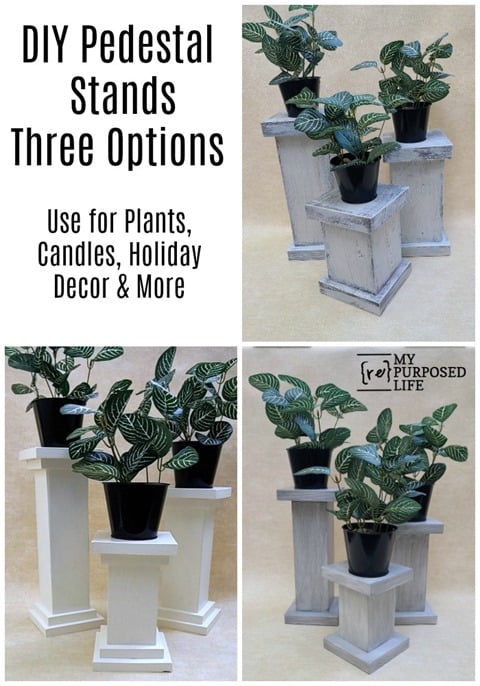
Looking for a simple way to add height and charm to your home decor? These chunky pedestal stands are perfect for candles, plants, weddings, or seasonal displays—made entirely from scrap wood! With just a few cuts and creativity, you can turn leftover lumber into beautiful, functional pieces that bring rustic flair to any room.
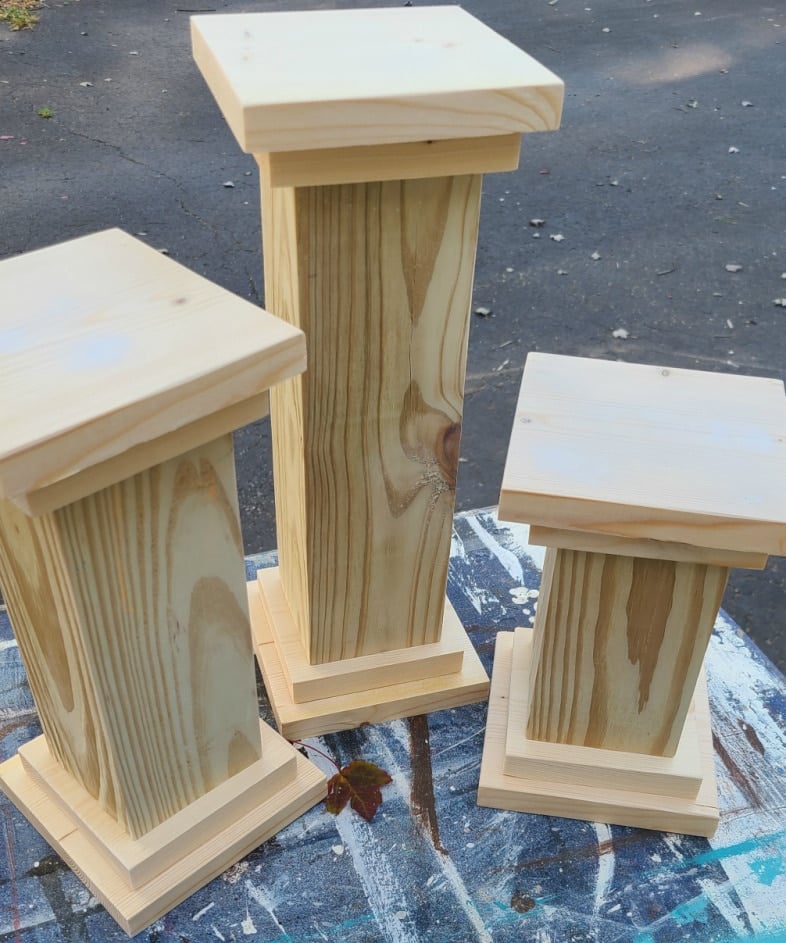
These chunky pedestals for candles or plants are not only easy to make but also fun! Initially, I was only going to make one set of chunky pedestals out of 6×6 posts. But after I made the first set, I thought it would be nice to show you an alternative with 4×4 post chunky pedestals. Oh, I didn’t stop there. I made a third option just because I want to inspire you to DIY your own pedestals for candles, plants, etc.
Chunky Pedestals Candle Plant Holders
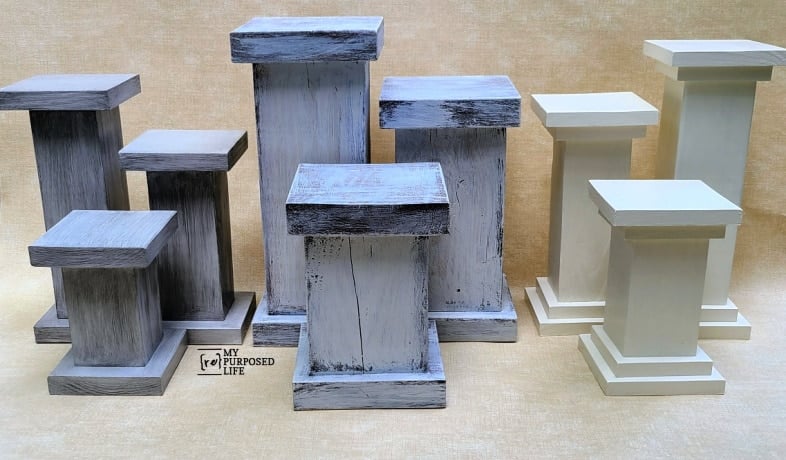
These are the three styles I made. It’s funny that after each set, THAT was my favorite. So, I guess I’m glad I kept going. These wooden pedestals were a great way to use up scrap lumber!
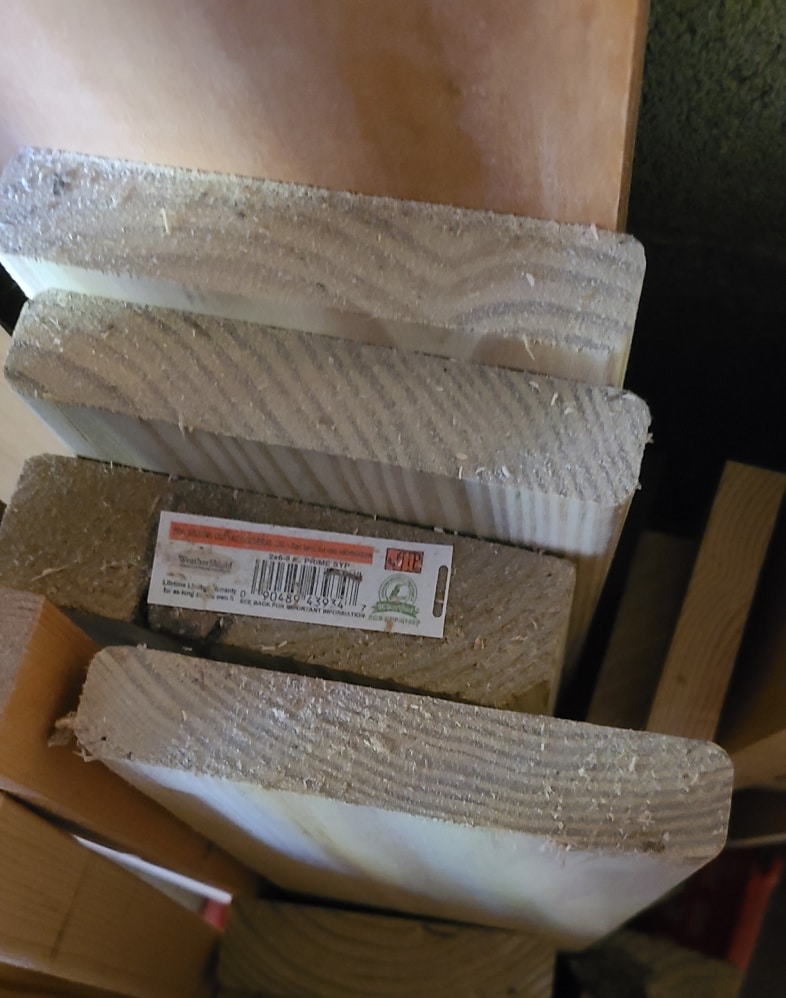
Plant Pedestal Made from 6×6
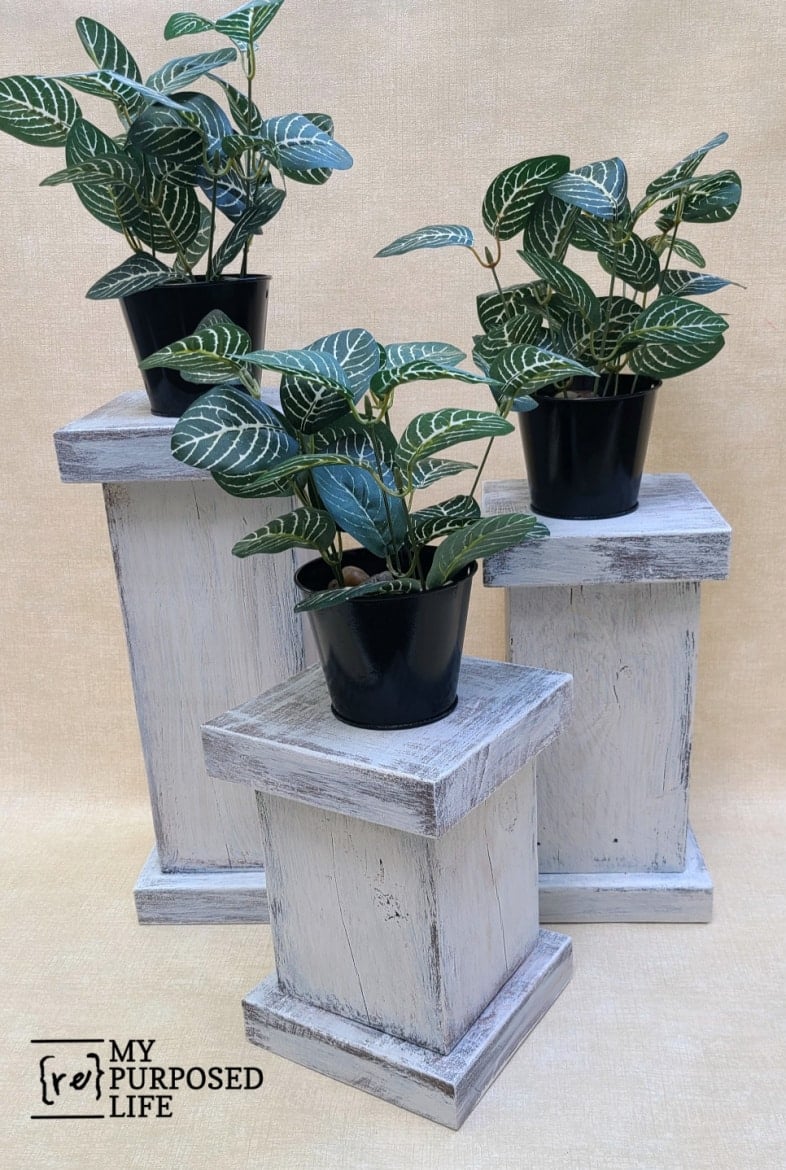
First up is the largest set of chunky pedestals. These are made from 6×6 reclaimed posts.
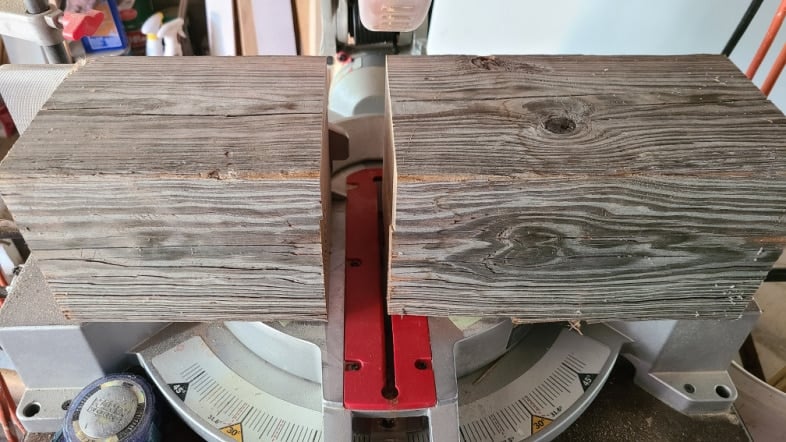
Use caution when cutting reclaimed lumber, inspect for nails and screws!
How to Assemble
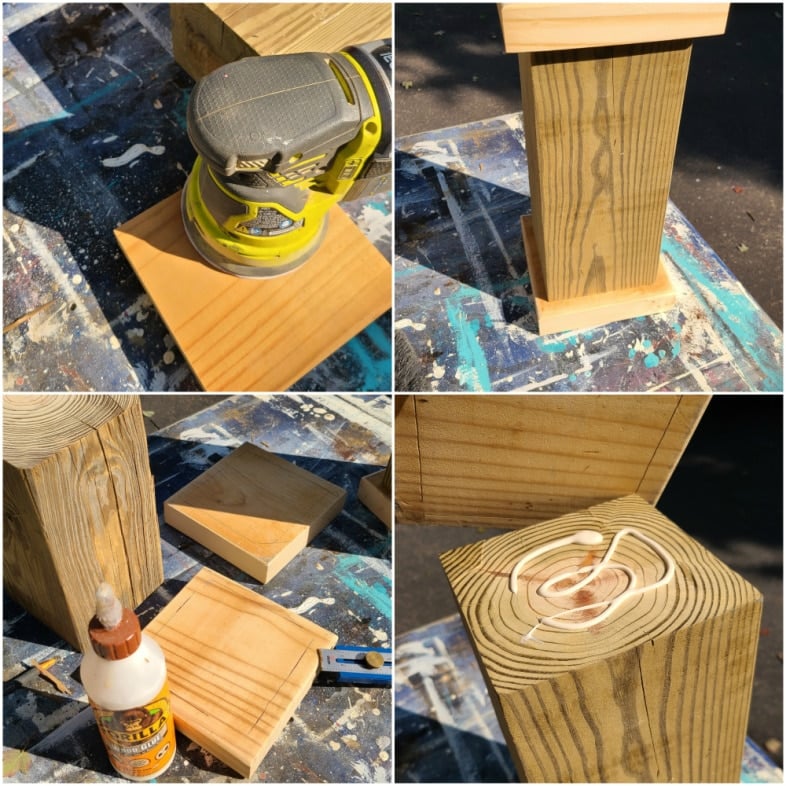
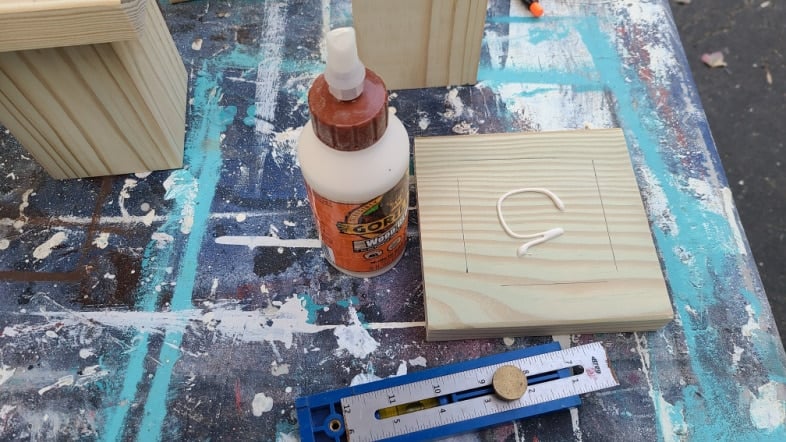
For the top and bottom of the chunky pedestal, a 2×8 was cut to a 7” square. Everything was sanded with the orbital sander. Gorilla Wood Glue was added for extra strength. The Kreg multi-tool ensures everything is centered.
Not shown: I used my nail gun to hold everything together.
Farmhouse Paint Technique
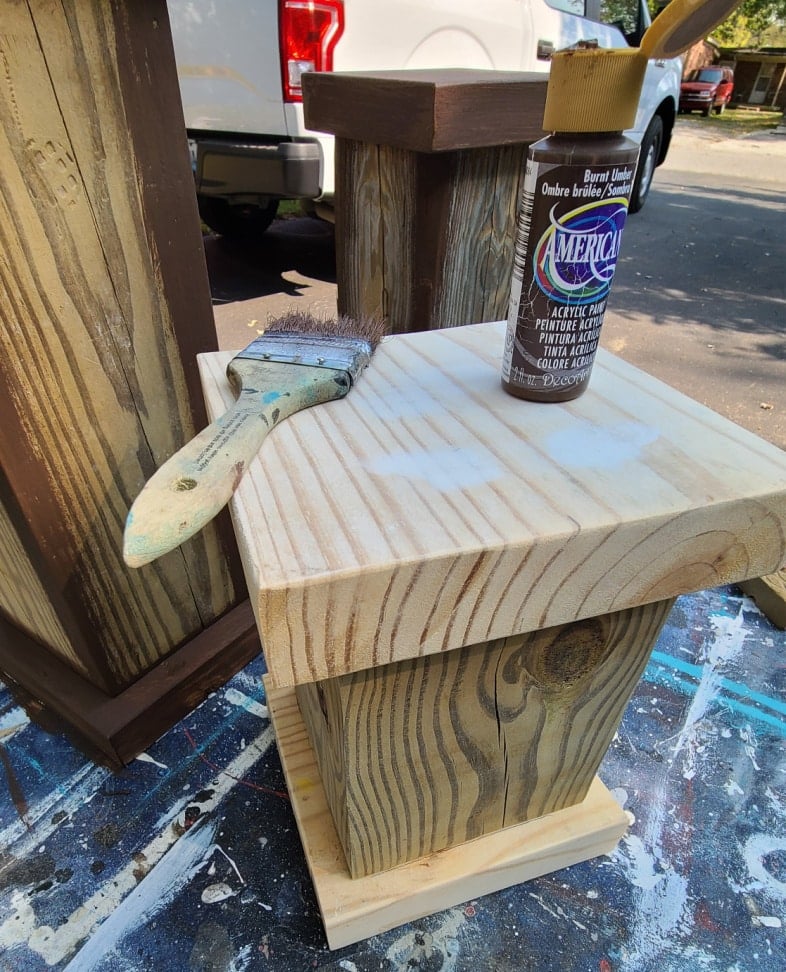
I was inspired by some Column Pedestals made by With A Dash Of Color. Poppy painted her project with burnt umber. I haven’t used it for years, but I had two small bottles in my paint stash. However, I chose just to paint the new wood and the corners of the columns with the base coat.
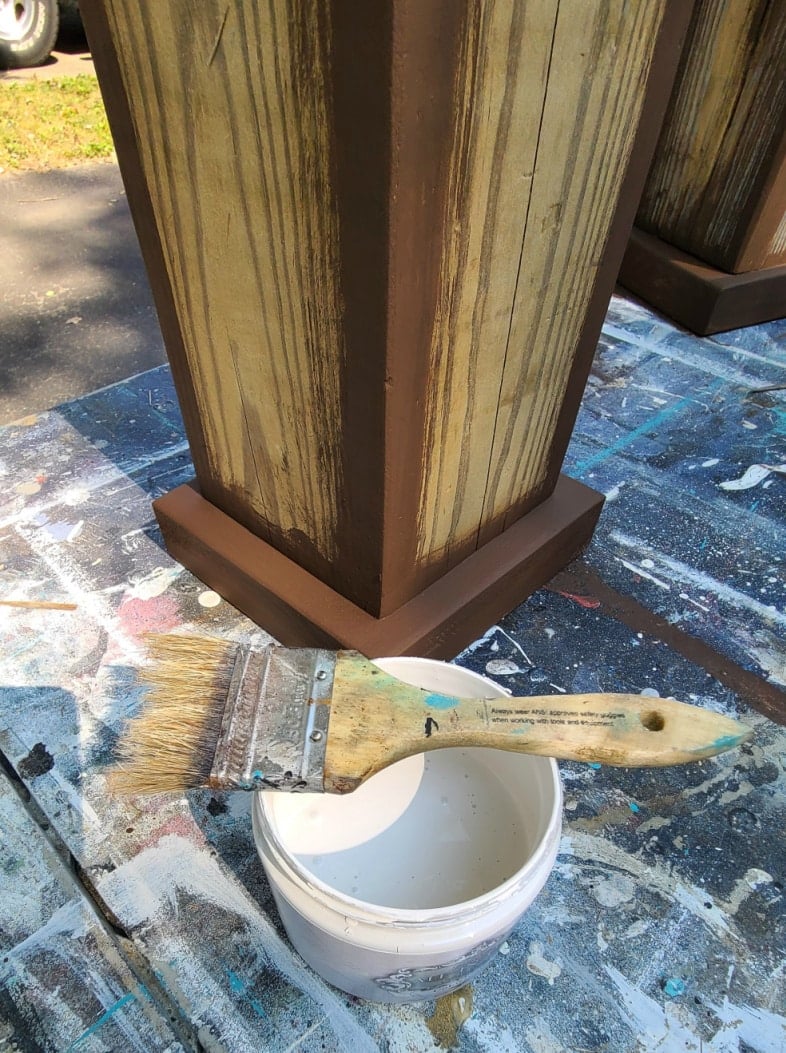
After two coats of the burnt umber, I was ready to do a top coat.

As you can see, I did a light coat of white over the burnt umber.
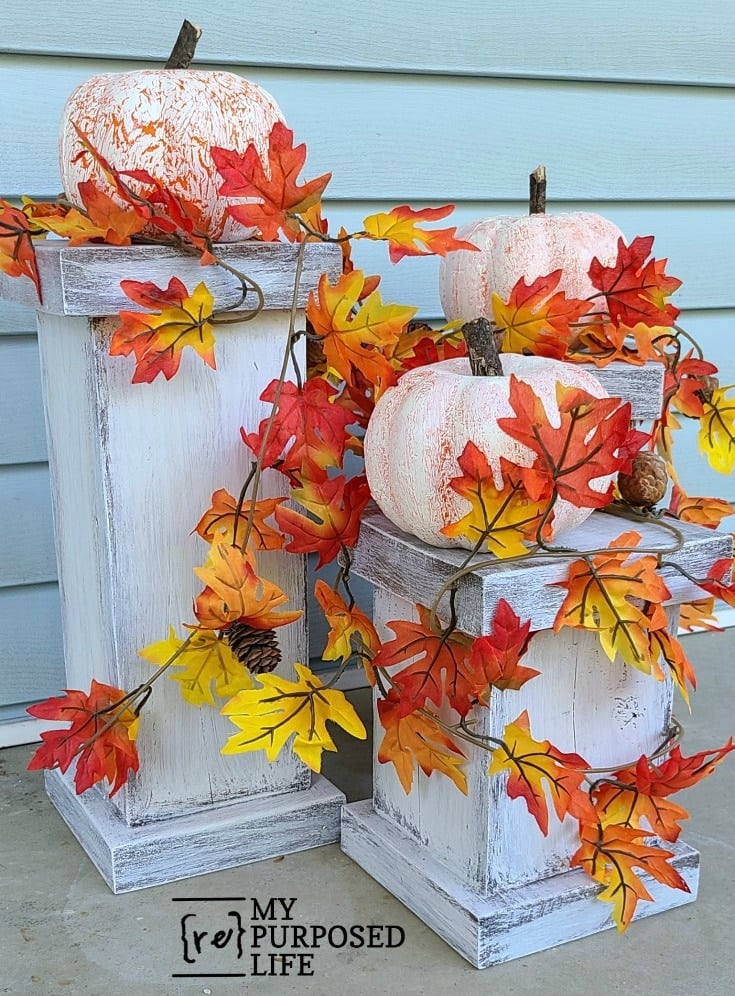
Here they are with my dollar store pumpkins!
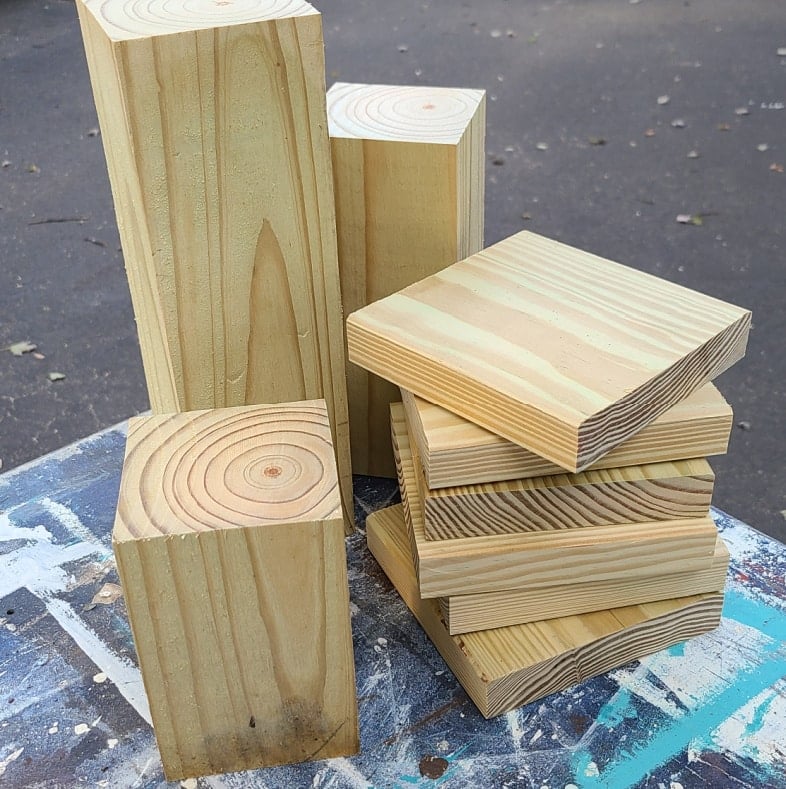
Easy 4×4 Post Plant Stands
The 4×4 posts look chunky standing alone, but next to the 6×6—they’re very slim!
Cut Scrap Wood
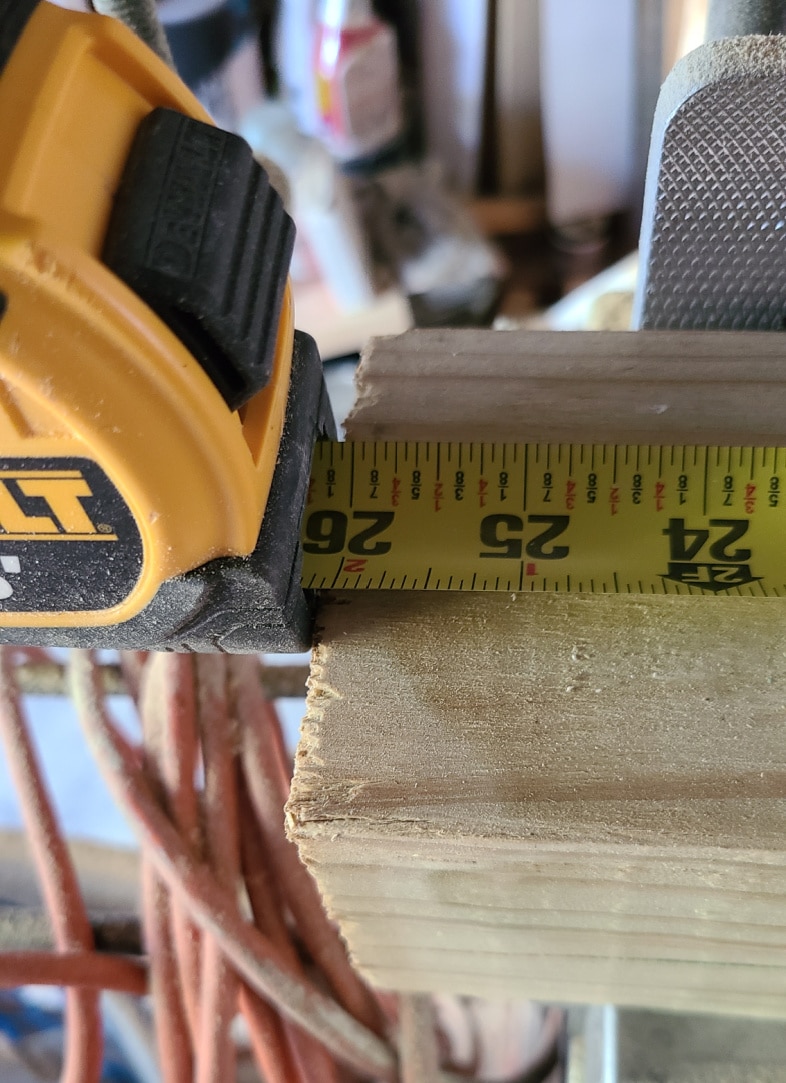
Because I’m using scrap wood for these projects, the height of this set was determined by the length of the 4×4 post. So, they’re slightly shorter than the first set of pedestals.
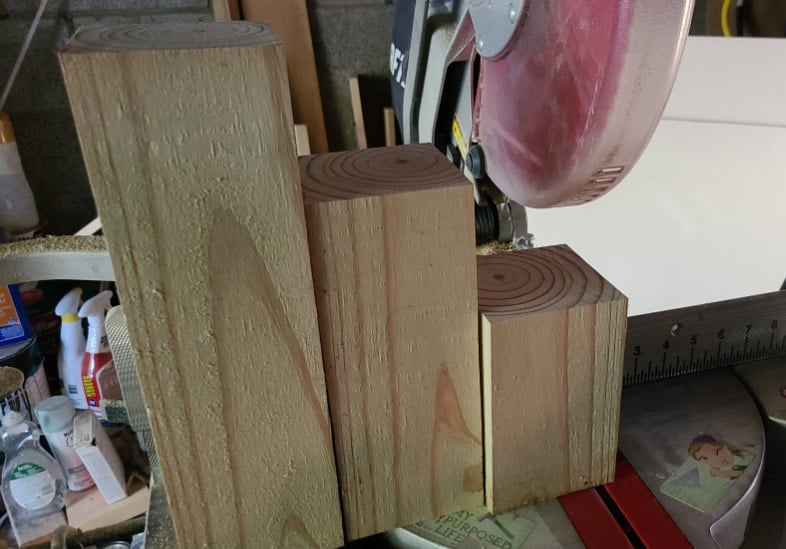
All of the sets are approximately 6, 9, and 12 inches.
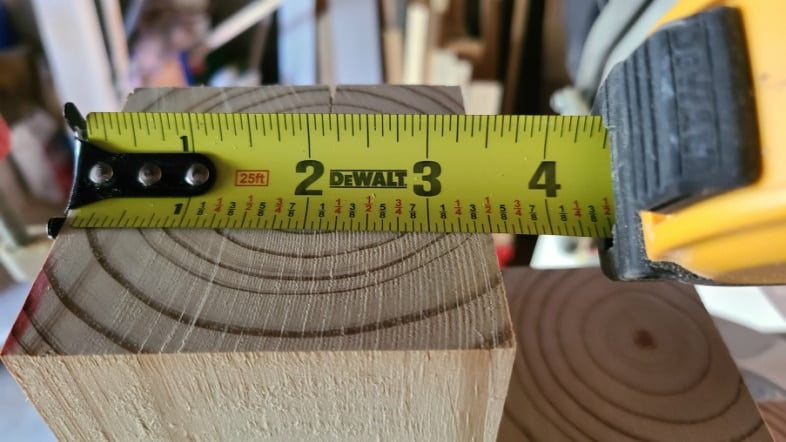
Did you know that a 4×4 post is 3.5 x 3.5? Consequently, the 6×6 post in the previous project is 5.5 x 5.5. I wanted a nice overhang for the top and bottom of these pedestals. I also wanted the top and bottom to be a little thicker than a 1×6, which is actually only 3/4” thick.
So, I reached for some deck boards.
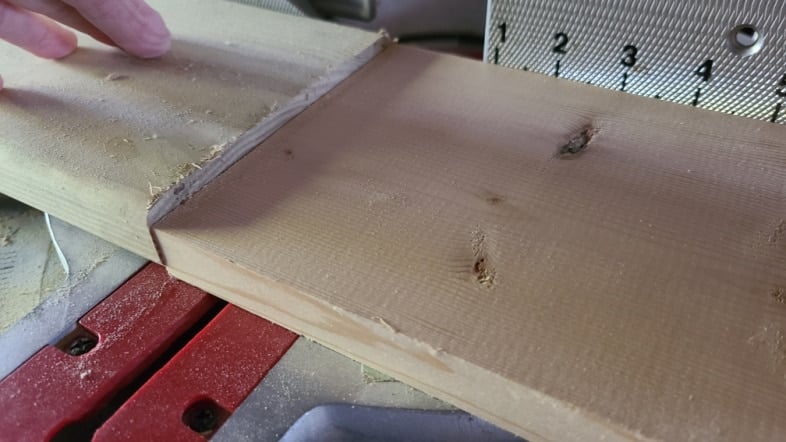
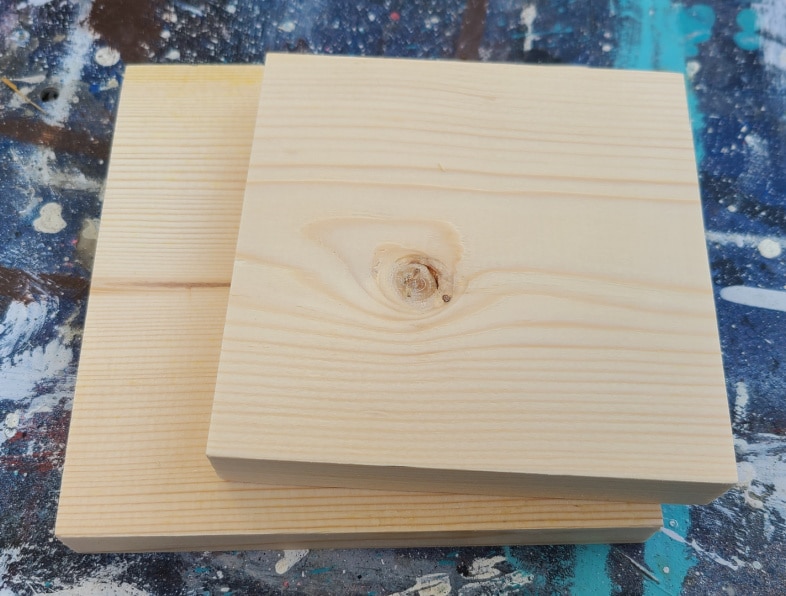
Can you see the difference? The board on the right is the 1×6, and on the left is the deck board. I cut six pieces of the deck boards into 5.5” squares.
Ready To Assemble Set Two
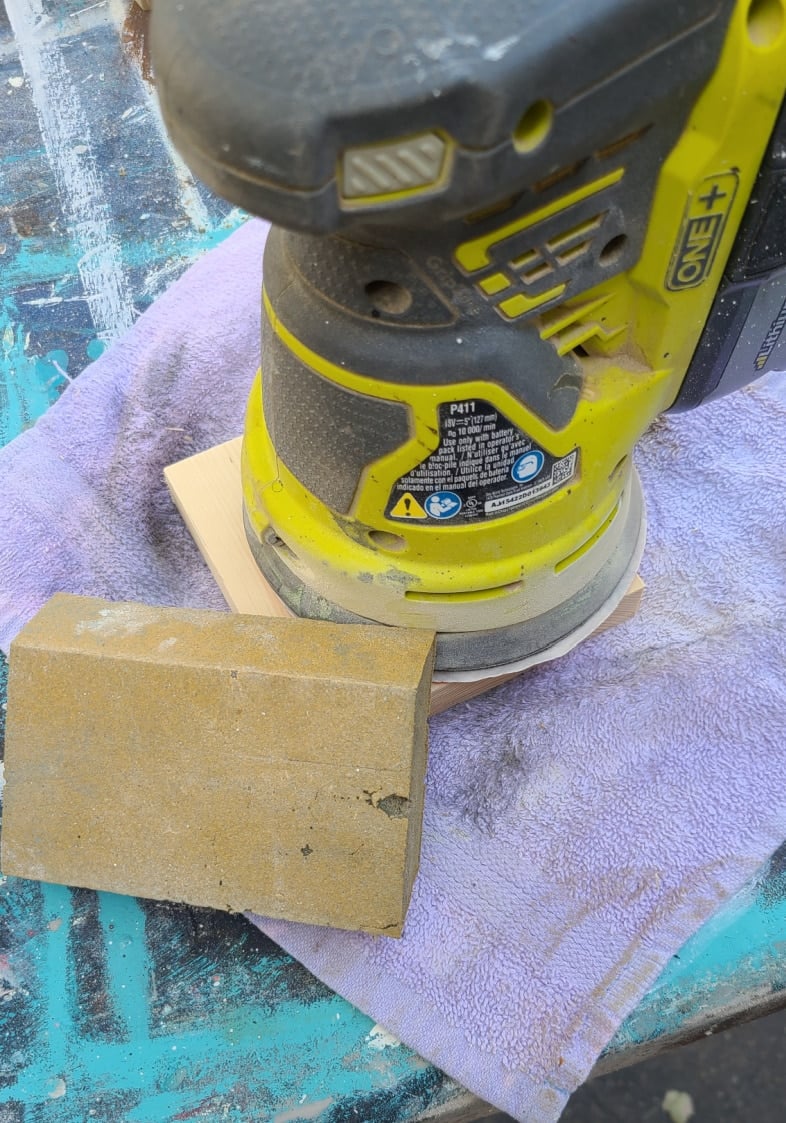
Don’t get impatient, be sure to sand all edges of your project. You won’t regret it.
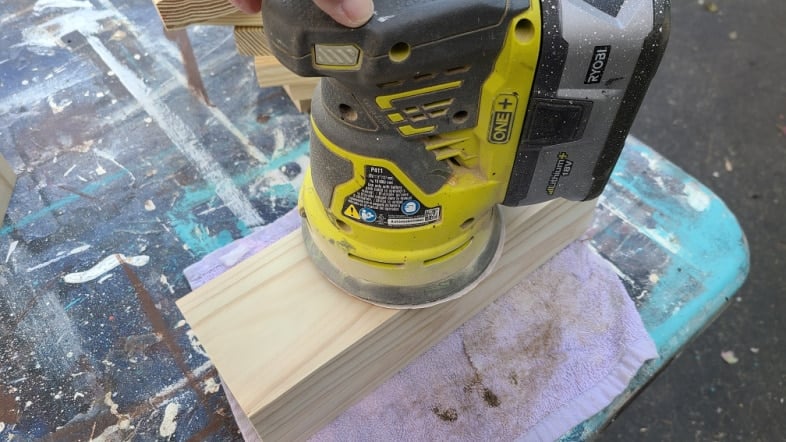
Because my work table had so many layers of paint, I used an old rag to “pad” each piece as I sanded it.
I placed each of the posts on the bottom, traced the edges, and added glue to assemble the pieces.
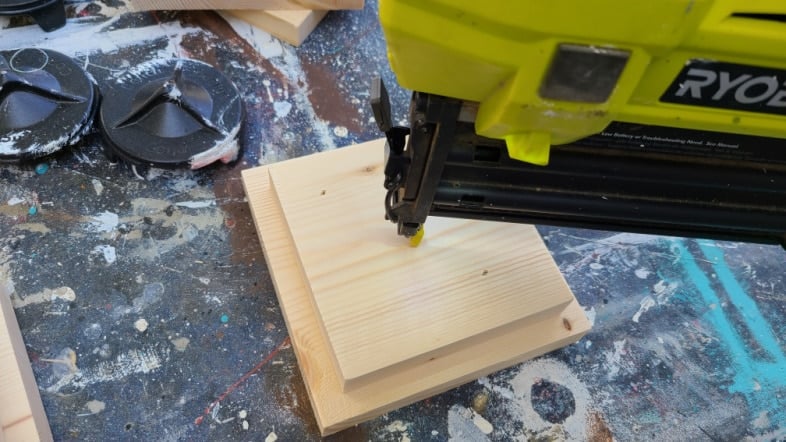
TIP: Have you ever noticed that wood pieces slide around due to the wood glue? Sometimes “Less is More.” I moved the post around to spread the glue. The more you do it, the less it slides. You can feel when the glue is ready to take hold. Carefully flip it over and add brad nails or wood screws.
Continue assembling the tops of the chunky wooden pedestals.
Impatient DIYers Use Paint Pyramids
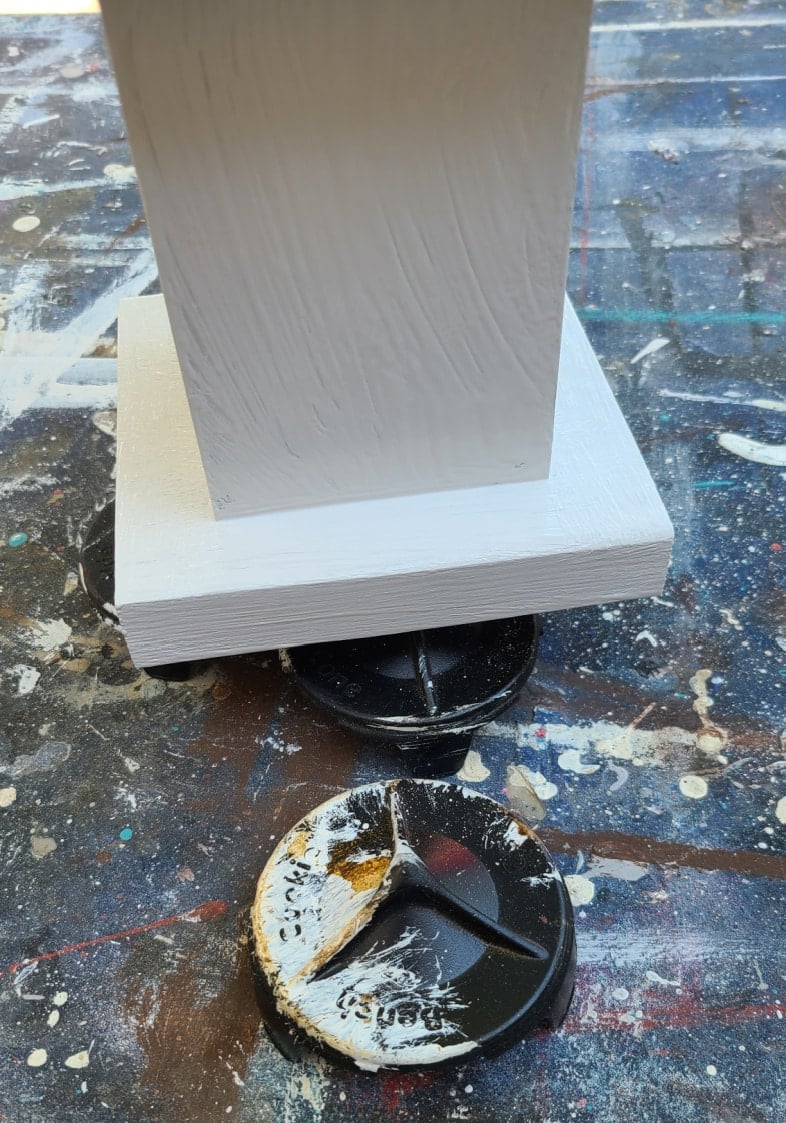
To begin painting, start with the bottom of the base. Resting that on paint pyramids will allow you to finish your project faster.
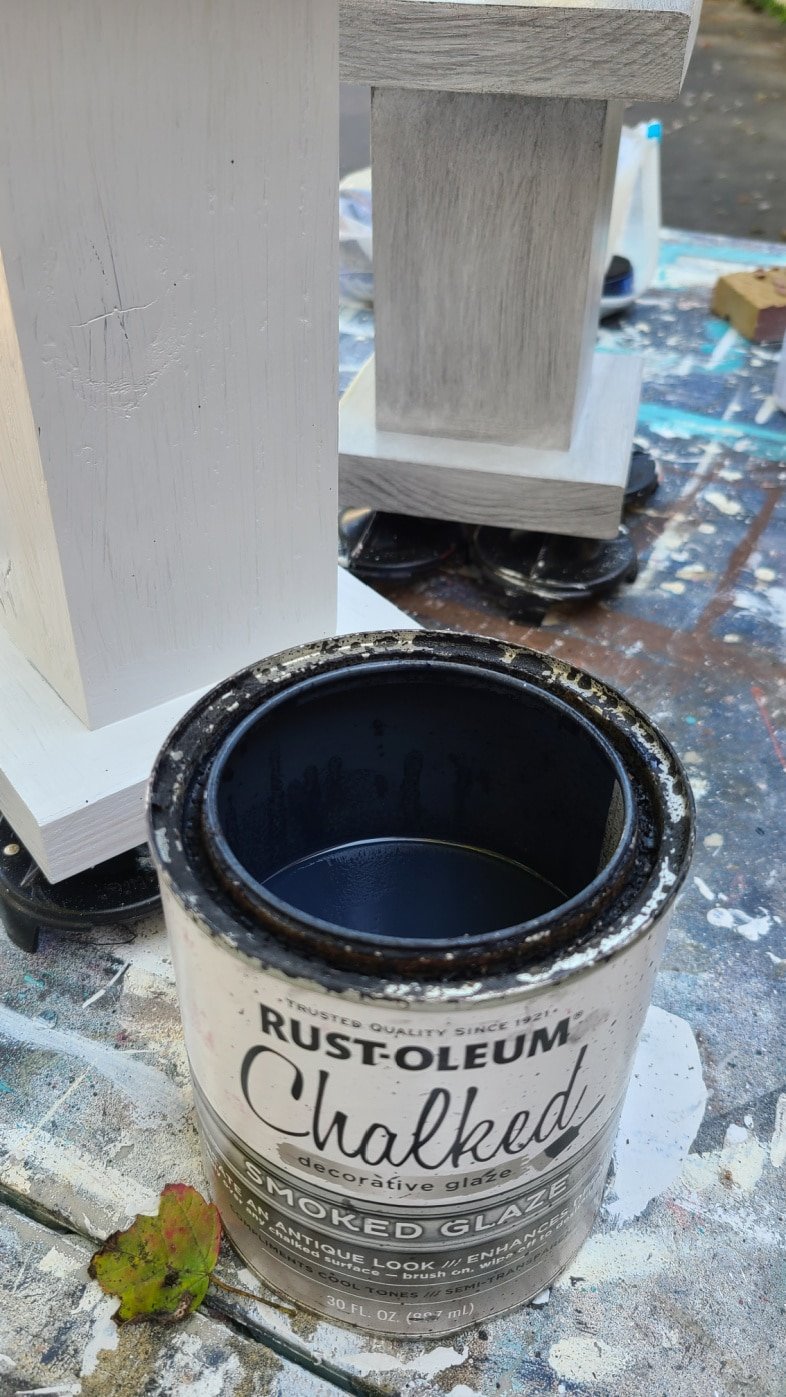
After one light coat of white, I grabbed my smoked glaze as a sealer and topcoat. I haven’t used it for a while, so it seemed like it was time. Did you see the one in the background? It already has the glaze on it, using a chip brush.
Double Base 4×4 Chunky Plant Pedestals
What do you think? Are they getting prettier?
For the third set of chunky pedestals, I used 3/4” stock—1×5 and 1×6. After cutting the 12 pieces (6 of each size) I matched them up for the best look. See that big knot? It will be hidden by the post itself. In addition, I lined up the boards running the grain to match. Lastly, I ensured the prettiest large piece was saved for the top of each pedestal.
More sanding was done with the orbital sander and a sanding sponge.
Easy Assembly Directions
Again, I applied the wood glue, moved the top board around until it was set in place. THEN I used the nail gun and assembled each of the bases and tops. After doing the other two projects, I eyeballed these components, and this set was assembled in no time!
I did the same thing to finish up—a little glue, moving the boards until they stopped wiggling. Then I shot a few longer brad nails through the top (and base) into the 4×4 post. I used spackling to patch the brad nail divots on all three sets of chunky pedestals.
Not shown: I painted these a barely off white using the paint pyramids because I’m so impatient. I did three light coats of paint on these.
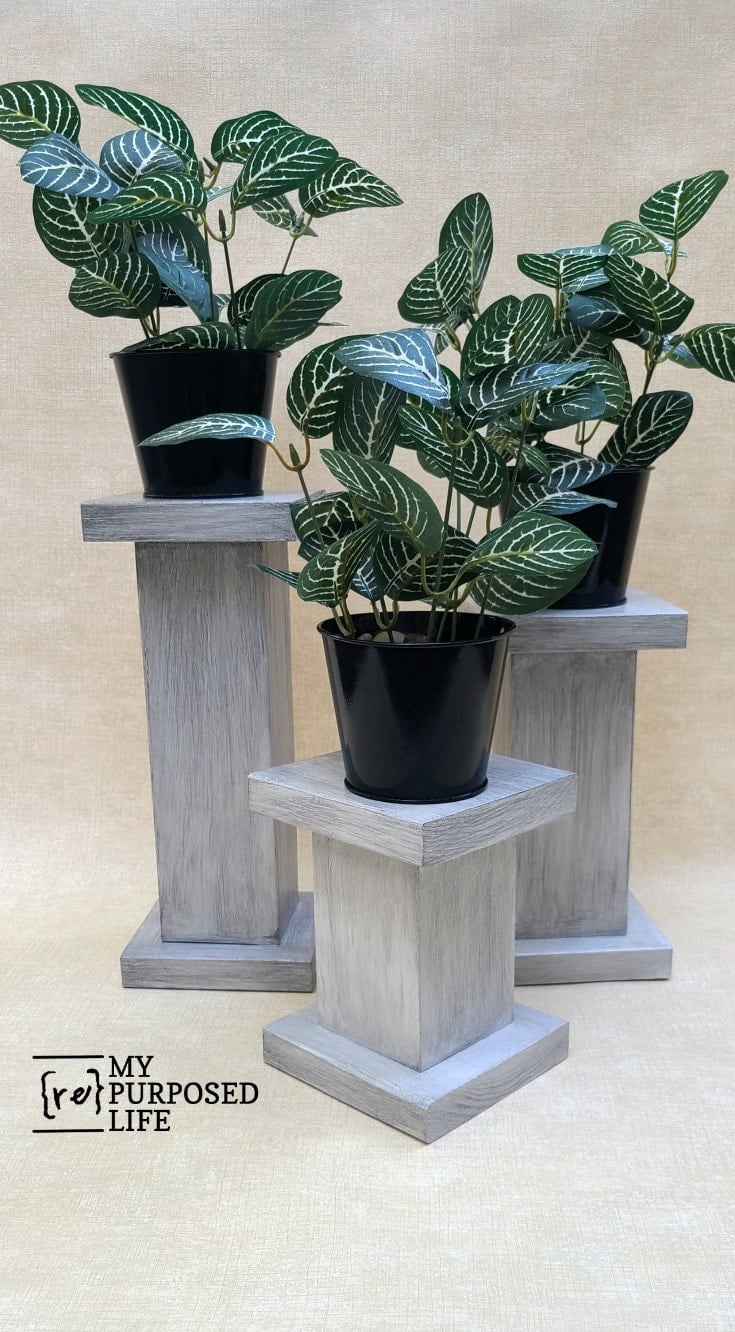
DIY Pedestal Stands

So, there you have it! Lots of ways to make chunky pedestals to hold plants, candles and MORE! I can see these all dressed up for every holiday on your fireplace mantel or hearth!
Do tell! Which is your favorite set?
- 6×6 Rustic
- 4×4 Off white
- 4×4 Glazed
I think my favorite is #3, the glazed set. I like the thicker 1″ stock for the top and the base.
gail

set 3 for me! 4×4 Glazed! all are SO nice!
Nova,
I hadn’t used that glaze for awhile…. I was just itching to do it again. Everything is a little better with that glaze. lol
These were really quick and fun.
gail
Hi Gail, I really like this creation. Simple but elegant however you want to do it. I am tempted to make these once I get my courage up to use my power tools.
Watch lots of YouTube videos and just be careful. The miter saw is the easiest to use, just don’t ever cut small items and wear safety glasses, ear protection.
It really is so much fun and very addicting.
I am self taught, and so thankful I have these projects to keep me busy Fran!
gail