Coat Rack Shelf made from a Cabinet Door
As an Amazon Associate, I earn from qualifying purchases.
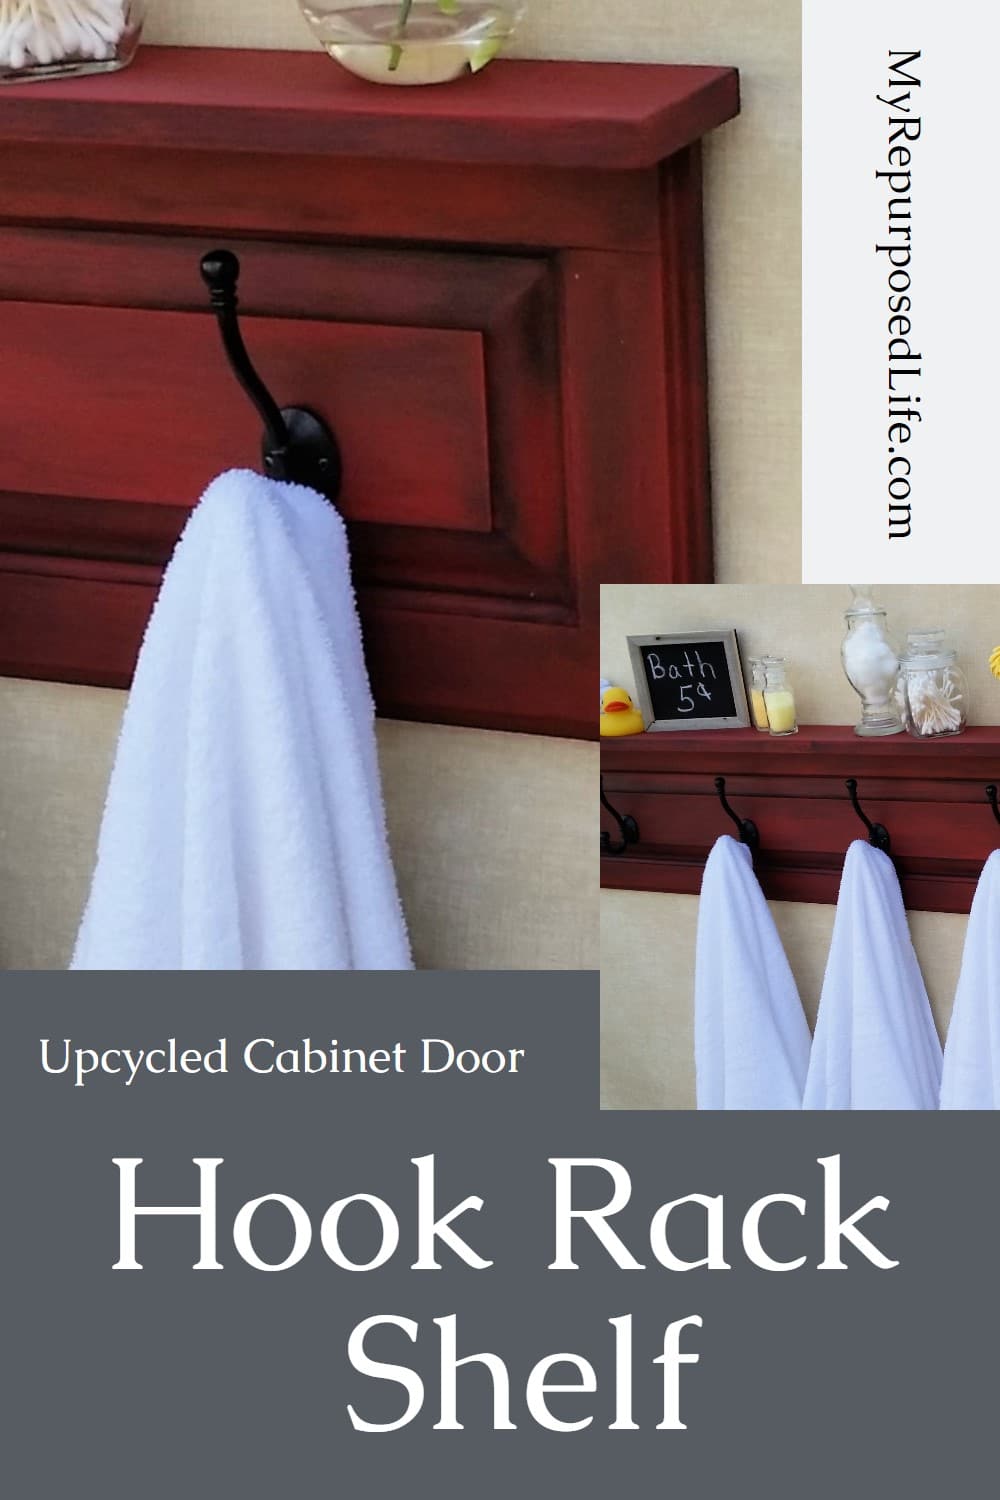
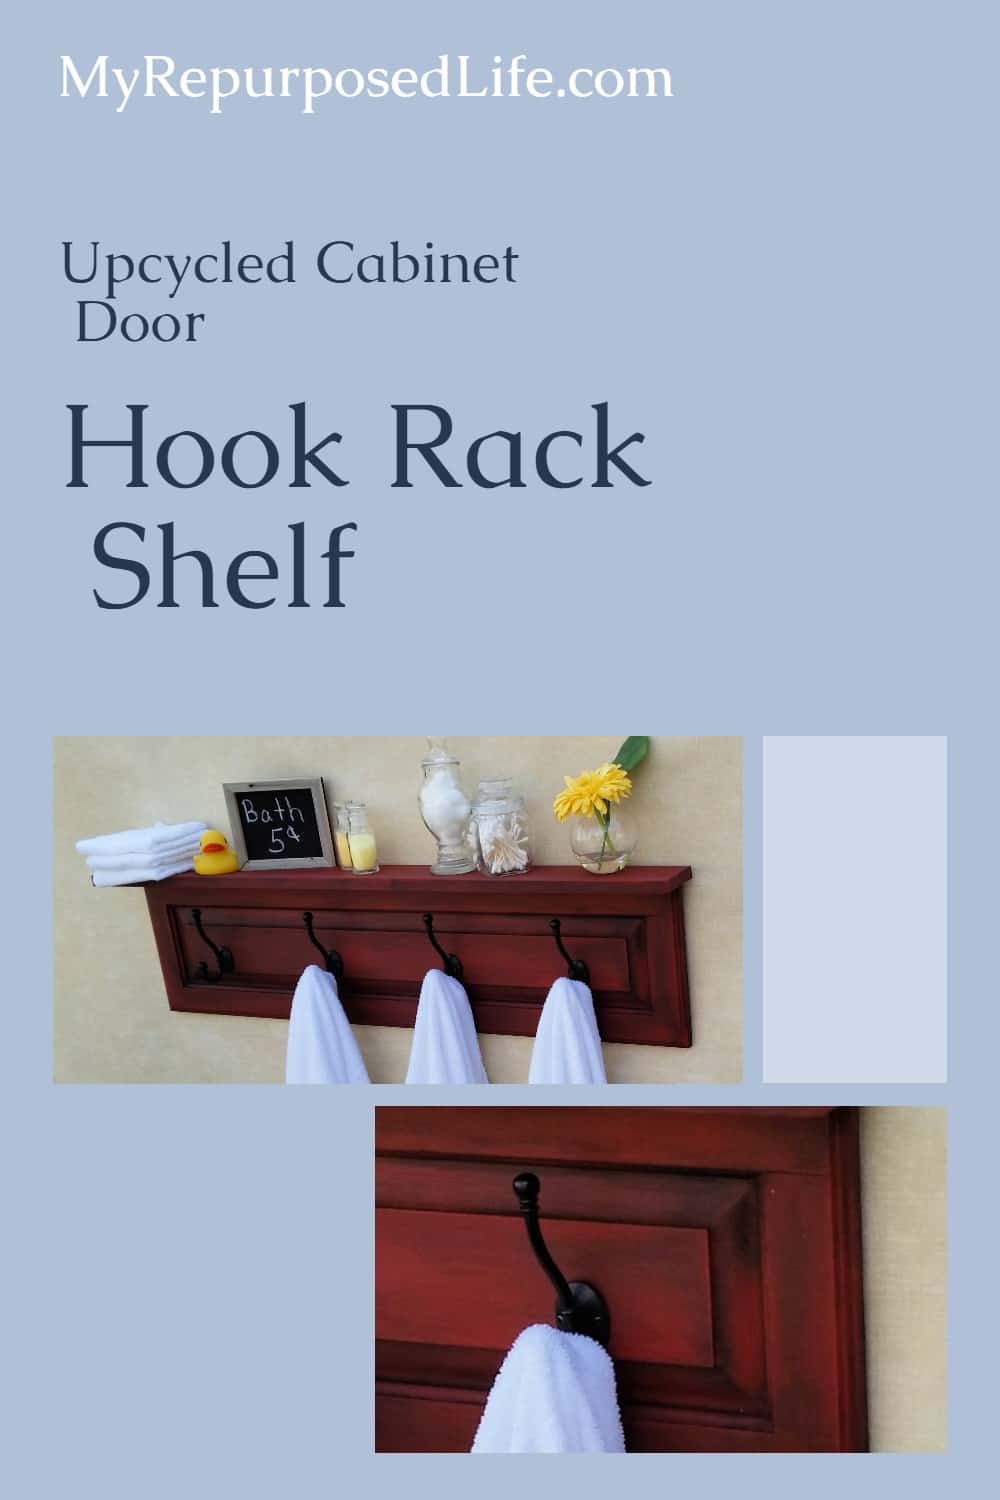
Turn a simple old cabinet door into a charming and useful coat rack shelf with this easy DIY. This repurposed project shows how a simple piece of wood can become a functional wall shelf with hooks. It is perfect for entryways, mudrooms, bathrooms, or guest rooms. Below you’ll find step-by-step tips to make this look great, even if you don’t have a full set of tools.
This easy coat rack shelf made from a cabinet door project makes me smile. It was fairly easy the way I made it, but I have tips for making it easier if you don’t have the tools I have.
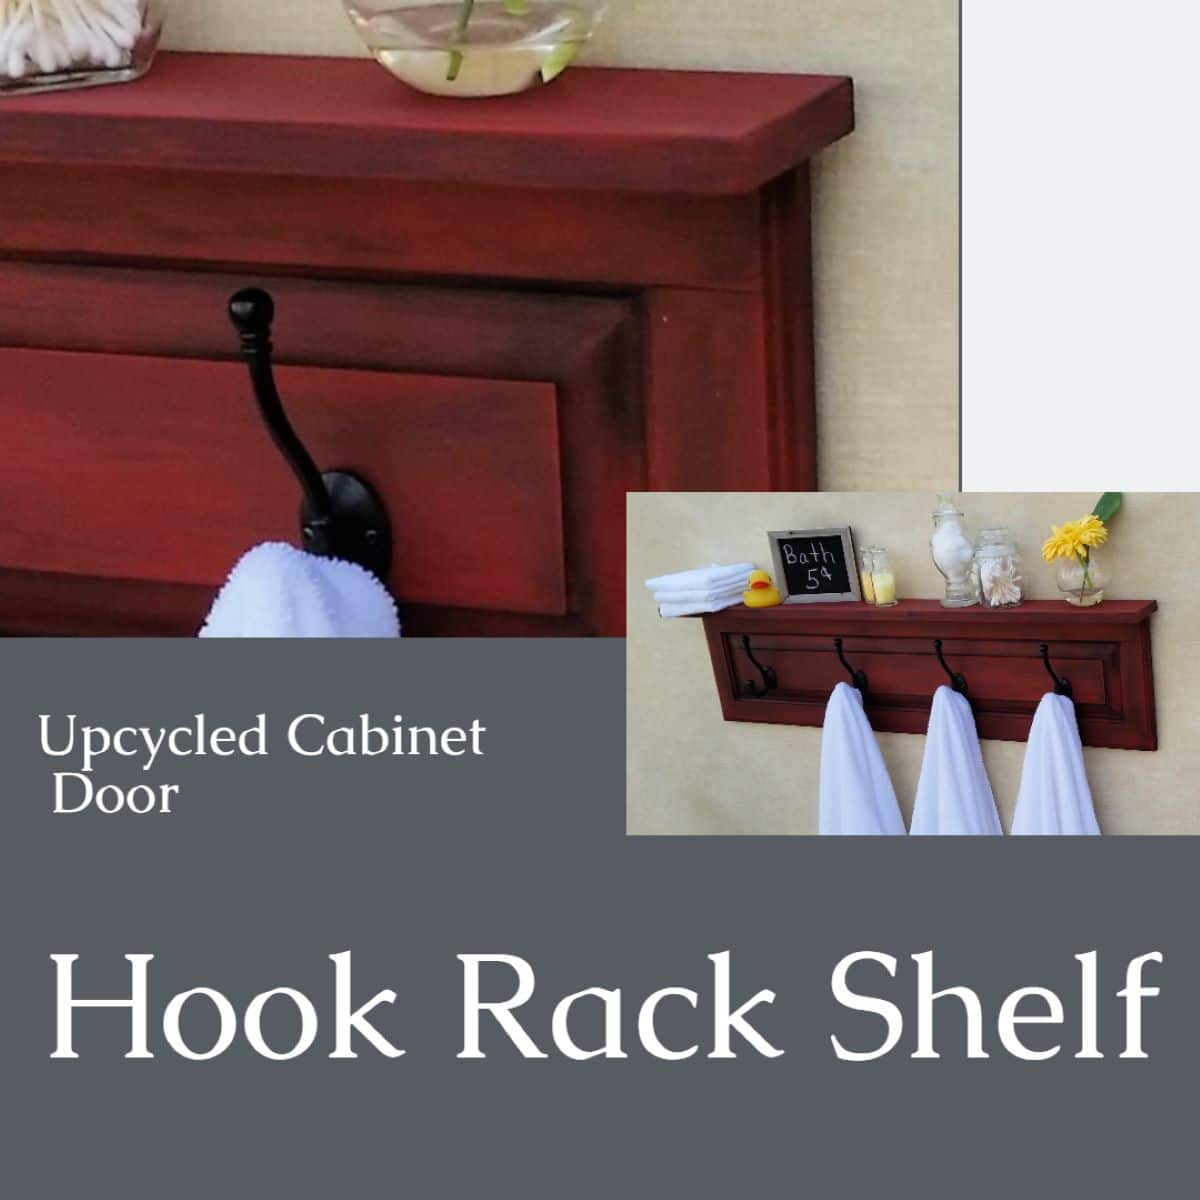
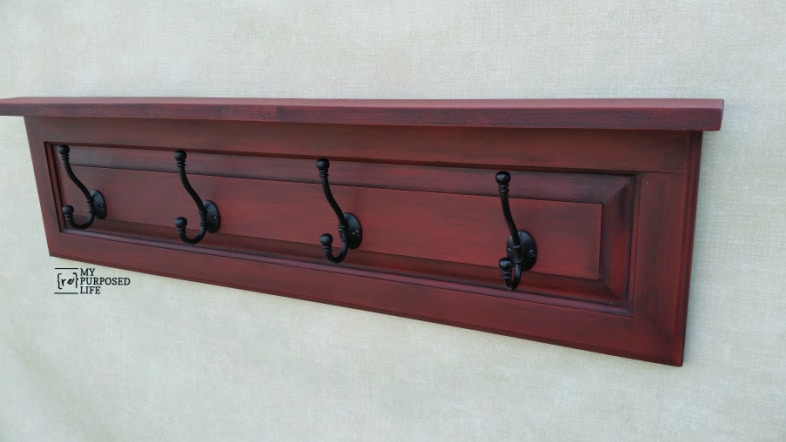
You can see that the simple construction is a long, narrow cabinet door with one shelf attached to the top. I really like the dual use of a coat rack that not only has hooks but also a small shelf.
Reclaimed Cabinet Doors for Projects
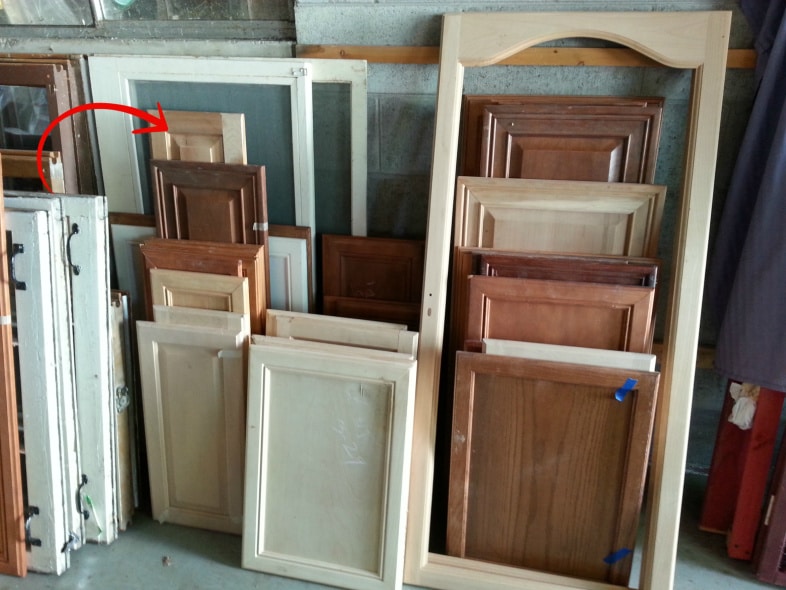
Check out this nice stash of cabinet doors. I like to pick them up whenever I can find a good deal. There are so many projects that can be made from reclaimed cabinet doors. Don’t forget to ask your friends and family for their old cabinet doors. You know if they decide they like open shelving in their kitchen and remove their cabinets.
I chose that tall cabinet door hiding in the back of this stash. It really was perfect for this project!
Attaching a Shelf with Pocket Holes
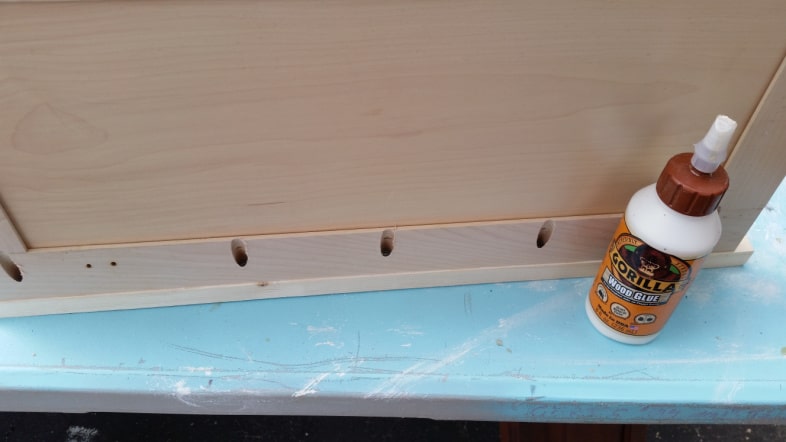
Many times when I make cabinet door coat racks I use my Kreg Jig and pocket hole screws to attach the board to the cabinet door. But for this project, I didn’t think I’d add a shelf board.
No worries if you don’t have a Kreg Jig. I’ll explain below how easy it was to attach this shelf.
Time to Paint
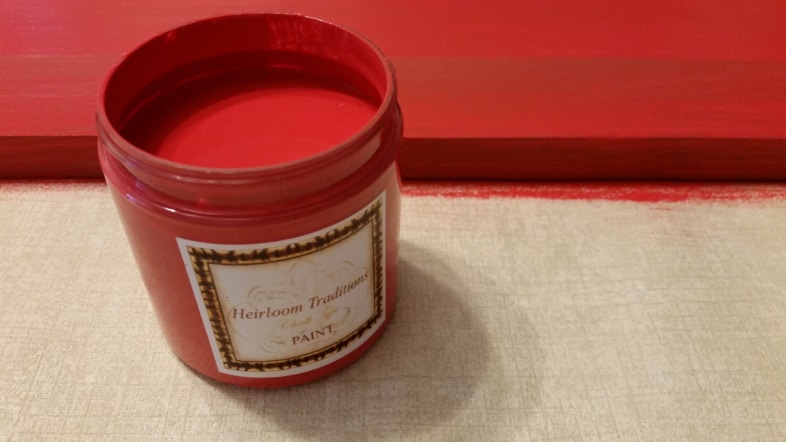
I brought in the tall cabinet door and painted it with Heirloom Traditions Chalk Type paint. The paint went on quickly and smoothly with a chip brush. This is Daredevil.
I knew I was going to be making this cabinet door into a coat rack, but as I was painting it, I noticed it was flat (not routed) on this side. That made me think it would be perfect as a small shelf.
Let’s Add a Shelf to the Coat Rack
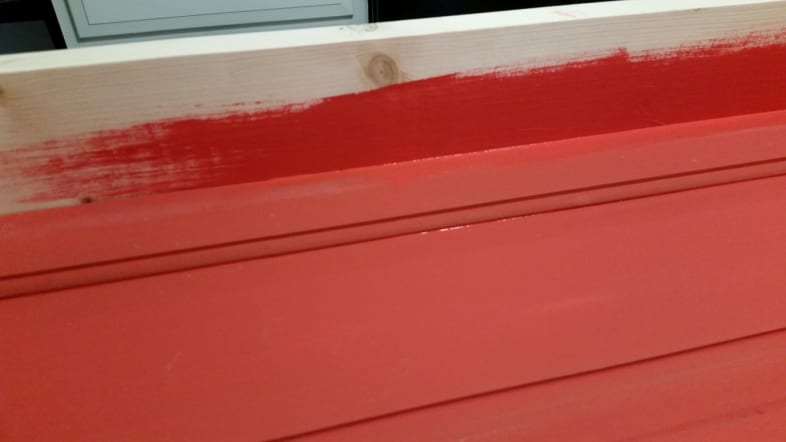
I ripped a 1×6 down to about 4” and attached it with my nail gun. It needed a couple of coats of Daredevil to match the cabinet door.
If you don’t have a nail gun, you could use small wood screws through the shelf into the cabinet door. NOTE: Cabinet doors can be made from hardwoods; pre-drilling your holes may be helpful.
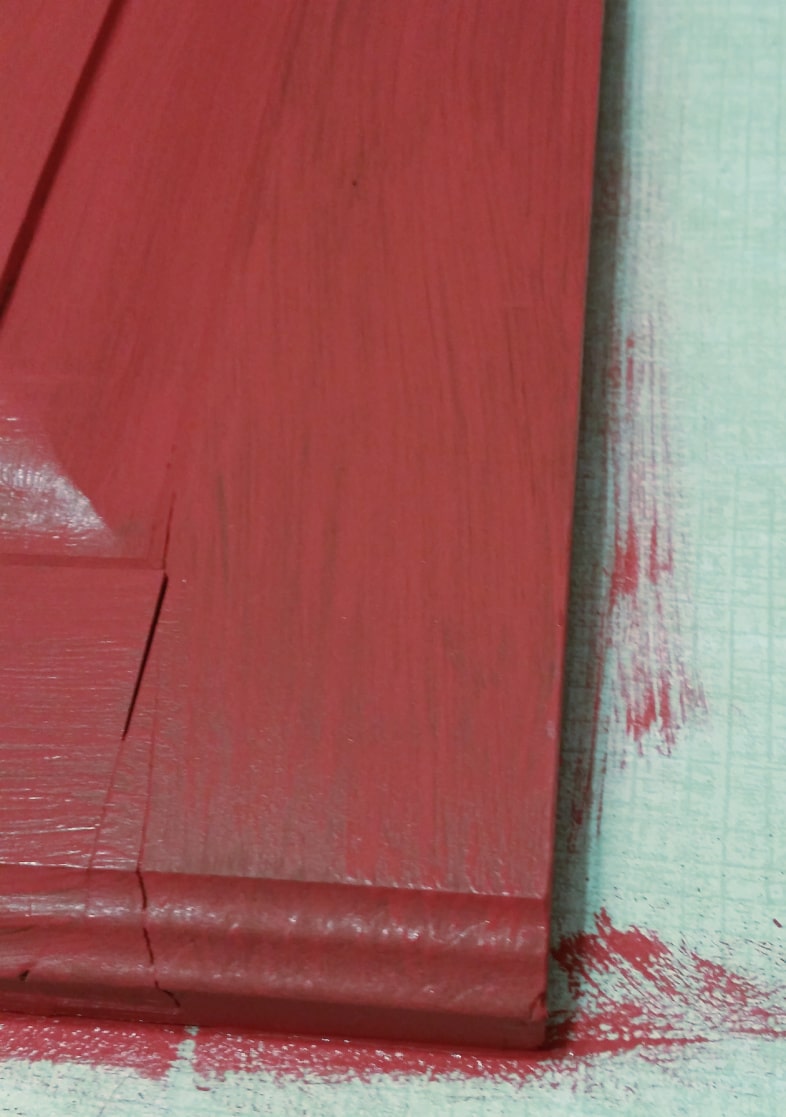
Wax, Glaze, or Wash to Tone Down Red Paint
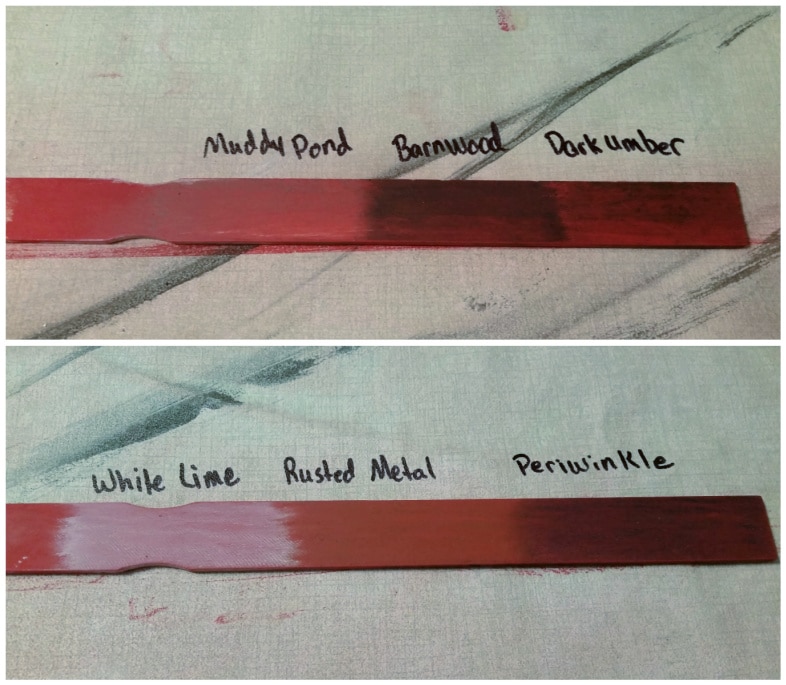
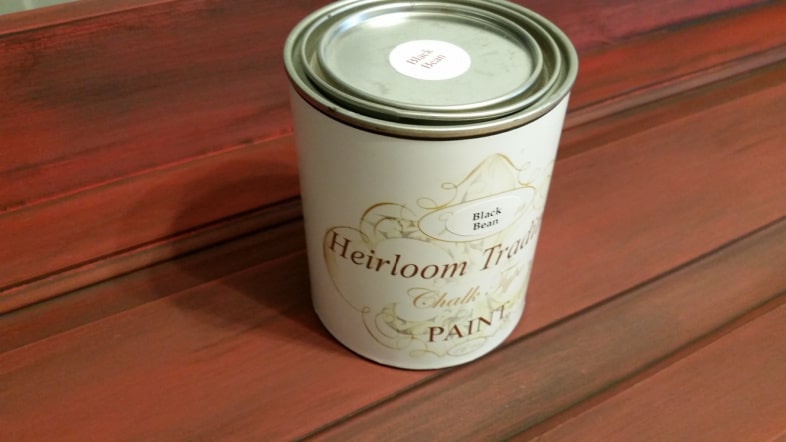
I had several options of wax to choose from. To see which wax I wanted to use, I painted a stir stick with the Daredevil, then put a little of each wax over it. In the end, I decided to use a dry-brush technique with some Black Bean paint. This is before I started using my favorite Smoked Glaze. It would have looked awesome on this red.
I love dark glazed red, and my favorite way to tone down a red is with a dark wash or glaze.
Clear Wax Seals the Coat Rack Shelf
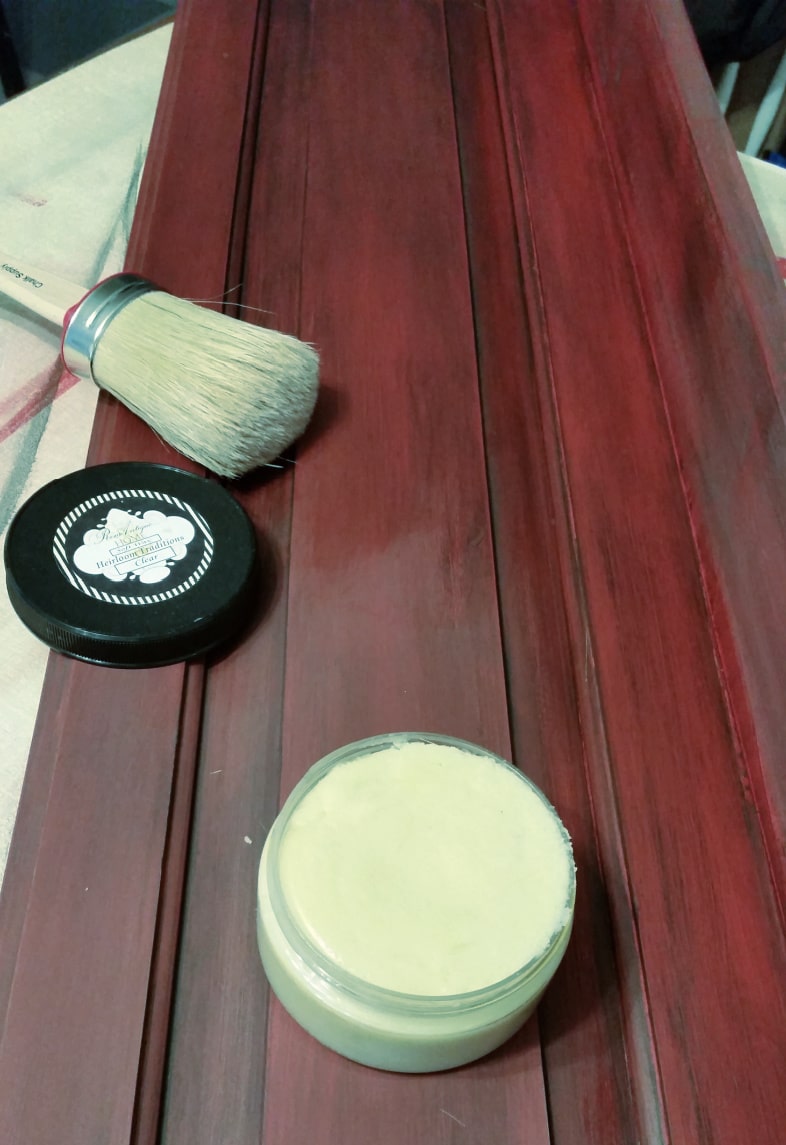
It looked good, but after I started applying the Heirloom Traditions Clear Wax, it magically transformed into the prettiest dark red. When using the Smoked Glaze, it acts as a sealer with no waxing needed. 🙂
Add Finishing Touches

I added d rings on 16” centers, and attached felt pads over the screw heads (from the coat hooks) to protect the wall.
Coat Rack Shelf
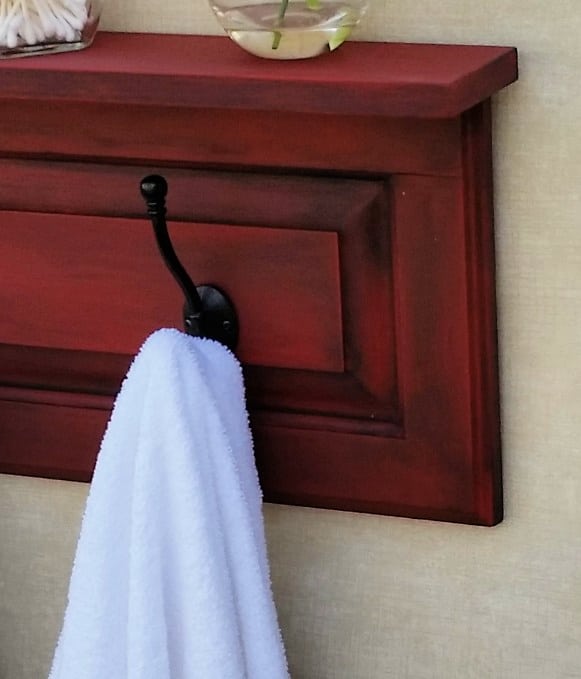
I love, love, love this color on my new coat rack shelf! I added the coat hooks from D. Lawless Hardware. Would you believe I finally figured out how to secure these hooks?
TIP: Insert screws at a slight angle so the head of the screws sits properly and the screws protrude less in the back.
I am so happy that I added the little shelf.

Another very functional shelf. I love quick and easy projects like this. It would be great for the bathroom, mudroom, or guest room. Where would you use it?
This coat rack shelf proves that even the smallest pieces of wood can become functional decor. With just a few materials and a bit of paint, you get a piece that adds both style and storage. Try this technique on cabinet doors in your stash to make more practical pieces for your home. Cabinet doors are readily available at your local Habitat for Humanity Re-Store.
gail
See other coat rack ideas here.

Gail,
Your work is awesome! You have the touch of a very professional furniture maker. I love your projects and your willingness to teach us about upprposing wood, metal – anything! I love this coat rack.
Thanks for sharing your expertise!
Barbara,
I so appreciate your sweet comment. I feel so blessed to do what I love doing.
gail