Creepy Halloween Candelabra
As an Amazon Associate, I earn from qualifying purchases.
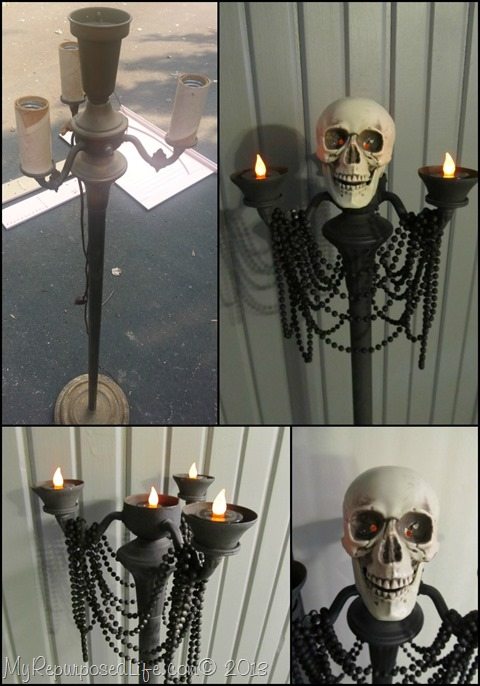
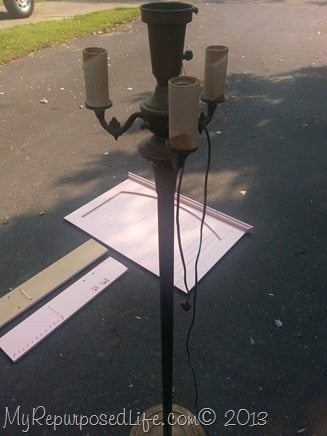 I recently picked up this antique floor lamp at a thrift store for $5. Actually it’s charity thrift store, in which the man quoted a price of $3. But I knew it was worth 5, so that’s what I gave him for it.
I spent a little time gutting it, and cleaning it up.
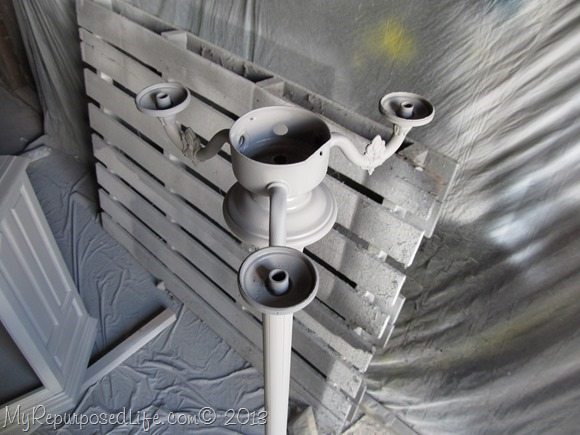 I painted it as part of a marathon spraying party I had with my Finish Max. I spent an afternoon giving everything a coat of gray primer using DIY chalk paint.
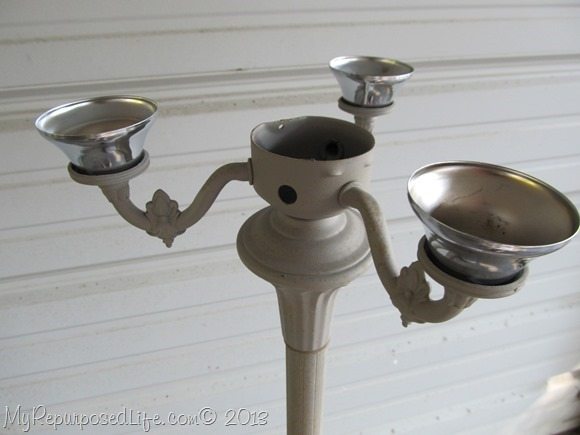 I wanted this lamp to hold candles. The original parts weren’t cooperating with me, so I visited my good friends at Keith’s True Value Hardware to find a solution. Bill helped me find some escutcheons in the plumbing department. There are some little brass threads that originally held the candle lamp parts in place. Bill used a really handy “threading” tool to enable these escutcheons to screw right onto the original threads. Easy peasy, & nice and snug. Thanks Bill!
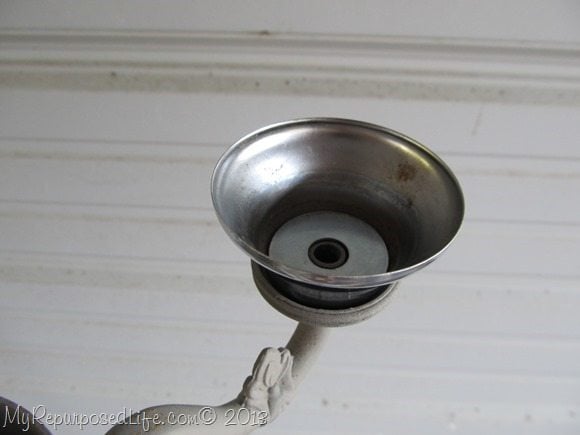 This picture shows the original threads and some washers that Bill helped me pick out.
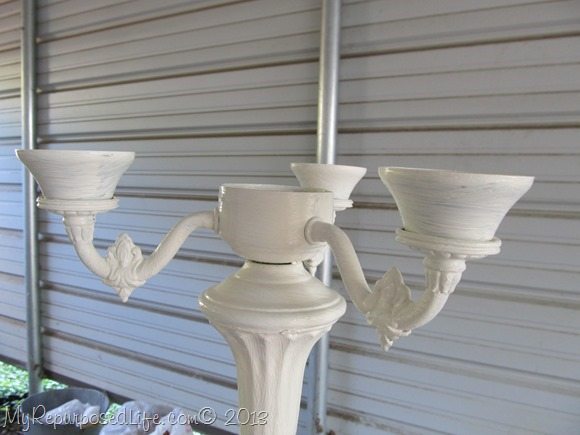 I gave everything a quick coat of ASCP Old White.
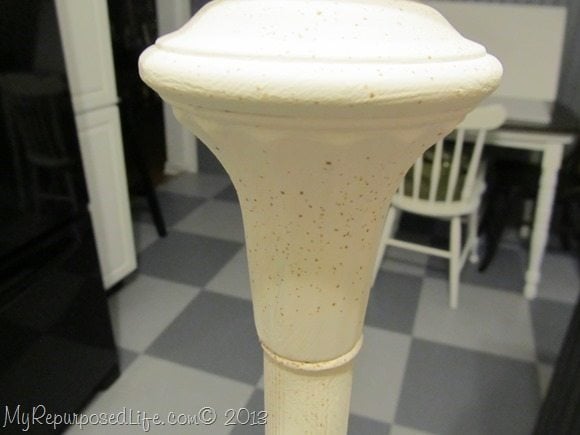 uh oh! The original rust of the lamp is showing through the Old White. What to do?
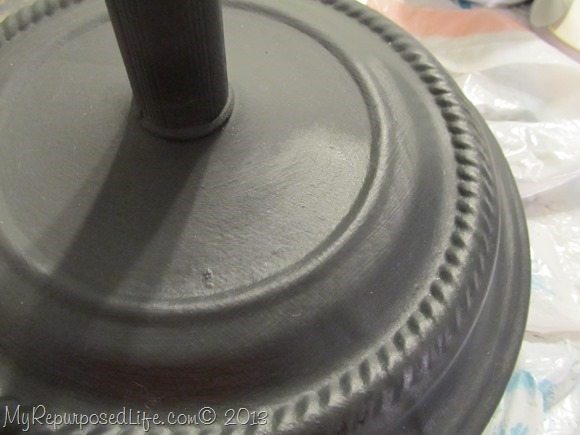 Change the color to ASCP Graphite! You can see that I’ve already started waxing when I remembered to take a picture.
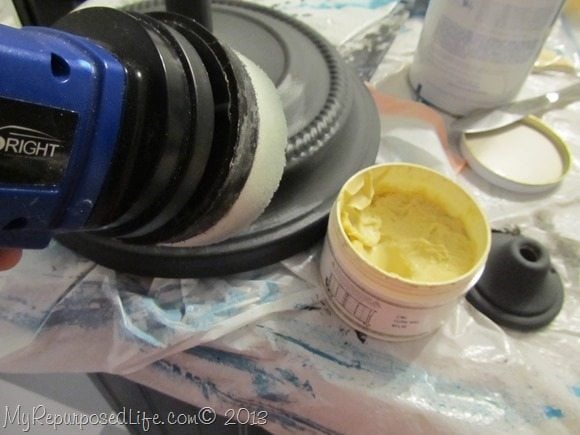 I used a butter knife to spread just a smidgeon of Miss Mustard Seed wax onto my application pad of the AutoRight Buffer
.
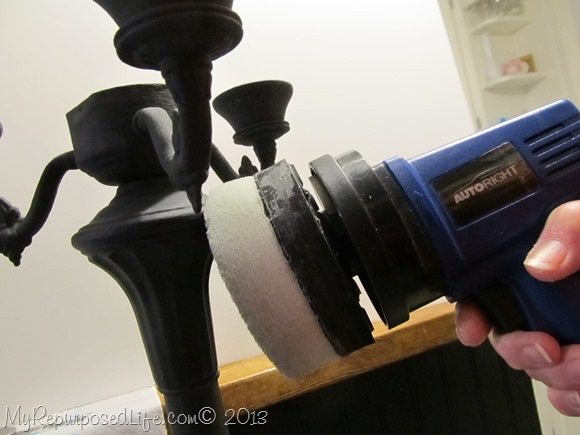 The foam application pad got into the nooks and crannies easily. After the wax dried, I used a clean pad to buff it.
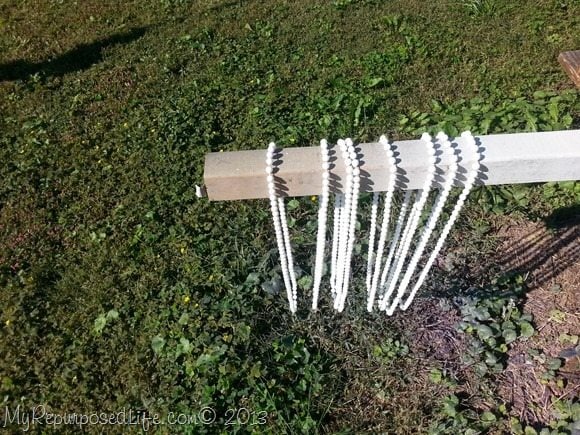 I almost did a happy dance in the store the day I found these beads. I got them at a Deal$ store. EIGHT of them for the great price of $1. I have to tell ya I bought more than one set. I painted them with some Krylon Black Spray paint by using this 2×2 to hold them.
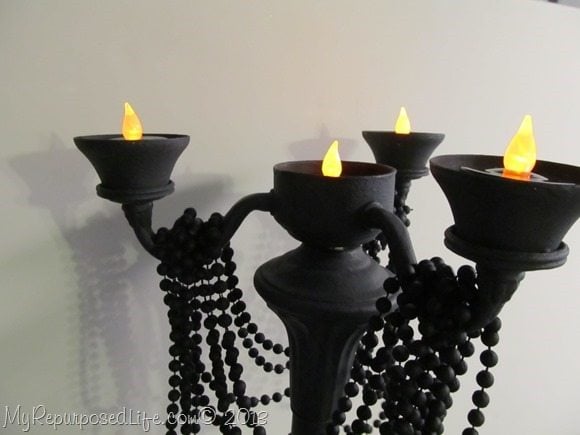 On a recent trip to Wal-mart to get some more Krylon, I found some inexpensive LED candles to use instead of real ones.
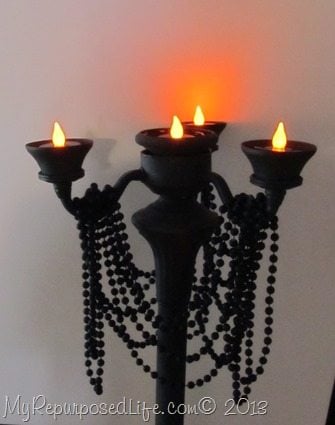 I used all 8 strands of beads.
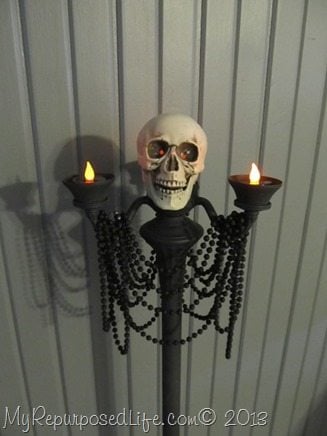
ohhhhh scary skull! This guy was part of the Krylon Mystery Box.
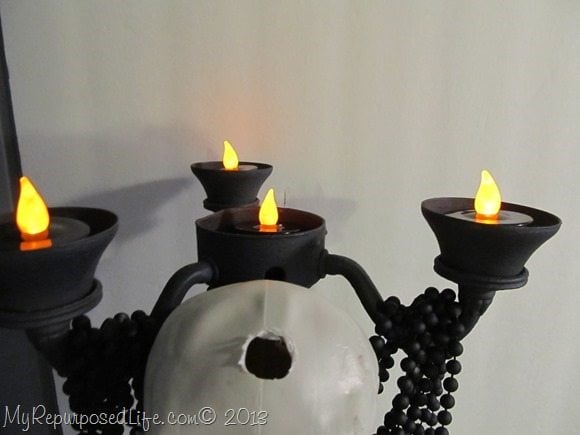 I used my drill to put a hole in the bottom of the skull and both eyes.
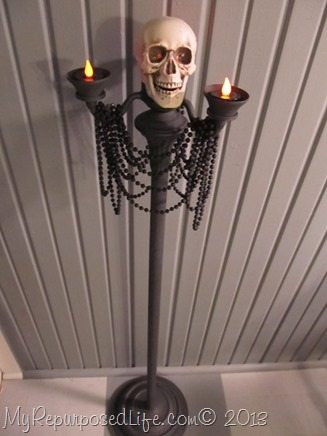 The skull fits right over the candle in the middle portion of the lamp, allowing the “flame” to show through the EYES!
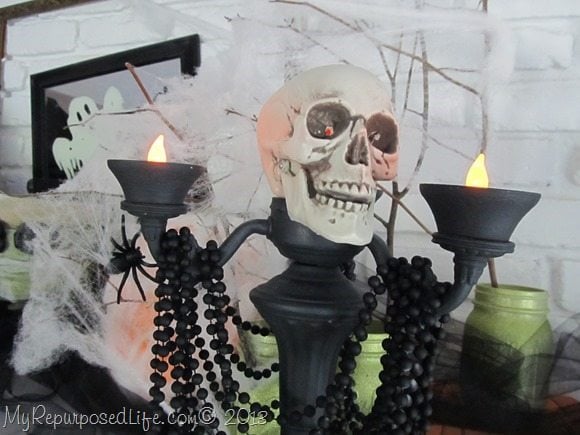 I love how the candelabra turned out—it’s great for Halloween, but could be used on a patio anytime.
If you missed the other projects, you can check them out in my post Halloween Mantel.
gail


Loved this great halloween idea thank you
thanks!
It’s an oldie but a goodie!
gail
What a great idea! I have one in the garage that we used at my home all my life – I think this would be a good way to make use of it again!
Thank you! I entered!!
That is pretty cool!
I love those little led lights/ candles.
Great use of materials for this repurpose too!
Spook the Trickers and the Treaters… Patricia
Genius idea Gail! Who knew? I love transformations like this. You really know how to think outside the box!
Have a grand weekend Gail!
Blessings, Edie Marie
Looks great!! How is the car buffer working out?
How cool is that,what a great imagination you have. I love it!!
I love how you did this! and big thanks to Bill for helping you out at the hardware store! Thanks for sharing.
Creepy chandelier how I love thee.
Love the way it turned out. Good job!
Seriously, coolest thing…ever! I love decorating for Halloween and I would LOVE to have TWO of these…one for each side of my fireplace. Great job, my friend!
Great job on this spooky candelabra! I love it! Erin
this is such a great idea, gail! i love how creepy and gothic it looks!
Thanks for the tutorial! I have two of those lamps. I have had them over a year and couldn’t think of anything to do with them. I will be doing this to both of them. I love yours
How fun and scary! Now you need to throw a Halloween party!