FREE dresser makeover
As an Amazon Associate, I earn from qualifying purchases.
How to makeover a free dresser – found on the side of the road.
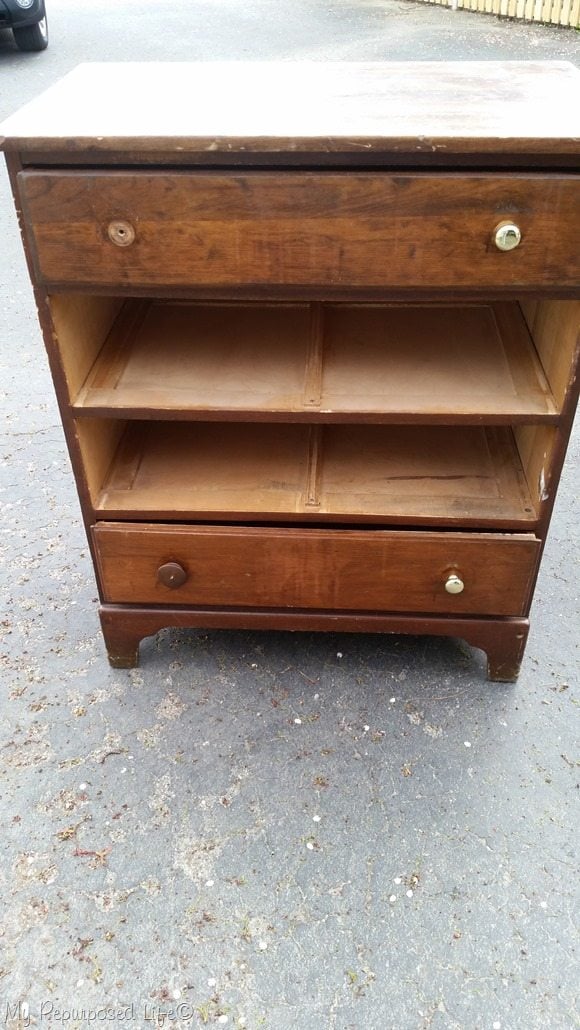 I love junky furniture! Rodney actually picked this old dresser (chest of drawers) from the side of the road and brought it to me to see if I wanted it. Of course I said yes! Want to know something funny? Apparently this piece use to be even taller, but someone has already taken a SAW to it, and cut it down to size. How dare they! hahahah
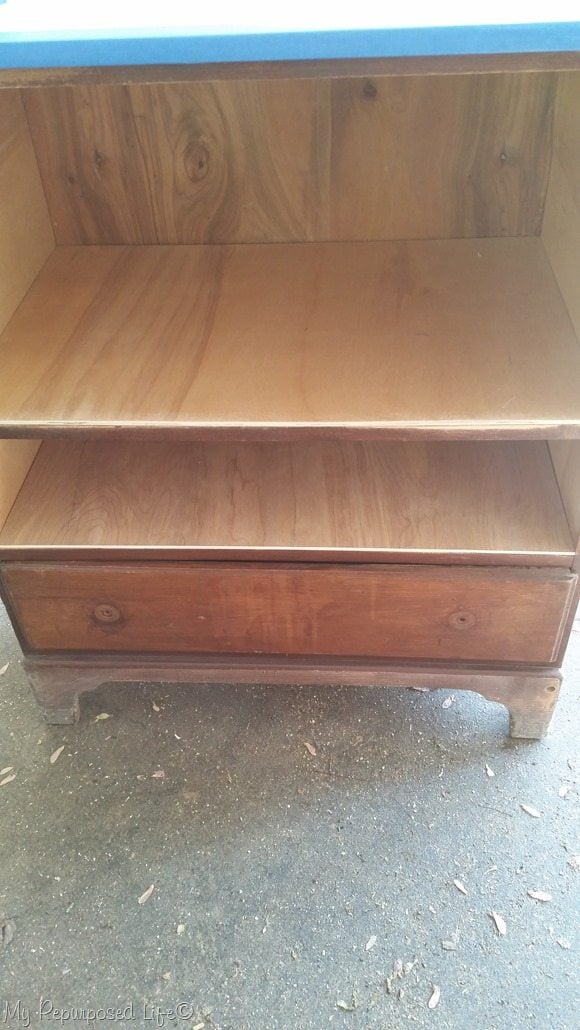 I re-worked it a little by removing one of the drawer sections, and adding some thin plywood to cover up the roughness where the section had been (on the sides). In addition, I added some thin plywood to the bottom section of where the drawer should go, so that it can now be a shelf.
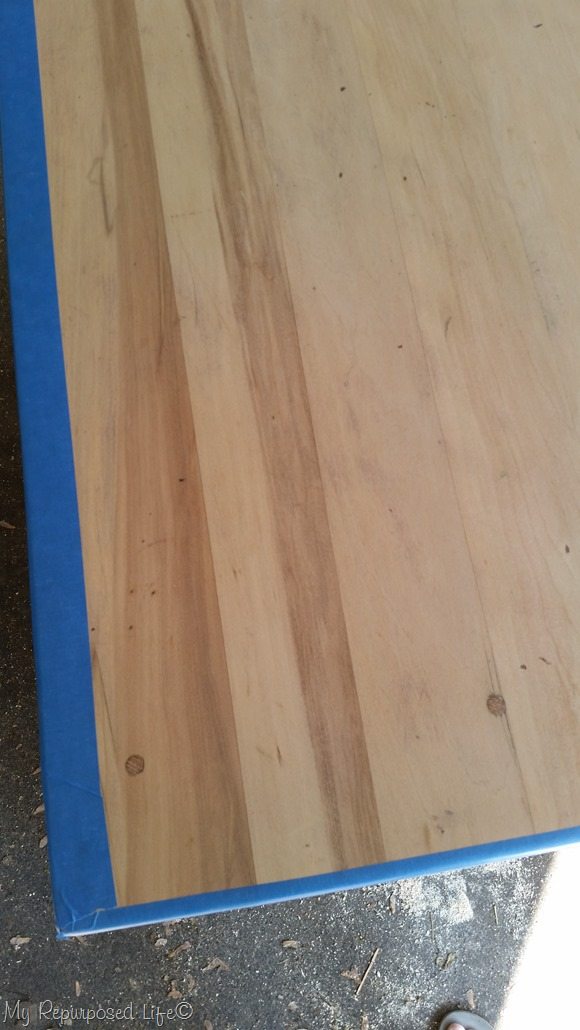 I sanded the top of the dresser, and taped it off. (not shown) I also used some white paper to protect the top while I was painting the bottom of the dresser.
*this post contains affiliate links*
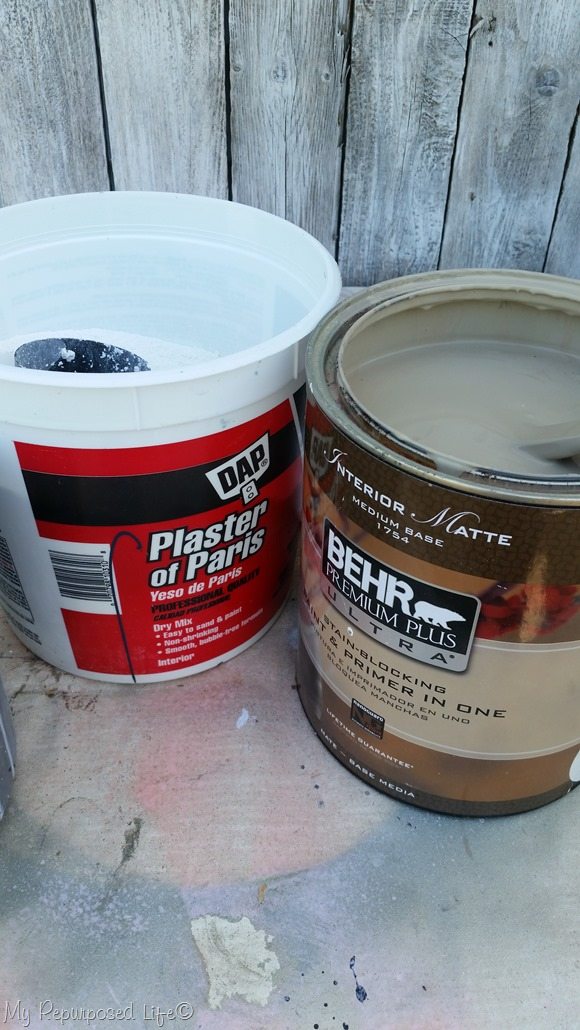 I didn’t know what color I would be painting the dresser, so I mixed up some diy chalky paint primer with some Plaster of Paris and some beige oops paint for a base (primer) coat.
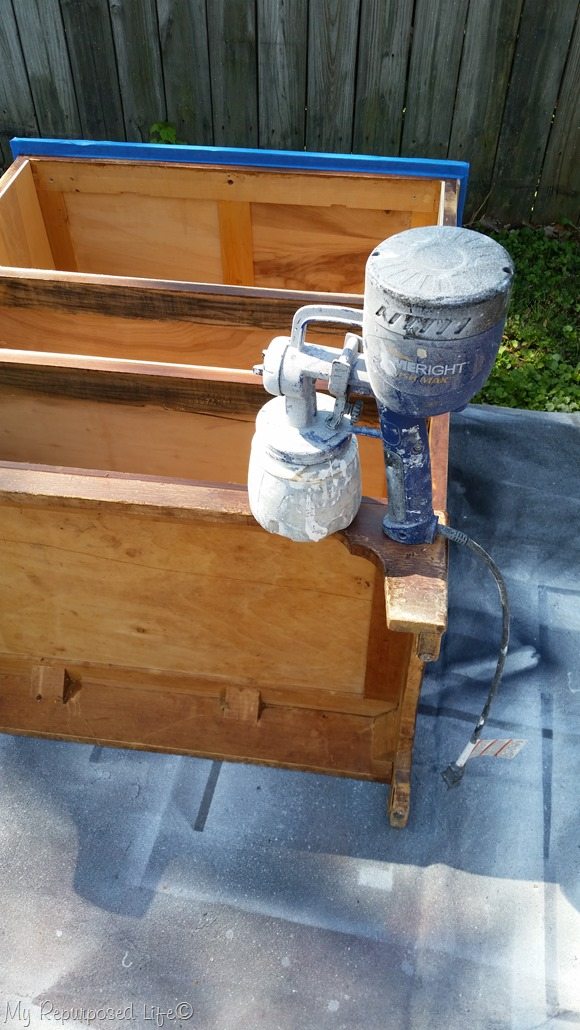 I lightly sanded some of the rougher places, and used my Homeright Finish Max to get the primer coat on the dresser.
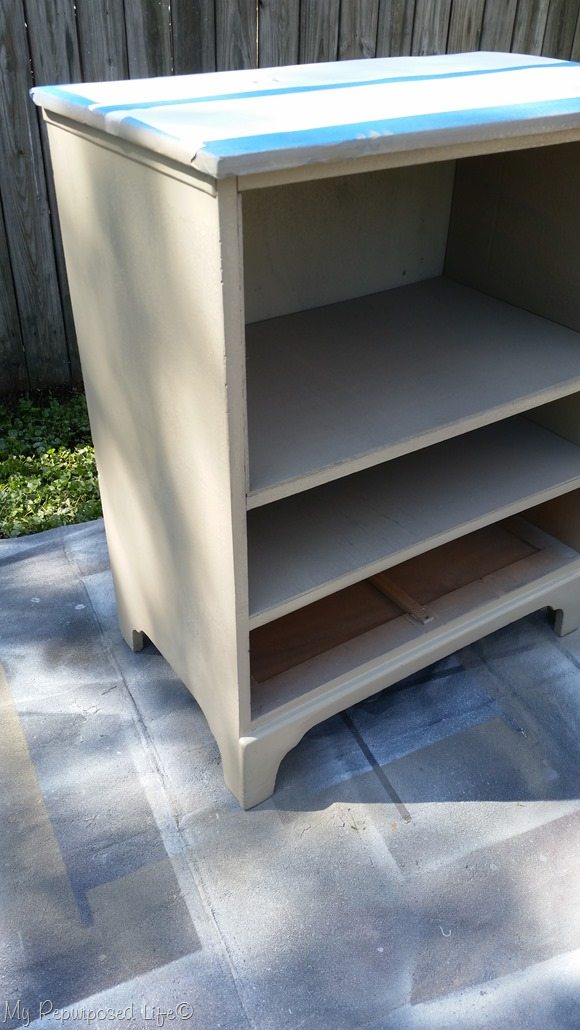 This is after the first coat of primer, and you can see how I protected the top from the paint. It’s in rough shape and I’m really not loving the way the plywood edges are visible. Hindsight being 20/20 I now realized I could have used some veneer edge banding to disguise the edge.
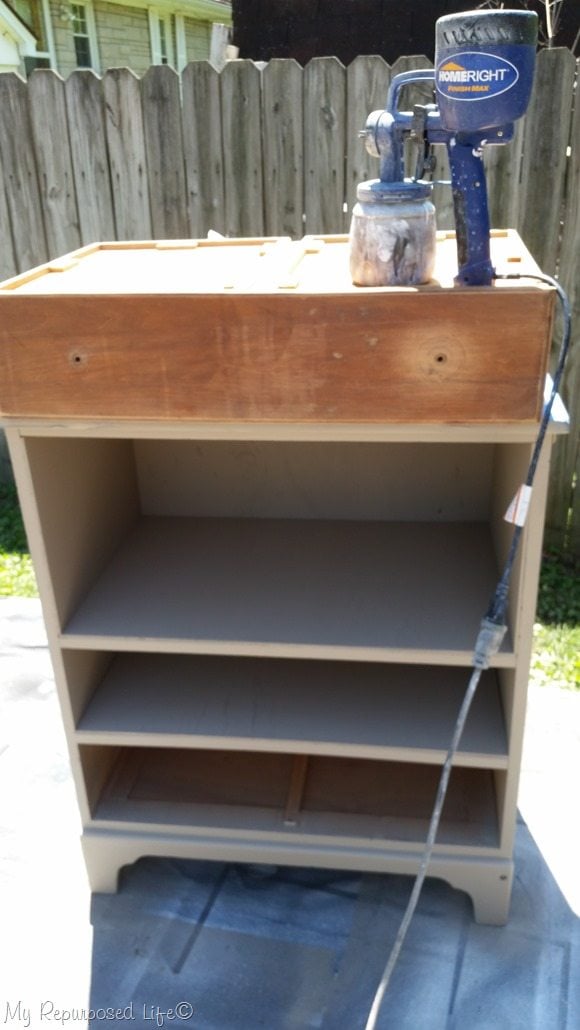 This is how I paint a drawer front. By placing it upside down on the top of the dresser, it eliminates paint overspray getting into the drawer. Because the Finish Max has very little overspray PERIOD, there is very little paint that gets on the side of the drawer.
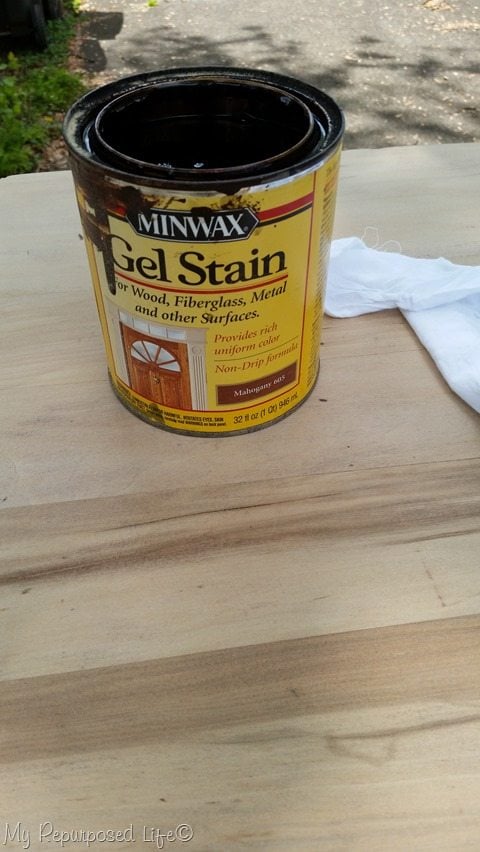 I used Minwax Gel Stain in Mahogany for the top of the dresser. I applied it with a clean white cloth while wearing gloves.
After another coat of the beige, it sort of grew on me and I decided to leave it that color.
Then a LOT of time passed, and I moved it around on a furniture dolly all around the garage—for at least a month or longer, before I got back to finishing it. I’m notorious for delaying the finishing touches stage. Something about hardware… and well…. I wasn’t really loving the piece all that much.
In fact, as I prepare this blog post, I still haven’t put the hardware on the drawer—hoping that having this all written will motivate me to finally finish this dresser. Fingers crossed!
IT WORKED!
I actually worked on this dresser the very next day, and even took it to the booth!
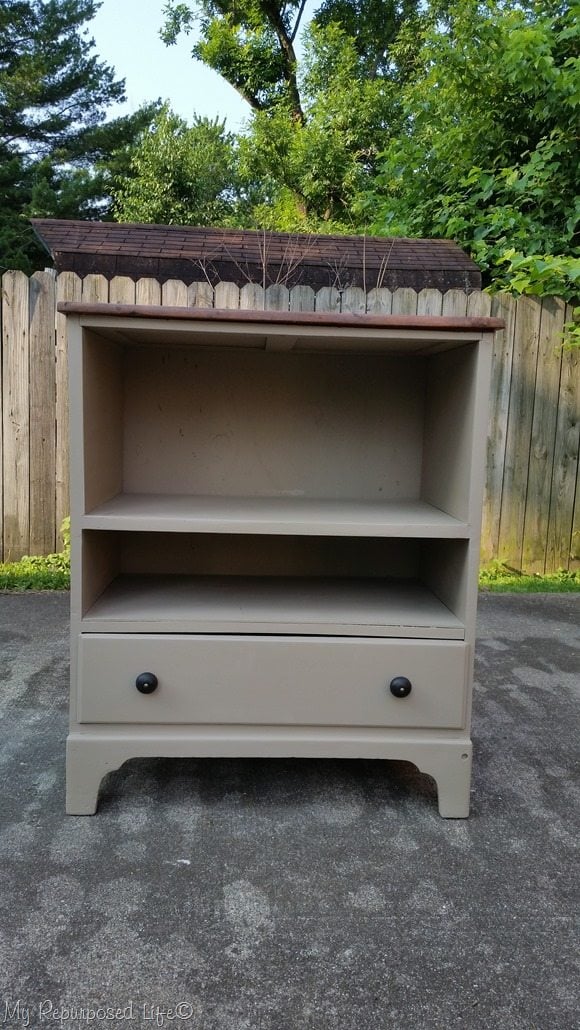 I added some knobs from Hobby Lobby.
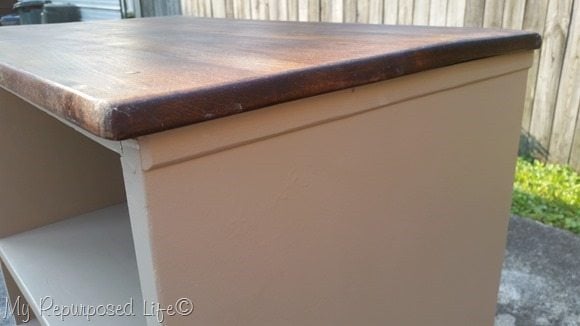 I added some little trim pieces to cover up the poor way in which this dresser was originally sawed.
I marked it “less than perfect dresser” on the price tag. Hopefully it will find a new home—anything is better than the landfill, right?
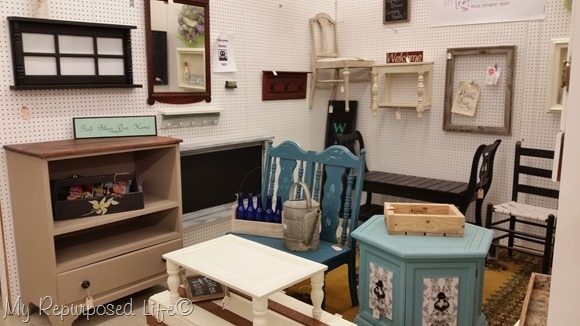 I immediately loaded it into the car, and in just a few hours, it was at the booth! Luckily I sold a window project earlier in the day and was able to put it right in that spot, where it lasted about 1 day before it sold. 🙂
Now it’s finally out of my way, time to find a new project to do!
gail


I’m a total newbie but I’d like to repurpose one of my chest of drawers like this. I have a few questions. First, I don’t have an electric saw, would using a handheld one be ok for this? Also, how did you attach the plywood? Thanks!! I love your projects. So inspiring.
Thanks Rachel!
I’m so happy that you’re ready to do some DIY! I wouldn’t recommend cutting plywood with a handsaw. It would splinter terribly. My first purchase when I started was a Jigsaw. If you can only buy one, that’s the one I would suggest buying. You may be able to get your local Home Depot to cut the shelves for you. You may be able to use the bottom of the drawers if they are wooden. Then you could add a little trim on the sides where it doesn’t quite meet the inside of the dresser.
As for attaching the plywood, you could use wood glue and some small finish nails. I’m sure I used my brad nail gun.
I sure hope this helps some.
I’m always around if you have more questions.
gail
How did you get the shelves in to look so good? Looks like it was made that way originally.
Thanks
alexis
Alexis
I just used thin plywood to rest on top of the original wood front. If you look closely you can see it after it has primer on it, but painting a few coats made it look better.
gail
Another great rescue, Gail. And you’ve got to be thrilled that it sold so quickly. Thanks for sharing!
I love the way it turned out!
Ha ha! That is funny it had been previously sawed! Maybe they were inspired by you! Glad it sold so quickly, it turned out cute!