Decorative Flour Sack Towels
As an Amazon Associate, I earn from qualifying purchases.
Have you ever decorated flour sack towels? You know you love ‘em! I see them when I’m vacationing, shopping at gift shops. Of course, I’ve always loved how they look, but never bought any. Recently, while shopping at Walmart, a package of flour sack towels caught my eye, and I couldn’t resist.
Flour Sack Towels
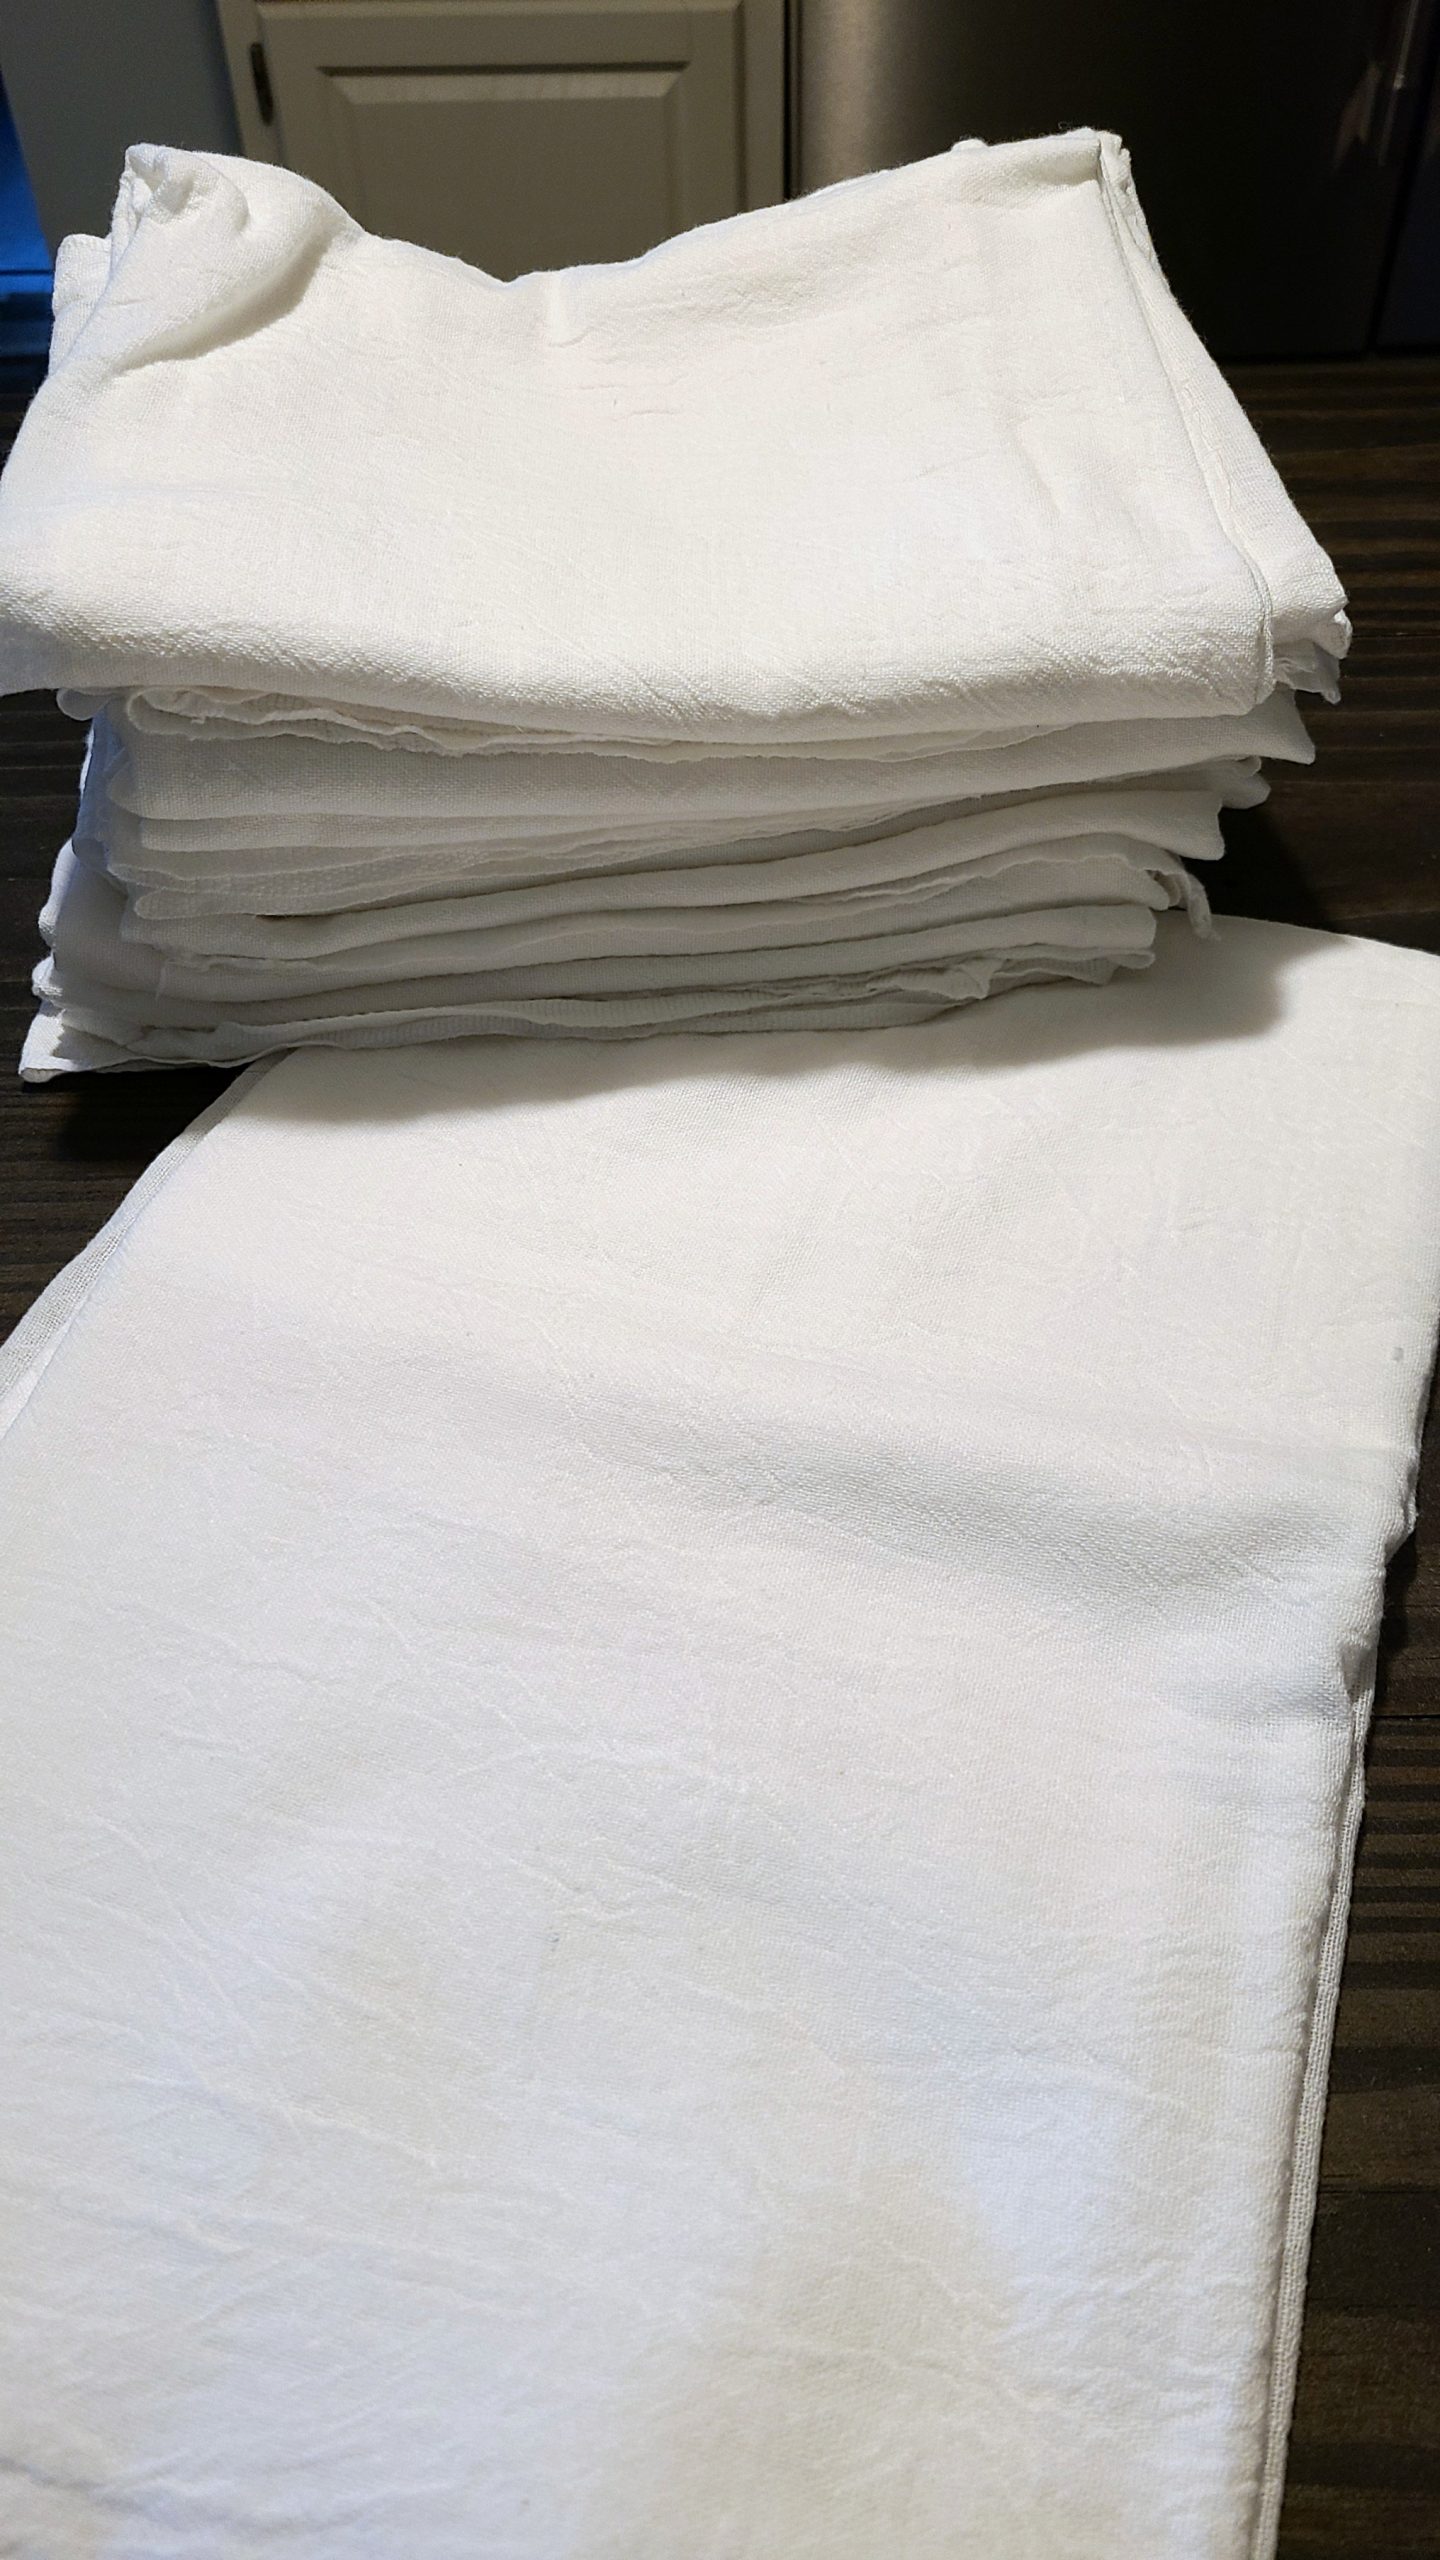
The first thing I did was wash, dry and IRON the flour sack towels. They may be easier to iron if you take them out of the dryer while they’re still slightly damp. I ended up putting mine back in for a steam cycle. Then I folded them and put them in the guest room. That is not a necessary step, it’s just what happens when you’re too busy camping . . .
Decorate Towels

After careful consideration, I decided that my flour sack towels would show the selvage side of the towel versus the hemmed side. The hemming on the sacks didn’t seem very consistent. Can you see through the towel? I have a mat holding my flour sack in place as I prepare to “ink” it.
DIY Graphic Tank Tops

Maybe I’m addicted to inking fabric projects? I have decorated so, so many tank tops all summer long. Cheap tanks look so much nicer after you decorate them!
Apply Chalk Couture Ink

It really doesn’t get any easier than this folks!
Remove Transfer

Spread the ink, then remove the transfer!
Allow Ink to Dry

Some designs take more ink, and need a little shot of the hair dryer before removing it from the mat. Because the flour sacks are thin, a little ink is left on the mat. I simply rubbed my hand over the mat, then wiped the ink off my palm. I didn’t want that ink to get on the back of the next flour sack.
Step By Step Inking on Flour Sack Towels

This is how I actually do the inking process. I apply the ink with a small squeegee, then spread it and wipe off the excess with the larger one. Because the ink is a little thin, I work off a paper plate so I don’t drip the ink across my project.

After scraping off the extra ink, I scrape it back into the jar, and I’m ready to remove the transfer.

Overall, I did about 12 towels. Because this one is my favorite, I made two copies of it.
*this post contains affiliate links, read more here*
Heat Set Ink

After the flour sack towels were completely dried, I prepared to heat set them. Heat setting with the Easy Press makes the ink permanent. This can also be done with a household iron.

I find it easiest to do this task on my ironing board. I place an Easy Press Mat under the flour sack towel. Then, I place a piece of parchment paper over the flour sack. As seen in the picture, I set the machine at 320° for 29-30 seconds. After placing the Heat Press onto the flour sack, I simply push the Cricut button and the countdown begins.
Not Shown: After doing the front side, I flip the flour sack over and heat set the back of the towel.

All the towels were laid out on my bed as they were waiting for their turn with the heat press.
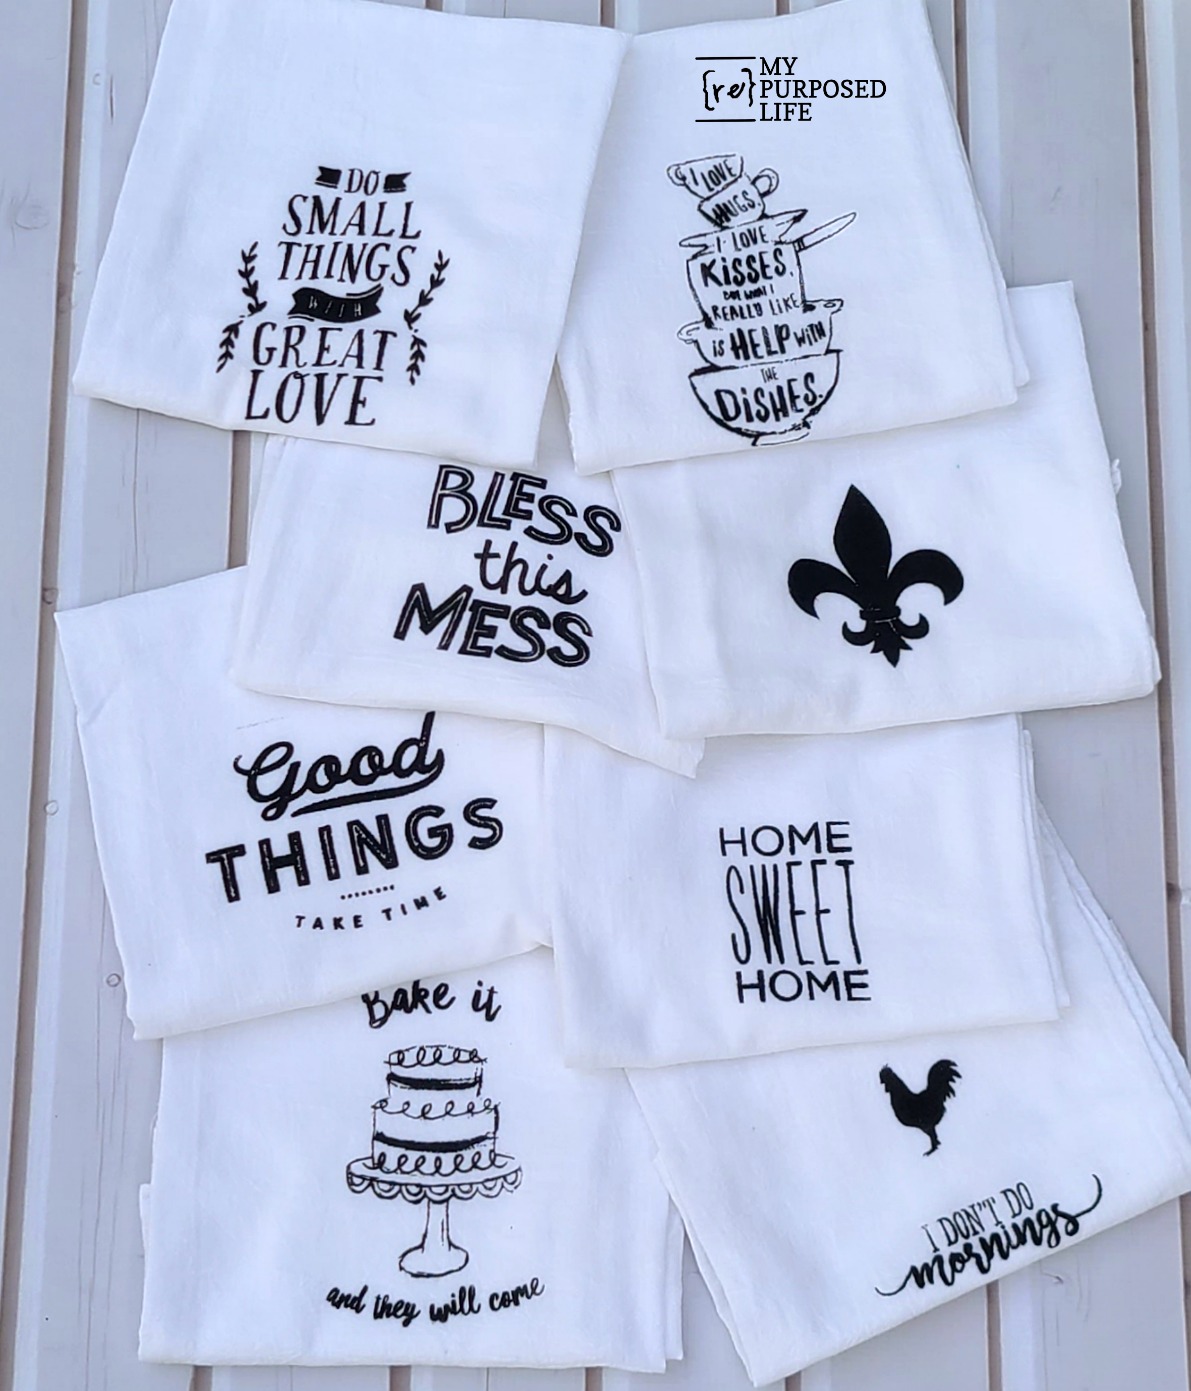
Which is your favorite?
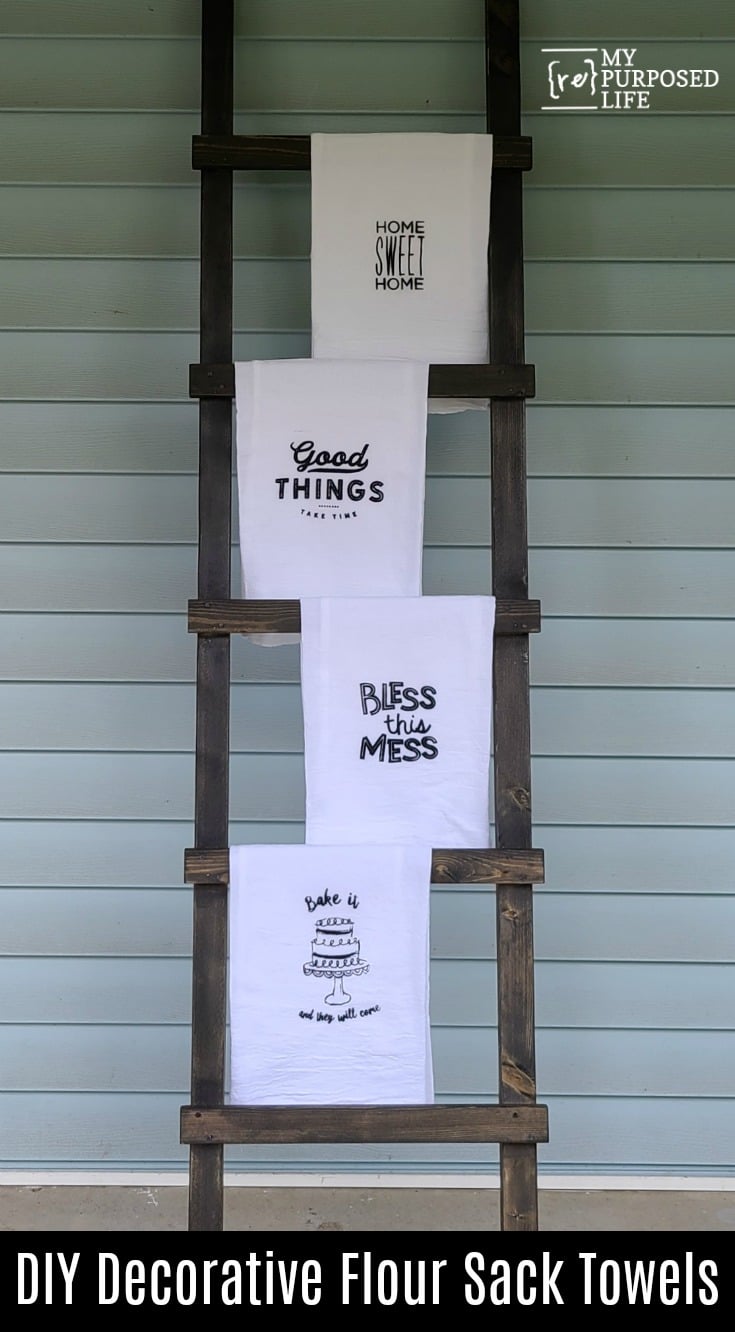
I made this awesome Farmhouse Ladder to display the flour sack towels. Check back next week for the easiest DIY directions ever! You can make this ladder!
I think you should save and share this on Pinterest–these make great gifts or craft show products!
Alternative to Inking Flour Sack Towels

Are you intimidated by my project? Maybe you don’t have any Chalk Couture Transfers? You will LOVE this adorable project—Delia Creates shows you how to hand decorate tea towels here.
Which do you like best?
gail
related content: 25 Uses For Flour Sack Towels
Very cool. Curious where do you buy everything? Thanks!
Cara,
Here locally, we have “malls”, some are called peddlers’ mall. Folks rent booths and sell junk. A lot of it is like yard sale stuff, or overstock items. Often, the stuff is likely from storage units that were abandoned and auctioned.
Sometimes I go to other second-hand stores like Goodwill. Many of my furniture items are “free to me”. My friends give me stuff, they even drag it home for me from random places. I also do a lot of “curb” shopping.
My limit has been $5 for years. I might go a little higher on furniture if I think I can get my time and money back.
I hope this helps!
gail
they all turned out great!
Thank you Nova!
I love the Dishes one… since these days I’m both cook and dish washer, well, the machine does most of the dish washing.
Thank you so much for stopping by and letting me know which is your favorite! We all like help with the dishes, right?
gail