Decoupage Upcycled Bar Stools with Napkins | No Fail Project
As an Amazon Associate, I earn from qualifying purchases.

I’ve had plenty of bar stool makeovers come through my workshop, but this pair gave me a chance to try again after a little decoupage disappointment on another project. These thrift store bar stools started out a little rough, with loose parts, stubborn stickers, and mismatched details, but a fresh coat of paint and pretty napkins made all the difference. The best part? This project helped me figure out a few simple decoupage tricks that make napkins much easier to use on furniture.
I guess this might be the Summer of the bar stools. They are so readily available at the peddler’s mall where I have a booth. I keep seeing so many $5 bar stools, I just can’t pass them up. So, I have never done decoupage bar stools before. I “tried” on the Navy Blue Bar Stools with Rub-on Transfer.
So, I was hoping to redeem myself, even using the same napkins for this makeover that I used in the decoupage failure. Typically, I feel comfortable with my DIY tutorials, but I wonder if I’ve mastered the decoupage instructions for this project? I hope so!
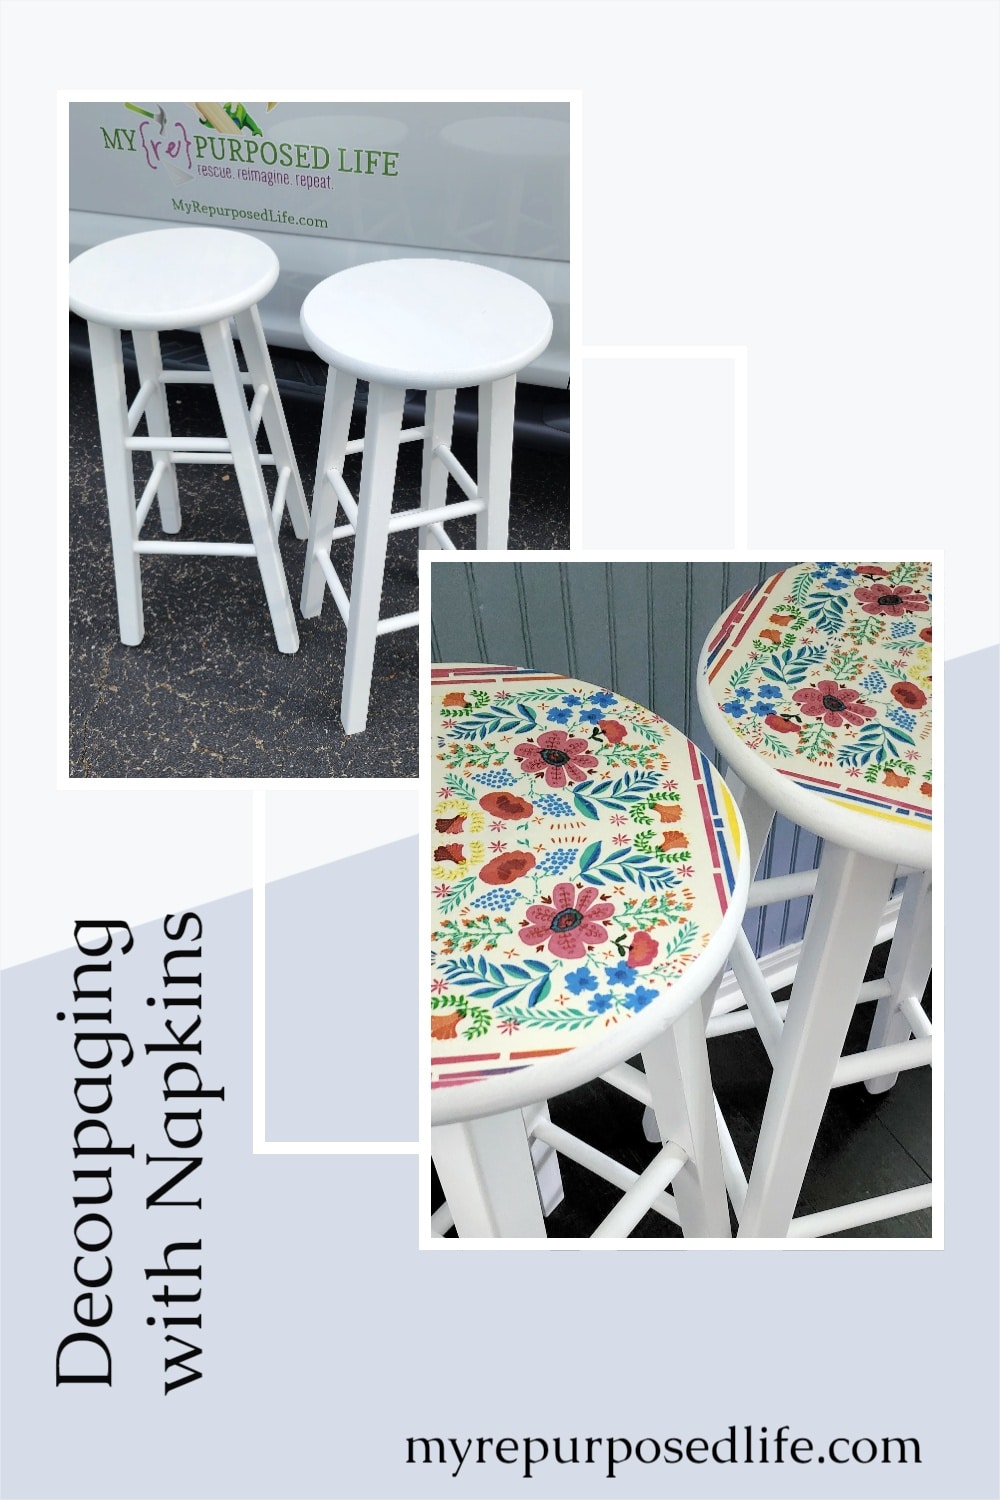
$5 Thrift Store Bar Stools
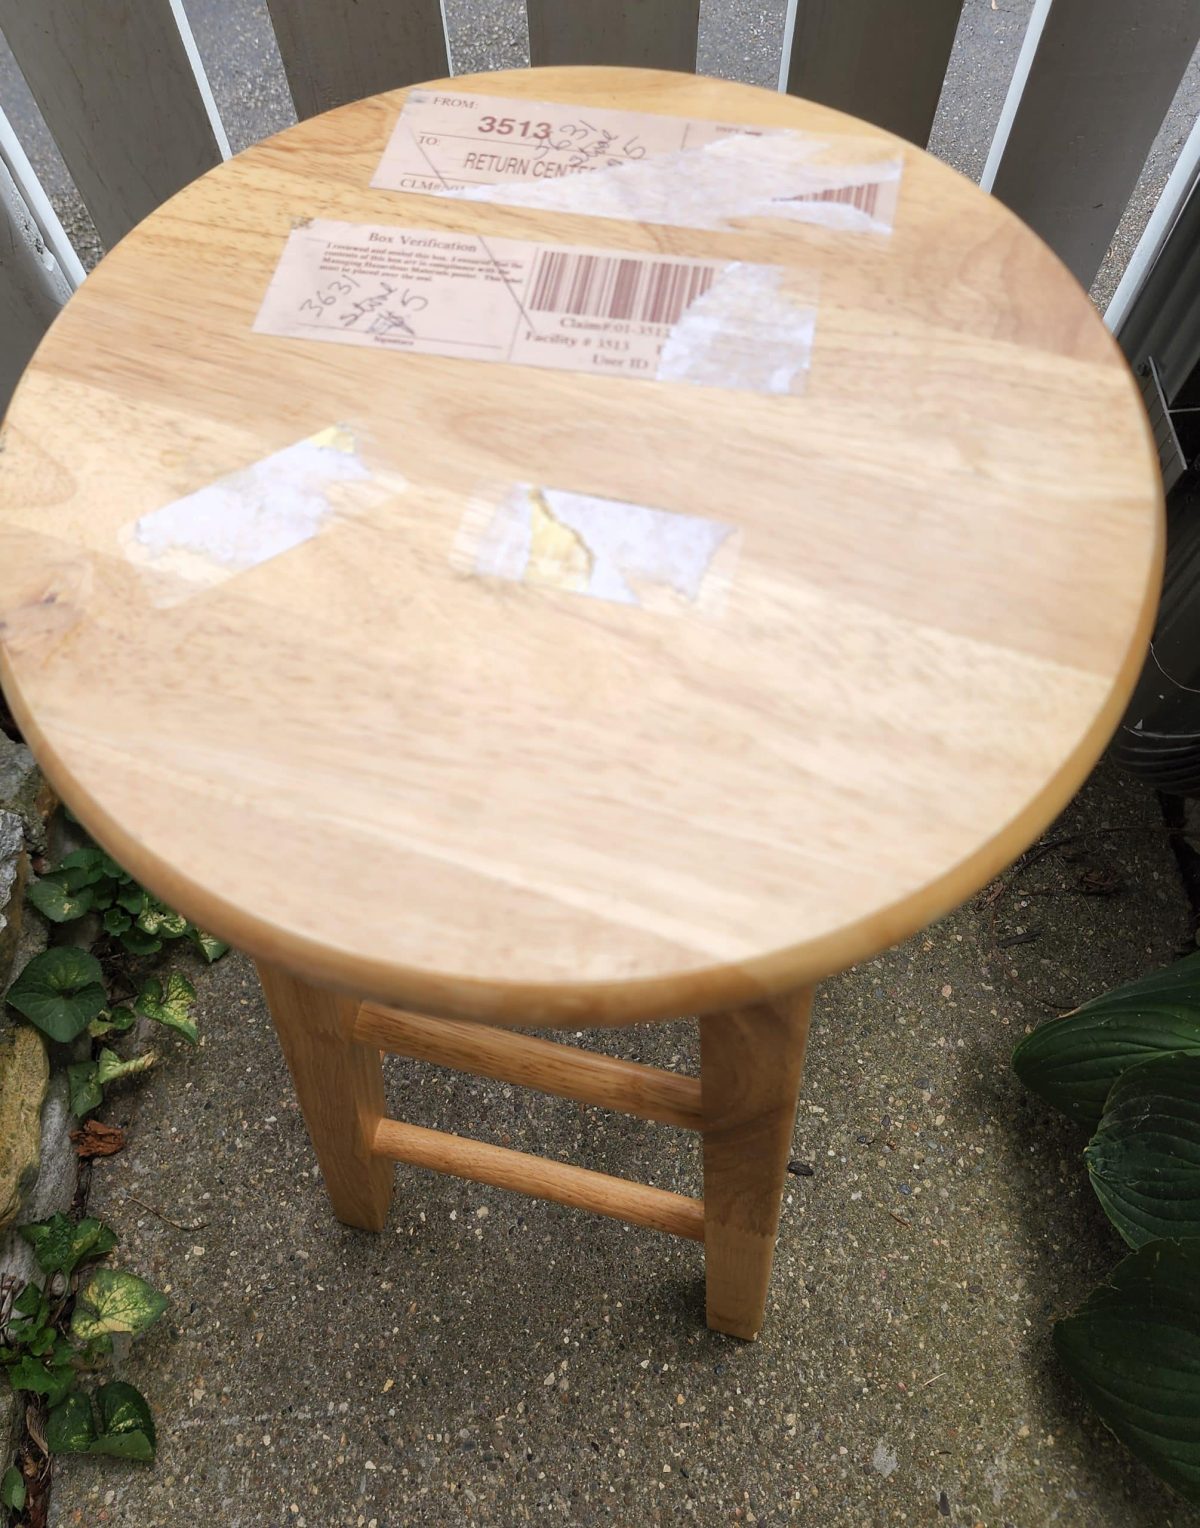
Yep, THIS is a $5 bar stool. My friend actually picked up this one and another very similar one. It wasn’t until she dropped them off with me that she noticed this one was broken. I’m guessing that is why all of those stickers are on there. Never fear, Gorilla Glue will take care of the loose seat. But those stickers!?
How to Remove Thrift Store Stickers
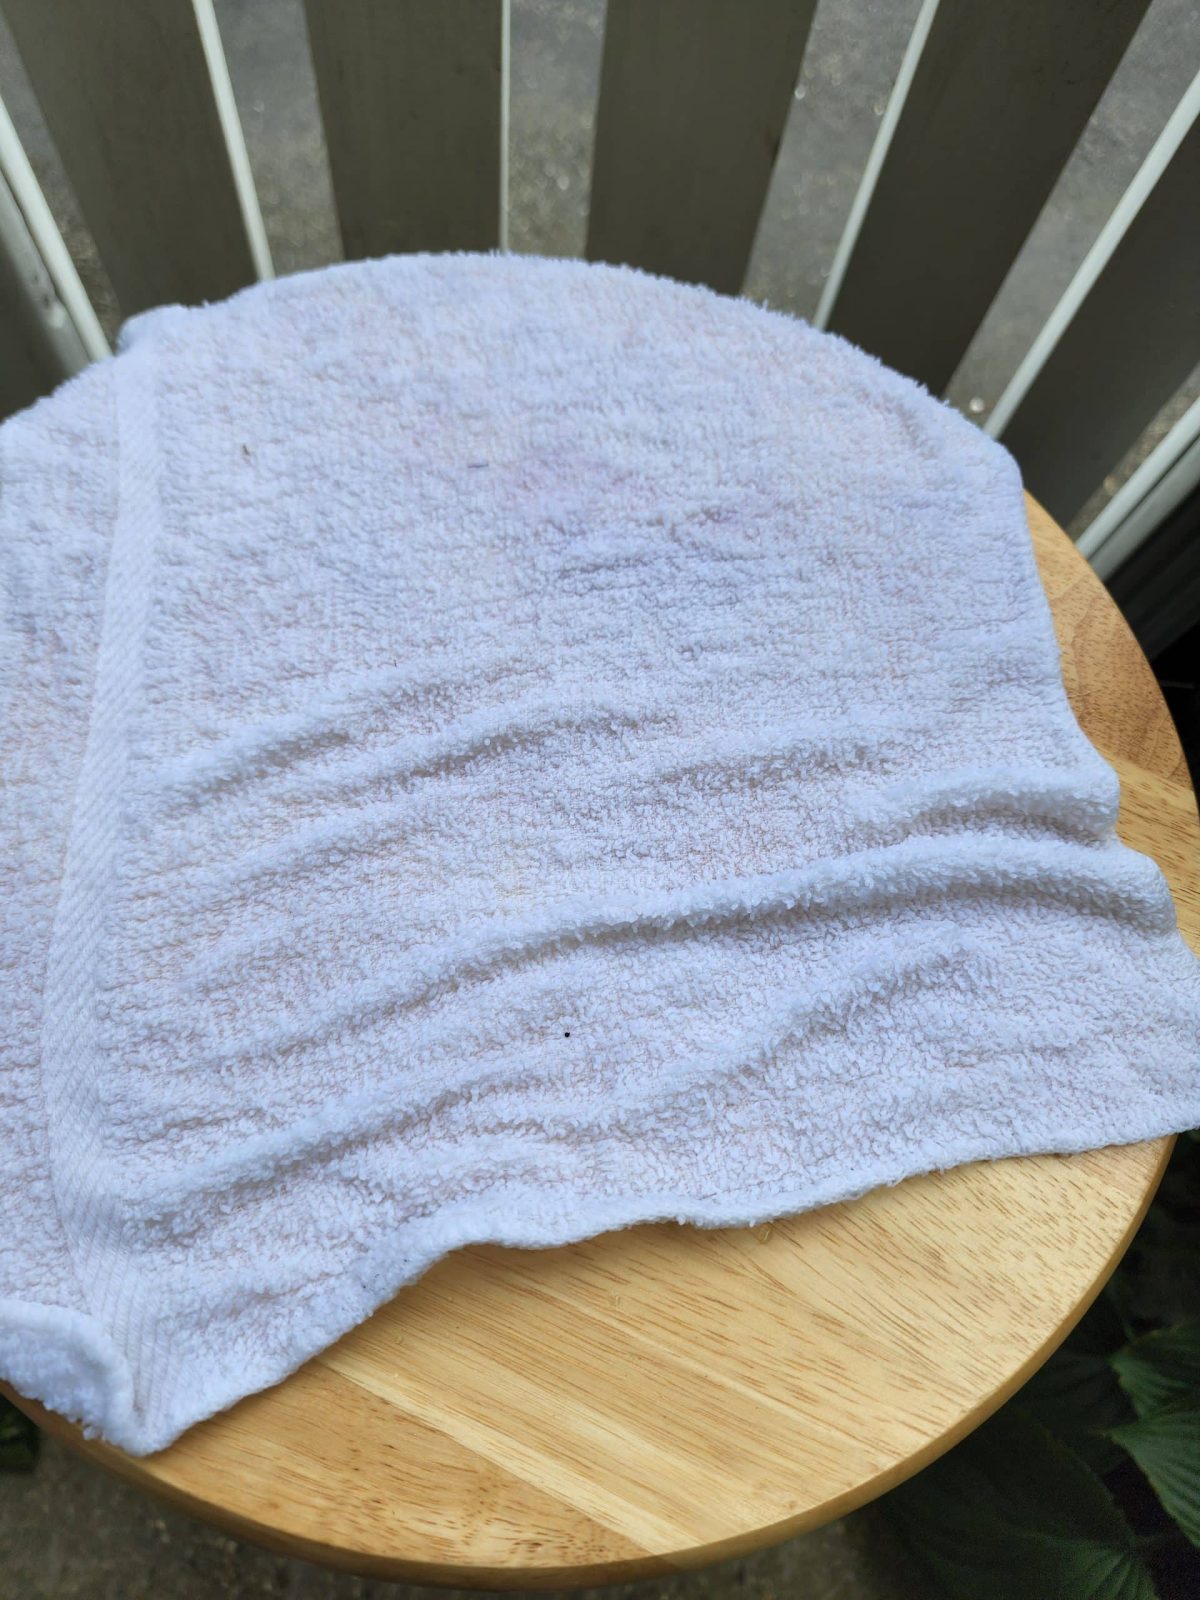
A very wet rag was placed on the seat of the bar stool.
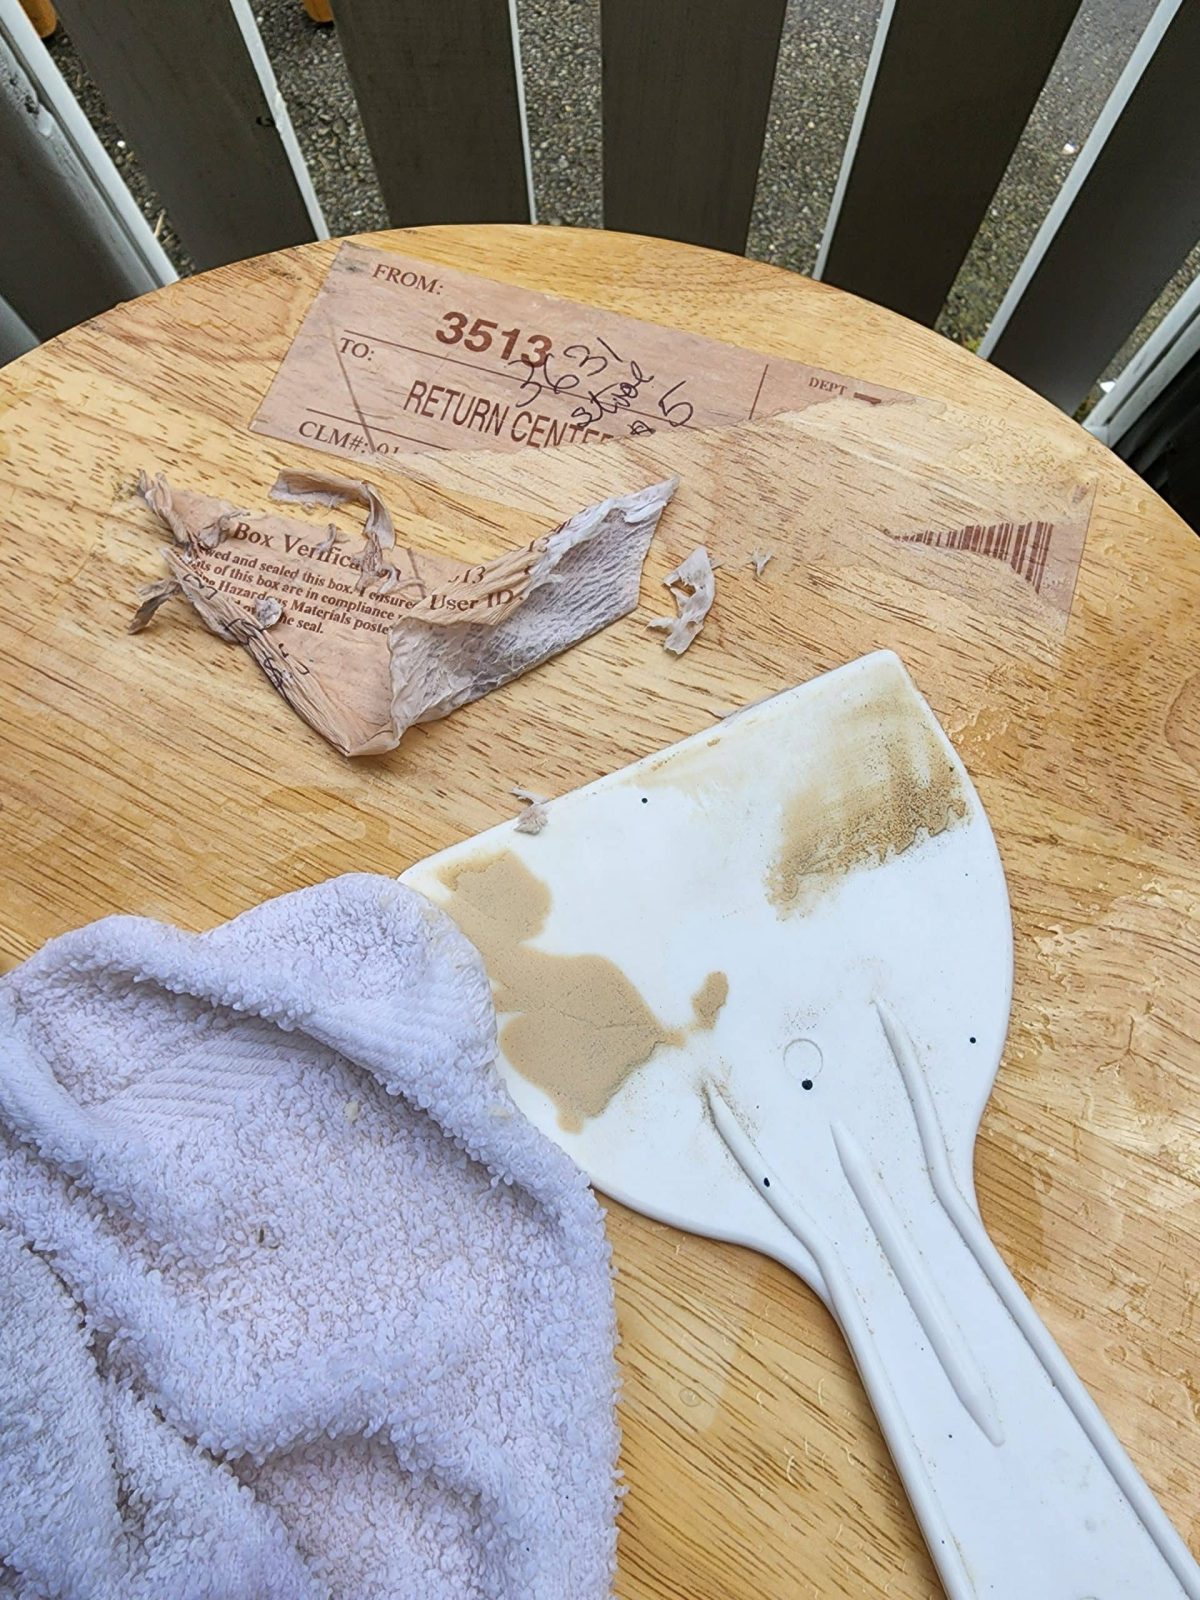
A plastic scraper was used to remove the paper from all the stickers. The bad news is that much of the adhesive residue remained.
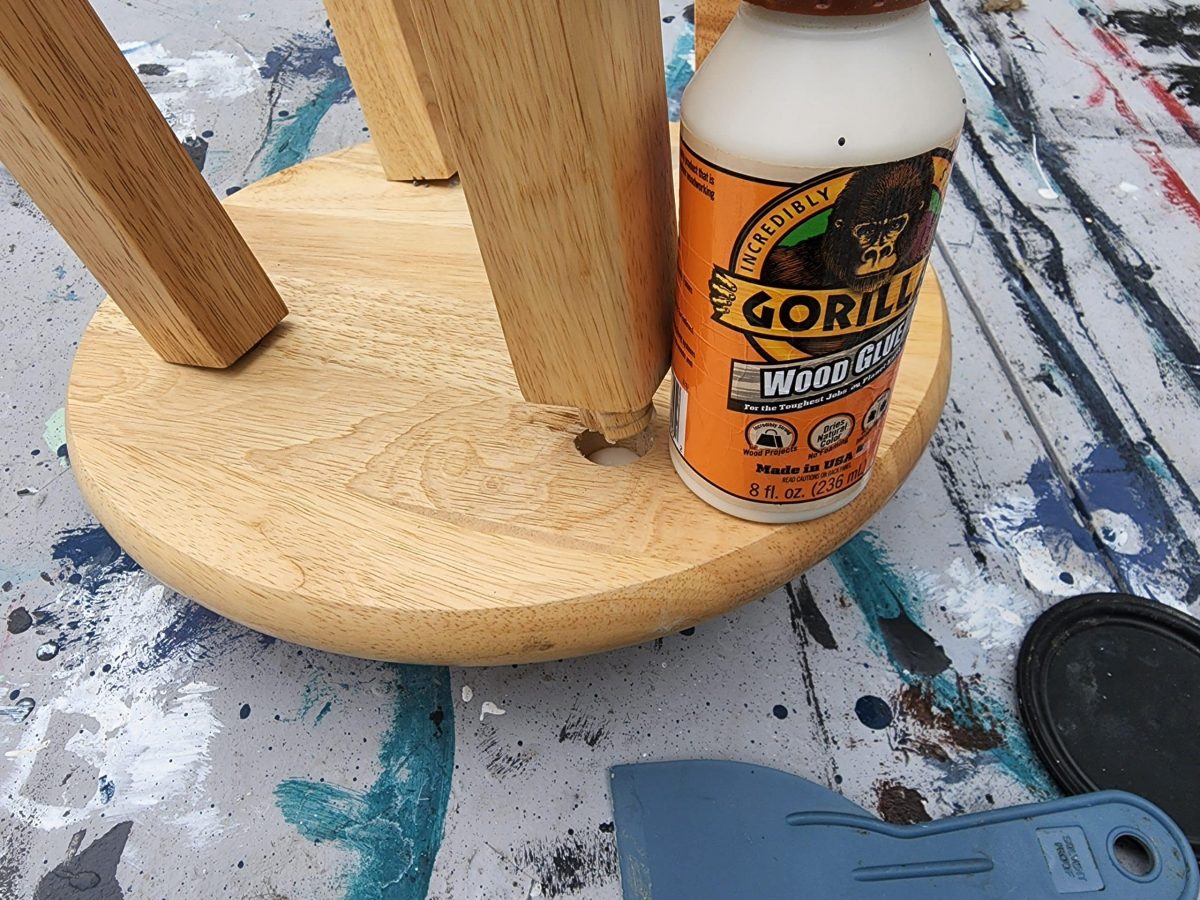
This dowel was completely out of the bar stool seat. The one not visible was actually broken off. The two on the left were loose as well. I applied Gorilla Wood Glue to all four legs.
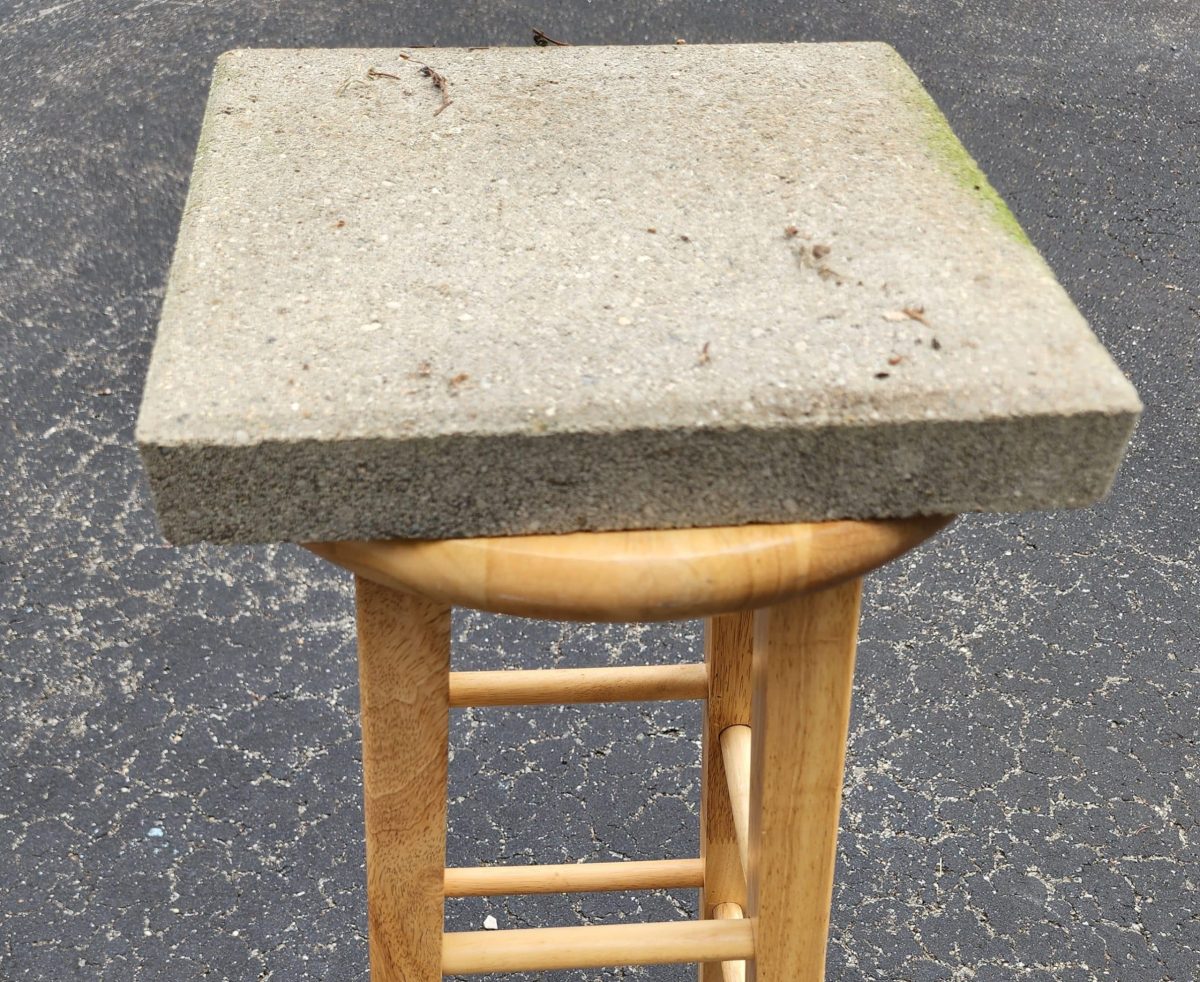
A concrete stepping stone is heavy enough to “clamp” the loose bar stool seat, allowing the wood glue to set up.
Prep Bar Stools for Paint
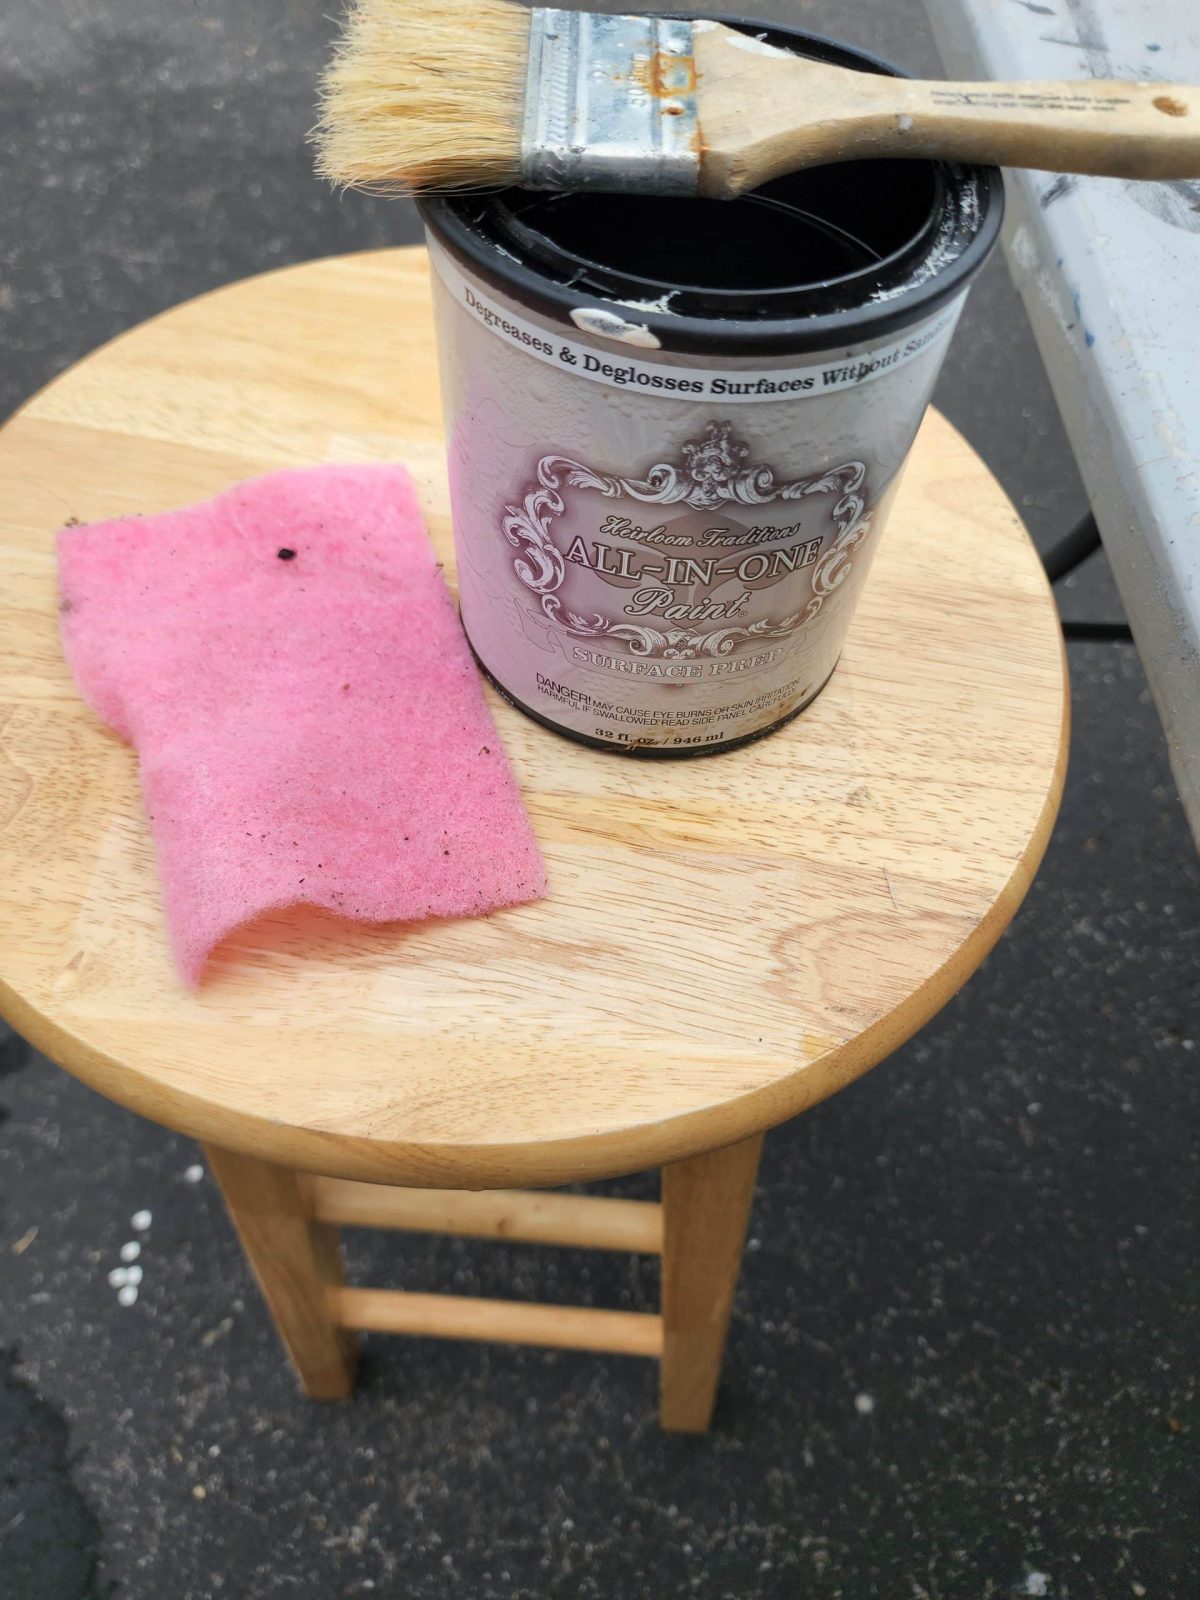
I used All In One Paint Surface Prep, a chip brush, a scrubbie, and a rag to prep the bar stools for paint. A nice coat of paint makes it easier to decoupage bar stools. Simply brush on the deglosser, scrub it lightly, then wipe it dry with a cloth. This helps to clean the wood and knock back some of the shine, allowing the paint to adhere really nicely!
All In One Paint | Cashmere
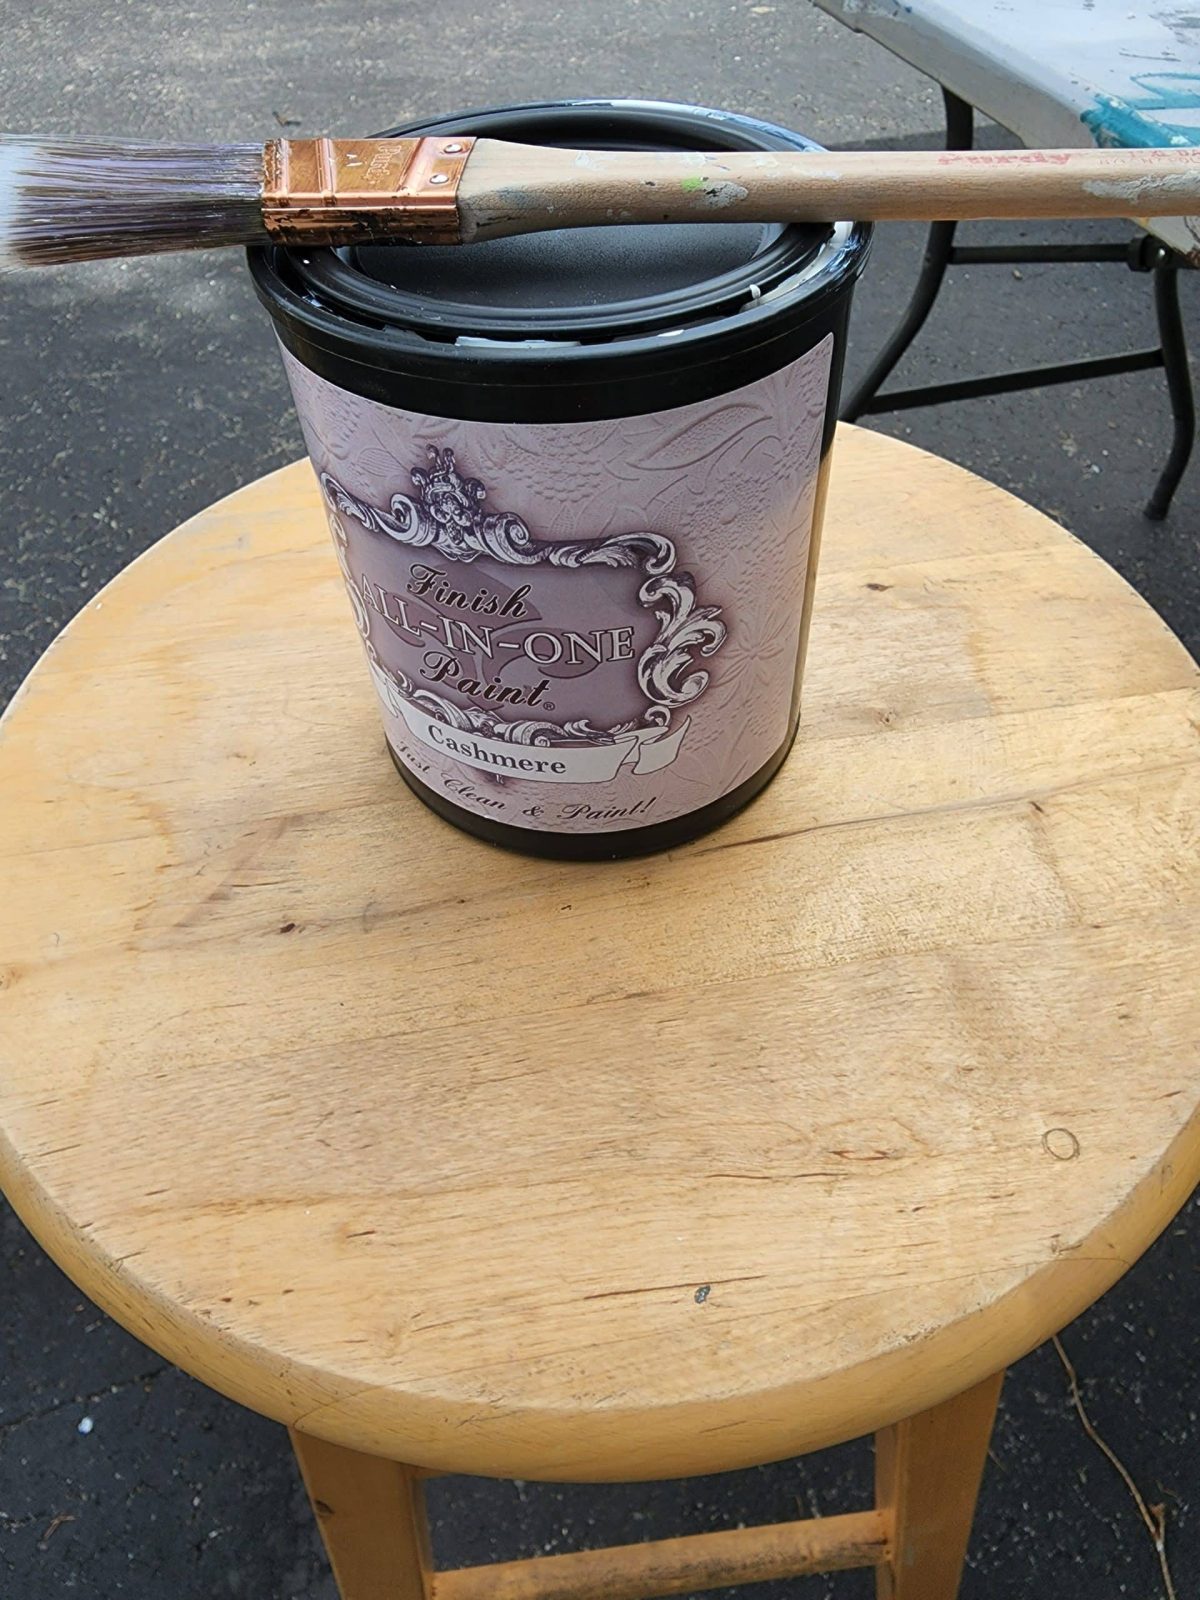
A narrow paintbrush seemed perfect for this bar stool project. This bar stool was in pretty rough shape; it has been well used. However, no repairs were necessary, so I was able to start painting it while the other barstool was being repaired. Just because I hand-painted my barstools doesn’t mean you have to. You could definitely use spray paint. Sometimes I find painting furniture to be sort of like therapy.
Painting a Bar Stool
The best way to paint any wooden project is with several light coats. It is nearly impossible to Do It Yourself and get the same quality finish as a manufactured product. What is my favorite aspect of All In One Paint? How well it cures. I noticed it when I painted the Desk Into Tall Chest in my bedroom. I was able to put the picture frames, etc on the top on day 2.
This is after the first coat has dried. I generally apply about 2.5 coats of paint. What does that mean? Two full coats, and the third is a hit-or-miss, getting the places I may have missed.
Small Foam Roller for Painting Thrift Store Projects
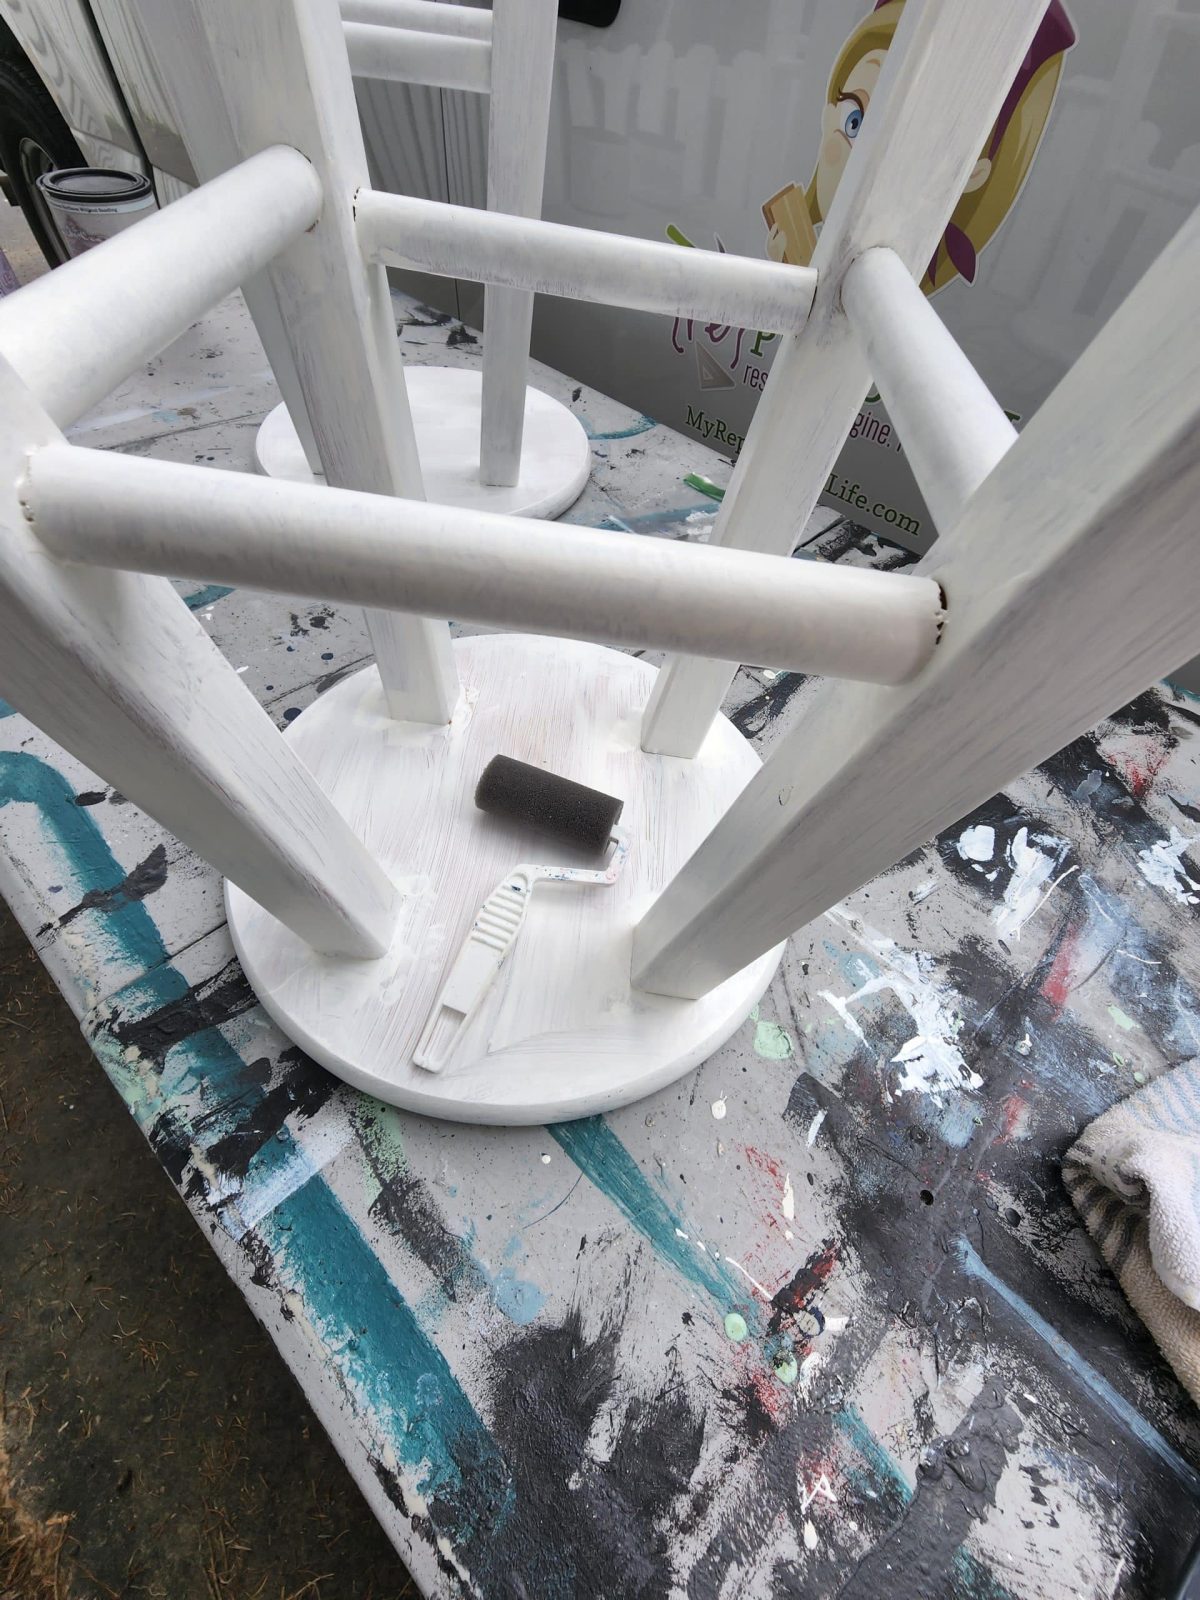
For the second and third coats, I use my favorite small foam roller. This isn’t the foam roller you may have used for painting baseboards or trimming walls. That roller is high-density foam. This foam is softer and squishier. In my opinion, that makes it easier to get into the nooks and crannies of my projects.
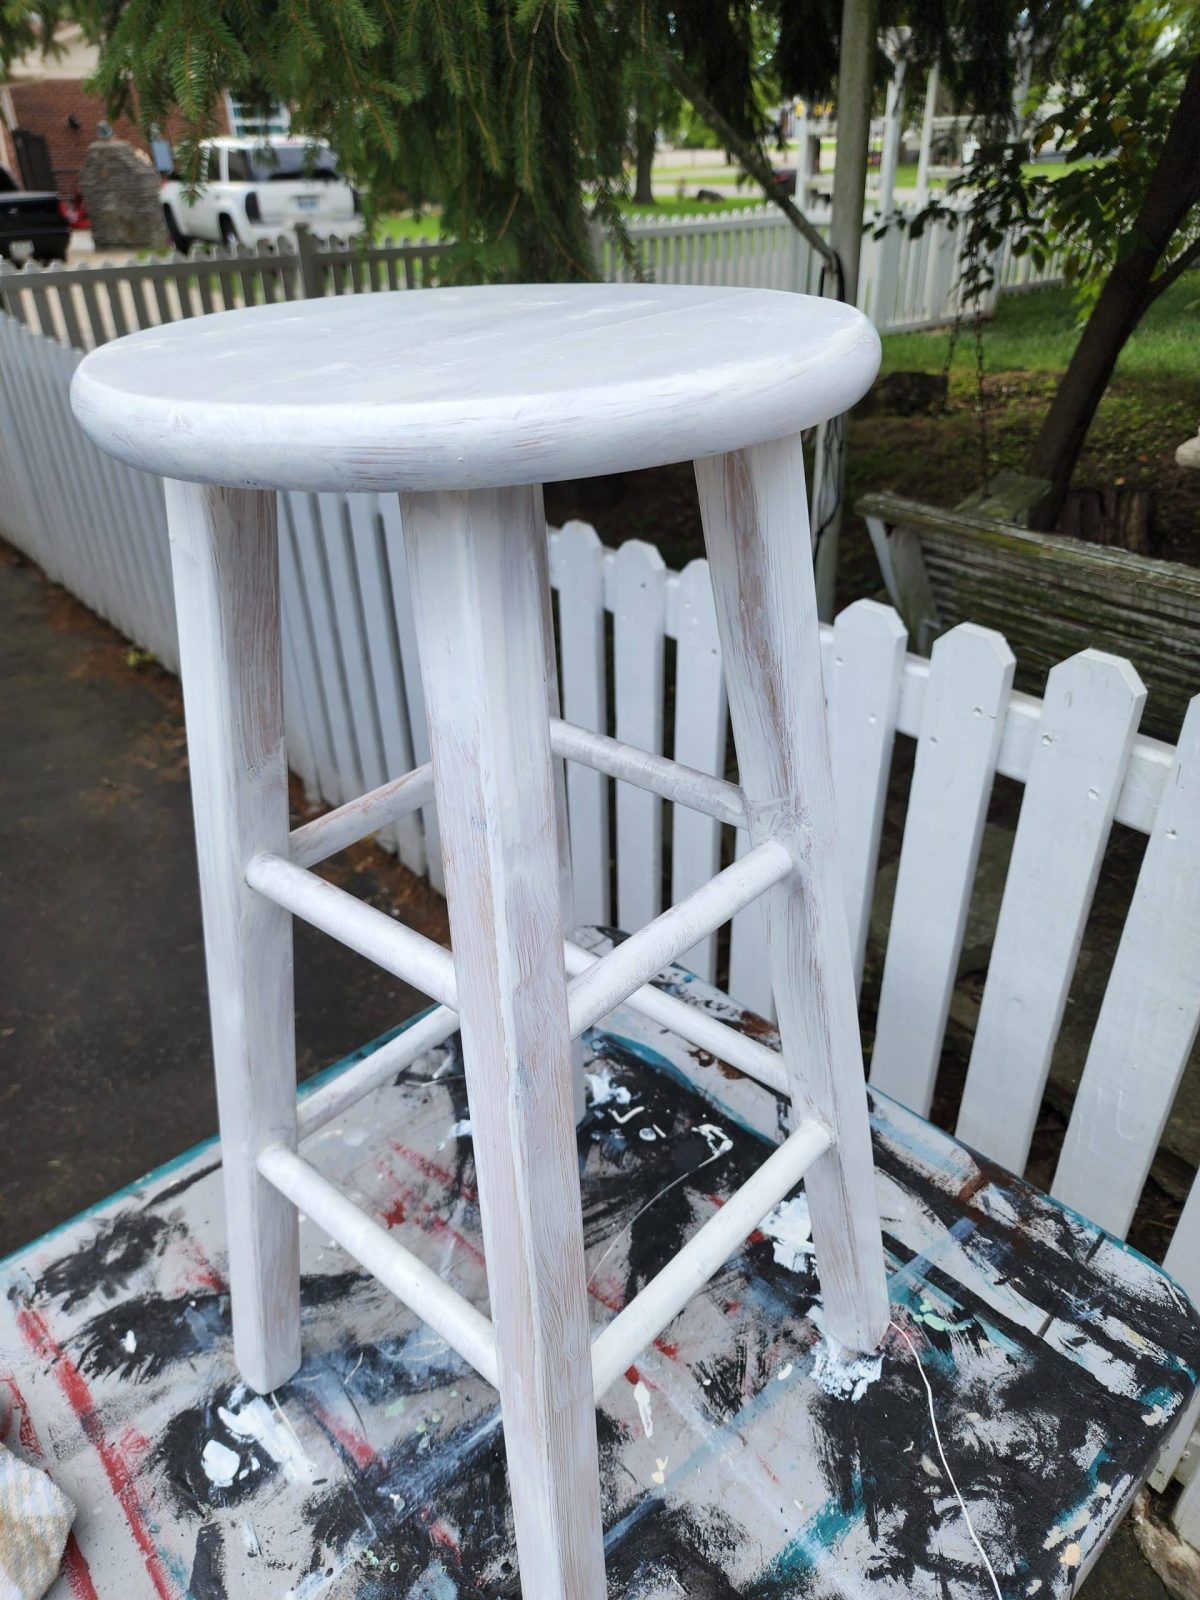
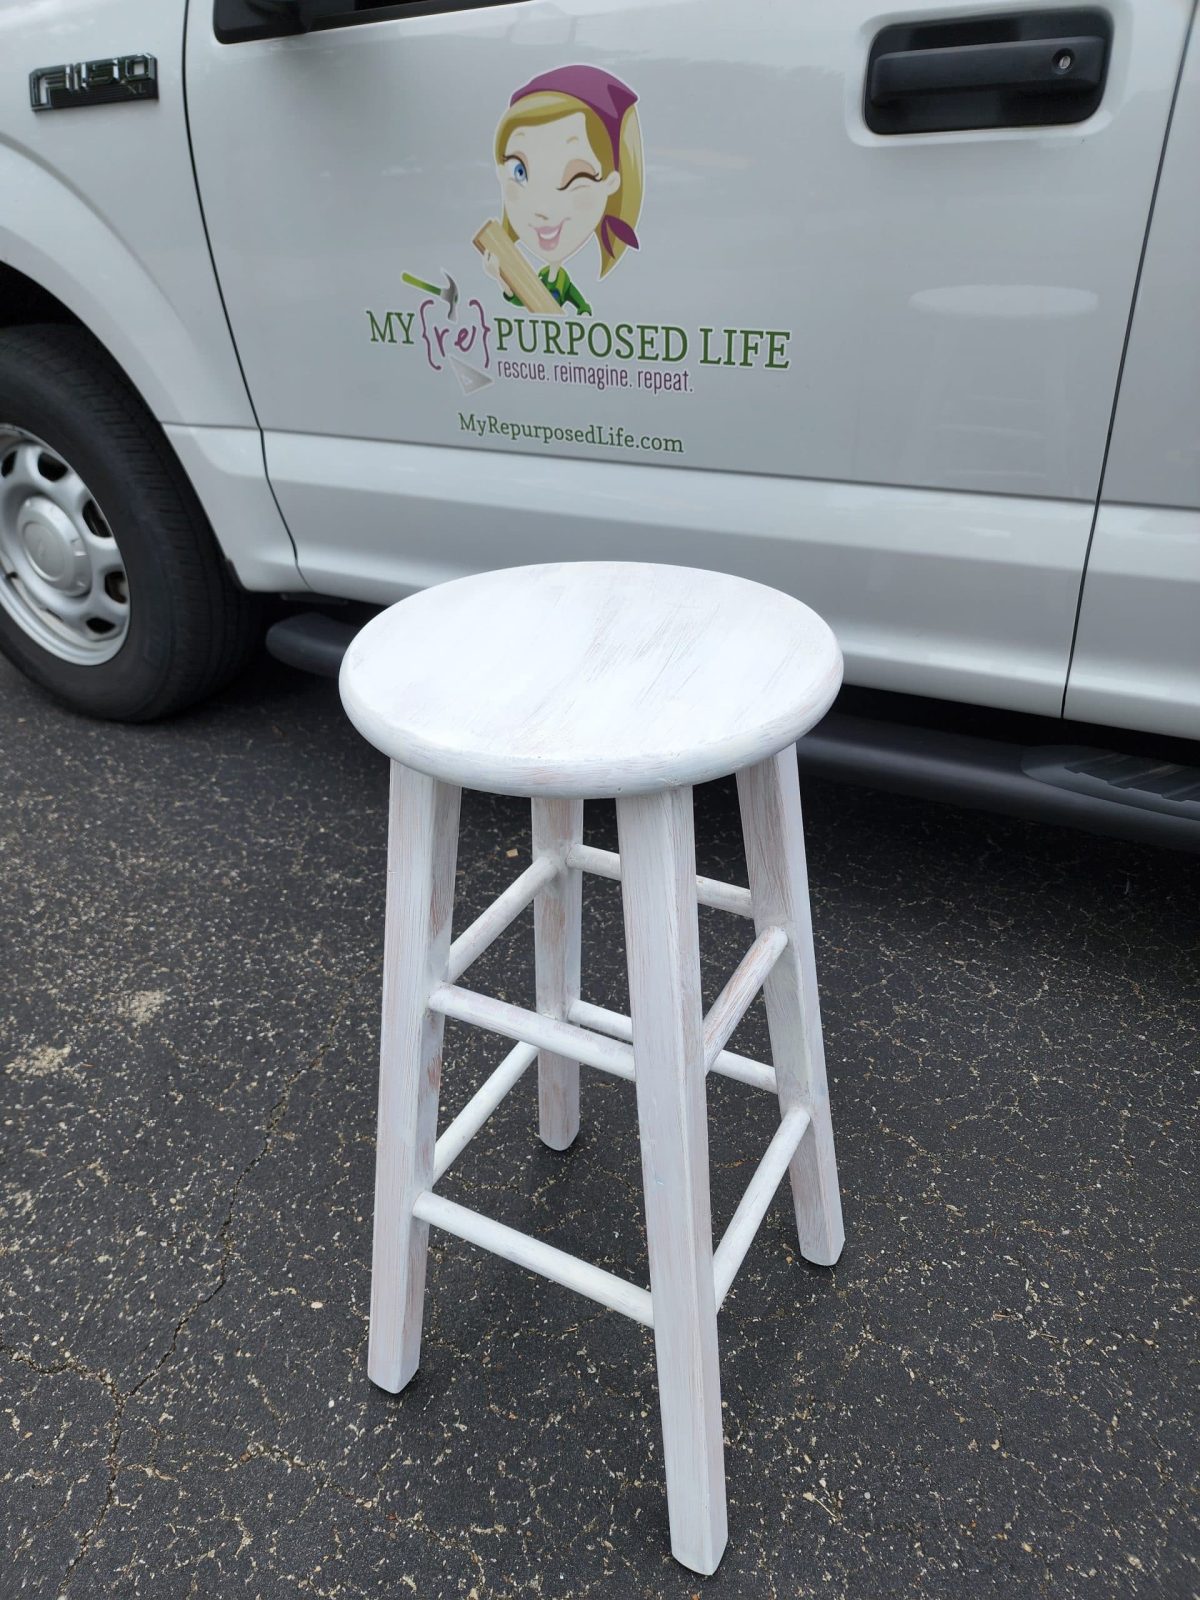
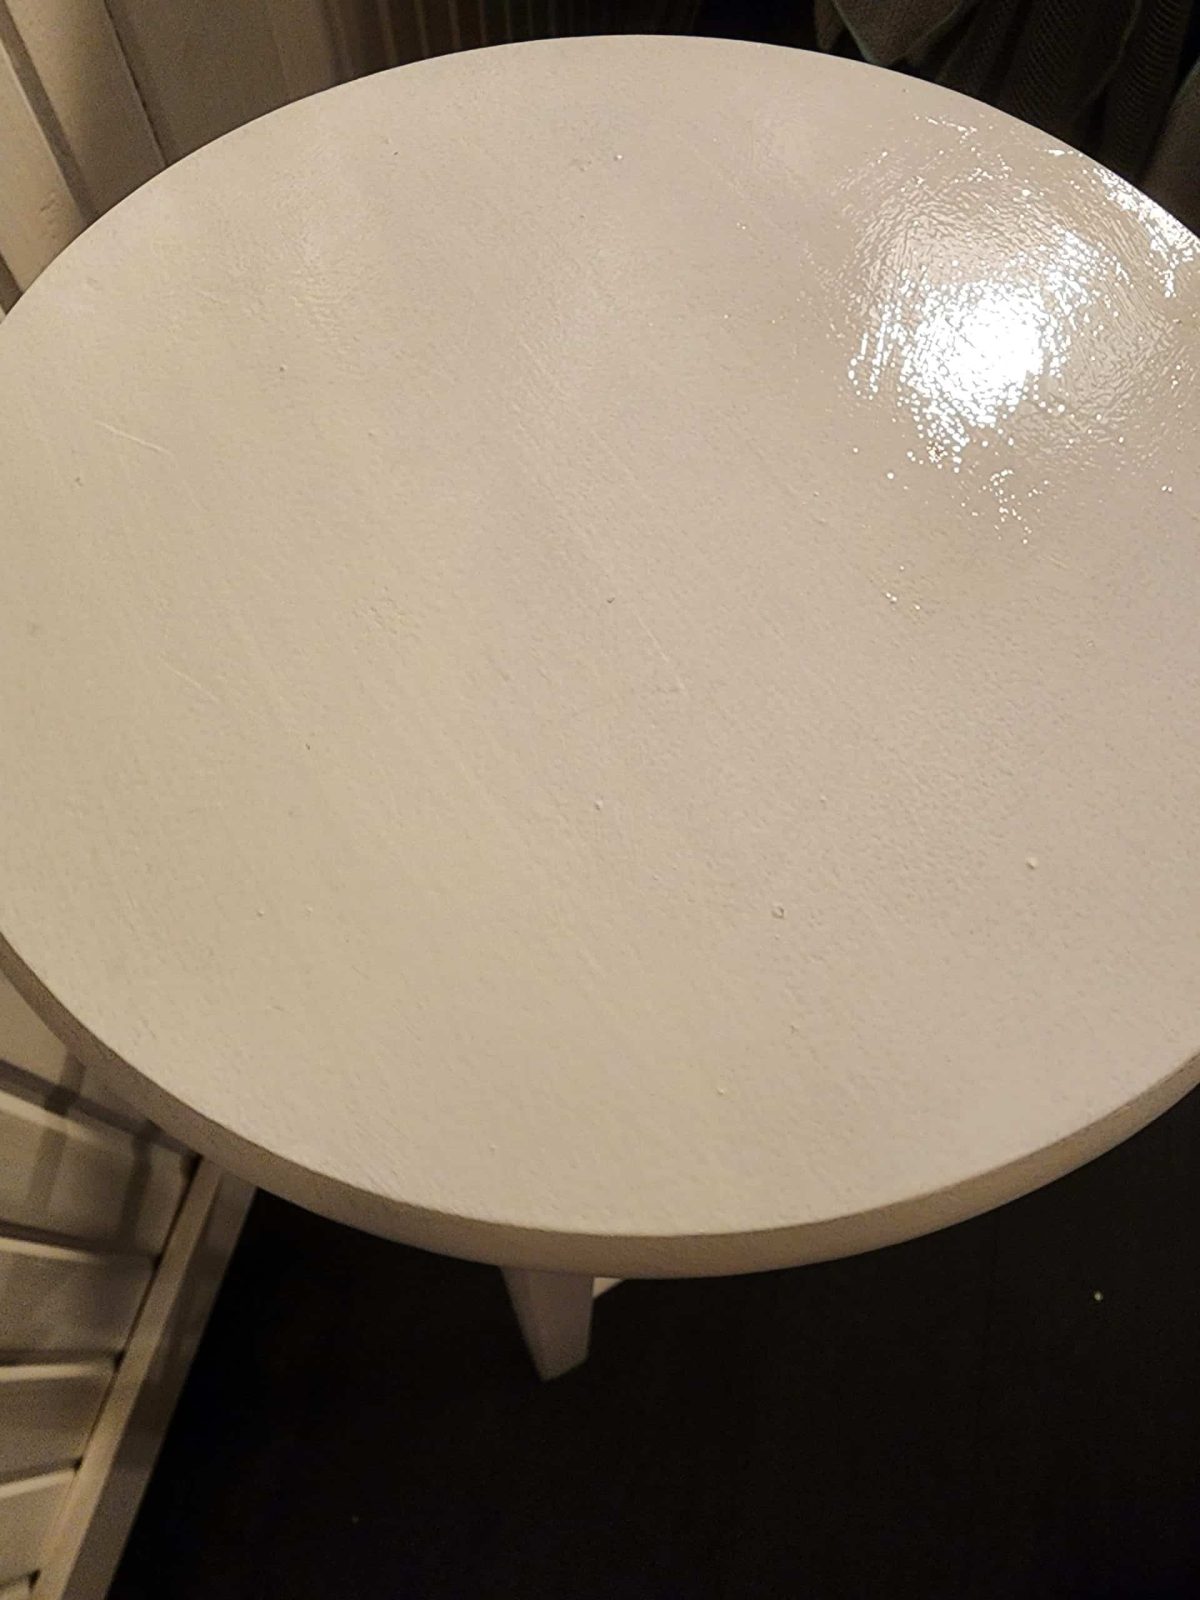
White Bar Stools ready for Decoupage

It’s amazing what a little bit of paint can do. These bar stools don’t match exactly, but now that they’re both white, it’s less noticeable. Once the napkins are decoupaged on the seats, they will match beautifully!
How to Separate and Prep Napkins for Decoupage
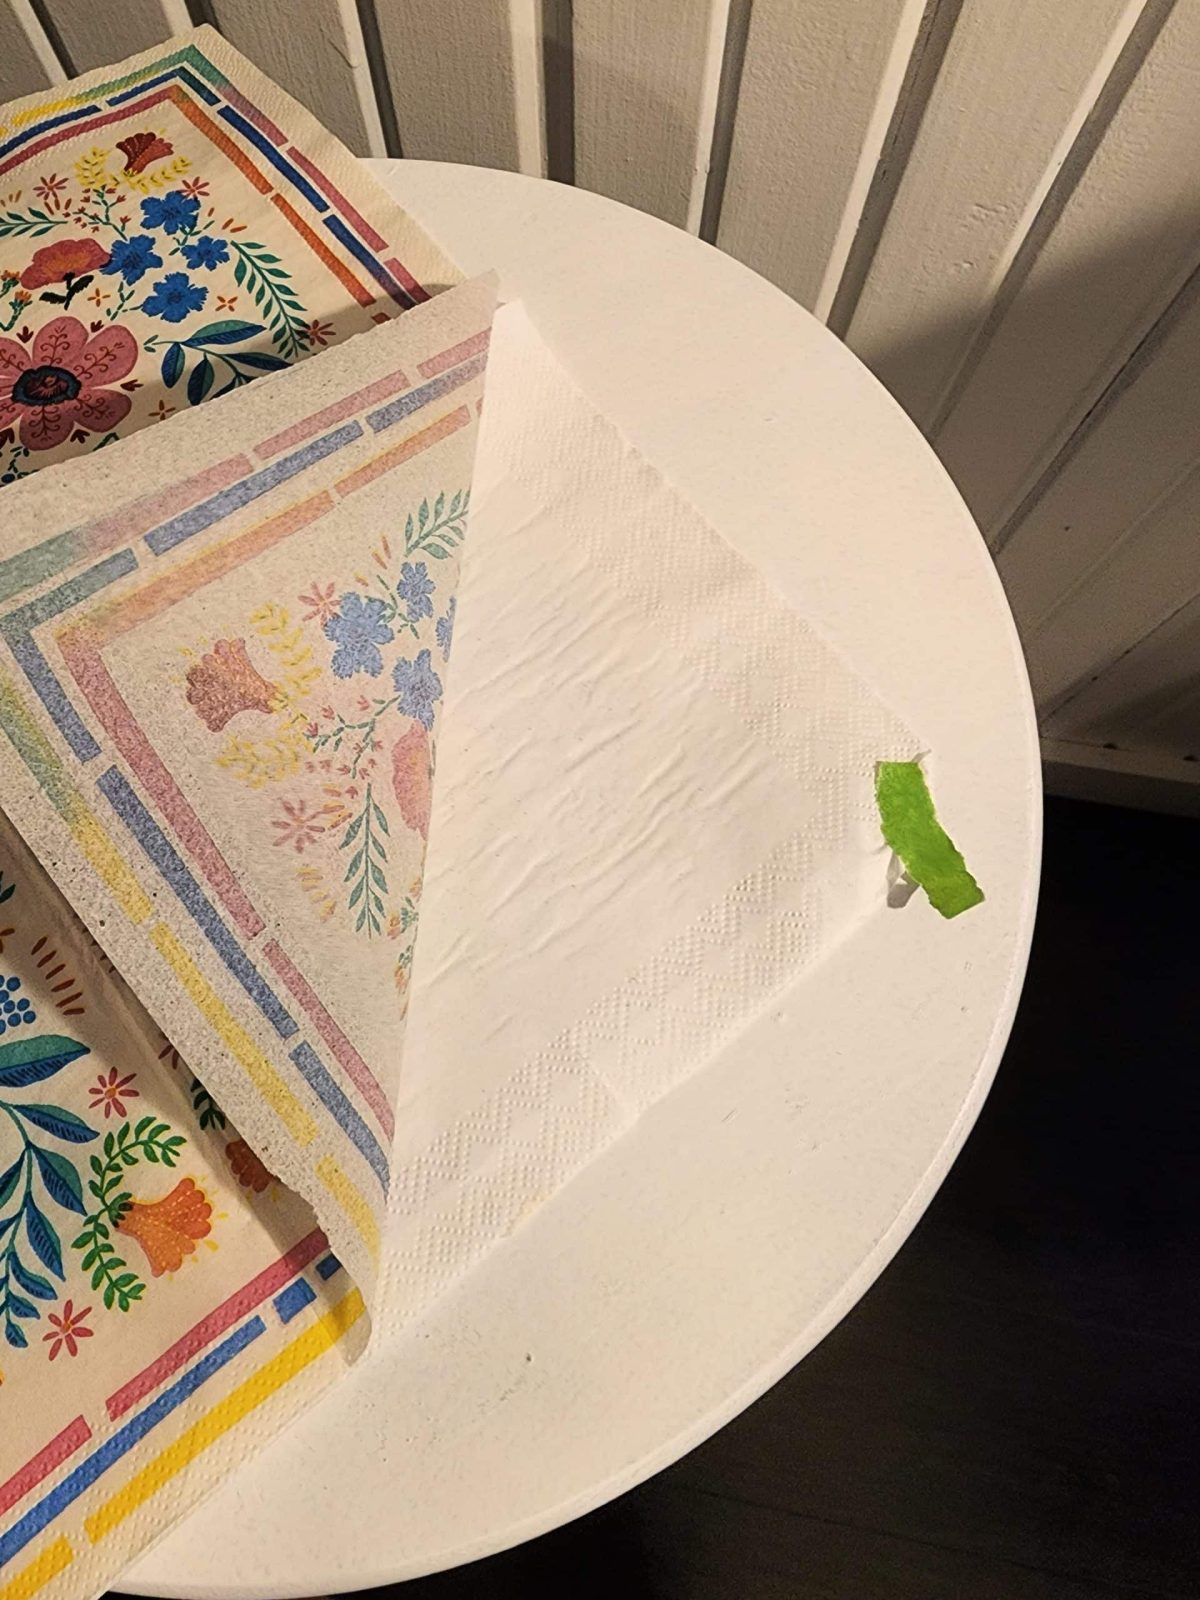
If you find it difficult to separate 2 or 3 play napkins, you can use a piece of tape on the back. Doing so will make it easier to pull the top layer away from the white pieces.
Iron Napkins
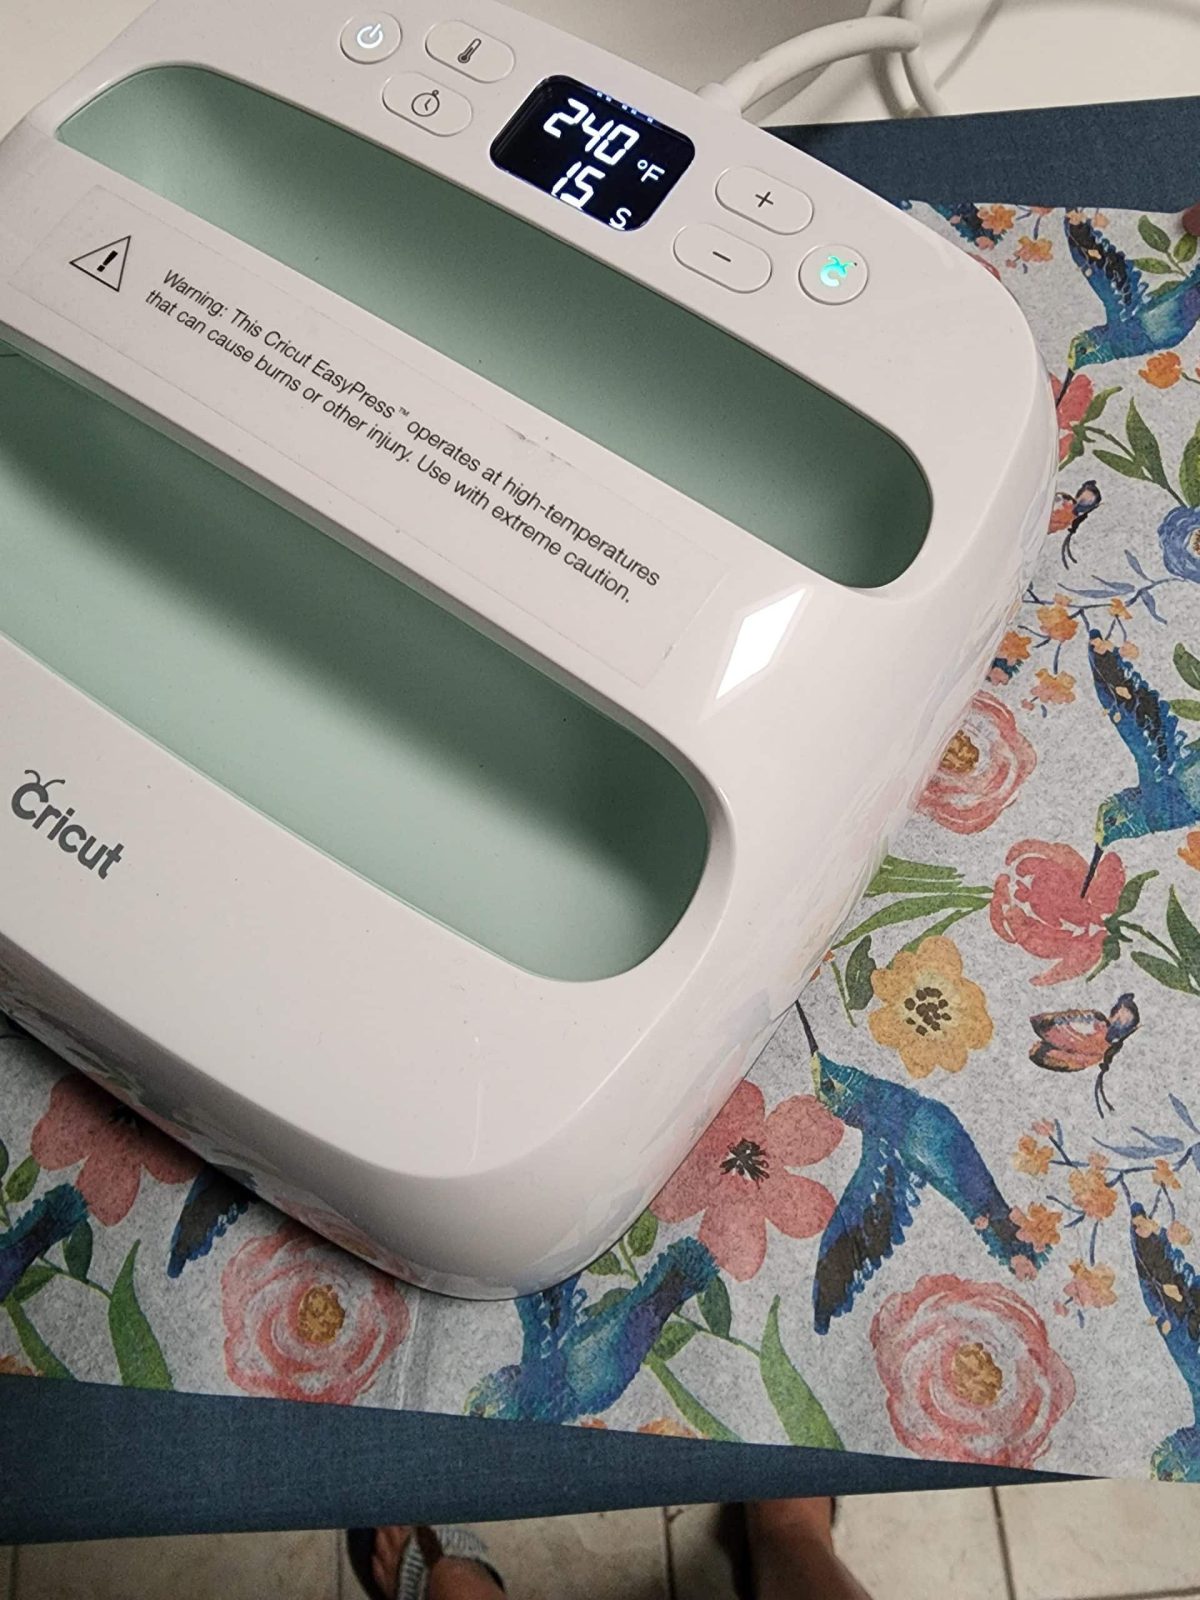
This is a different napkin, but it shows you how I ironed the creases out of the napkins I used for this decoupage bar stools project. I used my Easy Press (love it), but you could use your iron (without steam) to smooth your napkins.
Materials You Will Need to Decoupage Bar Stools
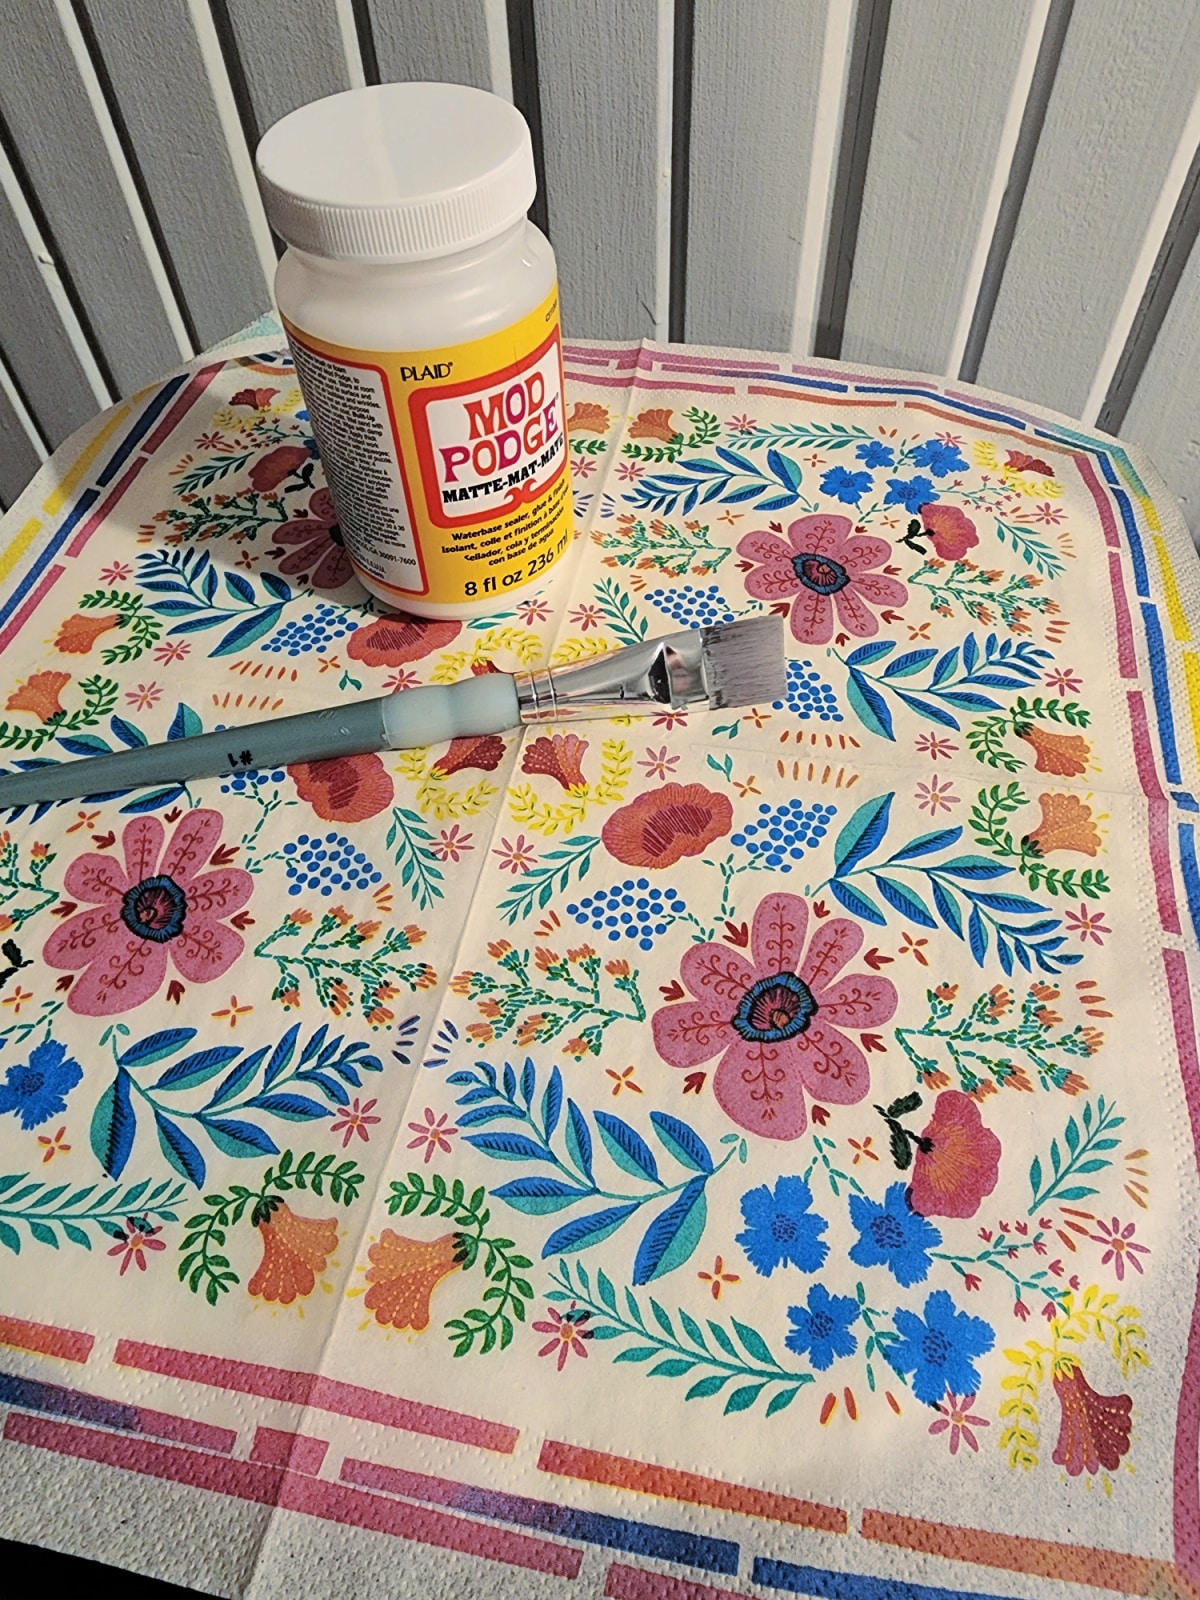
Materials
- Bar stool or something similar
- Napkin, tissue paper, or fabric
- Soft flat artist’s brush
- Mod Podge of your choice, I chose Matte
- Plastic Wrap
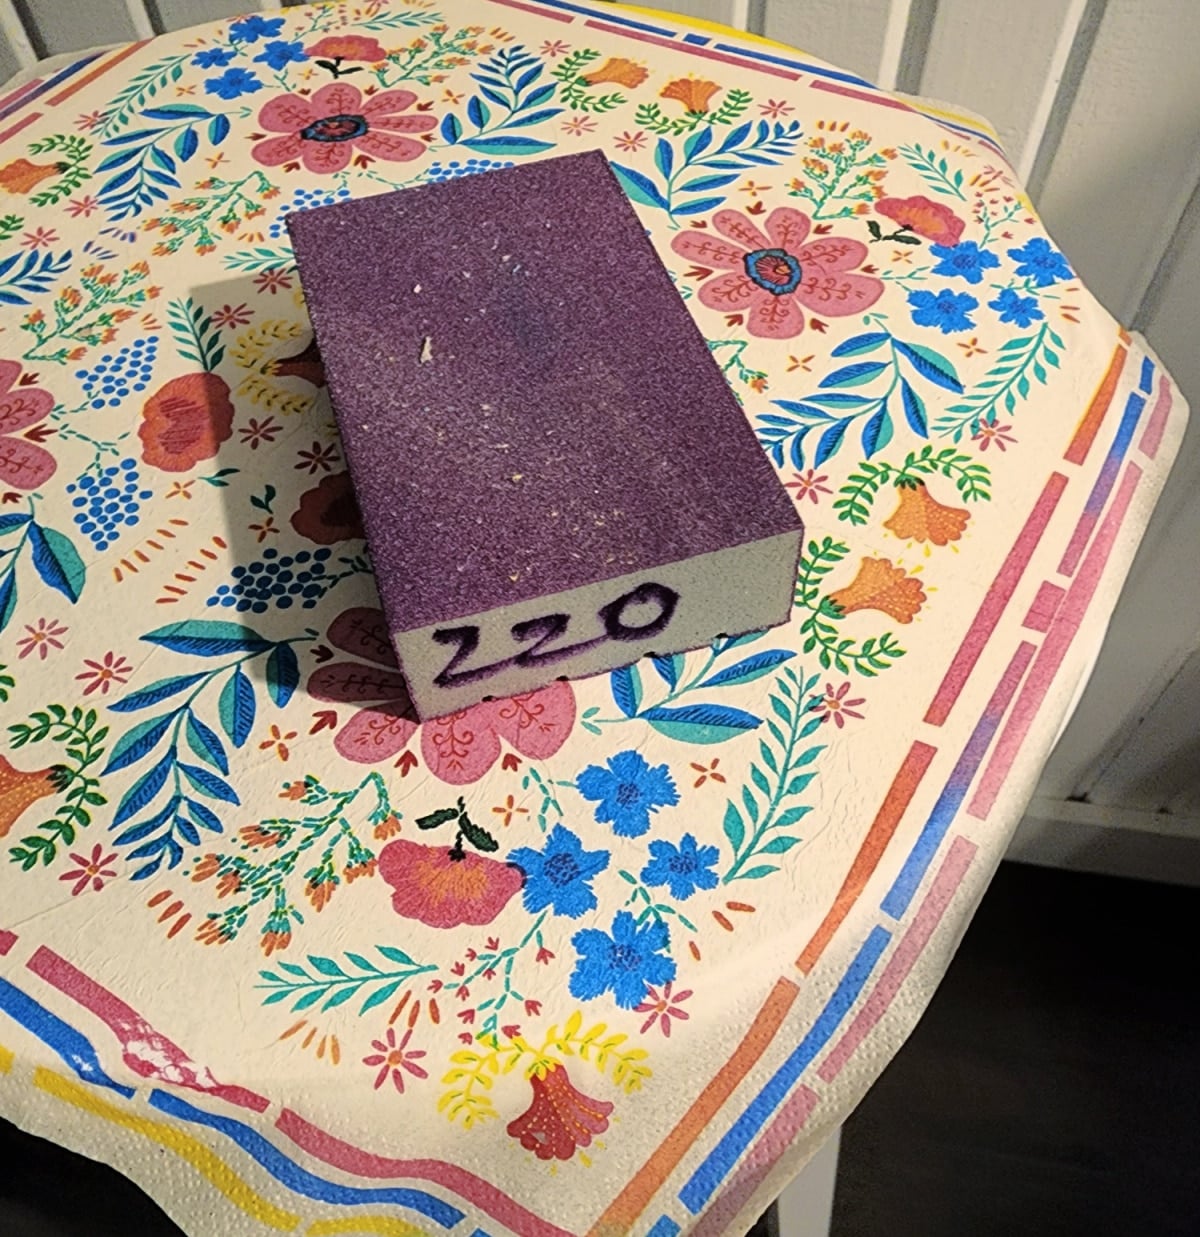
- 220 Grit Sanding Block
Note: In this image, you can see the creases of the napkin. This is before I ironed it.
See how smooth the Boho Floral Paper Napkin is now that it’s been ironed?
Decoupage Bar Stools gone WRONG!
This collage is from the Navy Bar Stools with Rub-on Transfer project. What went wrong?
- Too much Mod Podge
- Using foam brushes for applying Mod Podge
- Applying a napkin to a dark surface
How to Decoupage Successfully
Apply a Thin Coat of Mod Podge with a Soft Brush
Because both the bar stools and the Mod Podge are white, I had to lower my line of sight and look at the sheen closely to see where I may need more or less decoupage medium.
Carefully Lay a Napkin or Tissue Paper
After lightly laying a paper napkin, you may need to lift up a corner to remove a wrinkle or smooth. What should you avoid? Touching the thin paper with your hands. At this point, the paper is wet and can be easily torn.
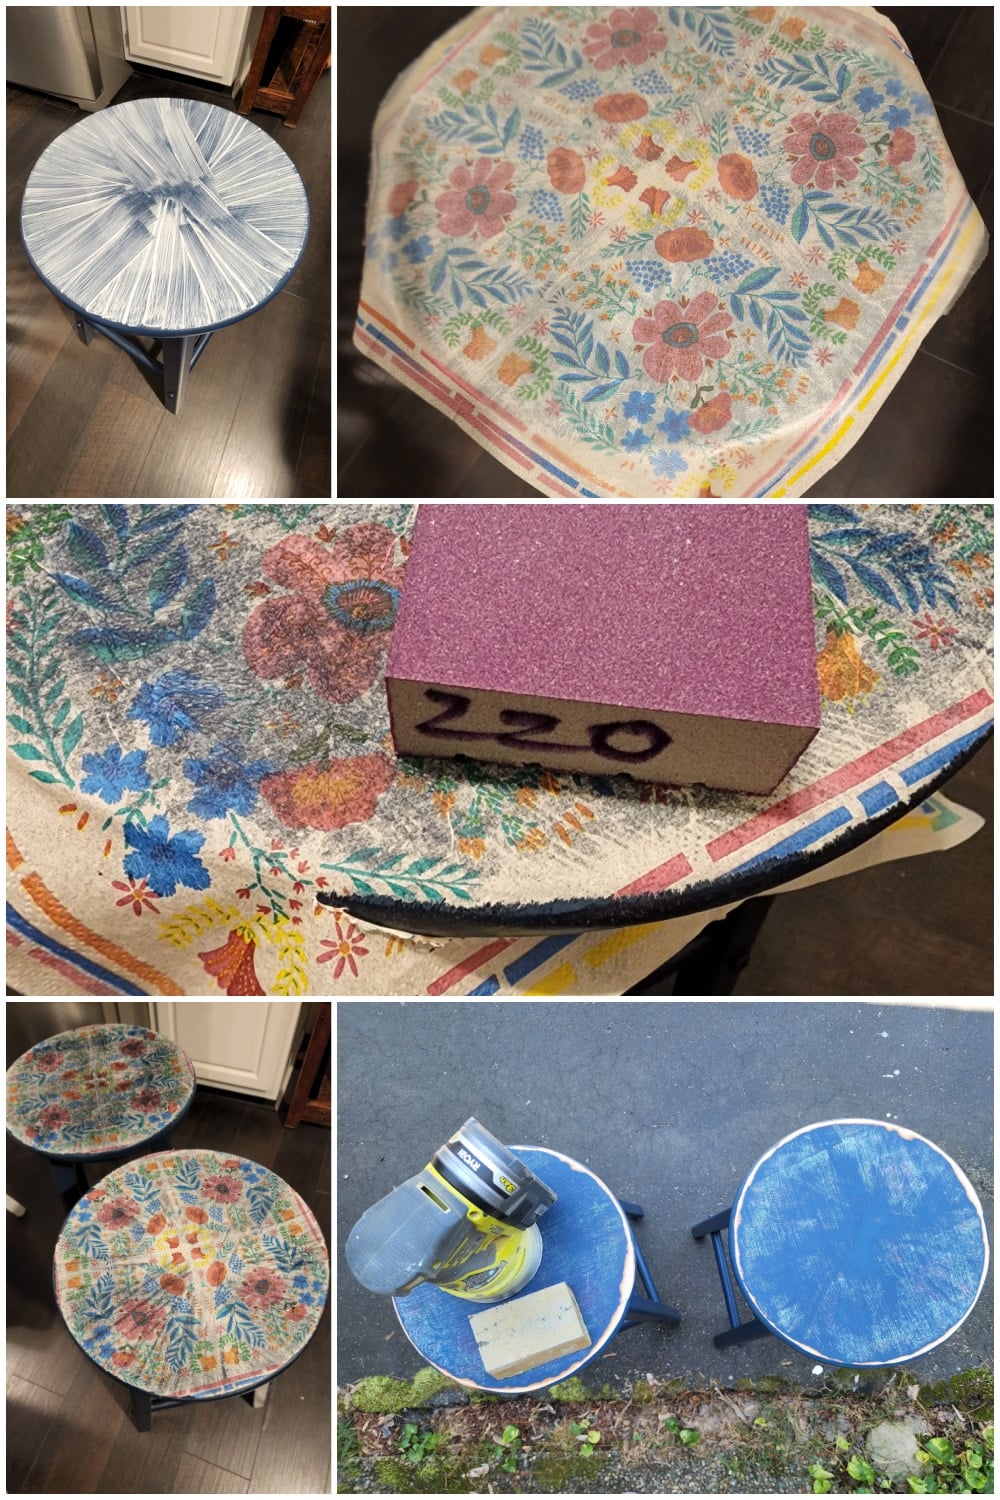
Use Plastic Wrap to Smooth Decoupage
You can smooth the napkin with plastic wrap. Why don’t I have a picture of that step? Because I don’t use Saran Wrap. I use Press’n Seal. For this step, I alternated using the Press n Seal on the non-sticky side and Parchment Paper. I gently laid the paper (plastic wrap) on the napkin and used a credit card to smooth it from the center of the decoupage bar stool to the outer edge.
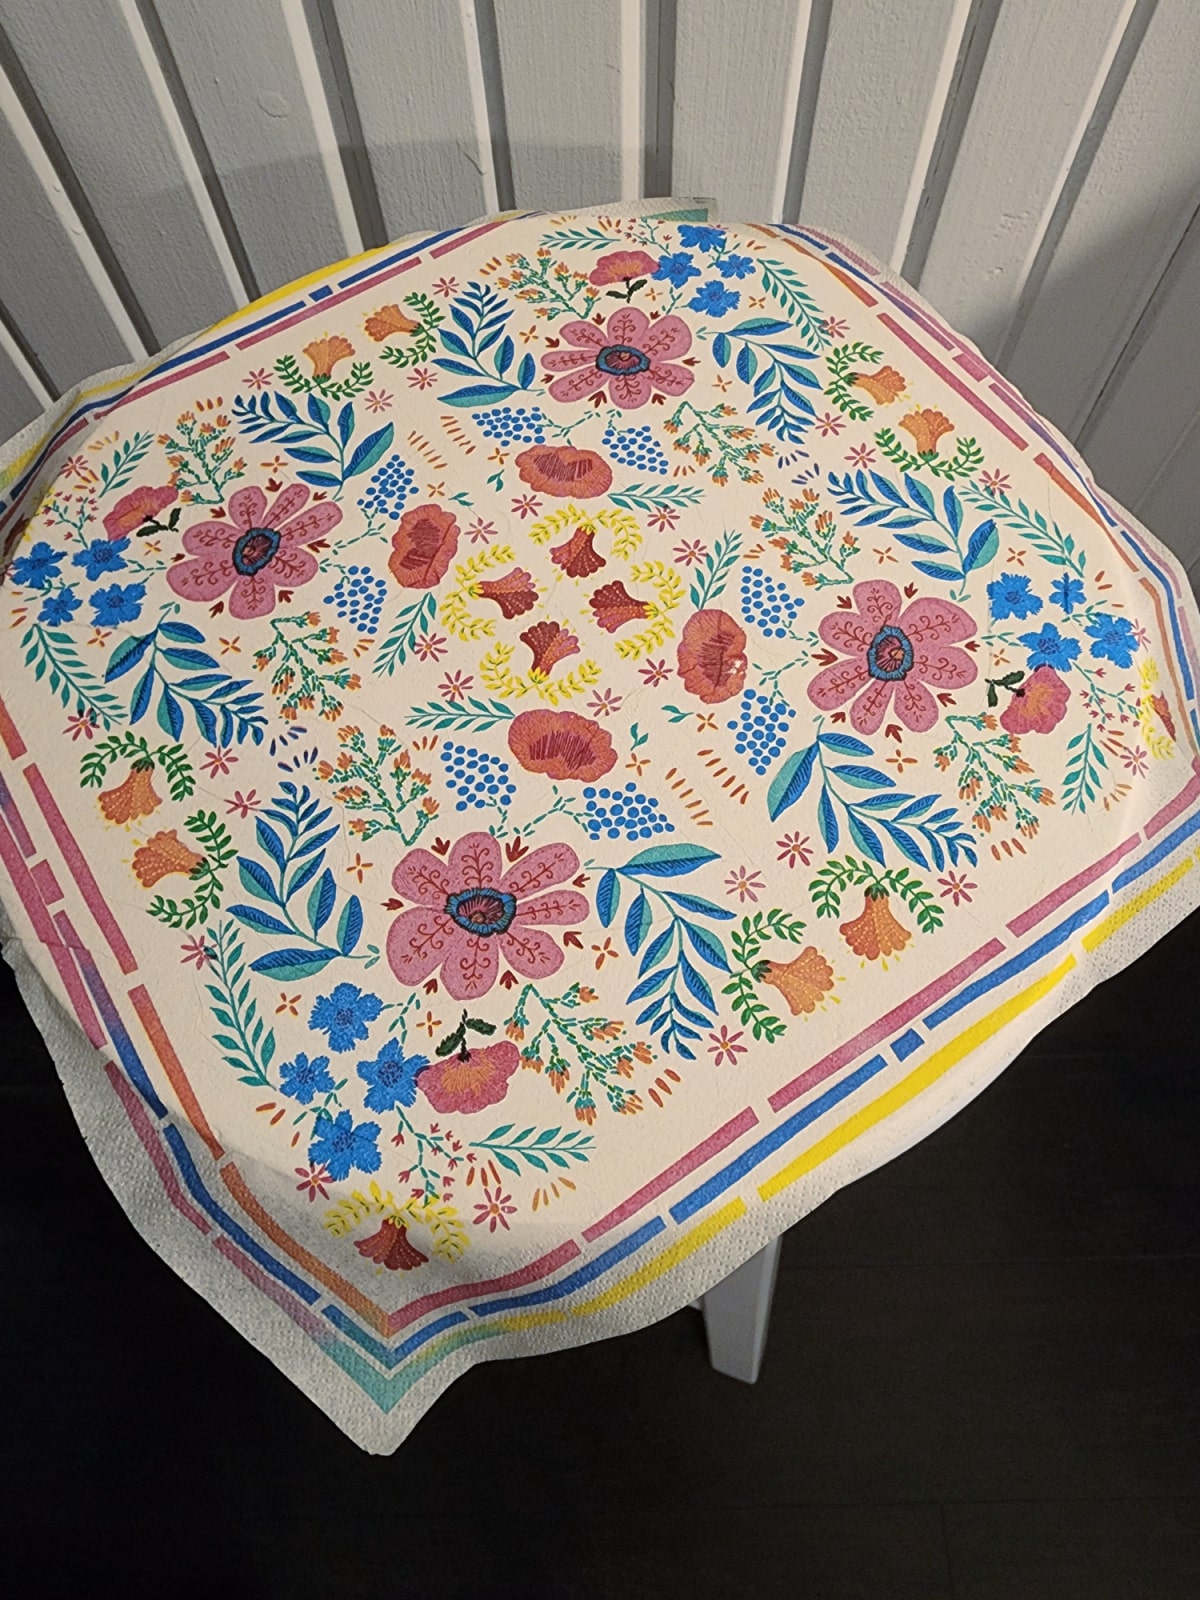
Luckily, this technique worked well for me on both bar stools. Do you love these colorful napkins as much as I do?
Allow Decoupage Bar Stools to Dry
If done properly with a light coat, the dry time will happen rather quickly. But be patient.
Use a Sanding Block to Remove Excess Paper
Less is more! You’re not sanding, you’re gently exfoliating the paper. 🙂 My technique is to gently lay the sanding block on the top edge and move it off the edge of the bar stool. I prefer not to remove any of the paint, only the excess paper napkin.

Here’s a tip for you:
Use a Sharpie to mark your sanding block with the grit. You can thank me later when you’re digging through your supplies for the proper sanding block.
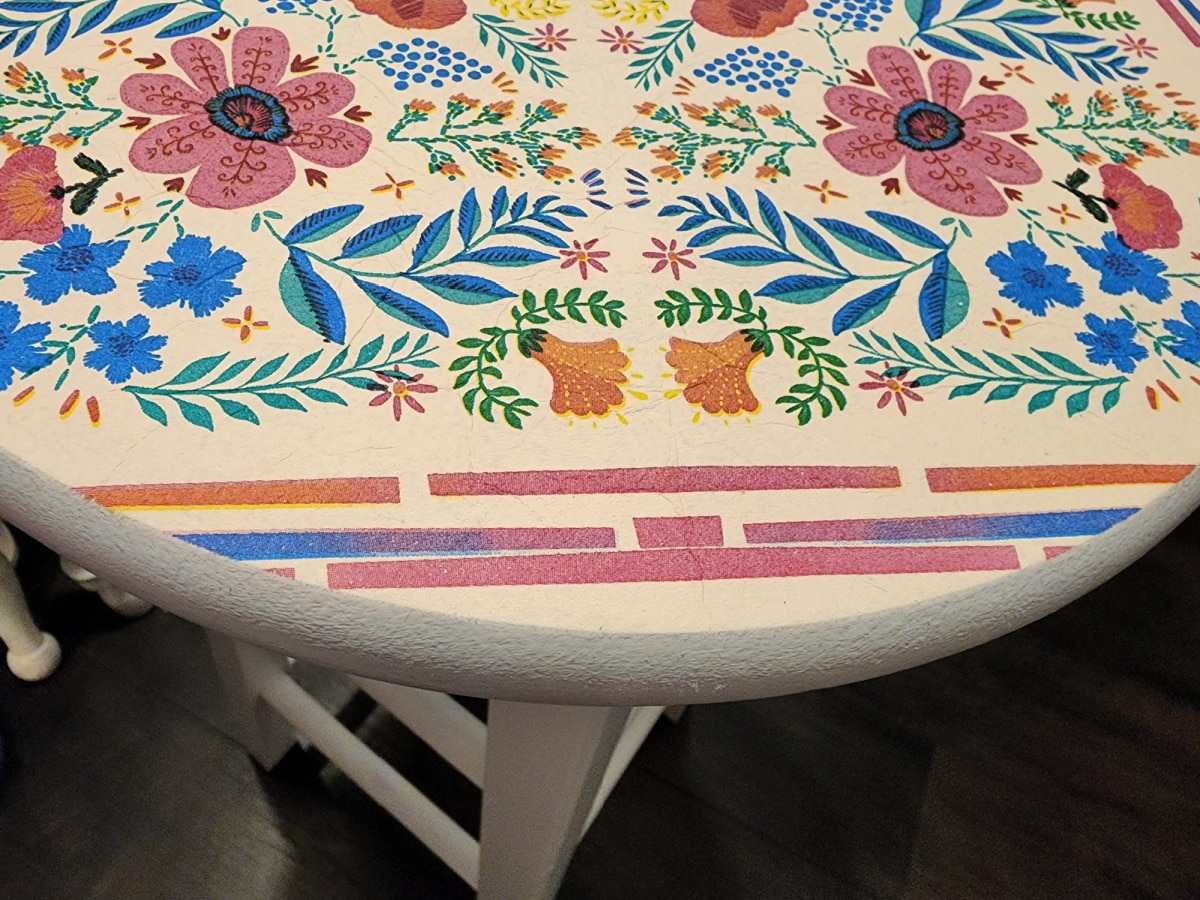
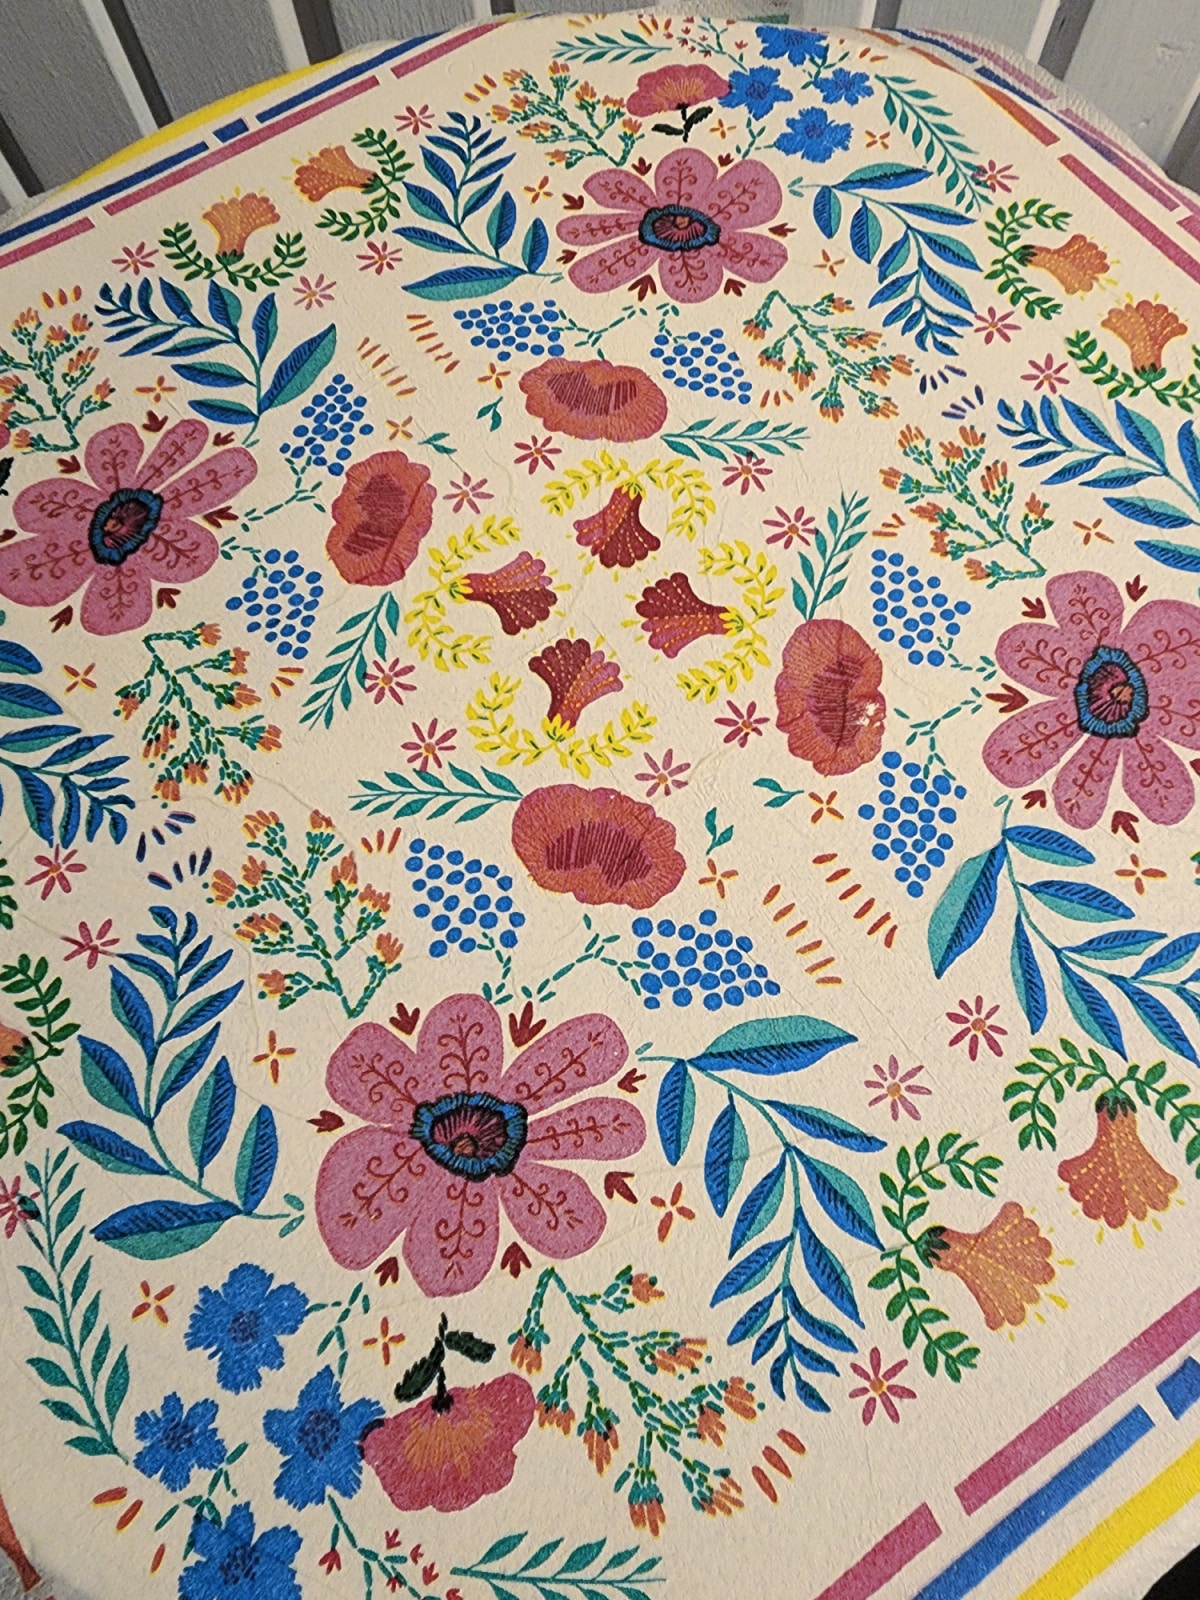
Perfect Decoupage Edge
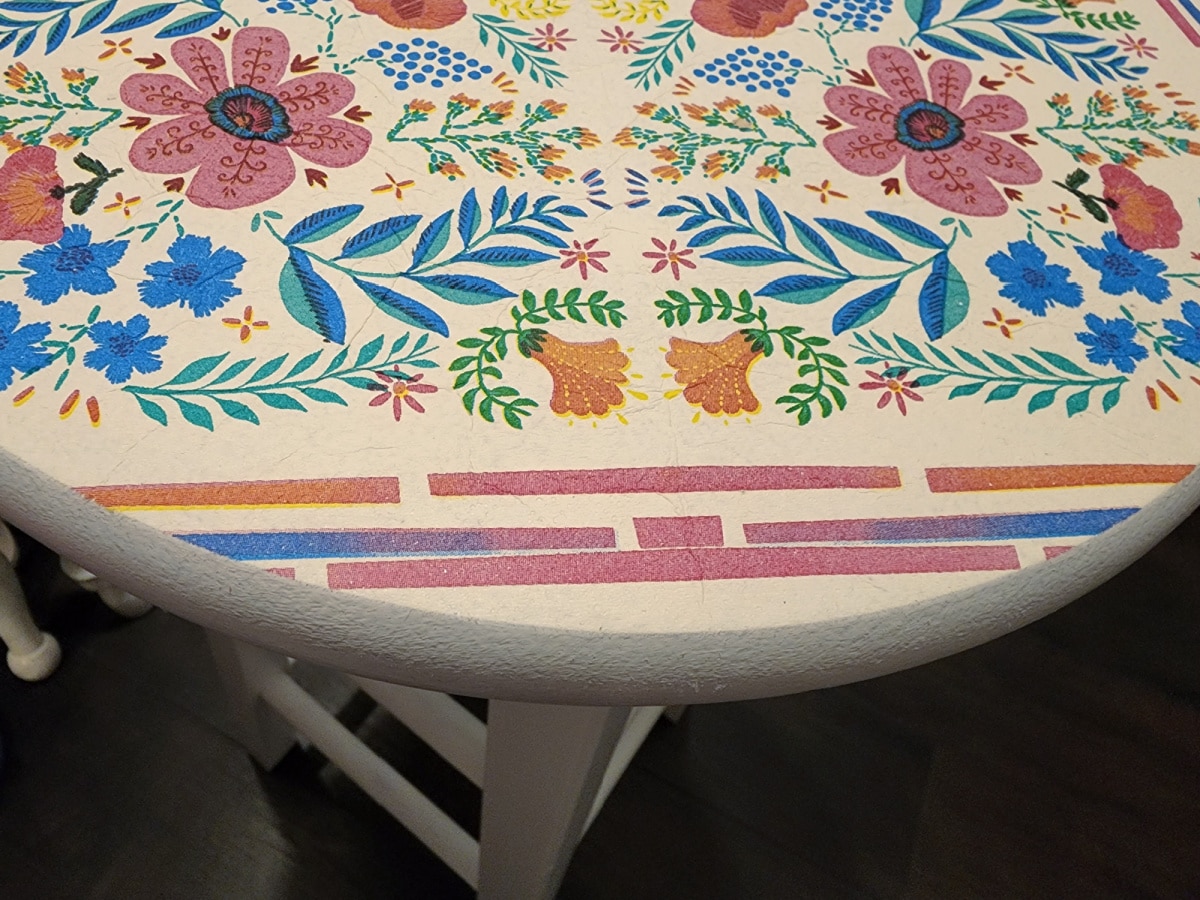
Check out that sanding job. Perfect edge, no paint removed. Be gentle, and you can do it too!
Apply Several Light Top Coats of Mod Podge
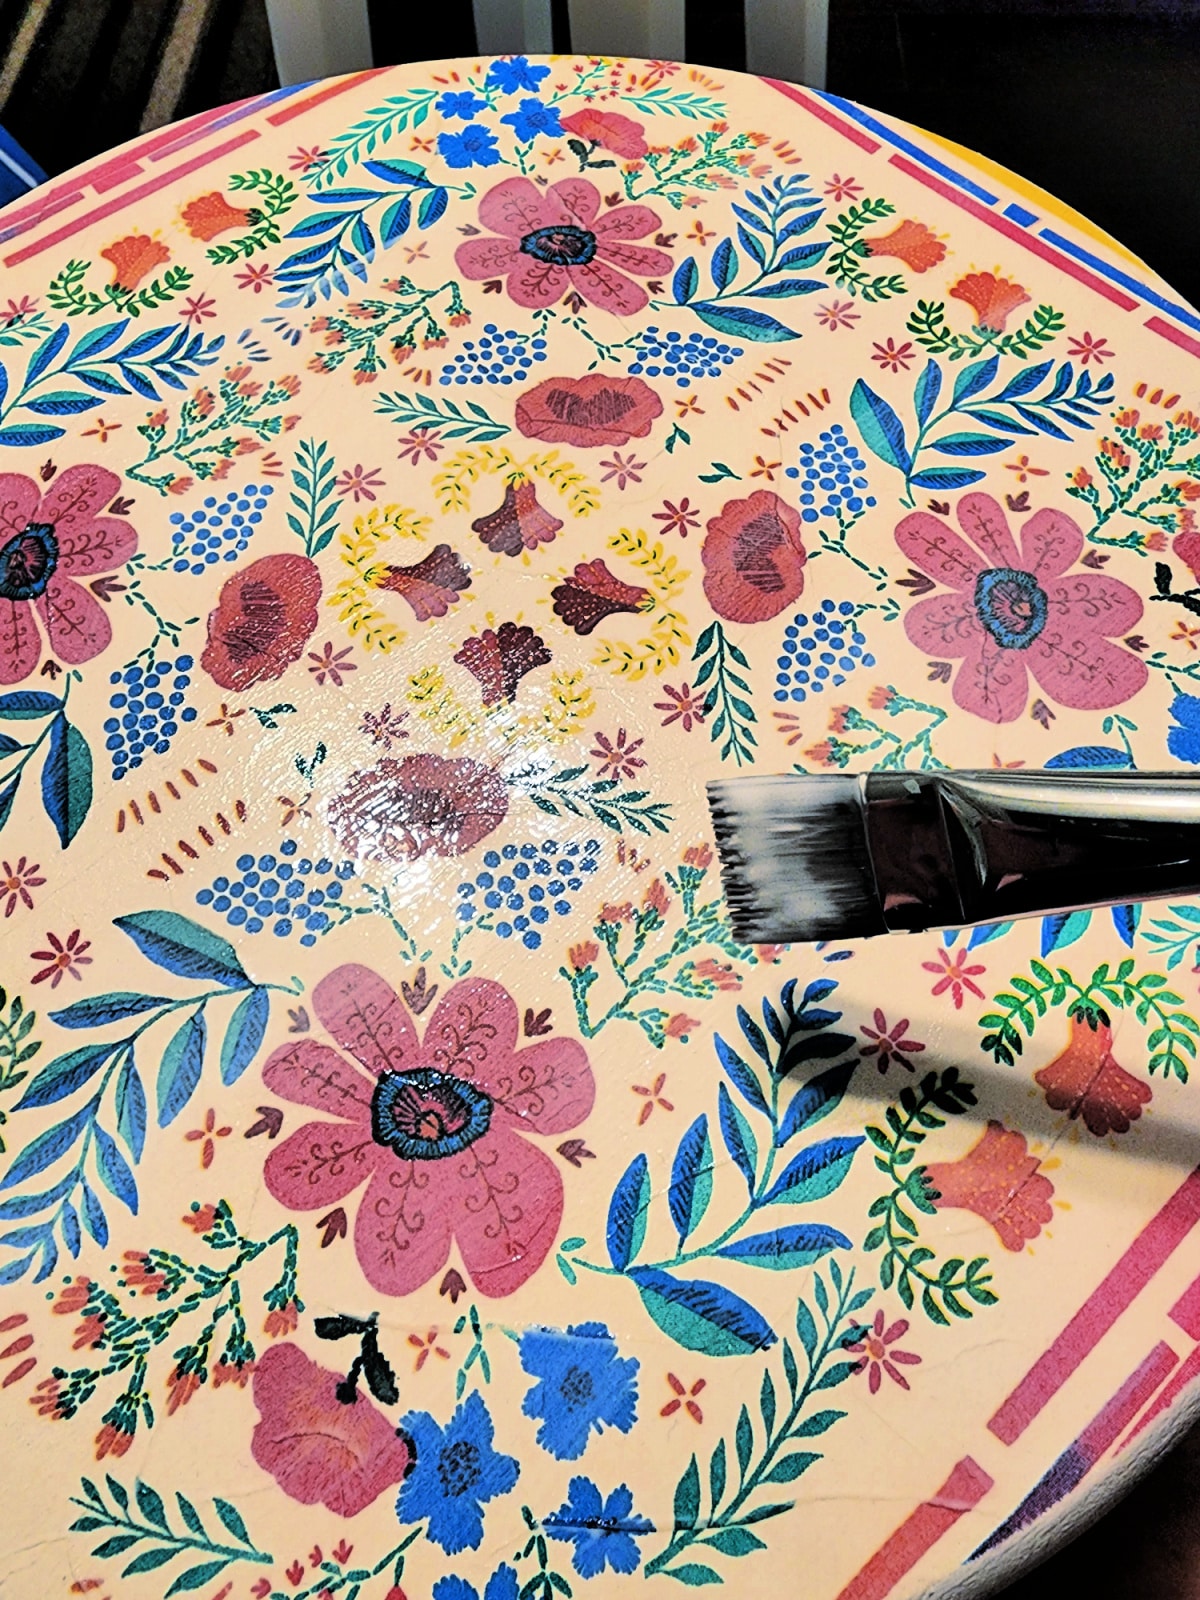
Apply several LIGHT coats of Mod Podge, allowing each to dry well. Lightly sanding between coats with the sanding sponge will give your simple project the best finish.
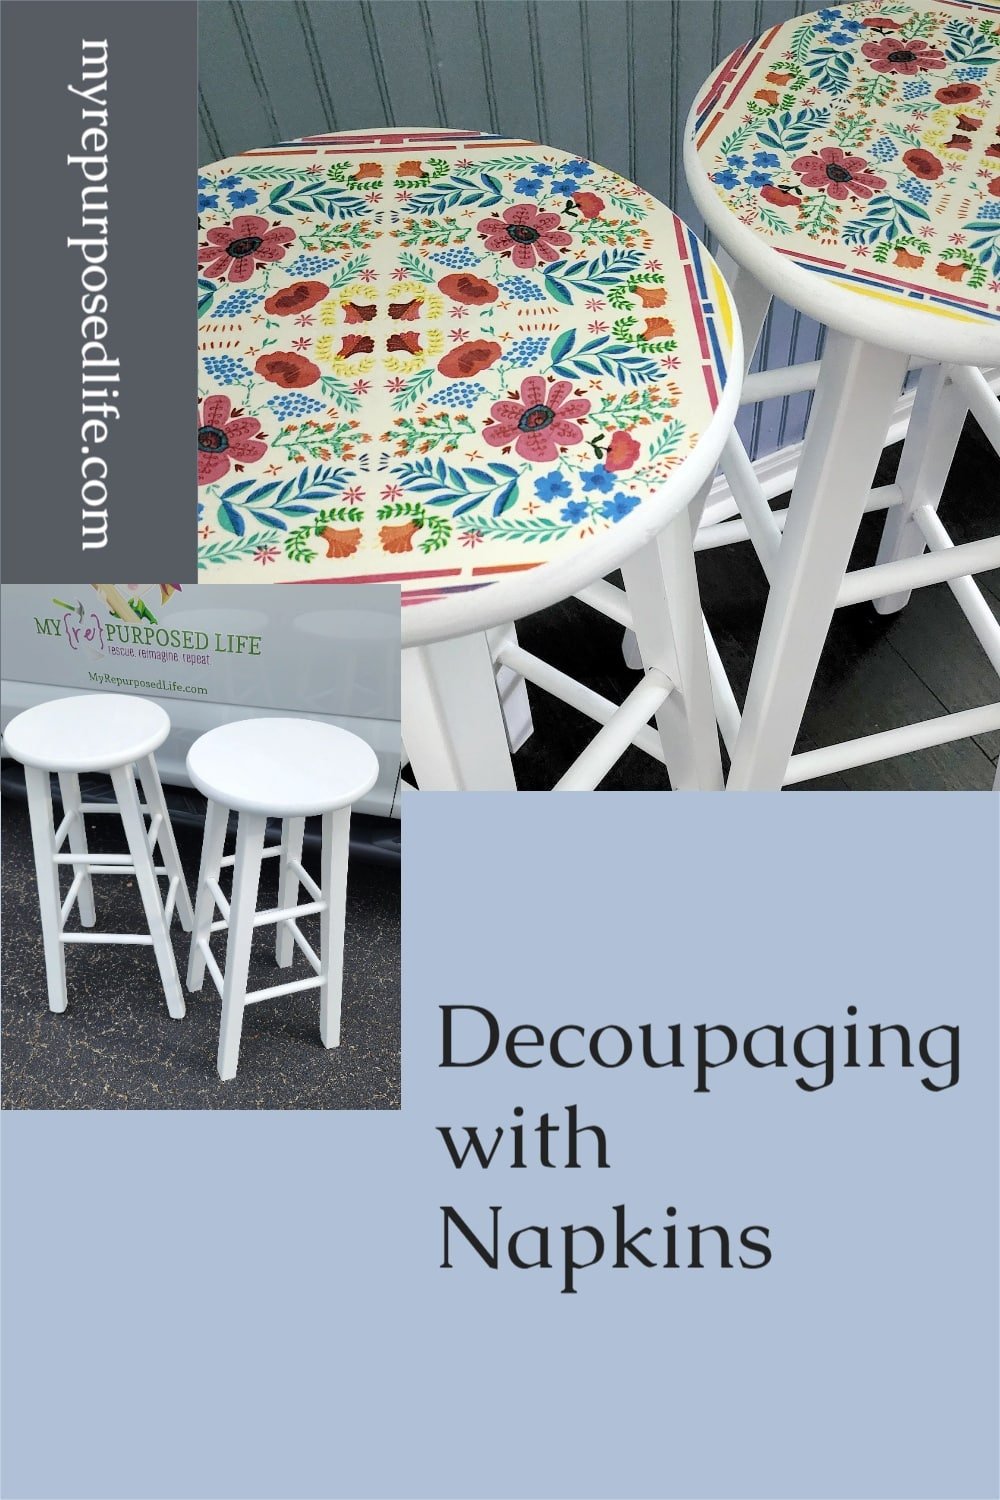
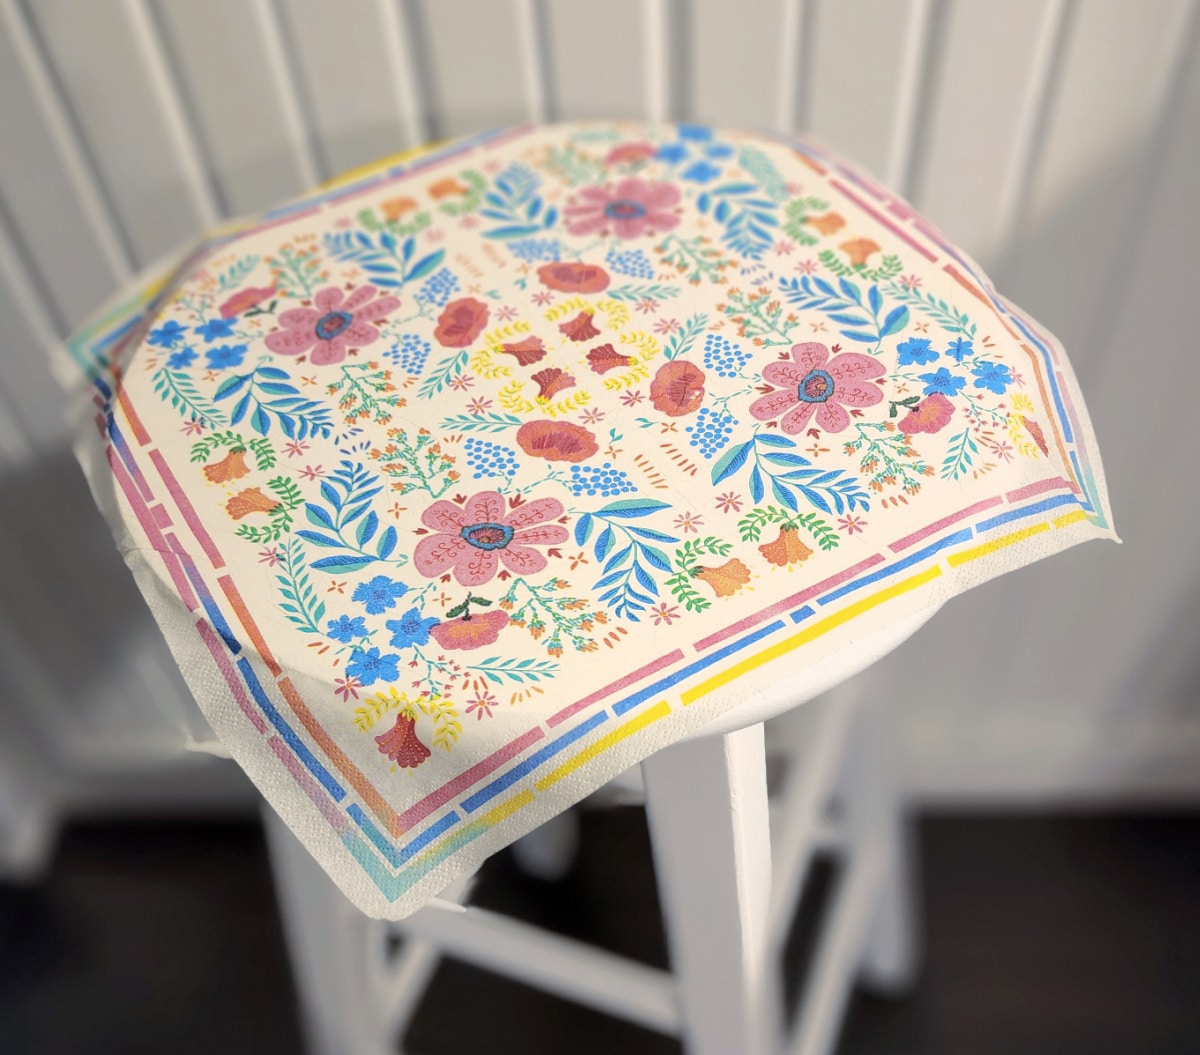
Pretty Decoupage Bar Stools with Napkins
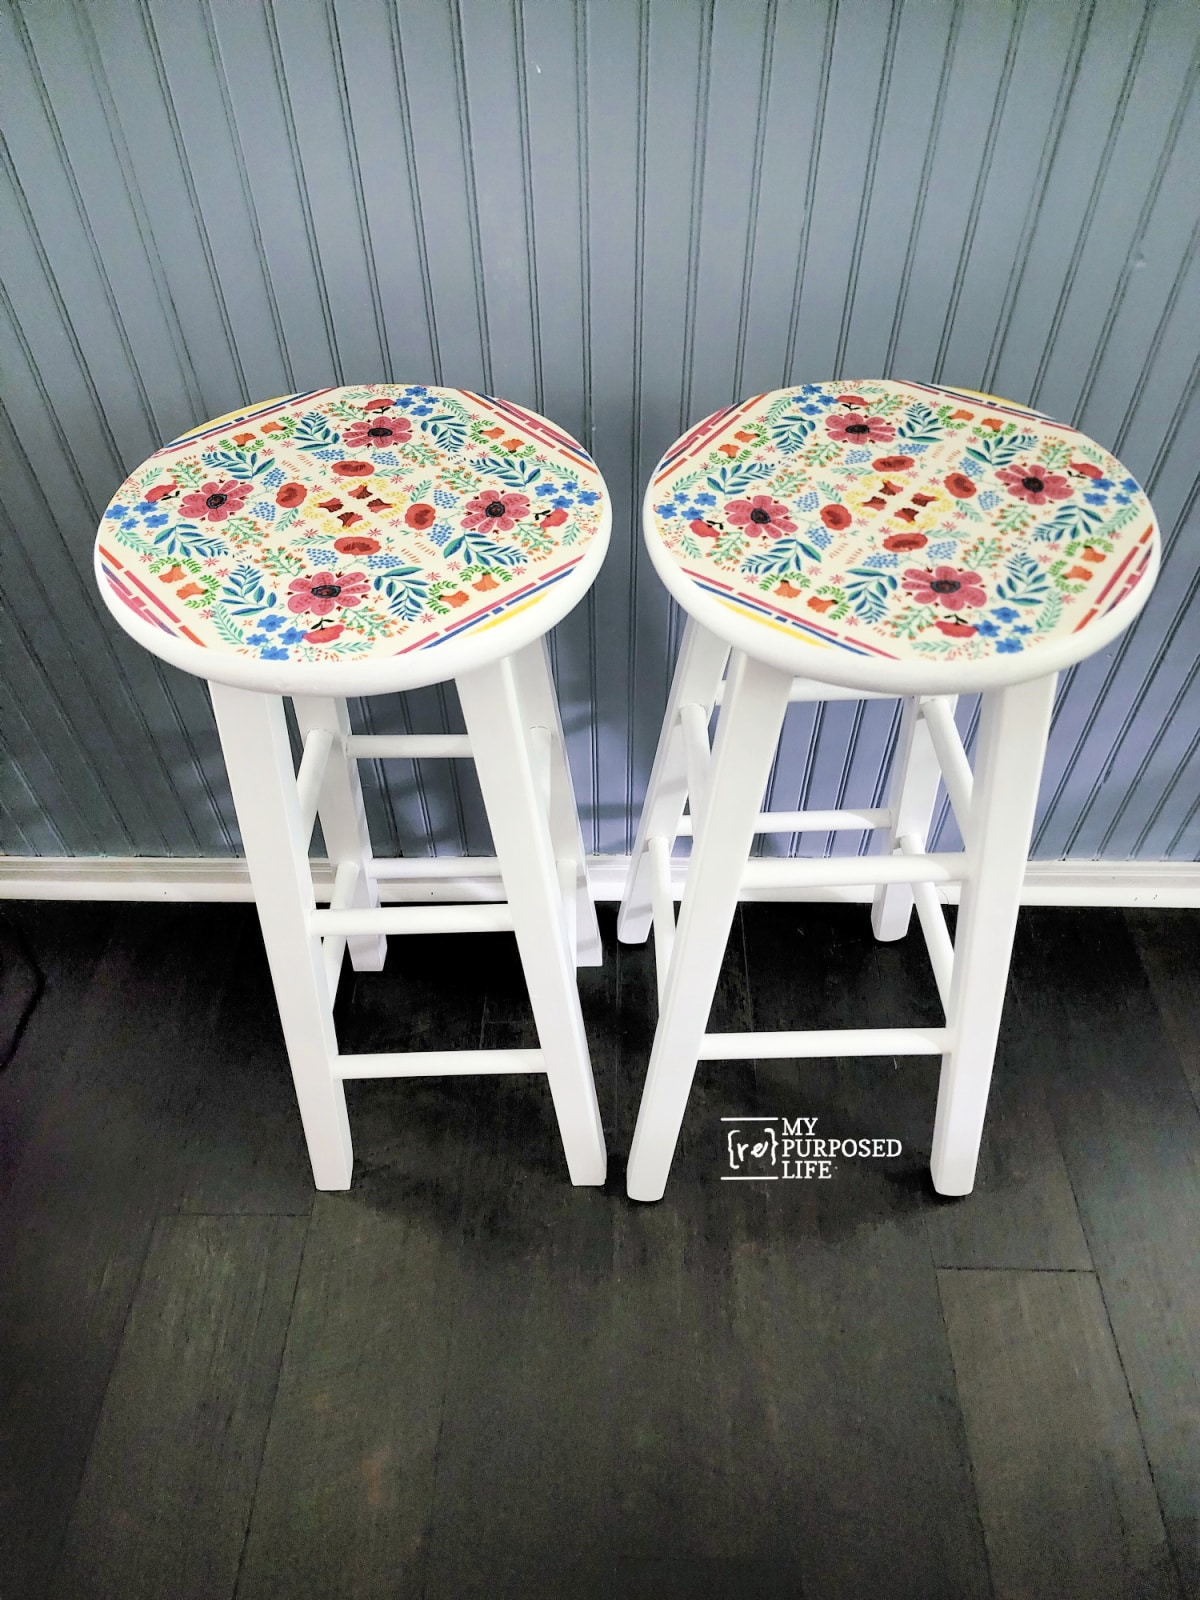
Finally, I feel like I have redeemed myself from the decoupage failure on the blue bar stools.

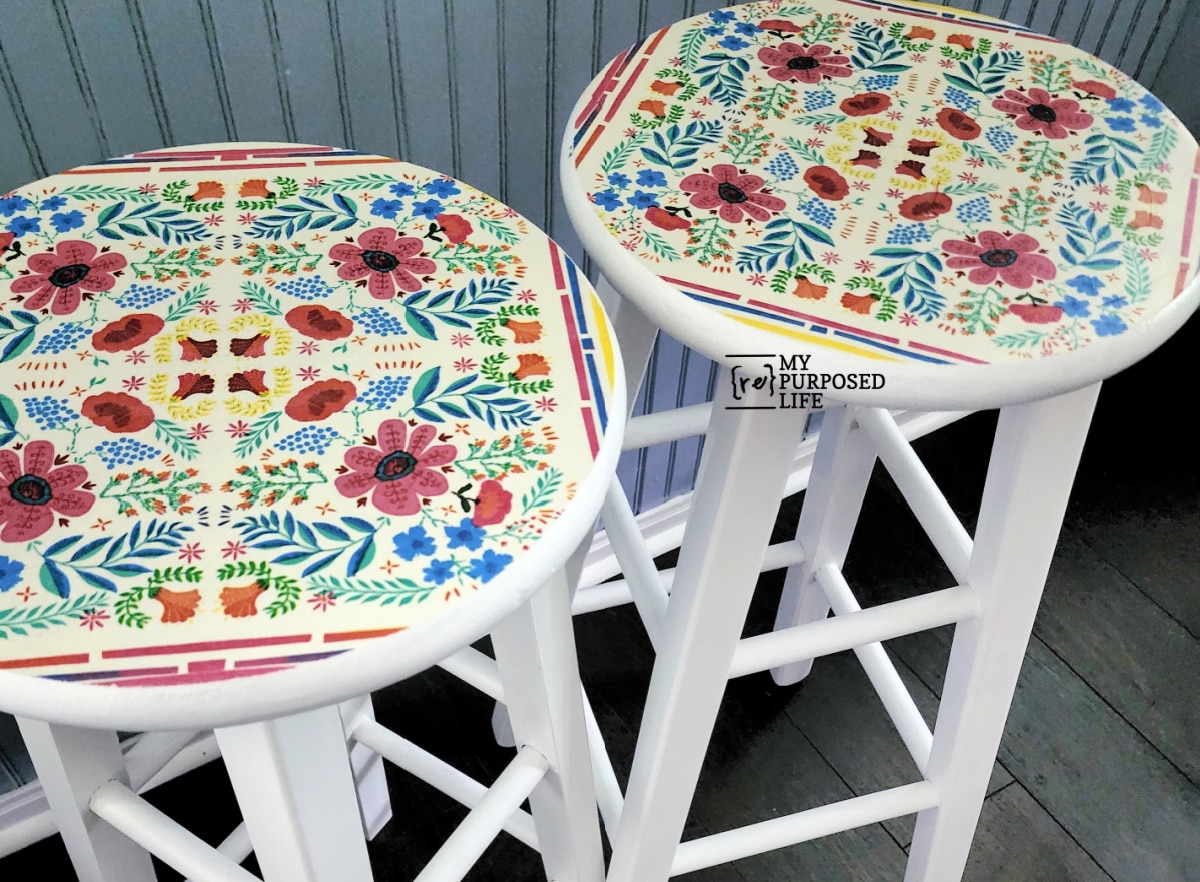
Bye bye boring wooden bar stools! Hello pretty!
I love the white bar stools with colorful napkin-decoupage seats, don’t you?
These decoupage bar stools turned out so much better than my first attempt, and I love when a project gives me a little redemption. A plain wooden stool can be cute with paint alone, but adding napkins to the seat gives it so much personality. If you’ve been nervous about trying decoupage on furniture, start small with a stool, tray, or little tabletop. Just remember, light coats, a soft brush, and a little patience go a long way.
What do you think? Are you ready to do some decoupage furniture?
gail
i really like the way these turned out. beautiful job!
Gail these are just gorgeous!
Thank you Bertie! They’re on the tall side, where the others I did were a little shorter.
gail