Decoupage Sewing Drawer
As an Amazon Associate, I earn from qualifying purchases.
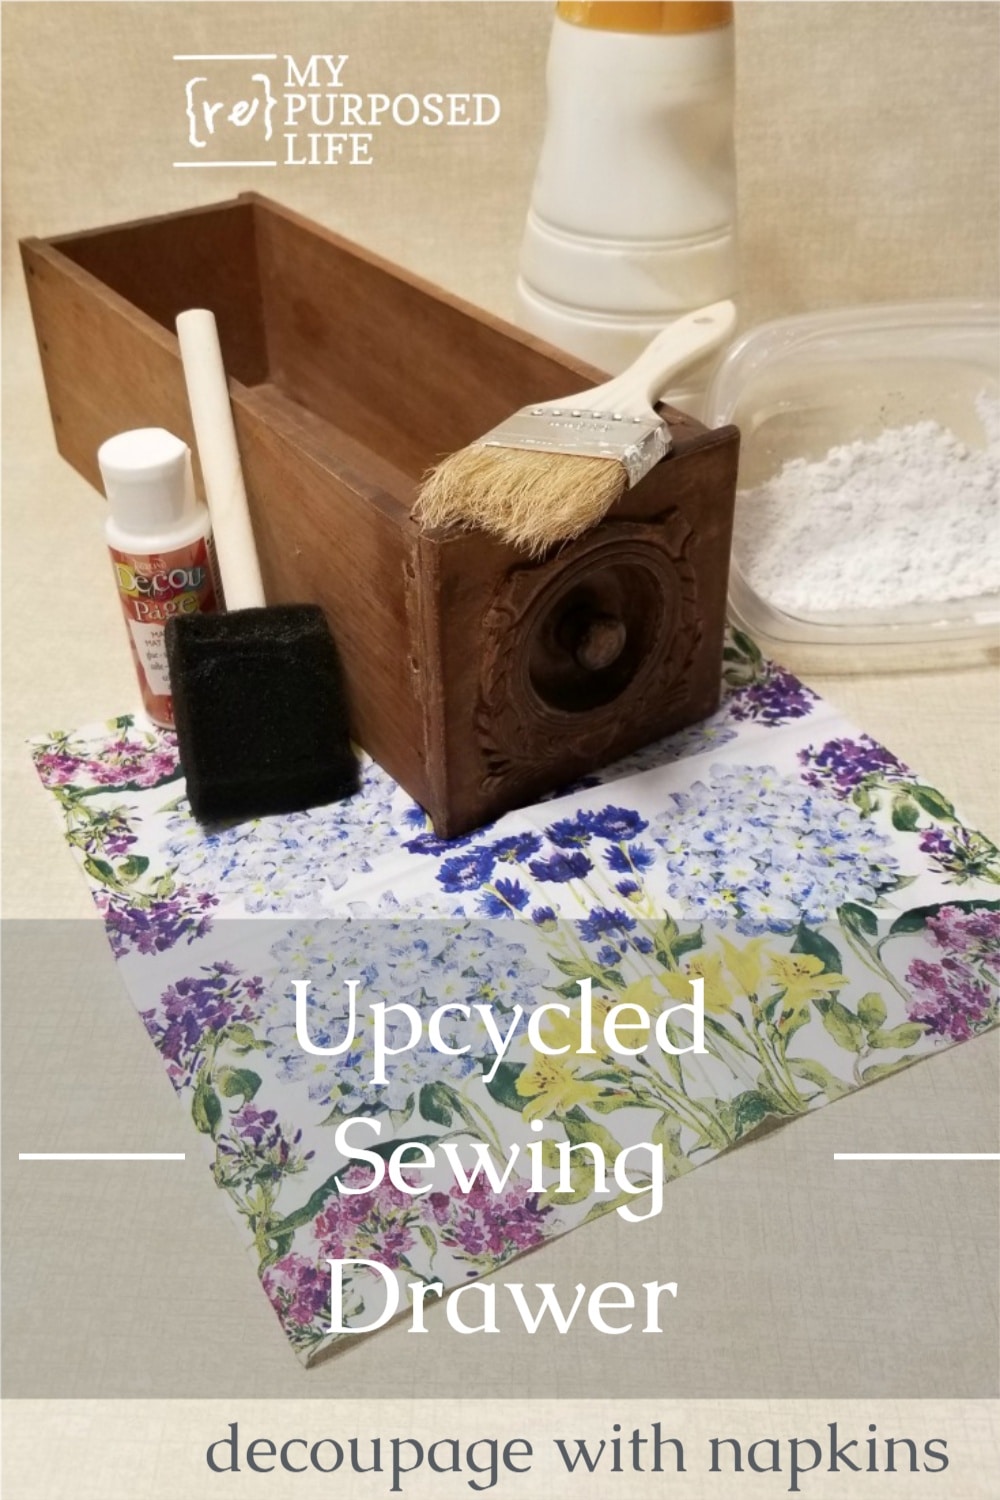
Give an old sewing machine drawer a fresh new look with this simple decoupage project! In this step-by-step tutorial, you’ll learn how to upcycle a vintage drawer using chalky paint, Mod Podge, and pretty floral napkins. Whether you’re looking for unique thrift store makeover ideas or creative ways to decorate with decoupage, this budget-friendly craft adds charm and personality to any space.
Do you love easy thrift store projects? That’s what it’s all about today! I am sharing a decoupage sewing drawer for our monthly thrift store decor challenge. Check out all the projects my creative blogger friends share today (links at the end of this post).
Vintage Sewing Drawer
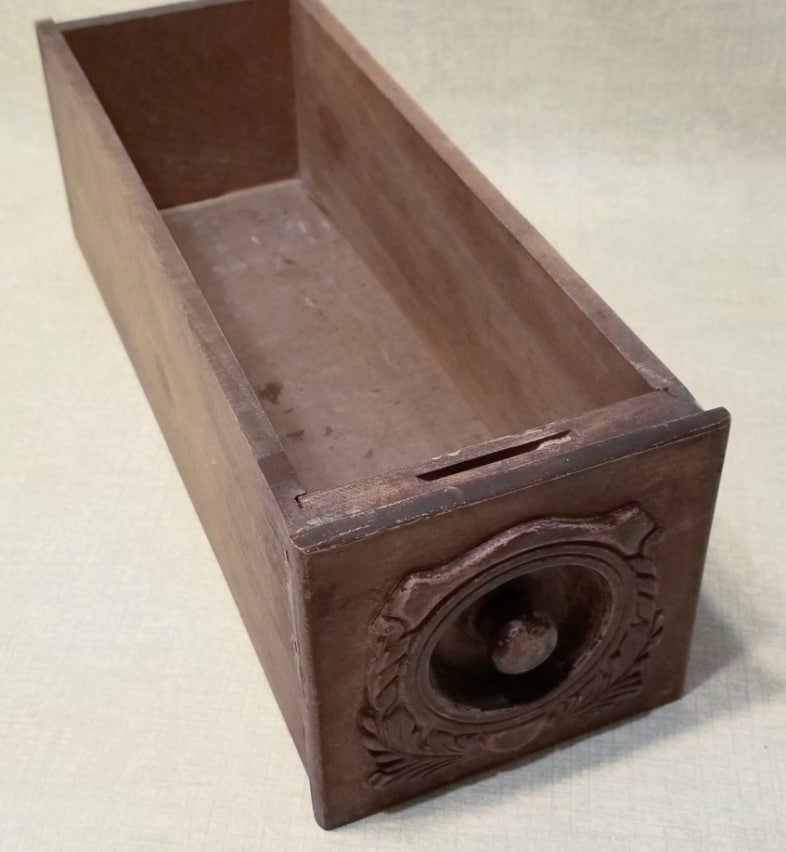
Because I collect junk, I always have several vintage sewing drawers hanging around. So, technically, this drawer didn’t come from a thrift store recently. There’s no telling how long I’ve had this vintage sewing drawer.
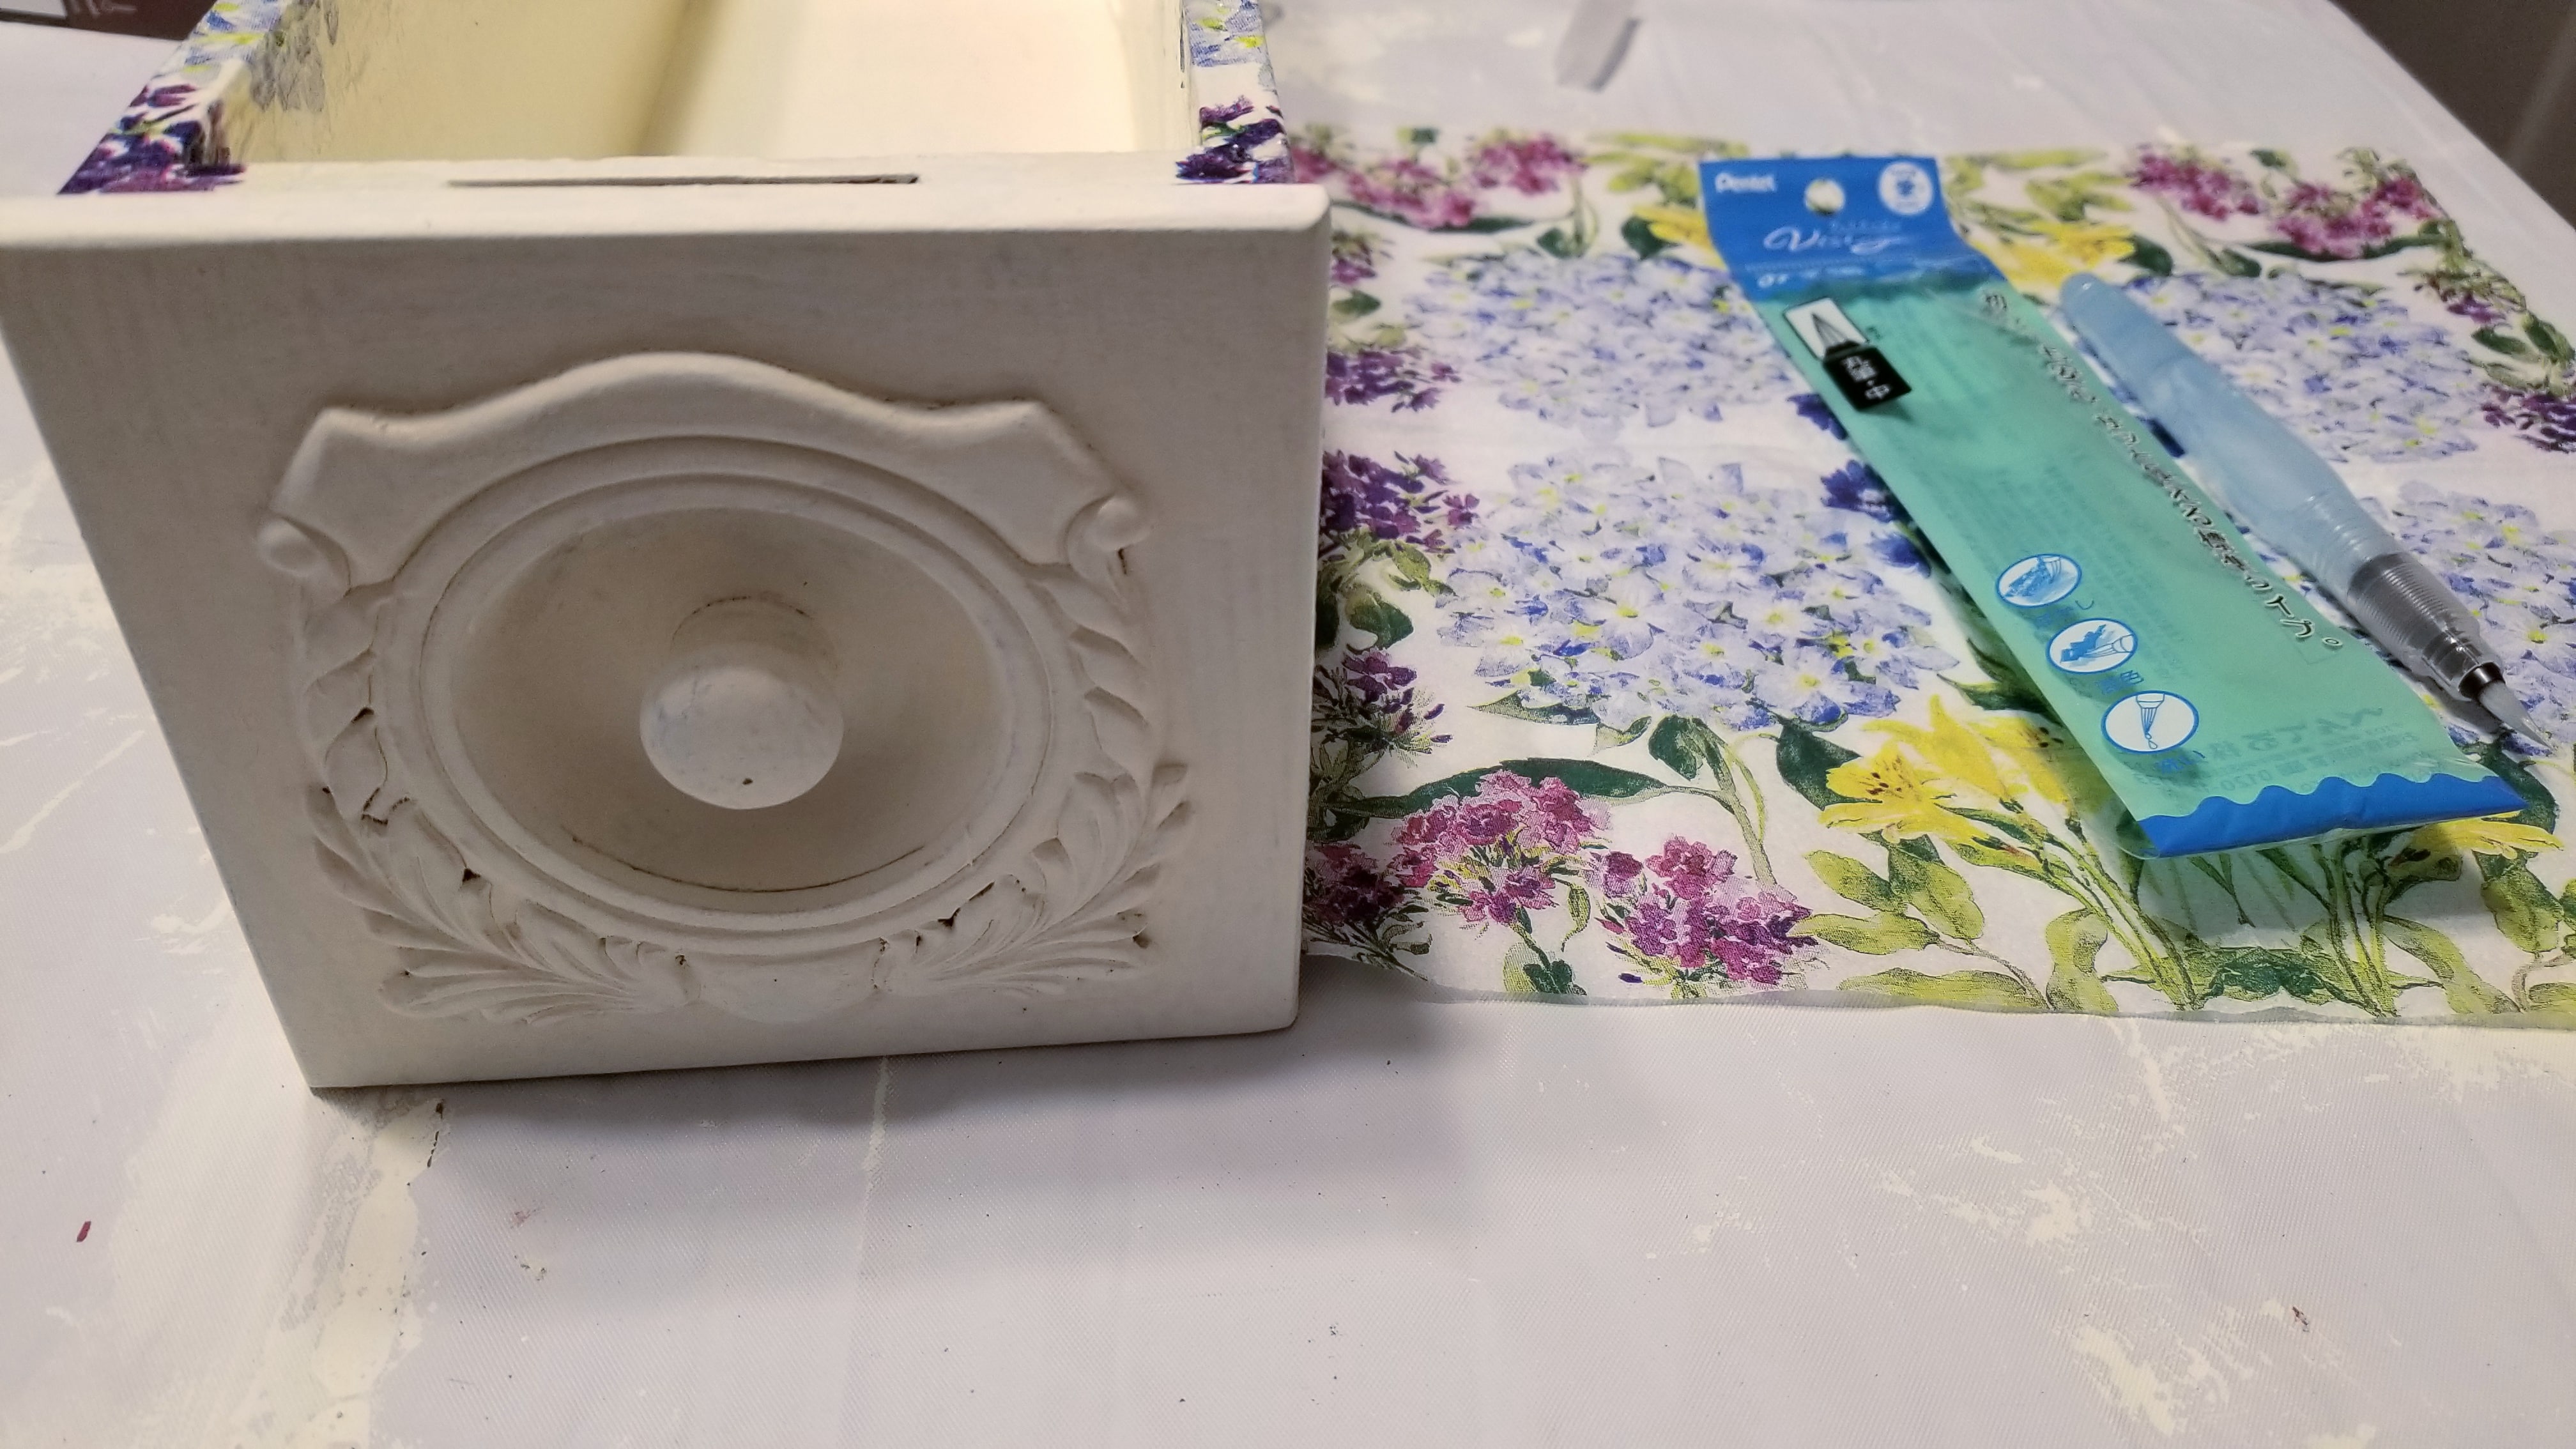
Decoupage Sewing Drawer Materials
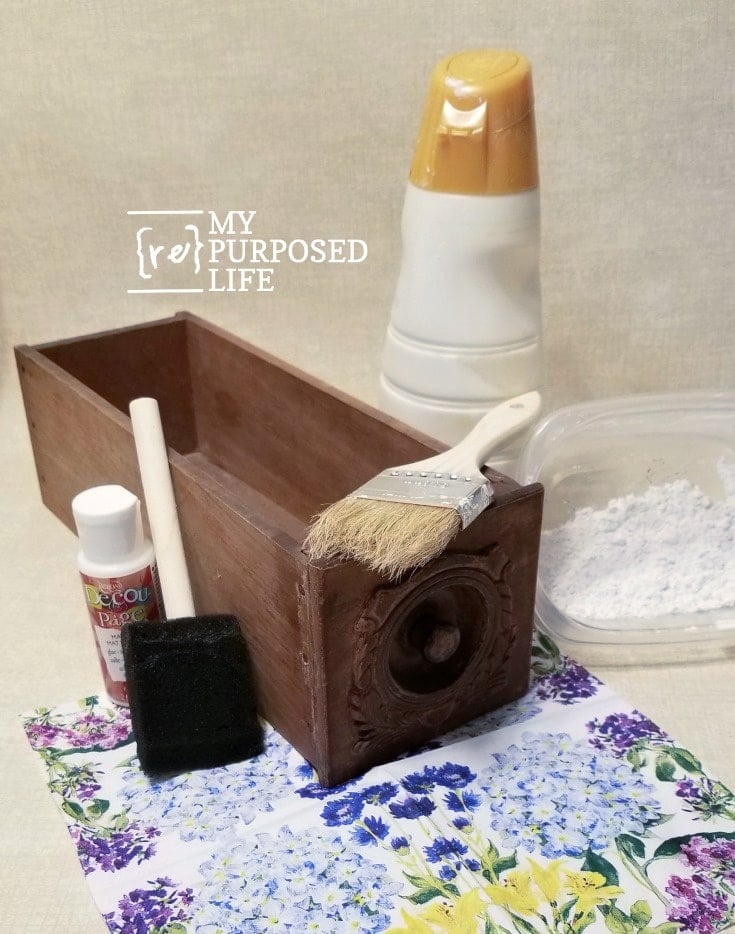
Materials for Decoupaging Sewing Drawer
- Sewing Drawer or other Thrift Store Item
- Paint (DIY Chalky Paint Primer is what I made)
- Plaster of Paris
- Chip Brush
- Mod Podge
- Foam Brush
- Pretty Hydrangea Napkins
- Aqua Brush (not pictured)
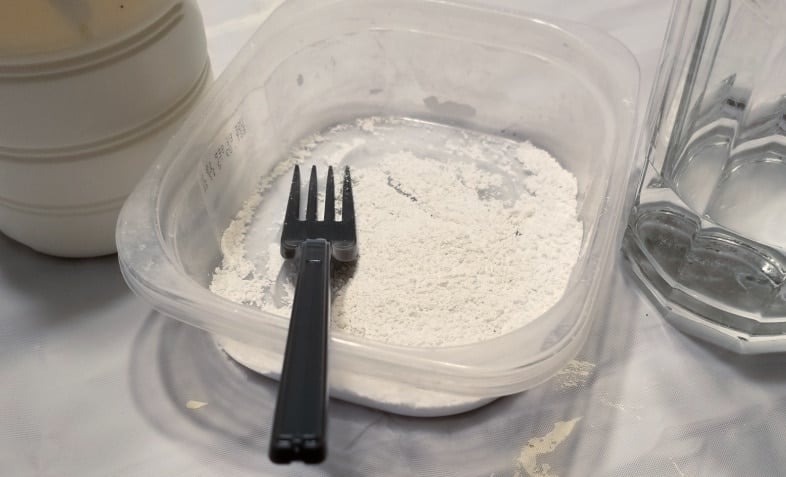
Step 1
Mix your favorite paint with a little bit of Plaster of Paris. Always mix the POP with water before you add your paint.
You can find my chalky paint primer recipe here. It turns out to be a very flat paint that adheres to almost any surface with minimal preparation. I use a lot of latex wall paint for my larger projects. I pour the wall paint into containers like this creamer container to have a smaller quantity for smaller projects.
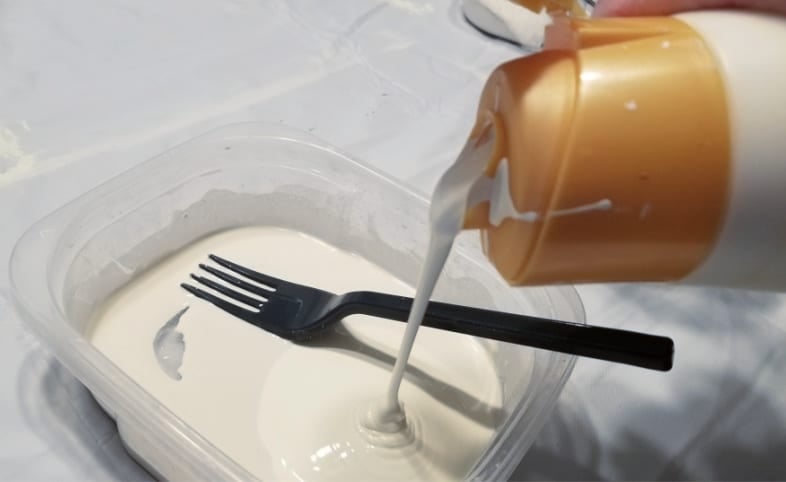
After mixing the plaster of Paris with water, add paint and stir.
Paint Sewing Drawer
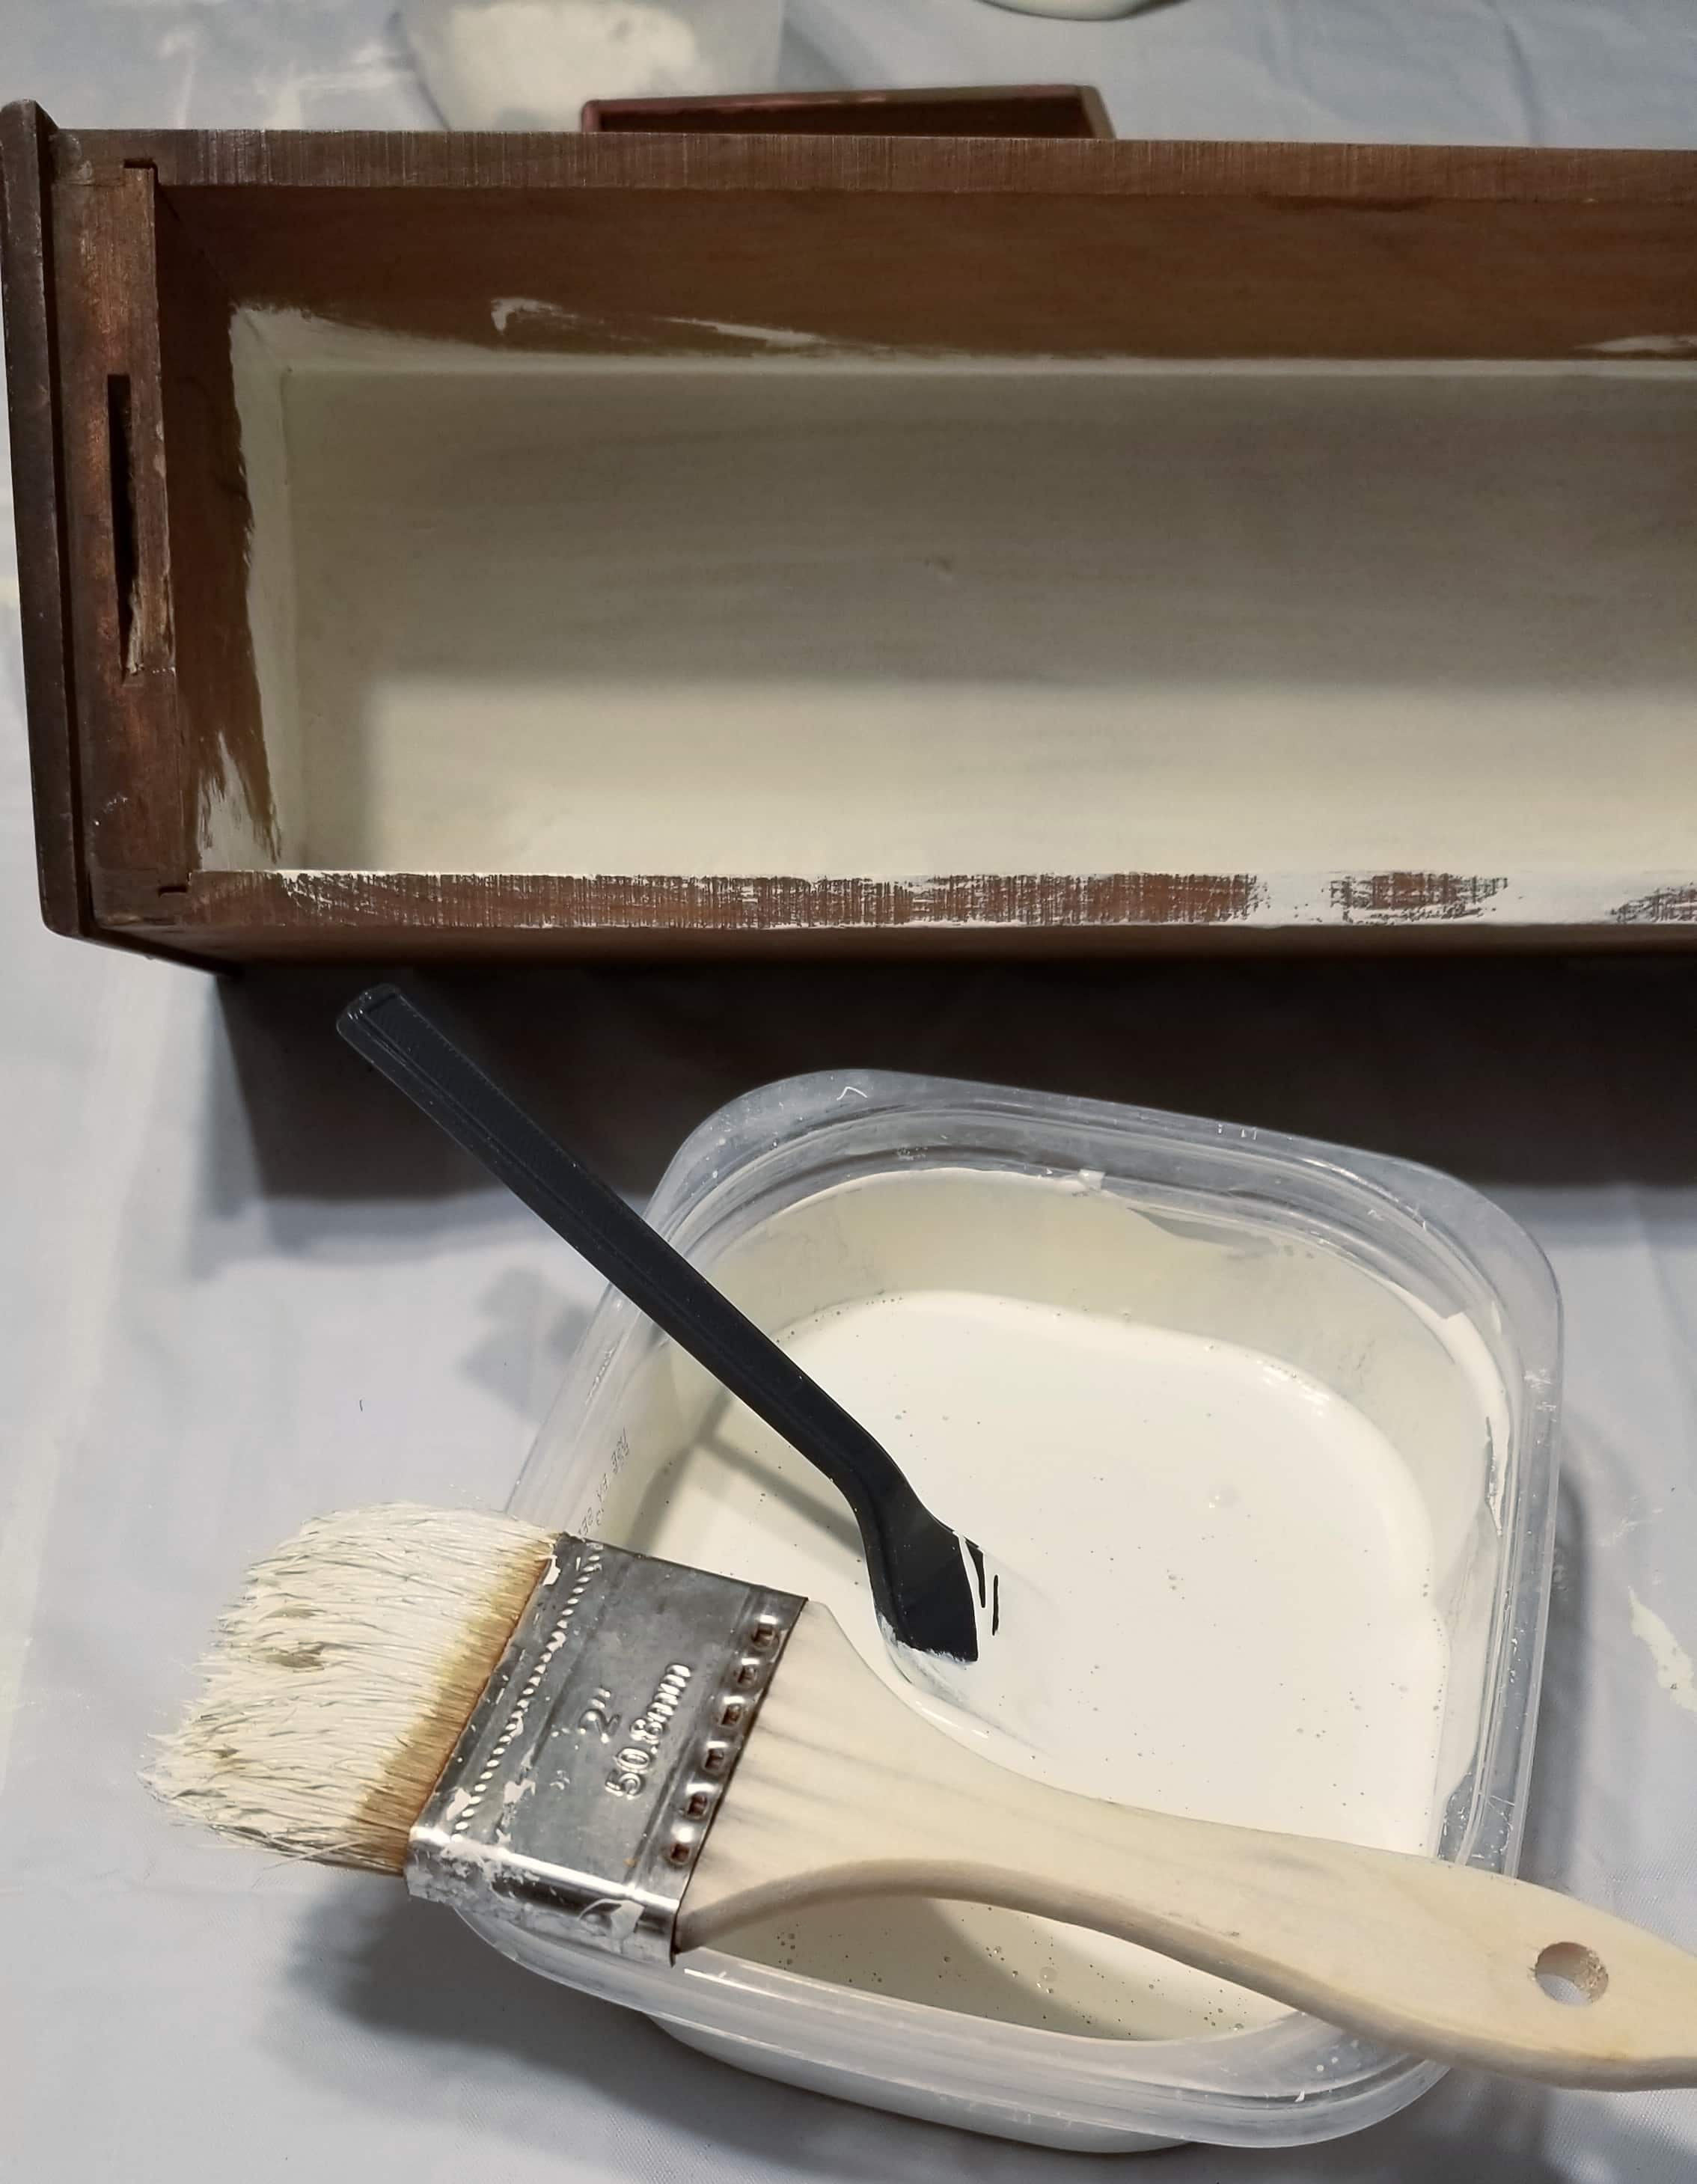
Step 2
Paint all sides of your sewing drawer (or thrift store item). A couple of light coats work best. I prefer chip brushes because they clean up quickly and waste less paint.
Separate 3 Play Napkin
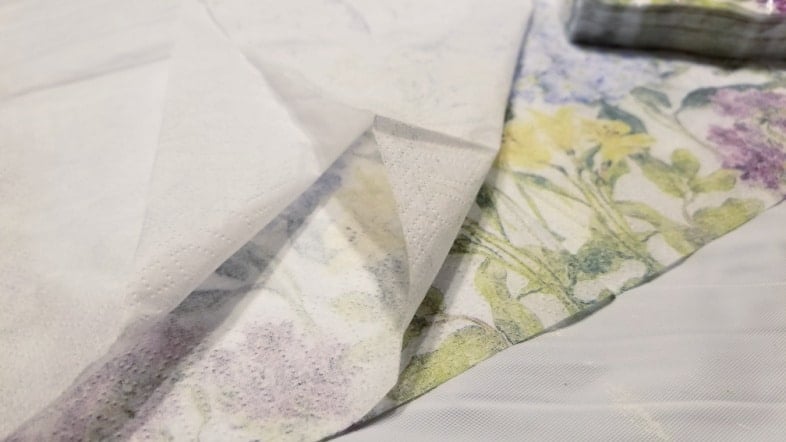
Step 3
Be sure to separate your napkin, using only 1 ply for decoupaging your vintage sewing drawer.
Cut the Napkin in Half
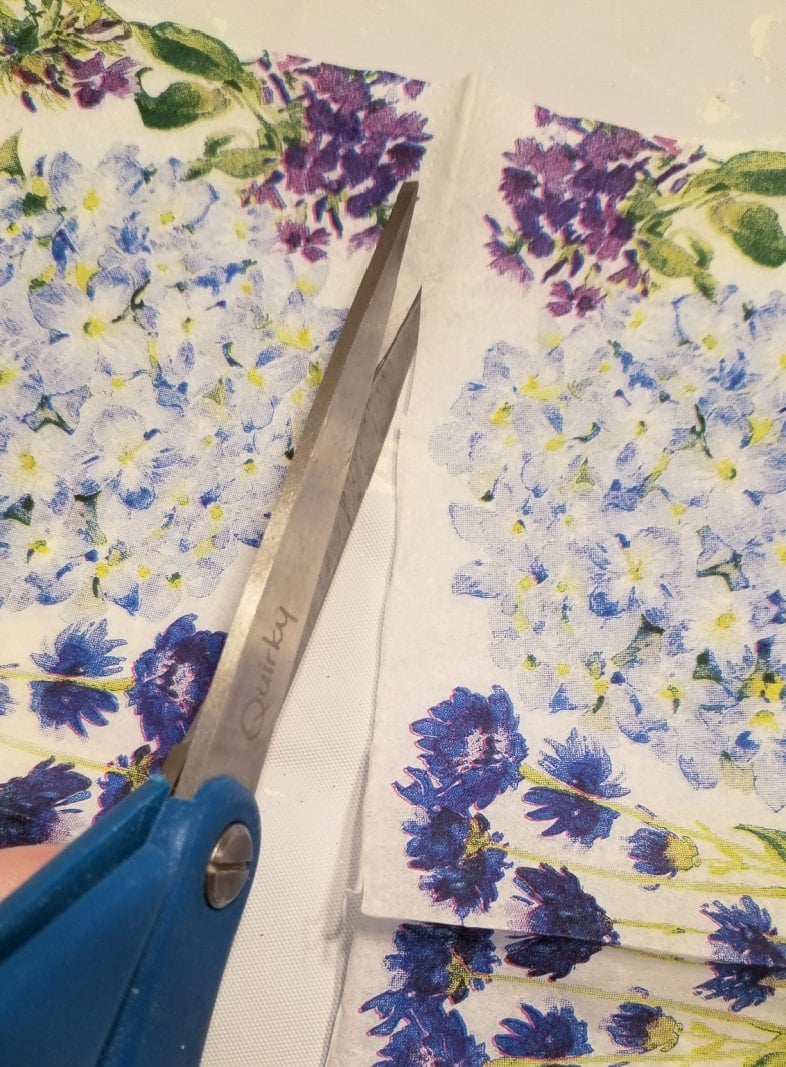
Step 4
Prepare your napkins by cutting them to size with scissors.
Apply Mod Podge
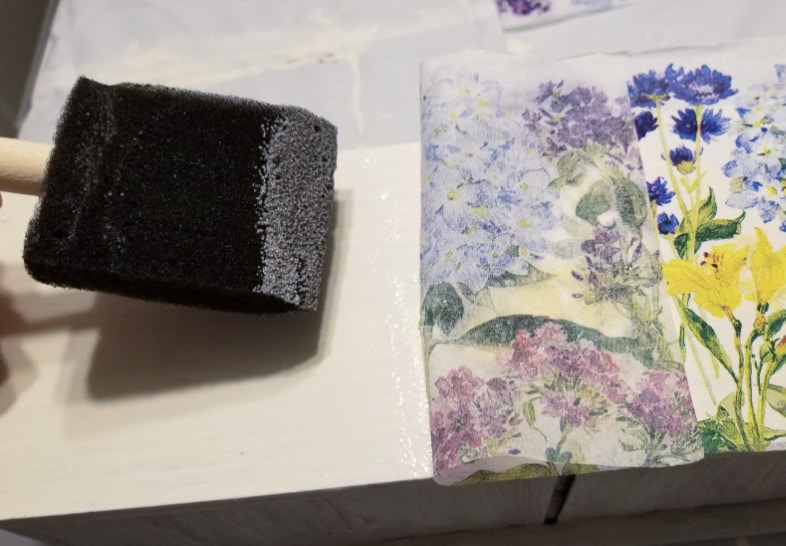
Step 5
Apply the Mod Podge to your sewing drawer and carefully place the first portion of the napkin on it. If you are careful, you have 1-2 chances to lift the napkin and readjust if needed.
You may want to dilute the Mod Podge with a bit of water. I worked with a wet foam brush for this step.
Apply Mod Podge to the Top of the Napkin
Step 6
Carefully apply Mod Podge to the top of your napkin. I prefer to “dab” it onto the napkin. Using 1 ply of the napkin makes it very thin and fragile, easily tearing.
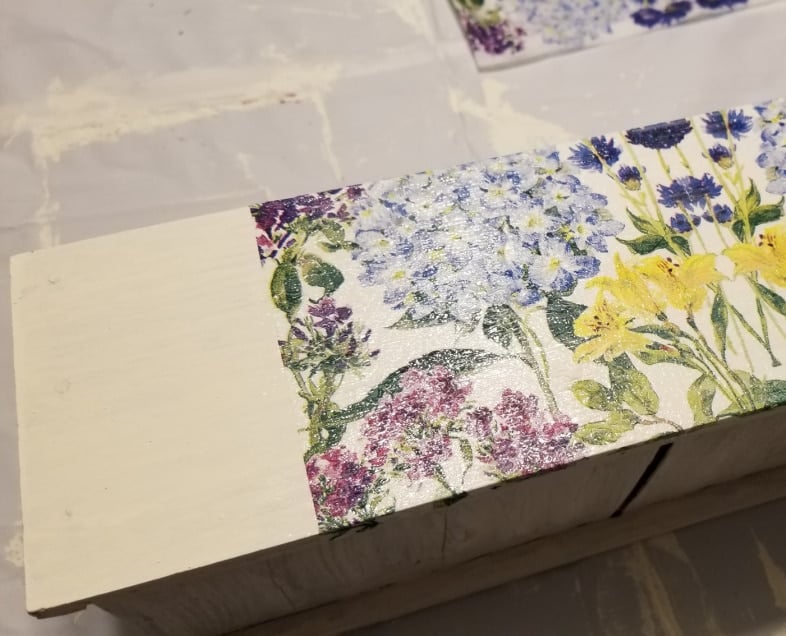
Continue the Decoupage Process, Adding More Napkins
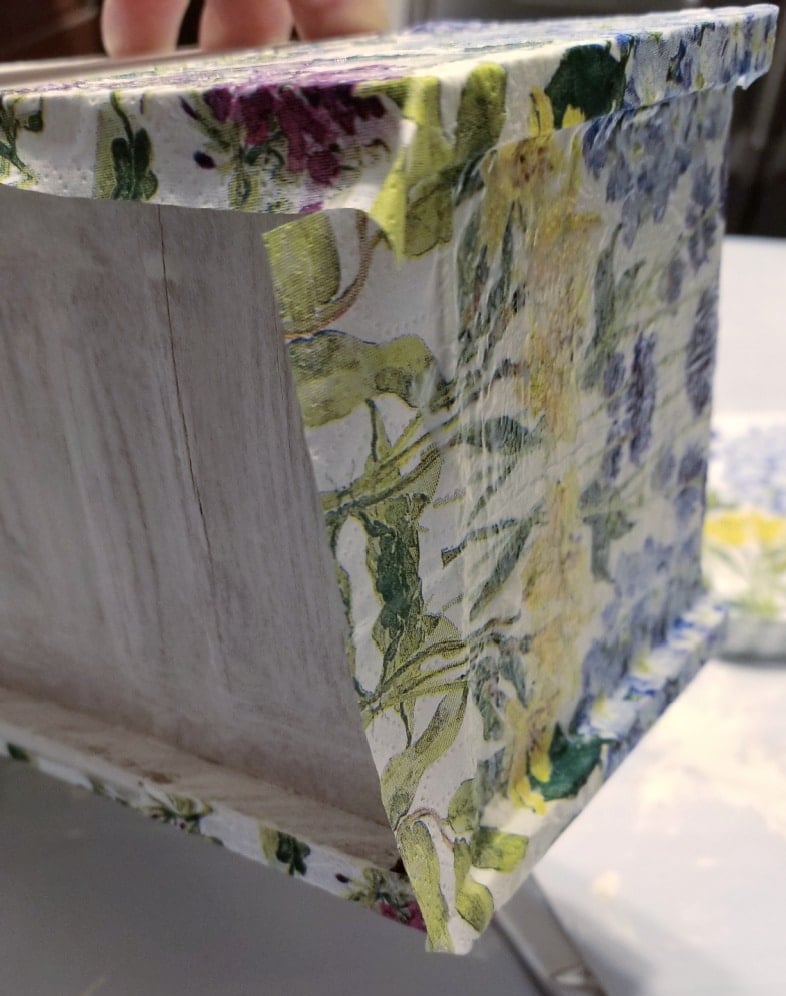
Continue to apply Mod Podge and napkins on your entire project. I used the flat edge of a butter knife to carefully encourage the napkin to “stick” in the back corners of the sewing drawer.
The napkins used for this decoupage sewing drawer were beverage-size. For these first steps, I only used 2 napkins. I’ll be very transparent here. I took a break because I didn’t know what to do with the ornate front of the vintage sewing drawer. After a good night’s sleep, I was back at it the following day.
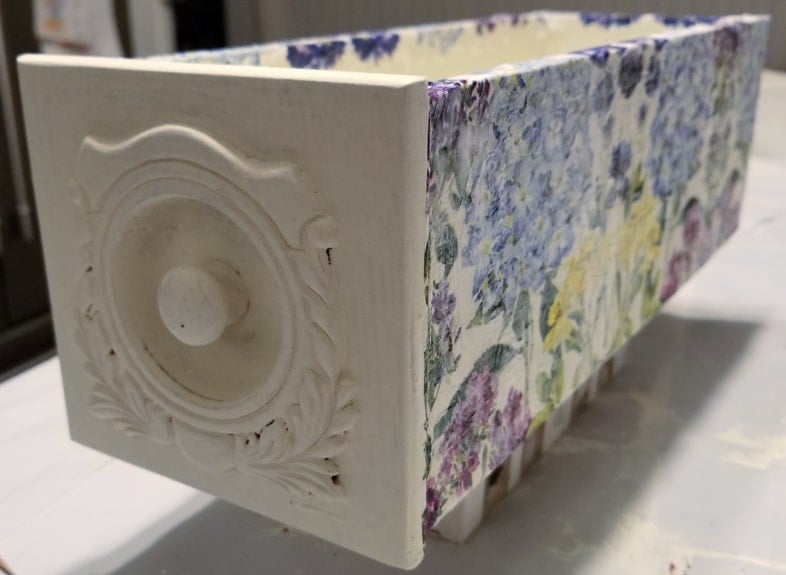
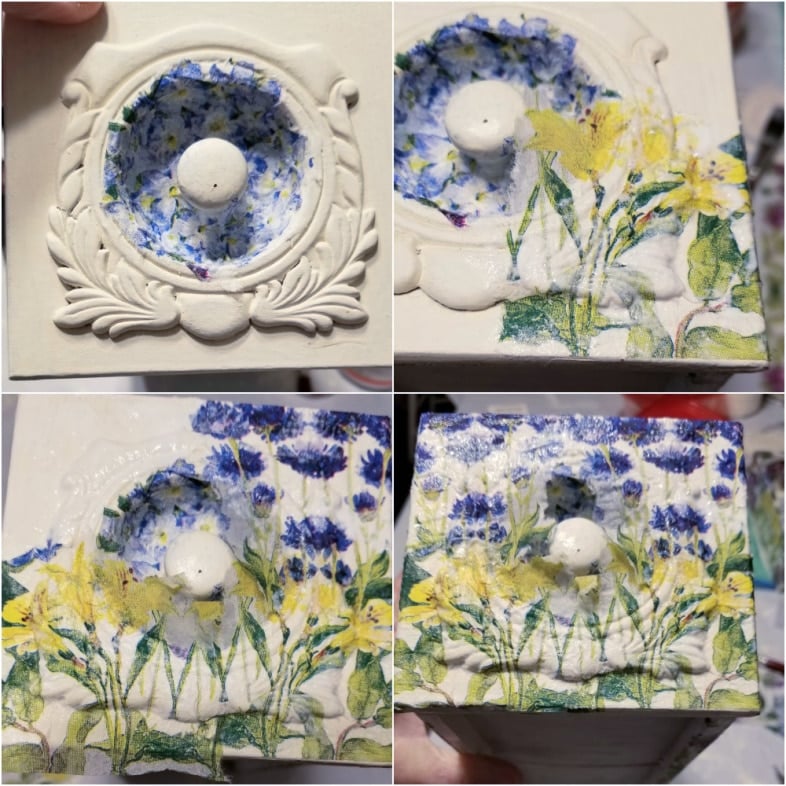
How to Decoupage an Ornate Sewing Drawer Front
Step 7
Embellish the ornate front of the vintage sewing drawer. You could use an artist’s paintbrush to paint the front with accent colors that match your napkin. I can’t paint a lick, so I decided to decoupage the ornate front of the drawer.
To do this, I got out my aqua brush. Filling the brush with water wets the bristles, allowing you to be more creative when tearing your napkin. The front of the sewing drawer took an entire napkin due to a few careless operator errors. ![]()
I purchased the aqua brush last year while decoupaging napkins on a wicker basket.
Using the aqua brush, I wet the napkin around the edge of the large hydrangea flower. This made tearing away the part I wanted to use much more manageable.
Cut Slits For Knob
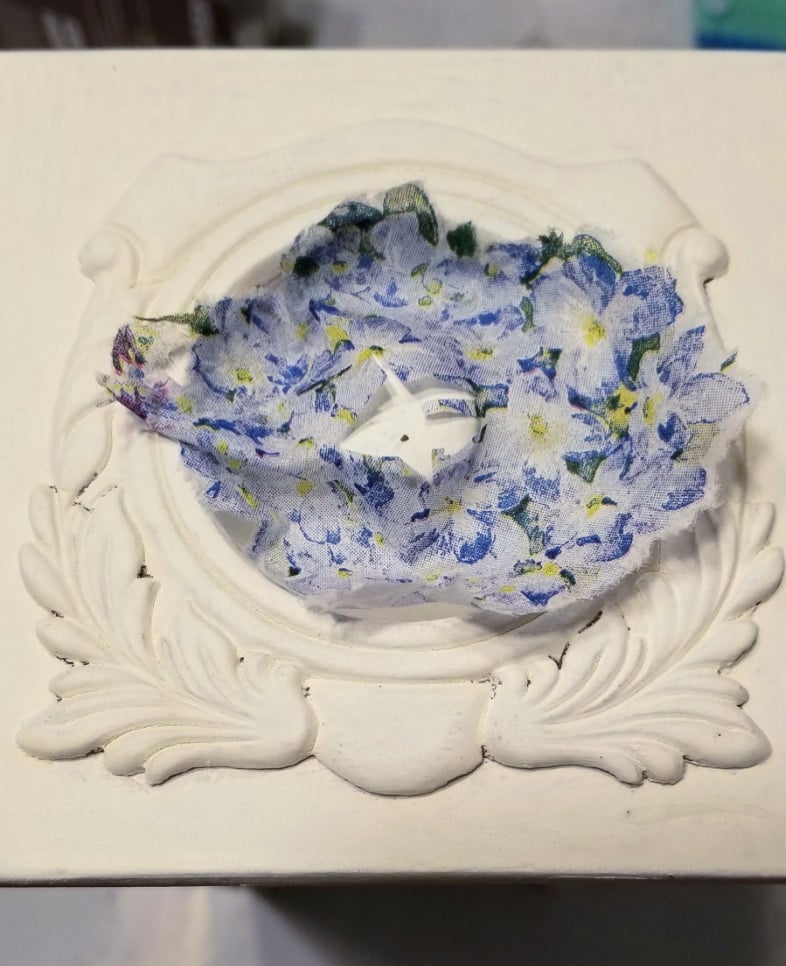
Before applying any Mod Podge, I tested the fit of my flower pattern. I cut a few slits to allow the napkin to fit over the drawer knob. You may want to remove the knob or replace it altogether.
Use a Small Brush to Apply Mod Podge

Using a small paintbrush to apply Mod Podge allowed me to put it where I wanted. I put it on the knob, but I really should have avoided that area for the time being.
It Doesn’t Have to be Perfect
At this point, don’t worry about making it perfect. You can add patches later to disguise any imperfections.
I divided the napkin into pieces using the aqua brush and slowly added them to each corner of the sewing drawer. Notice the overlap around the knob area. The Mod Podge was only applied up to the edge of the round appliqué.
At this point, the knob had not been decoupaged.
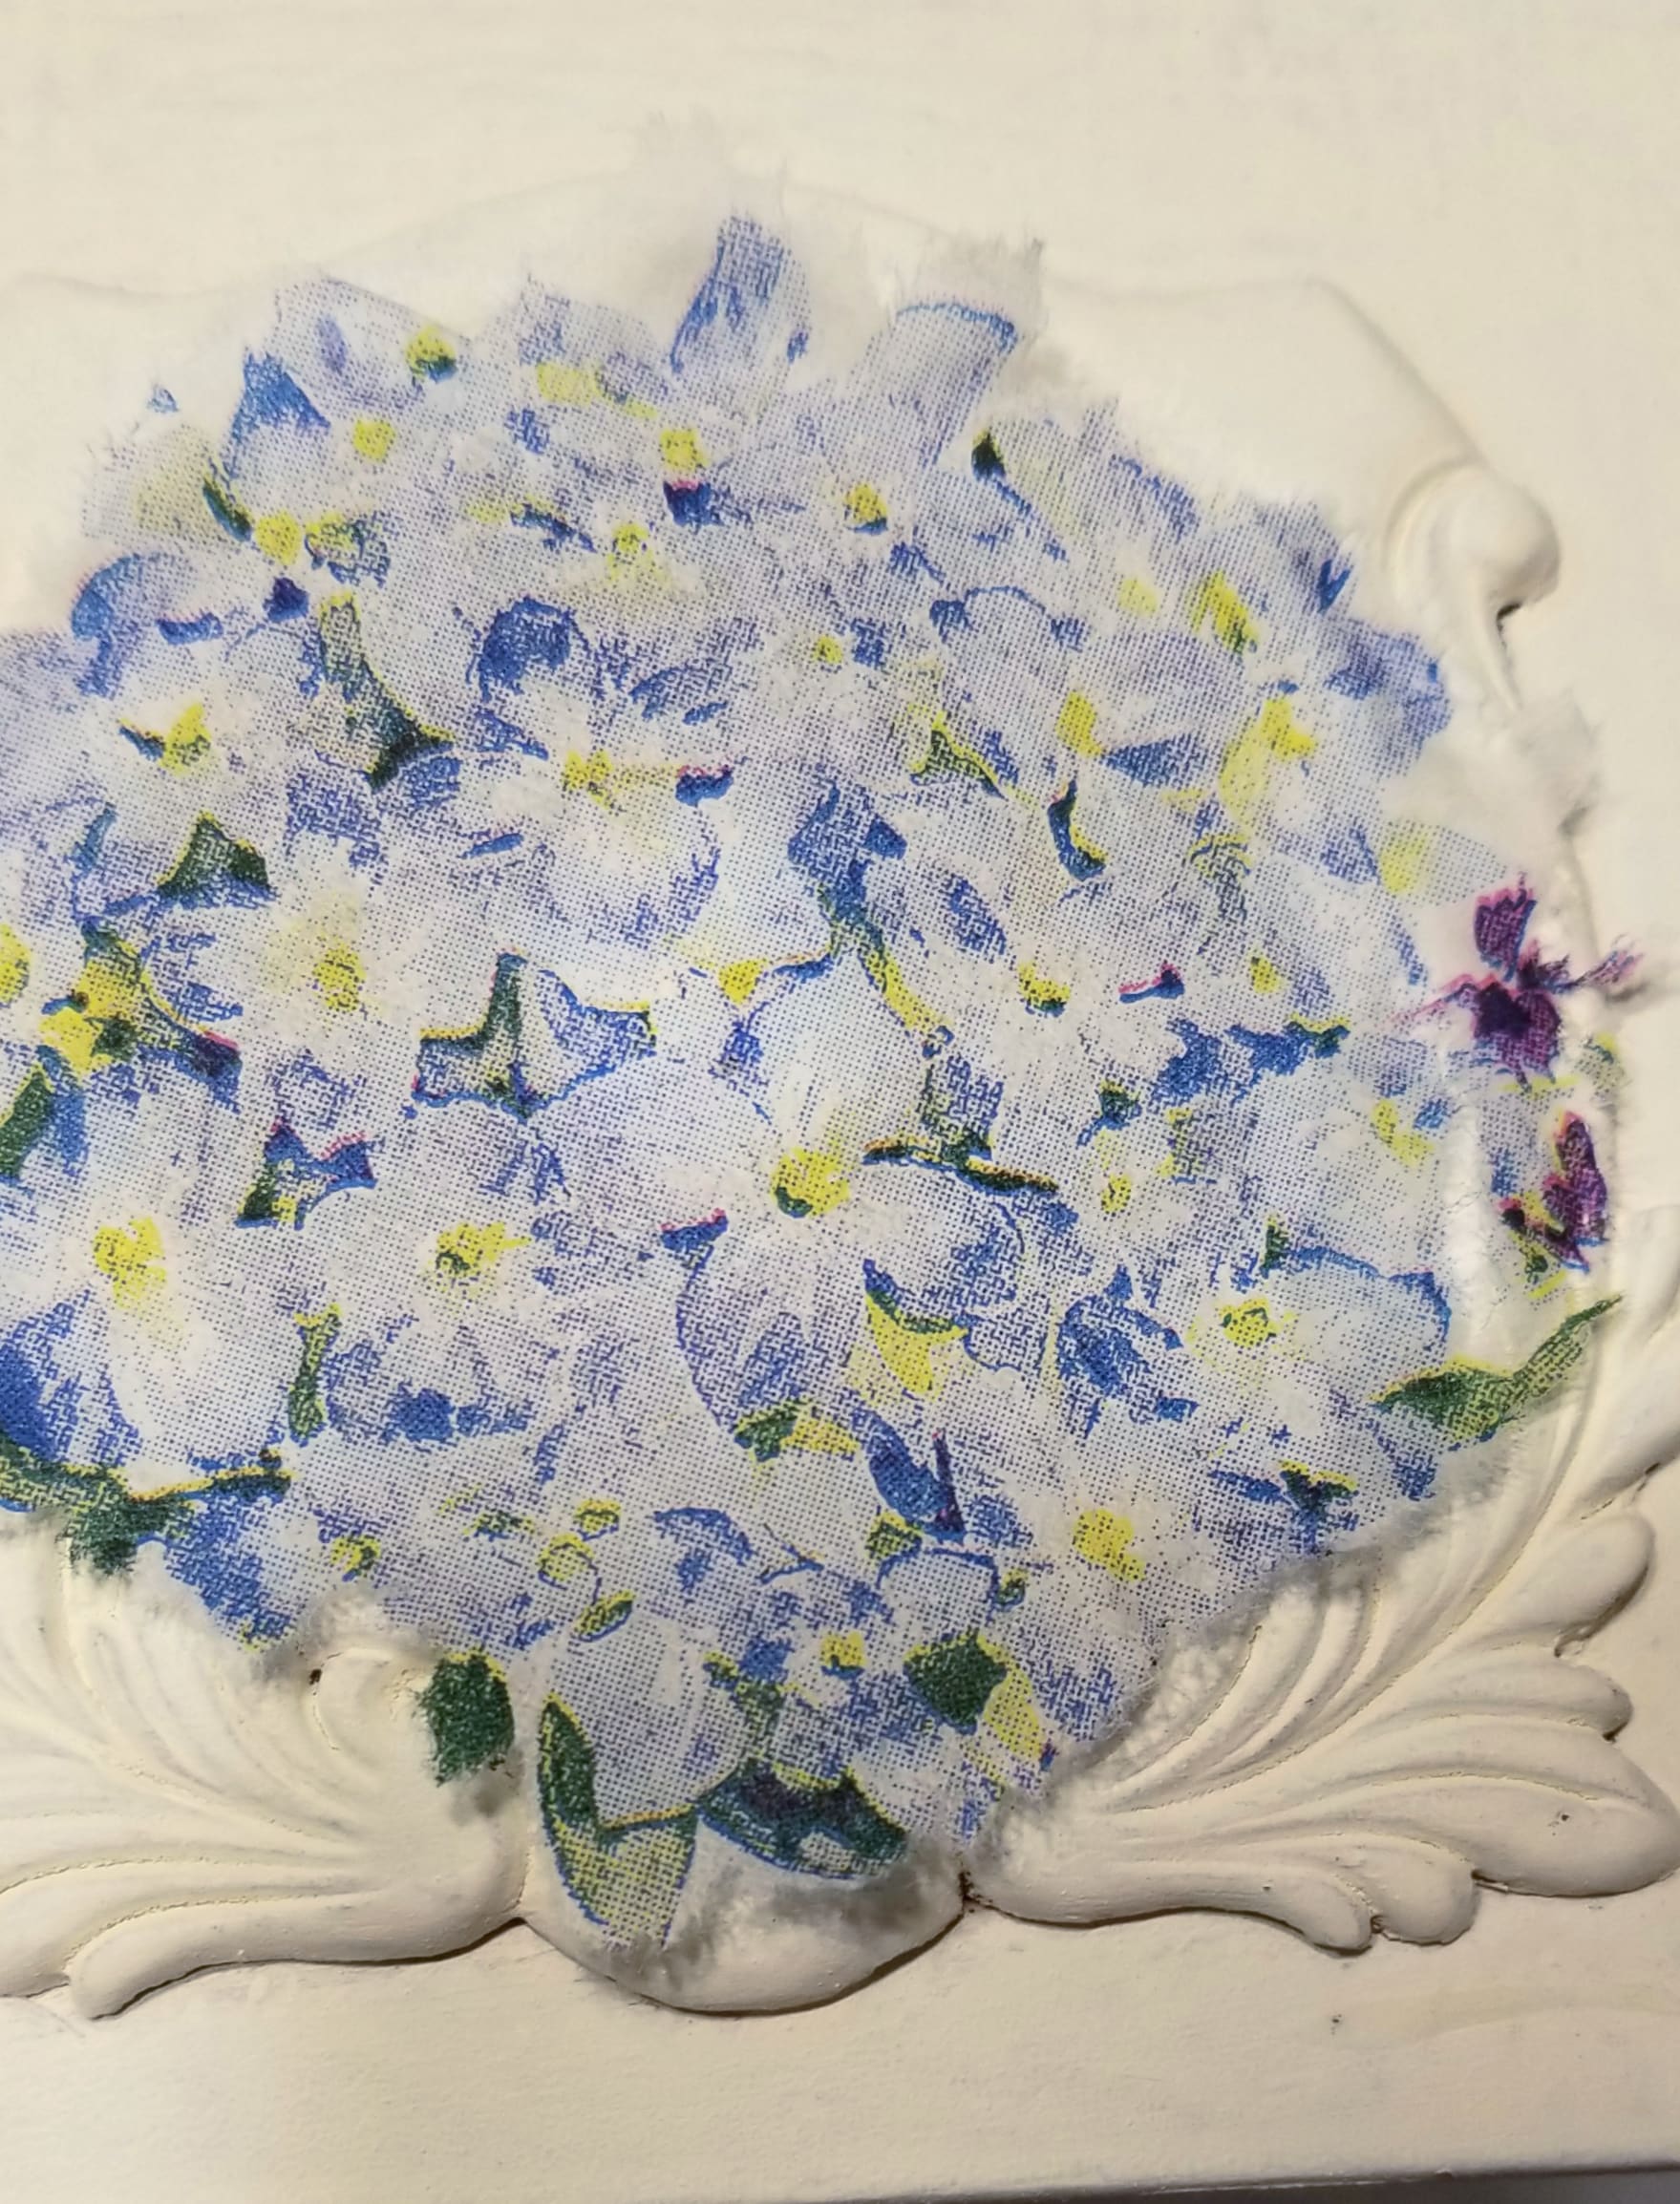
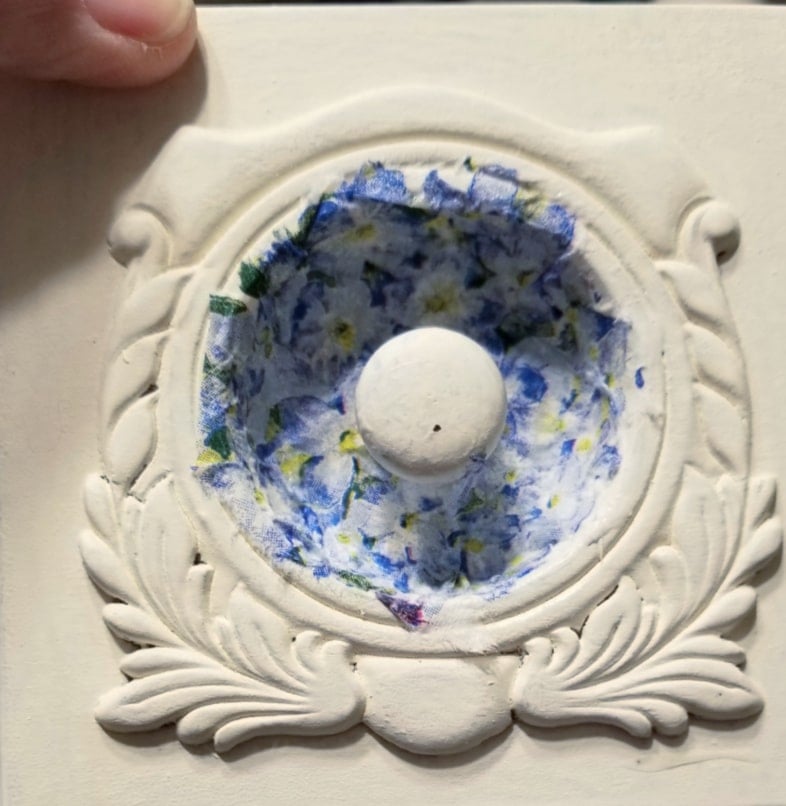
Tear Away Extra Napkin
Now it’s time to deal with the overhang, you see. I used the aqua brush to outline the circle part of the appliqué. Wetting the napkin made it easy to tear away the excess.
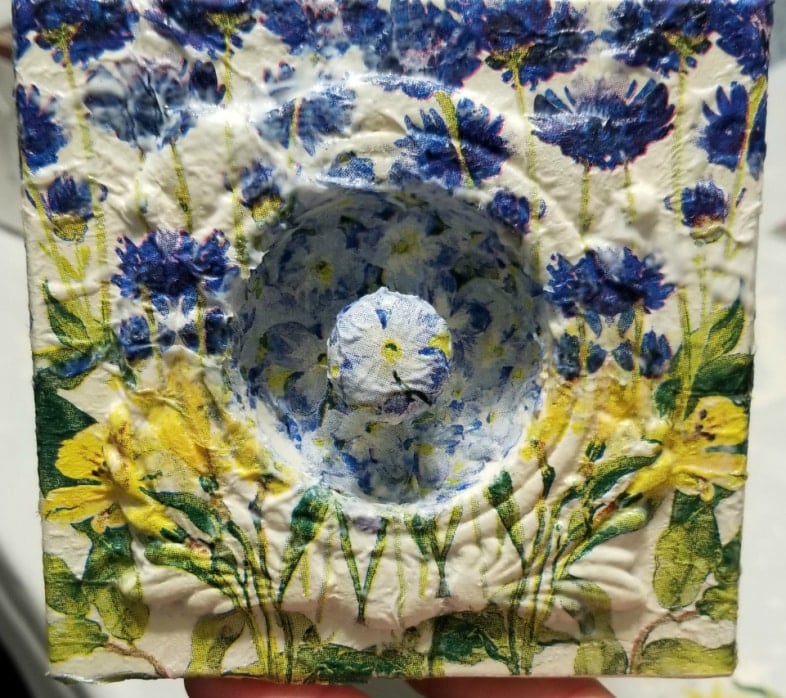
Finally, it was time to use a small scrap of napkin to cover the knob. Don’t be discouraged by how your project looks as you’re working on it. It indeed will all come together in the end! Remember to DAB the Mod Podge; don’t try to “spread” it with your brush or foam applicator. The napkin tears very easily.
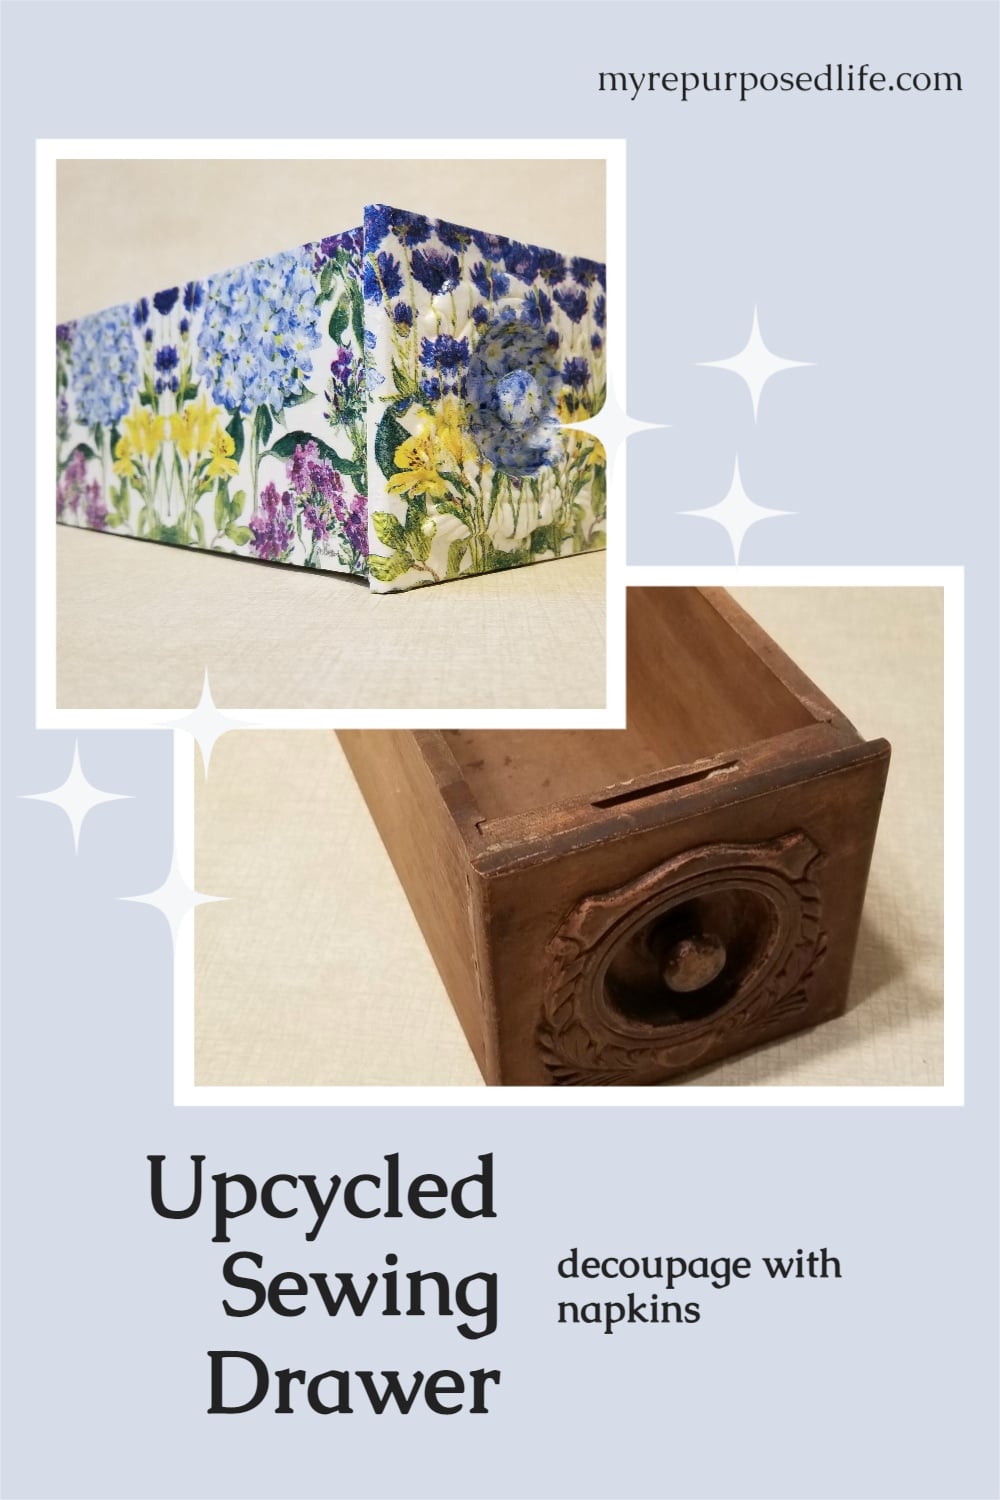
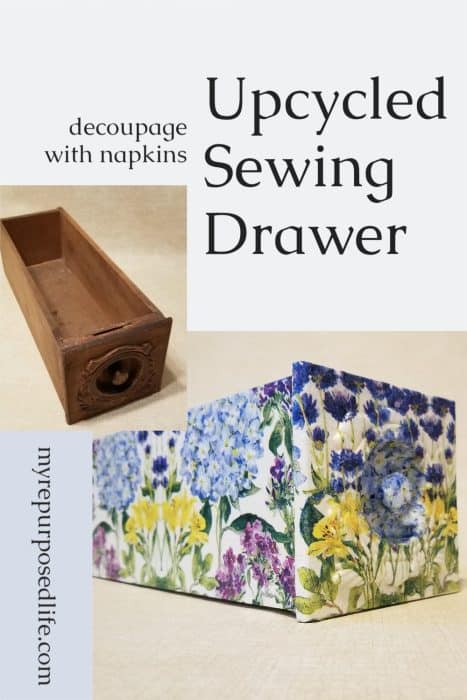
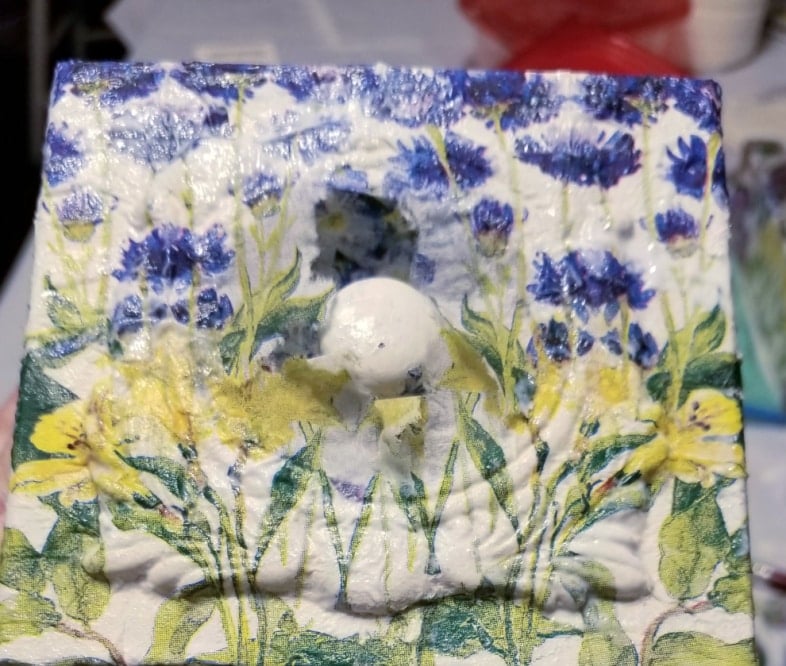
I applied a couple of light coats of the Mod Podge over the entire sewing drawer, even the inside. Do you see the puppy hiding in the flowers?

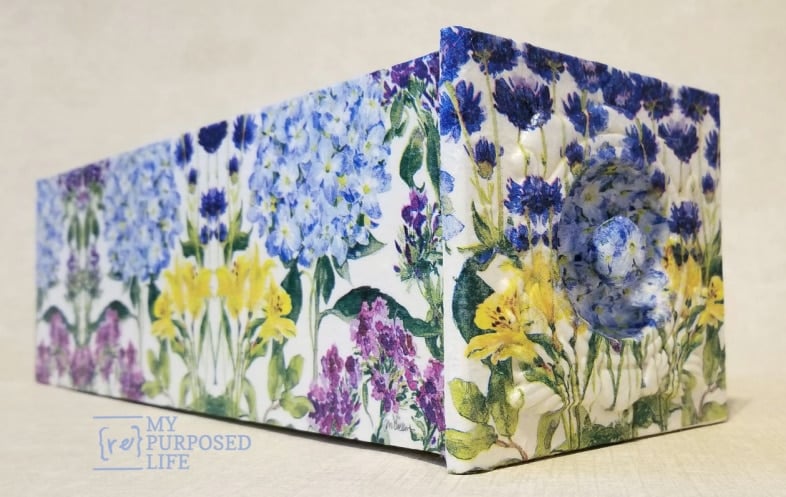
The decoupage sewing drawer can hold toiletries, office supplies, and more!

I’m so excited to see the results of all these excellent thrift store projects!

How to Make a Cement Pot
Decoupage Sewing Drawer
Antique Kitchen Tools for Spring
Create A Natural Raw Wood Look
DIY Coffee Pot Terrarium
Retro Canisters for Vintage Kitchen Decor
Decorative Candy Jar
DIY Footed Tray
oh, which one is your favorite? Please save and share this project on Pinterest!
gail
Love it Gail!! I would love to find a few sewing drawers, love the colors!!
Debbie
It’s a very pretty piece, Gail, but I really, really wish you had not decoupaged the medallion on the front of the drawer and left it white I think it would have been a nice contrast to all the colorful floral on the rest of the drawer. But each to his own. How do you think you might use the drawer now that it’s finished?
Naomi,
Thank you for your input. I truly appreciate it when people share their thoughts with me.
I considered not doing the front, but I really love the way it turned out. I use the basket that I did the napkins on in the camper. So, this small drawer may be used there as well. It would be handy for flatware and table necessities.
gail
That turned out so pretty Gail!
Ugh, I think this is the second decoupage project of yours that I just love!!! I really need to try it again- the last time I did, it was a disaster, but you make it look so easy!
I almost forgot about decoupage, I love this idea, super cute!
I love it! And you took the time to use the parts of the napkins that gave it the look you want. The design on each of the long sides of the drawer match. Many crafters don’t pay attention. Details like that elevate the piece. Great job!
Thank you so much Leslie! I really appreciate your comment. I don’t really see myself as a crafter so much as a woodworker. 🙂 I get pretty nervous when I choose decoupage or glue gun projects!
gail
I haven’t decoupaged in a while and you now have me totally inspired! So pretty for spring!