• Skip to primary navigation
  • Skip to main content
  • Skip to primary sidebar
  • Start Here
  • Shop Favorites
  • About
    • Welcome To My Repurposed Life Home of Repurposed Furniture
    • More About Gail
    • Disclosure
    • Privacy Information
  • Gallery
    • Repurposed Furniture
  • Repurposed Items
    • Building Supplies
    • Miscellaneous Household Items
    • Picture Frame/Chalk Board
  • DIY
    • Home Reno
    • outdoor living
    • Painting
    • Shop Talk
    • Tips for Around the House
    • Build It
      • Furniture
      • Home Decor
      • Storage
    • Crafts
      • Dollar Store
      • Easy
      • Holidays Seasonal
  • Furniture
    • Chair
    • Desk
    • Dresser/Chest
    • Headboard | Bed Parts | Cribs
    • Kids Furniture
    • Table
    • Kids Furniture
My Repurposed Life® Rescue Re-imagine Repeat
menu icon
go to homepage
subscribe
search icon
Homepage link
  • About
  • Start Here
  • Project Index
  • Furniture
  • Subscribe
    • Email
    • Facebook
    • Instagram
    • Pinterest
    • RSS
    • Twitter
  • ×

    Home » DIY » Build It » DIY Chalkboard Speech Bubbles

    DIY Chalkboard Speech Bubbles

    Published by Gail | Published March 7, 2017 | Updated April 9, 2019
    As an Amazon Associate I earn from qualifying purchases.

    Pin
    Share
    Tweet

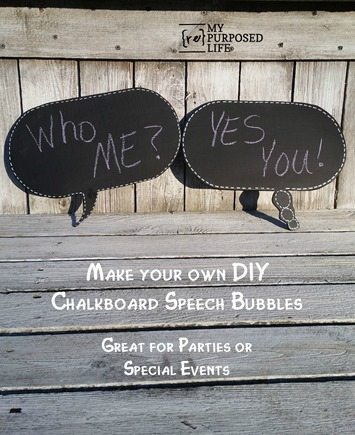
    I recently shared my tips on using a jigsaw to make the DIY Cutting Board for the Power Tool Challenge project. I’ve got another fun jigsaw project to share with you today — chalkboard speech bubbles! I made some speech bubbles  years ago for Jamie’s Wedding, but these turned out a lot better. I have so many thin plywood scraps, that I could make tons of these.

    Gather scrap pieces of plywood
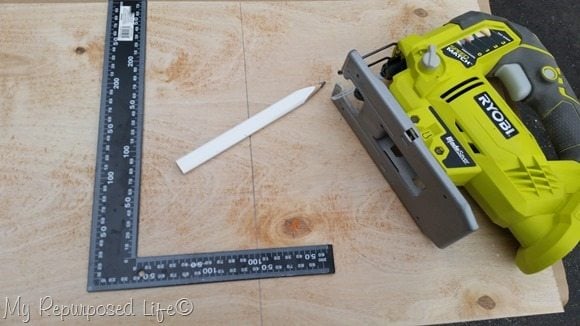
    best jigsaw blade for thin plywoodThe first order of business -- I grabbed a scrap piece of thin plywood and divided into two pieces.

    *This post may contain affiliate links which won’t change your price but will share some commission. read more here*

    Comparison of jigsaw blades
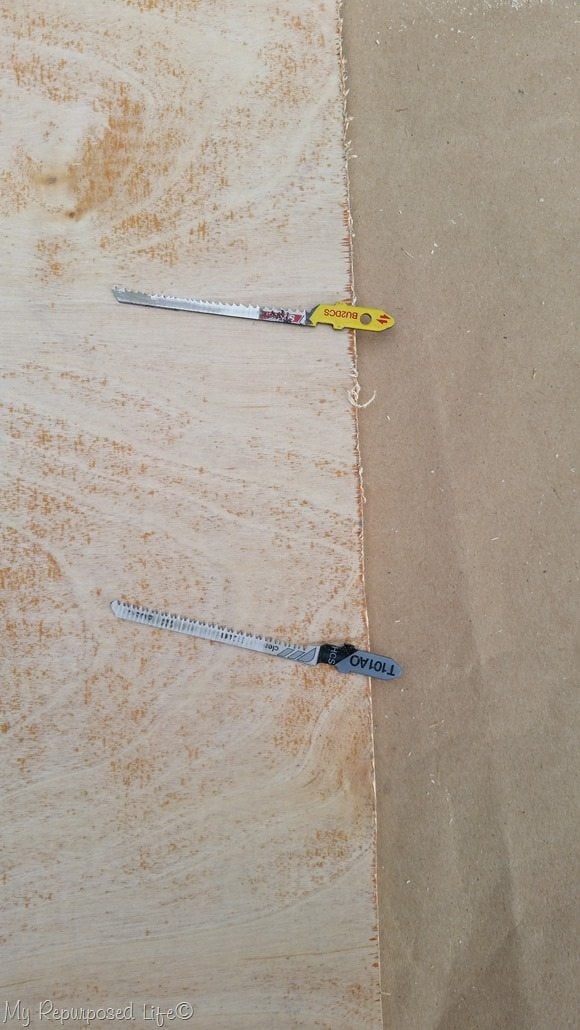
    comparison of Starret and Bosch jigsaw blades cutting thin plywoodAs I shared in my tips for using a jigsaw post, I compared two different kinds of jigsaw blades on this thin plywood. I bought mine on Amazon, and you can see them below.


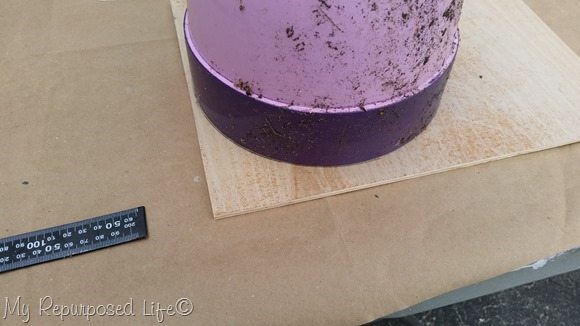
    Trace shape on plywood

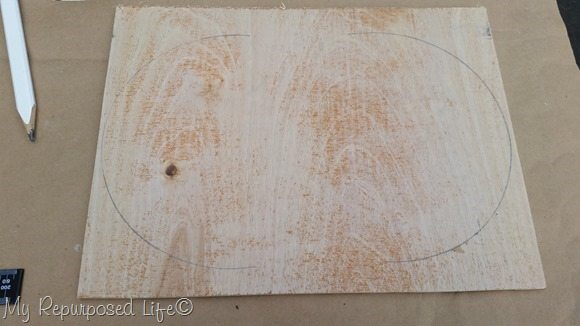
    trace circleI traced two semi-circles and then joined them together to make an oval.

    trace oval speech bubbleYou may have a better way to trace an oval…. Smile

    Add tail to plywood chalkboard speech bubble
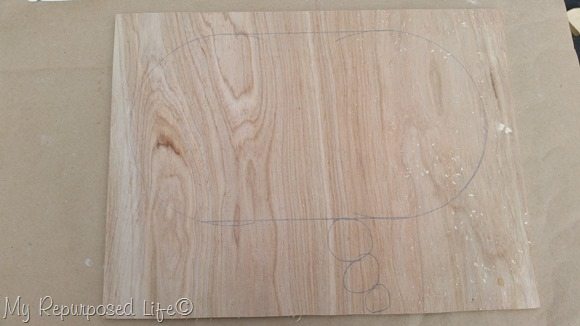
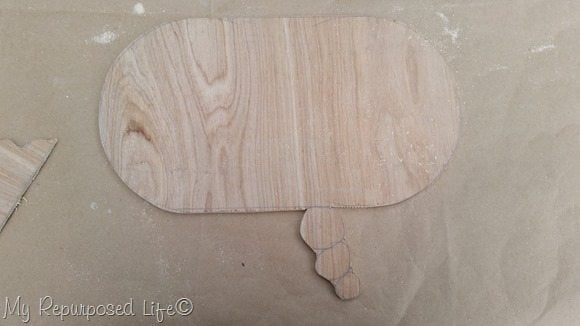
    oval thought bubbleI simply joined the two semi-circles to make an oval, and quickly drew some small circles to represent a “thought” bubble. Hindsight 20/20 I wish I had mad the bubble more like a cloud like I did in the original speech bubbles I made years ago.

    Carefully cut out speech bubble shape
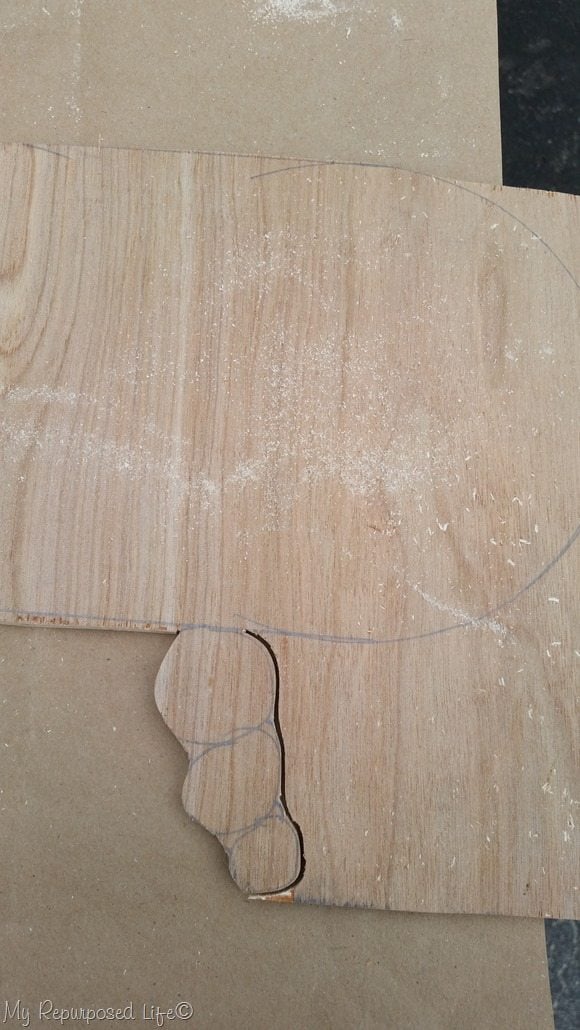
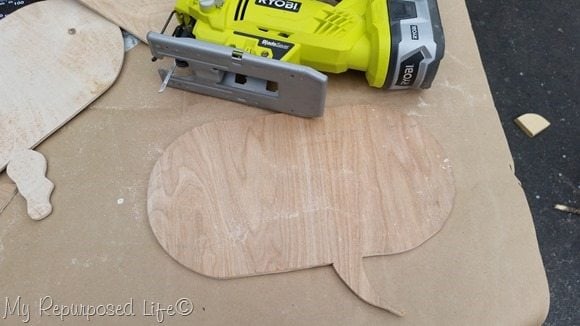
    jigsaw thought bubbleIt’s best to cut a little at a time with the jigsaw, and and work your way slowly around the thought bubble.

    use a jigsaw cut thought bubbleIt’s best to move the jigsaw slowly and let the blade do the cutting. This thin plywood (underlayment) is rough and definitely needs a little help . . .

    For best results-sand wooden speech bubbles
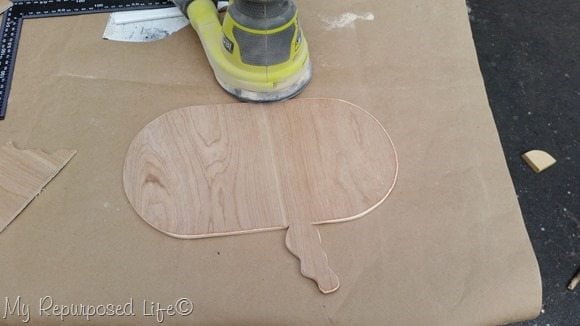
    sand plywood thought bubble. . . with an orbital sander! The sander takes care of the rough edges, and makes the bubble more smooth and ready for the chalkboard paint.

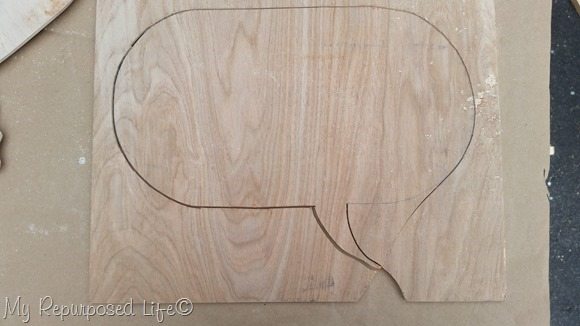
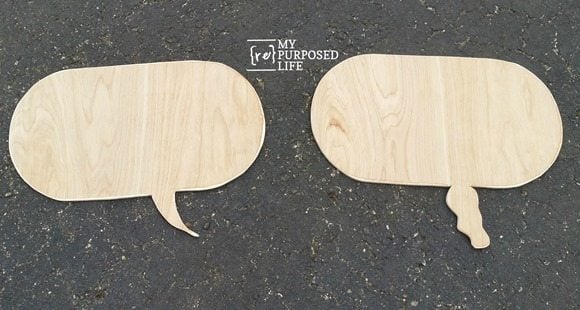
    jigsaw speech bubbleThe speech bubble was traced the same way. You can see how I was able to start and cut all the way around with one pass.

    speech bubble cut with jigsawSo, there you have it, one speech bubble and one thought bubble cut with a jigsaw!

    jigsaw speech thought bubble MyRepurposedLife.comThey look so much better after sanding!

    BREAKING NEWS!

    After I finished these I wanted to show you how you can make multiple chalkboard speech bubbles, so I set out to test it for you.

    How to cut multiple speech bubbles out of plywood
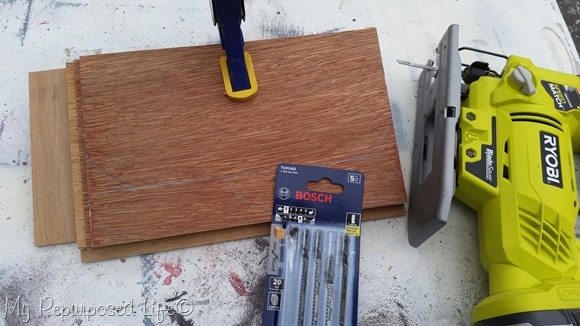
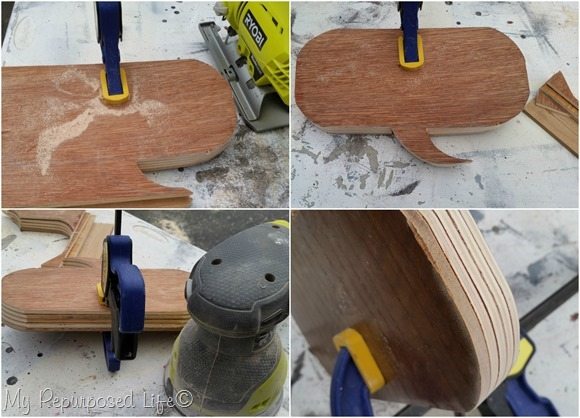
    clamp thin plywood to make multiple chalkboard speech bubblesI rummaged through all my scraps and found similar sized pieces of thin plywood (underlayment). Now here’s where you get to learn from my mistakes. I should have trimmed them up so that they would all be the same size. Sometimes I just get too impatient. An Irwin quick clamp was used to secure all the pieces together. I used the same Bosch  jigsaw blades as I did for the other speech bubbles. I used a small plastic cup to make the rounded edges, and freehanded the tail of the speech bubble.

    cut multiple speech bubbles with jigsaw MyRepurposedLife.comIf you clamp the plywood in the right place you can cut all the way around  without removing the clamp. After cutting the stack of plywood, it is easiest to sand around all the edges while they are still clamped together.

    Not shown—I sanded both sides of each speech bubble smooth.
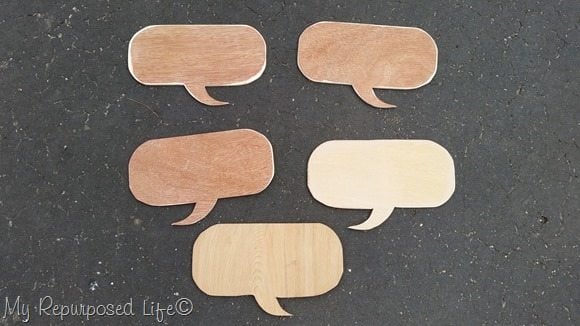
    cut multiple diynchalkboard speech bubbles MyRepurposedLife.comThere ya go—FIVE diy chalkboard speech bubbles cut out all at the same time.

    Since I did five of these, and the weather was nice, I used my Homeright Finish Max to spray the chalkboard paint like I did in my post Finish Max Chalkboard Paint.

    Now, back to our regularly scheduled post . . .
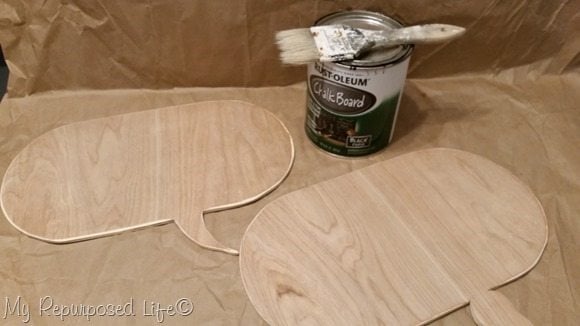
    ready for chalkboard paintIn this picture you can see I sort of rounded over the edge a little with the sander to make them ready for chalkboard paint. I generally use a foam brush, but I chose to use a cheap chip brush for these. I love using these brushes because they do a great job and they don’t waste a lot of paint down the sink. You can see how old the brush is—the older they get, the better they are.

    Paint speech bubbles with chalkboard paint
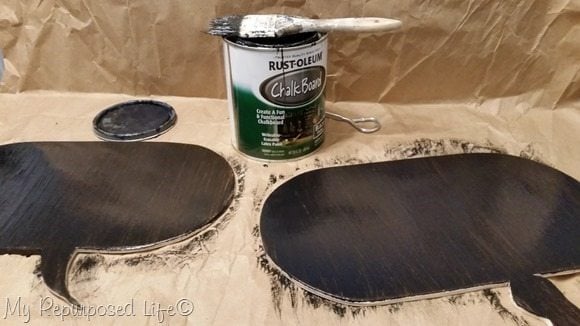
    chalkboard paint speech bubblesThis is after the first coat. I ended up doing two coats on both sides of the speech bubbles. I like to go north and south with one coat, then east and west with the next coat.

    Add fun dots and dashes to speech bubbles
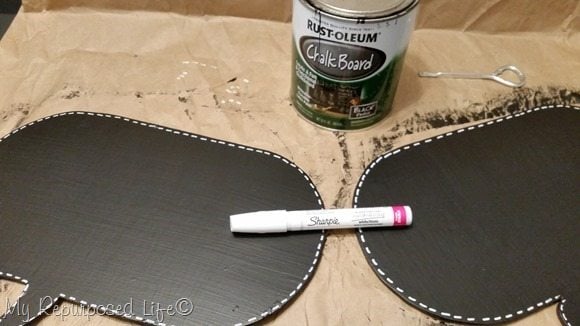
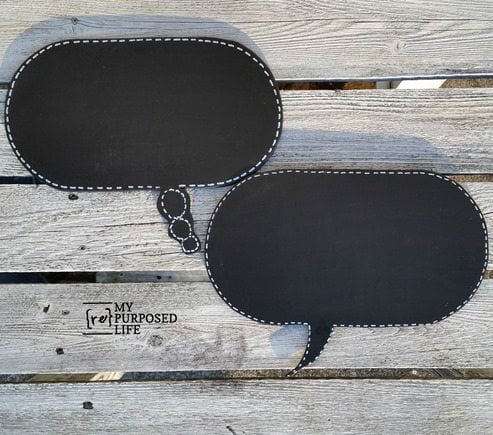
    oil paint sharpie paint penWhen the chalkboard paint was dry, I used a Sharpie oil paint pen to embellish the outer edge to make the speech bubbles “pop” a little more. These paint pens are awesome. They dry pretty much instantly and are permanent. I made a little mistake on the thought bubble and ended up having to touch it up with more chalkboard paint and then did a do-over with the white dashes.

    diy jigsaw speech bubbles MyRepurposedLife.comThese DIY chalkboard speech bubbles were so fun and easy to make!


    make your own diy chalkboard speech bubbles great for parties or special events MyRepurposedLife.comHave you ever used chalkboard speech bubbles at a wedding, party or special event?

    PIN IT!

    gail

    Related Content:

    Dollar Store Chalkboard

    How To Make Small Chalkboard Tags

    Chalkboard Speech Bubbles

    Liquid Chalk Stenciling for Chalkboards

    Small Chalkboard Tags using Counter Samples


    sharing at Creativity Unleashed

    Shop my Amazon Affiliate links for the items used on this project:


    Pin
    Share
    Tweet

    Related Content:

    • chalkboard ideas
      chalkboard ideas
    • Tips for using a jigsaw | DIY Cutting Board
      Tips for using a jigsaw | DIY Cutting Board
    • Speech Bubbles with Chalkboard Paint (DIY)
      Speech Bubbles with Chalkboard Paint (DIY)
    • Repurposed Cutting Board iPad Stand | Chalkboard | Key Rack
      Repurposed Cutting Board iPad Stand | Chalkboard | Key Rack
    • Small Sofa Side Table | Custom Build
      Small Sofa Side Table | Custom Build
    • Baseball Bat Grow Chart
      Baseball Bat Grow Chart

    Reader Interactions

    Comments

      See comments Cancel reply

      Your email address will not be published. Required fields are marked *

      This site uses Akismet to reduce spam. Learn how your comment data is processed.

    1. Mindi

      March 07, 2017 at 1:11 pm

      These are so fun Gail!! What a great idea! Pinned!

      Reply

    Primary Sidebar

    Hi, there! I’m Gail Wilson, the author and mastermind behind My Repurposed Life. I’m obsessed with finding potential in unexpected places and believe that with a little hard work and imagination, any old thing can be made useful again—myself included! I hope you’ll enjoy the journey and pick up a few tools along the way… literally!

    More about me →

    Join Our Mailing List

    ​

      Click the topics you're interested in below:

      Subscribing above means you agree to our Privacy Policy​

      Footer

      ↑ back to top

      SEEN ON

      Might I Suggest

      • Start Here
      • Furniture Makeovers

      Newsletter

      • Sign Up! for emails and updates

      About

      • Gail's Favorites on Amazon
      • About

      As an Amazon Associate I earn from qualifying purchases.

      Copyright © 2023 My Repurposed Life · Privacy Policy · Disclosure