DIY Chevron Bulletin Board from My Personal Accent
As an Amazon Associate, I earn from qualifying purchases.

As a DIY blogger, I love when I come across a deal on something I absolutely love! I found printed burlap for $3 a yard. One of Chevron and one Fleur de Lis pre-printed. Since I love both prints, I bought most of what was left. (So you will be seeing quite a few post using burlap in the next few months.
I love making things out of picture frames. They are the easiest to up-cycle and re-purpose. You can make them into vanity trays, serving trays, spice organizers, and chalkboards, signs, etc. I love to see what I can do with them. A year ago, I did an old chair in Red with Black and white Chevron stripes. I loved that chair, but if I kept all the things I made I would probably not be able to move about my house. I used that chair as an inspiration and the re-purposed picture frame into a Chevron Burlap DIY Bulletin Board for our kitchen was born.
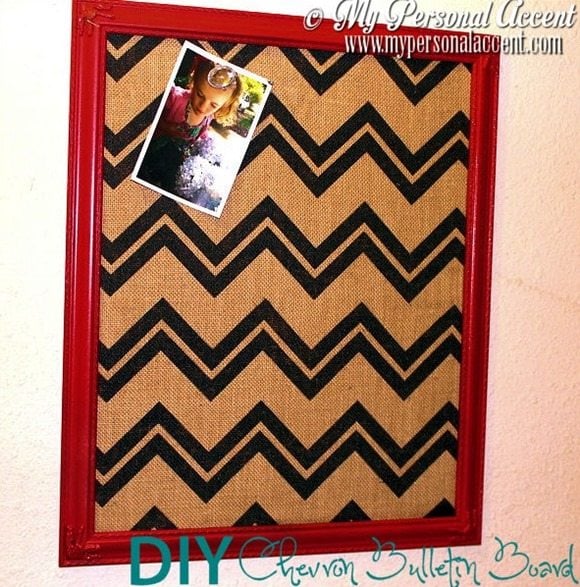
Skill Level: Easy
Time: 1 Hour not including painting drying time.
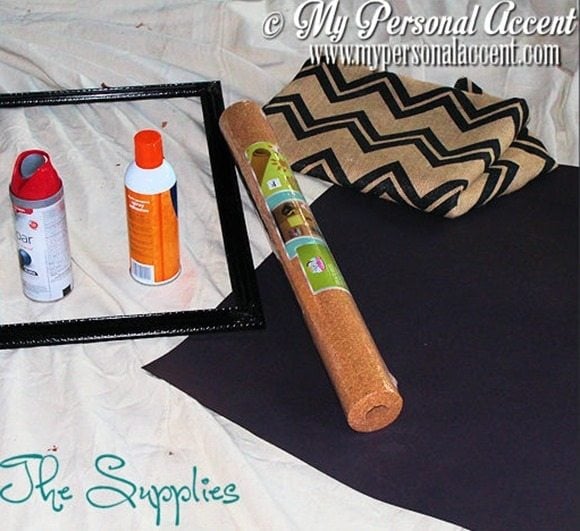
Supplies Needed:
- Picture Frame (at least 10×13 but bigger is better) Keep backing and all of the cardboard from inside
- Piece of cardboard or thin foam board to fit inside frame;
- Roll of cork or flat pieces of cork squares;
- Poster board
- Spray paint
- Burlap in any print (mine was chevron but you can use any type or do a transfer);
- Spray adhesive (medium to high strength)
- Exacto Knife
- scissors
1 – Using your choice of spray paint, cover completely. This frame was not a complete picture frame with glass and backing. If you have one, take apart completely but save the backing and all cardboard. It will save you materials and spacers later. You will not need the glass.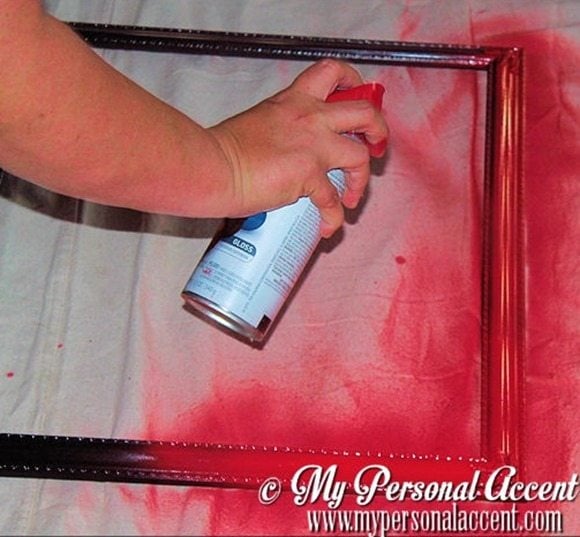
2 – Measure and cut a piece of cardboard fitting within the frame and that will not push through. I used a presentation board for school projects found at the dollar store.
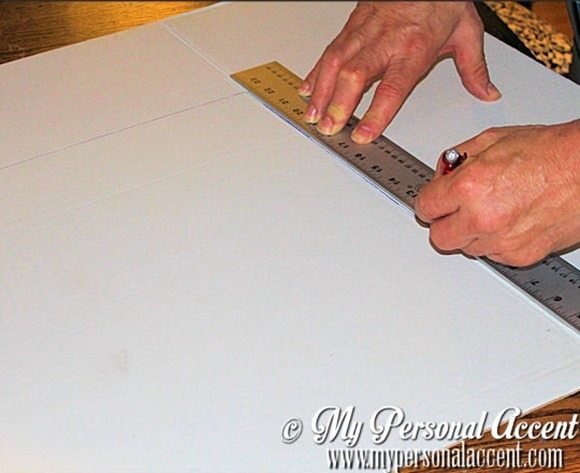
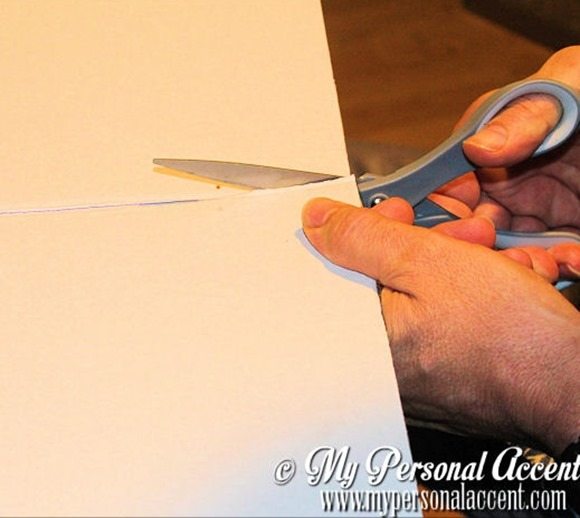
3 – Use the measured and cut cardboard as a template for cutting the cork. In retrospect. I think the cork squares would have been better as the rolls are really fragile and tear easily. Mark the cork against the template and cut. Then using a medium to strong bond spray adhesive attach the cork to the cardboard.
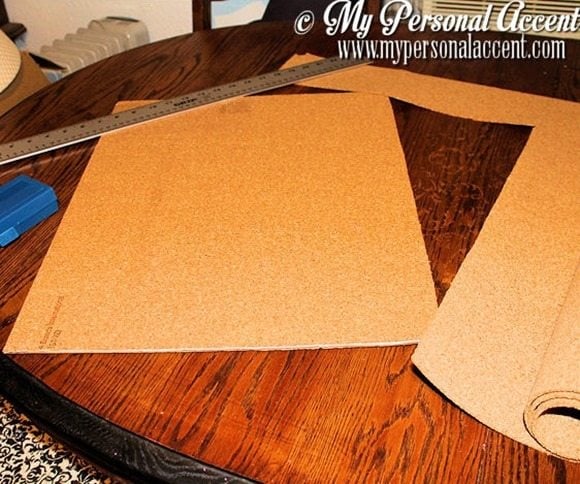
4 – When attaching the chevron burlap just repeat Step 3.
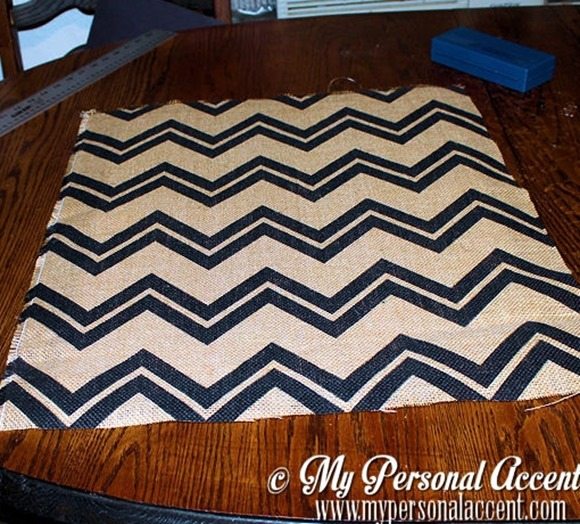
5 – Insert three layers into the frame making sure it doesn’t poke through and secure with E-6000 at corners.
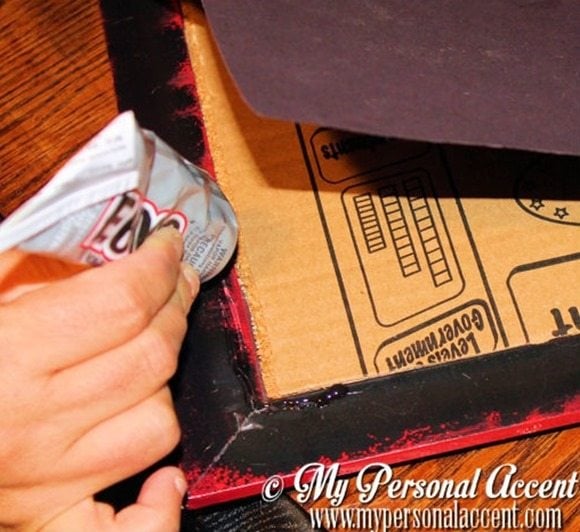
6 – Cover back with paper or poster board to make sure layers do not pop out. Either glue down or staple well.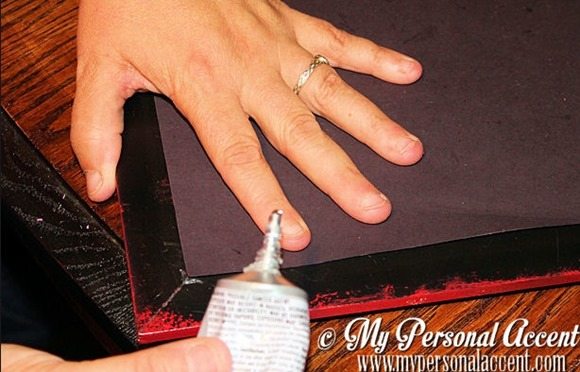
That was it. The process is quick and easy if you have all the supplies handy.
Optional: You can use plain or dyed burlap and transfer a design onto it. There are directions for transfer methods to burlap on these sites: Ticking & Tolie: Tutorial Printing on Fabric – My Repurposed Life
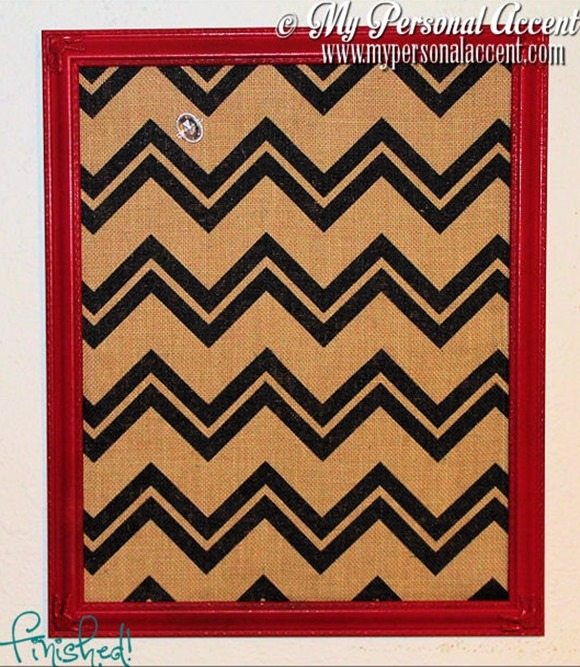 I liked this project because it added some flair to our kitchen and gave us a great space to put our weekly calendar and other items we need for the coming week instead of adding it to the clutter already on our refrigerator.
A bonus re-purposing idea is using E-6000 to glue plain tacks or magnets onto costume jewelry.
For more DIY ideas and tutorials for parents and kids visit My Personal Accent.
What have you re-purposed into a bulletin board?

Thank you Angela for a great tutorial for this DIY Chevron Bulletin Board! My Personal Accent has just gotten a new makeover, be sure to hop over to see what Angela’s been up to!
gail
Related Content: Picture Frame Ideas For Home Decor and More


Thank you all for the kind comments! I am glad you liked my tutorial. Thanks to Gail for giving me the opportunity.
LOVE this bulletin board!
I like this!
So cute, the chevron burlap is awesome!
Just love the Chevron Bulletin Board from My Personal Accent! I like that it is not hard to do, but has such an impact! (and thank you for the step by step instructions!!!)