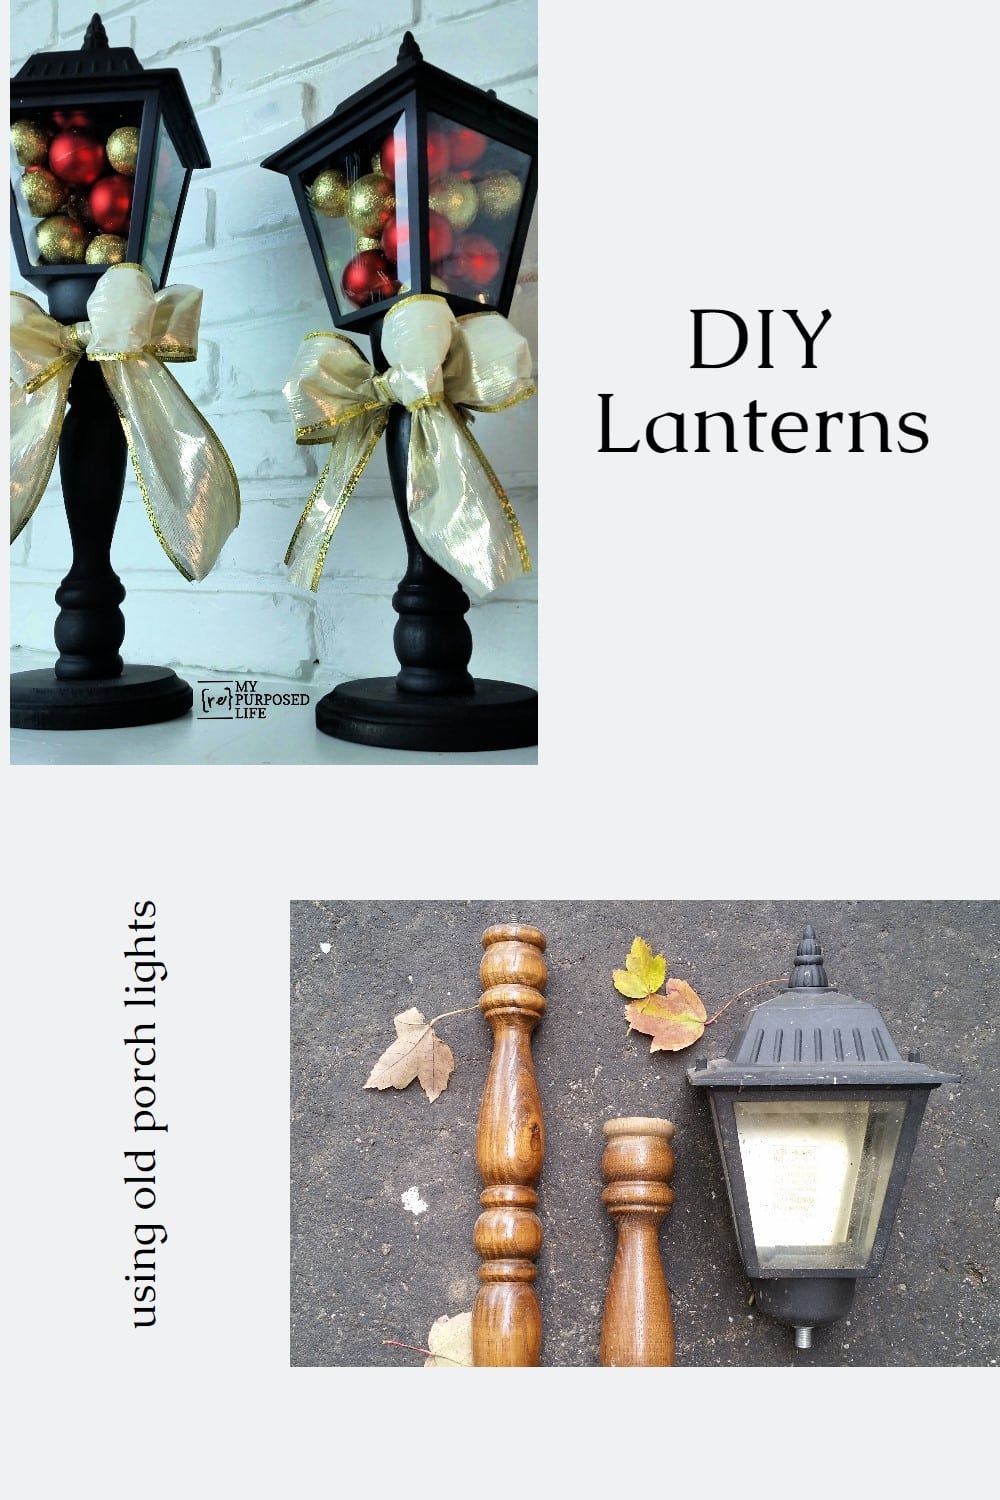
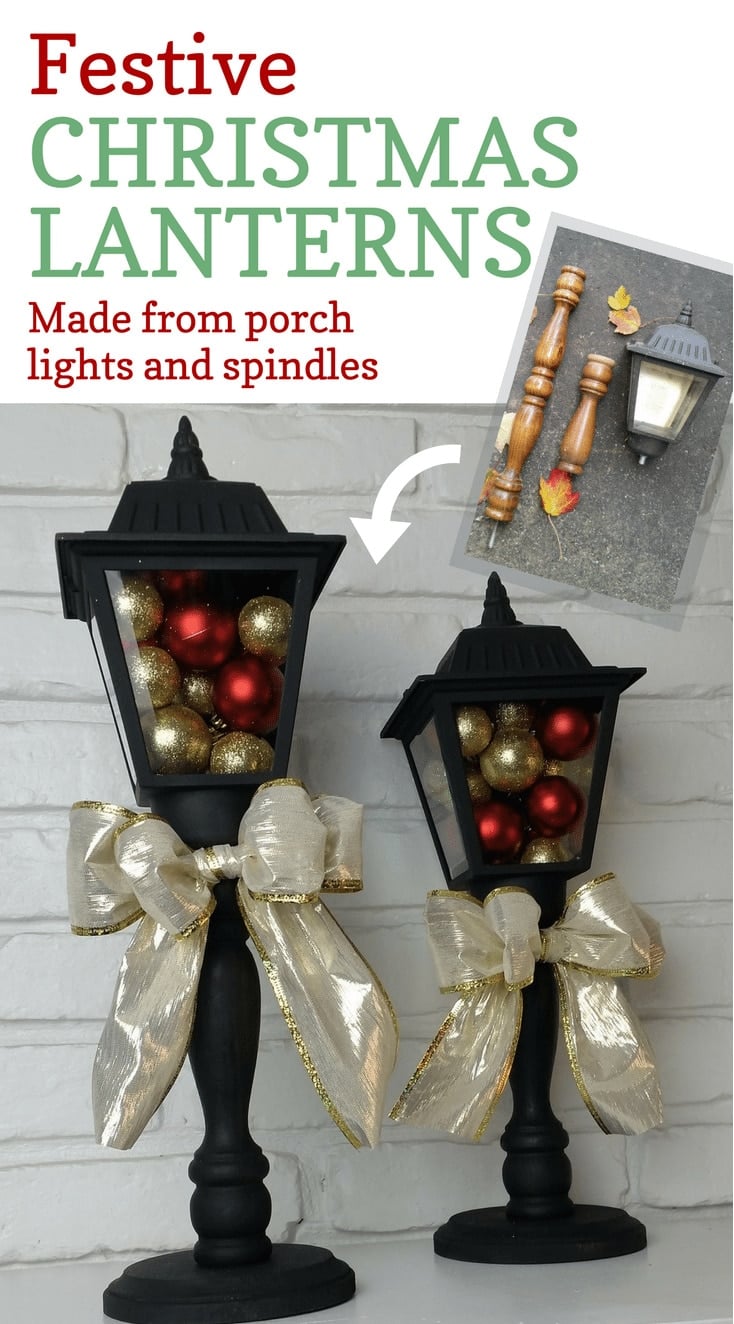
DIY Christmas Lanterns Made From Porch Lights
As an Amazon Associate, I earn from qualifying purchases.
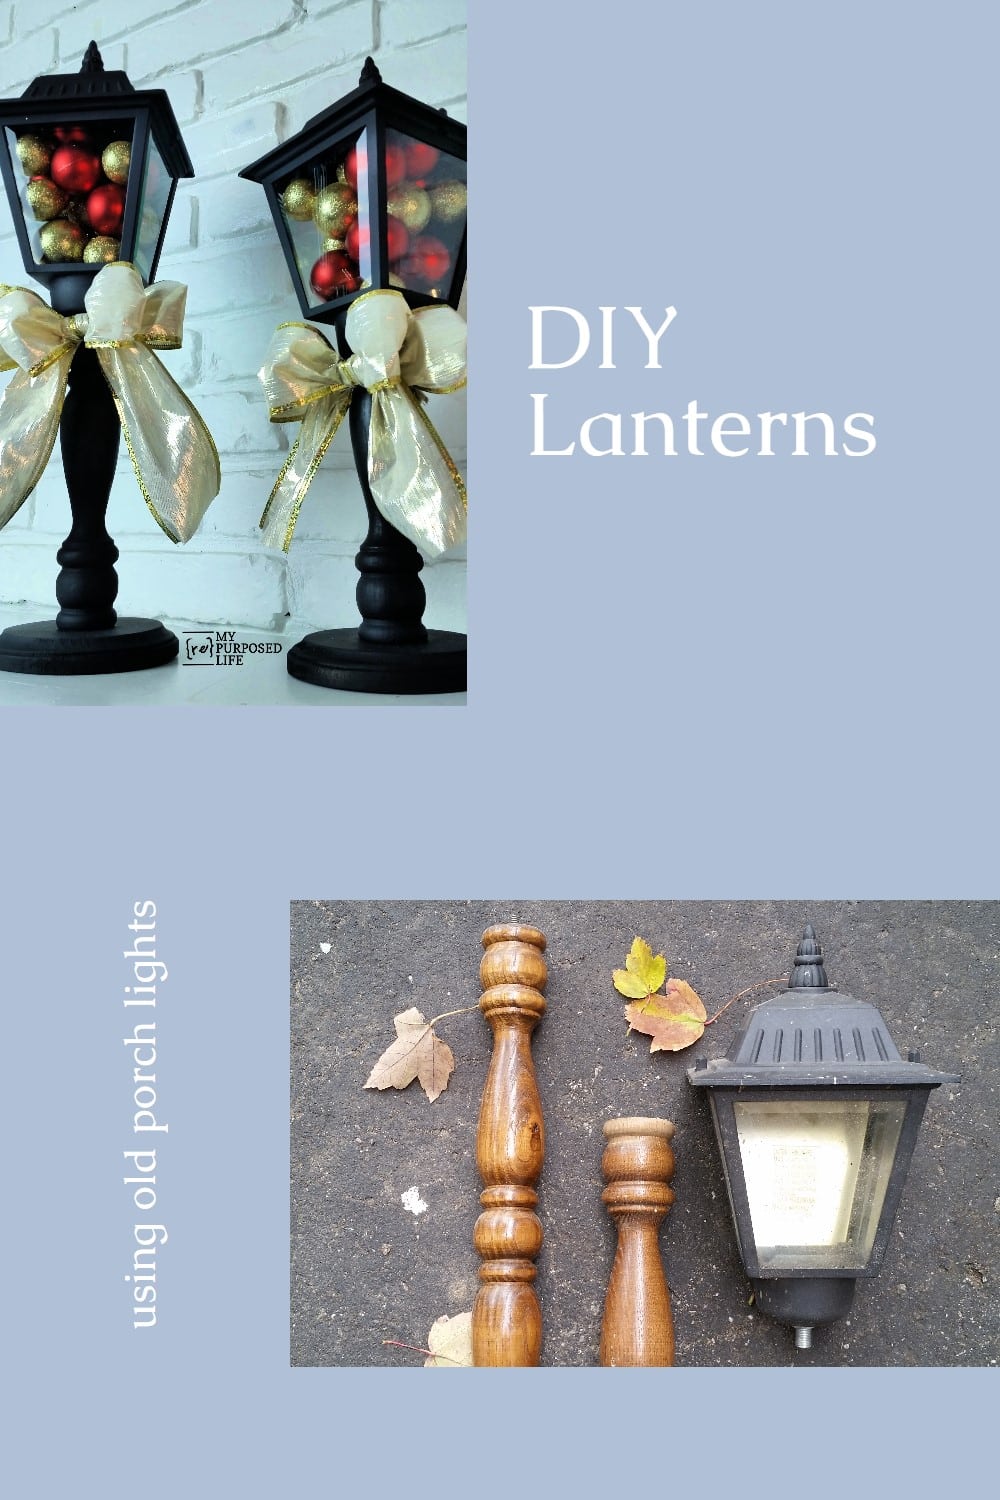
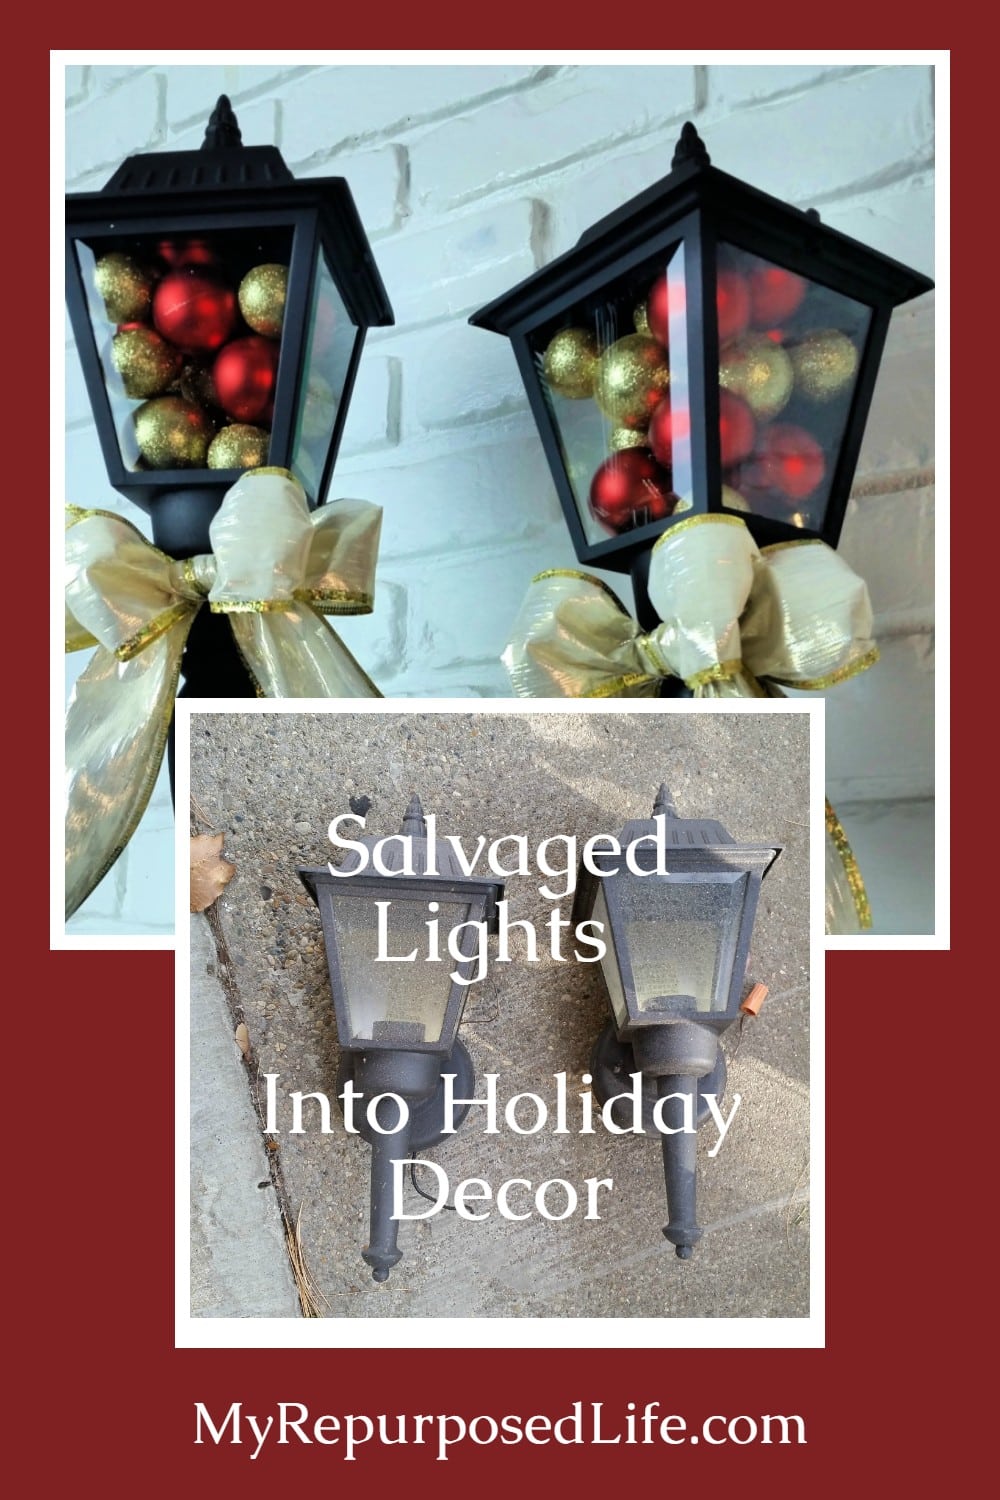
Do you have an old porch light stashed in the garage, or keep spotting them at Habitat ReStore and walking right by? Those tired fixtures can become some of the prettiest pieces in your Christmas decor. In this project, I turned outdated wall lanterns into tall Christmas lanterns on spindle bases that work on a mantel, table, or tucked beside the tree.
It’s time for the monthly Power Tool Challenge. This month’s theme is Secret Santa. I am sharing these DIY Christmas Lanterns made from old porch lights. This was a fairly easy project using some items I already had around the shop.

Old Porch Lights
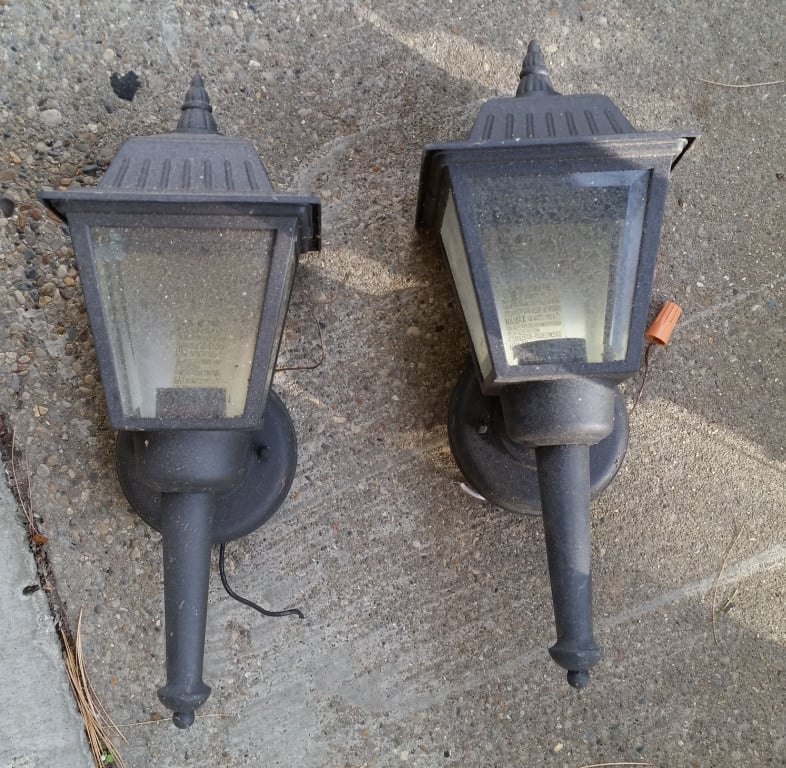
Do you have any old porch lights? If not, you can buy them at your local Habitat ReStore.
Fortunately, my neighbor Rodney gave me these old porch lights a few months ago. They’ve been hanging out, waiting for the perfect project. As I started dismantling them, I wasn’t sure that they would morph into my vision, but in all honesty, I think they surpassed my dreams!
Let’s see how old porch posts became festive Christmas lanterns!
Visit the My Repurposed Life Amazon Store to shop my favorite items.
Disassemble Wall Lantern Porch Light
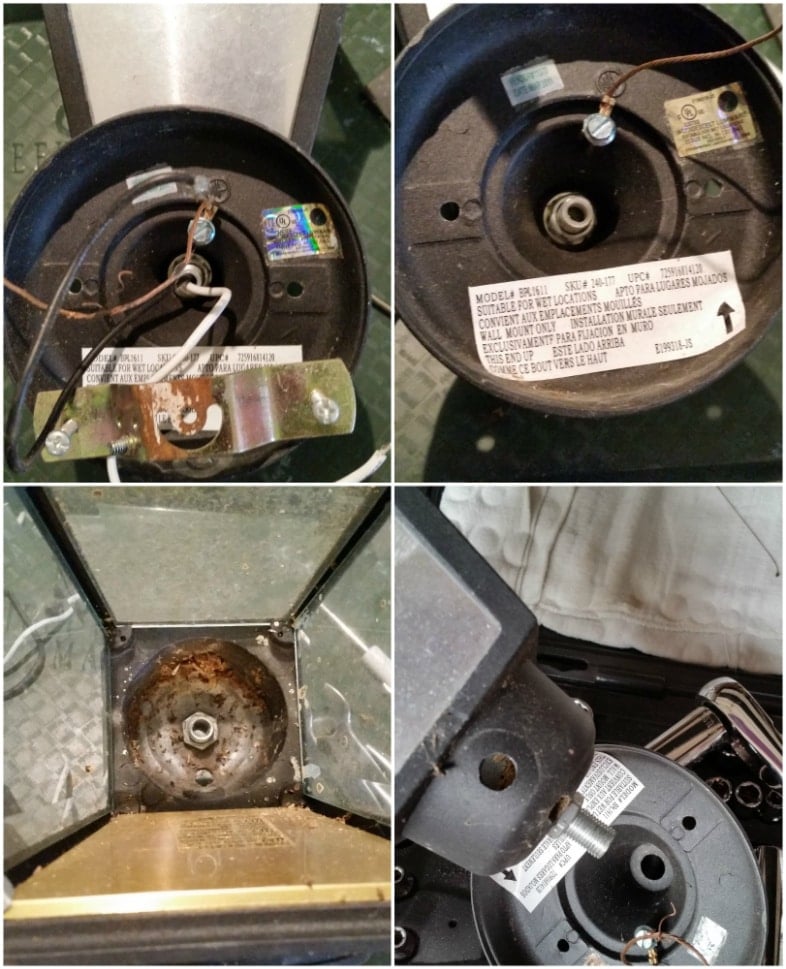
I began by dismantling the porch lights to turn them into Christmas lanterns.
- Remove Brackets
- Snip Wires
- Loosen Nuts to Separate the Light from the Base
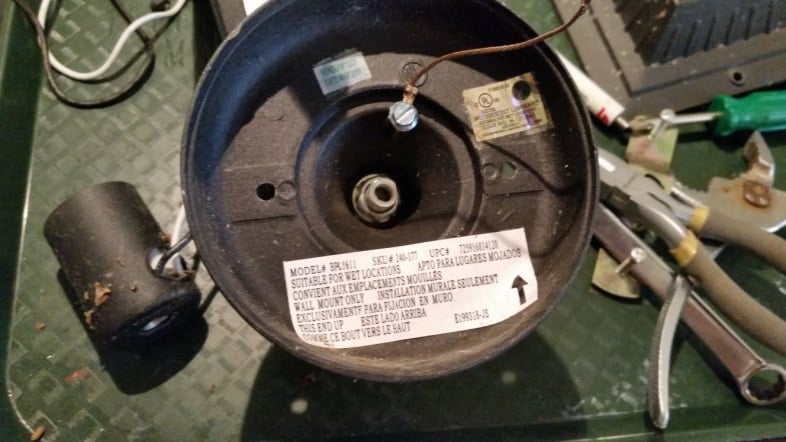
Tools used included pliers, needle-nose pliers, small screwdrivers, wire cutters, a wrench, and/or a socket. A little patience is also helpful!
Can You Have Too Many Spindles?
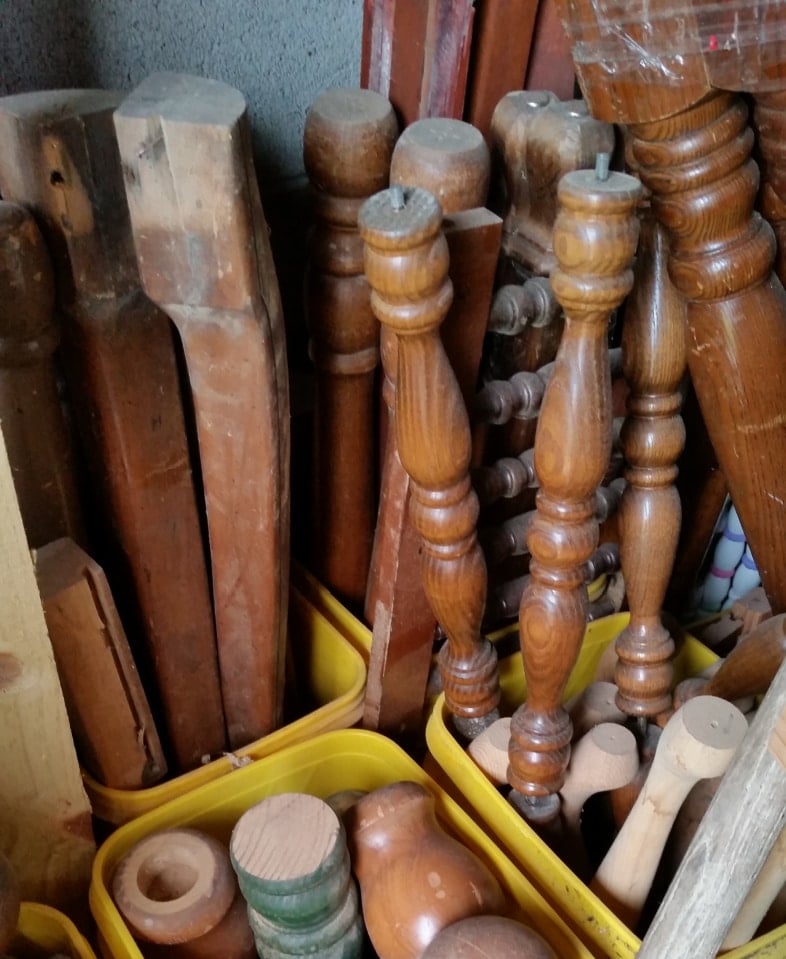
I hoped to rest the Christmas lanterns on spindles, so I went to my collection of bits and pieces and spindles. Do you see the perfect pieces?
I grabbed a couple of choices. I decided to use the one on the left, cut into two pieces.
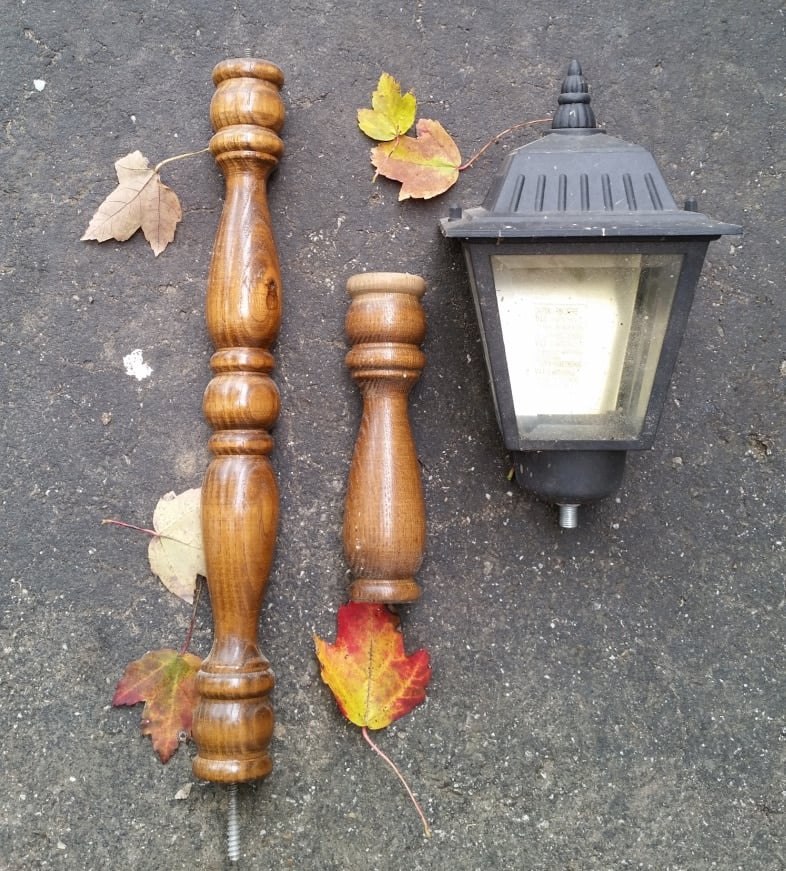
Cut Spindles on Miter Saw

Because I wanted the stands to vary in height, I moved the spindle to one side instead of cutting it in half on the compound miter saw.
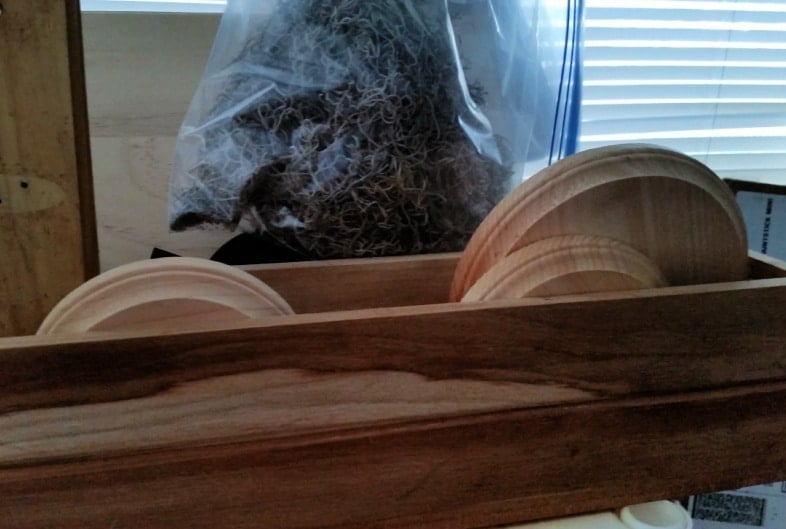
I dug out some wooden round bases from my craft stash.
Sand & drill
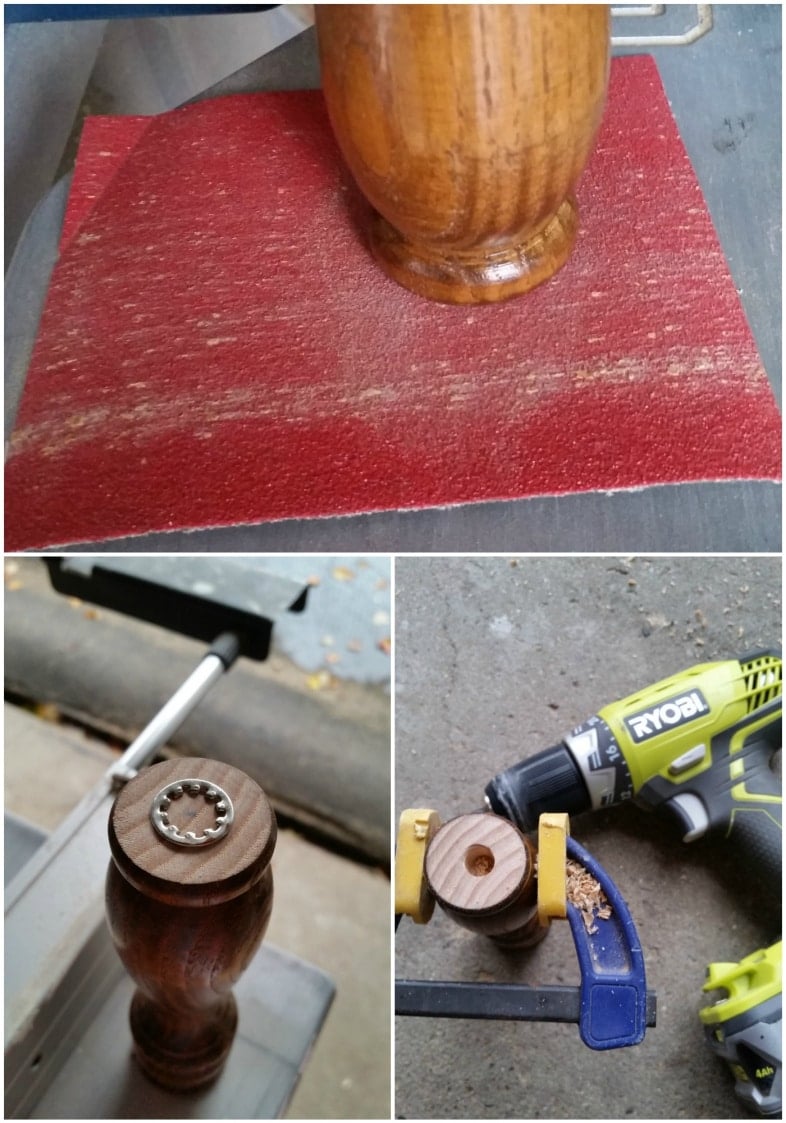
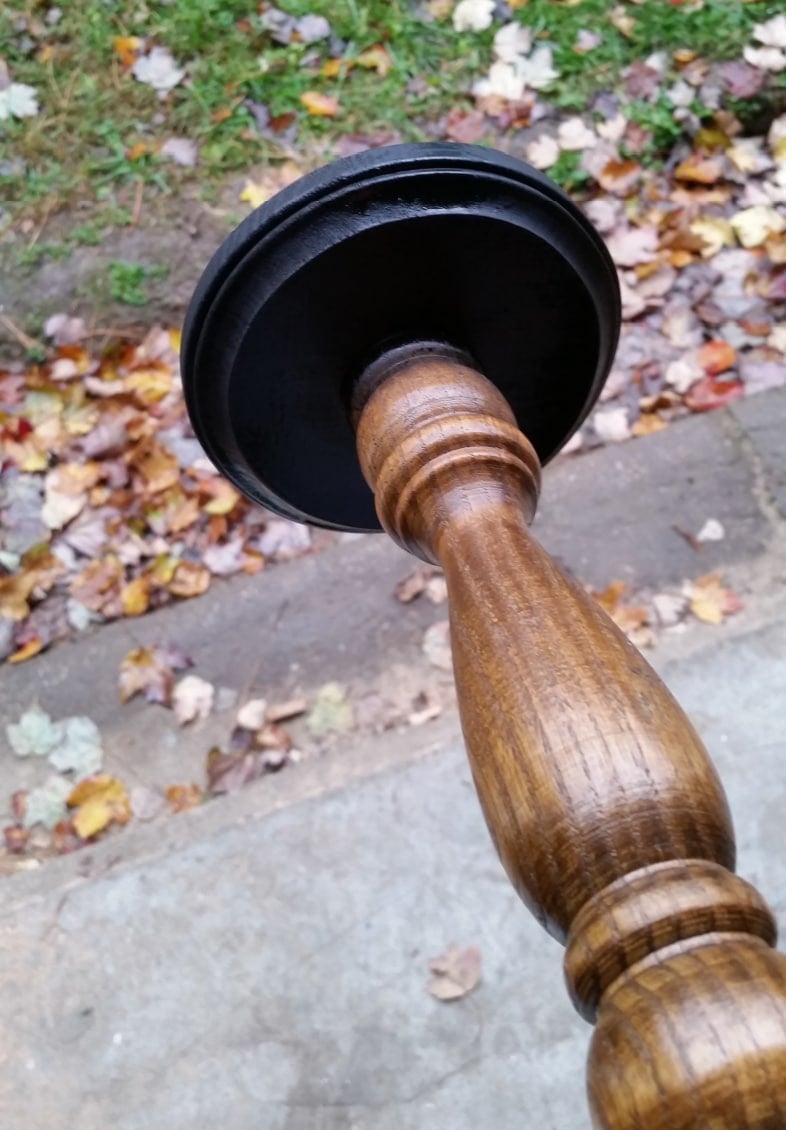
After cutting the spindle, I sanded, marked, and drilled a hole in the center. I placed the washer on the end to find the center. It makes it easier for me to eyeball it. 🙂
I drilled the hole small, so the threaded portion would fit very snugly into the spindle. I inserted that into the lantern and replaced the nut to secure the light to the spindle.
How to Countersink a Screw
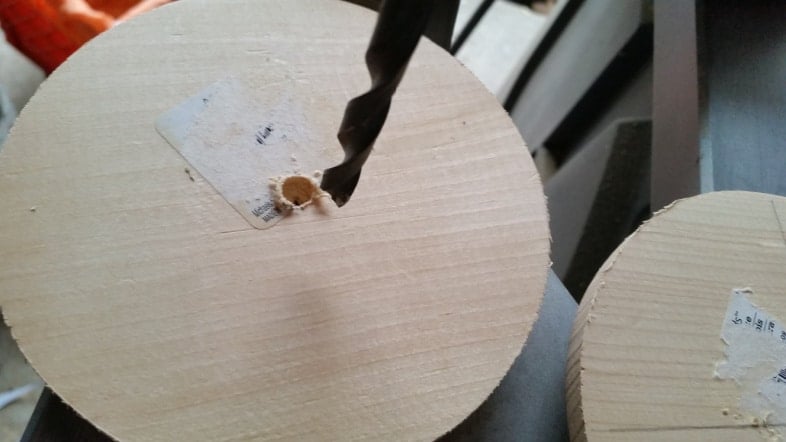
I drilled a tiny hole for a screw, then used a larger bit to make a countersink hole so the screw would be inset.
Glue and Screw the Spindle to the Base
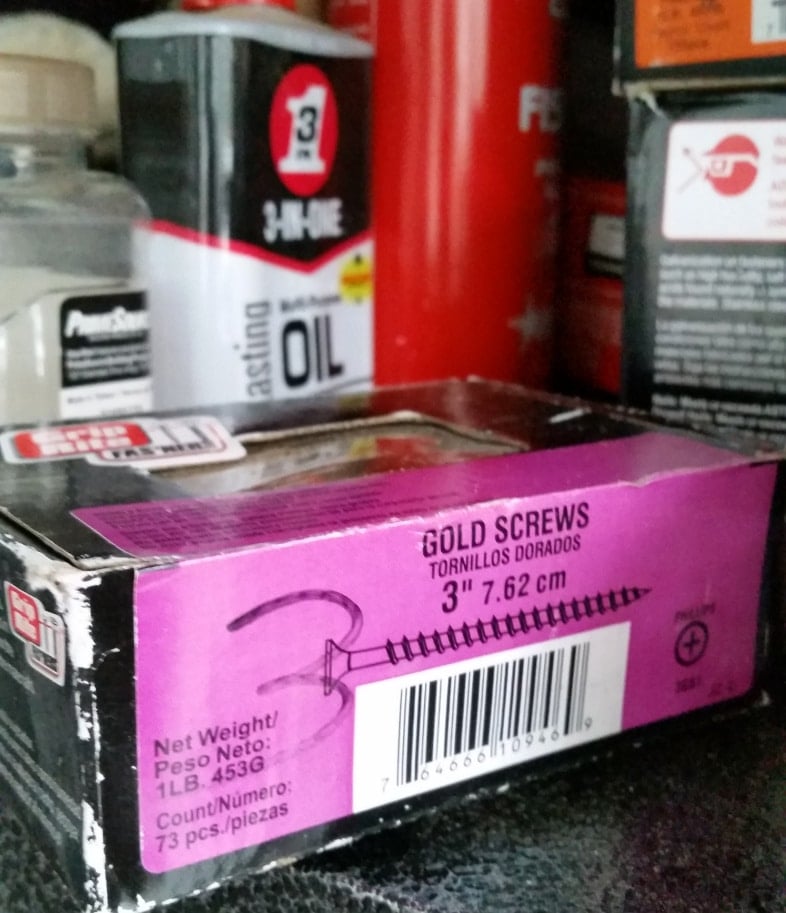
I used very long 3” screws to attach the wooden base to the spindle.
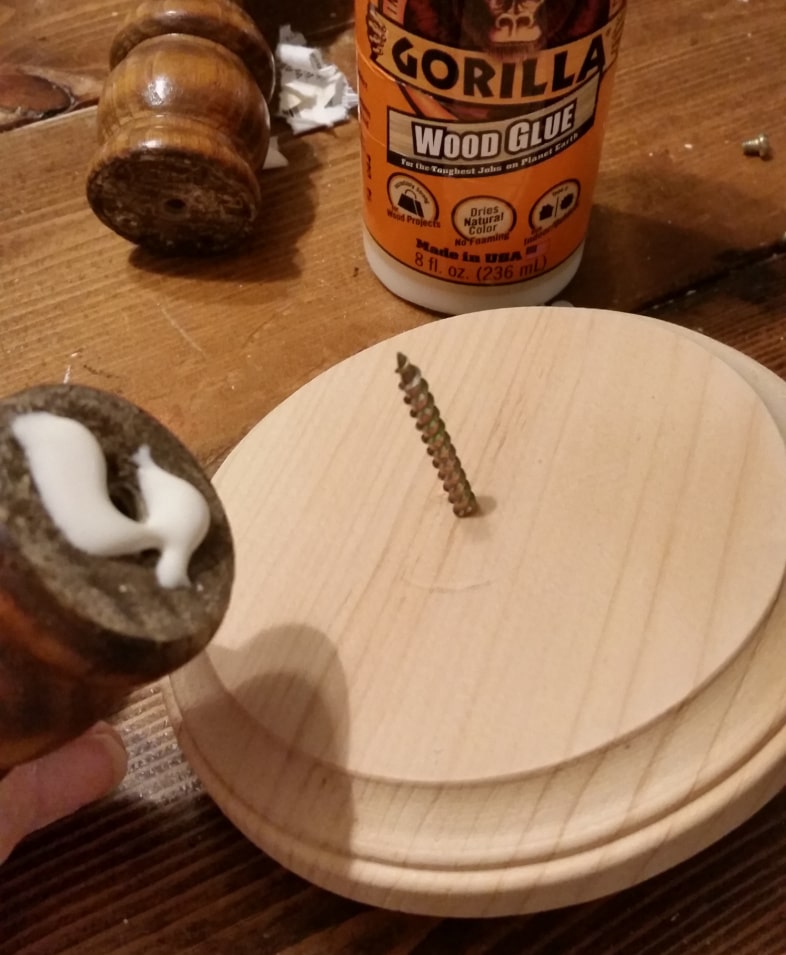
In addition to the long screw, I also used Gorilla Wood Glue.
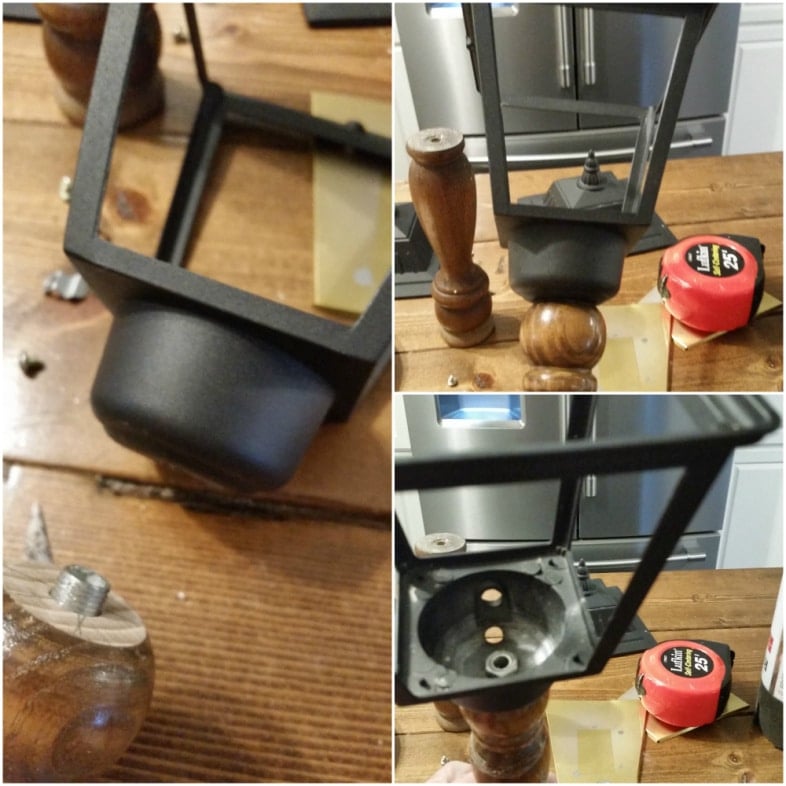
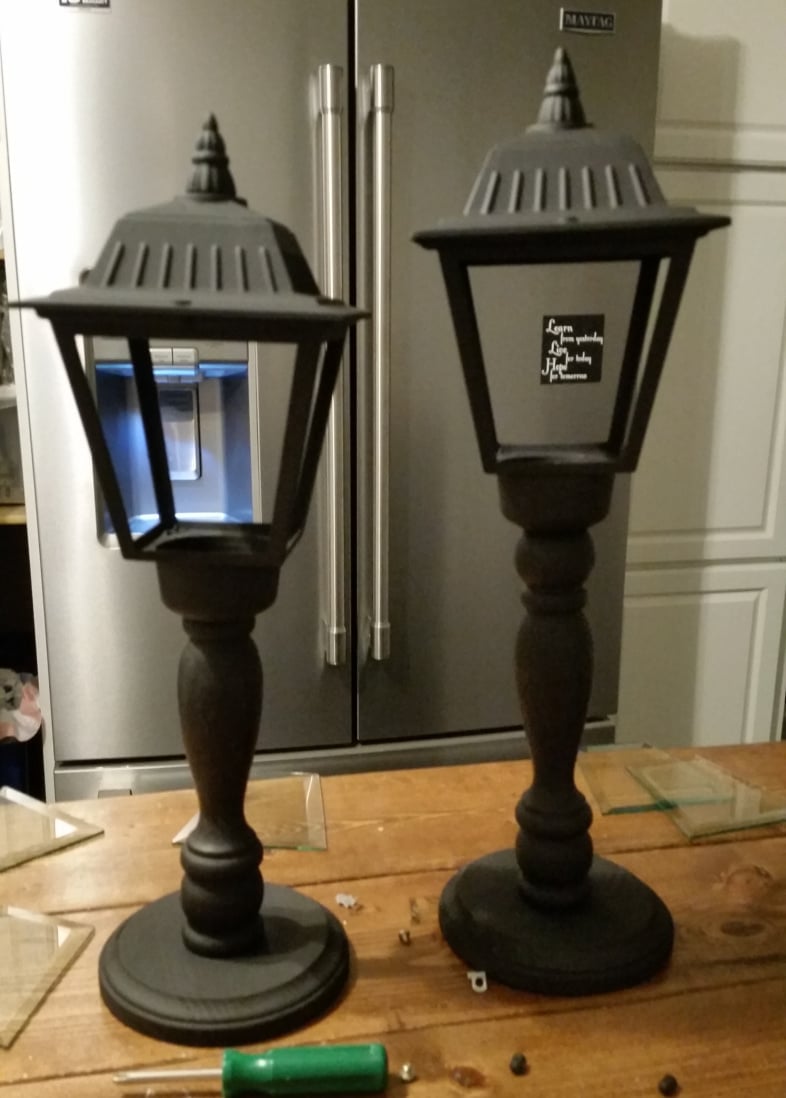
DIY Christmas Lanterns From Porch Lights
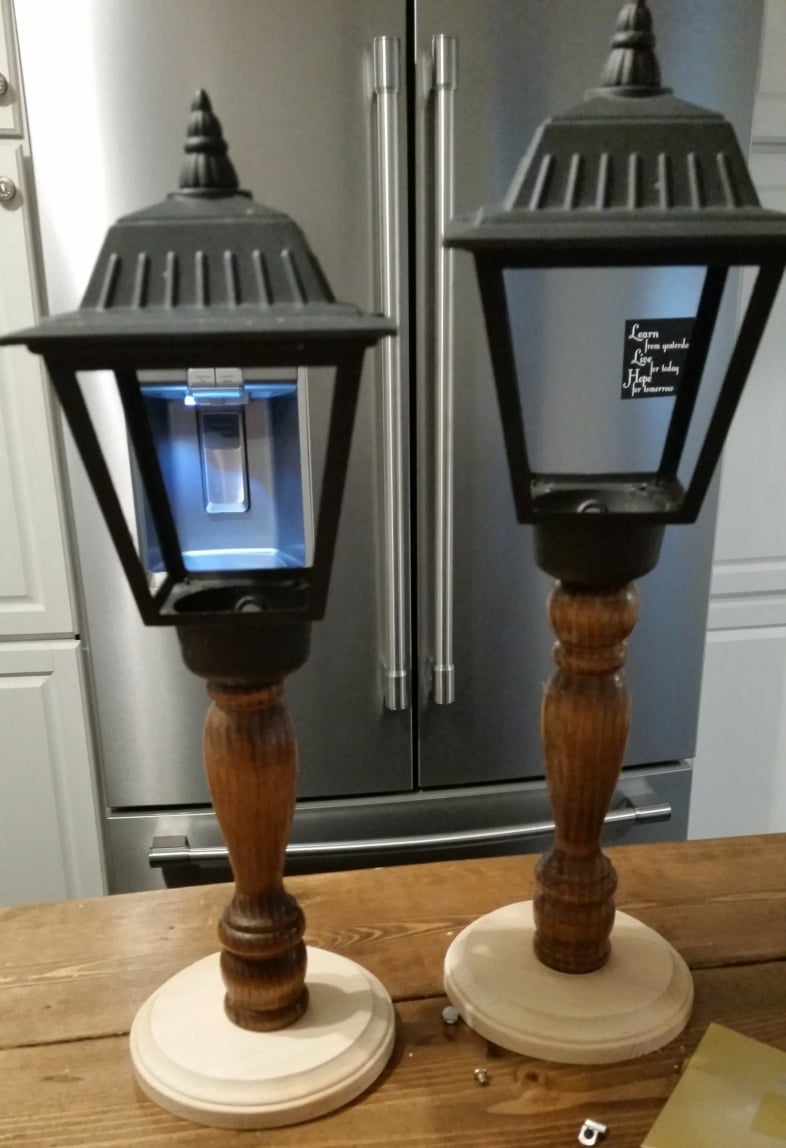
We’re getting there! I removed all of the hardware holding the glass and the back plate. Aren’t the DIY Christmas Lanterns looking so cute?!
Do You Spray Paint in the Rain?
It was rainy, so I spray-painted the Christmas lanterns in the garage while standing by the back door. YES! I am an impatient DIY’er. ![]()
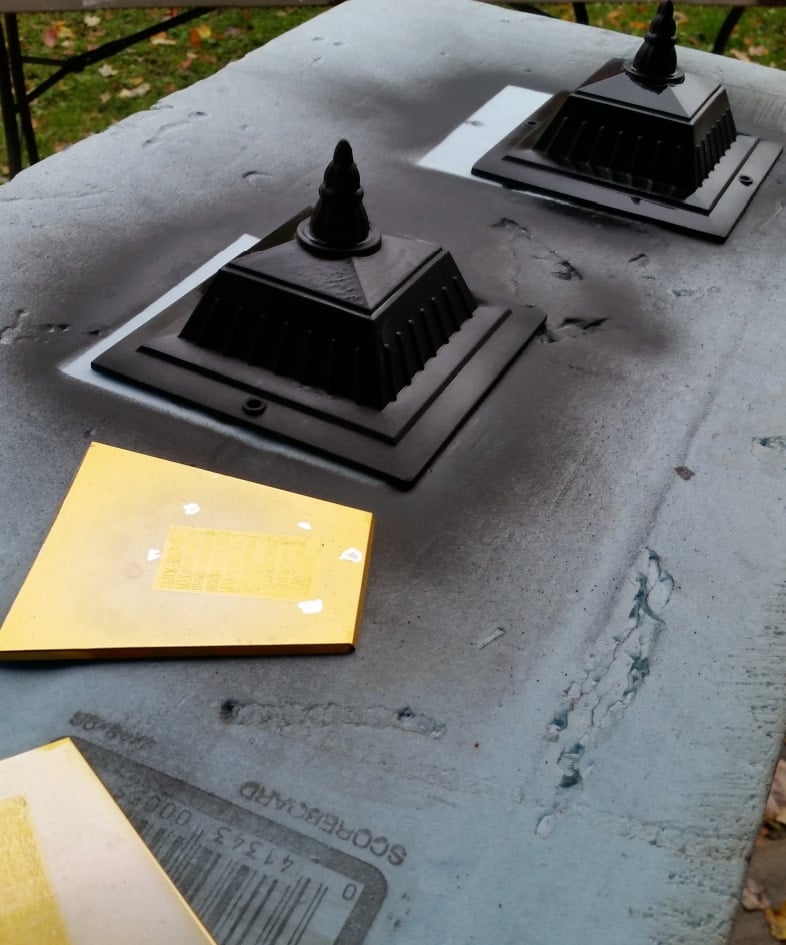
I laid these pieces on a scrap piece of foam insulation and held them while I spray-painted the tops of the lanterns and the back plates.
Reassemble the Christmas Lanterns
It was time to clean the glass and put everything back together. At this point, I’m starting to wish I didn’t have to give these away.
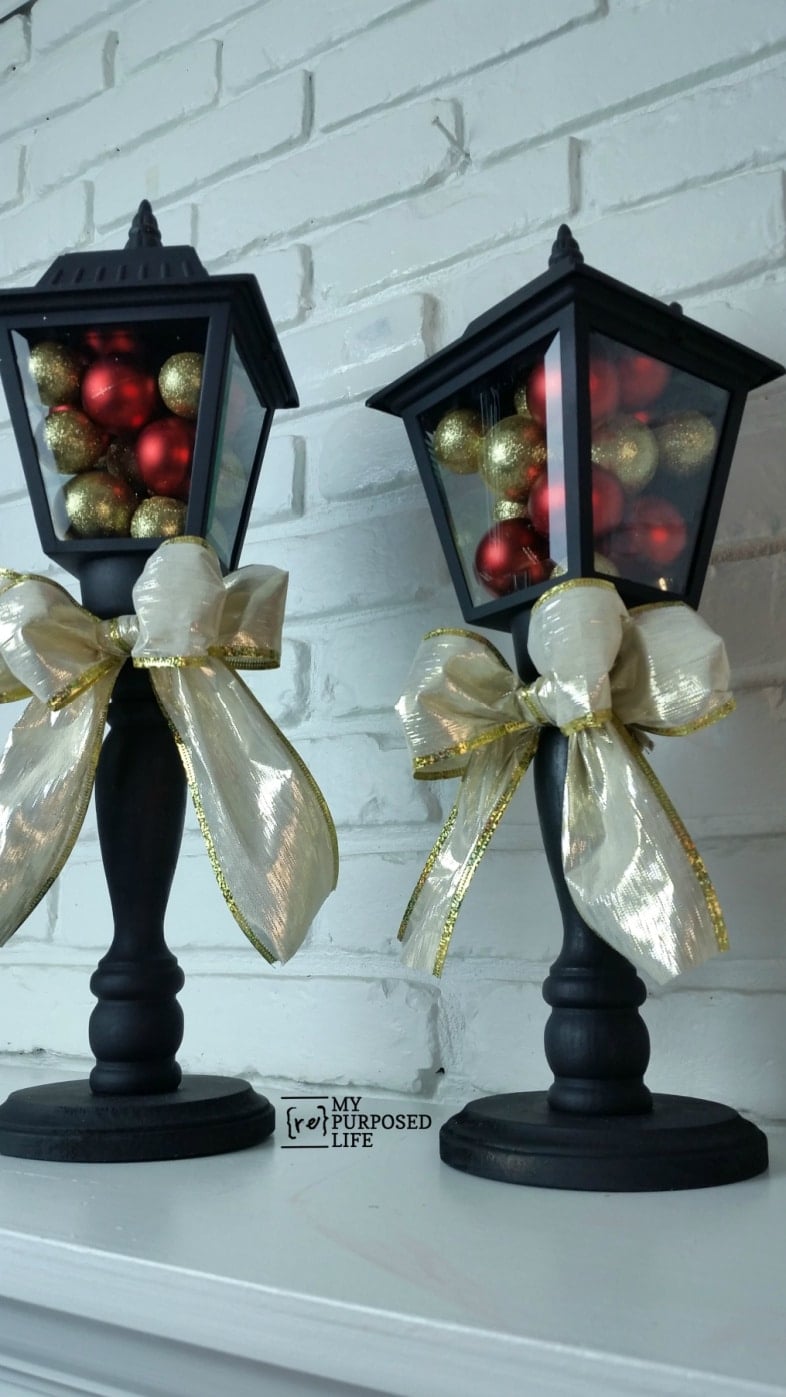
I picked up some items from Dollar Tree to style the new DIY Christmas Lanterns. You can see their Seasonal Catalog by clicking that link.
It’s time to reveal who will receive these festive Christmas Lanterns made from porch lights! Jeanie from Create and Babble – I’m your secret Santa! I know that you will put your spin on these lanterns and make them shine in all their glory, maybe even on that beautiful DIY farmhouse table. They will be off to you as soon as I find a box!
This was a fun challenge. I’m excited to find out who MY secret Santa is. You can find out more about it by visiting my friends’ posts below.

- Designed Decor – Repurposed Wood Serving Tray
- Domestically Speaking – Coastal Terra Cotta Christmas Lantern
- Virginia Sweet Pea – DIY Wood Lanterns for Christmas
- My Repurposed Life – DIY Christmas Lanterns Made from Porch Lights
- H2OBungalow – DIY Large Wooden Snowflake
- Create and Babble – Oversized Wooden Magnetic Christmas Ornament
This was a fun project. I love our monthly power tool challenge themes! Be sure to stop by tomorrow to see a new party I’ve put together with my blogger friends using Dollar Store items.
I hope these porch light lanterns encourage you to look twice at the next dated fixture you see at a yard sale or thrift store. With a few simple tools and some scrap wood, you can create Christmas lanterns that feel special and one of a kind. If you make your own, I would love to hear how you style them in your holiday home.
See more repurposed spindle projects here
gail
The lantern are off the chain. I wish l had used some l had thrown out becase the guts were burned out on one and the other was cut to close to the base for me to fill safe to rehang. I repurpose a lot or things and consider my self very crafty but lam so happy to have found you because l love to use other peoples ideas and go from there. Thanks for all the great project’s to keep in mind when hunting for treasures to bring back to something that people say l have to have that.
Thanks so much for your comment! I love to inspire people to use my projects as their inspiration and put their own spin on it. 🙂
Happy Diy’ing!
gail
I love how these lanterns turned out. My question for you is: Could you have used the round metal parts of the lamp as a base instead of the wooden base, or would they have been too light-weight?
Great question!
The bases were really odd. I tried to use them, but the neck (where I would have attached the spindle) was oddly shaped so it would sort of “hug” the original light. It was not level which would have made the bottom of the spindle rockety rock rock. 😉
gail
WOW! These are great! I have a few questions:
1. How did you remove the screws at either end of the spindle?
2. where did you get the round wood bases?
Cathy,
Great questions! I used vice grips to unscrew the hardware from the spindle. The round bases? They were in my stash. I think I probably picked them up at Hobby Lobby or Michael’s.
Thanks for your sweet comment!
gail
Such a cute idea that I wish I had read a couple days ago. I threw out a broken light like that and I could have used it like you did!
Thanks Julie! I’ve been sitting on these for a couple of months…just trying to figure out what to do with them. I’m sure yours would be fabulous.
gail
Absolutely BEAUTIFUL!!!!
Thank you so much Terri! I appreciate your comment!
Shut the door! These are freakin awesome! I never understand how you put together the ideas you come up with and create the most awesome repurposed projects! Pinned and shared 🙂
Sometimes I surprise myself Wendi. I love how these Christmas lanterns turned out too. I never really plan anything, I just jump in and get started. 😉
Thanks for pinning and sharing!
gail
Gail, These are perfect! I see old porch lights like those all the time and keep walking, not now! I love how they turned out! P.S. I want your scrap pile of pieces parts!
DeDe,
I probably wouldn’t have picked these up at a thrift store. But these landed in my lap from my neighbor. I just sat and waited until something came to me.
Thanks for your sweet comment!
gail
So cute & your stash of spindles – so jealous!!!!
I’ll be sad when my stash of spindles dwindles. lol
I pulled another one out today from a different stash for a new project.
gail
Yay!!!!! I am thrilled to be the lucky recipient of these adorable Christmas Lanterns! I can’t wait to get them. You are so incredibly talented Gail and I’m excited to have My Repurposed Life original pieces of my own! xoxo
Your lanterns are lovely and I know that Jeanie is going to love using them in her home. You do the best job of turning odds and ends into decorative treasures. I am now wishing that I’d saved some old lights that I got rid of a few years ago. They would have been perfect to make a pair of these for my home.
so nice! love how they turned out.