
Farmhouse Wooden Shutters Make Your Own
As an Amazon Associate, I earn from qualifying purchases.
Hey there! It’s Angie from Knick of Time, here to share a new tutorial for DIY farmhouse wooden shutters.
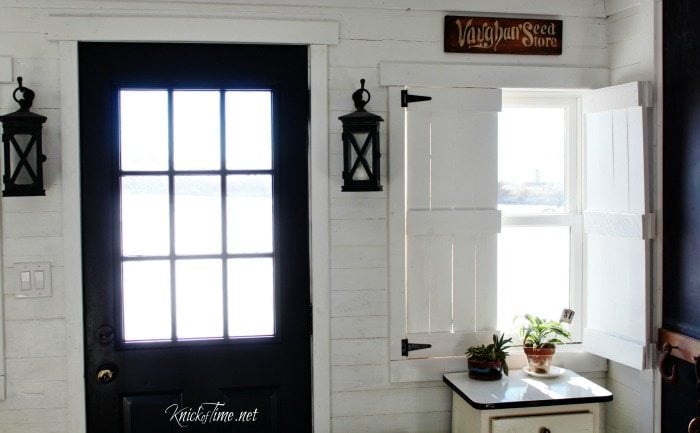
When we finished our entryway remodel a few weeks ago, and I wasn’t sure what I wanted on the windows, so I made some temporary drop cloth curtains for privacy until I made up my mind. Later I realized that wooden shutters would tie in really well with the barn door cabinet my husband had built into the wall, and they would be easy and really inexpensive to make – easy enough for even a novice woodworker.
Supplies Needed:
Pallet wood or pine boards
roofing nails or short screws
paint
T-hinges
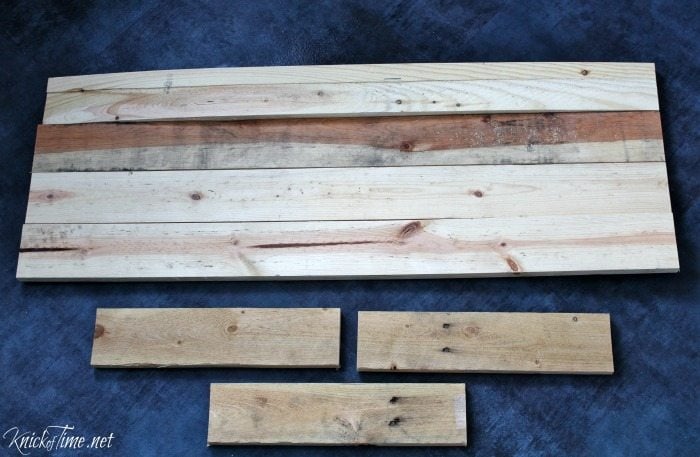
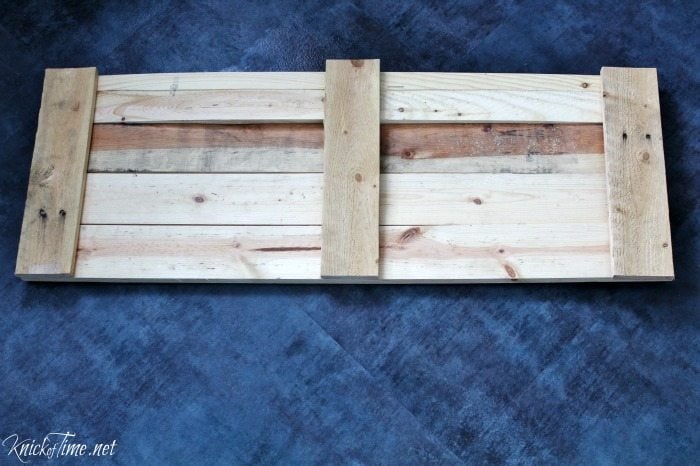
For each farmhouse wooden shutter, you’ll need some long and short pieces of either pallet wood, or cheap pine boards. I measured the inside of our windows to determine the length to cut the 4 long pieces of wood needed, and measured the width of each window (divided by 2) to make sure the 4 pieces of pallet wood were the right size to fit half of each window width when they were connected together. You’ll also need 6 shorter pieces of wood (3 for the front and 3 for the back of each shutter). These should be cut just slightly smaller than the width of the 4 long pieces.
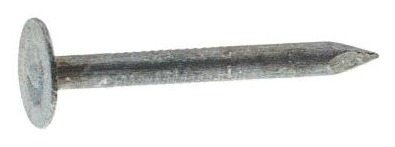
I used roofing nails for the farmhouse shutters
We had a hard time finding screws that were the right length. Therefore we used galvanized roofing nails to attach the 3 short boards onto the top, middle and bottom.
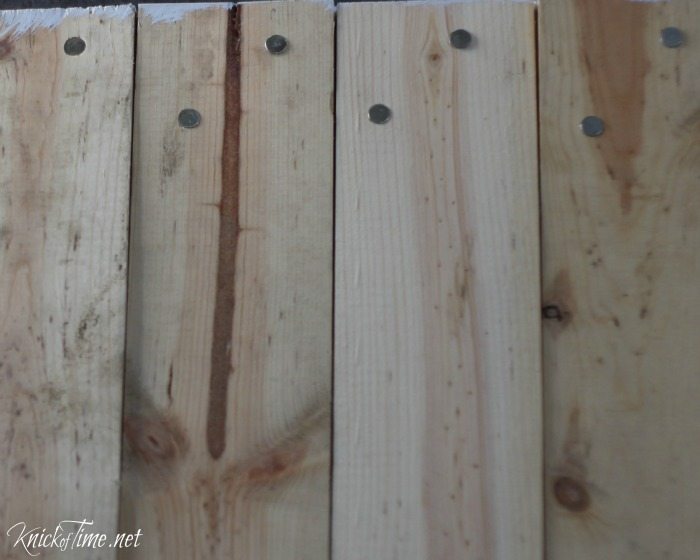
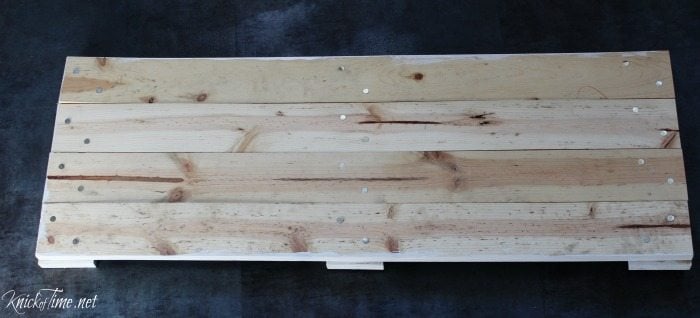
Here’s what it will look like on the front side with the short boards attached. The roofing nails are short enough that they don’t protrude through the front of the short pieces of wood.
On the back side of the farmhouse wooden shutters you can see all the nails, but don’t worry. Those won’t show when the shutters are finished.
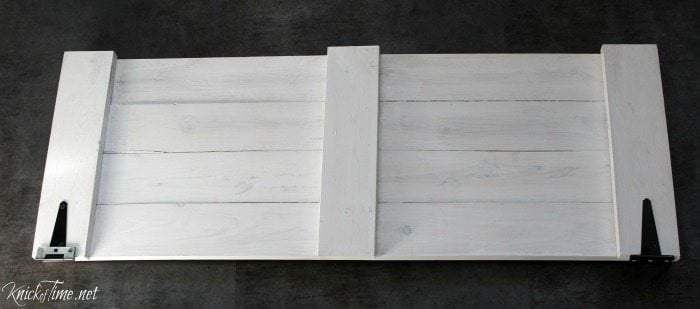
Cover back of shutters with short boards to cover nail heads
Paint the remaining 3 short boards and use wood glue to adhere them at the top, middle, and bottom to cover the rows of screws and clamp or weight the wood in place, and allow it to dry thoroughly.
Attach hinges
At this point I recommend doing a “dry fit” to make sure the farmhouse wooden shutters fit correctly in your windows, then paint the front and back side of each shutter, and attached the T-hinges on the left side of one shutter and the right side of the other, so they close together.
Hang wooden farmhouse shutters
The final step is to screw the bracket on the T-hinges into the window frame.
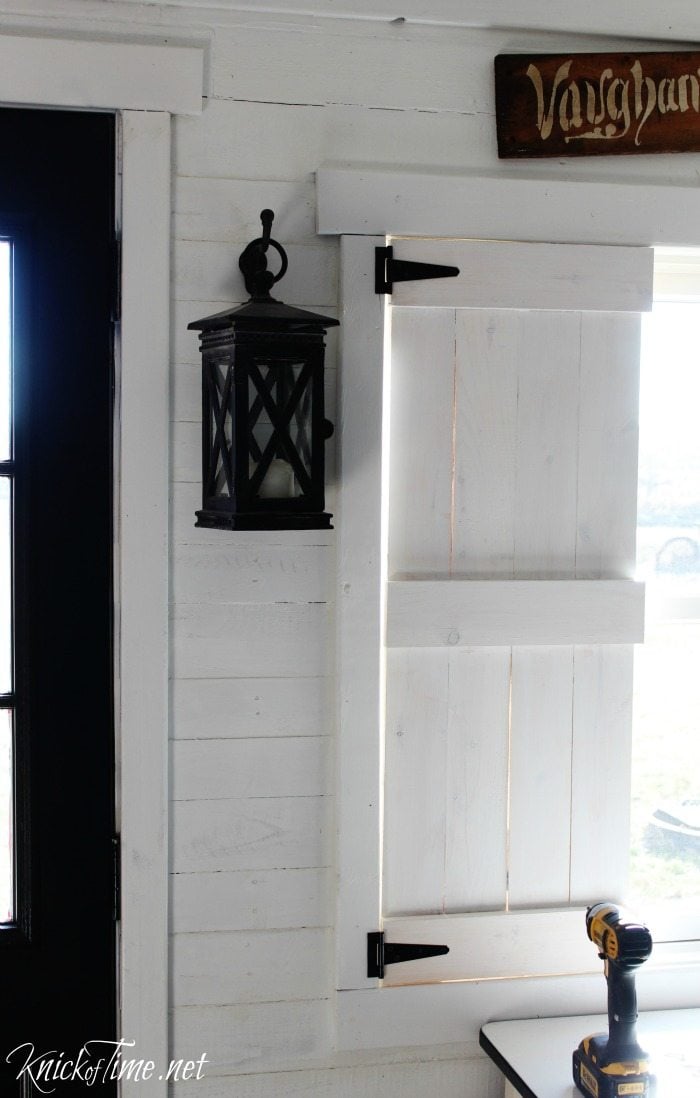

I love that these offer total privacy when closed, but allow full sunshine to pour in on sunny days, and whether they are open or closed, both sides match and look beautiful.
I use my entryway to take a lot of photos for my blog, and I can partially close the shutters to control how much light comes through the windows. They really are the perfect finishing touch in the room and have the exact farmhouse style I wanted.
You can see all the steps of progress of our entryway remodel HERE.
See you next month!

So cute, love these shutters! I’m pining this post too. 🙂
I jut love theses shutters! Exactly what I have been imagining for my next home1 And not as tricky as I thought. Thanks, I will have to save this post.
I love these shutters! Instant farmhouse!
I love, love, love your shutters. They are just perfect for your entryway. The shutters definitely give the entryway a true farmhouse look and feel, just like it has been there for a hundred years. Another great job. I’m going to be in Louisville Wed. and hope to do some junking if the weather holds and if you haven’t already got all the deals, haha.
The shutters are a perfect choice, and what a cool house!