DIY Gazing Ball out of a Bowling Ball
As an Amazon Associate, I earn from qualifying purchases.
Transforming an old bowling ball into a stunning garden gazing ball is a creative and eco-friendly way to enhance your outdoor space. In this project, I will guide you through the simple steps to repurpose a used bowling ball into a reflective ornament that adds charm and visual interest to your garden. This DIY endeavor breathes new life into an unused item and offers a cost-effective solution for personalized garden décor.
For this month’s Thrift Store Decor project, I’m making a DIY Gazing Ball out of a bowling ball! This isn’t the first time I’ve done a DIY gazing ball. I repurposed bowling balls years ago, but I found an easier way, and I think they are just as pretty! I’ve seen great deals on used bowling balls at thrift stores. For a long time, I was able to get them for just a couple of bucks. I picked up a few balls a few years ago, and they have just been waiting for a makeover.
On Friday, I’ll be sharing some news about my backyard. I’ve been making some changes, and one of those changes included a new gazing ball. That prompted me to get busy sprucing up all of the bowling balls I have in my stash.
What You’ll Need to Make Your DIY Gazing Ball
- Used bowling ball
- Alcohol
- Rag or a paper towel
- Spray sealer
- A stand for your diy gazing ball
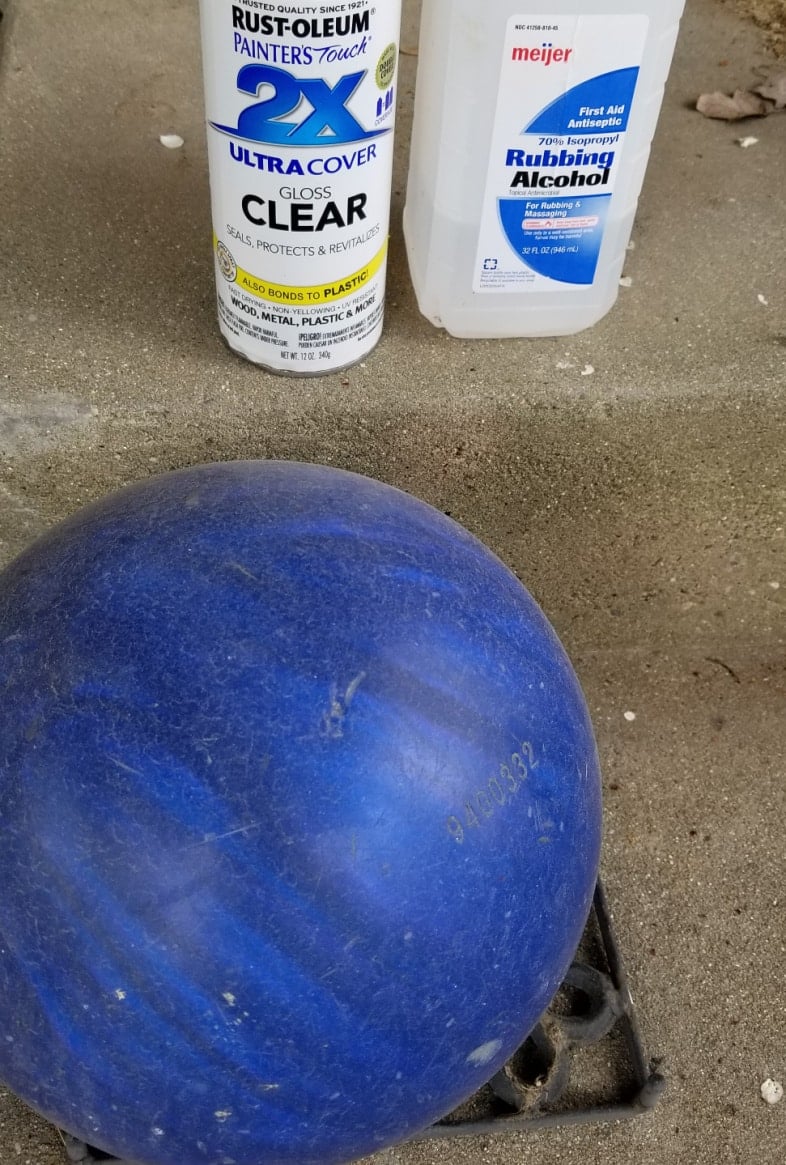
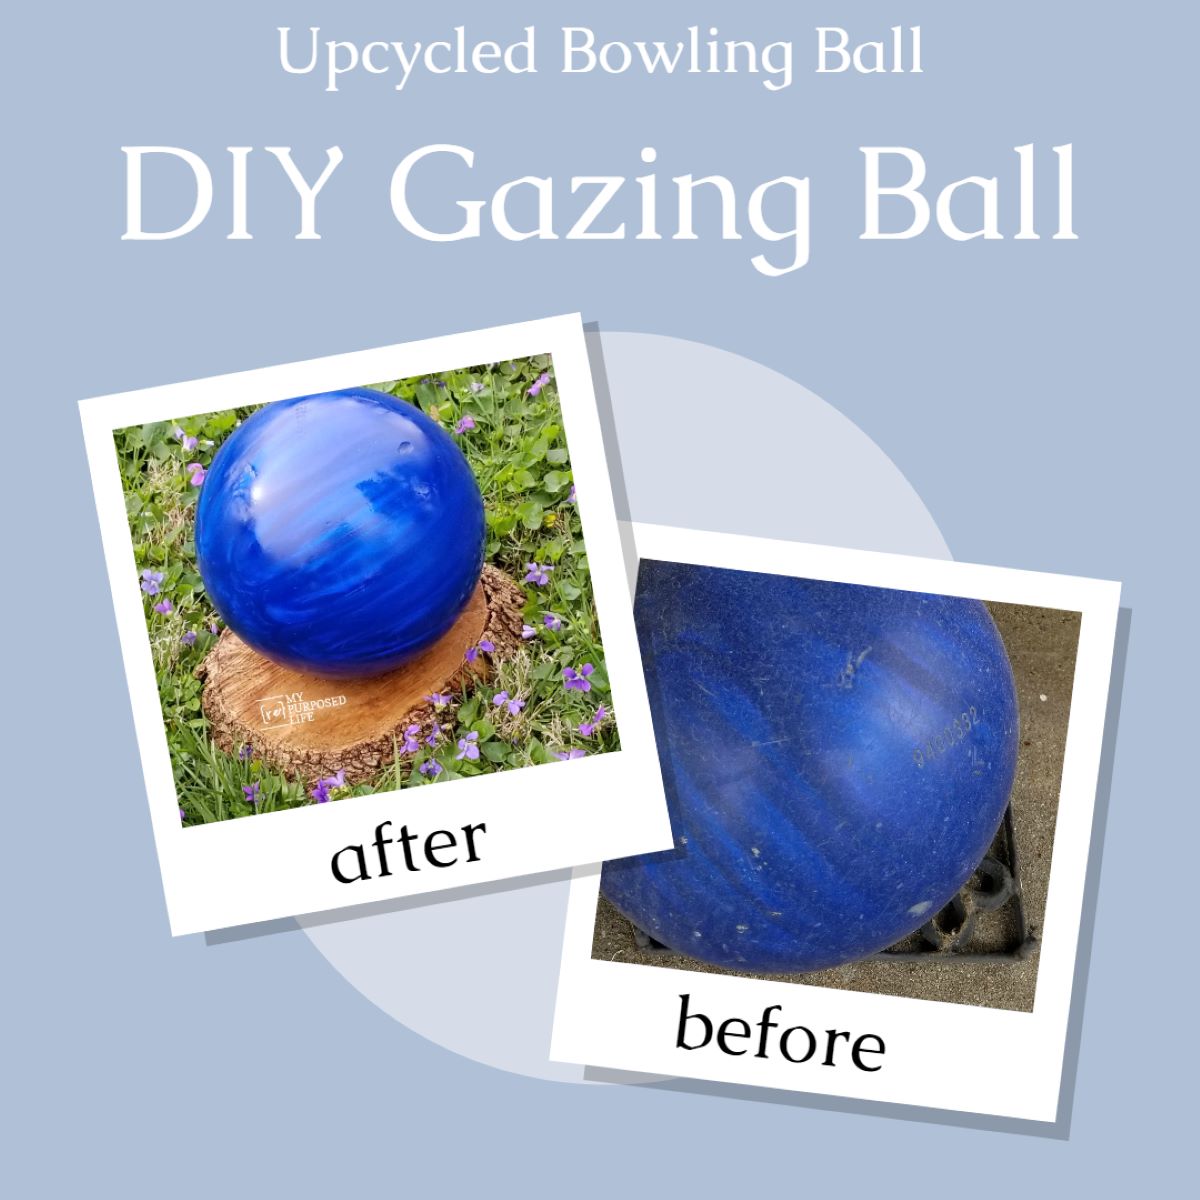
Because my bowling balls were stored outside, they were filthy. But if you have a bowling ball in your closet, it needs to be wiped down with alcohol to remove the oils. The sealer won’t adhere to an oily bowling ball.
Wipe Off the Bowling Ball With Alcohol
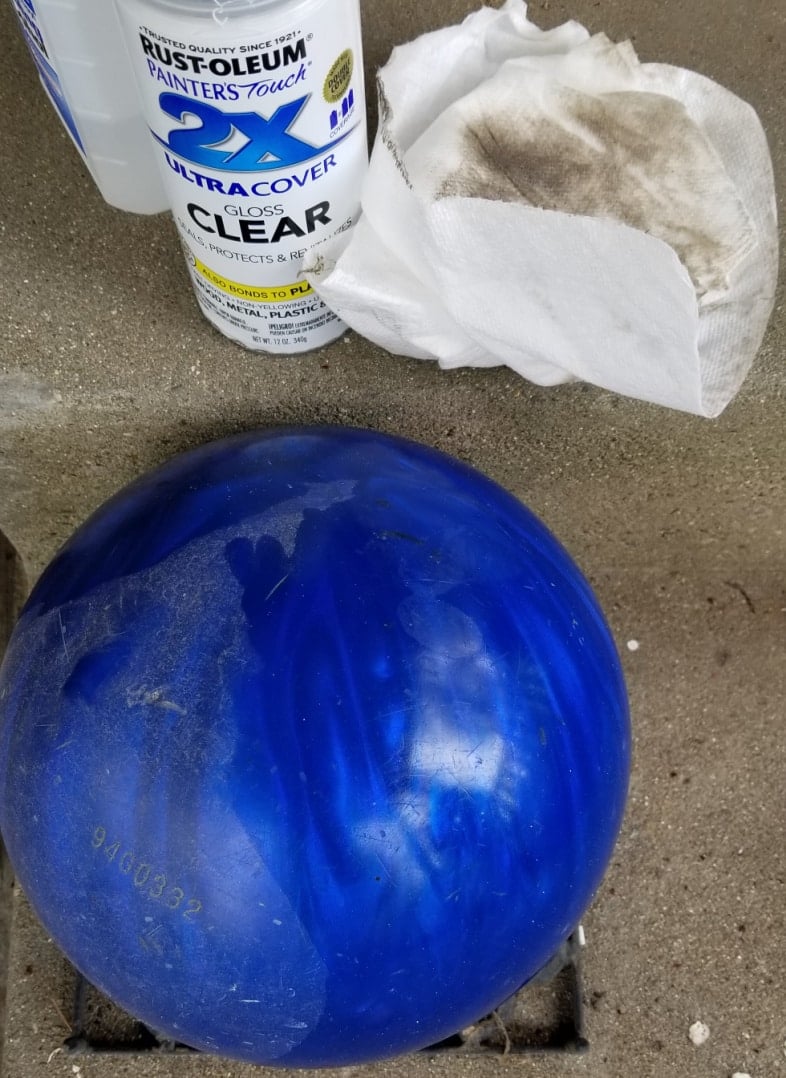
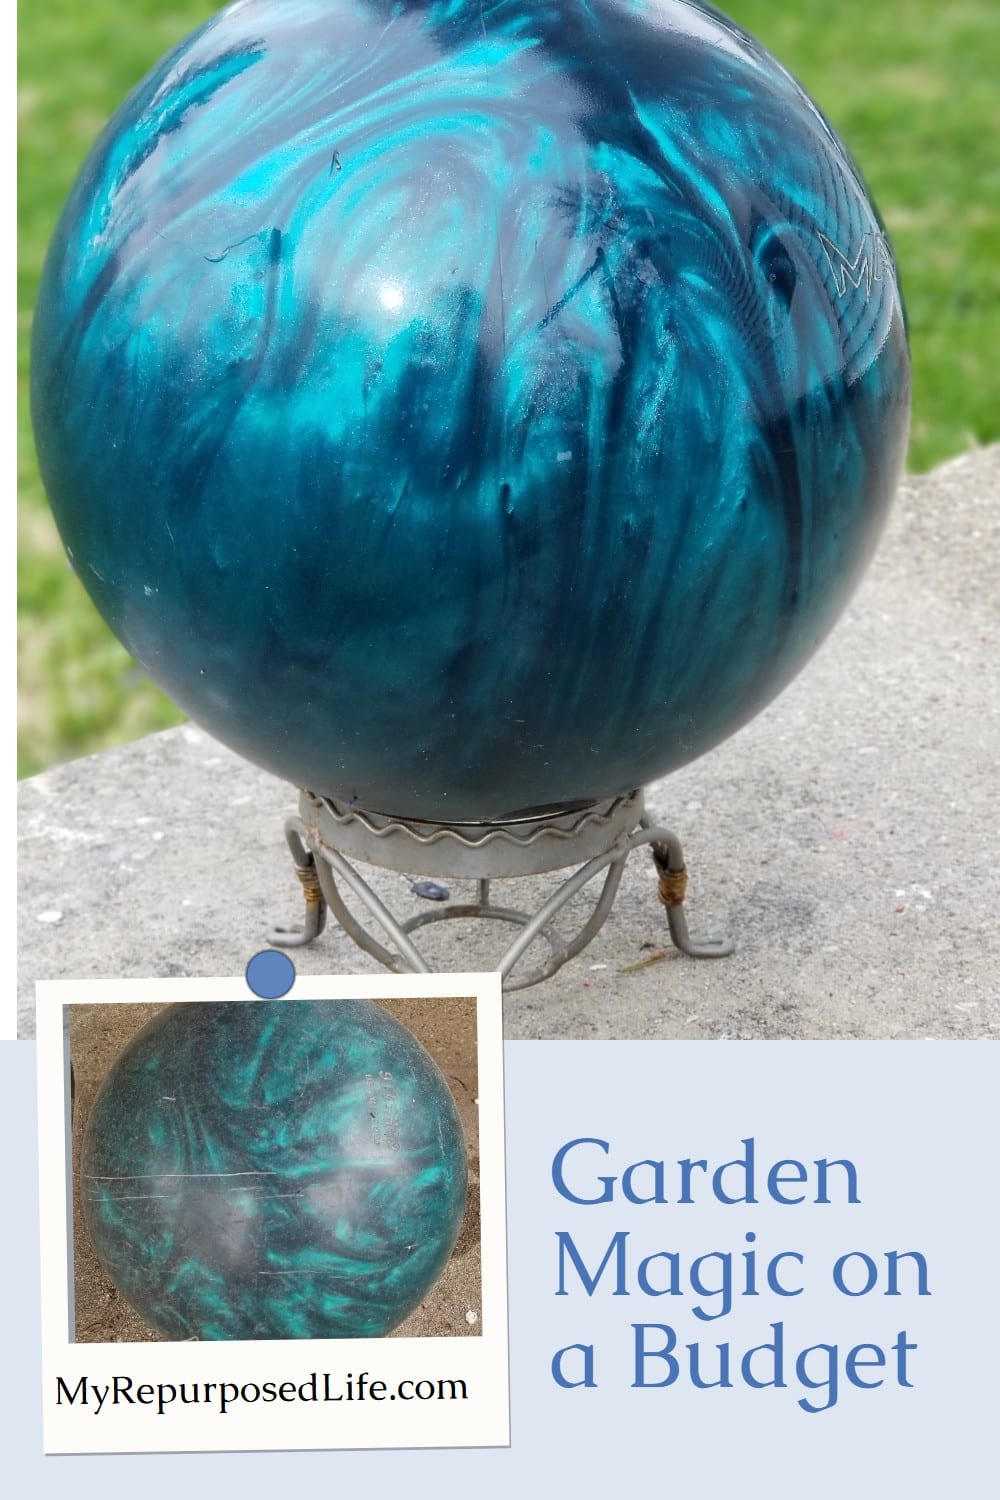
Wiping off the bowling ball with alcohol will give you a good idea of how your gazing ball will look after you apply the spray sealer. Most balls have a brand or number, but that doesn’t bother me. When displayed in your flower garden, these will be less noticeable.
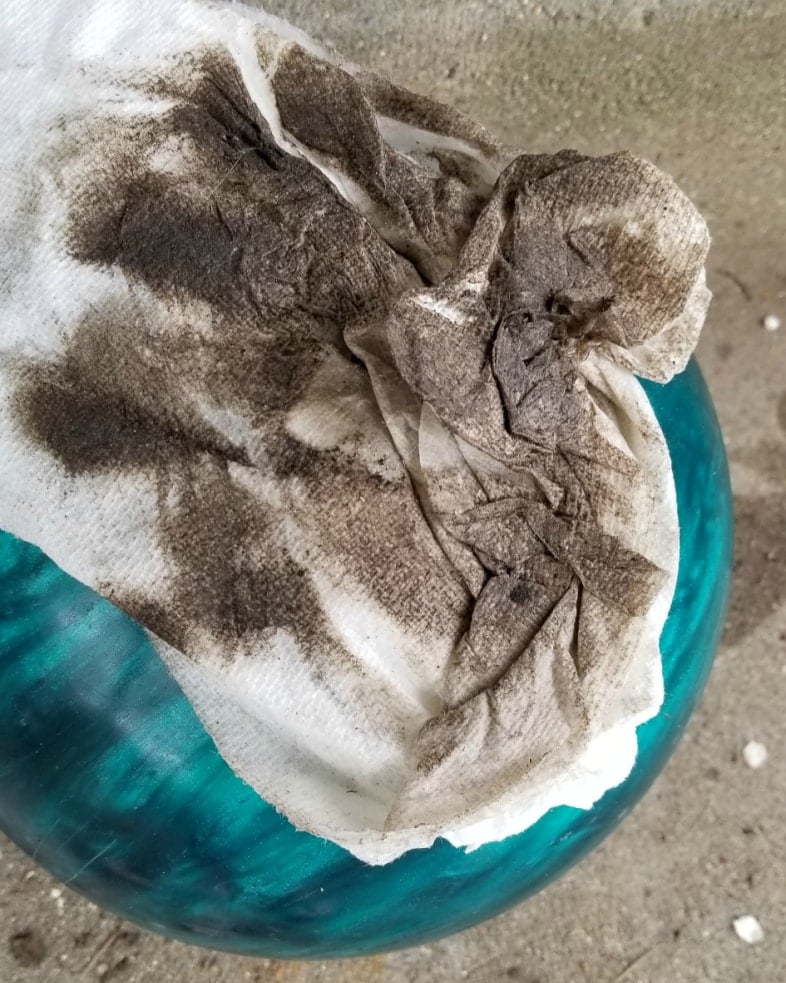
You can see this one was really dirty!
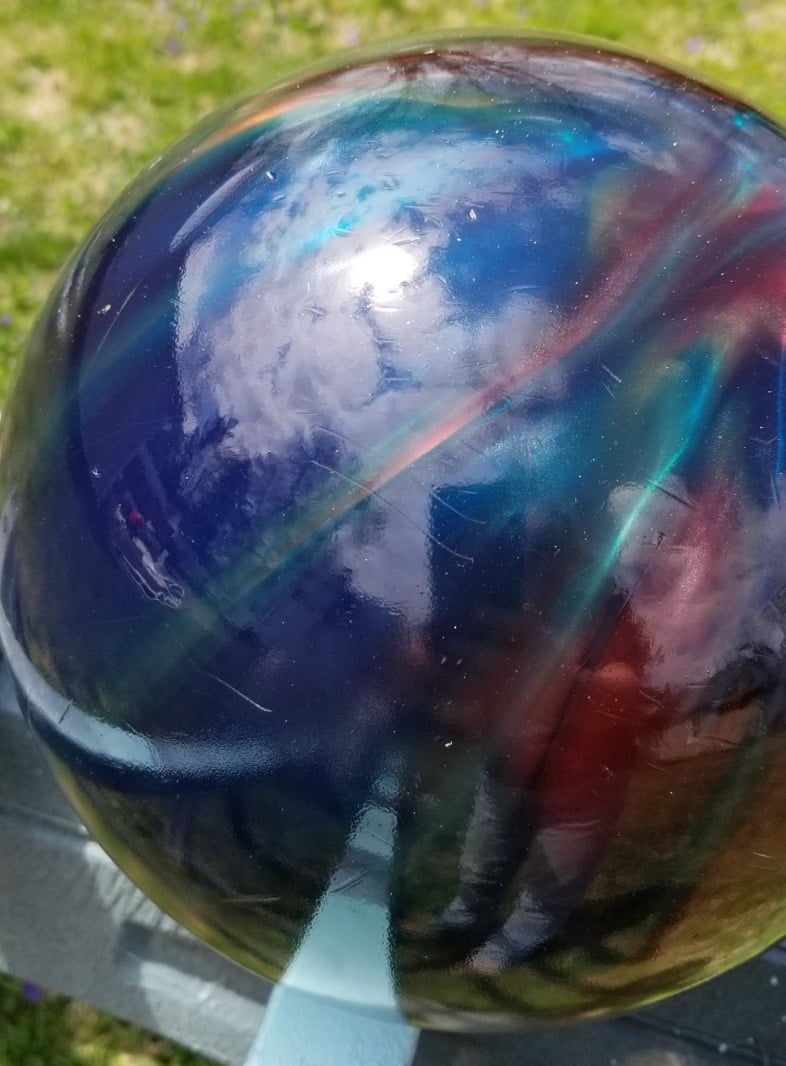
Spray DIY Gazing Ball With Sealer

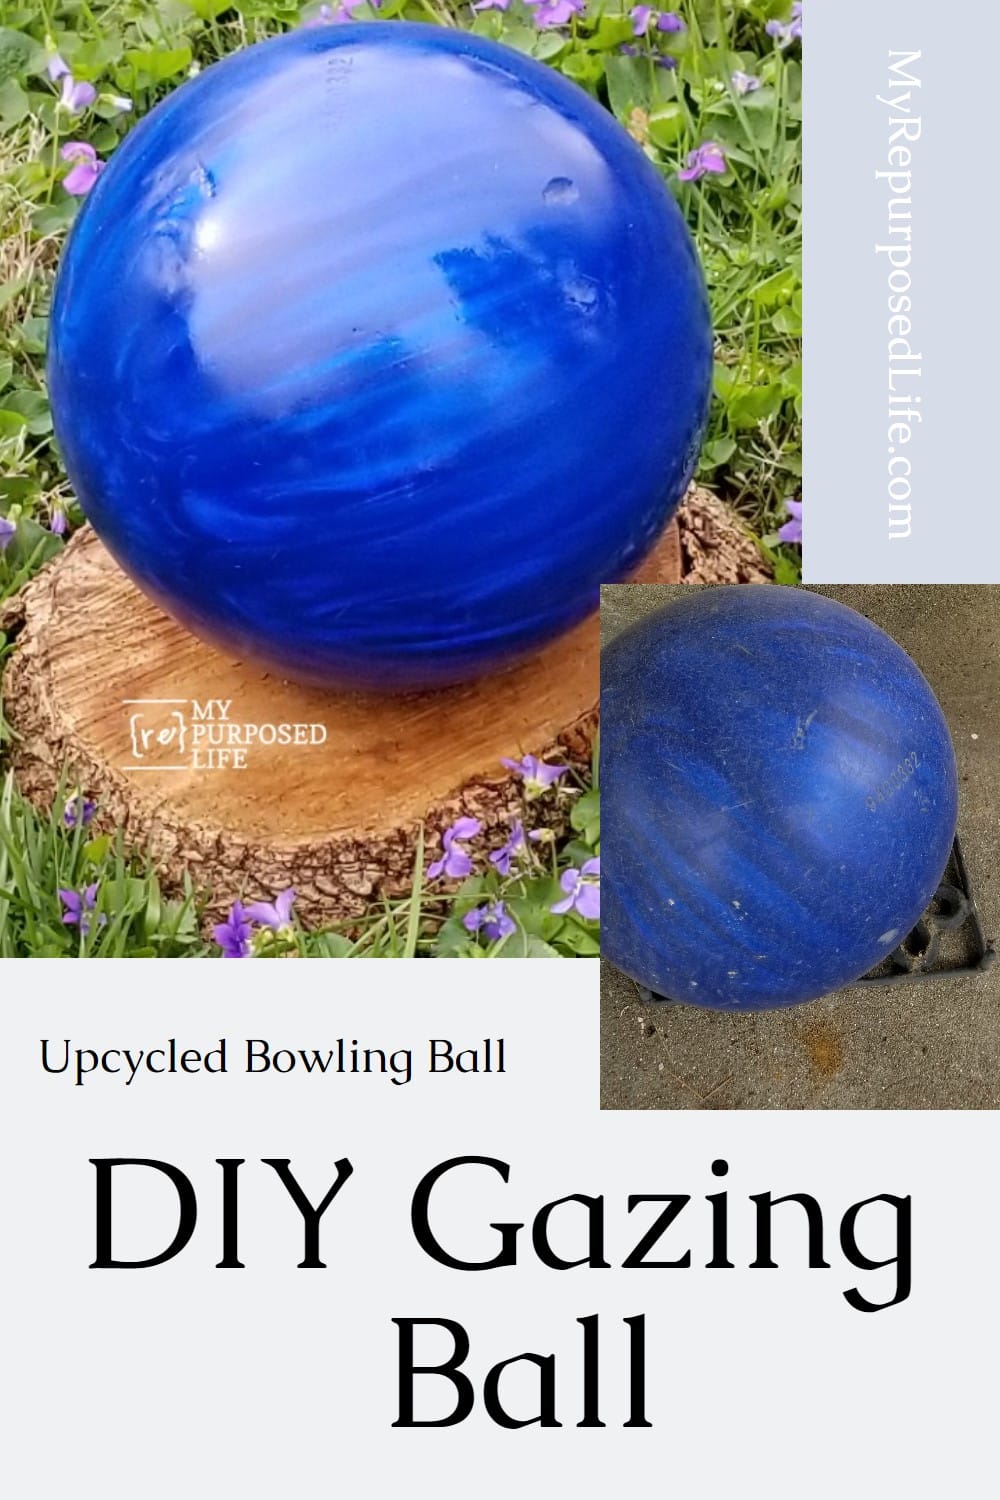
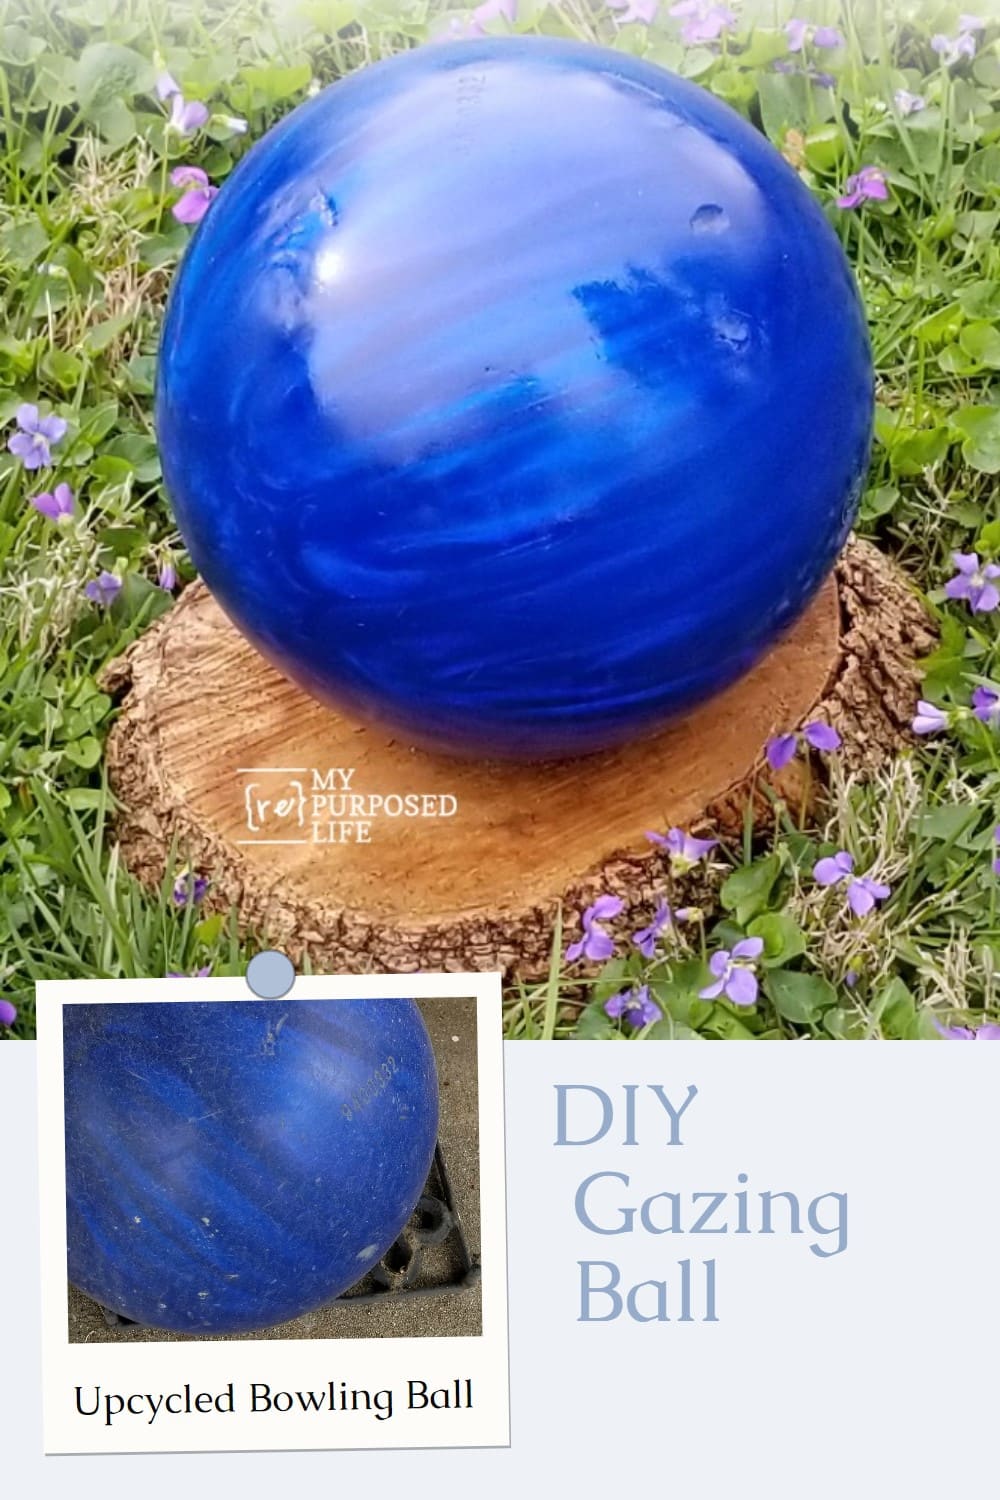
The DIY gazing ball on the right has been sprayed with the sealer. It magically turned into a gazing ball, and you can see the clouds and trees reflecting in it.

I can’t help but smile when I see how shiny they are. Back in the day, I used Marine Varnish. The spray sealer may not last as long, but I’m okay with that. If they get dull, I can respray them. Which is your favorite?
How Do I Display My DIY Gazing Ball?
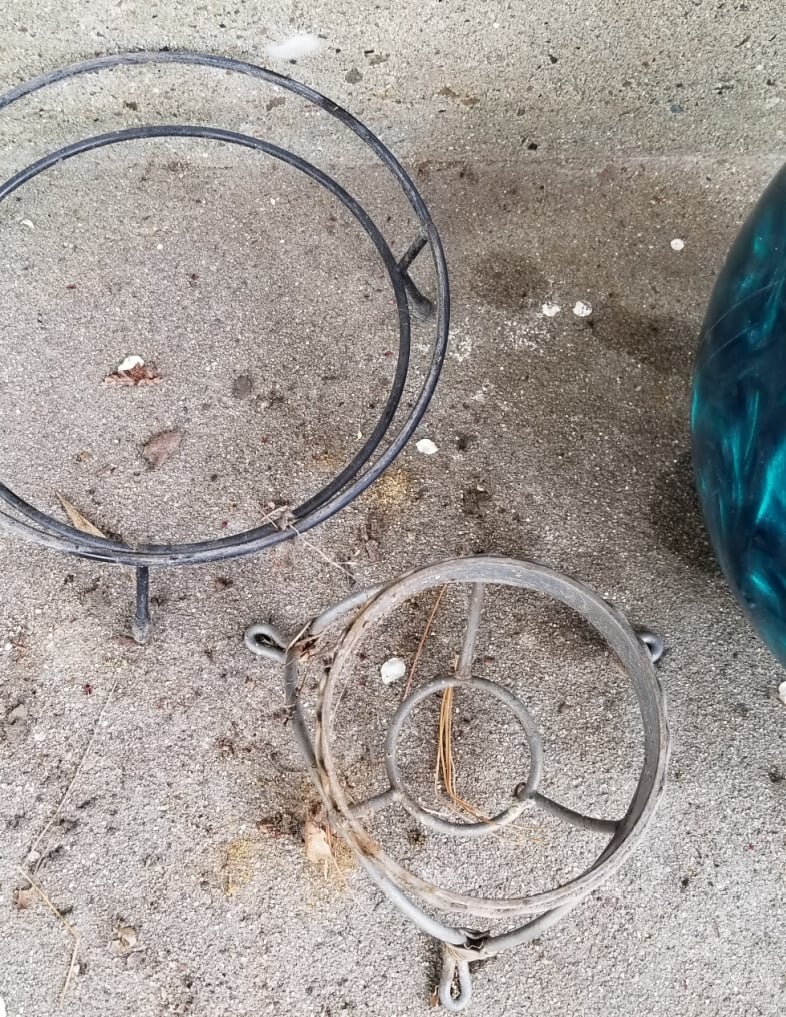
There are so many options for resting your DIY gazing ball in the garden or on the patio. I have always been on the lookout for any large candle holder that would hold a bowling ball. These two were in my stash, but I needed two more options. I haven’t shown you the fourth bowling ball yet—the one that’s in my backyard. A quick shot with the hose cleaned these stands well.
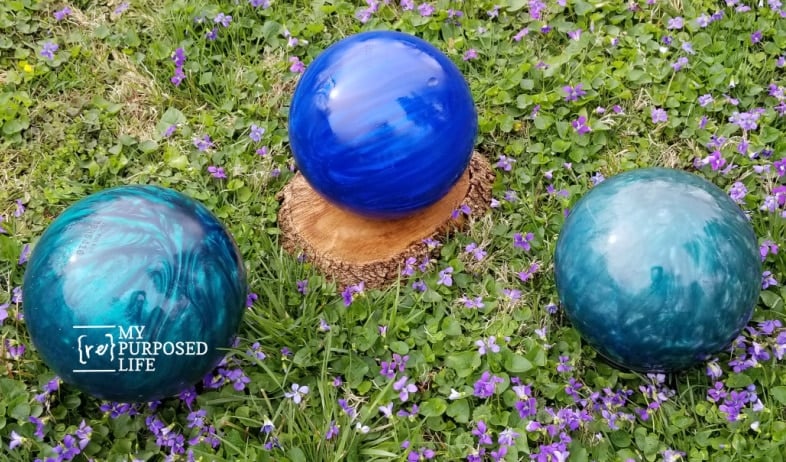
How can you NOT smile when you look at these shiny DIY gazing balls?
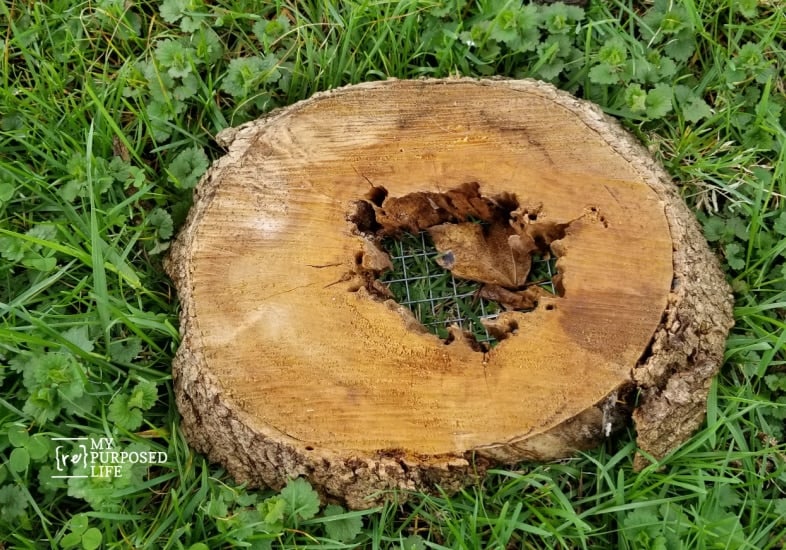
The pretty blue gazing ball rests on one of my rotted tree trunks. I used these to make some unique succulent planters.
This is the one I chose for my backyard, but after seeing the other three, I may trade it out. I love the blue one and the teal ones better.
I hope this DIY gazing ball project has inspired you to see old bowling balls in a new light. You can turn something headed for the landfill into a beautiful garden accent with just a few simple materials and a little creativity. Whether you display yours among your flowers, on a pedestal, or in a flower bed, it’s sure to catch the eye and bring a bit of sparkle to your outdoor space. Let me know if you try this project—I’d love to hear how your gazing ball turns out!

Now it’s time to check out the awesome thrift store projects from my friends!
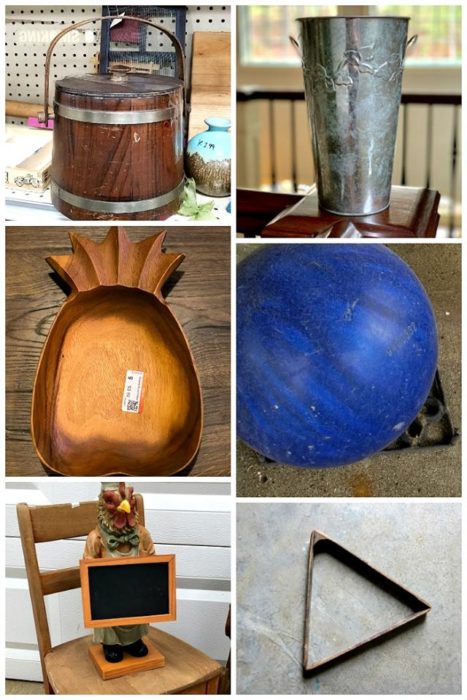
Ice Bucket To Farmhouse Vase – Sadie Seasongoods
Galvanized Metal Vase Makeover– Our Southern Home
Life Is Sweet Wood Pineapple – Domestically Speaking
DIY Gazing Ball – My Repurposed Life
Rooster Kitchen Chalkboard – Refresh Restyle
Hanging Succulent Display– Petticoat Junktion
Now, visit all the other great projects from my talented friends!
gail

I had been collecting bowling balls for years, even going to the bowling alley asking them what they do with old ones or those that needed resizing? They refuse and never given them up. I forgot about this idea. The middle deep blue is my favorite color.
Thanks for stopping by Kathleen and leaving a comment! It made my day. Blues always make me smile.
gail