gates and arbor | DIY Picket Fence
As an Amazon Associate, I earn from qualifying purchases.
Wait till you see the picket fence gates and arbor!!
It’s been a while since I’ve shared an update with you on the fence. We had a couple of snow storms, and some very cold weather, so we took a little time off. We have made some great progress lately with the gates and the arbor (pergola). It’s very exciting, and I can honestly say I’ve been doing a little happy dance lately.
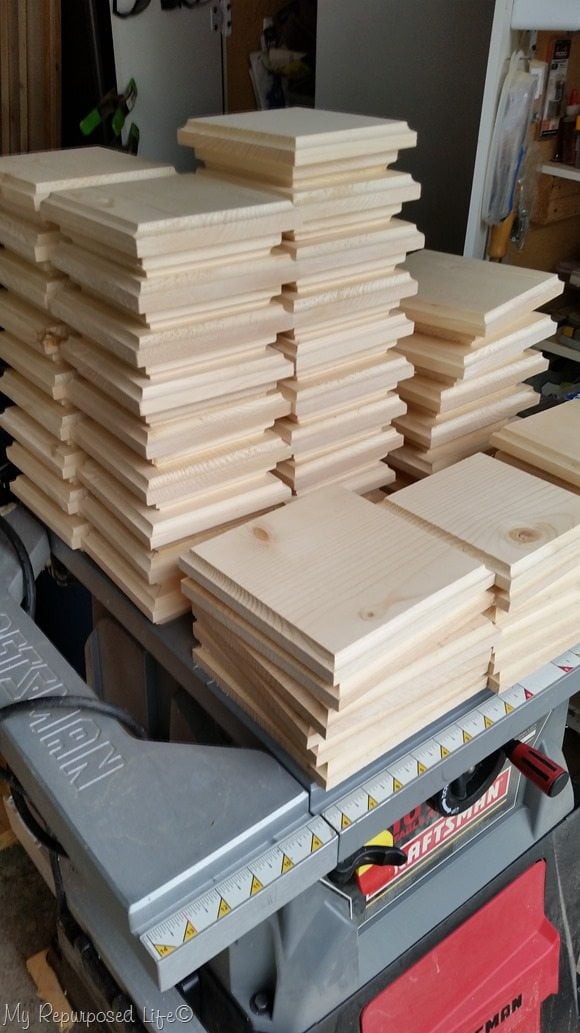
Before the snow storms came, Rodney worked hard on cutting and routing a bunch of 1x’s for the post caps.
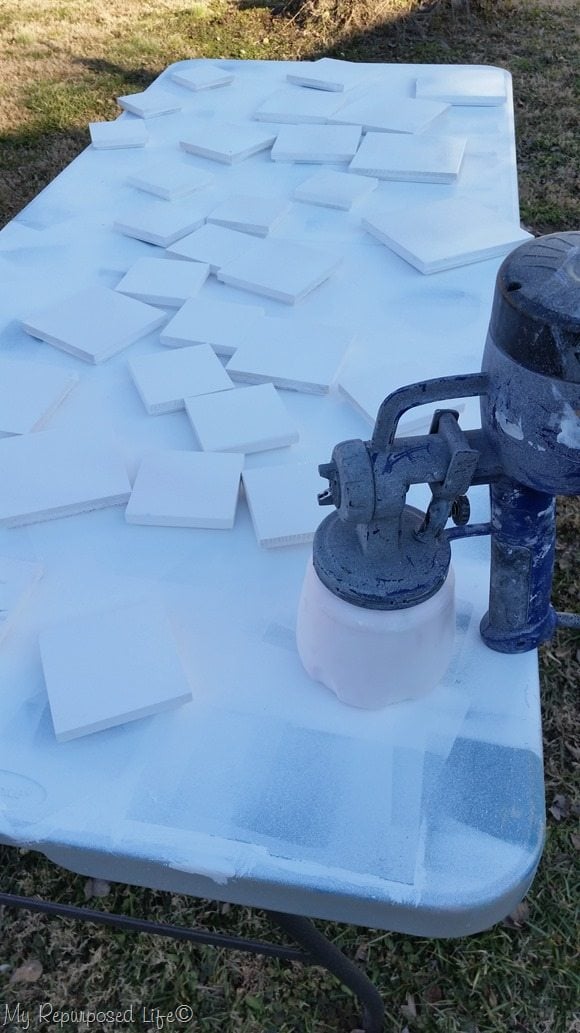 Over the weekend, I was able to paint the caps, FINALLY! I used my favorite Homeright Finish Max to make the job move quickly.
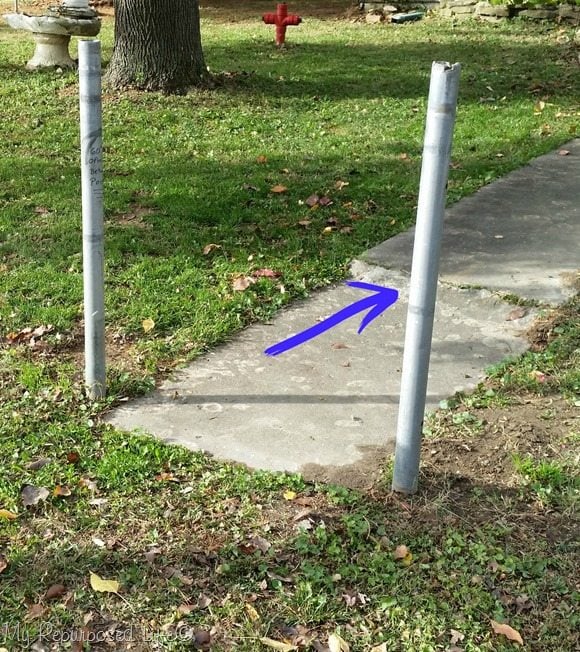 This is a BEFORE picture when the chain link fence was first taken down last fall. Notice the sidewalk. It’s been this way for years and years. The front part of the sidewalk had dropped, and then there was a patch job done which made a slight “step up”.
How to: Picket Fence Gates
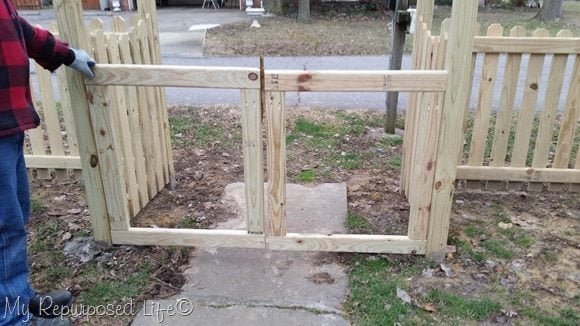 It’s difficult to see the step up from this angle. This was a dry fit of the gates, and it was clearly obvious that the gates would not open inward due to the height of the sidewalk.
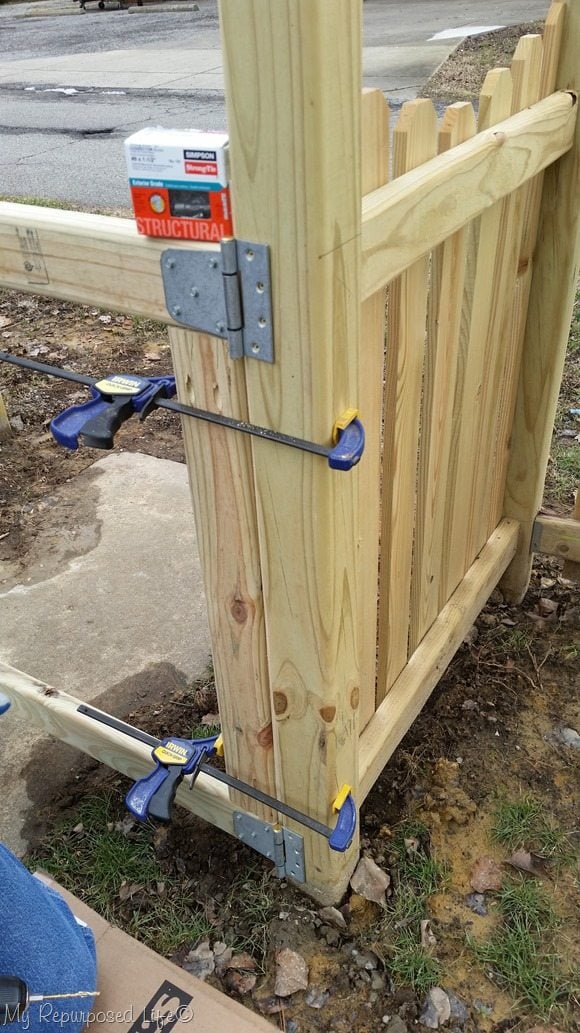 The installation continues. I made the gate frames using my Kreg Jig. I bought the t-hinges at Home Depot. We used fasteners from Simpson Strong-Tie instead of the screws that came with the hinges.
Lifting a sidewalk
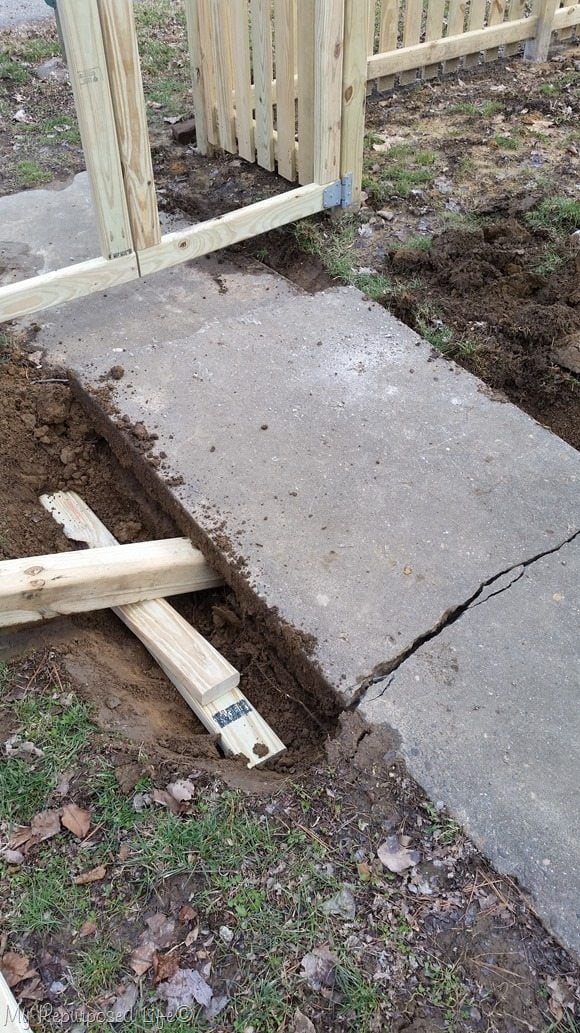 Now, to deal with the concrete sidewalk that is too tall. Rodney came up with the idea of lifting it out of the way. There was a small crack about 3 feet away from the drop off area. Using a 4×4 as a fulcrum, the sidewalk easily cracked. While we were working on this, I mentioned that we should flip it out of the way, dig out the ground, and flip it back at a lower level, allowing the gates to swing feely. We make a pretty good team!
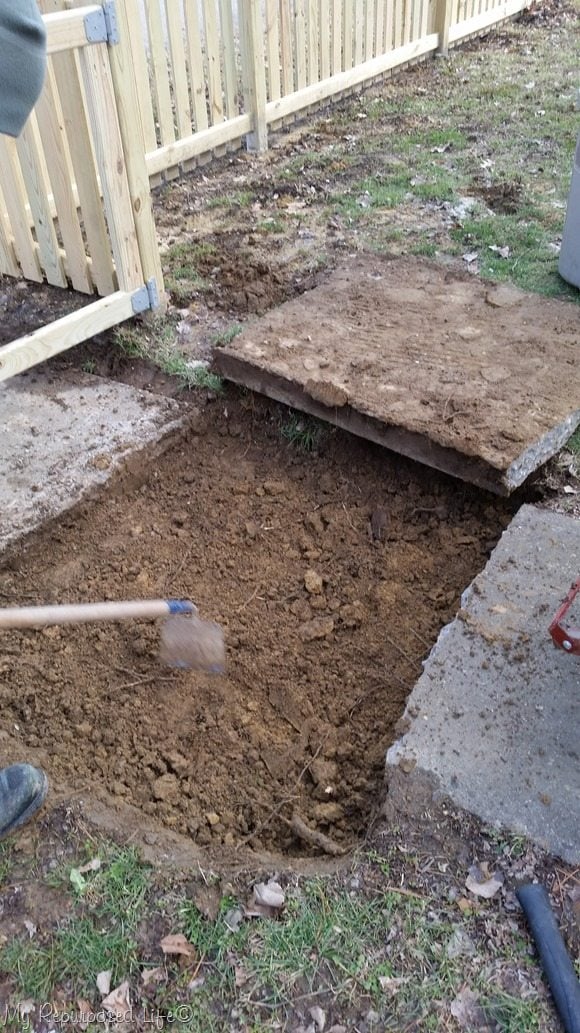 It was fairly easy to flip out of the way, it was a little more difficult getting it back in place after digging out the dirt.
Designing Picket Fence Gates
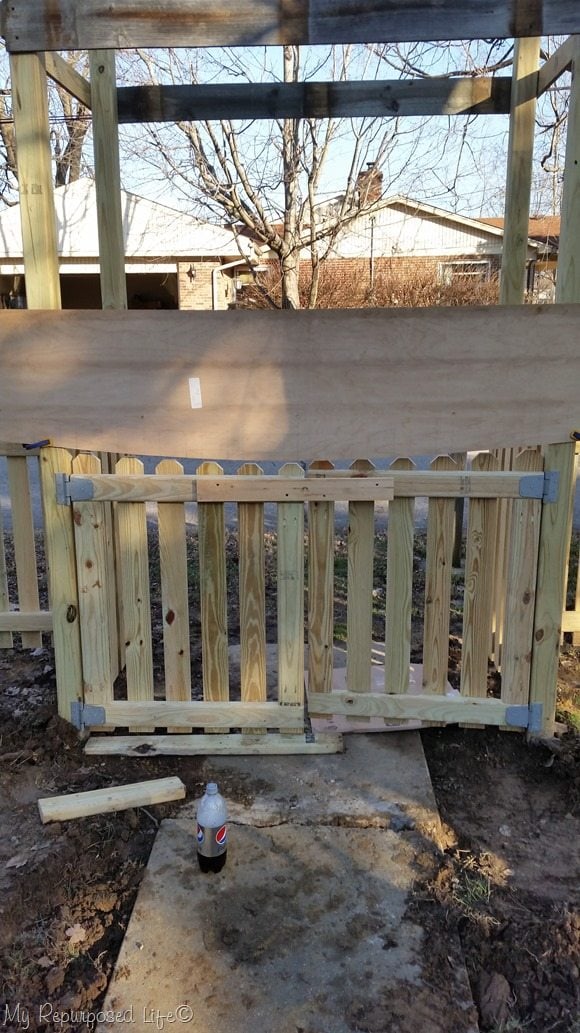 We used the jig to install the picket boards on the gates.
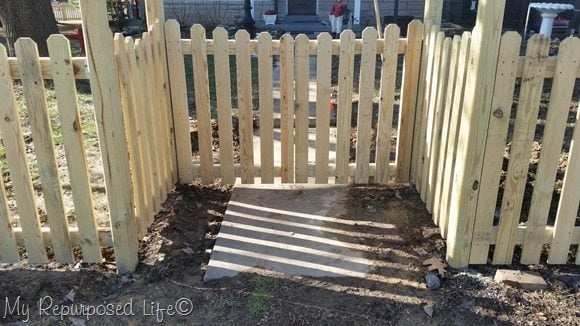 There is still a “step up” on the sidewalk, but now it’s about 6 feet from the end of the concrete.
I am having a difficult time finding hardware for the picket fence gates to keep the gates flush without swaying in the wind slightly.
We have a plan for a new pathway, but that will have to wait until the weather warms up.
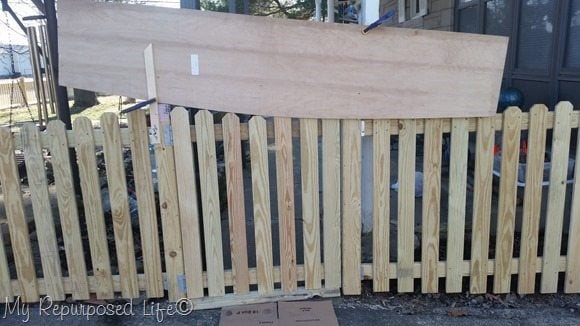 We used the template/jig for the side picket fence gate as well. To get the right look, we did the right side, readjusting the jig, then the left side.
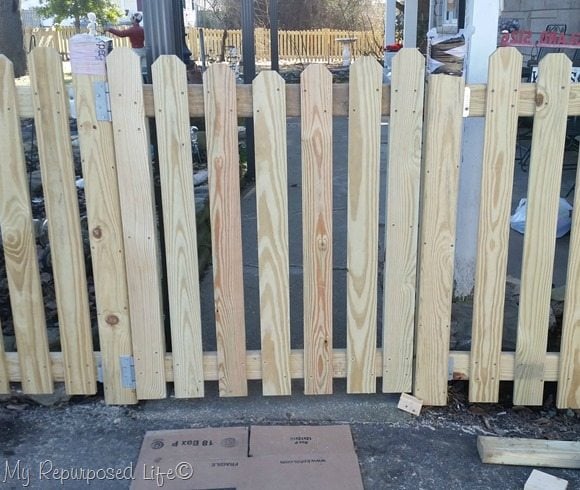 We did the pickets on the gate the same as we did with the fence pickets. We nailed the pickets in place with my Ryobi AirStrike nail gun, then pre-drilled counter sink holes and used Simpson Strong-Tie screws.
I put plastic bags over the “boxed-in” fence posts because they are hollow. I didn’t want ice, snow, and rain to collect—freezing and thawing over the winter months before we get the post caps on.
DIY Pergola
 Instead of a jigsaw, Rodney notched the boards for the pergola with a miter saw. After notching, Rodney used a handsaw to make the notches straight across. After that, he used a chisel to remove the notches.
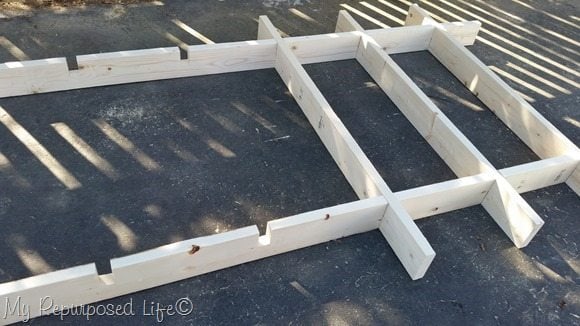 After doing all of the notches, we did a dry fit to make sure all the boards were going to fit correctly before doing the decorative cutting with the jigsaw.
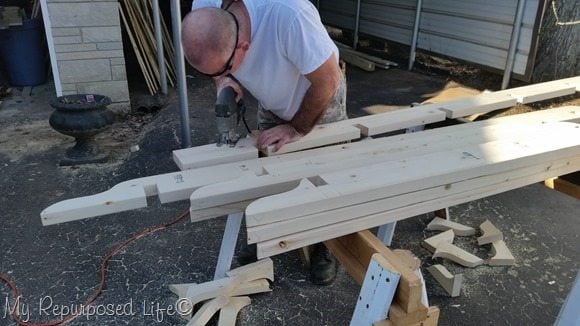 Rodney was cutting all the boards while I was painting a project. Don’t they look so pretty? He got the design by using a 1 gallon paint can.
 ![]()
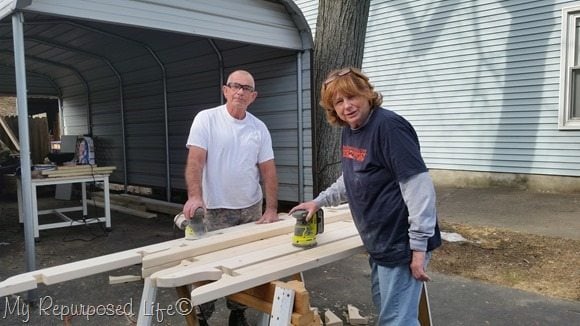 While the paint was drying on my project, we got busy with dueling sanders!
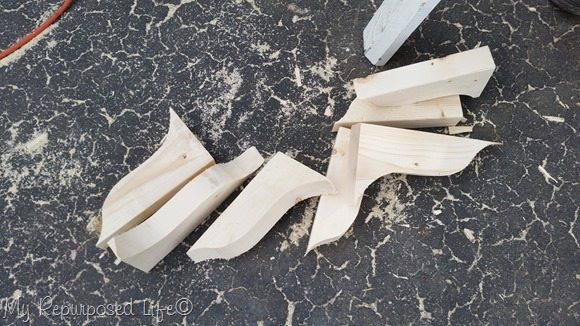 Look at the pretty drop offs. I definitely see the being used for another project down the road.
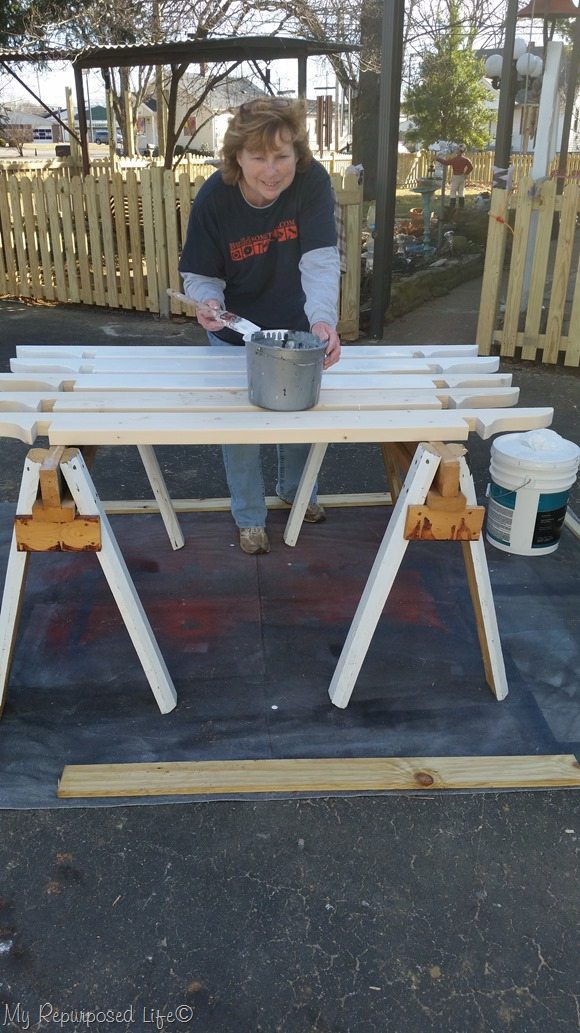 I got busy painting, painting, and more painting. We were fortunate to have 60 degree weather in January!
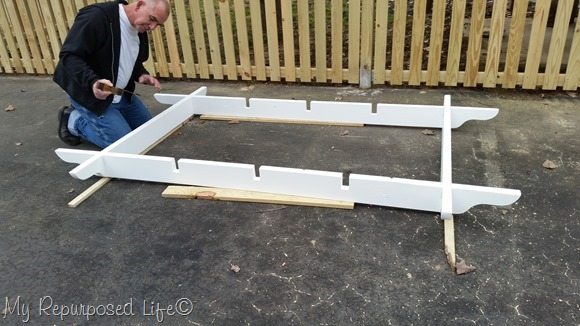 The next day we were back at it, installing the pergola. We put the frame together and secured them with Simpson Strong-Tie 4” screws.
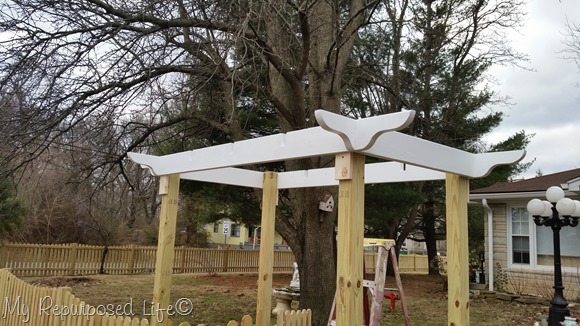 We used two ladders to place the frame onto the (cut off) 4×4’s. We made the height about 7 feet 5 inches overall.
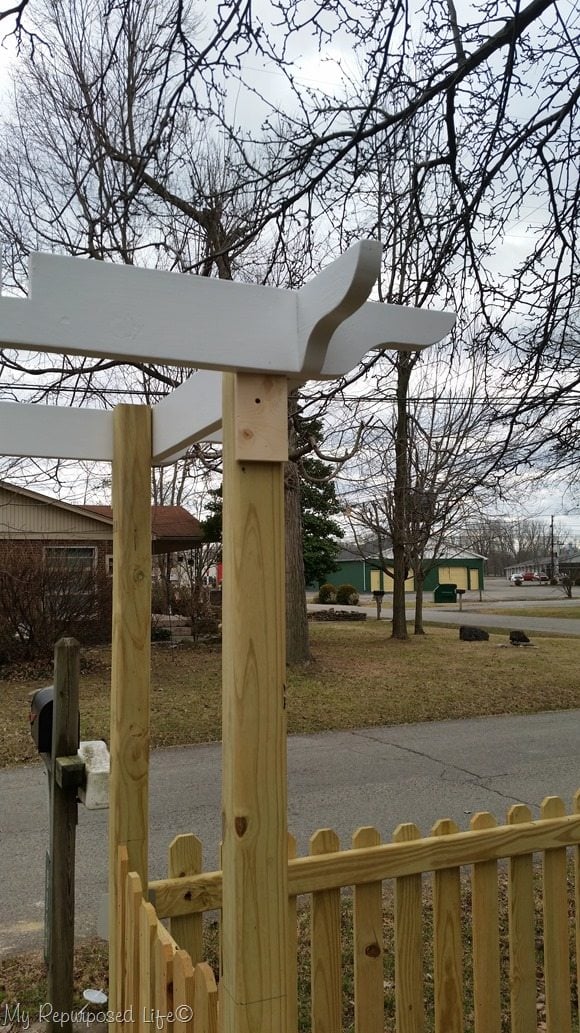 Notice the temporary cleats Rodney installed in order to all the frame to rest in place. It really made this (over the head) job much easier to complete.
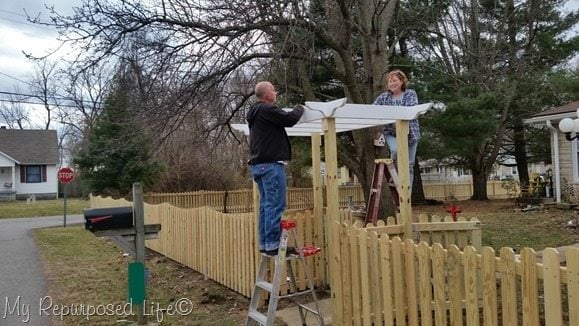 After securing the frame to the 4×4’s with more 4” screws, we worked on sliding in all of the arbor rafters. Each of them were secured from the top (at the notch) with more 4” screws.
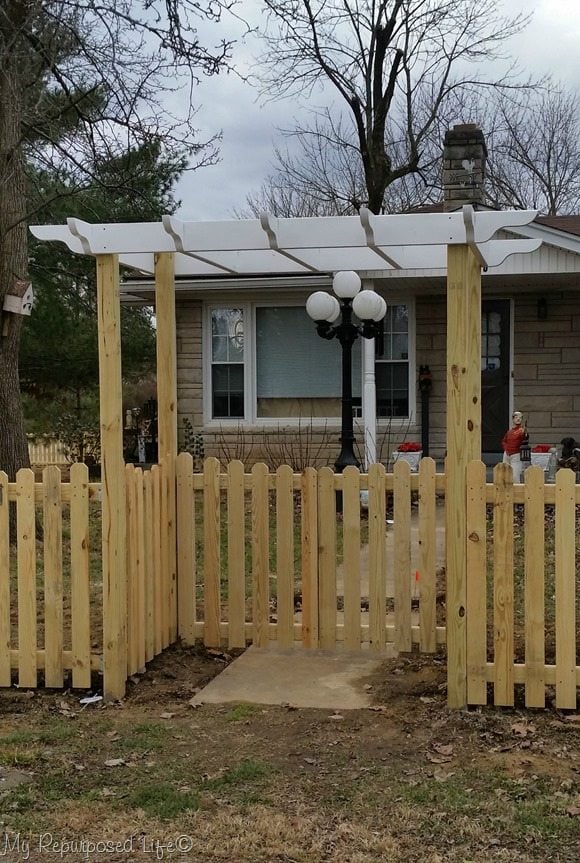
I LOVE it!
We’re getting closer to being finished! Next step—post caps!


Your fence and arbor are just awesome. My goodness you have a fortune tied up in the wood, that is a huge yard you are fencing in, which makes for a whole lot-a-fence.
When you are done with Rodney I would like to barrow him for about a year. Depending on how you drive I’m only 45-60 min away from you haha I really do wish I knew someone like him that lived close by, it looks to me like he does really good work. I would definitely save those drop-offs you just know you can do something with those.
Patty,
You are right! I do have a fortune tied up in wood (and paint) for my fence. Rodney is a busy man with a “honey-do” list, so I have to wait till he has some spare down time. The good news is, he’s right across the street-so when we only have an hour or so, it works for us. and yes… Rodney does great work… I’ve learned a lot from him these last few months.
gail
So charming. It’s going to be the star of the whole block.
I am so happy you got some nice weather to do this! It is looking amazing, I love the pergola!! You are going to have the prettiest fence on the street Gail!
Gail, you and Rodney make a GREAT team! Love your idea to get the sidewalk to cooperate. 🙂 The arbor looks wonderful. So smart with the plastic bags.
May your sidewalk re-do go super smooth..
Wonderful job! Great that we have had some good weather this winter to get projects done.
It looks fantastic I love the pergola entry way really nice. I can’t believe how much fence you have and how quickly you have completed the installation great job it all looks marvelous.
You did a marvelous job! I just love it and am thinking of putting some picket fencing in a corner of my yard that is under lots of trees and would make a great place to sit and chill during the hot summers.
Thanks so much for sharing. I am not knowledgeable enough nor do I have any power tools so I think I will be using pallet board for my simple little picket fence area!!!
awww, that sounds like a perfectly wonderful use of pallet boards, and a sweet place to rest! Wishing you all the best with your project Lis.
gail
Wow! Beautiful! I do need a Rodney! You work well together. Does he travel????? LOL
1. Would you give us a photo of how the paint can helped with the pergola shaping? I can’t picture it….
2. Do you think the neighborhood envy will be a problem? LOL
Remind me not to get a place with a corner lot! It would cost so much more to do that much fencing!
Learning so much about the hardware….thanks for being so specific.
Looking forward to seeing your place when spring/summer arrive.
Wishing you blue skies…… MJ
MJ
I didn’t take a picture of how Rodney used the paint can. I will look for the scrap wood that he used as a pattern. He’s very math oriented, which confuses my little brain! It involved putting the paint can in three different places. First going one way, then the other, and back the first way.
It’s so sweet to hear all the nice things the neighbors and passersby say. Every time we work on the fence, people who are driving by, stop and tell us how much the LOVE the new fence. My postman says it’s the prettiest fence on his route. 🙂
Hardware is a necessary evil. It can be so expensive, but there’s no way around it.
I’m looking forward to late Spring, after the rains. Right now, I feel like my whole yard is a muddy mess!
gail
Wow! That is impressive!
You are amazing. Happy that you are painting it all white. The entire project is beyond gorgeous.
this is really awesome! LOVE, love, love it!
It is going to be fabulous! What a job to tackle!
Wonderful job! It looks like a ton of work, but it totally paid off because it looks great!
The gateway and arbour is lovely! Have you decided to paint the whole fence white, or just some parts?
Julie,
It’s all going to be white. I chose to paint this arbor before it was put in place. 🙂
gail