DIY Picket Fence design | posts, rails and more
As an Amazon Associate, I earn from qualifying purchases.
I’m back with another picket fence design update!
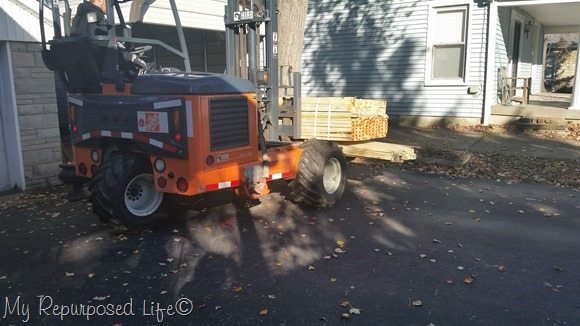
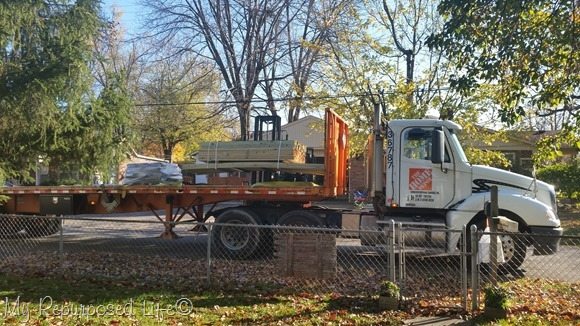 Did you know that Home Depot delivers? I didn’t know that until my daughter Jamie filled me in on this little detail.
 The material was put under the carport to keep it dry.
Posts rails pickets for picket fence design
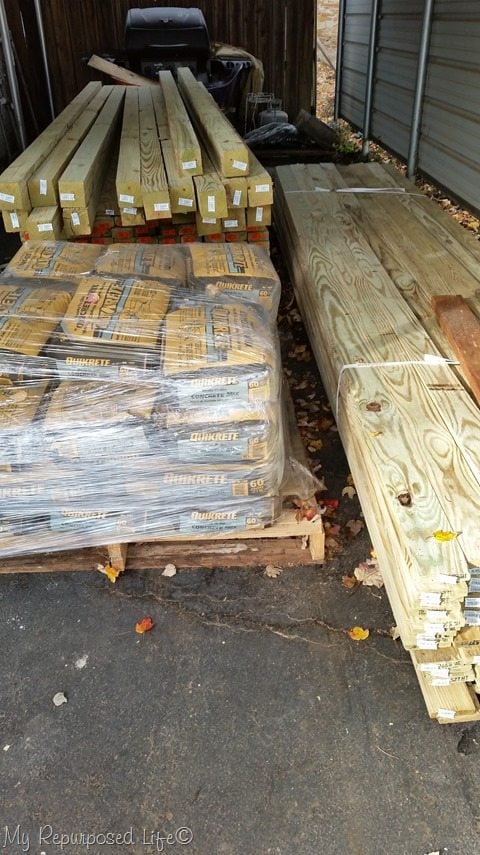 I ordered 4×4’s and 1×4’s in 12 ft lengths, 2×4’s in 8 ft lengths., and a LOT of concrete.
I liked the way the lumber was stacked for delivery. The 4×4’s were on top, with the 2×4’s next and the 1×4’s (pickets) on the bottom. Home Depot really considered the order of the build when they readied the lumber for delivery.
Wood for Picket Fence
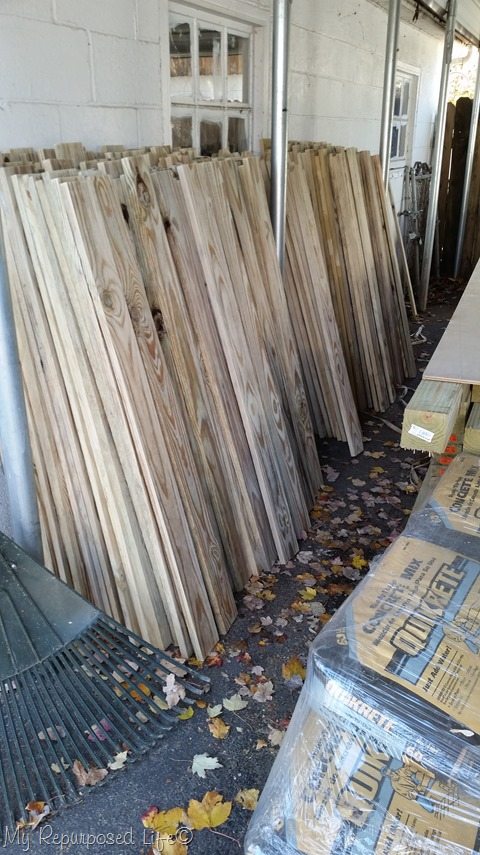 I was able to get 3 pickets out of each of the 1×4’s.
dog ear each picket board
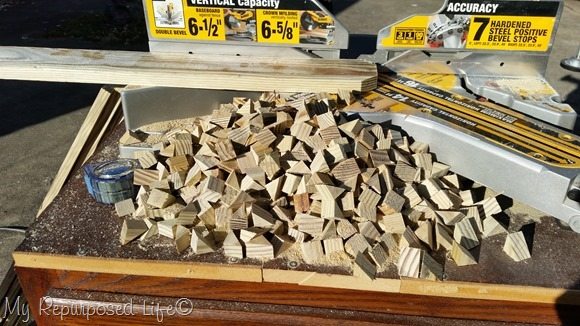 After cutting each board into 4 ft lengths, I cut the corners off to give them a dog eared look. I did this to 498 boards!
You may wonder why I did this. It’s because I didn’t want the standard gothic fence. I researched and googled all kinds of options. To get the specific look I wanted, this was my only option.
Cover existing corner posts with wooden boxed post
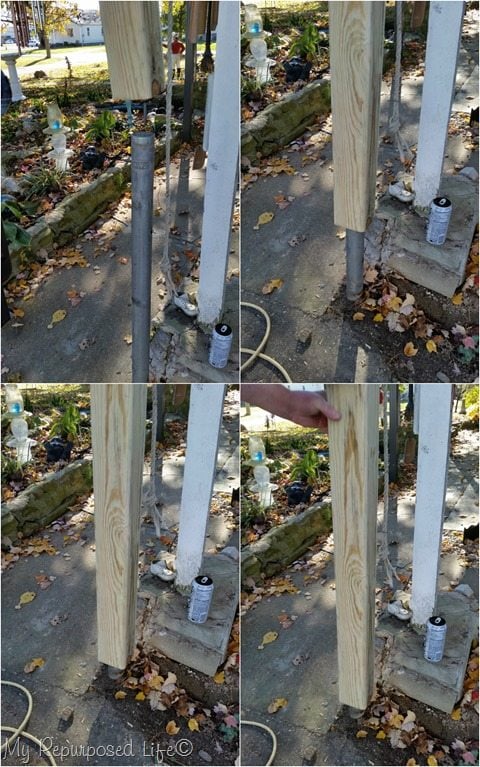
I also ordered some 8 ft 1×4’s and 1×6’s in order to make a “box” to fit around some of the galvanized fence posts that we weren’t removing. In the area where one of the gates was originally located, it didn’t make sense to try to remove the post and install a new 4×4 post.
Rodney (my neighbor) is very particular about his work, and took the time to router all of the 4×4 posts and these boxes we made. It really does make a difference in the overall look.
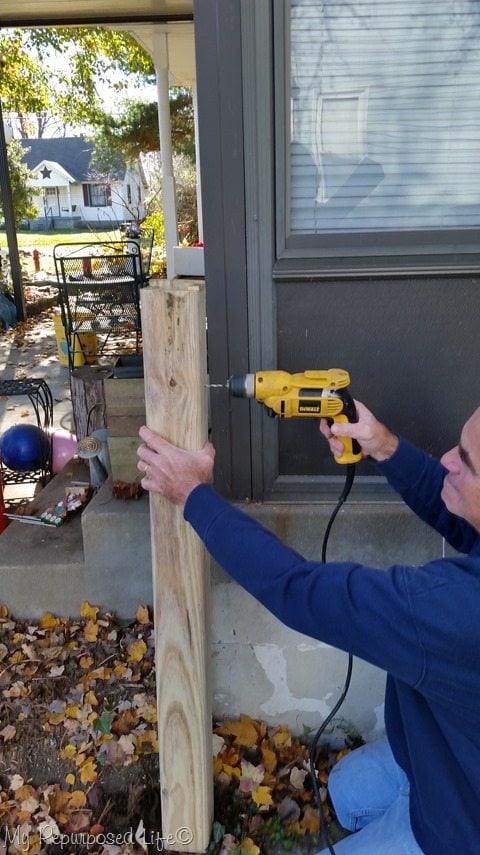 Rodney drilled holes in the posts and secured the boxes with screws.
Set picket fence posts in concrete
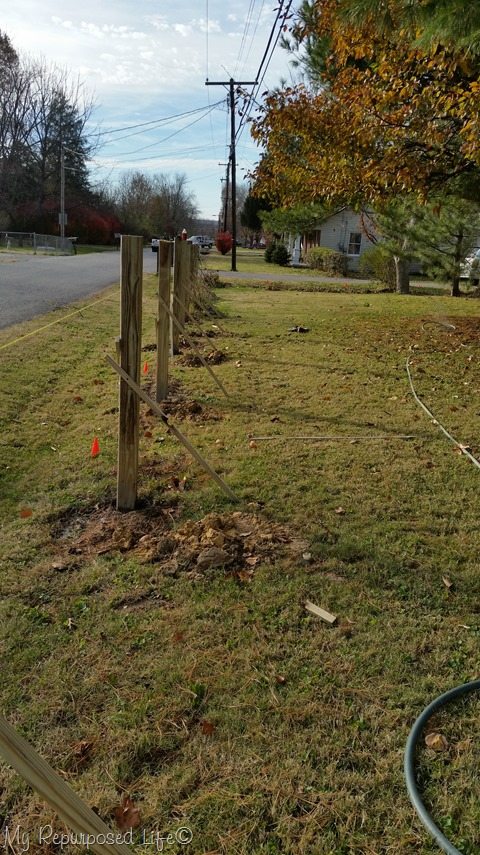 The 12 ft 4×4’s were cut in half, routed and placed in the post holes with the quickcrete. Bracing the posts is necessary until the concrete sets up.
Picket fence design includes front arbor
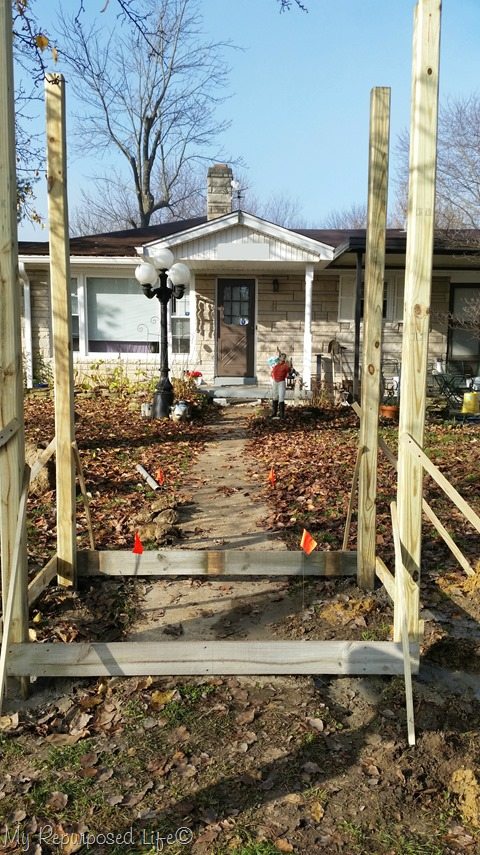
Four of the 12 ft 4×4 posts were used for the front gate area to make an arbor of sorts. The yard is taking a beating with all of the construction. I can’t wait till Spring!
Next week, I’ll tell you all about the rails and maybe give you a sneak peek of the pickets and the template Rodney made!
We’re getting closer!
gail
You can see more DIY picket fence details here


your fence looks amazing! My favorite part is the arbor! How did you sink the posts? Did you use a post hole digger or rent an auger? I am contemplating putting in a fence and this is giving me courage!
Amy,
Thank you! I still am in awe of it every time I go out in the yard. That old fence was such an eye sore. People still drive by, slow down and comment about it.
The arbor is my favorite as well. I still plan to mimic it for a pergola for a porch swing… someday.
We used post hole diggers on all of the posts for the diy picket fence. My neighbor Rodney dug them all with very sharp post hole diggers. There were a couple of problems with roots, but for the most part it was fairly simple.
gail
Gail it its looking amazing! I love how clever you were to cover the poles with a “box” of wood! Super smart. The routing looks amazing and all those dog ears!!!??? You are Wonder woman, if you haven’t thrown away those scraps I see some pretty cool artwork potential in them! 🙂 I am so happy you are getting help on this huge projects, I am excited to see the end result!
thanks for sharing your progress with us! it is going to look fantastic when it is all done!
Luv that you guys put in the extra details with the router. It DOES make a difference in the final look and a lot of people don’t care enough…. :’ (
It’s all going to be beaUtiful Gail!
Catherine
I see success on the horizon! I bet you are going to be so excited to be done with that project! And what a great neighbor to help you! 🙂
Serena
Wow, it’s going to be wonderful… I love the idea of an arbor at the front, too!
Wow, lots of work, but it will be worth it to get the look you want!
I didn’t understand what you meant by getting 3 pickets out of each 1×4? and also wondered what you routed on each? Enjoying your progress. Thanks for sharing.
Betty,
I’m sorry for the confusion. The 1×4’s were 12 ft long, so I cut them in 4 ft lengths.
Rodney routed with some kin of roundover bit to take the “edge” off of the 2×4’s and 4×4’s. He recently mentioned how nice the pickets would have looked if he had done those… 498? I don’t think so! heheheeh
Gail, I hope you were able to do the dog-ear cuts on multiple pickets at once! That’s a LOT of cutting and I know it is going to pay off in a beautiful fence. I am living vicariously through your project(s). 🙂 Thank you for taking the time to share all these great photos. Yay for Rodney’s detail focus. 🙂
No, I did them one at a time. They were so incredibly heavy and wet that it seemed like the best way to do them.
Holy carpe diem Gail!!! :::: blink blink blink ::::: I bet you dreamt of cutting wood after that!!!
I’m already excited for you!!!!! Merry Christmas Gail! All my best wishes for a fabulous new year xox