DIY potting table bench
As an Amazon Associate, I earn from qualifying purchases.
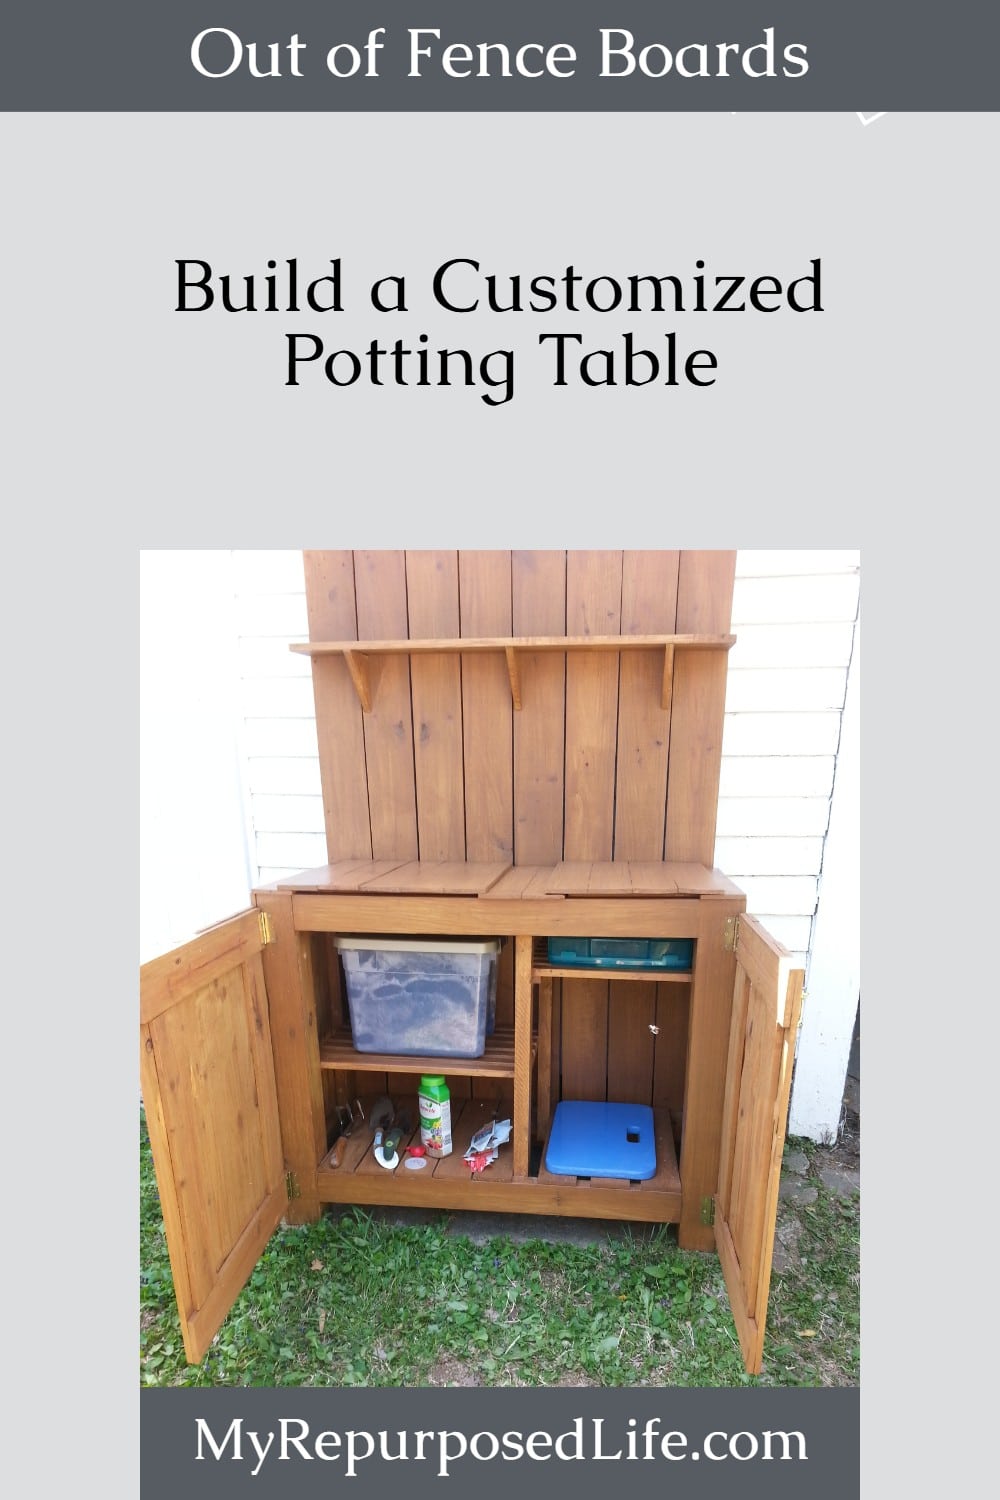
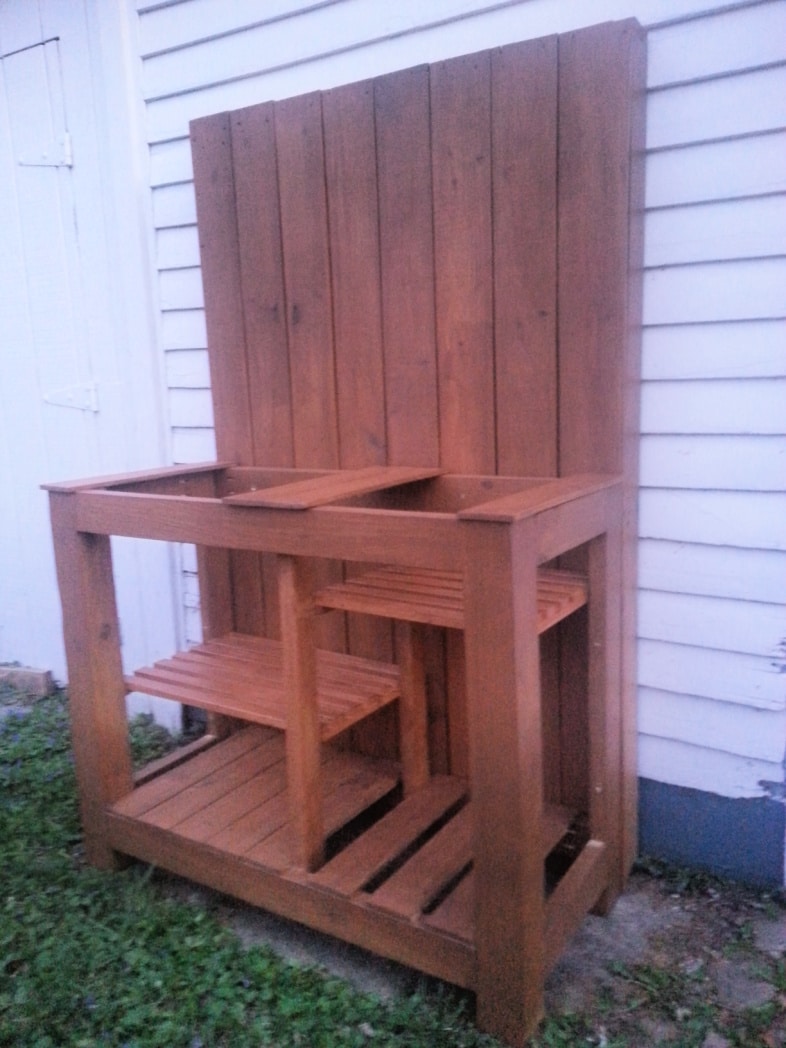
Transforming reclaimed materials into functional pieces is a passion of mine, and this DIY potting table bench is a perfect example. Crafted from old fence boards and other salvaged items, this project not only breathes new life into discarded wood but also provides a sturdy and practical workspace for gardening tasks. Whether you’re an experienced DIYer or just starting out, this guide will walk you through creating a personalized potting bench that combines utility with rustic charm
Handy DIY Potting Table Directions


Materials Used
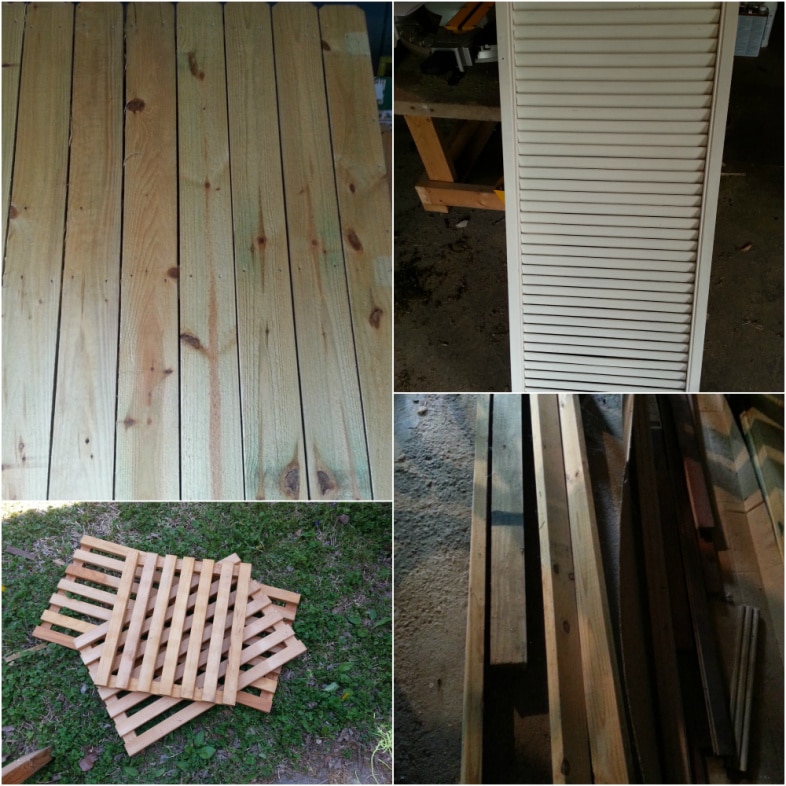
Here are the bits and pieces I used to put this DIY potting table together. All of this stuff was in their garage, including a former privacy fence gate, a shutter, some former display racks, and random 2x4s and 4x4s.
In addition, there were 3 long sections of a short privacy fence that had been cut off for a dog pen.
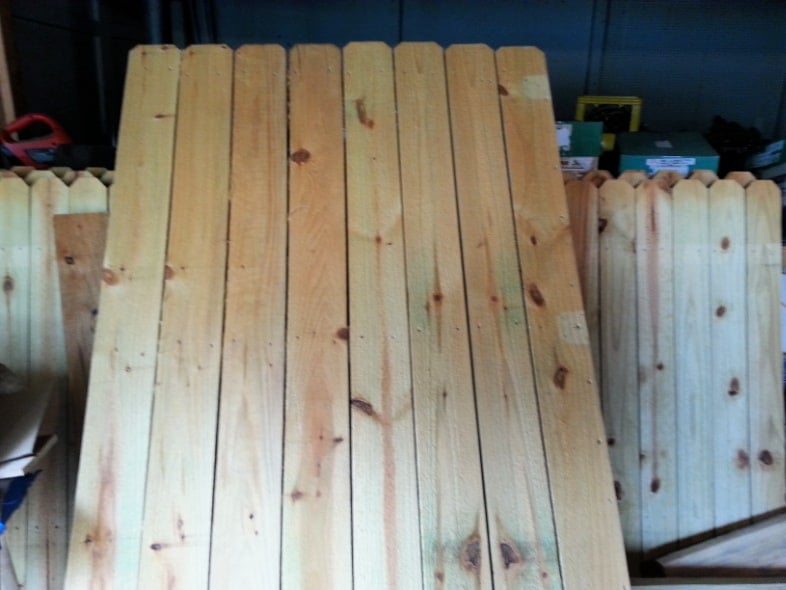
This is the dismantling process. I ended up using two whole sections of the short fencing. The Coke can is there for depositing loose nails.
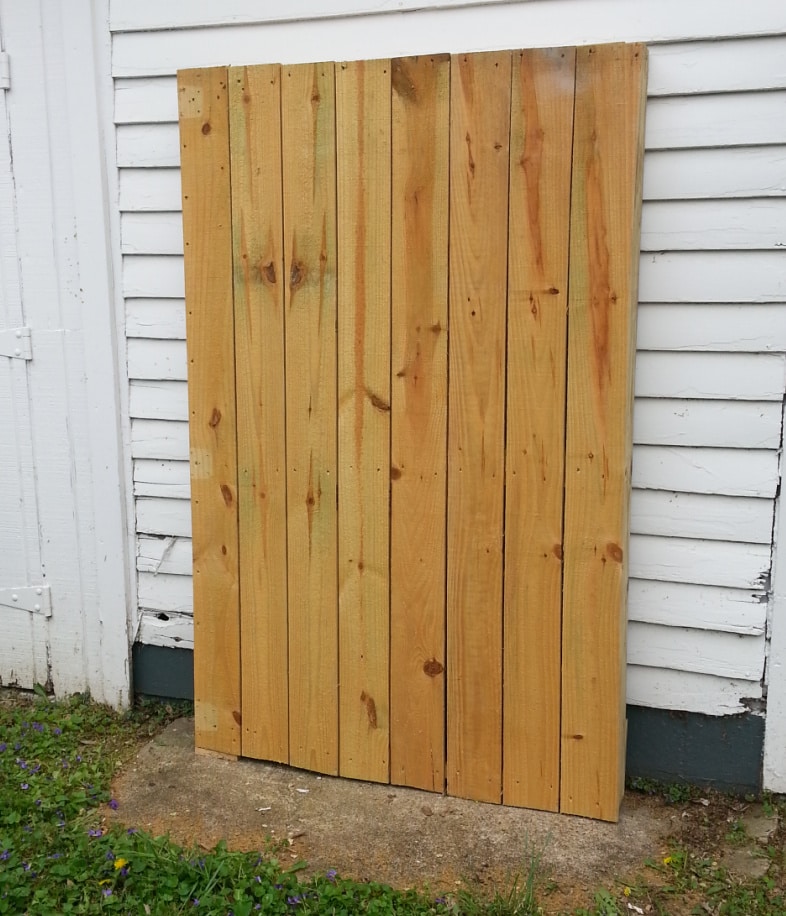
There were a couple of choices for the location of the potting bench: up against the house or on the deck. However, as we started putting it together, Jamie pointed out this concrete pad that sits between the overhead door of her garage and a set of large swinging doors. You can see how perfectly it fits there.
Protect DIY Potting Table with Thompson’s Water Seal
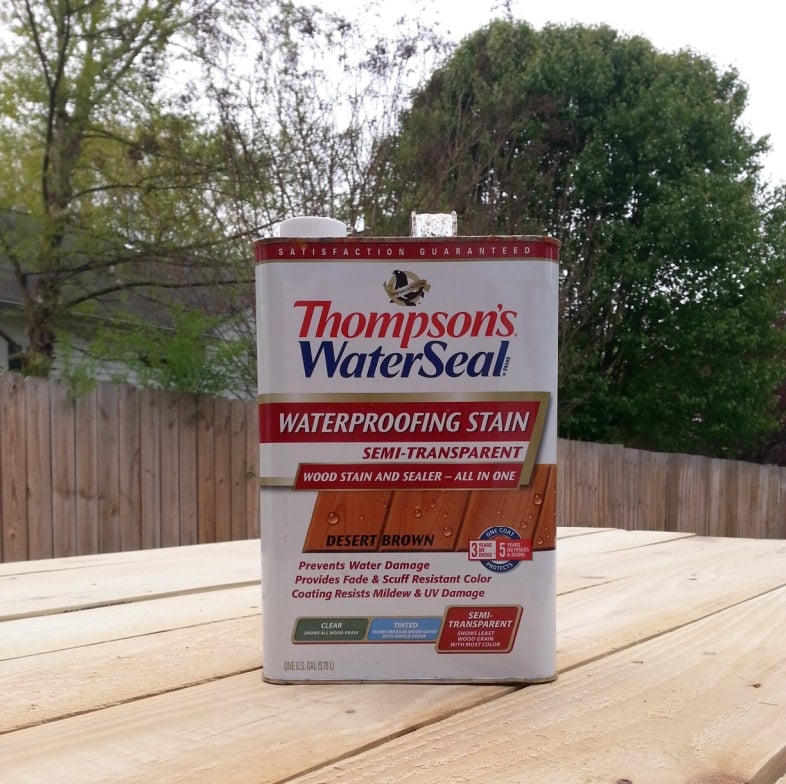
While I got busy sawing and building, Jamie started staining (sealing) with Thompson’s Water Seal.
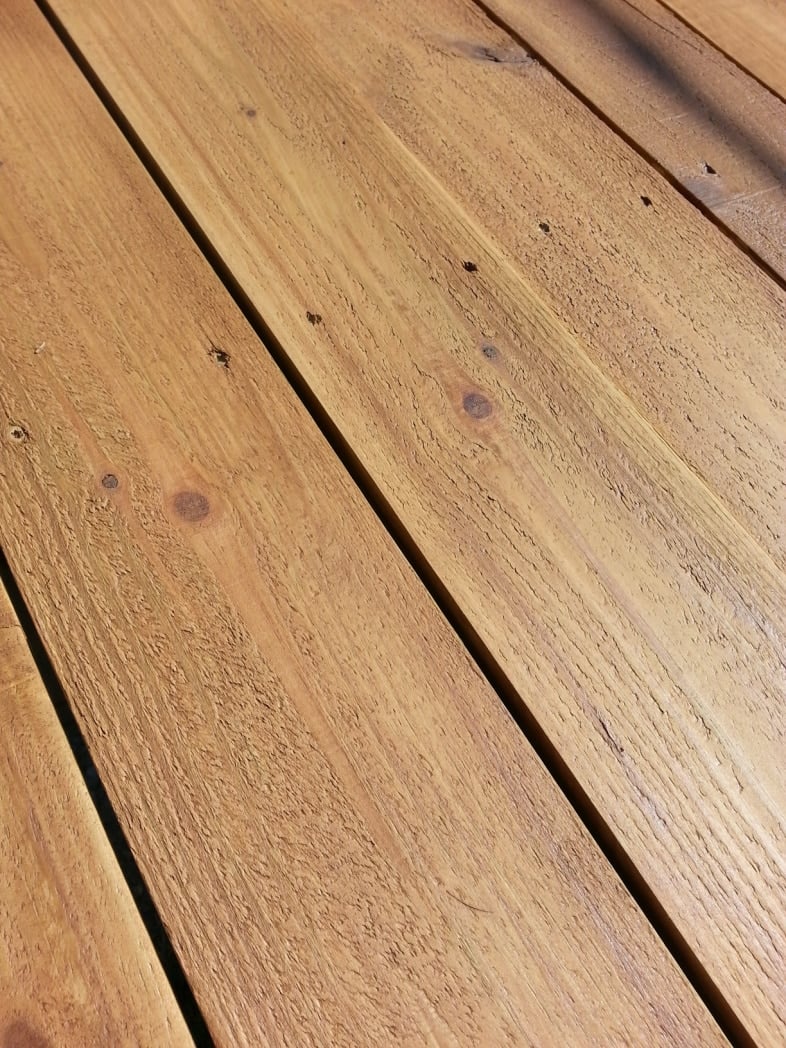
We both were surprised at how much we loved the color—Desert Brown.
Building the Potting Table
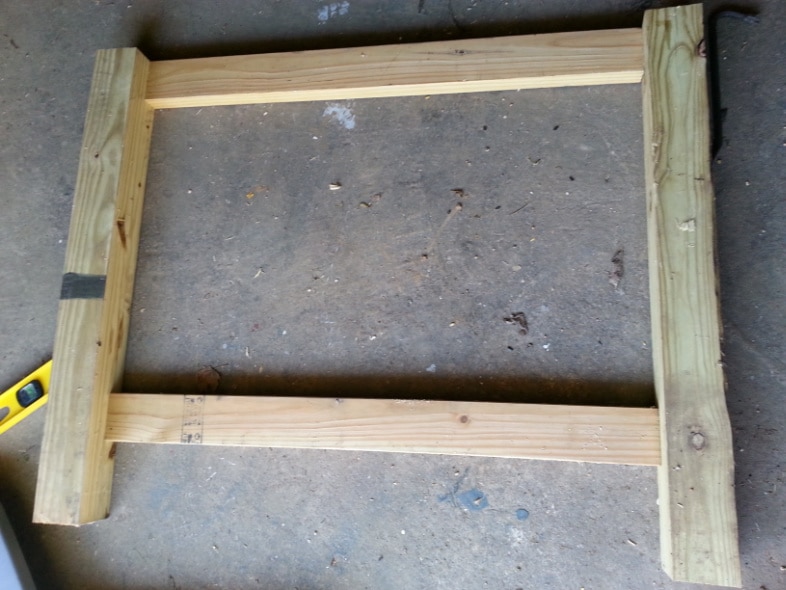
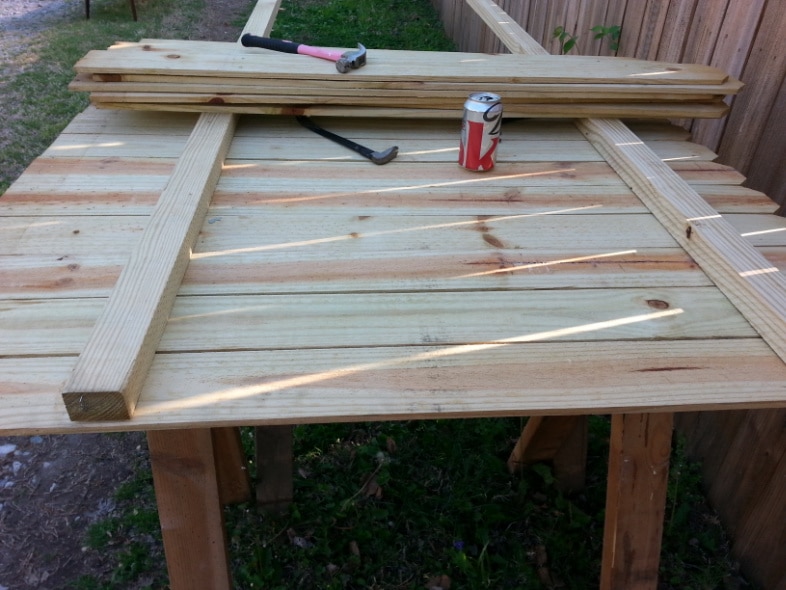
I did a dry fit for the front of the potting table, using 2×4’s and 4×4’s.
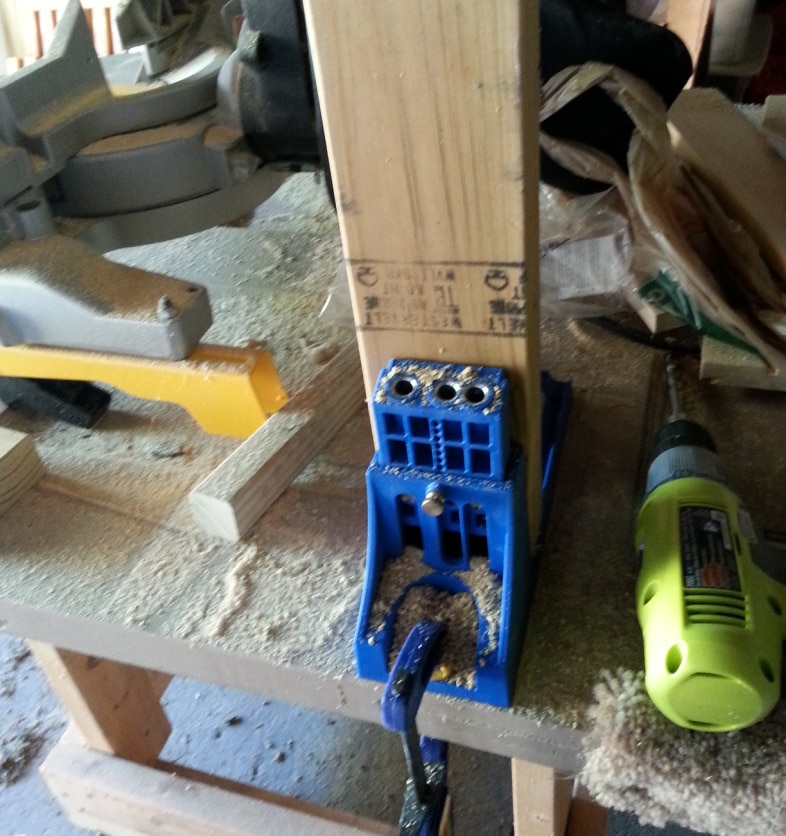
Of course, I joined all the pieces with pocket holes I made with my Kreg Jig.
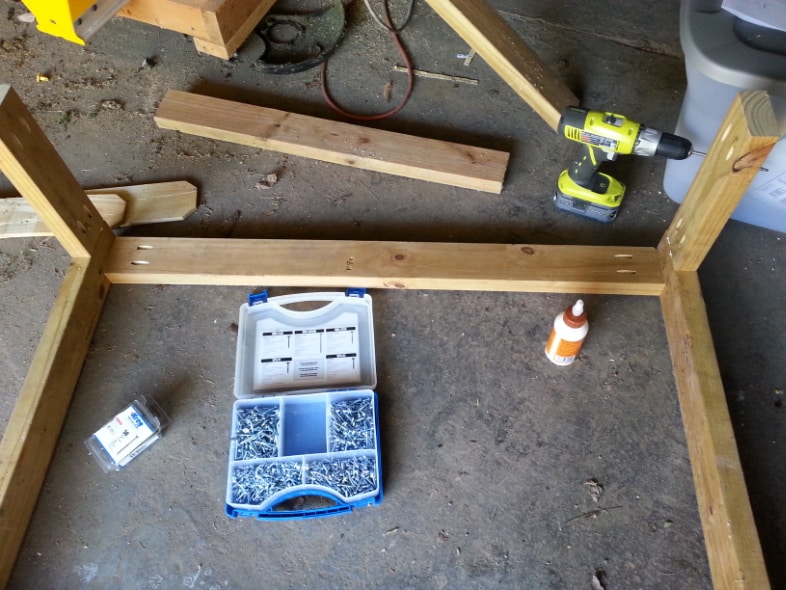
I had to use 2x4s for the back legs because I didn’t have enough 4x4s. This assortment of Kreg Jig Screws is convenient, especially when doing jobs away from home.
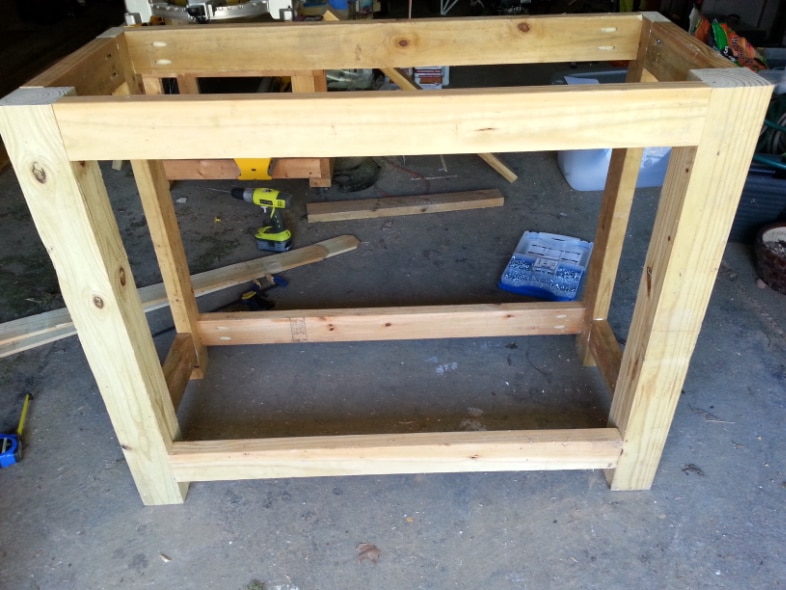
Voila! The table base is complete!
Installing the Extras!
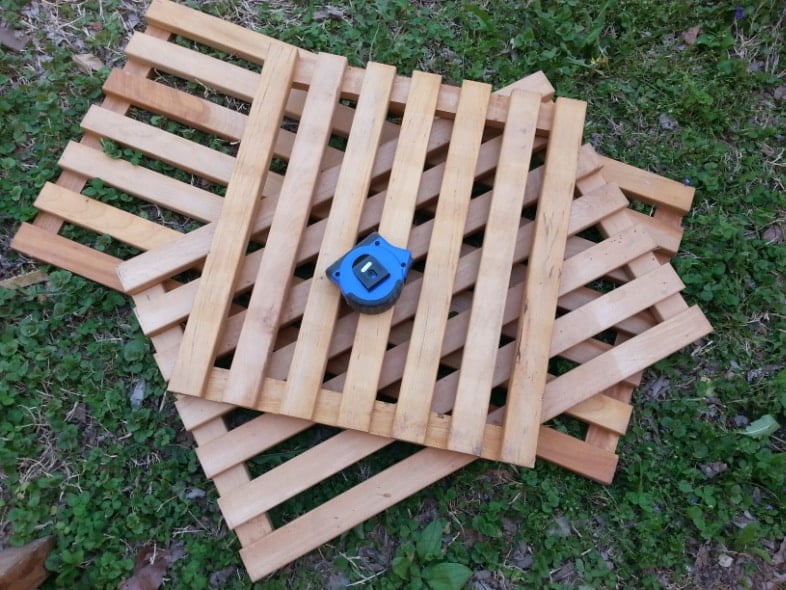
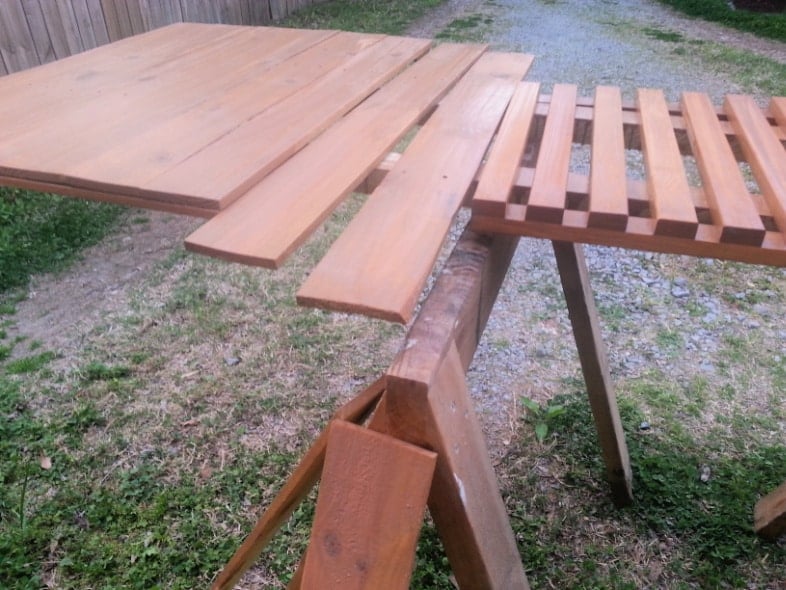
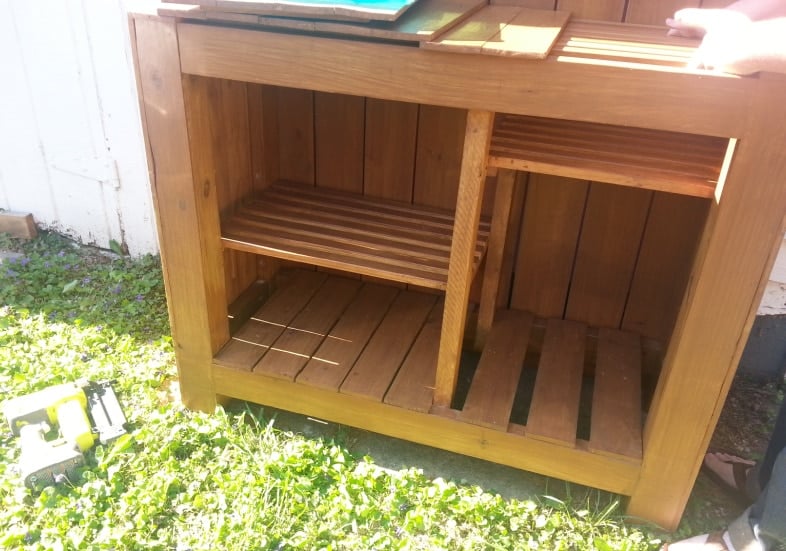
Included in the mix of available items were these wooden display shelving pieces. I laid the tape measure on it so you can get a feel for the size because I didn’t want you to confuse them with pallets.
My phone died, and I’m thinking that’s why there are no pictures of these steps. I used two of the display pieces and some of the cross boards from the short privacy fence sections to complete the shelves. The shelves are attached with pocket holes. The bottom shelves are made from short privacy fence boards that are narrower and thinner than regular dog-eared fence boards.
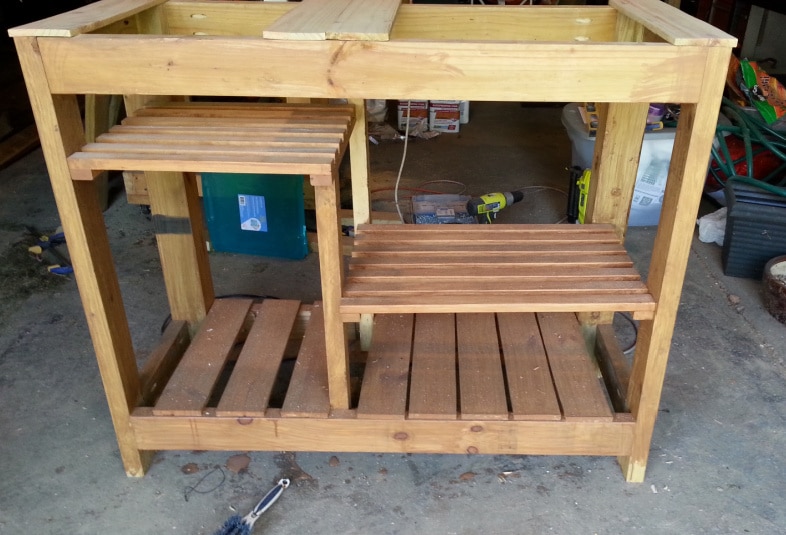
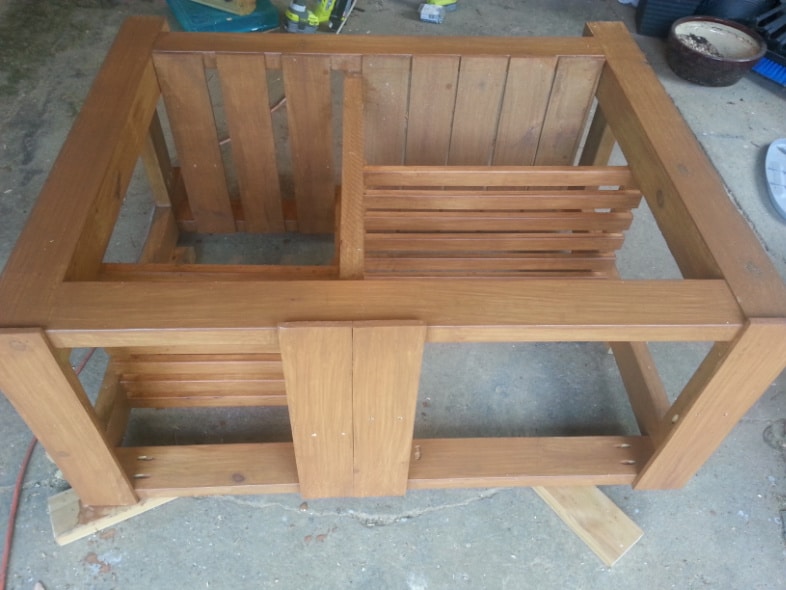
This view is looking at the table from the back.
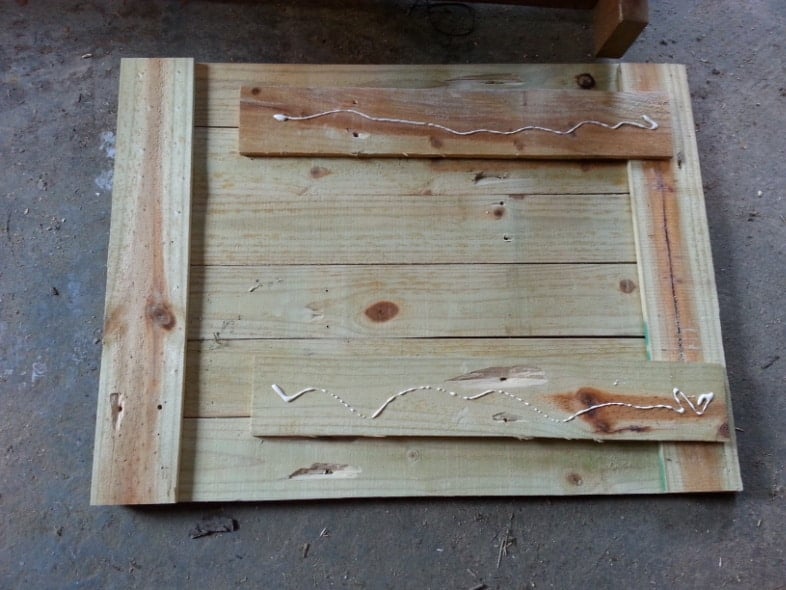
This is building one of the doors. I used my nail gun and Gorilla wood glue. The doors are different sizes. One is six boards wide, while the other is five boards wide. Because I built this potting bench for Jamie at her house, my tool selection was limited. It’s tough working without a table saw; everything had to be divisible by 4”. ![]()
While I was busy building doors and other things, Jamie was working hard to stain the entire piece.
More Staining
We were losing daylight as a long 11-hour day came to an end. Jamie continued to stain the doors, the side pieces, and the top slotted tray piece.
You could see it was getting quite dark as we reached this point.
Day 2! Tasks include attaching sideboards, doors, hardware, and a shelf. Of course, you could stop here and add a simple tabletop surface without enclosing it.
Doing it Yourself Customization
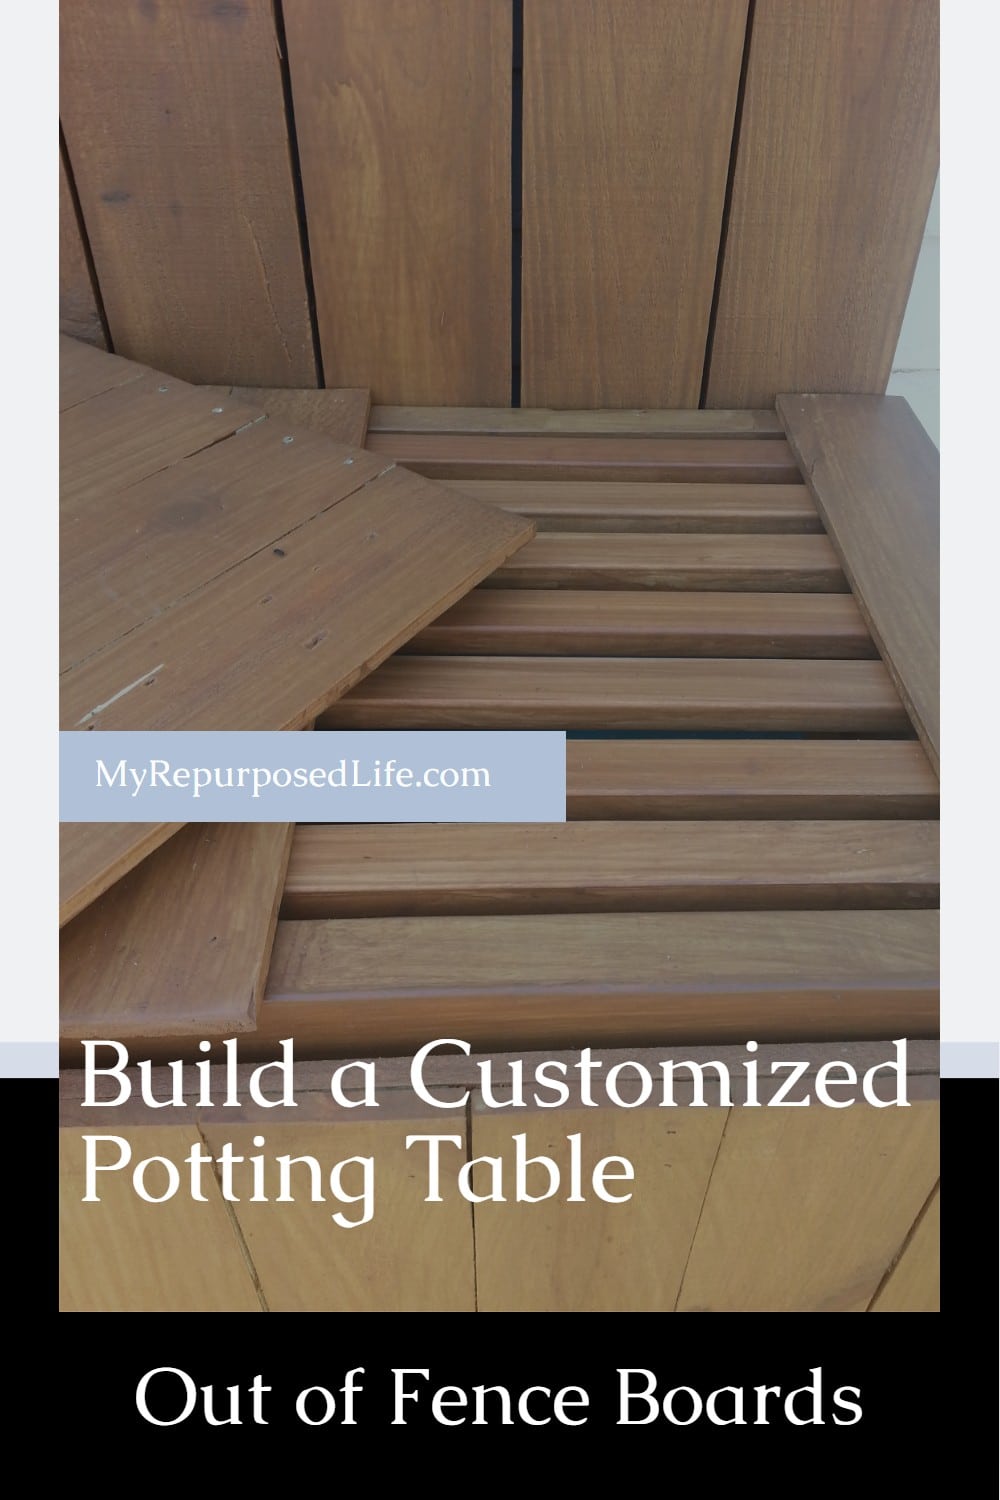
I have attached the sides, as Andy shows up to see how things are going and offers a brilliant suggestion. Can you see that he is holding a slotted shelf in place? We had planned to rest it on top in order to allow potting soil to fall through to a container for reuse. Andy suggested installing it from beneath so that it would be part of the structure.
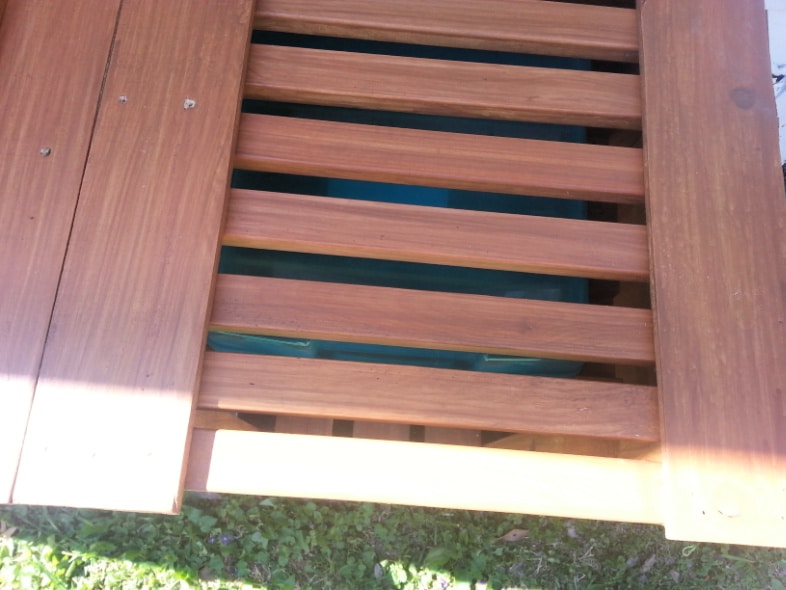
Here is the slatted piece in place, held with pocket hole screws. You can see the container that will catch the potting soil (it currently has a lid on it)
Install The Doors & Lids
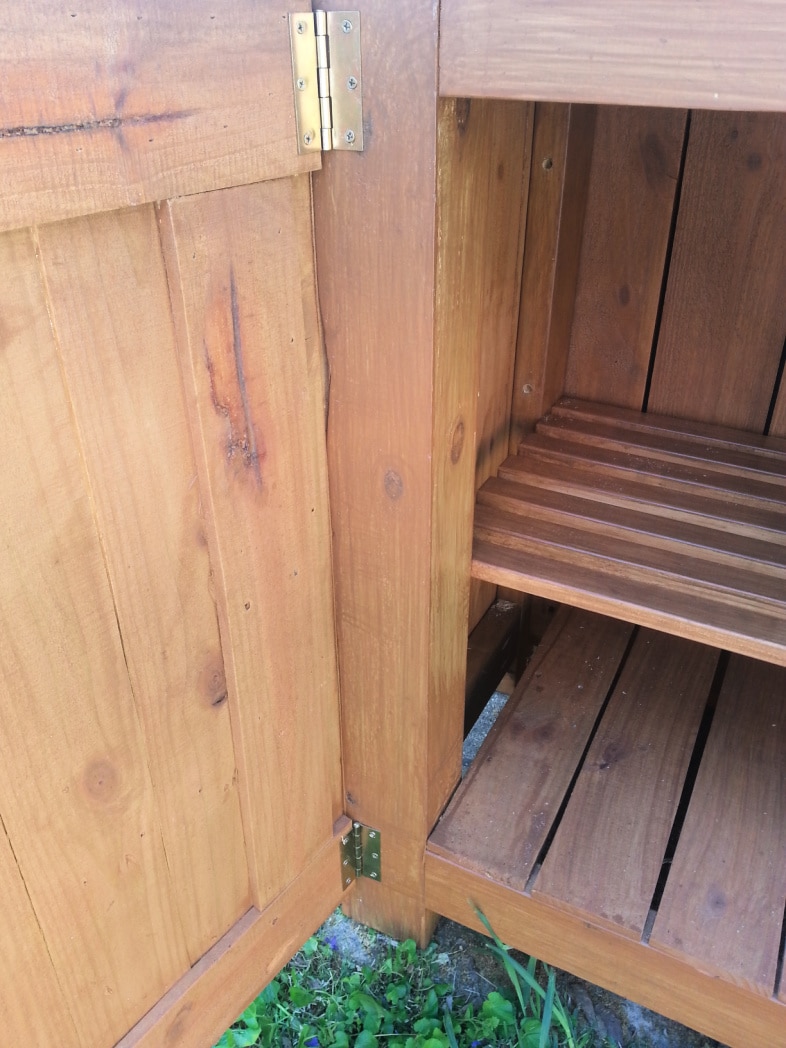
It was great having some extra hands while installing the doors.
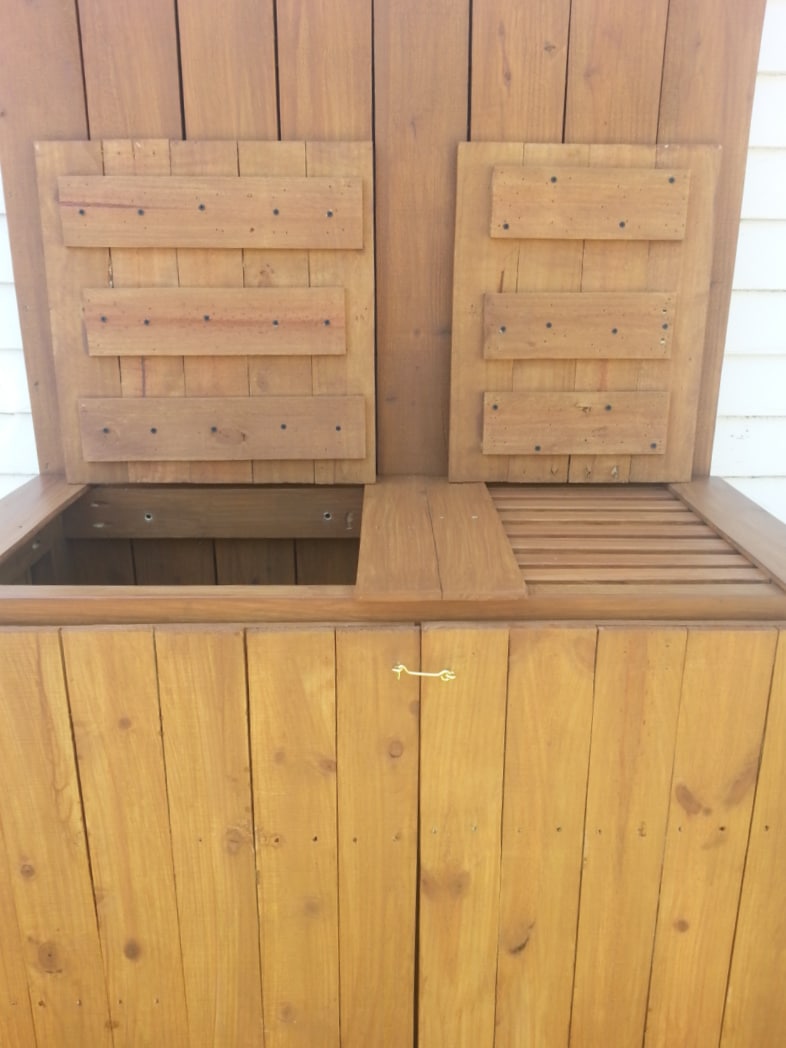
I haven’t said much about these little lids or trays. The area on the left is where Jamie will scoop her potting soil. The lids lift off but give extra workspace if needed. You can see both doors are on and latched with a simple hook.
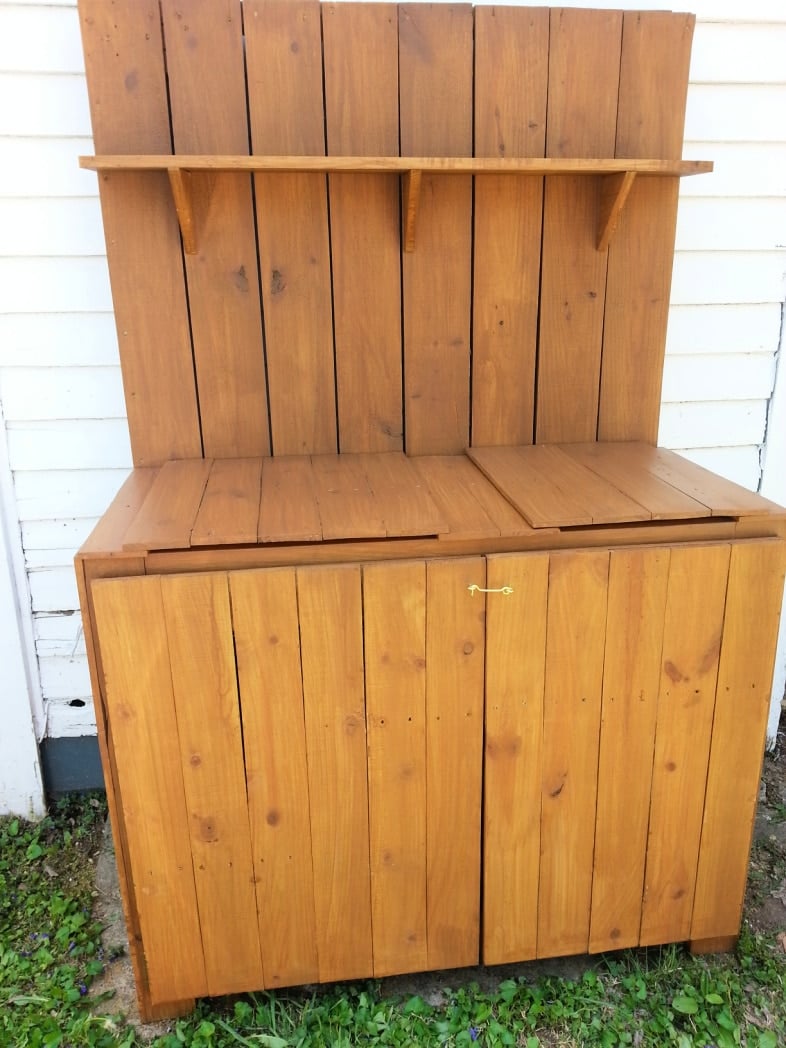
Last but not least is a simple upper shelf. This step almost didn’t happen because we couldn’t find an extra board. I dug deep into the garage and found one unused deckboard. It was long enough for a shelf, with three brackets.
Organizing the DIY Potting Table
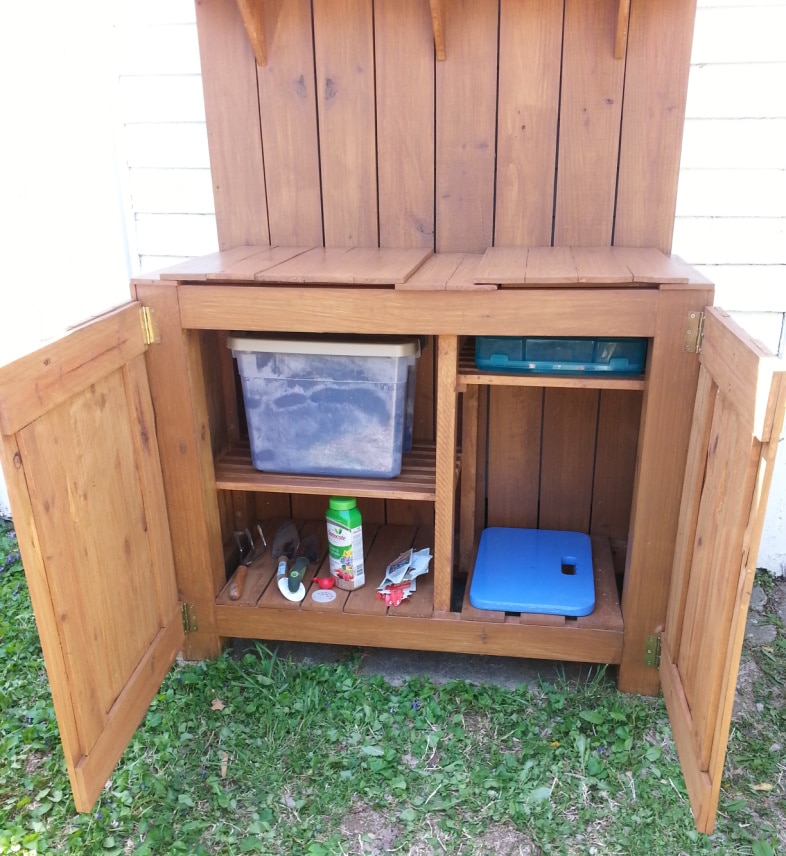
The large tote on the shelf holds potting soil.
Jamie loves it, and so do I! We haven’t done a DIY project for a while, and it was great hanging out with her and accomplishing something so helpful and practical. The only cost of this piece was the hardware. Had we done this at my house, we wouldn’t even have had to buy that. ![]()
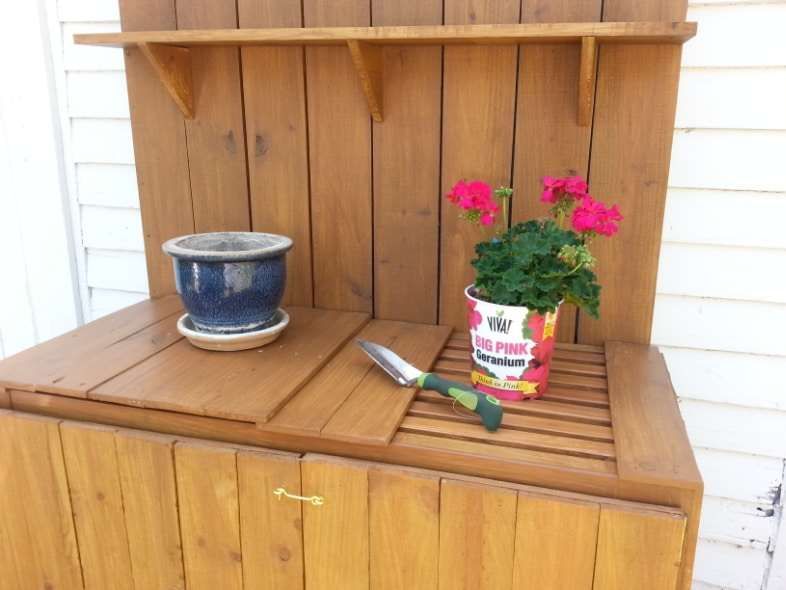
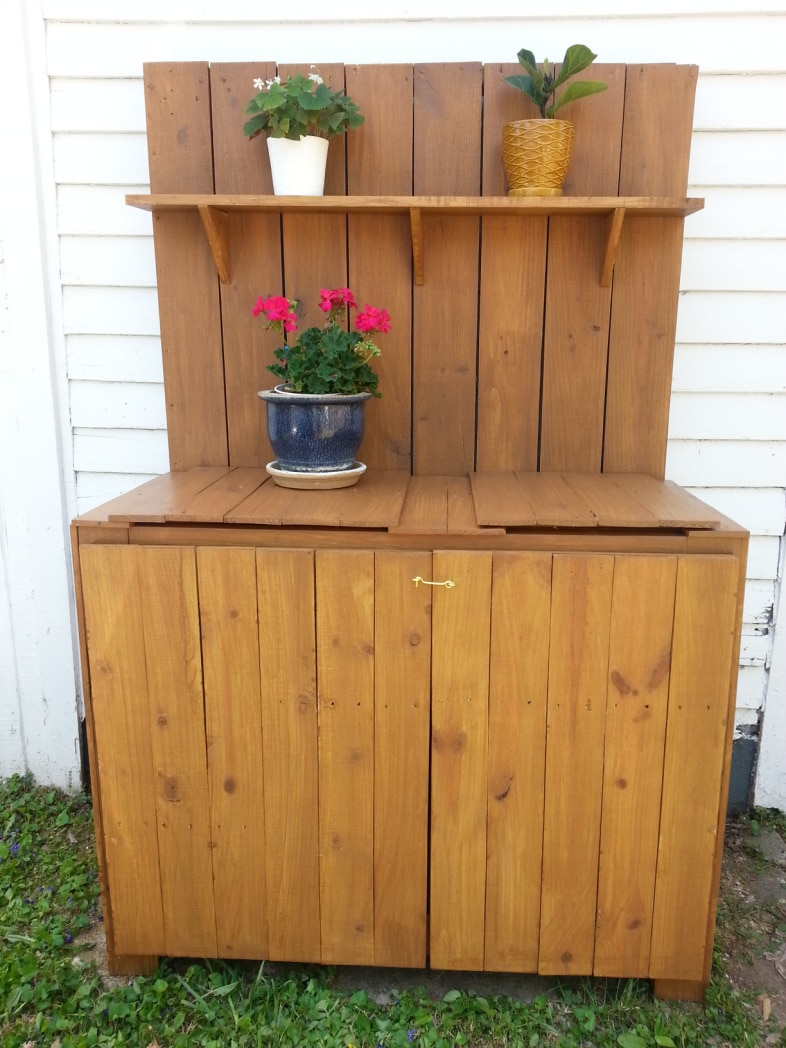
This was a great weekend project, and Jamie got busy transplanting this geranium. Some neighbors walked by while we were working on that, and they admired the new DIY potting table. Jamie was happy to show it off. Didn’t she have a great design plan?

Do you have a potting table? I wish I had a place to have one. ![]()
gail
Related Content:
Potting Bench great for Entertaining
sharing at Elizabeth & Co. Be Inspired
more reclaimed wood & fence inspiration for you
Wow. This is a great design !!
Very efficient layout. So functional, and not huge.
I love it. As always, your tutorial is so well detailed.
I do appreciate your wood working skills. 🙂
Thanks for sharing !!