Serving Stands | Make Your Own From Repurposed Drawer Fronts
As an Amazon Associate, I earn from qualifying purchases.

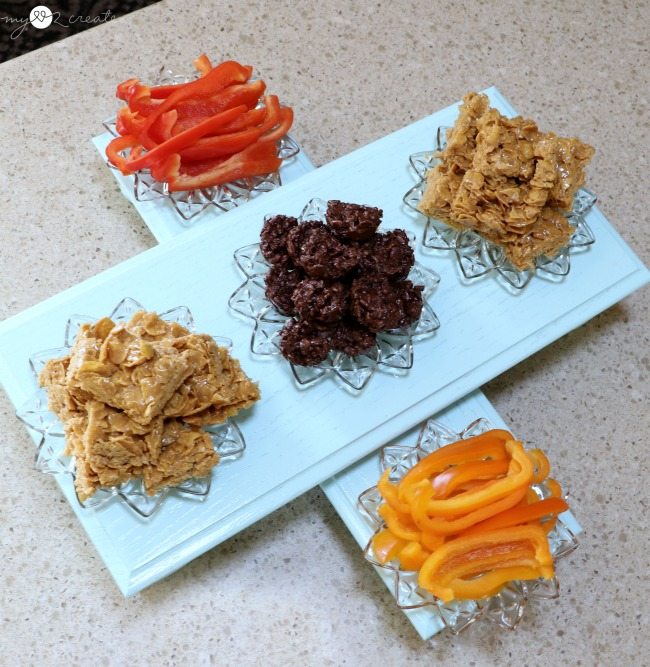
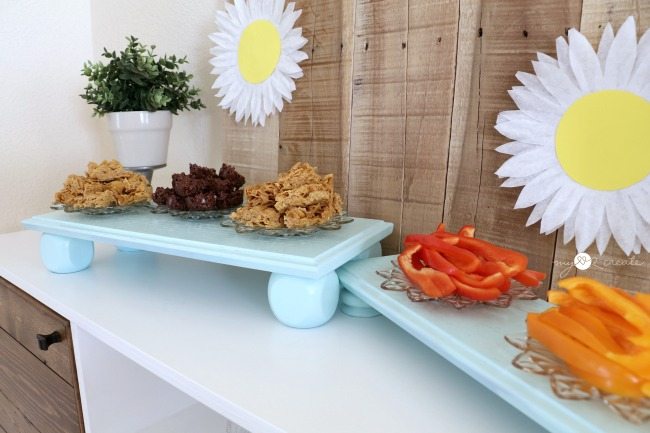
PIN IT
This is a great project because it is easy and very useful!
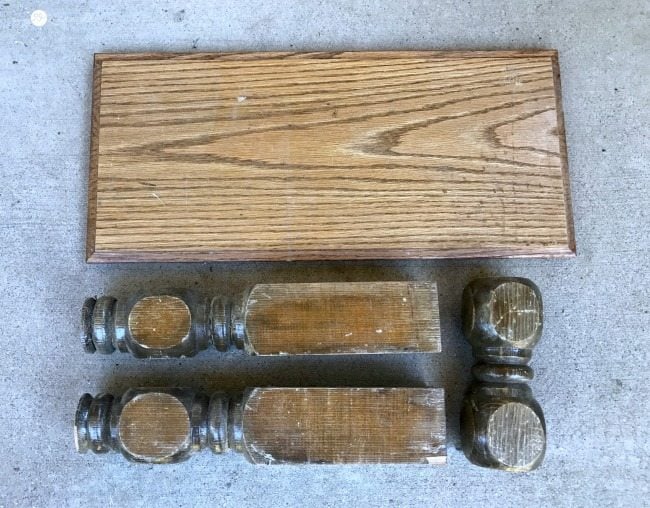
When my friend gave me all her cabinet doors from her old kitchen there were also several drawer fronts in the stash.
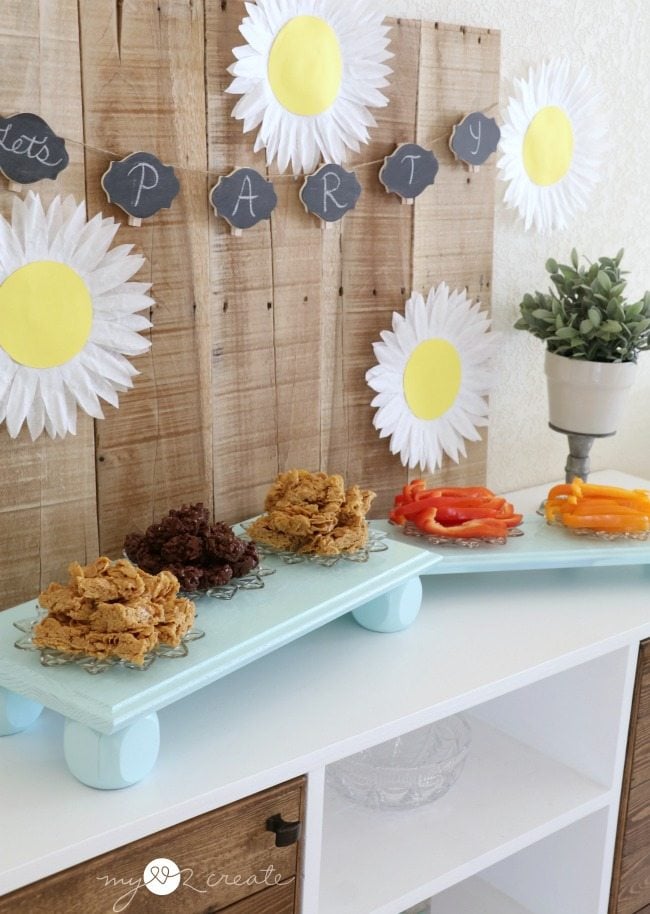
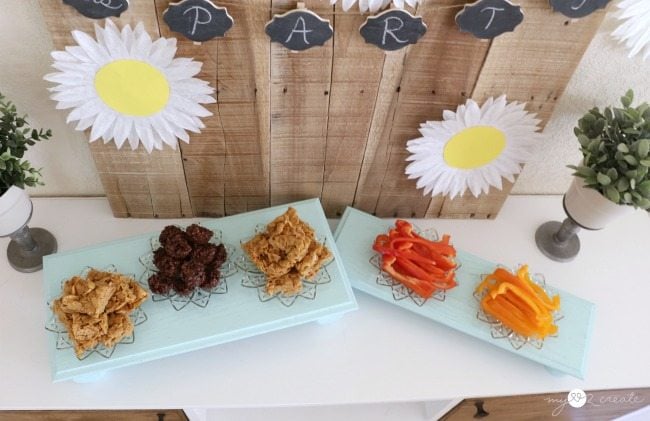
After loaning out my Pinterest Serving Tables so many times to friends, for weddings and different events I knew I could use a few more, which led me to make these repurposed drawer front serving stands. I started with the above drawer front and spindles. (I seem to remember the spindles might have been from the Restore for $1 each, I used a piece of one on my Kids Street Sign)
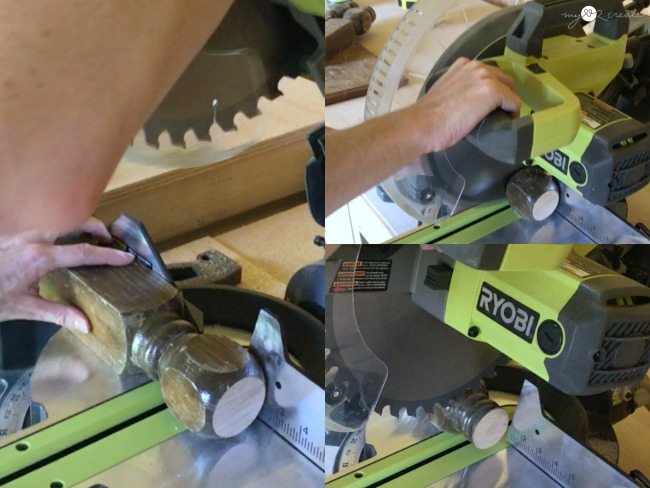
I started by cutting off the spindles to use as the big round feet for my serving stands using my RYOBI Miter Saw. On the bottom right I needed to cut out a middle section to get to the other round “foot” and I actually ended up using that piece too.
In the top left photo I had my feet and drawer front ready to go, and then the left over parts of the spindles in the back caught my eye. So, I pulled them out and found another drawer front (top right) and decided to make two stands! In the bottom I am doing a dry fit to see how the stand would look with the chunky feet…and I liked it. I think they are sort of charming. 🙂
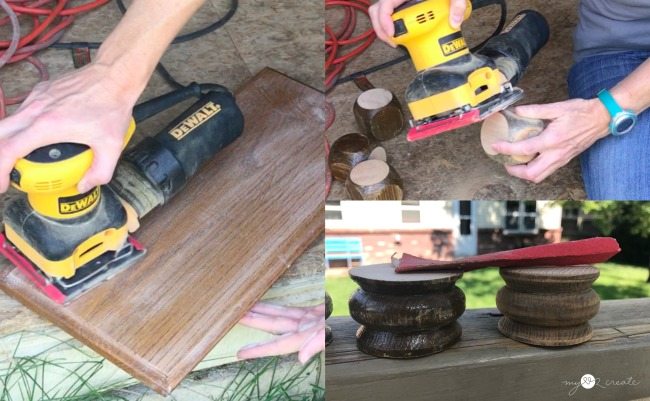
Next up I gave everything a good sanding with my Sander, the little feet were easier to sand by hand with a scrap piece of sand paper.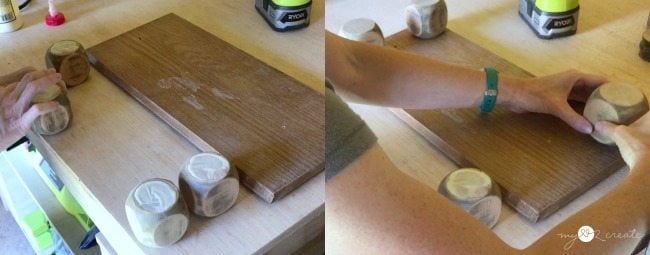
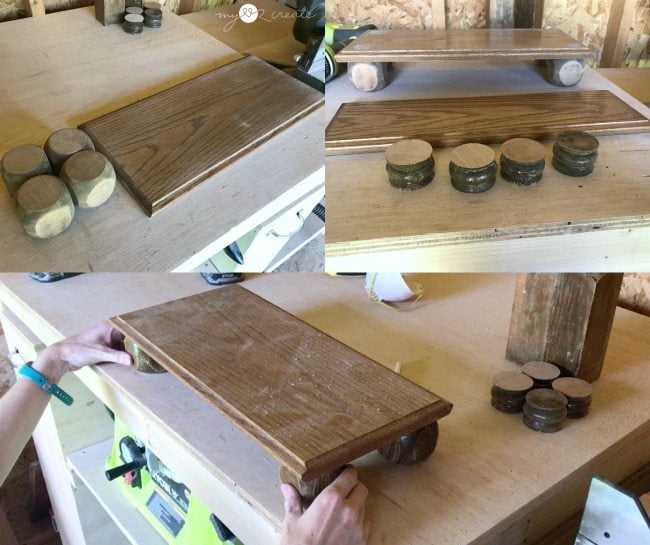
I added a good amount of Wood Glue to the feet and then set them in place on the bottom of the drawer front.
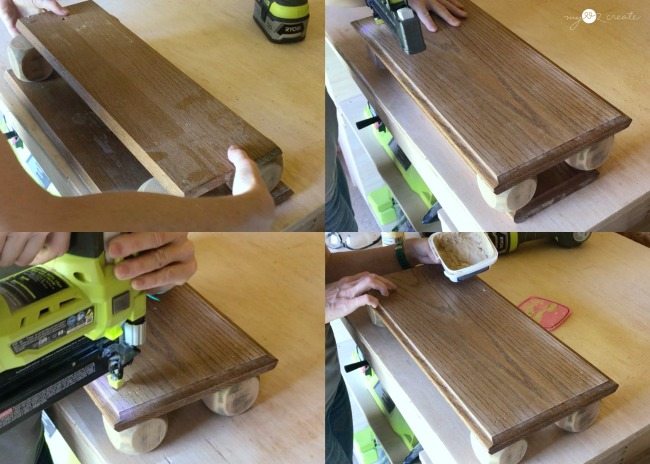
At this point I could have just clamped the feet in place and let the glue dry, but I am too impatient. I grabbed the other drawer front and used it to hold the feet in place (top left) as I flipped the whole thing over. Then I added a nail with my Ryobi Nail Gun into each foot through the top of the drawer front (top right).
Once I knew the feet were secure, I removed the extra drawer front that I used to flip it over and added 4 more 2” nails into each foot (bottom left). Then I filled the nail holes with Wood filler.
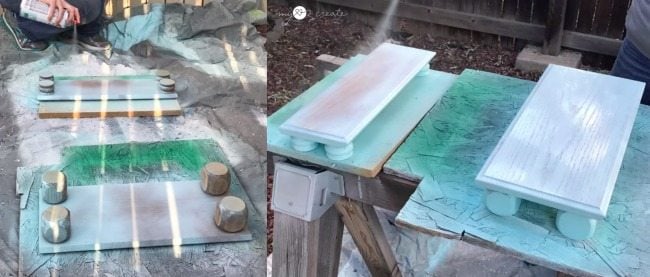
Now all I had to do was paint them!! Of course I went to my spray paint stash, I always seem to have half empty cans that need to be used up, and sure enough I had some Rust-Oleum Ocean Mist.
The spindles needed to be sprayed from both sides so I started upside down, and then finished with them right side up.

see more of Mindi’s posts on MRL below:
[categorythumbnaillist 274]
What a great idea!! Love it! Thanks for the inspiration.
Thanks Allison, so glad to inspire!
Wonderful, This is gorgeous! Thanks for sharing this.
Awe, thank you so much!
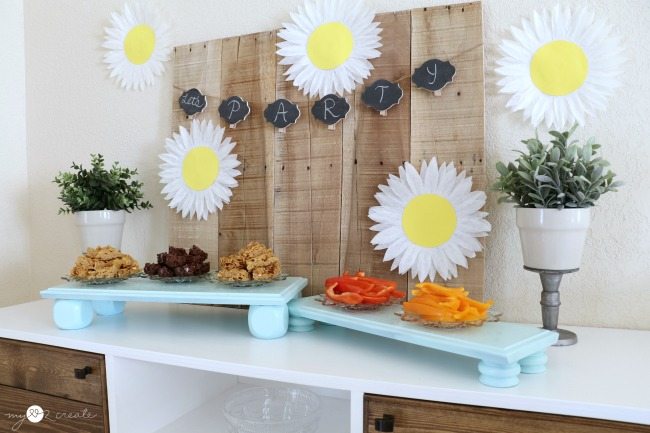
Such a clever project! I like that one tray can fit under another and the color of the trays is gorgeous and uplifting. Thanks for sharing, Melissa.
I love that it worked out that the smaller one fits under too! So glad you like the color! Thanks!
Mindi,
Your diy serving stands are awesome! I love the size and of course the color! Thanks for sharing an awesome project tutorial with us.
gail
Thank you Gail, I always love sharing with you! These are going to get a lot of use! 🙂
Hi ,
This is so cute . Thank you for sharing . Love your site .
Thanks Melissa!! I feel blessed to contribute on Gail’s site, she is amazing!
So cute. Thanks for sharing the how to’s.
Thank you so much! I am happy to share! 🙂