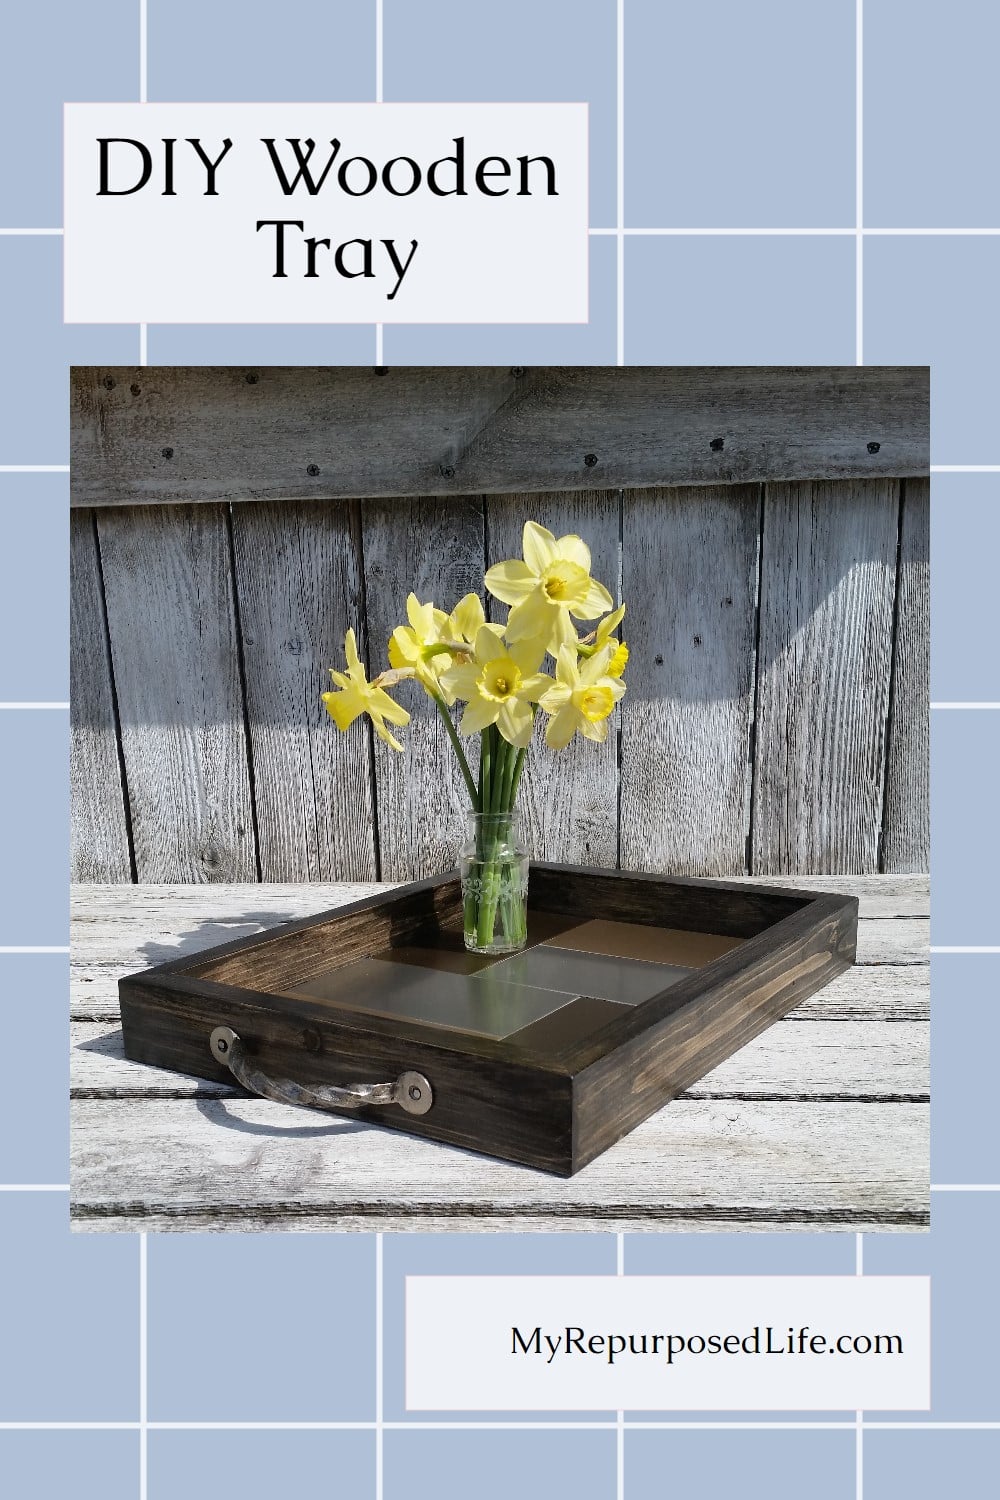
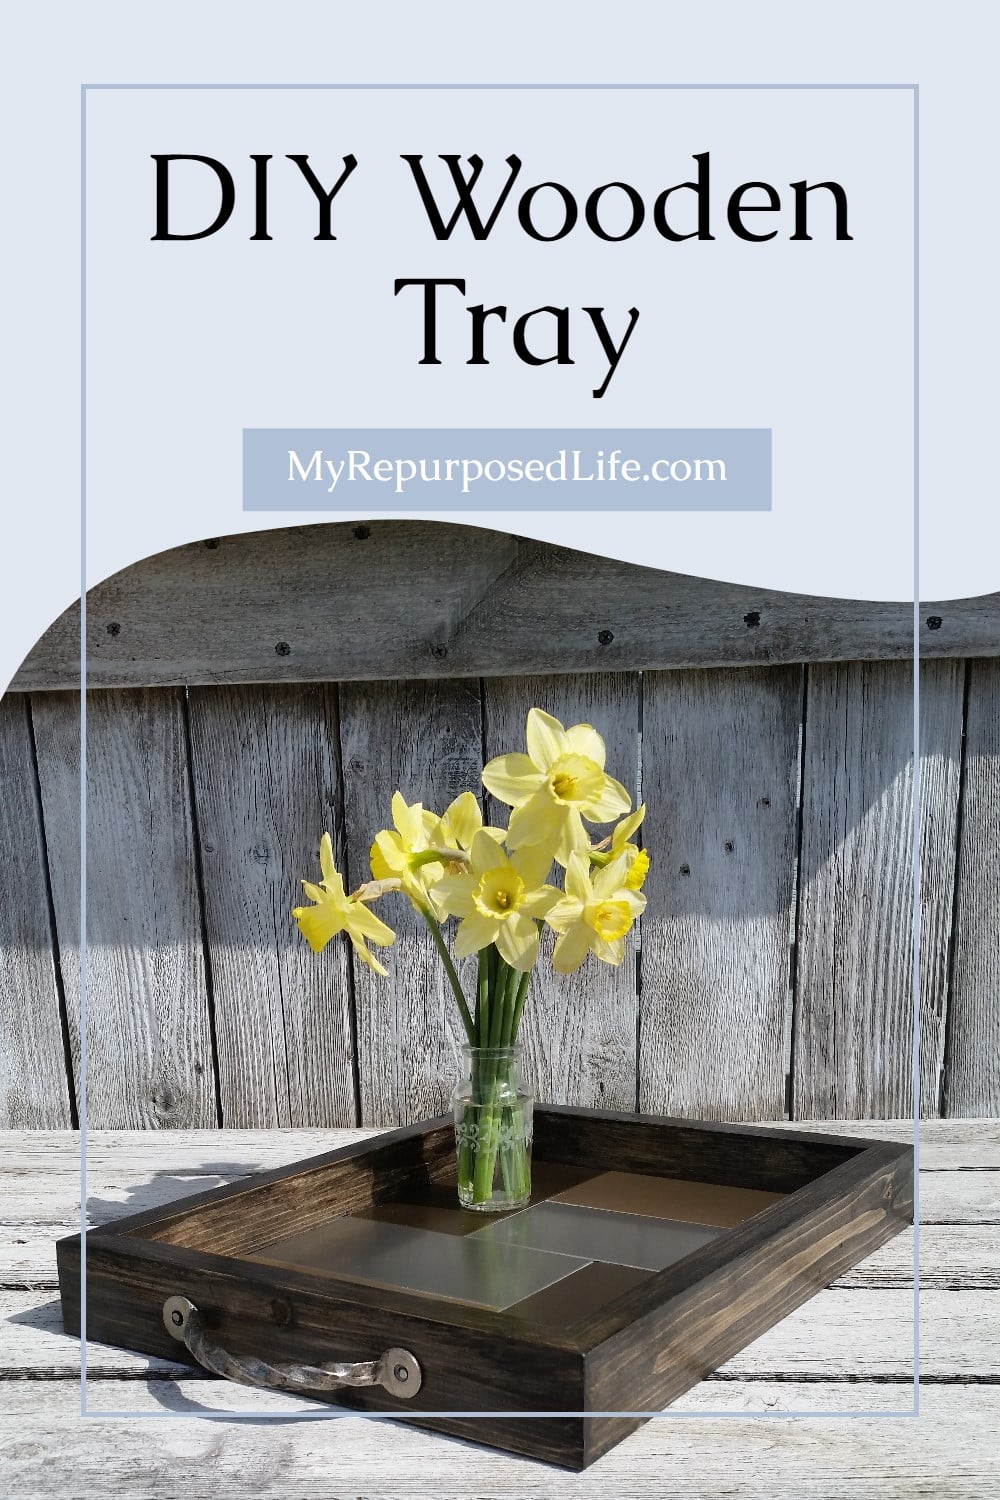
Diy Tray using Metal Tile
As an Amazon Associate, I earn from qualifying purchases.
In honor of Mother’s Day next month, the Power Tool Challenge Team is giving you lots of ideas for a DIY tray! Yep, it’s all about the tray this month! If you look online there are so many diy trays on Pinterest.

Sometimes when I put together a project I just sort of go at it without a plan. This project was different. I knew I wanted to use some Aspect Tiles I received from a blog conference. I just needed to figure out how I wanted to do it. They sent me an assortment of 2 colors each of their metal backsplash tiles. I had 8 tiles, but I couldn’t figure out a pattern using all of them.
How to make a DIY tray with metal tile samples
 This is basically the design process. That means I’m trying to figure out the pattern, and looking to see if I have enough scraps to make it all come together.
 ![]()
 The scraps were ripped on the table saw at about 1.5 inches each.
Use 1x lumber and metal tiles

Materials for the diy tray—1x’s and metal tiles.
Miter the corners
 I cut 45° mitered corners instead of using butt ends.
 To make sure I get the angle right, I place the first one I cut on top of the next one, so I can make sure it matches. After I line it up I REMOVE it before starting the saw.
 Checking my corners and doing a dry fit. The goal is to get the frame of the tray as snug as possible around the pattern of tiles.
Okay, here’s a little lesson in:
Dadoes and Grooves: These two refer to one and same thing. However, grooves that run across the grain are referred to as a dado. The dado is a rectangular or square slot running across the grain. A groove on the other hand runs with the grain.
That being said, I guess I made grooves using my table saw. I didn’t know there was a difference.
Using a Grrripper Jig
Rarely do I ever remove the guard from my table saw. But in this case, I must remove it to make grooves with my Grrripper.
 Please excuse the awful picture. I wanted to show you that I raised the blade just enough to make a groove in the board. I ran all of the boards through with this setting, then brought the fence in about a blade width, ran all the boards again, then did it one more time. So each board made three passes to make the groove wide enough to accept a thin piece of plywood. If you are NOT comfortable doing this on your saw, you can cut your thin plywood to size and attach it to the bottom of the 1x’s frame. Never take chances with power tools you’re uncomfortable with.
 Luckily I had a small piece of thin plywood in my stash. I cut it to size on the table saw. I actually cut it just a smidge too large to make sure that it was going to fit properly.
 See how nicely the thin plywood will fit into the grooves. This is the time to sand everything smooth.
Testing the Fit
 Yay! It’s going to work. This is another dry fit to make sure that the thin plywood was the exact size I needed it to be.
 The tray looks good even without the metal tiles in place.
Use Wood Glue and Clamp
 This is one last check to make sure the tiles are going to fit the frame before I glue. I plan to only glue the frame, so that no nails are showing in the end result.
 Gorilla Wood Glue is spread on all the pieces.

Three clamps were used to allow the glue to set up. Use caution not to over tighten the clamps—that would make all the glue ooze out and not leave enough to hold your project together.
 Yep, three clamps tightened just enough to hold the pieces together.
 Oops! After all the effort I made, that LAST tile would NOT go into the tray after the glue set up.
Sanding Metal Tiles
 Upon checking the Aspect Tile site, I see that the tiles can be cut and scored if they’re too big. After cutting, it recommends sanding to make it smooth. I knew that I only needed the smallest portion removed, and if I tried to cut it, I would regret it. I opted for JUST sanding it until it fit. Smart thinking!

TIP: when sanding small items, lay the sandpaper on a flat surface, and move the item back and forth. You can see I had to sand quite a bit to make the tile fit.
 Success! The tiles are in place. Now, I have to REMOVE them in order to stain the tray. yikes! They were so snug!
Staining the DIY Tray
 I used Minwax Polyshades in Classic Black. Because I’m impatient, and wanted to immediately turn the tray over, I hammered in four small nails to keep the bottom off the work surface.
When it was dry, it took lots of patience to get all the tiles back into the tray.
Adding Handles to the DIY Tray
 These twisted metal handles came from Hobby Lobby. I chose to attach them with nails instead of screws. I didn’t want the head of the screw showing.
 What do you think? Would you have used nails or screws? The handles didn’t come with anything, so I was sort of winging it.
 I love, love, love how this diy tray turned out! The metal tiles are “peel & stick” but they are so tight that I didn’t bother using the peel and stick.
 It was great to see my vision come to life! I’m also happy to not be shuffling those metal back splash tiles around the house. I knew I would find a purpose for them eventually!
Check out the awesome trays from my friends, will you be making one of these?
I hope you’re inspired!
gail
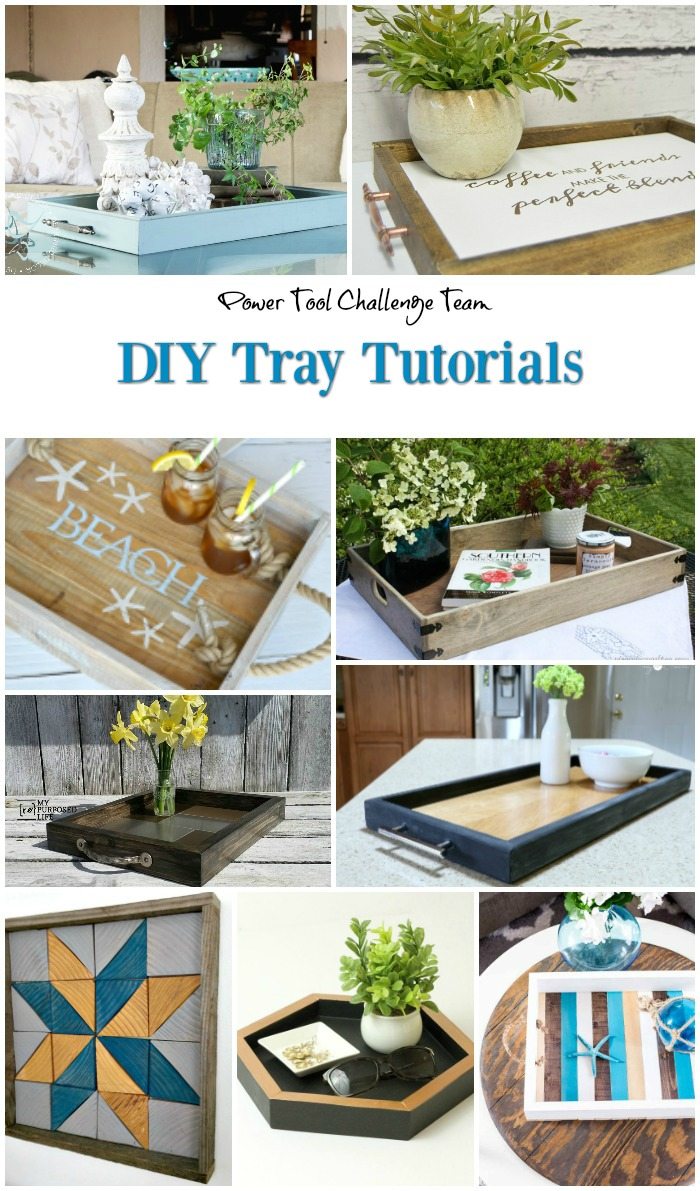
Designed Décor – DIY Serving Tray
Interior Frugalista – DIY Farmhouse Tray
H2OBungalow – Coastal Rope Handle Tray Tutorial
Virginia Sweet Pea – DIY Farmhouse Style Tray
My Repurposed Life – DIY Tray Using Metal Tiles
My Love 2 Create – DIY Chalkboard Serving Tray
Create And Babble – DIY Wooden Quilt Square Tray
The Kim Six Fix – Easy Hexagonal Tray
Domestically Speaking – DIY Coastal Tray
Related Content:
Love how you used the Aspect Tile samples! Still haven’t made anything with mine. Your tray is a great idea!!
Thank you Sondra. I knew the tiles had great possibilities, but it sure took me a while to use them. I hope I’ve inspired you to use your tiles in some way.
gail
Your tray is beautiful. I love the tiles in it and the handles are perfect. I like the handles nailed on. Should they become loose, you may want to use flat-top screws, but the nails look fine. You did a super job constructing this – any professional would say “Perfect!”
Thank you Barbara!I so appreciate your kind comment. I was thinking about adding some glue to make the nails more secure.
thanks!
gail