DIY Wall Art {family rules}
As an Amazon Associate, I earn from qualifying purchases.

Hi! I’m Susan and I blog about decorating, organizing and home and life improvement at LivingRichonLess.com. I originally met Gail at the Haven Conference two years ago and, in case you didn’t already know, she is a genuinely sweet, caring person both online and in real life. And since she’s still working on getting back to her repurposing self after her recent surgery, I wanted to offer an MRL-worthy DIY project to all her lovely readers.
I discovered this hunk of board on our firewood pile last week.
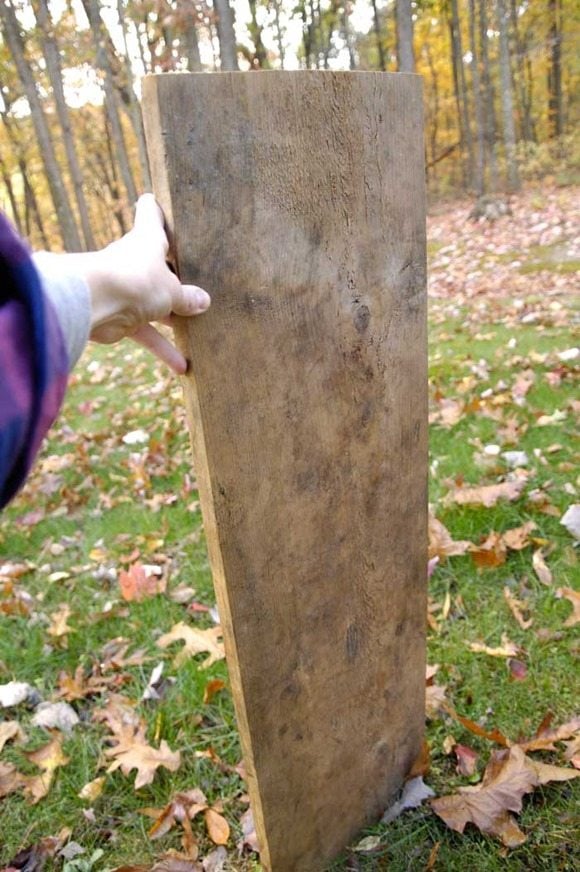 My husband said he found it under a pile of leaves and assumed it was junk. Silly husband. 😉 It wasn’t too warped and it looked usable. So I trimmed the top and bottom on the miter saw to make the length 30 1/2 inches. (I kept the width at 11 1/2 inches and the depth at about 3/4 of an inch.) Then I sanded it on all sides and brushed on a coat of Minwax stain in Jacobean.
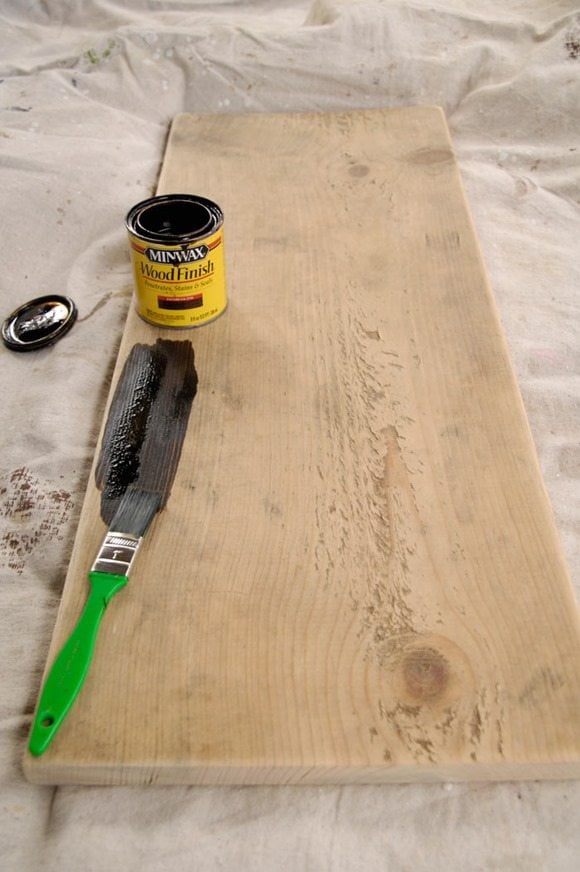
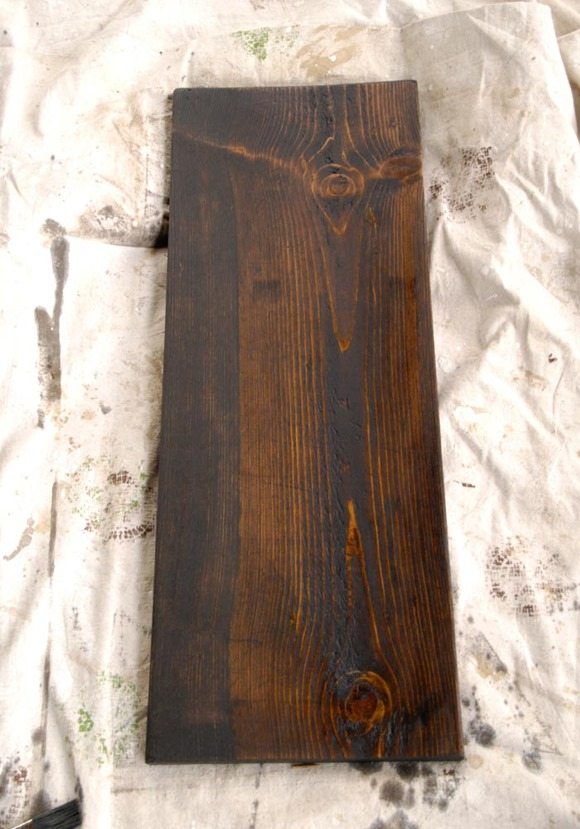
While the stain was drying, I created the word art I wanted to stick on the front of it. I used Adobe Photoshop to piece together a collage of words using various fonts. I’m sure you could create something similar using PicMonkey or Gimp. I made the image size 20 inches wide by 30 inches long – the largest poster size available through the Walmart photo lab (for same-day pickup). Because my wood piece was only 11 1/2 inches wide, I made sure the word art was no wider than 11 inches. (You’ll see why later.)
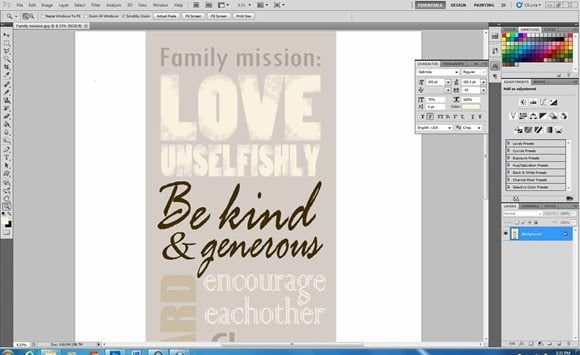
I’m sure I got a few strange looks from the Walmart photo lab employees considering I had chunks of white space on both sides of my poster. But I just carefully trimmed them off at home.
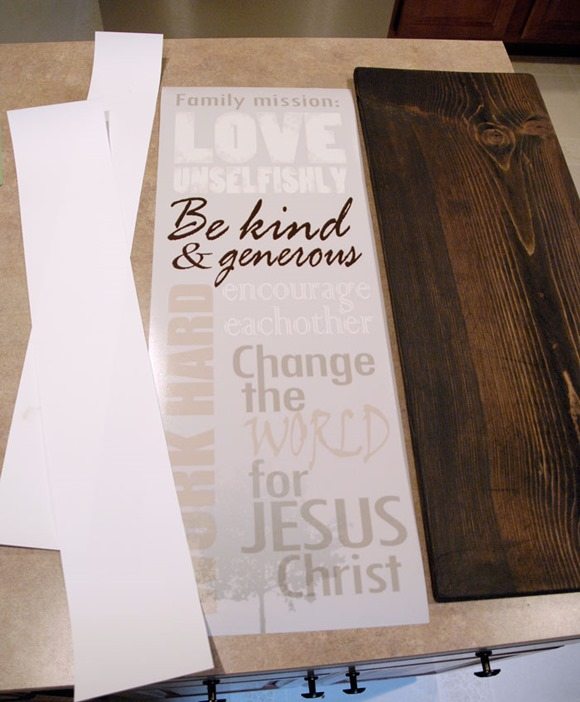
Next I mounted the word art onto my stained board using Mod Podge (matte finish). This is the part where I held my breath, because it looked like I was ruining everything! 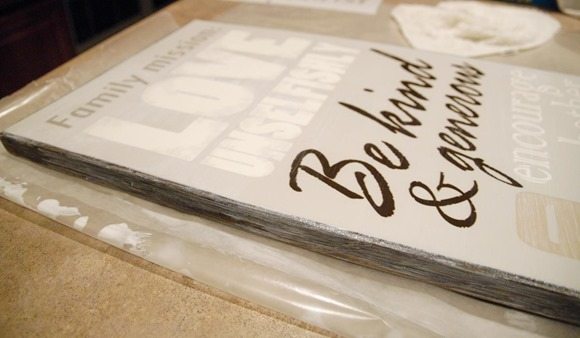
I applied Mod Podge to the entire top of the photo, too. Luckily, it dried clear. I did make sure to use even strokes with my paintbrush so the texture of the glue was not too visible. Here’s the final result: 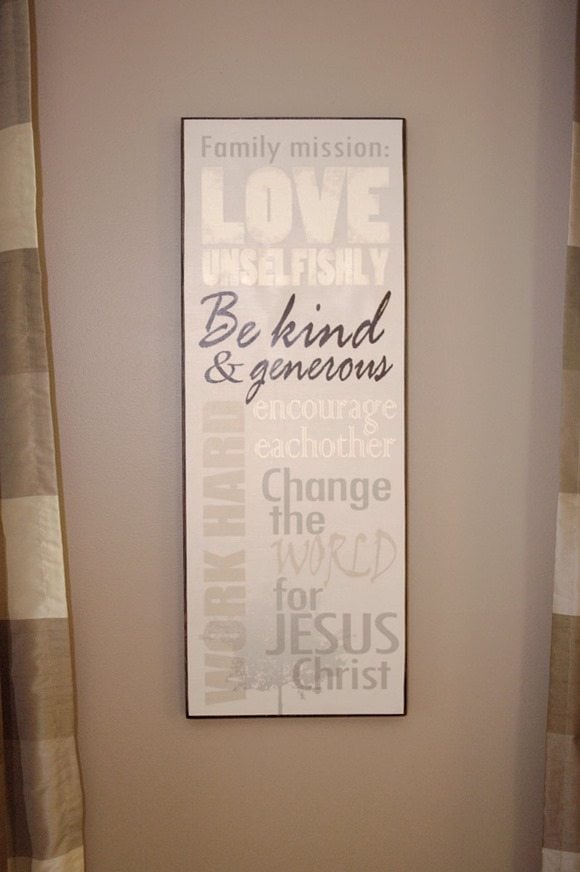
You’ll notice I left about a quarter inch of the board visible on all four sides in front. I felt this gave it a more finished look. I love that you can see the wood grain on the sides.
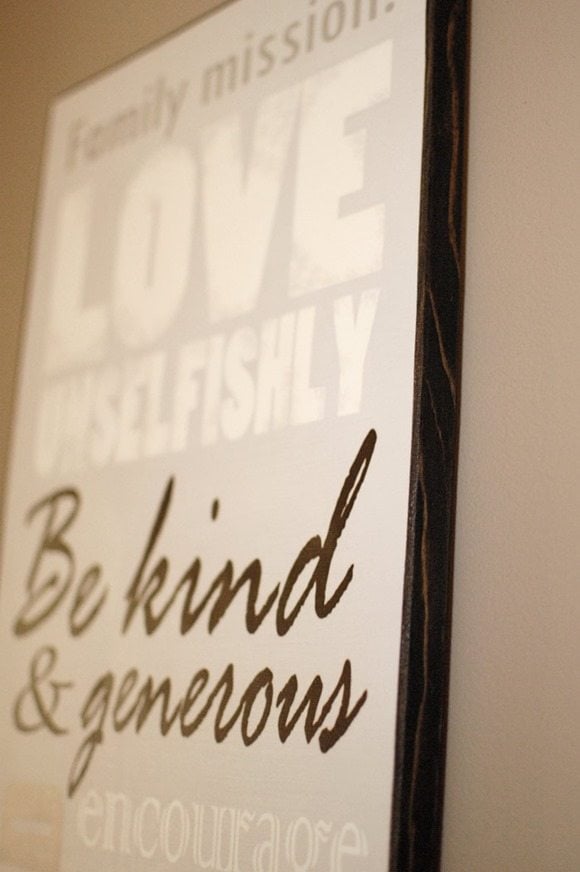
So there you have it … a rescued piece of firewood transformed into an inspirational family mission statement. For a free printable version of this word art as well as a free e-book, head on over to LivingRichonLess.com. And you can also catch me on Facebook, Twitter and Pinterest. Continue to get well, Gail!
Thank you sooo much Susan for a great DIY tutorial today! I LOVE your wall art. I think you made the perfect decision to leave the border all around—it really makes it stand out against the wall color.
gail


Wow! I love this!
Gail, Thanks so much for featuring my project. Keep getting well!
Love these beautiful signs!!!
It is lovely. I like how it turned out; and you were able to save the piece of wood from the burn pile!!
I LOVE this, way to rescue a piece of wood!! It turned out beautifully!!