diy wooden caddy | Reclaimed Materials
As an Amazon Associate, I earn from qualifying purchases.
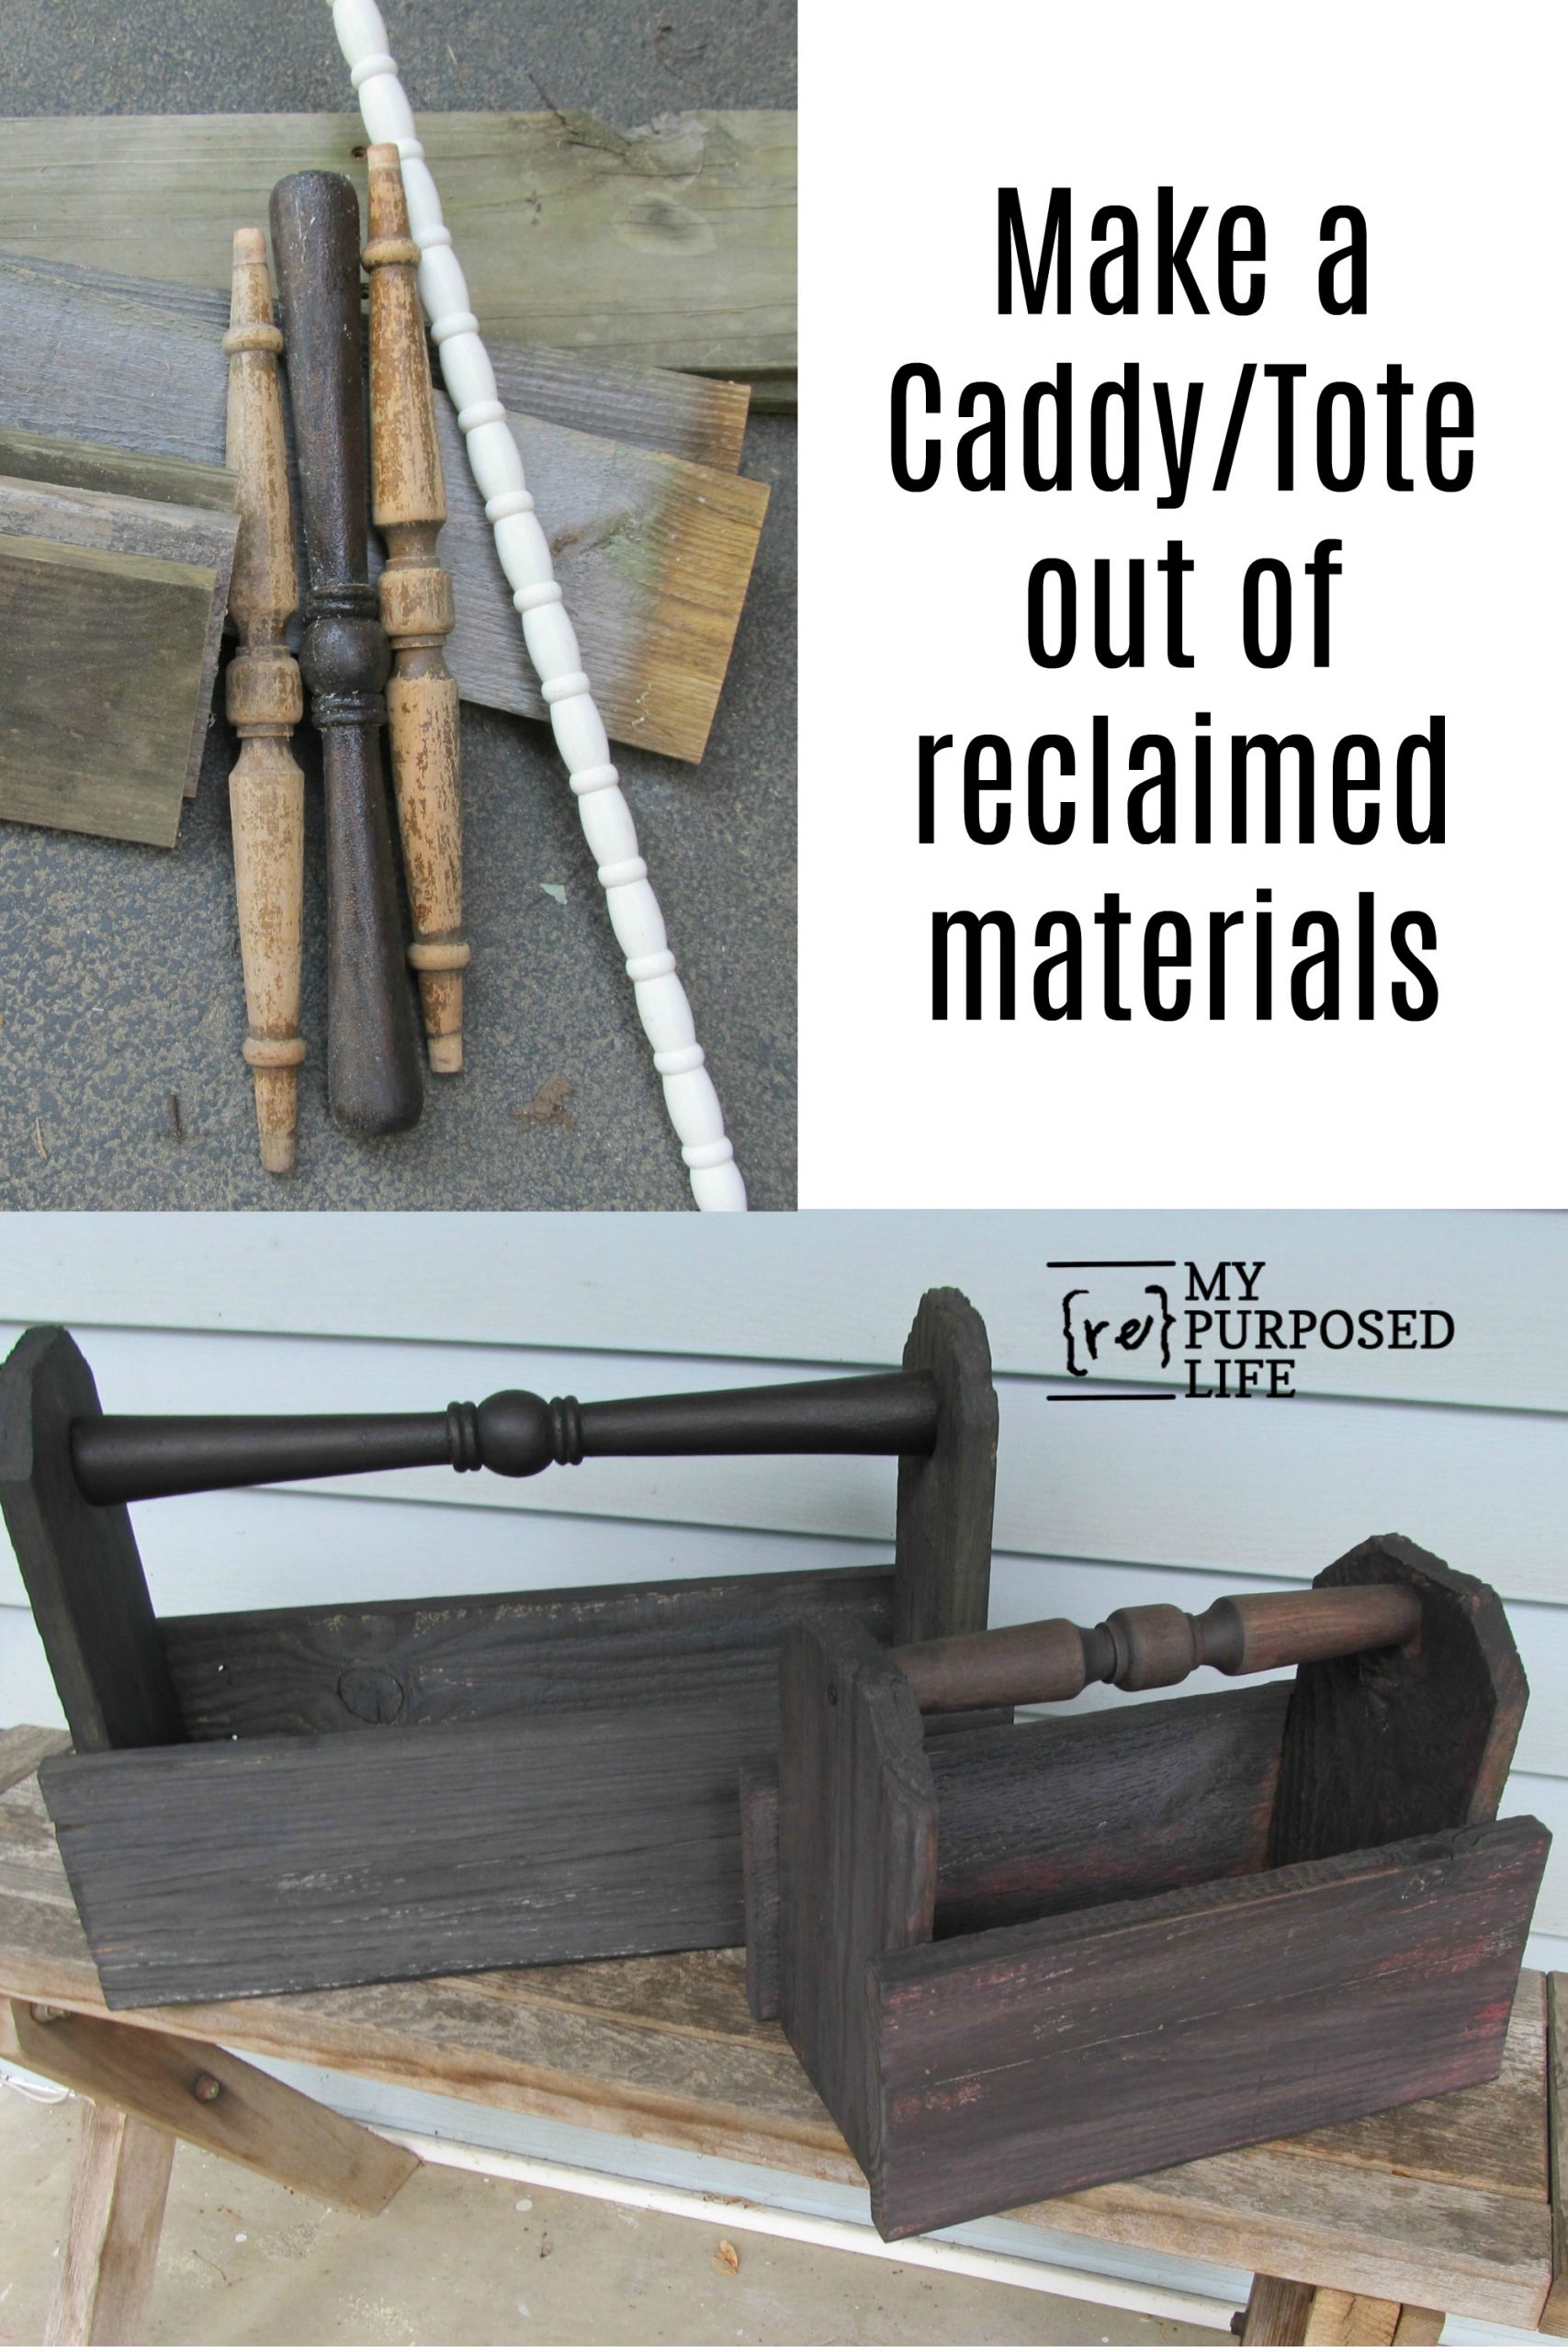
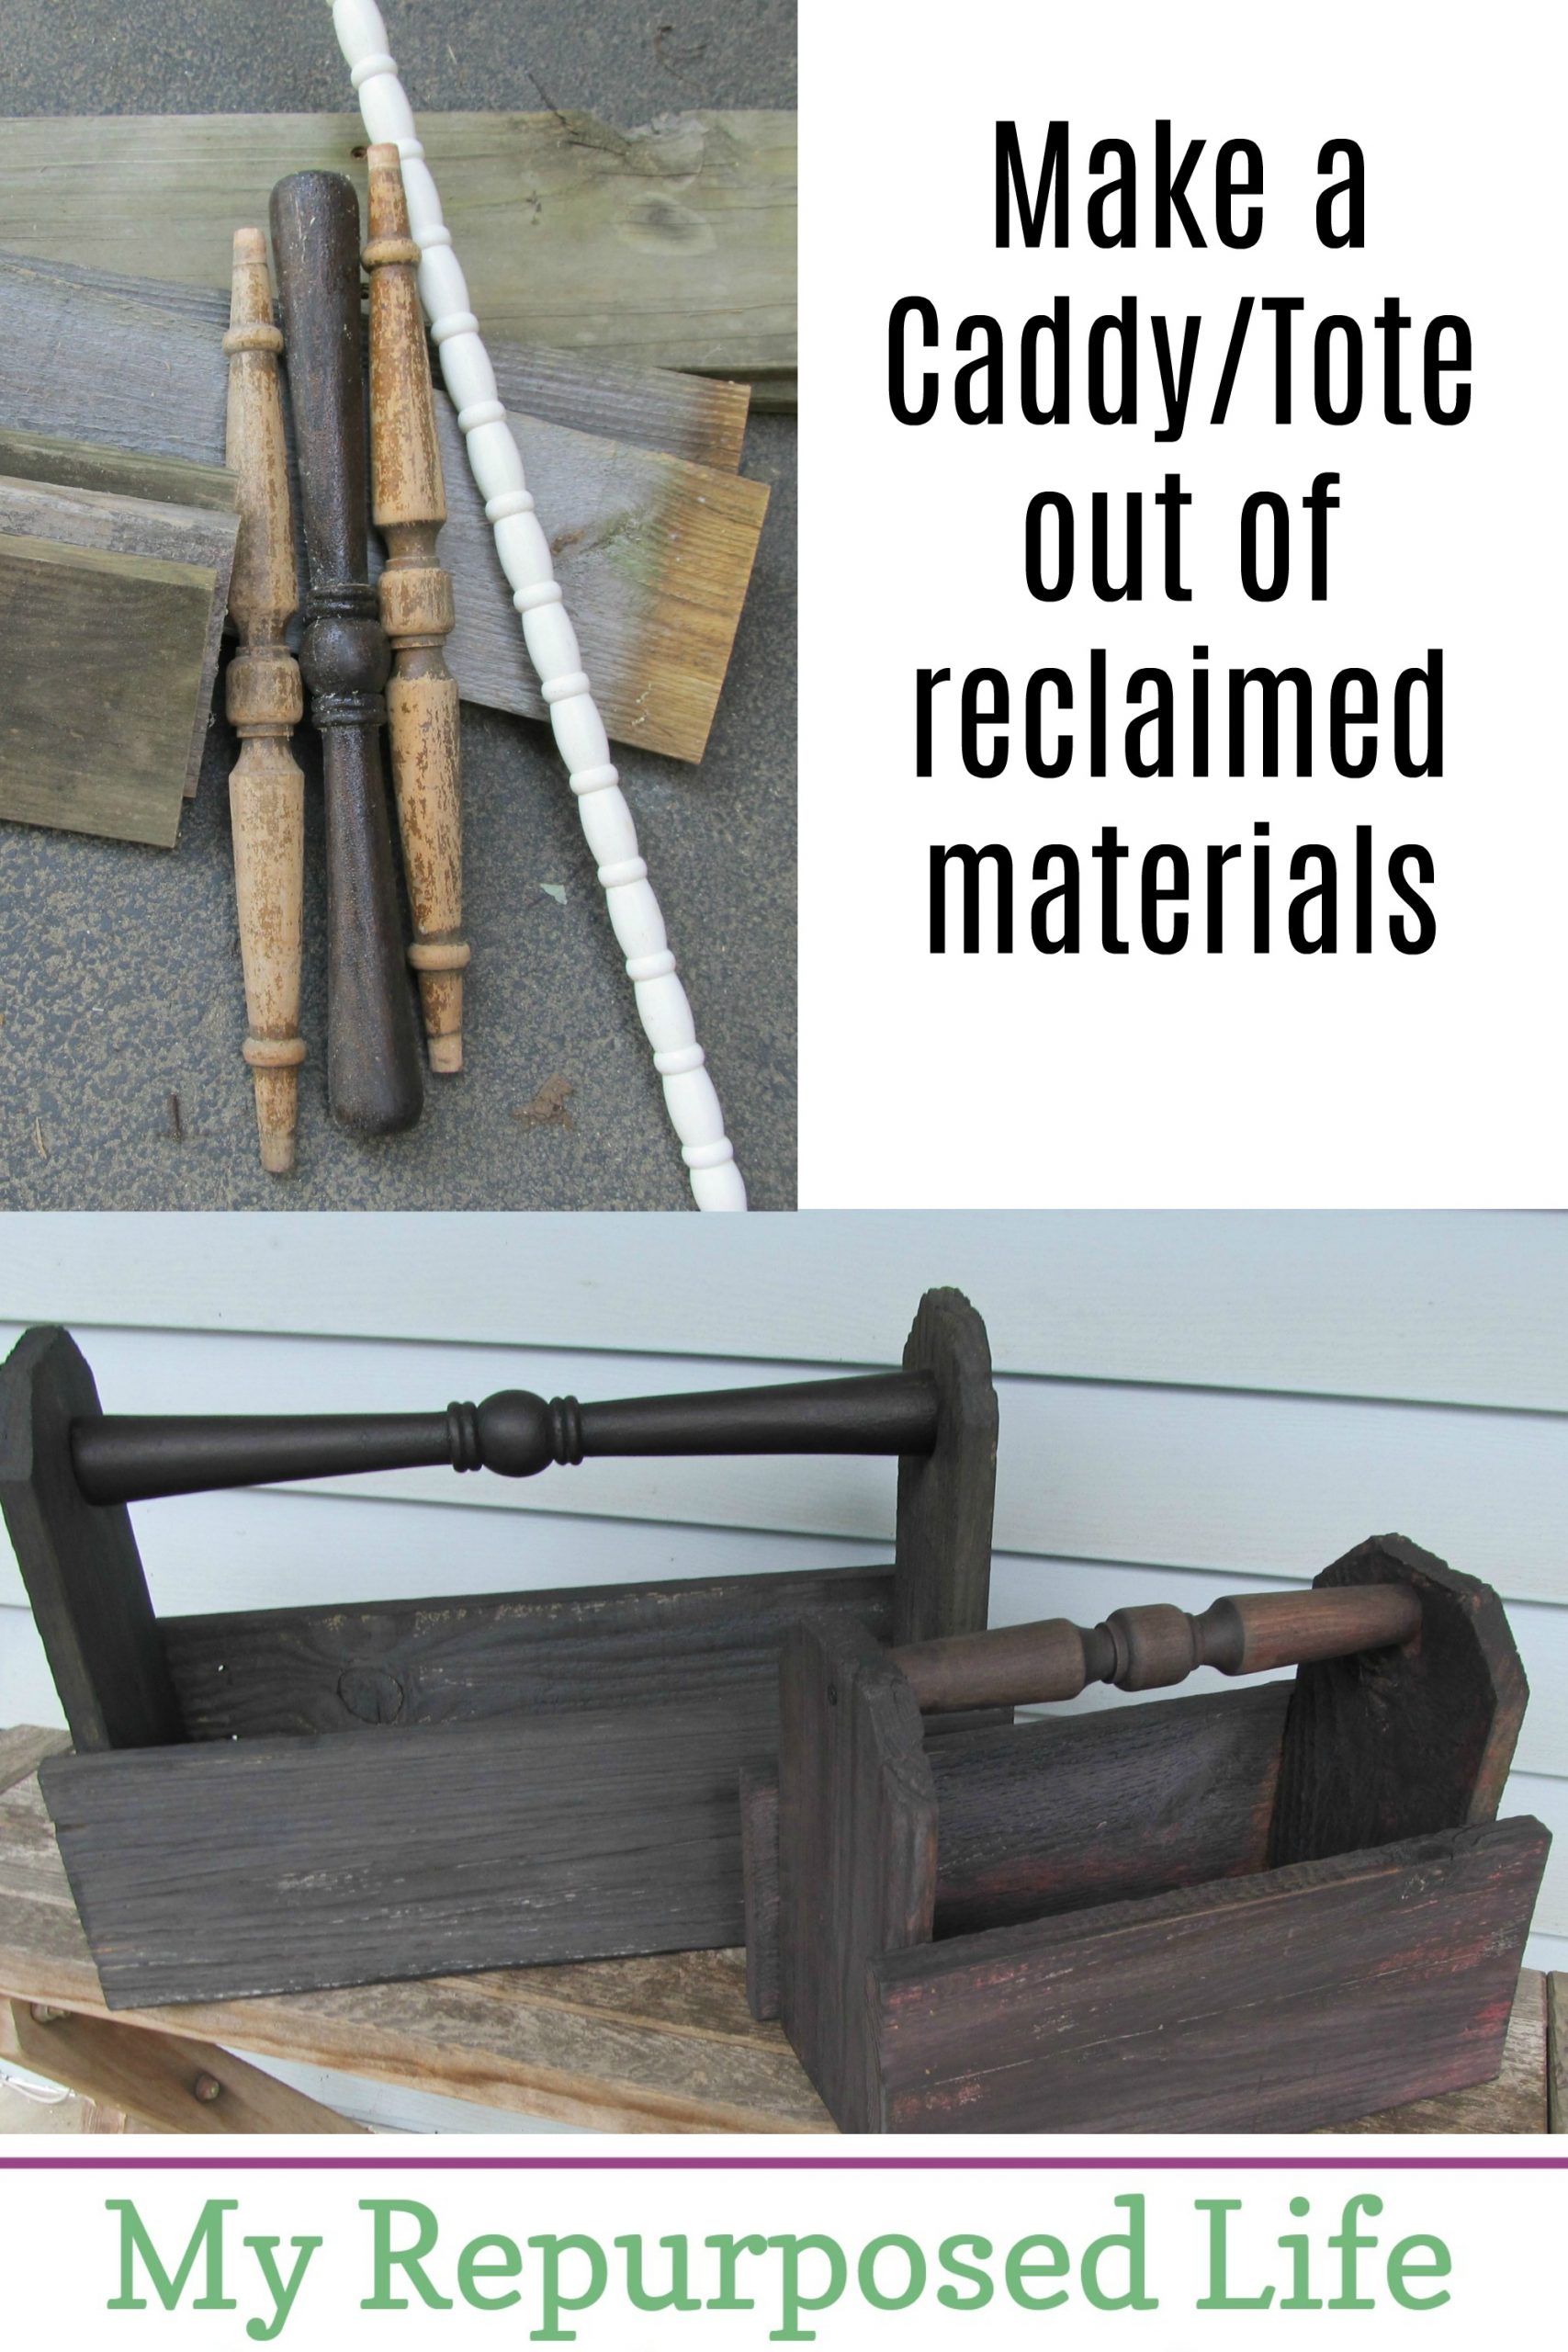
Maybe you call it a tote, but I call it a diy wooden caddy! Yes, a wooden caddy made from reclaimed materials such as fence boards, chair parts, and random spindles as handles!
You will love this easy wooden caddy project so much that you won’t be able to make just one!
I had been in a “building” slump. I found some inspiration online to make a handy diy wooden caddy, but I could not stop at just one! A DIY caddy made from reclaimed fence and spare chair parts can be very versatile! The possibilities are limitless!
DIY Wooden Caddy Projects

Susan from Homeroad built a caddy from driftwood. When I read her post I saw . . .

This one from Becky—she made this caddy out of a planter box. I was in love with this idea of making a caddy.
Reclaimed Materials for making a DIY Wooden Caddy
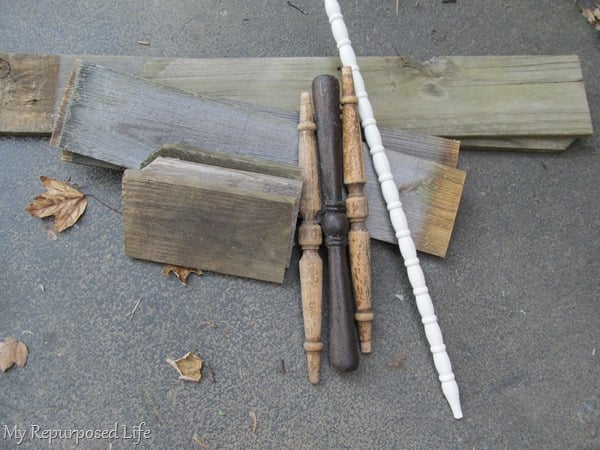
I gathered my bits and pieces and headed to the basement shop where it’s cool to make a wooden caddy.
Construct a Wooden Caddy
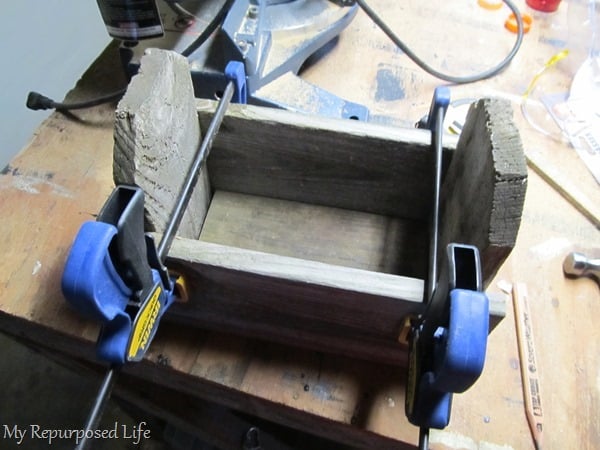
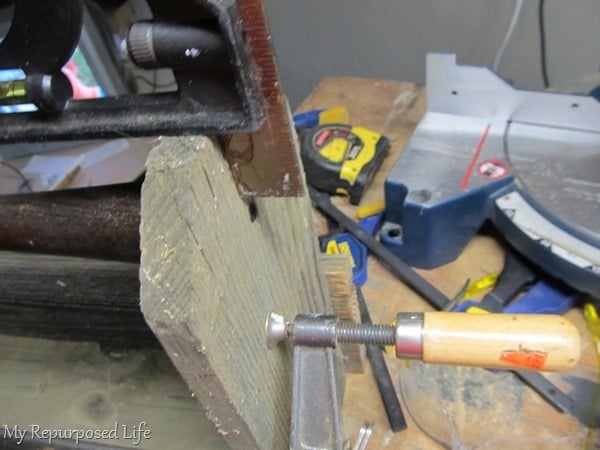
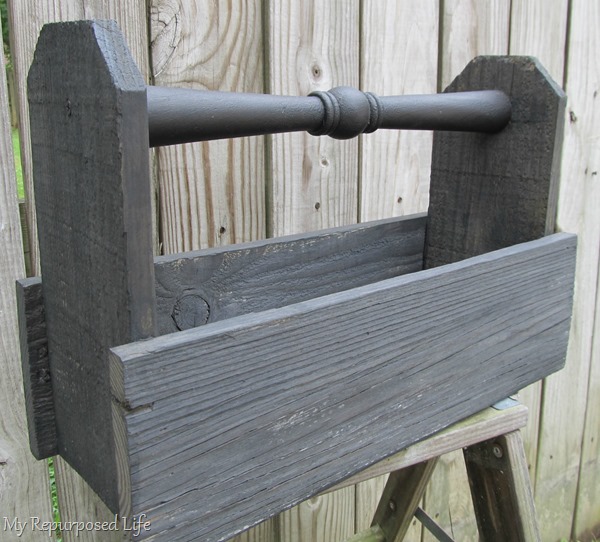
I cut my pieces and used my quick clamps to hold the sides. I took the easy way out and used my nail gun to shoot some nails in while the clamps held everything in place. This wooden caddy is about 12 inches long.
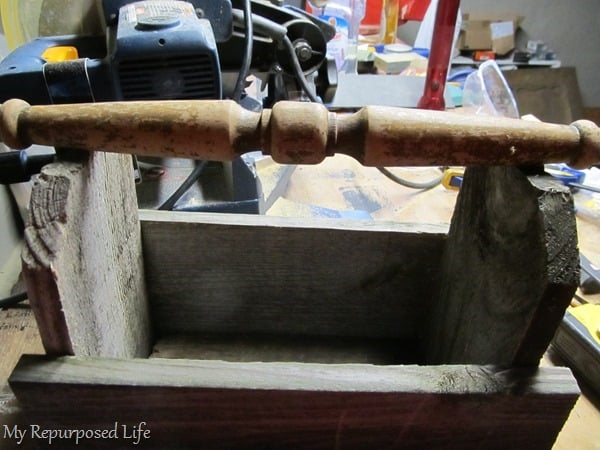
Then, I sized up my random spindles to see what looked best.
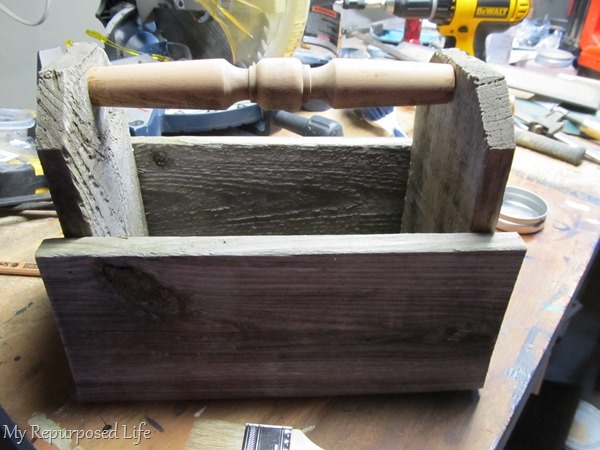
I cut my spindle to size with my miter saw and drilled pilot holes through the old fencing, and the spindle. Then, I used black drywall screws to attach the spindle/handle.
Maybe you would prefer to drill a hole in each side to allow the handle to fit inside it? Well, I’m showing you how to make an easy diy wooden caddy!
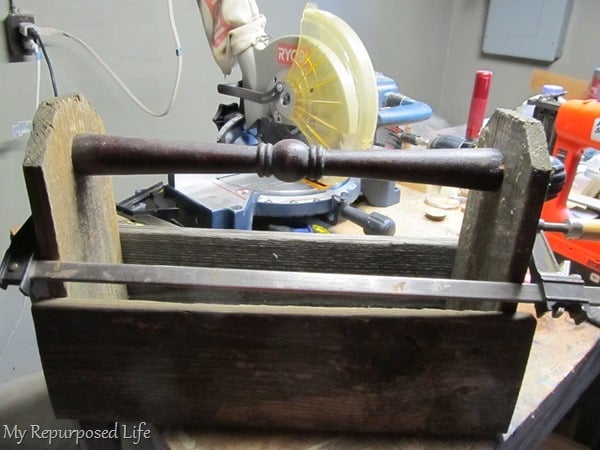
This is diy wooden caddy #2, it’s much longer at about 18 inches.
How to Add Chair Spindle Handle
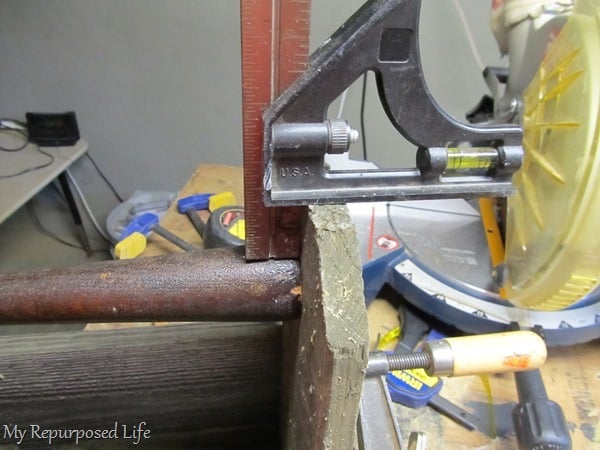
I used my combination squareto find the right place to drill my pilot holes for the caddy handle. First, I measured on the inside. . .
. . . then measured on the outside–both ends.
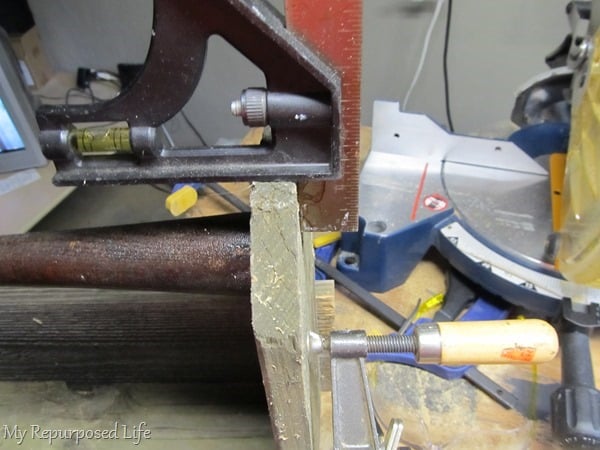
Drill a Pilot Hole to Hold Your Handle
Marking the spot, I drilled the pilot hole and then used a black drywall screw to hold it all in place.
Then I got busy painting them. On the small one, I did a watered down red wash first, then did a watered down black over it. The larger one, I just used the watered down black on it.
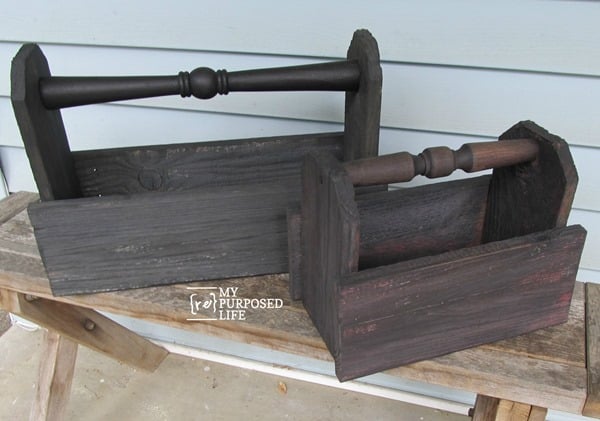
Here you can see the two side by side and compare them. I like the handle on the larger one a LOT!
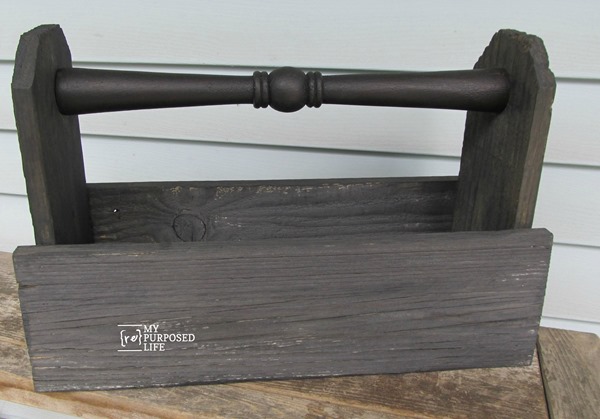
Isn’t it cute?
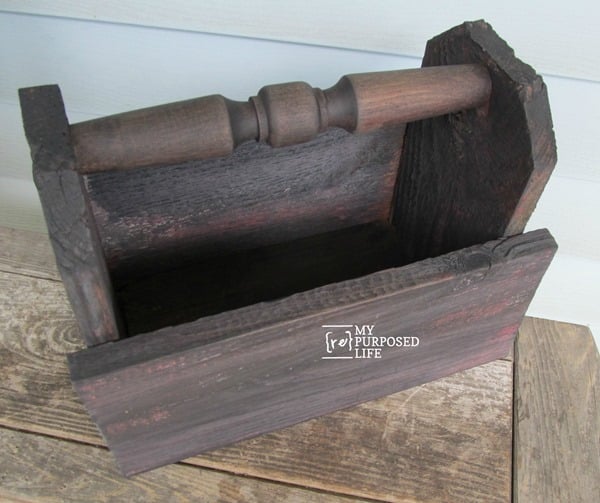
On the smaller one, I like the hint of red peeking out.
DIY Wooden Caddy Options
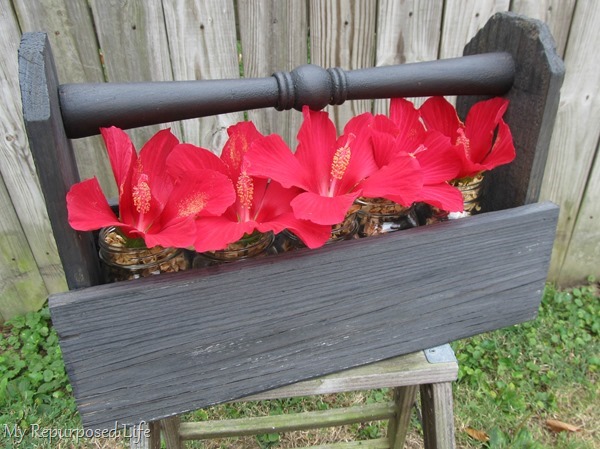
These caddies are multi-functional! You could add flowers from your garden. These are from my abundant hibiscus plants.

See how the red hibiscus bring out the red in the caddy?
These were really quick and fun, just what I needed. Thank you Susan and Becky for the inspiration!
Please Save & Share on Pinterest!
Wooden Caddy to Hold Art Supplies

Wouldn’t this make a great caddy for craft supplies?
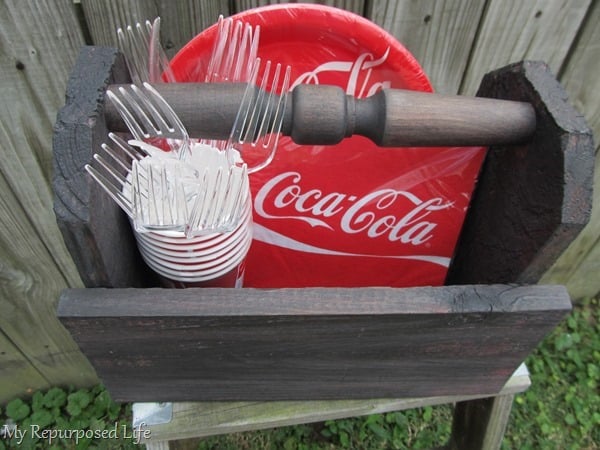
A small diy wooden caddy is perfect for picnic supplies!
Which do you like best? What would you use it for?
gail
More Wooden Caddy Projects Here
Have some chairs hanging around? Here are some repurposed chair ideas.
Love these Gail! I have stuff laying around and could make a few too!
Debbie
such a great idea!!! i am so grateful to own one of your caddies!!! love it!!
i still have mine! It holds 2 small succulents in pots at the moment.
Beautiful Gail! I want one!!!
I love it! Love the detail in the spindle handle. I would use one for utensils at parties, or flower vases, how fun!
love my caddy! keep my hand garden tools in it!