Repurposed Door Headboard
As an Amazon Associate, I earn from qualifying purchases.
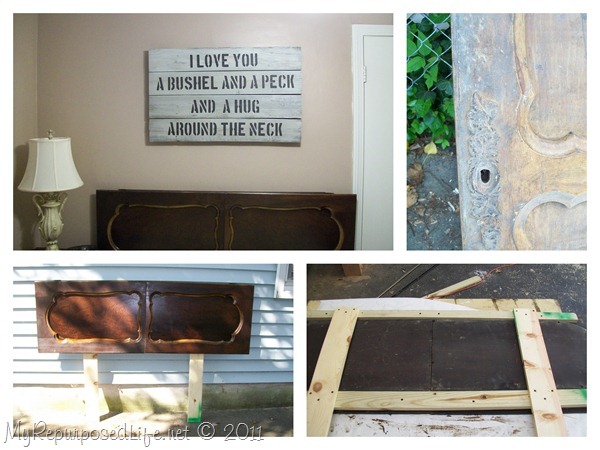 I repurposed two antique armoire doors into a repurposed door headboard.
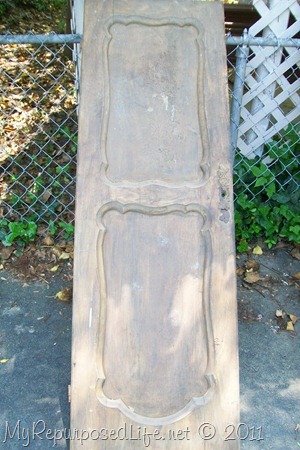 I bought these doors in the Spring of 2010 for $5.00 each. (as I recall-it was a LONG time ago)
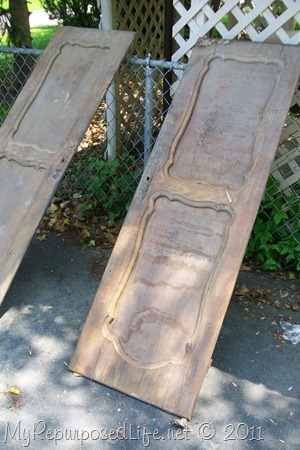 They were in decent shape for their age.
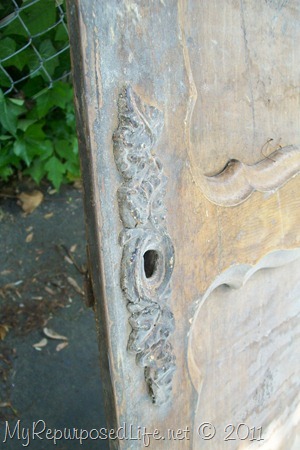 I liked their detail.
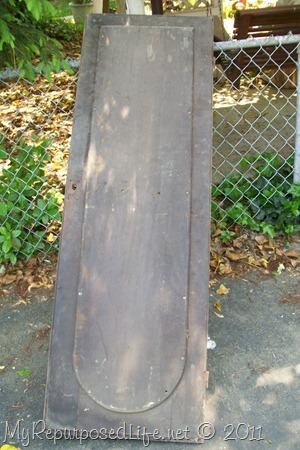 When I bought them, I had no idea what I was going to do with them. So they sat in the garage leaned up against a shelf for 18 months, just waiting. I was waiting for them to “speak” to me, but they never did. Then I decide to use Mammaw’s dresser in the guest room. You can see that the color of the doors is already similar to the dresser before I stripped and refinished it.
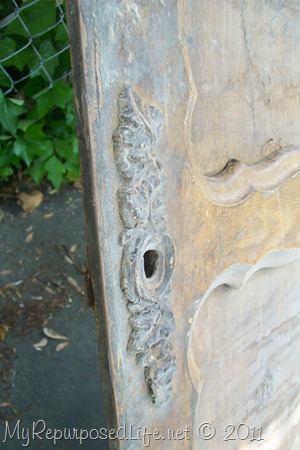 I removed the door plate and cut each of the doors in half right at the doorknob hole.
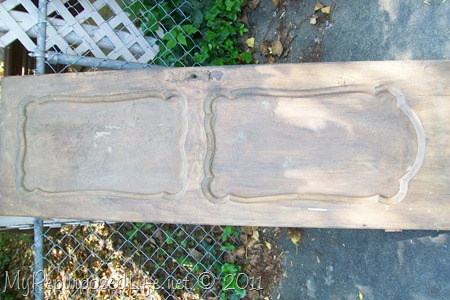 The reason I cut the doors is because the left and right (top and bottom originally) don’t match. I thought turning it horizontally for the headboard it might look funny if the two sides didn’t match.
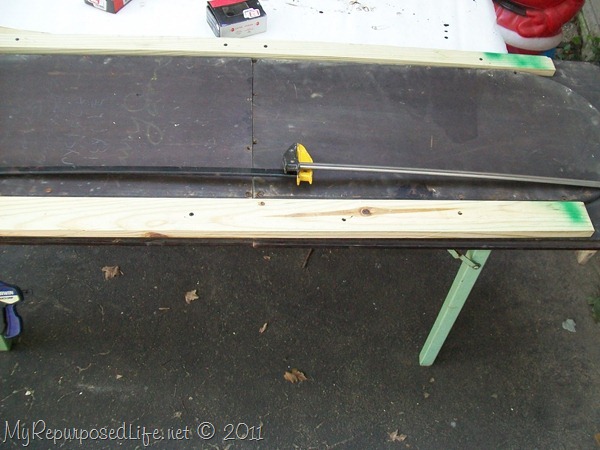 I used some good ole .50 cent cull bin lumber to secure the two ends together. My clamps weren’t long enough, so I clamped two clamps together to make it work. Someone had written I love Larry Jones on the back of the door. hahaha
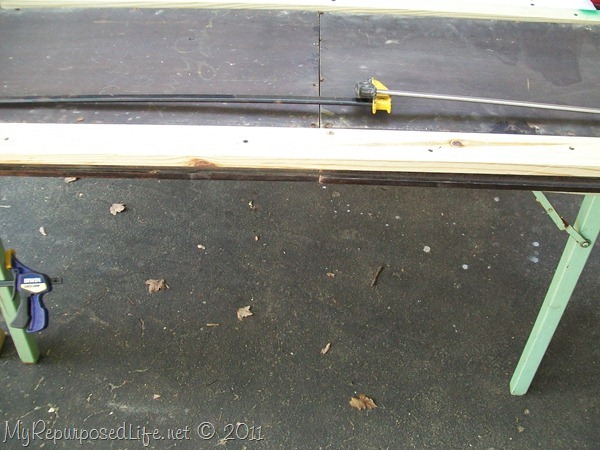 I used drywall screws to attach 1×4’s.
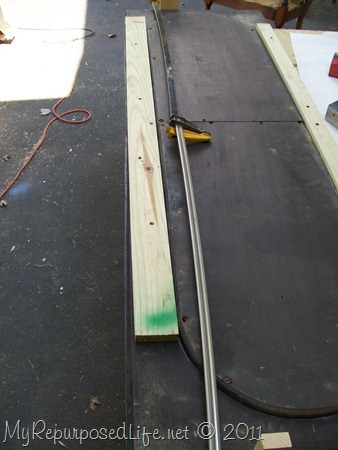 This is how I clamped it.
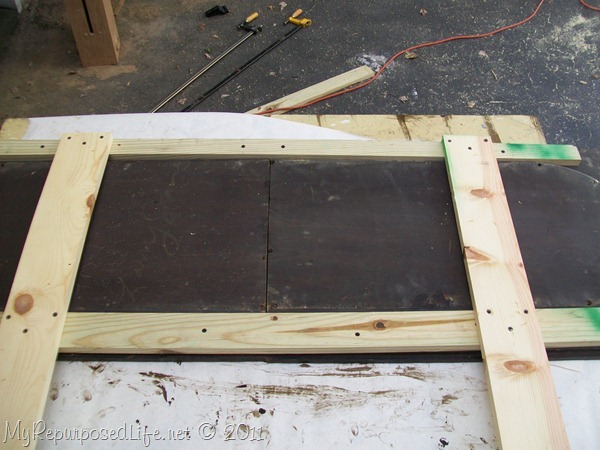 I used some more 1×4’s to make “legs”, screwing them into the cross braces.
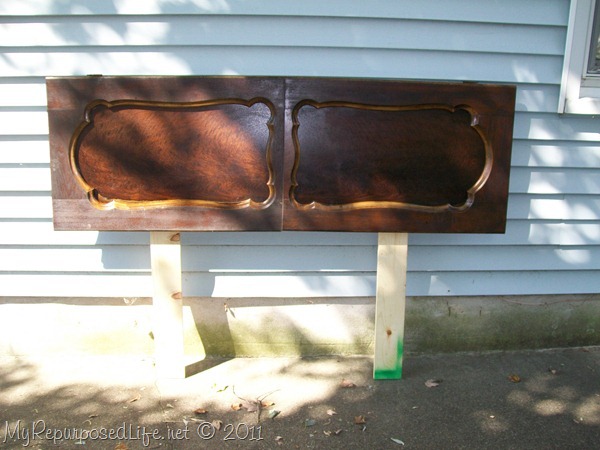 I sanded the headboard and stained it with Jacobean from Minwax. More cull bin lumber! I love it! It sort of looks funny, don’t cha think? sort of like two popsicles or something?
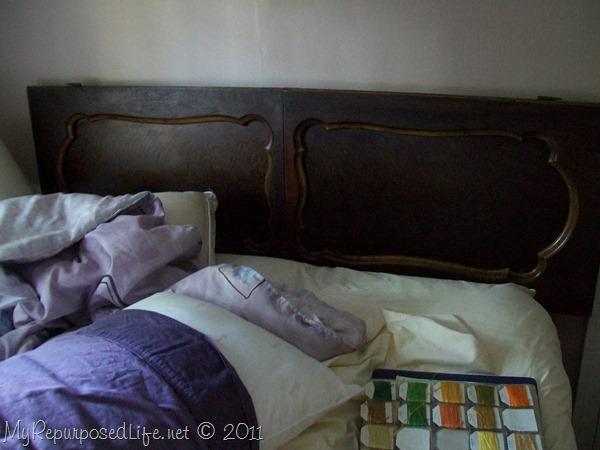 I purposely left the hinges at the “top” of the headboard. This is me taking it for a “test drive” to see if it is the right height, etc. I should have placed the legs further apart so that they would attach to the bed frame. Right now the headboard is wedged between the bed and the wall.
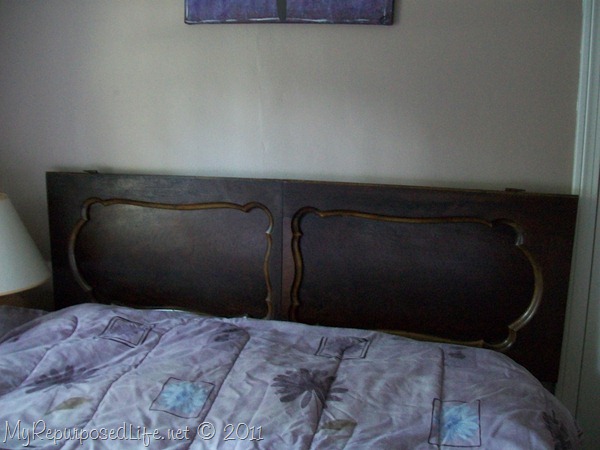 This is me “staging” the headboard! hahaha I’m glad you can’t see the rest of the room!!! Disastrous!
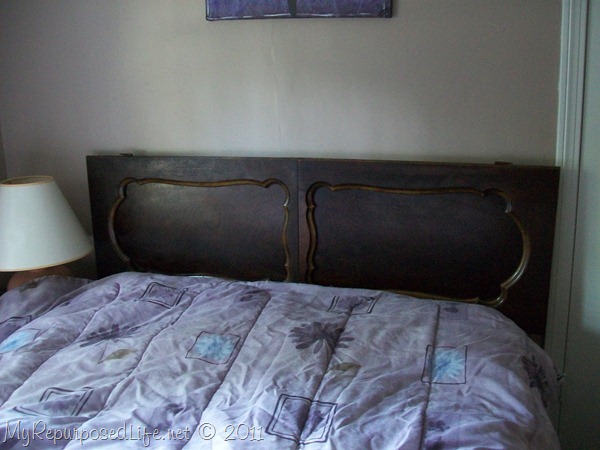 See the old lamp? What you can’t see in the picture, is that the new lumber is visible when you look “down” on the headboard.
 I stained a small piece (1×2?) and laid it on the top so that it matches the headboard. You won’t believe what that lamp looked like, and the side table there is an old sewing cabinet.
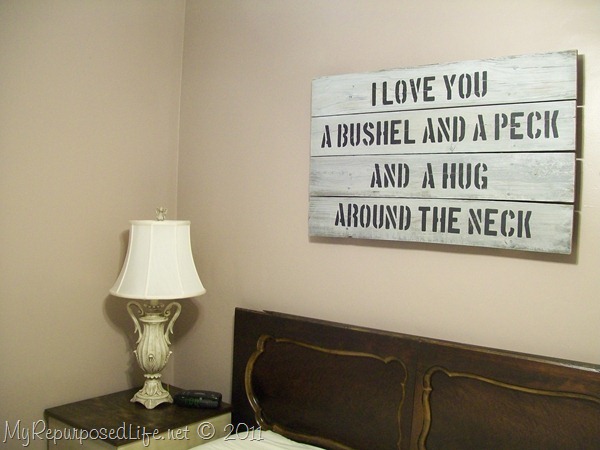 Baby steps! I don’t usually rush when I do these projects. The headboard has been in the bedroom since early October. I just hung the Bushel & A Peck sign a few days ago.
Good news is, I have two more pieces, one from each door! They are still waiting in the garage, right back where they waited for 18 months. Let’s hope they speak to me before Spring 2013! ![]()
gail
linking to:


You and Rose are killing me with all of these great doors! What a great idea to split it. It took me awhile to see what you meant because I wasn’t noticing the difference. It sure turned out great!
Loving the way it turned out. I wouldn’t have thought to cut it apart so it would look the same, I just would have just the door as is. Great thinking!
Holly
You are the queen, and you deserve a crown! It’s a great headboard.
I like that headboard!! I think it just flows with the rest of the furniture in the room!! Clever!
Love the detail on those doors! I’ve never seen any quite like them. The headboard turned out great!
Gail – what a beautiful headboard! Wow! The room is looking gorgeous with all of your awesome DIY! 🙂
I absolutely love it!! Those doors are great..way to go, Gail!
Those doors are so beautiful! I almost stopped breathing when you said you were cutting them in half..but now I see why. The headboard is amazing!! I’m breathing again 🙂
Thanks for stopping by my blog and the sweet comment on my reindeer! I was so scared, and now that seems a bit silly! Confidence is growing 🙂
It looks great. You’re really pulling that room together.
You could put a 1/4 across the legs at the height for it to attach to the bed frame.
Awesome! Very pretty detail on the doors and lucky you…you have more to play with 🙂
-Jill
I love the old doors,, and it looks great as a headboard.
Have a good day
That is a great headboard!!!! LOVE it!
Have a pretty day!
Kristin
What a neat idea! It looks really great.
I like that you have the curve on each end (possible cuz you cut and glued the ends together!) 🙂 And the hardware you removed! That is gorgeous!
The headboard definitely fits the room!
Gorgeous doors, Gail! What a find! It looks beautiful as a headboard.
I just love the details in those old doors. Wish I could find some to put on my new pantry.
Sharon
you know i love ti because i already commented on it when you showed the room- it’s perfect!
awesomeness!!!! : )
Beautiful job! I wondered why you cut the door, then it jumped out @ me the reason….perfect solution. BTW, were you able to salvage the detailing from the knob hole?
This really looks great, love how the room is coming together (the parts you showed us ;o)).
Enjoy the rest of the week,
Sue
Great idea – love the finished product! I’m also so glad to know I’m not the only one who buys things with no clue what to use them for and then waits hoping they “speak” to me – ha!
Amanda’s idea is great for the remaining pieces!
I was just going to suggest securing the headboard directly to the wall instead of to the bedframe.
I love the way it came out! So fancy looking!
Looks fab, the detail is fantastic and just not something you get much now, the colour is great too makes it pop.
Totally reminds me of the headboard on my nana and grandpas bed, which was awesome for us kids to use as a bouncy castle thing!
The remaining pieces would look lovely as a kinda framed chalk board sign, the frame is already there and paint the recess with chalk board paint! I’m sure whatever you do with them they will look great!
Happy Thursday!