Easy Build Storage Shelf for the Basement Shop
As an Amazon Associate, I earn from qualifying purchases.
I’m continuing to work on the Clean Up Your Act Creative Space Reorganization Challenge. To do that I need storage for the basement shop. You can’t clean up a creative space without good storage solutions. In my case it is a nice storage shelf. Because I’m a hoarder of all things, I had the perfect lumber already right there in the basement.
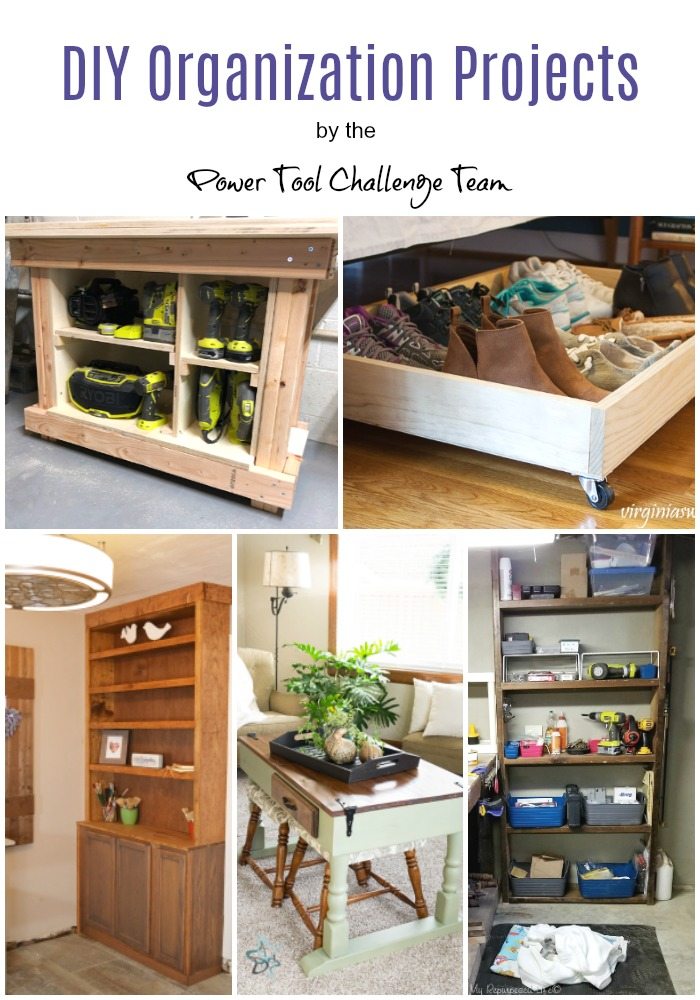
I’m submitting this simple storage shelf for this month’s Power Tool Challenge project! Be sure to check out the other organization projects near the bottom of this post.
Reclaimed lumber to build storage shelf

These large 2×10’s were left over from a waterbed from years ago. I used part of the waterbed to make a country cupboard a few years ago.

Looking around for more lumber—these boards will make great shelving for the new storage shelf. Can you see them? They are to the left of the oops paint can on the bottom of the work bench.
Arrange wood shop

The first step was to scoot the workbench into it’s new permanent home.
 The workbench also needed to be tidied up in order to be able to make this project.
*this post contains affiliate links, read more here*
Cut boards to size

Because the compound miter saw I have in the basement is small, we had to flip the board after making the first cut.
How to assemble an easy build storage shelf for your wood shop

It’s funny, Rodney and I work well together, but we’re not always on the same page. He had a vision of a wall shelf (hanging) and I assumed we were making a floor to ceiling shelf. After we got that all figured out, this shelf went together very easily. You can see we have a side resting on the top and bottom shelf as I secure the pieces with 3.5” wood screws. I guess I did something to get him tickled since he appears to be laughing at me.

After doing the top and bottom, we continued with the rest of the shelves before we flipped the storage shelf unit over to attach the other side.

After flipping it, we simply added the other side putting three screws into each shelf.
Use wood screws for shelf

These are the screws we used.

It was a little challenging getting the shelf upright in the space with the low ceiling. After all these years of doing projects alone, it really makes it go smoother with an extra pair of hands!
Secure shelf to rafters

To secure the new storage shelf Rodney shot a screw through the top shelf into the rafter in two different places.

In addition to the screws through the top shelf, there is also one on the left that secures the shelf to the workbench. So, although it’s not much to look at, it’s very sturdy and will hold a lot of my larger tools and such.
Takeaway from what I’ve learned about organizing a creative space.
- Don’t get overwhelmed.
- Just get started.
- Gut if you can. If the space is too small, clean as you go doing smaller sections along the way.
- Good storage is a MUST. Utilize all the space from floor to ceiling.
- Reuse what you can to keep costs down.
- Enlist help when needed. Know your limitations.
- It’s going to take longer than the time I allotted for this creative space makeover.

I have had to make some purchases to continue with my basement shop reorganization. More on that next week. For now, we’ll take a look at how much storage this shelf offers me. Check out my Lulu Mae cuddled up on the floor.
Be sure to visit my friends to see their projects . . .
Sweat Pea DIY Underbed Storage
Create And Babble Simple DIY Workbench
Designed Decor Puzzle Game Table
Great Idea and looks really simple so I believe I will make one for my tiny shop. That is why I LOVE looking forward to your ideas each week! Rodney seems to be a Godsend to you, I would say marry the guy but I saw the wedding ring lol. When I get my shop done (weather has to warm up to finish painting) I will send you a photo to show you how much ladies like you inspire me!
Yep, Rodney’s taken. I’ve known his wife for YEARS. They found each other again after many years apart when the Mrs. lost her husband. It’s such a sweet story.
I can’t wait to get a January thaw. I need to do some stuff outside!
gail
Nice job! We have been talking about tackling the garage and adding shelves for organization. I know I can build them for a lot less than I can buy them.. Love the idea of attaching them to the ceiling! Pinned!
I’m not so sure about the build cheaper than buying but THIS shelf is meant to be a workhorse and the shelving available to purchase is definitely not made so well. 😉
gail
Love those shelves! I couldn’t agree more with your takeaway list! My projects ALWAYS take longer than I think they will.
We’re half way there? Oh Lord, I make good progress on the weekend. And I can see the carpet on the floor now, in spots. I thought I purged everything before we moved to the little house. I didn’t, I still have stuff that I’m thinking why did I bring that here. On a more fun note, I did buy an early American bi-level end table to make into a LEGO/duplo/mega block table for my grandson. So that’s only 5 projects because I refuse to spend $30 for a twin head and footboard.
Yay, you’re making progress. I’m almost finished but it’s still not going to be a “pretty” space. It’s for working, so I’m okay with that.
I can’t imagine moving and having to make those decisions on what to toss and what to keep. ugh!
I would NEVER pay $30 for a bed set. I hope you find a better deal really soon.
Good luck as we head for the finish line, we can do this, right?
Nice. Never would have thought of attaching to the ceiling for more stability, but it makes so much sense. Part of my, basement looks like your workroom, with the concrete walls and the exposed ceiling. This opens up so much possibility. Thanks for the inspiration,
Jen,
I was pretty proud of myself for thinking of attaching the shelf to the ceiling in the basement. It’s a really solid (heavy) shelf! I’m so happy to help you think of great storage and work options for your basement. Unfinished basements are rarely used to their full potential. 😉
gail