Easy DIY Planter made from Cabinet Doors
As an Amazon Associate, I earn from qualifying purchases.
You will love this DIY Planter made from cabinet doors. You may remember I used $1 cabinet doors to made a cute toy box, but I have many more cabinet doors looking for a purpose.
Easy DIY Planter
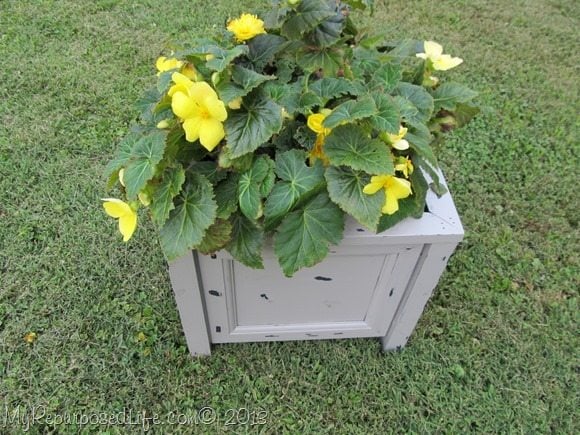
So, I whipped up this little diy planter cutie using four of those $1 cabinet doors.
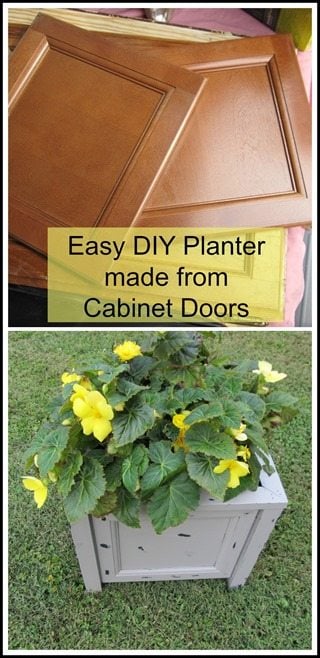
Cabinet Doors From the ReStore
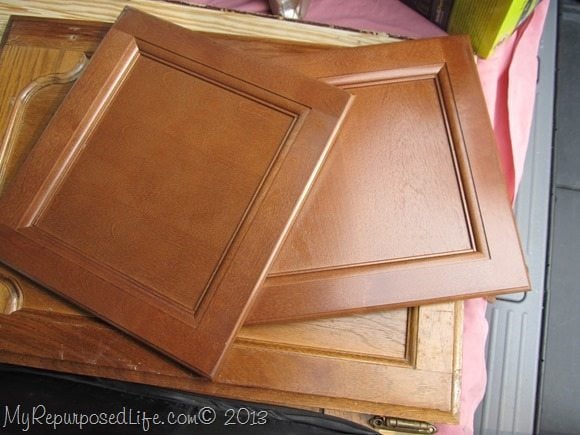 These are what the doors looked like before.
Don’t Have 2×2’s on Hand?
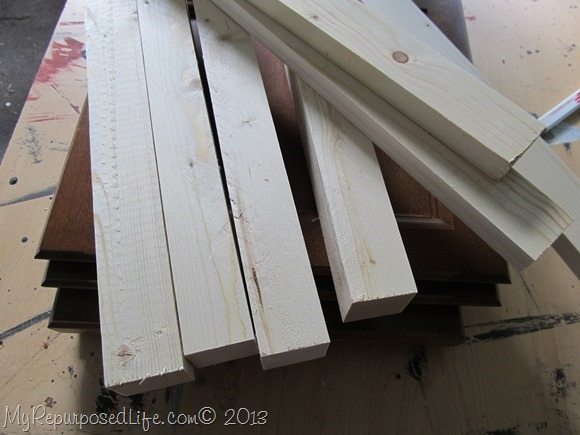 I ripped some 2×4’s down to square them up, and I ripped some 1x’s to 1.5” wide.
Kreg Jig Pocket Holes
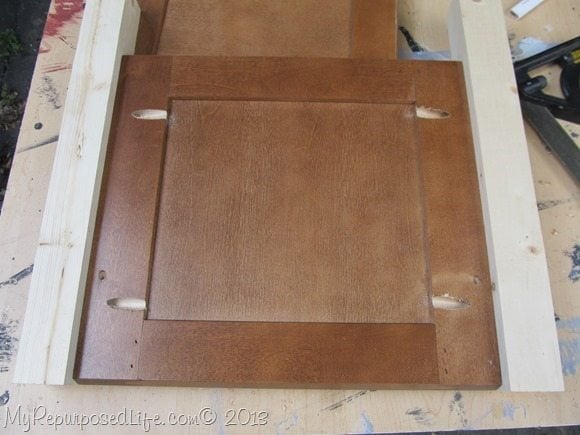 I used my Kreg Jig
 to drill pocket holes in each of the four doors in order to attach them to the ripped 2×4’s.
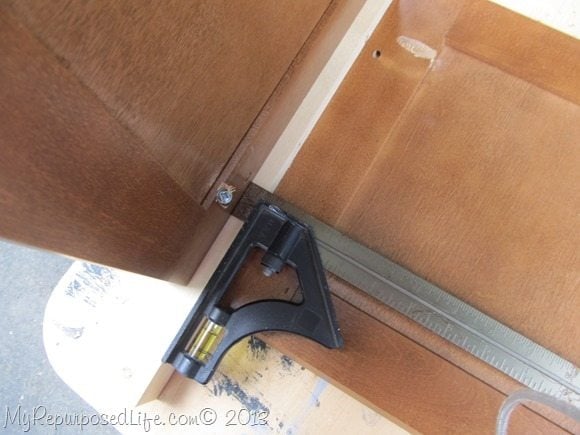 Of course, I used my adjustable square to insure that each side was the same.
Assemble DIY Planter
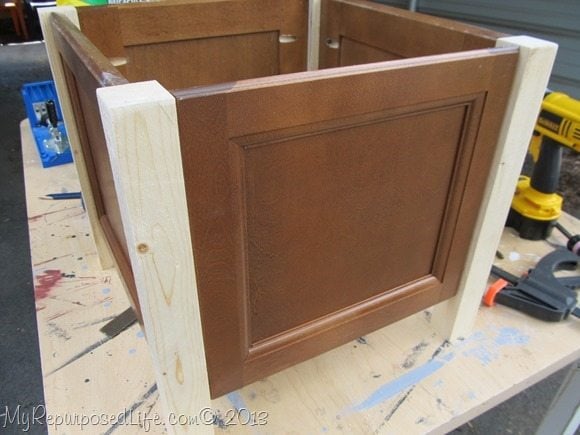 You can see that I have it all put together, and that the legs are a couple of inches long.
Frame Out the Top
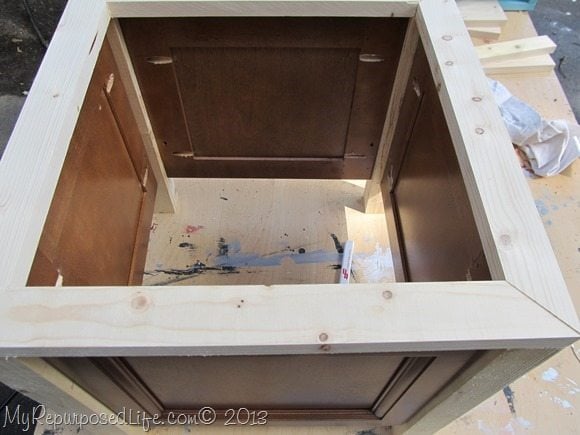 This is where I was dry fitting the top of the “box” checking my mitered corners.
Attach the Bottom
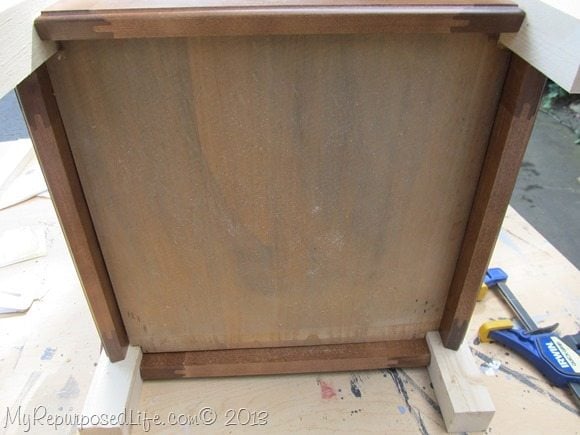 I found a scrap board to notch out for the bottom of the planter.
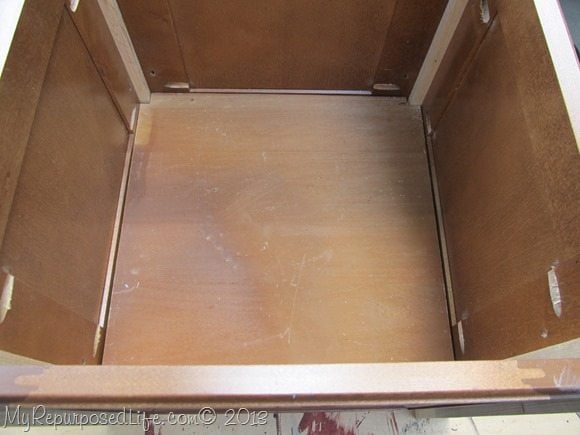 I’m not a fan of notching, but I’m getting better at it with using the adjustable square.
Sand The Planter
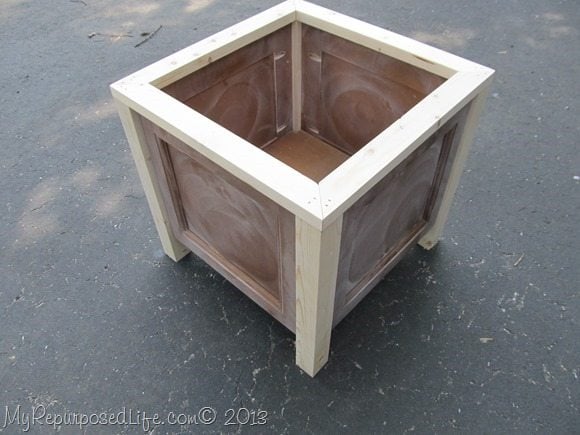 I lightly sanded it with my orbital sander, hence al the circles you see.
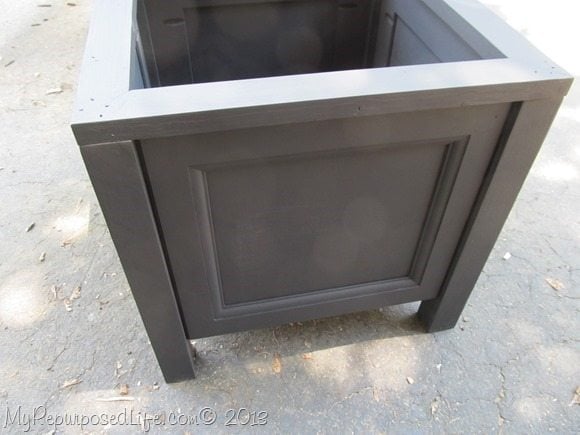 Then, I did a quick base coat of some DIY chalky paint.
Distress With Vaseline
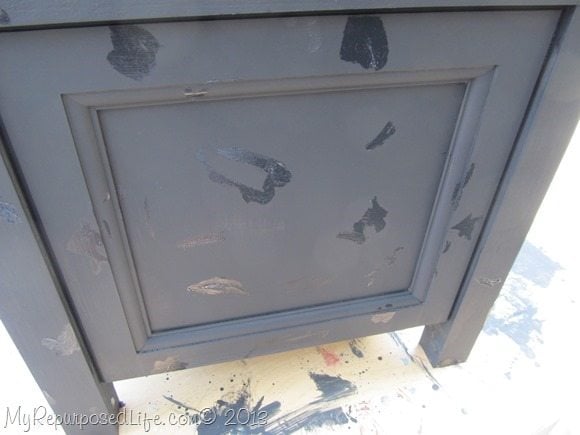 I knew the look I wanted, but I really didn’t want to sand a lot in order to distress, so I used Vaseline to do a resist paint technique. So, then I used a Q-tip to spread some here, there, and everywhere.
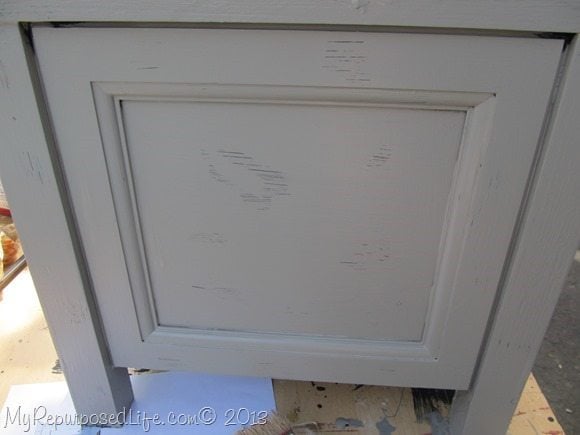 Then I did a topcoat of gray. You can see where the Vaseline is keeping the paint from adhering.
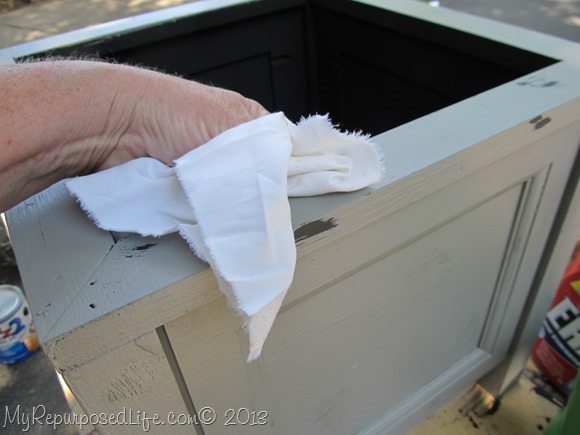 After the gray topcoat dried, I used a rag to wipe away the gray paint wherever I applied the Vaseline.
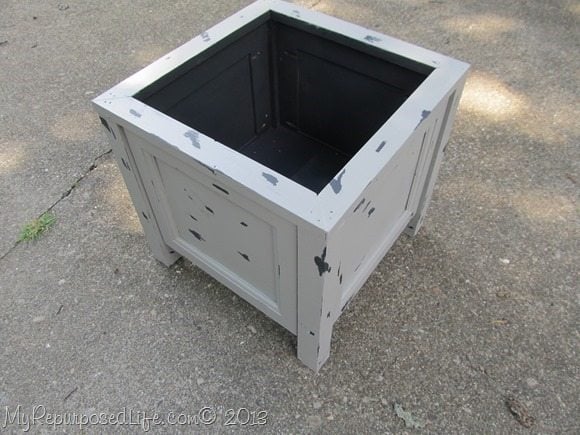 Voila! easy distressing!
Don’t Forget Drainage Holes
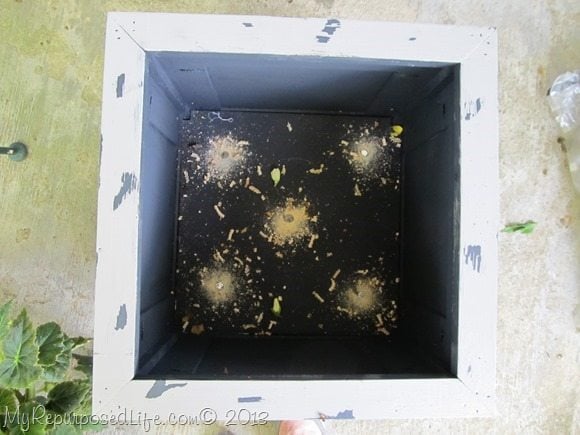 I drilled some holes in the bottom for drainage.
Easy DIY Planter with Begonias
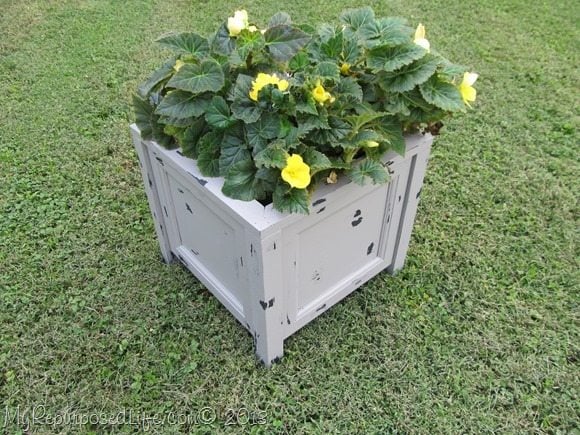 I placed a yellow Begonia inside my new planter.
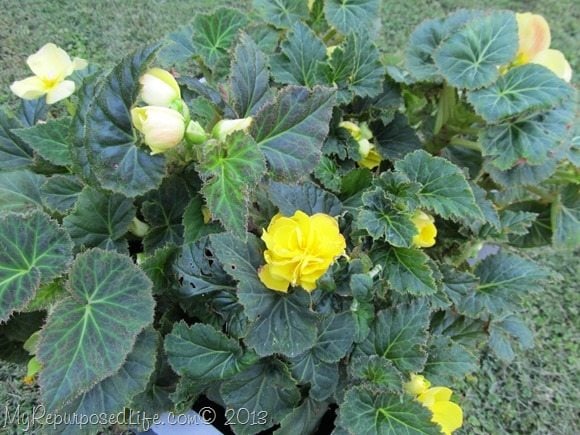 Maybe this is a double Begonia? But notice the flower on the top left… it is different than the rest.
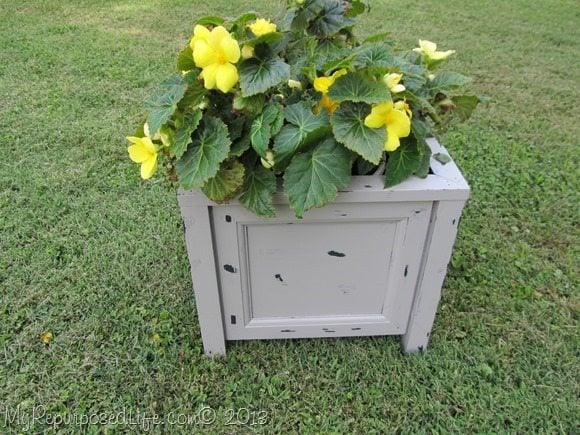
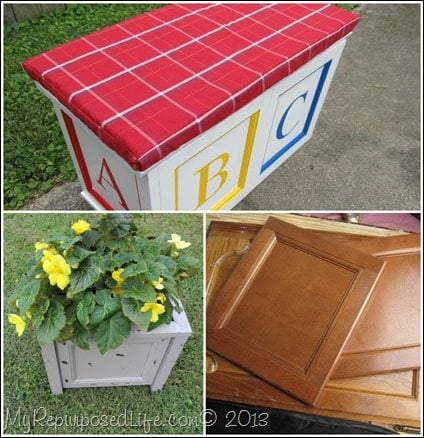 This is the second project with these doors… what’s next? I dunno. What would you do with some of these $1 cabinet doors? See the toy box here.
gail


A wonderful transformation! What Kreg jig did you use? I have never used one. I looked online and there are several types.
Stephanie
Thanks!
I have many Kreg jigs. If you can only afford one, I’d go with the K4 I used it exclusively for many years and it did everything I needed it to do.
gail
Hi, the double flowers of the Begonias are male flowers, the female flowers are just single flowers, you’ll notice a wing nut type seed pod below the flower. It’s best to remove the female flowers as this stops them going to seed and give up flowering.
Cute idea. Do you put any type of weatherproofing on this? I know wet cabinet doors can sometimes have issues?
Barbara,
I painted it with Exterior paint, it’s currently on my porch, out of the weather elements. 🙂 In the future, should it become weathered, I’ll still love it’s chippy charm. 🙂
gail
Hi Gail!! I have been catching up on posts and I LOVE this!!! Totally awesome repurposing! So so clever, and now I want more cabinet doors, again…!! I also loved your rustic trays too! Happy to be back! Hugs!
Catching up on some projects here at MRL… this one perfect!
Love the use of the doors. The Paint technique…I haven’t used the vaseline trick in years…thanks for the reminder on this one.
I like the “just the right amount of distressing” too.
Patricia
You have inspired me! I have to figure out the Kreg Jig this weekend. I love cabinet doors and this is a great project!
What a gREAt idea!
I’m totally doing this!
Catherine
It looks terrific!
Oh now that is a cool idea! You are really getting creative with these cabinet doors! Add some criss cross on the front of the panels with some high gloss paint and I’ll take two lol
Great idea, very nice. Thanks, Gail
Love it! Some of the pieces we got in the stuff from the factory could be used for this…thanks for sharing!
Gail….love the planter! It was great seeing you again at Haven a few weeks ago! I hope your week is off to a super start……
such a clever idea! way to think outside the box, er, planter.
Nice job as always! I am sure that you will have another idea soon for the rest of those doors.
What a great looking planter Gail! So pretty with the yellow begonia. A pair flanking the front door would be perfect. And how thrifty too!
What a great idea! I bought a couple of cabinet doors at the ReStore to build a box to corral my bungee cords and tow straps for my trailer (a girl always has to be prepared, right??) but ended up using them to create chalkboards. I’m stopping by the ReStore this morning to buy more doors. I like your planters and may build a few!! Thank you, Gail!
Cher @ Designs by Studio C
Looks great Gail!
Gail, that was an awesome tutorial, and great way to use up supplies that used to be something else!
Adorable! I have the kreig tool, I have yet to use it… you are inspiring me Gail!
Another great ending….you are so clever!