Entry Table Made from Reclaimed Lumber
As an Amazon Associate, I earn from qualifying purchases.
Entry Table
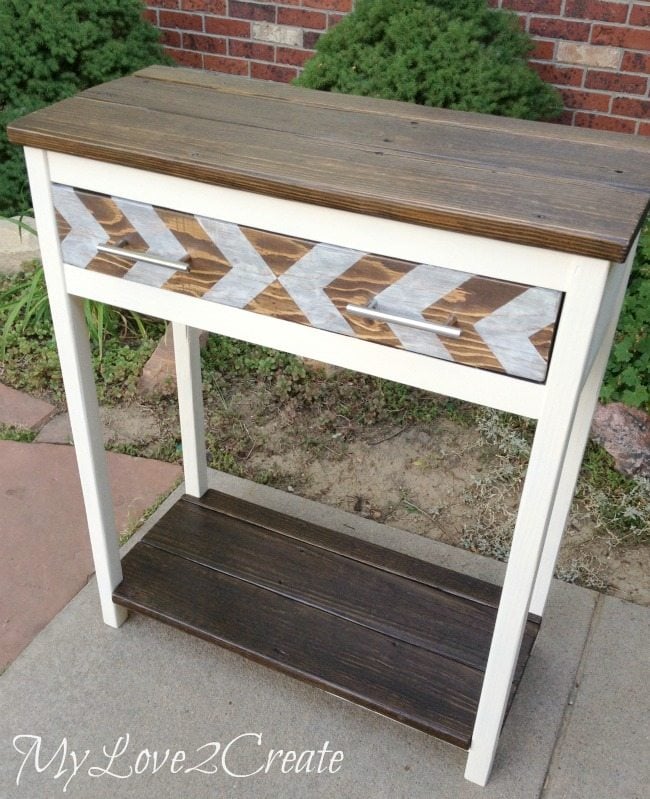
Hello! I am excited to share how I built an Entry Table. It was made as a house warming gift for my sister and brother-in-law, who needed something for their front entryway. I love making gifts for people, so this was a very fun project for me!

Isn’t it cute!?
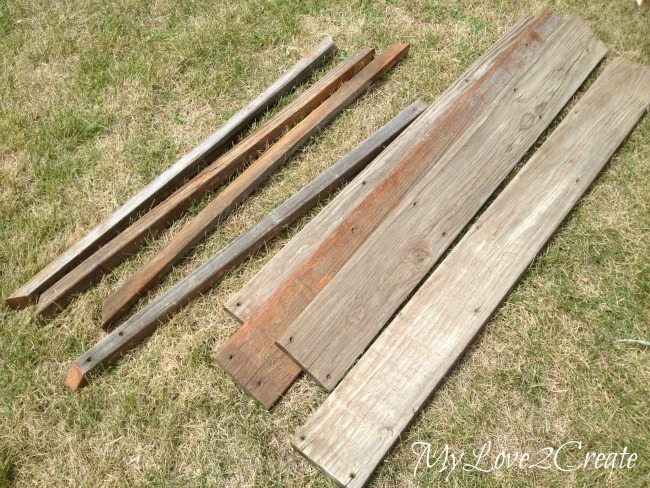
…with a pile of old deck wood. I love repurposing old wood, and I knew from my old deck wood laundry crate that this type of wood is perfect to use. Since I didn’t have a plan I will show you the basic process I used to build.
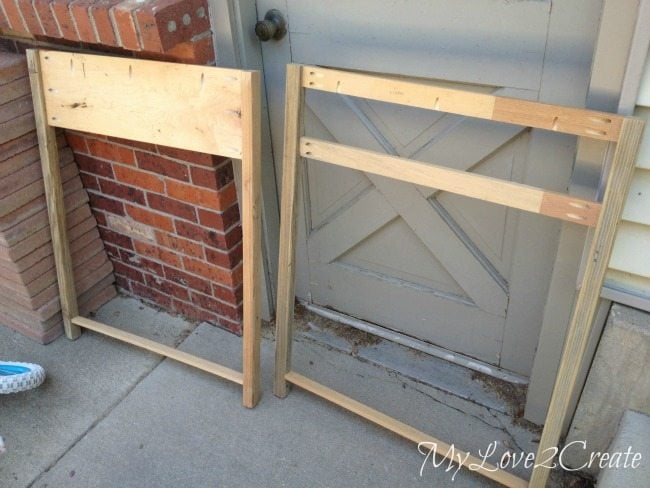
I started by cutting my top deck wood boards to the length I wanted, just under 3 feet. I also cut the deck railings, which I used for the legs, to the height I wanted. Then I placed the legs by the top boards with about 1/2 inch inset on each side, and began measuring and cutting the rest of the boards I needed. All of the wood I used in this project was old deck wood (the top, bottom shelf, and the legs) the rest was scrap wood I had collected free from craig’s list.
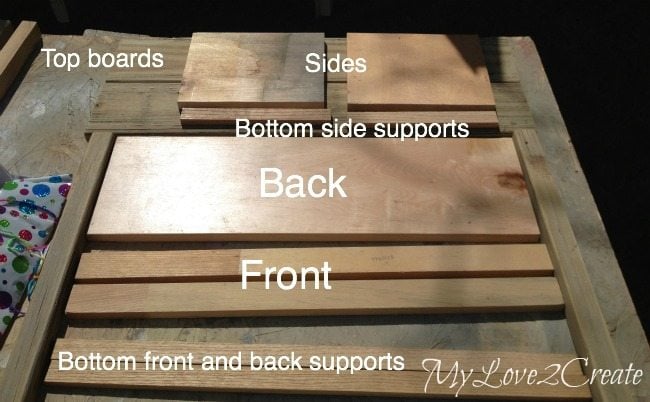
Above you can see I cut the back and front boards all the same length. I also cut the sides about 1/2 inch shorter than two top deck boards put together. With all the wood cut and sanded it is time to build!
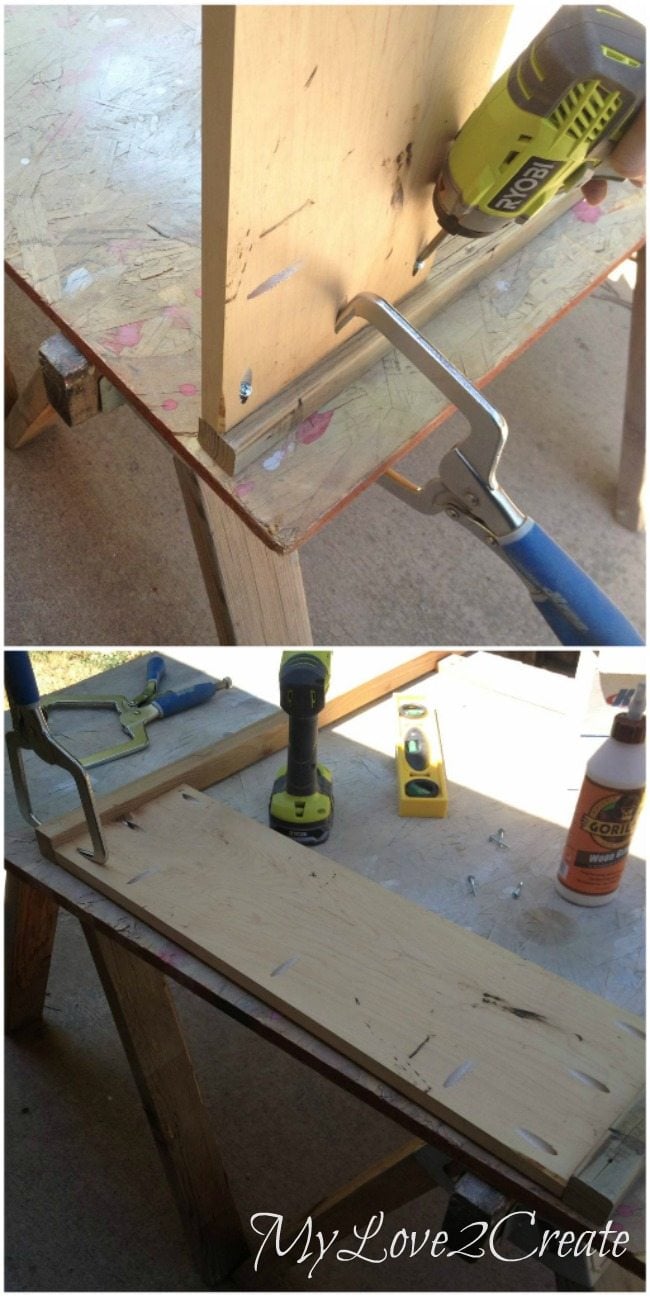
I drilled pocket holes with my Kreg Jig  and used my right angle clamps to help attach the back piece to the legs. You can see I also drilled pocket holes on the board for attaching the table top later on.
Need more details on using a Kreg Jig? See my article How to use a Kreg Jig Pocket Hole System

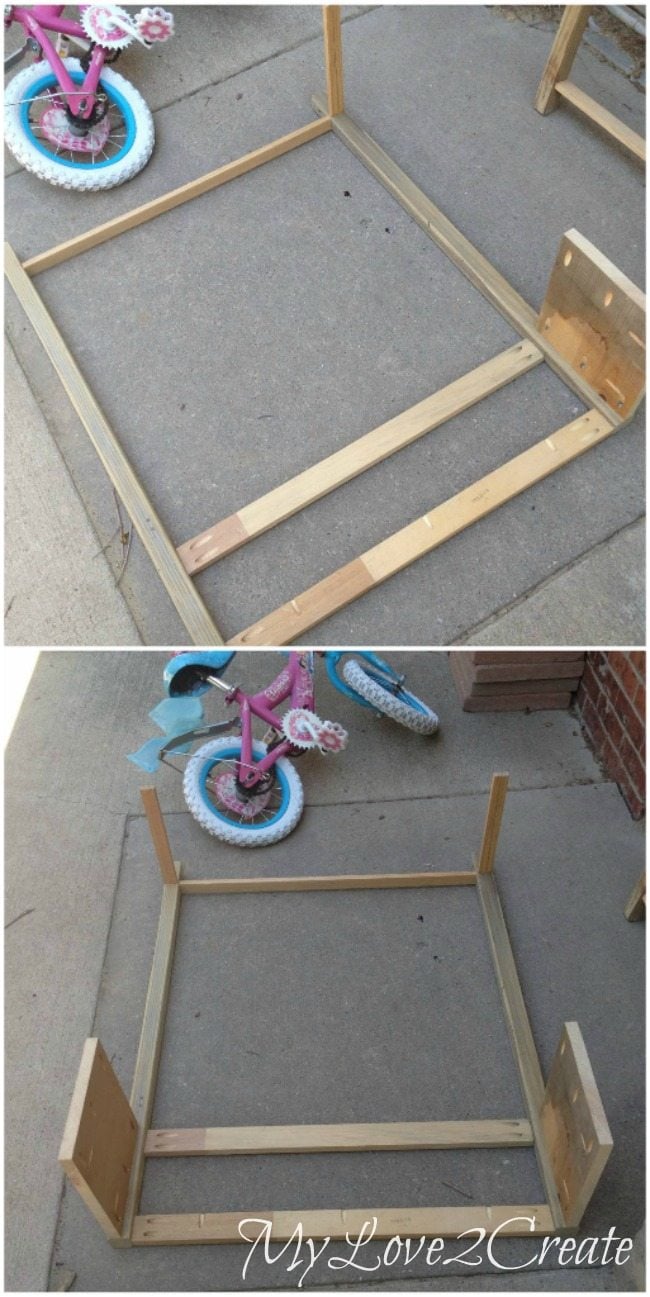
For the front I attached the two scrap boards to the legs, the opening is for the the drawer. Pocket holes make a strong hold, but I always love the added security of using Gorilla wood glue!
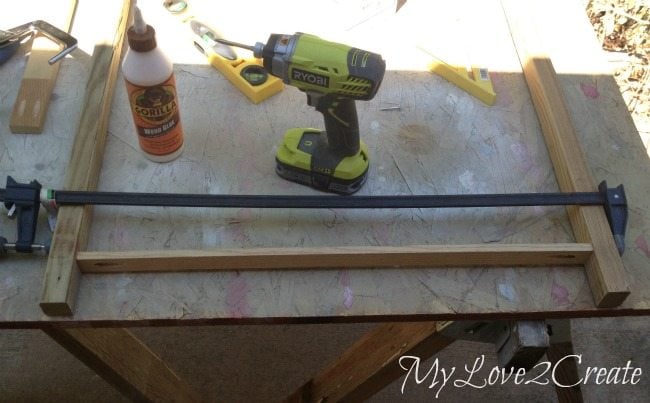
Next, I added the bottom shelf supports with glue, a clamp to hold things in place, and pocket hole screws.
And that left me with this. The front and back of the table. Next up? The sides.
I simply added the top sides and the bottom side supports with glue and pocket hole screws. (I did build this on the table with clamps, but I moved it to take the pictures) Now to attach the back…
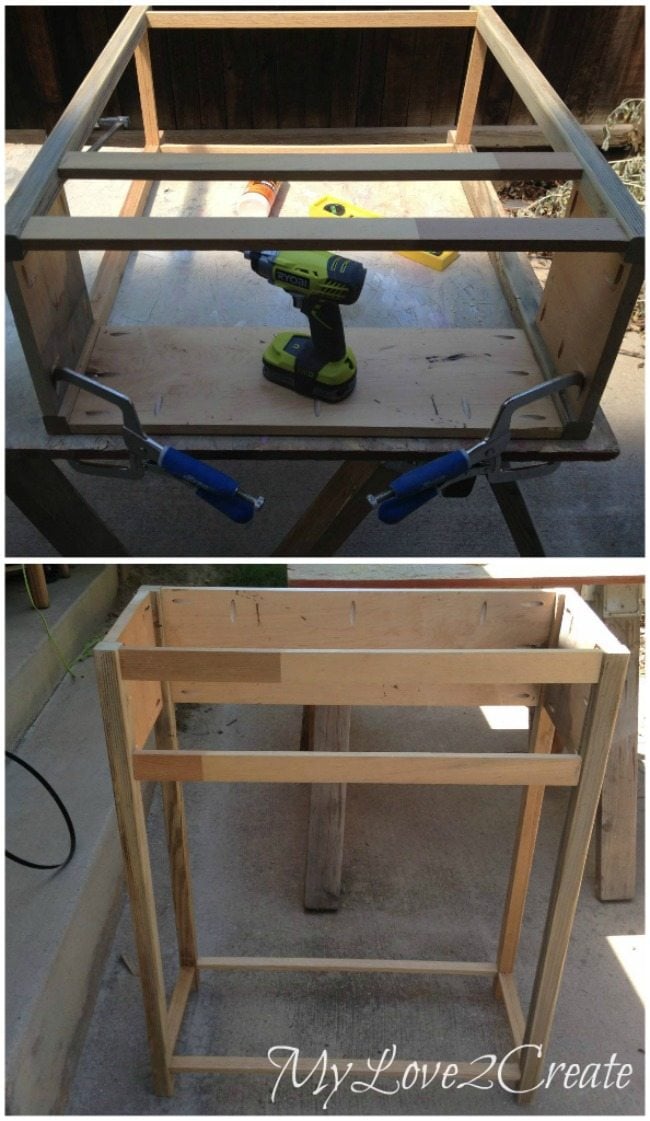
I put the front (with sides) on top of the back, clamped it down and screwed it together. Easy! I say easy because clamping makes all the difference when drilling pocket holes…trust me. It is looking like a table!
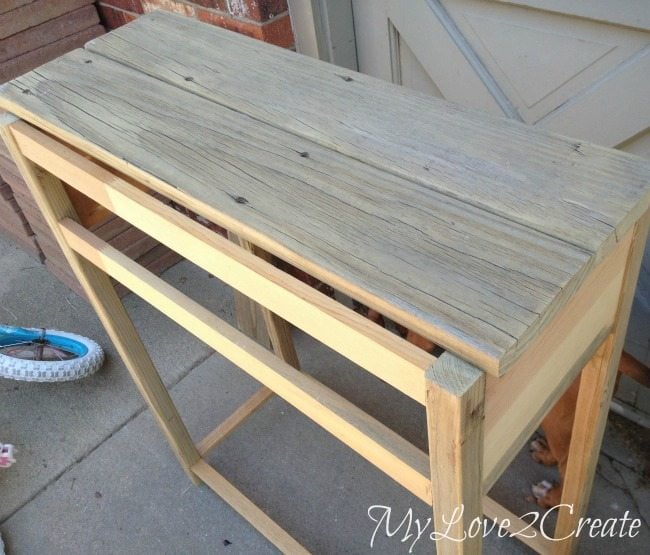
I used pocket holes in the deck boards and screwed them together (can’t for the life of me find the pictures, I know I took them…) Anyway, I was so excited and plopped the top on the table to see how it fit aaaaand…..it didn’t. What? Took me a few seconds to realize why. When I measured the side boards to the top two boards I forgot to include the legs in the measurement…heeeeello!
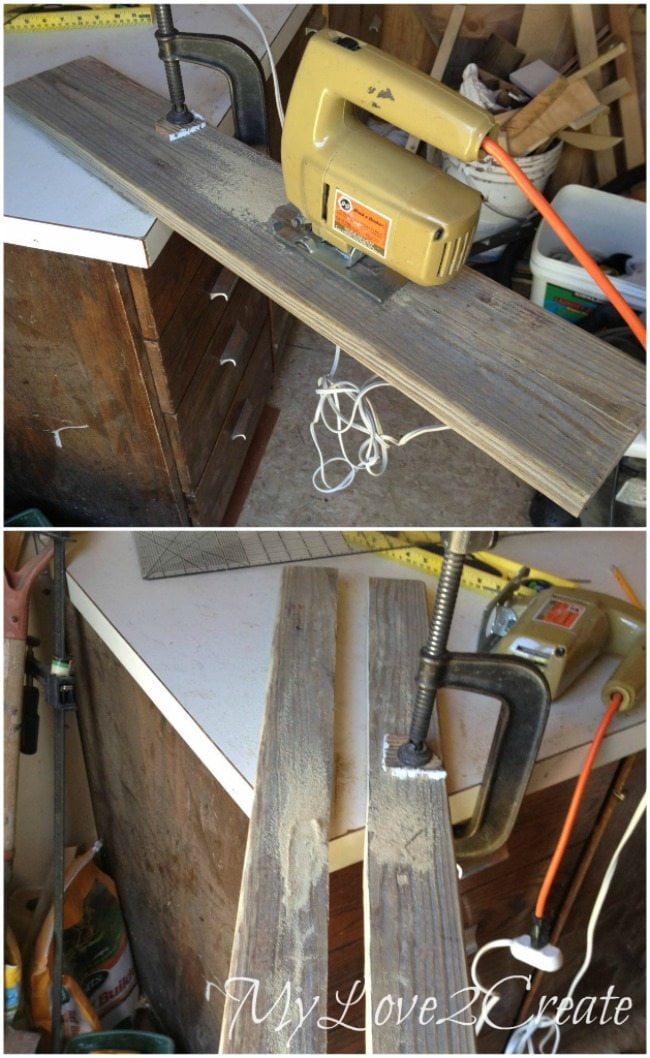
Since another deck board would make the top too big, I decided to just cut one in half. I don’t have a table saw, so I used the next best thing, a jigsaw. My $5 Restore jig saw to be exact. 🙂 It did the job and I can totally embrace the imperfections. I could have used a circular saw, but I think it is easier to match up the line with a jig saw, since I had to cut half, then flip it, and cut the other half.
With my new short boards cut, sanded, and pocket holes drilled I attached them to the table top and bottom shelf, making them both two and a half deck boards deep.
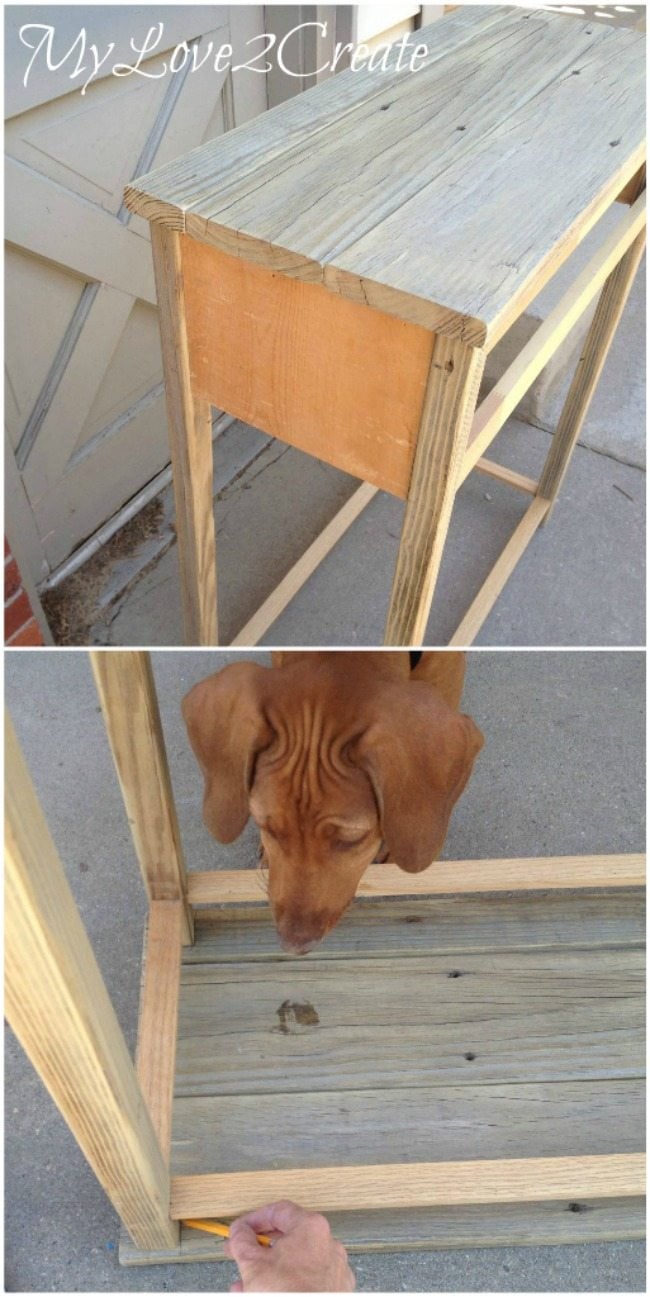
Here you can see the top fits much better, and I am also marking where to cut my notches for the bottom shelf. It was easy to just set the table on the shelf and mark out the notches, just ask Sunny, she was a very good helper.
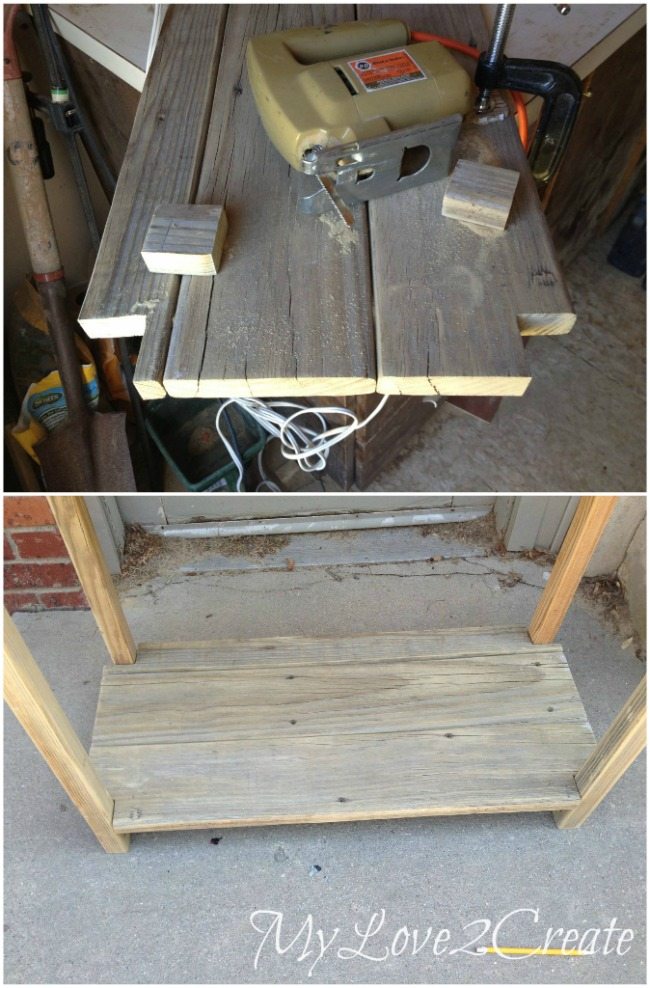
With my jigsaw I cut out the notches on the lines I had marked, and it fit!
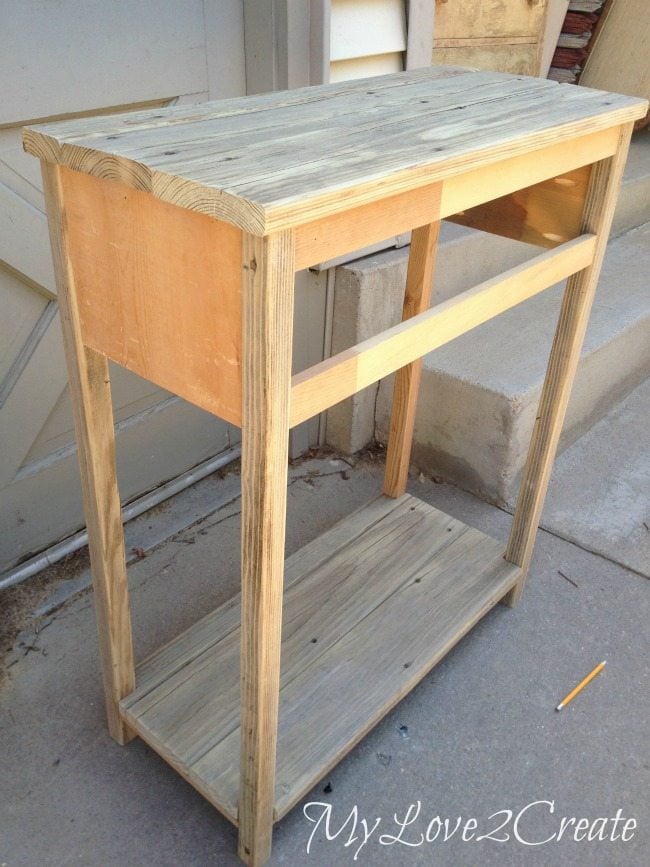
On the bottom shelf I did mark and trim the sides and back to be flush with the legs, since they were a little longer. I used my circular saw to cut off the excess. This little table is now ready for a drawer.
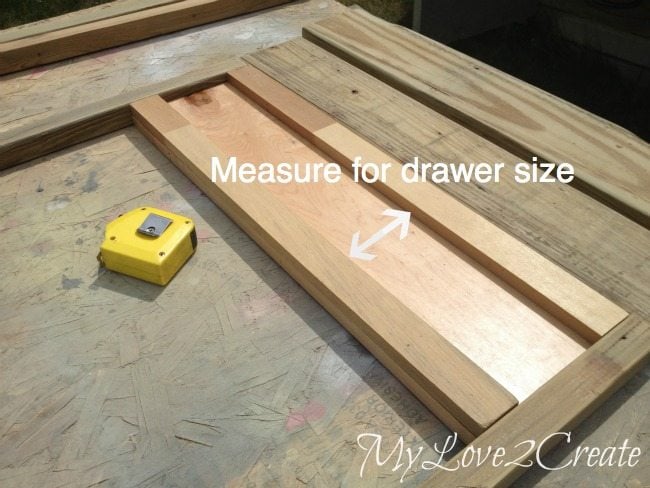
I actually measured for the drawer before I started building to make sure I had scrap wood the right size. The space above shows where to take the measurement, my drawer wood was smaller than the drawer opening. I used scrap 1×3’s.

On the left is the drawer frame, I used scrap plywood to make a bottom (see top right). I am also showing my drawer glide attached to the side of the drawer on the right. I added one to each side of the drawer.
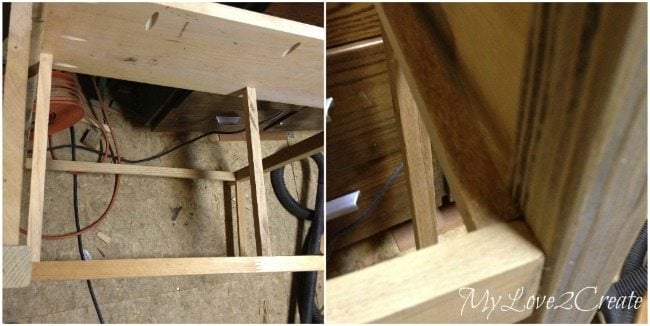
The drawer guides slide over these support boards I added above, I put one on each side. The middle one is extra support for the drawer bottom.
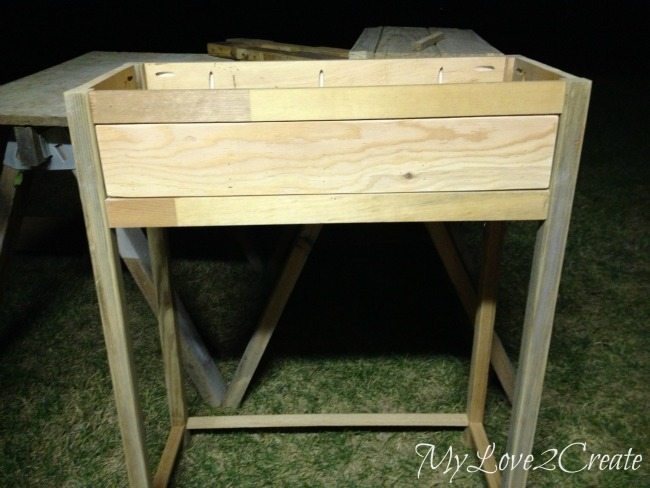
I slid in the drawer, measured the opening for the drawer face, minus 1/8 of an inch on all sides, and cut scrap plywood to fit. Then I glued and nailed it on. For a more details on how I did this you can check out my night stand makeover.
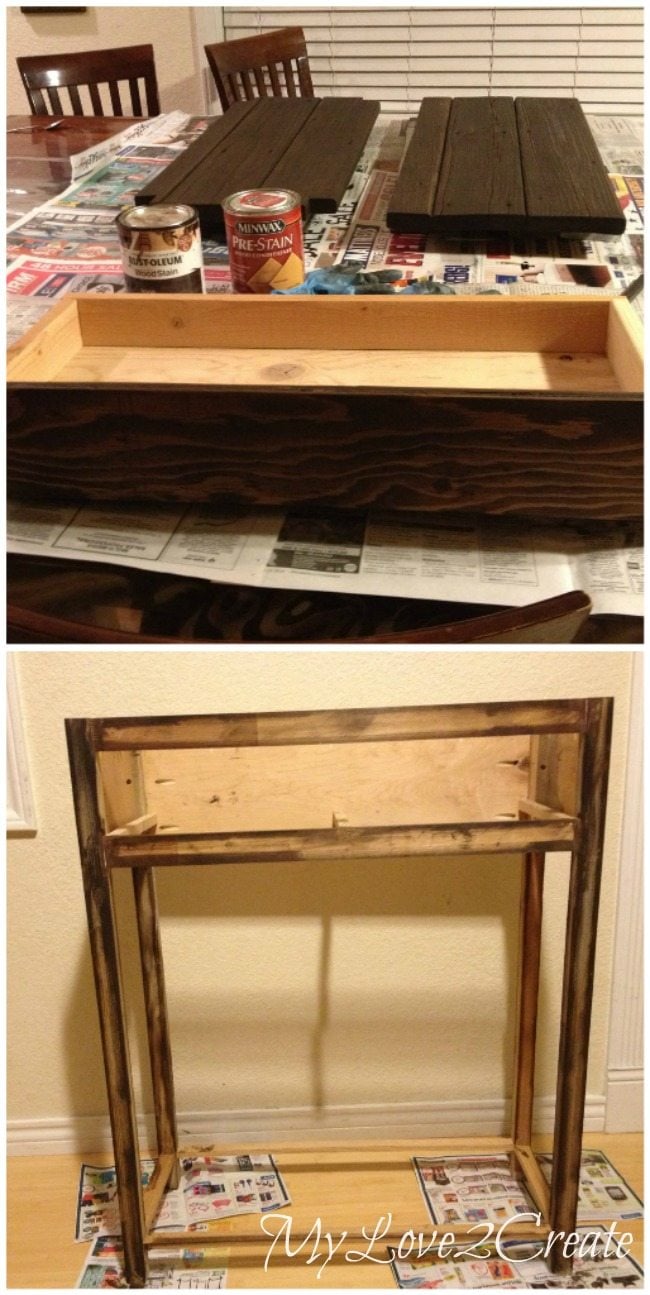
With everything built it was time for the finish. I used Rust-oleum’s Kona (because that is what I had) and stained the top, bottom shelf, and drawer front. I had left over stain on my old sock rag and decided to rub it off on the edges of the table, just incase I decided to distress it.
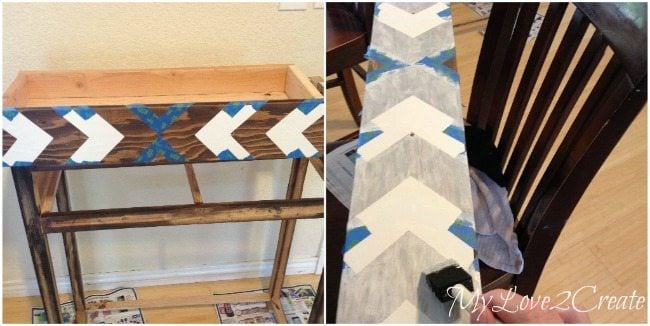
This table is pretty basic, so I wanted to add a little pizazz. I went with some arrows I cut with contact paper on my cricut. I also used painter’s tape to complete the shape to the end of the drawer front and then did a quick coat of white. You can see I have also drilled the holes for the handles.
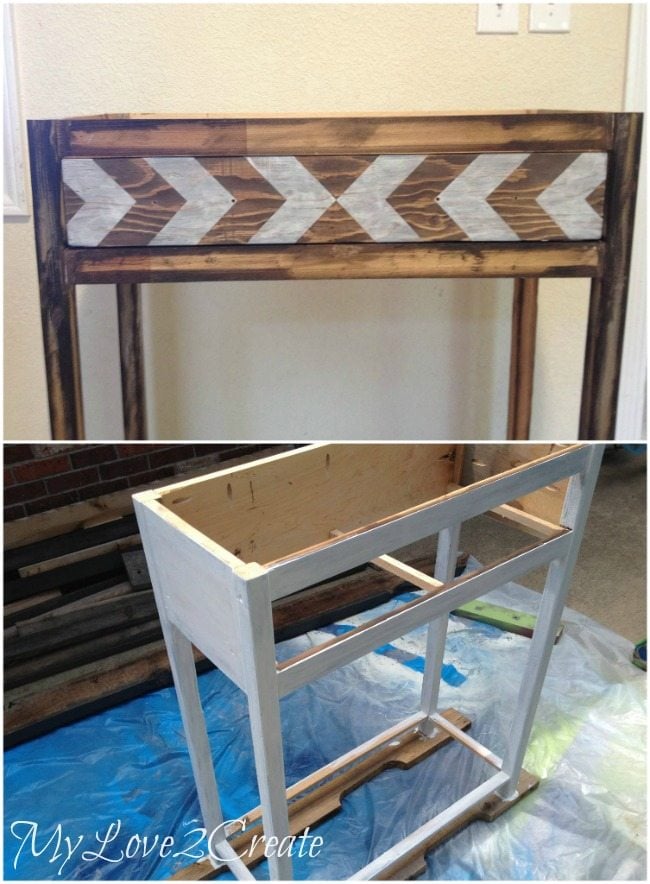
I ended up going with white because I didn’t know the best color for the room. When it was dry I attached the table top from the inside with the pocket holes I had drilled and screws. For the bottom shelf I glued and nailed it to the support boards. I nailed the sides from the top first, then flipped it over and nailed the front and back from the bottom.
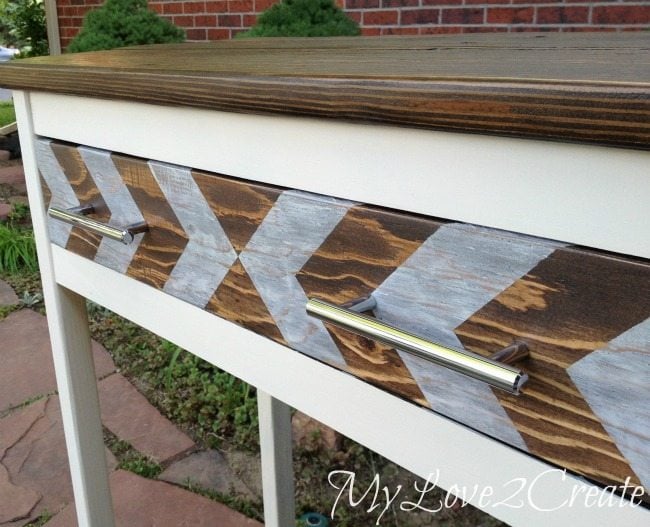
Lucky me, I found some great pulls at Home Depot and attached them, and I was finished! I am loving the drawer front.

So, I did do three coats of poly on the stained wood, sanding with fine grit between coats 1 and 2. For a rustic, yet smooth, finish to the old deck wood.
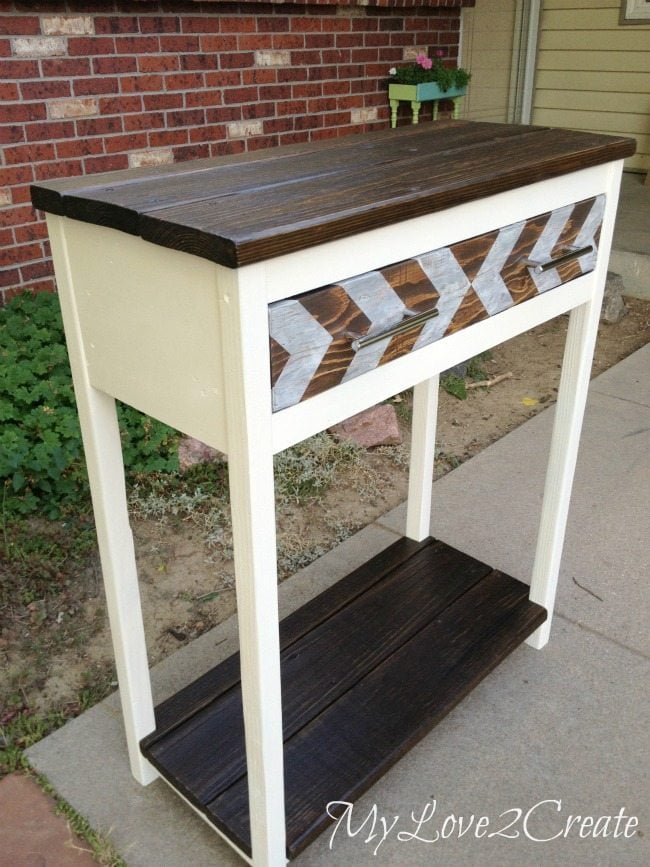
I love that it is taller than normal and makes a fun statement.
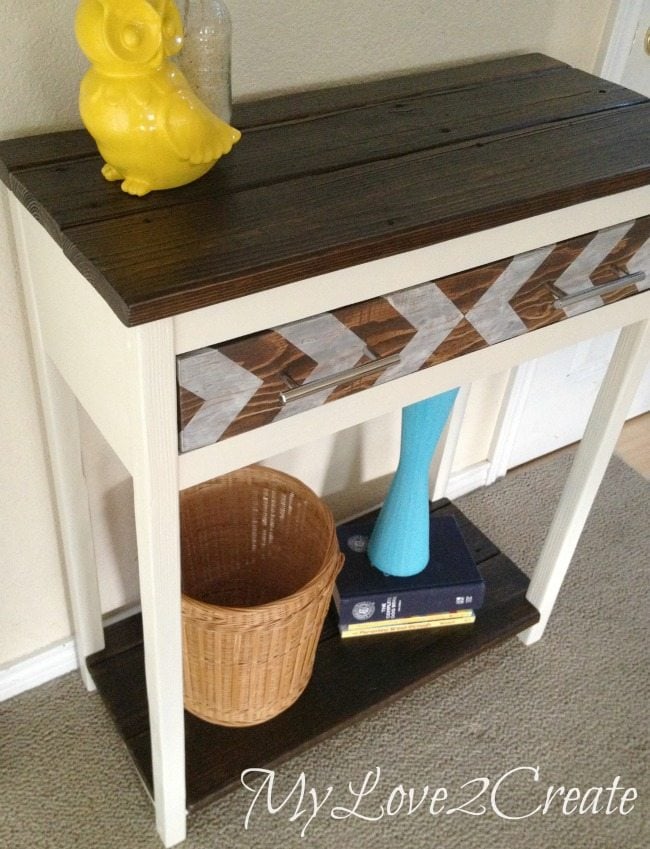
Before I gave it to my Sister and Brother-in-law I tried it out in my entryway. And, I loved it…
Are you starting to see why I collect other people’s trashed wood? It has SO much potential with a little imagination and TLC. My reclaimed wood table was also made from trashed wood and it is one of my faves.


Do you think you would attempt building a table like this? It might be worth a try!

Thanks for reading!
Mindi
This is a great table. Love the mix of natural elements with an updated design. Great job!
Love the design in the front. Great job on the staining. Pinning.
I love it! I love the dark stain with the cream!
This table is beautiful! I love it! Good Job!
Love the stain and paint combo! This table rocks!
This is stunning! Love the Chevron drawer!
Oh my gosh… I cannot believe this table was made from wood scraps! It’s gorgeous! LOVE the chevron styled drawer, too cool!
I love that you used reclaimed wood for this! What a great idea for a gift!