French Provincial Coffee Table Makeover
As an Amazon Associate, I earn from qualifying purchases.
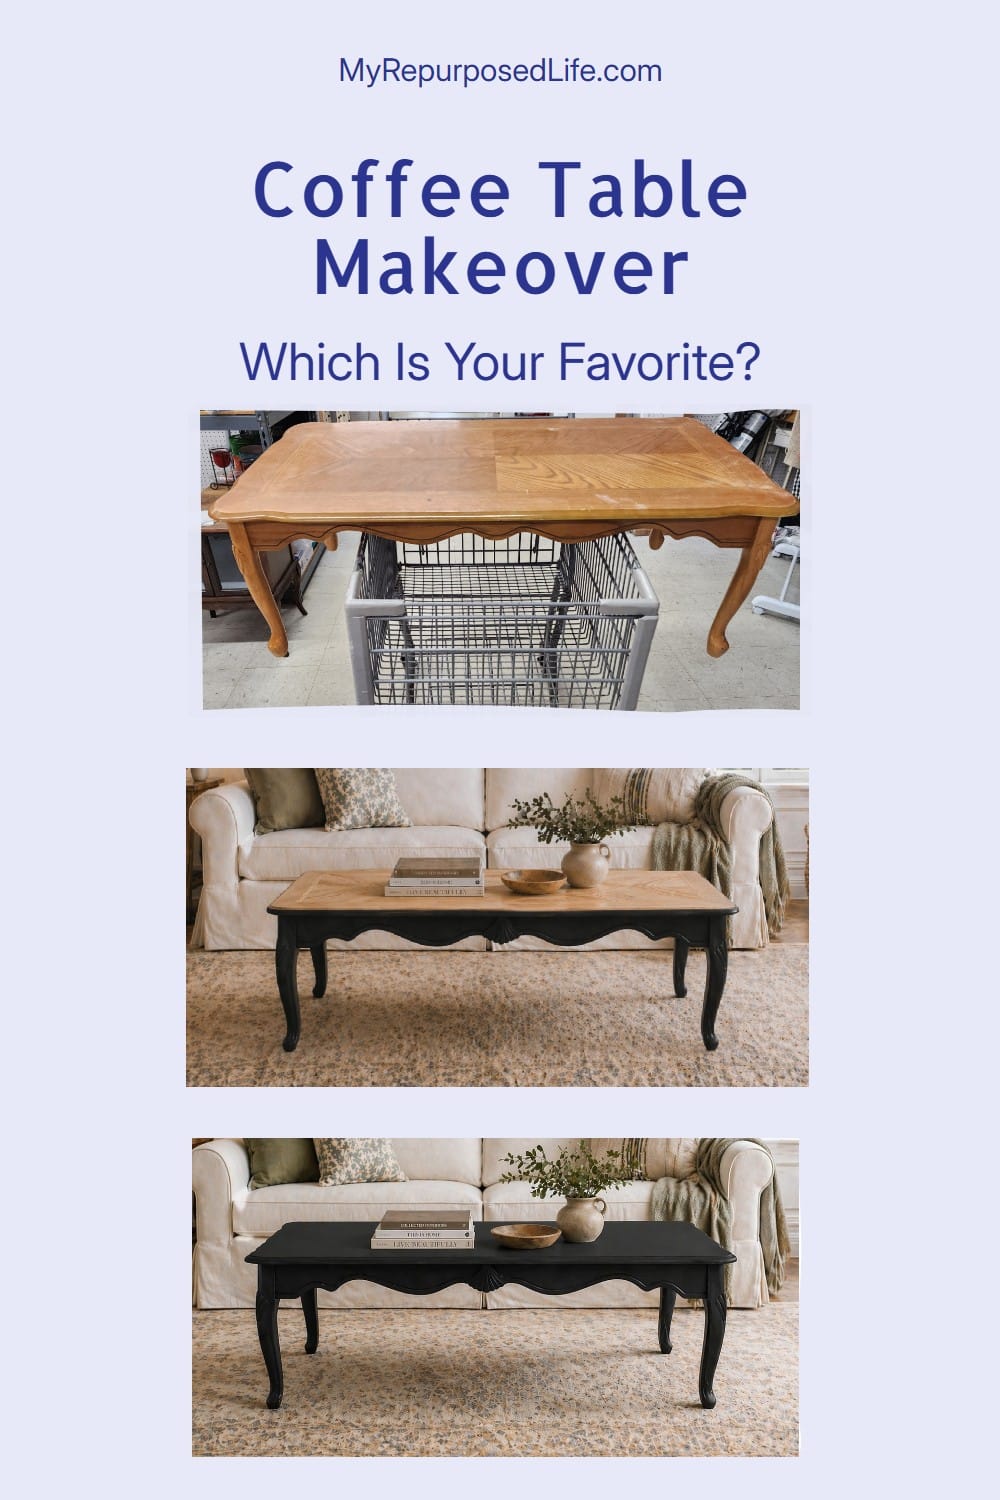
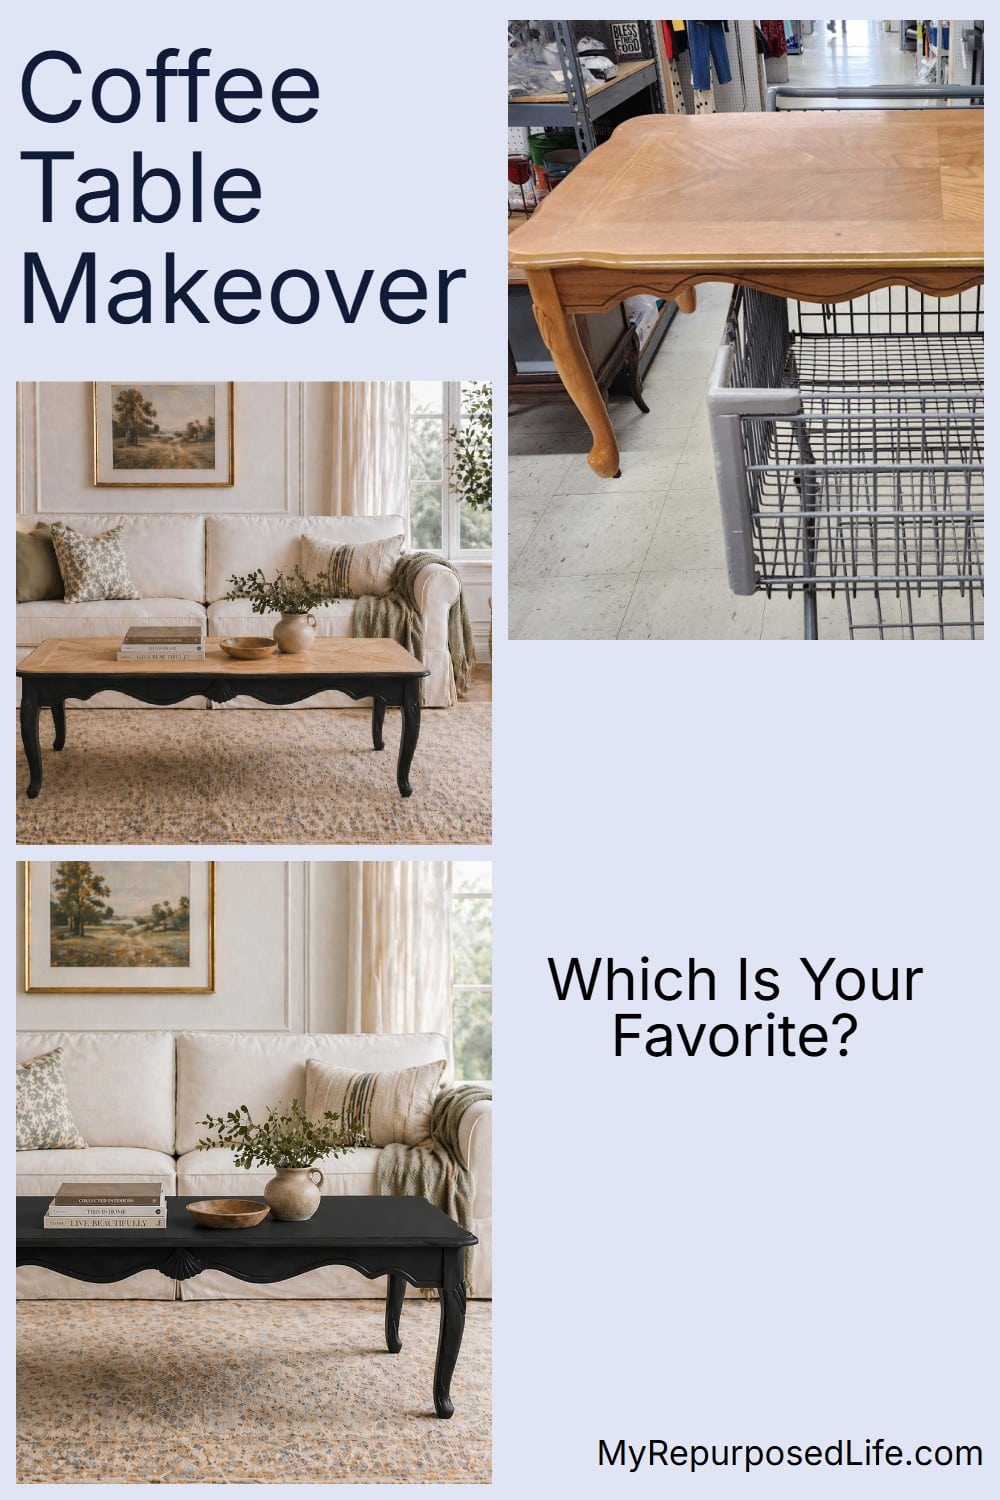
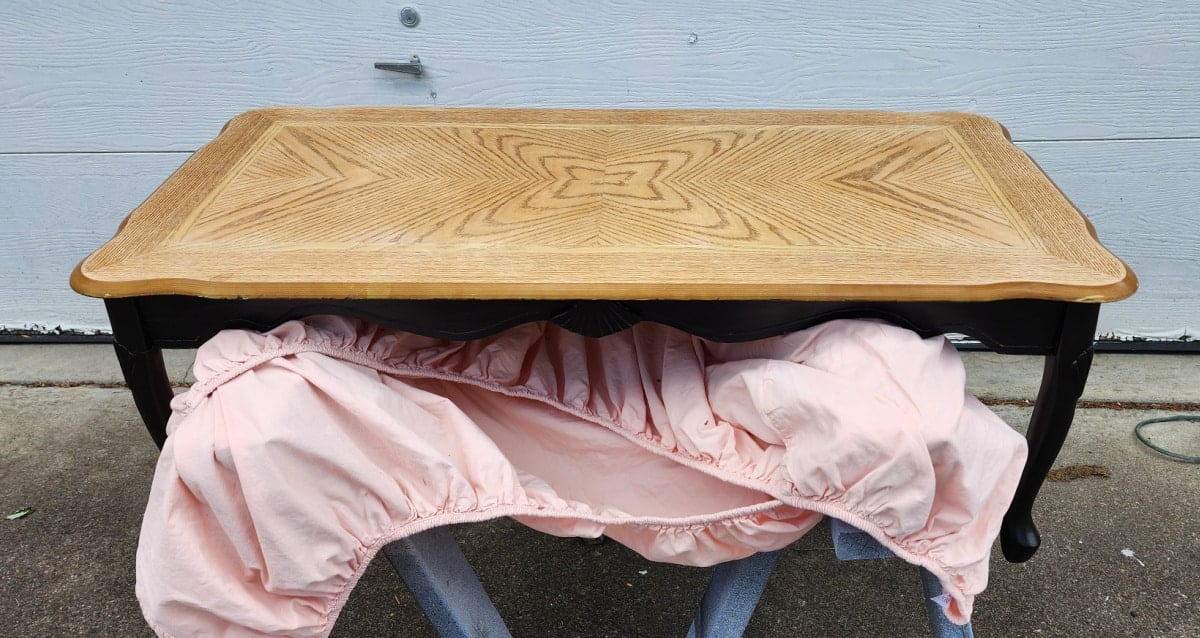
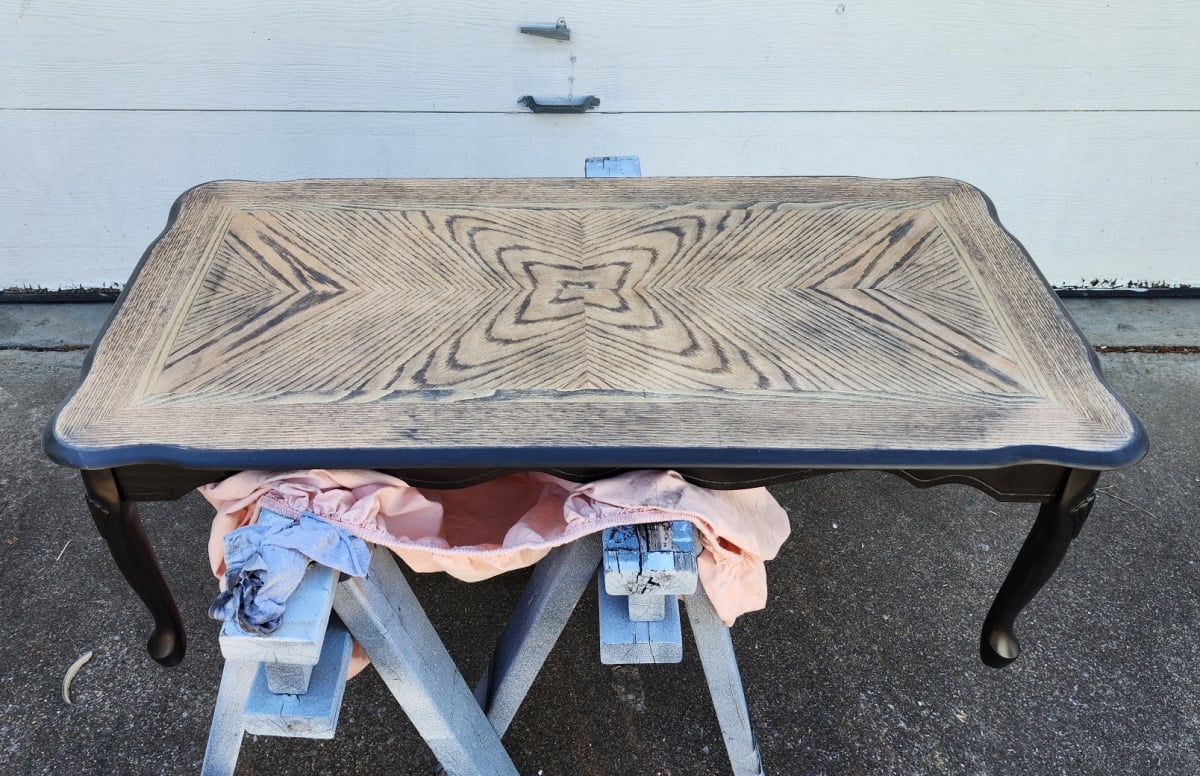
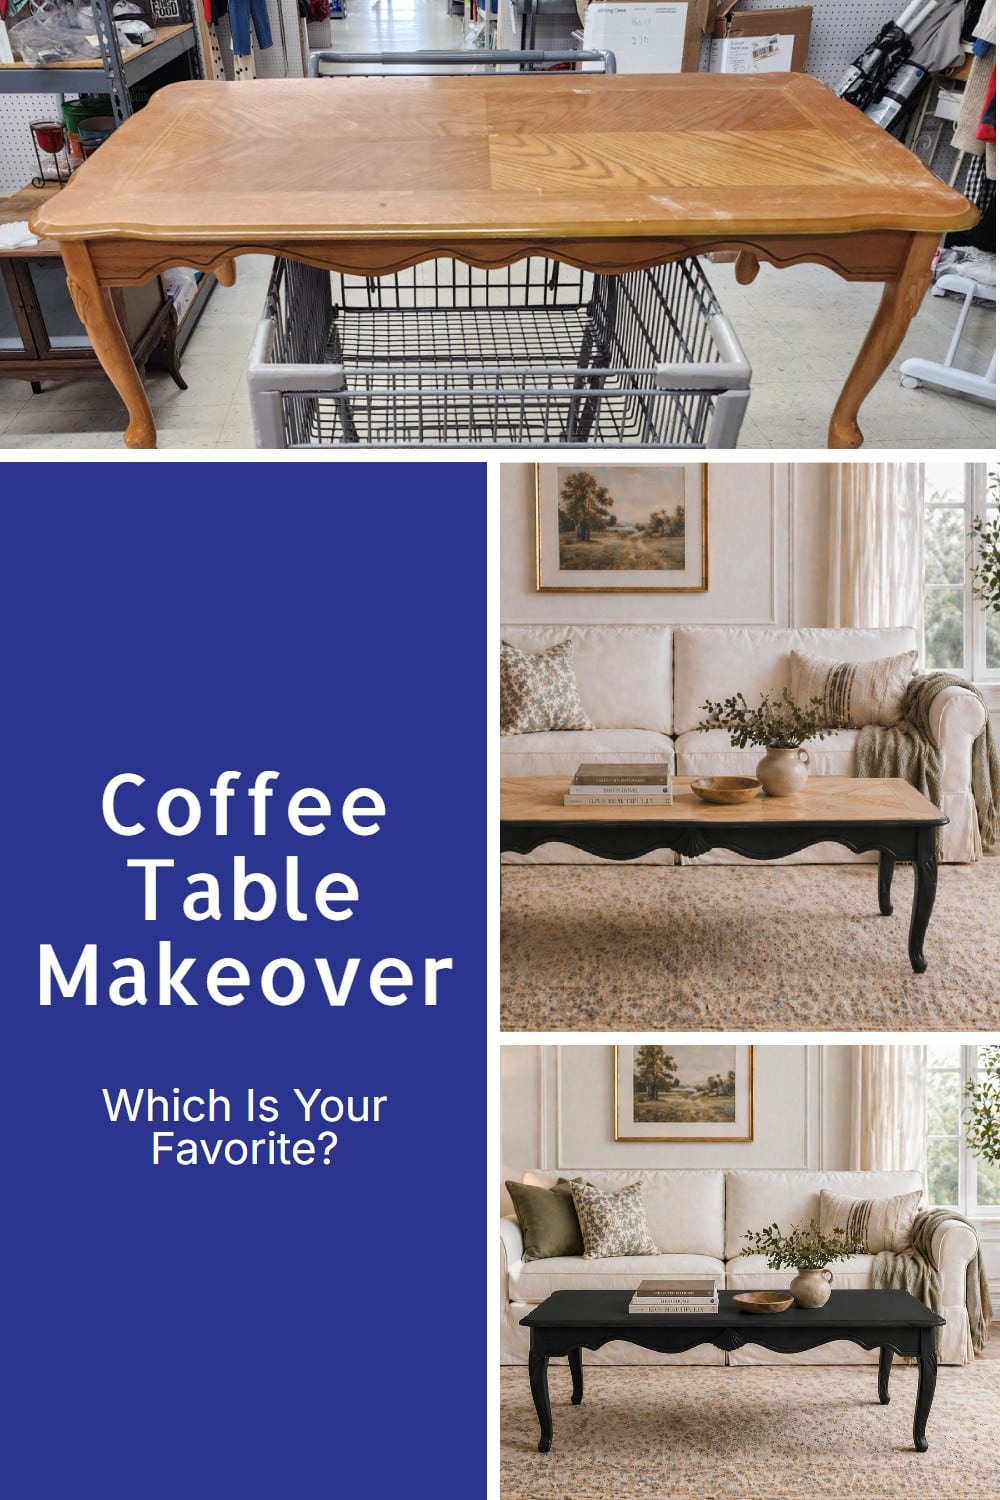
This $10 French Provincial coffee table had good bones from the start. I loved the curvy lines, those classic legs, and the detailed veneer top, even though the finish had definitely seen better days. With a little vision and some paint or stain, this thrifted table was ready for a fresh new look and a second chance in a cozy living room.
This traditional coffee table with cabriole legs and a parquet veneer top makeover is proof that when one idea does not work, it may just mean a better one is waiting.
The Furniture Fixer Upper Tour is a monthly furniture makeover series featuring a small team of furniture-painting friends. Each month, we all start with a tired or thrifted piece and share how we clean it up, repair it, and give it a fresh new finish. After you check out this project, be sure to visit the links at the bottom of the post to see what the rest of the Furniture Fixer Upper team did with their finds.
Ten Dollar French Provincial Coffee Table
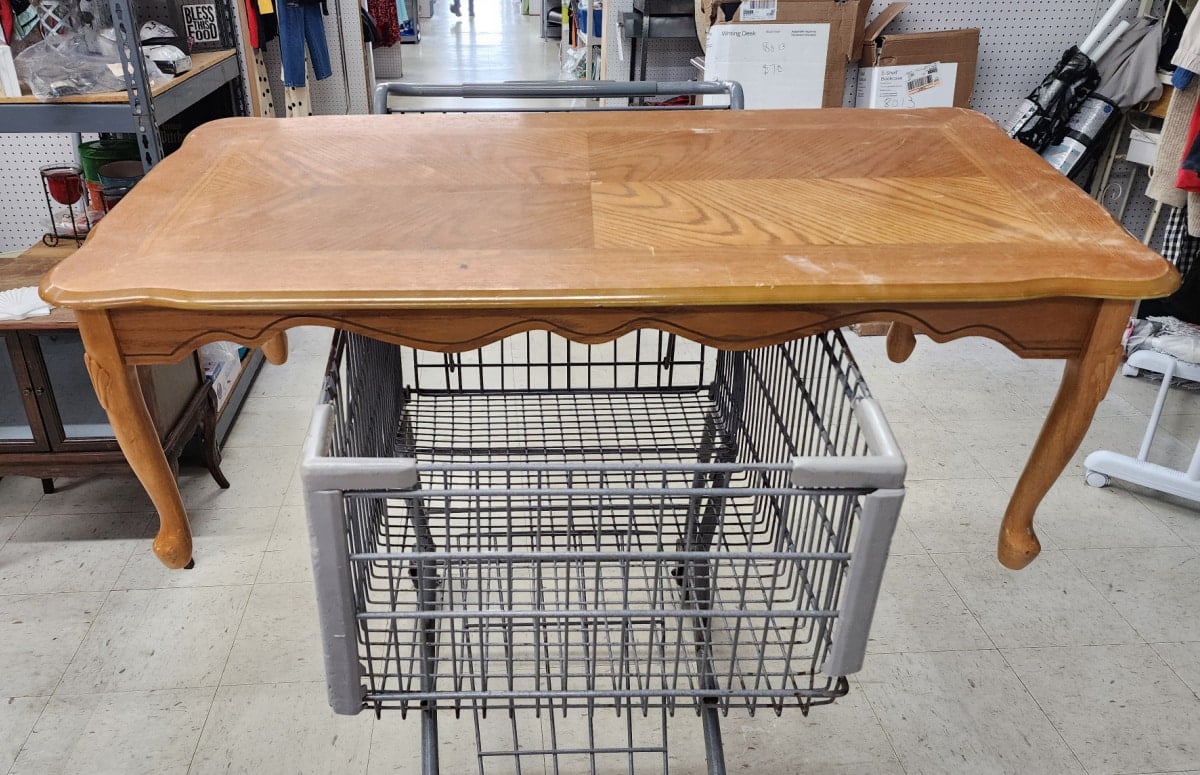
I was on the hunt for a simple makeover for this month’s FFU project. I was on the very last aisle of my favorite peddler’s mall. A couple of men were setting up their booth, adding shelves and such. I spied this coffee table with cabriole/Queen Anne-style legs and a parquet or geometric veneer pattern, which gives it a more formal vintage-furniture look. It didn’t have a price on it yet, so I asked, “How much for the coffee table”?
I already had a price in mind and knew I wouldn’t go over $15. When he said $10, I said I would take it, and he put it on top of the cart for me. Shortly after, he caught up with me to say that he had two matching end tables at home if I wanted those too. I declined the offer. Because the makeover went sideways a couple of times, I’m glad I didn’t have to deal with the two smaller tables.
Bargain Paint Supplies
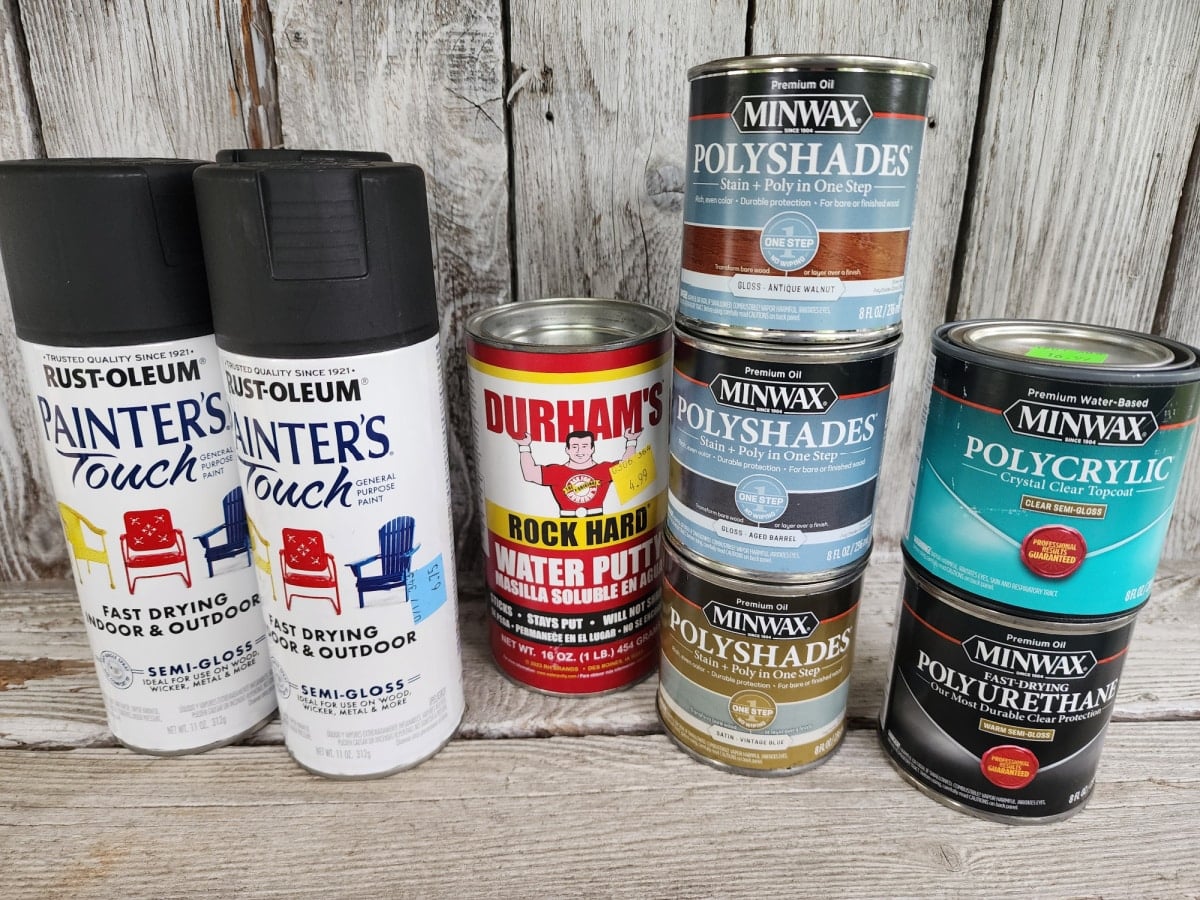
On a recent shopping trip to one of those close-out bargain stores, I picked up some new supplies. This particular store sells items at 40% off retail prices.
Thinking about the new coffee table, I was pretty sure I wanted to paint the base with Warm Embers (almost black). But I really wanted the top to be something else, maybe a dark stain? Let’s not get ahead of ourselves, first I have to prep the table and make any necessary repairs.
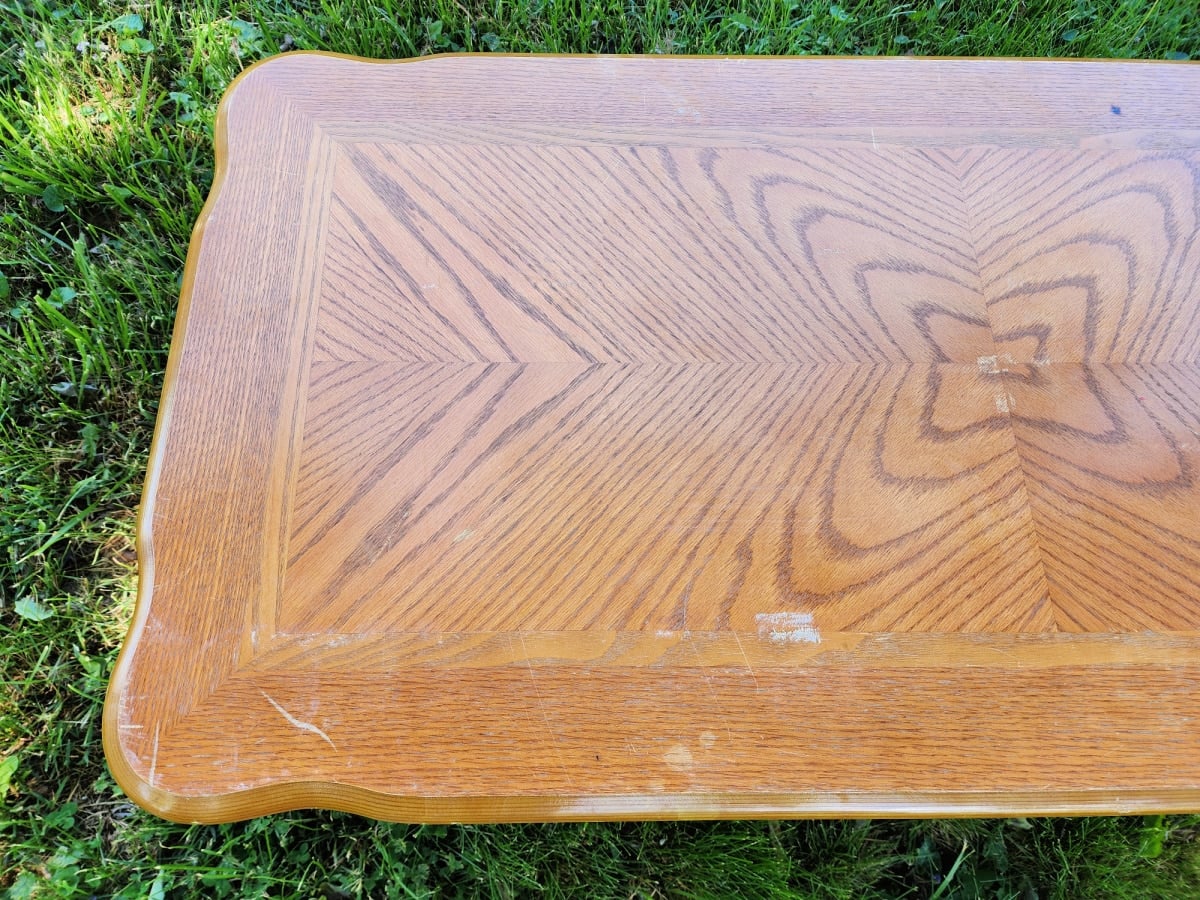
The table had a few issues on the top. Did you notice the design is a little goofy in the middle, where the veneer sections meet?
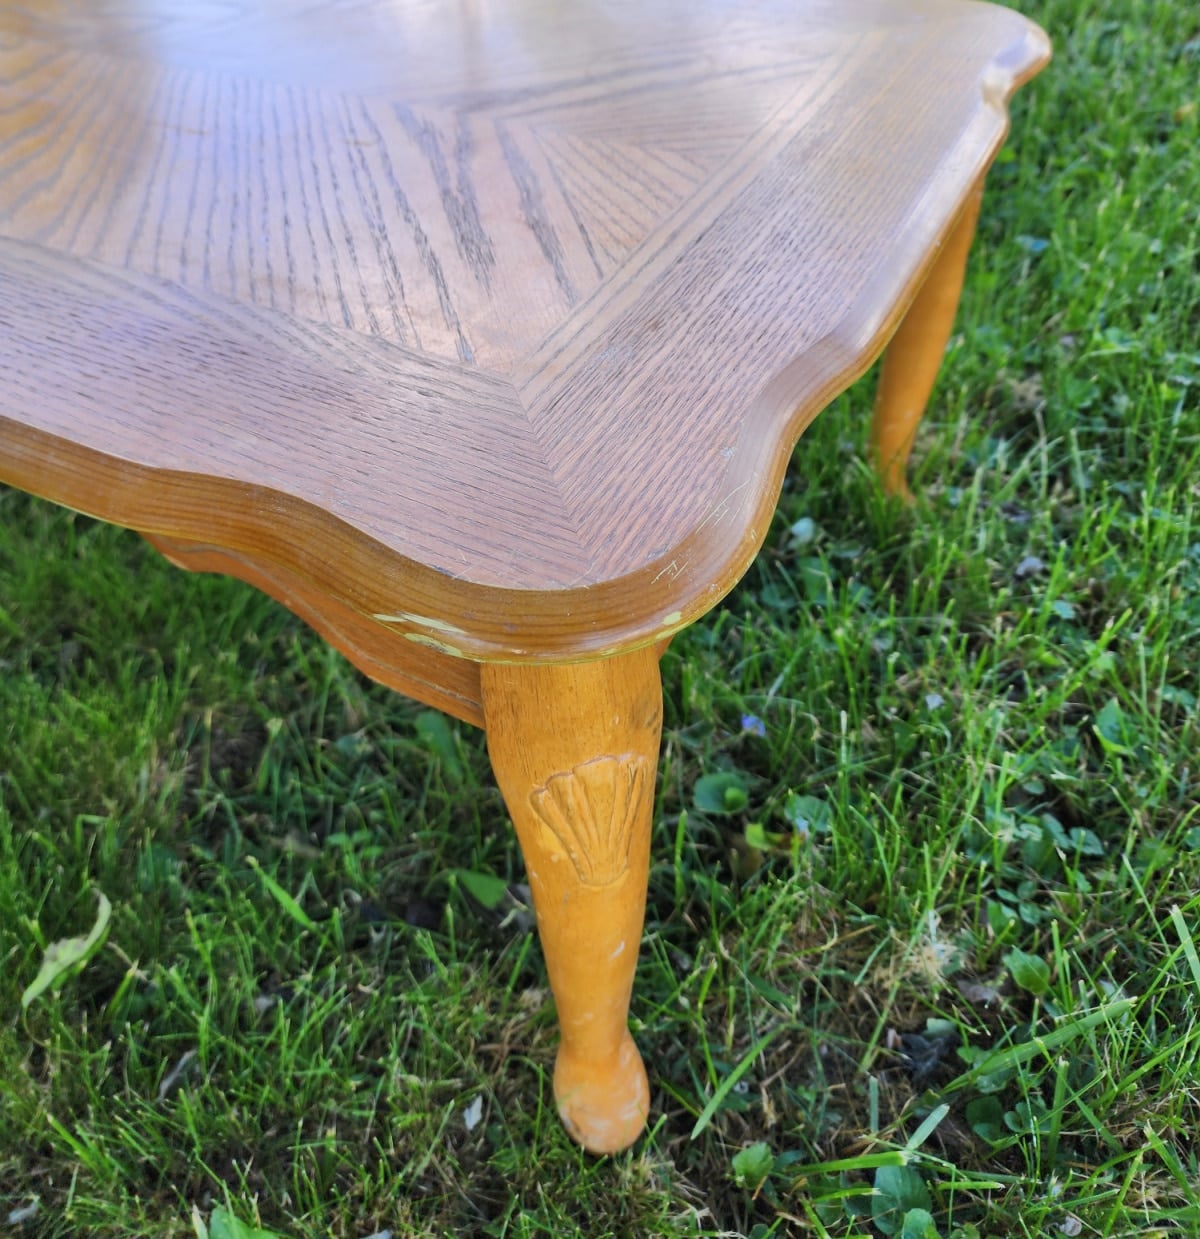
I think the carved-shell detail on the legs dates the coffee table; there is also a shell on the front center of the table skirt. Maybe the black paint will make them blend in a little more?
Sand the Finish on the Table Top
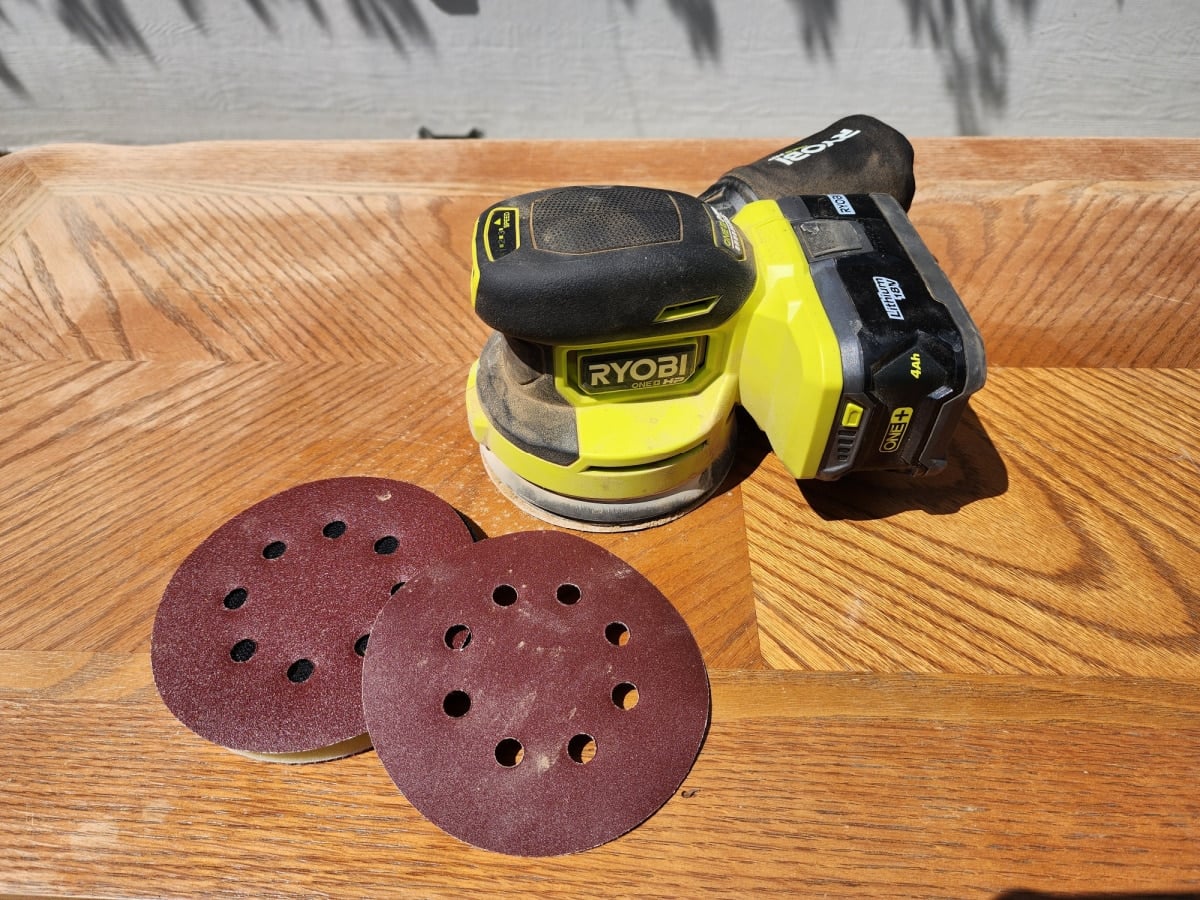
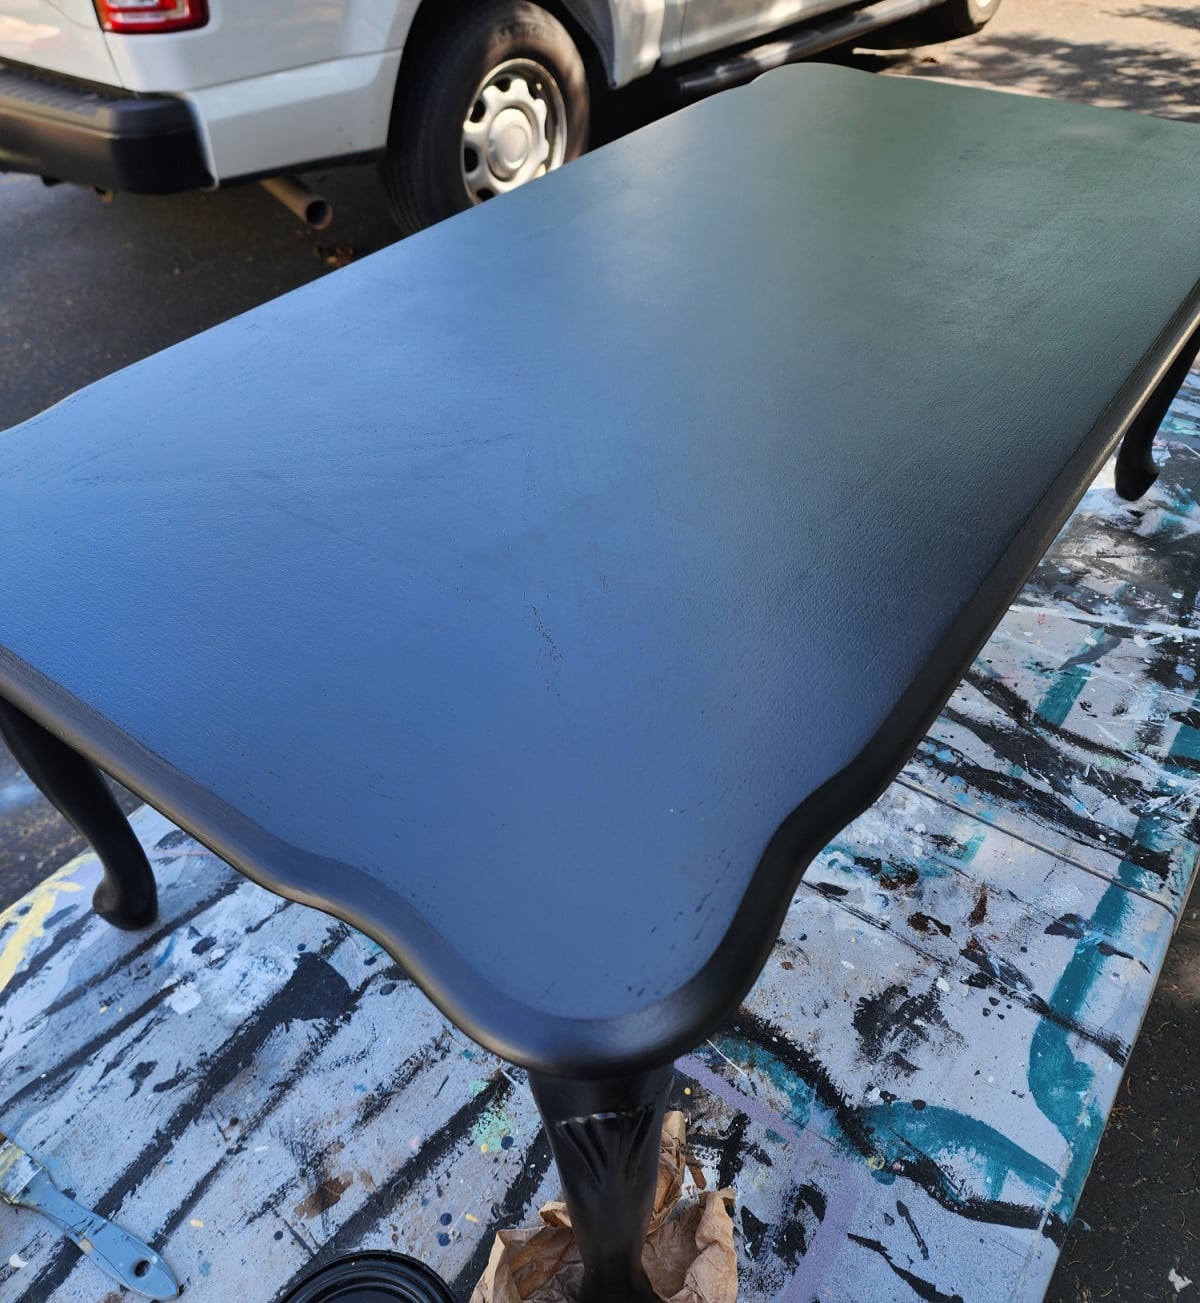
In this photo, you can see that I’ve already started sanding the shiny finish on the tabletop. I started with 180 grit and then 320.
Freshly Sanded Tabletop
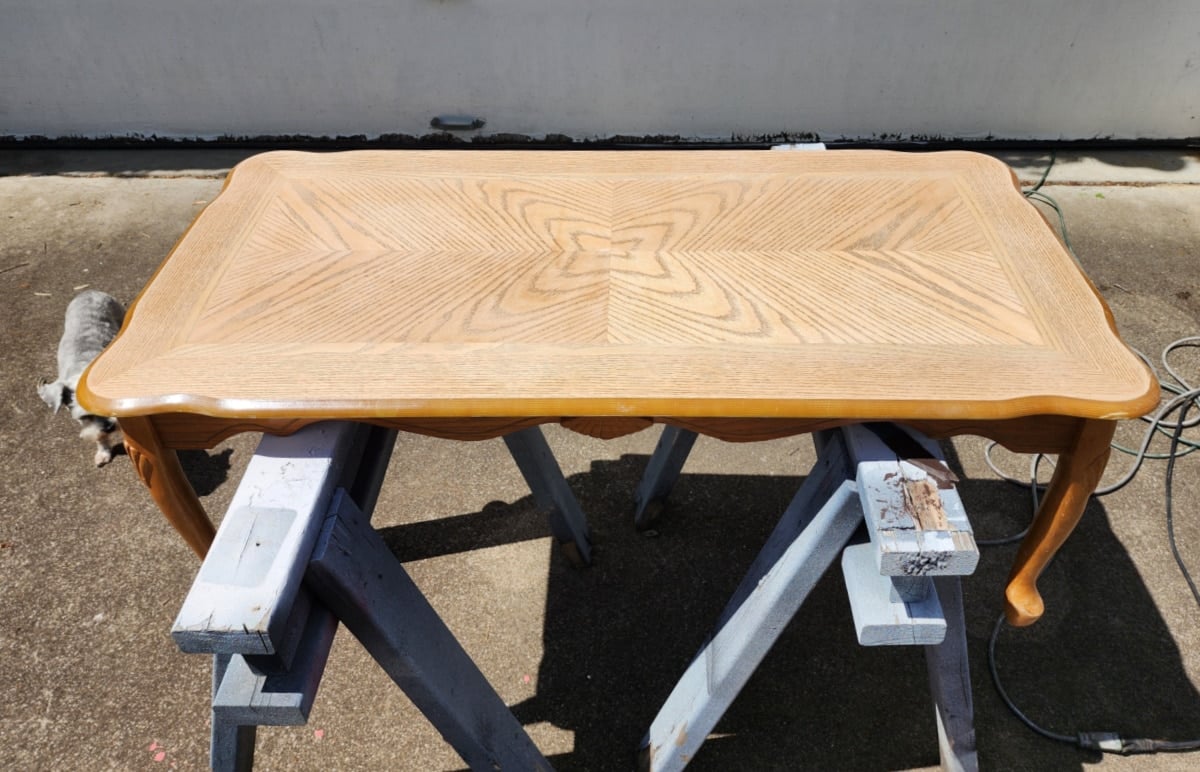
Resting the table atop my DIY sawhorses made sanding the top quick and easy. The top felt very smooth after sanding.
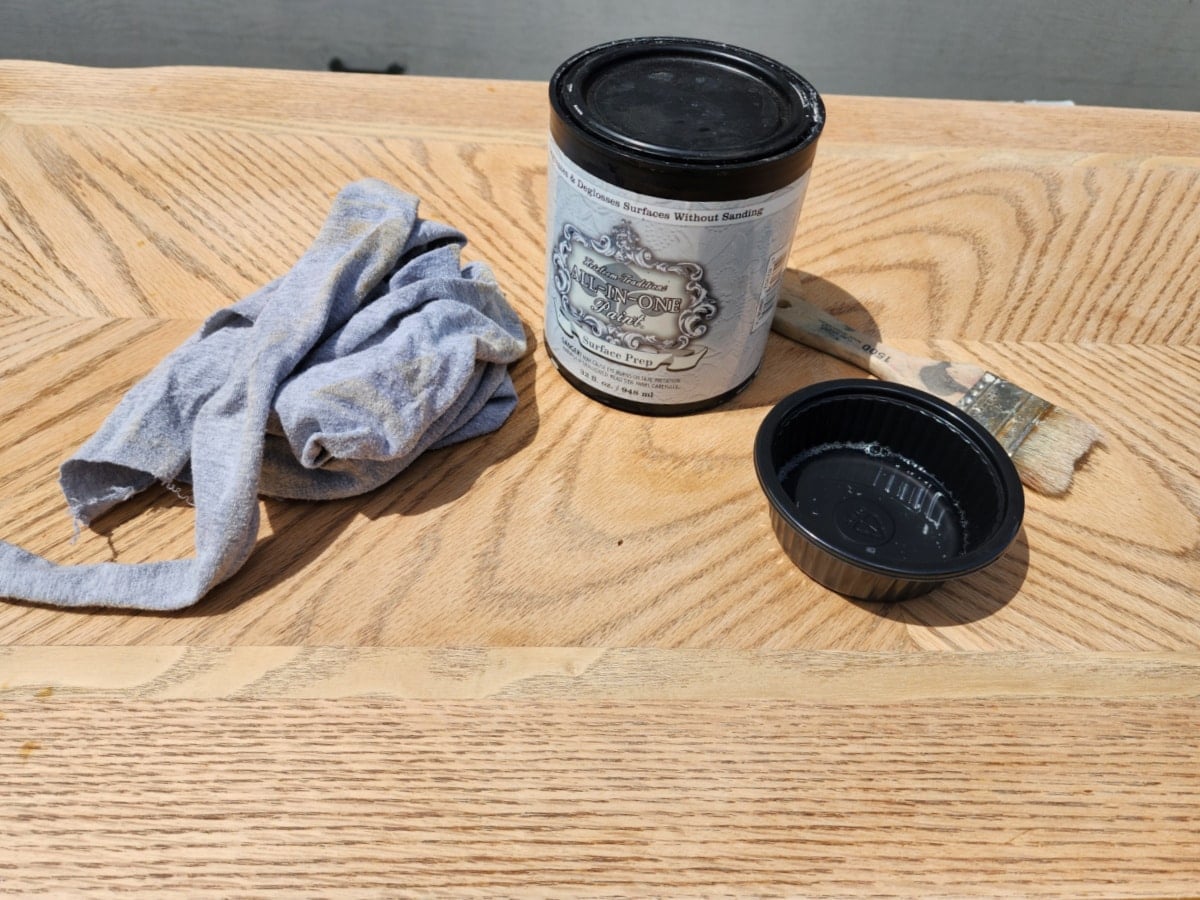
I wiped the entire table down with HTP Surface Prep, which is a degreaser/deglosser.
Add New Longer Legs to the French Provincial Coffee Table?
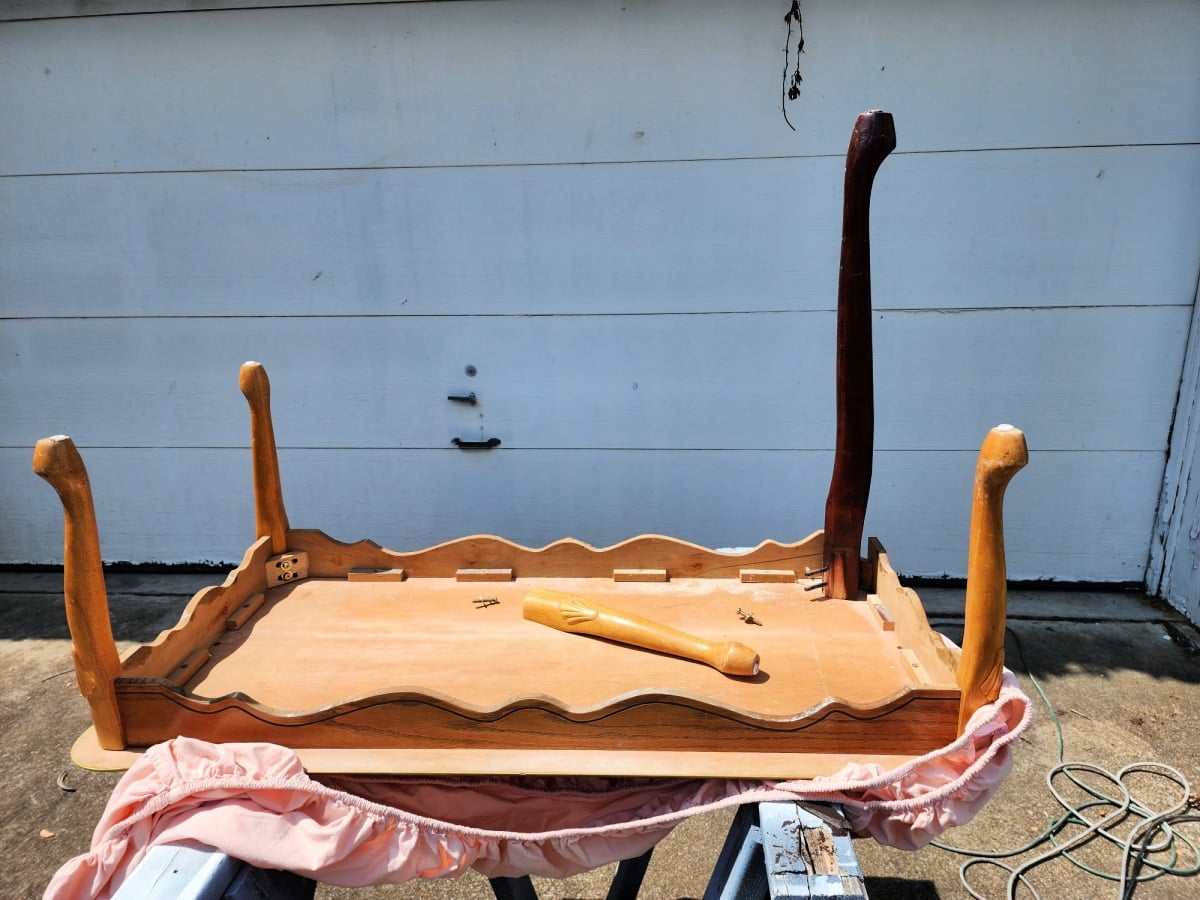
I considered adding taller legs to make this more like a library or a sofa table than a coffee table. What do you think about this?
Ensure all Screws are Tight
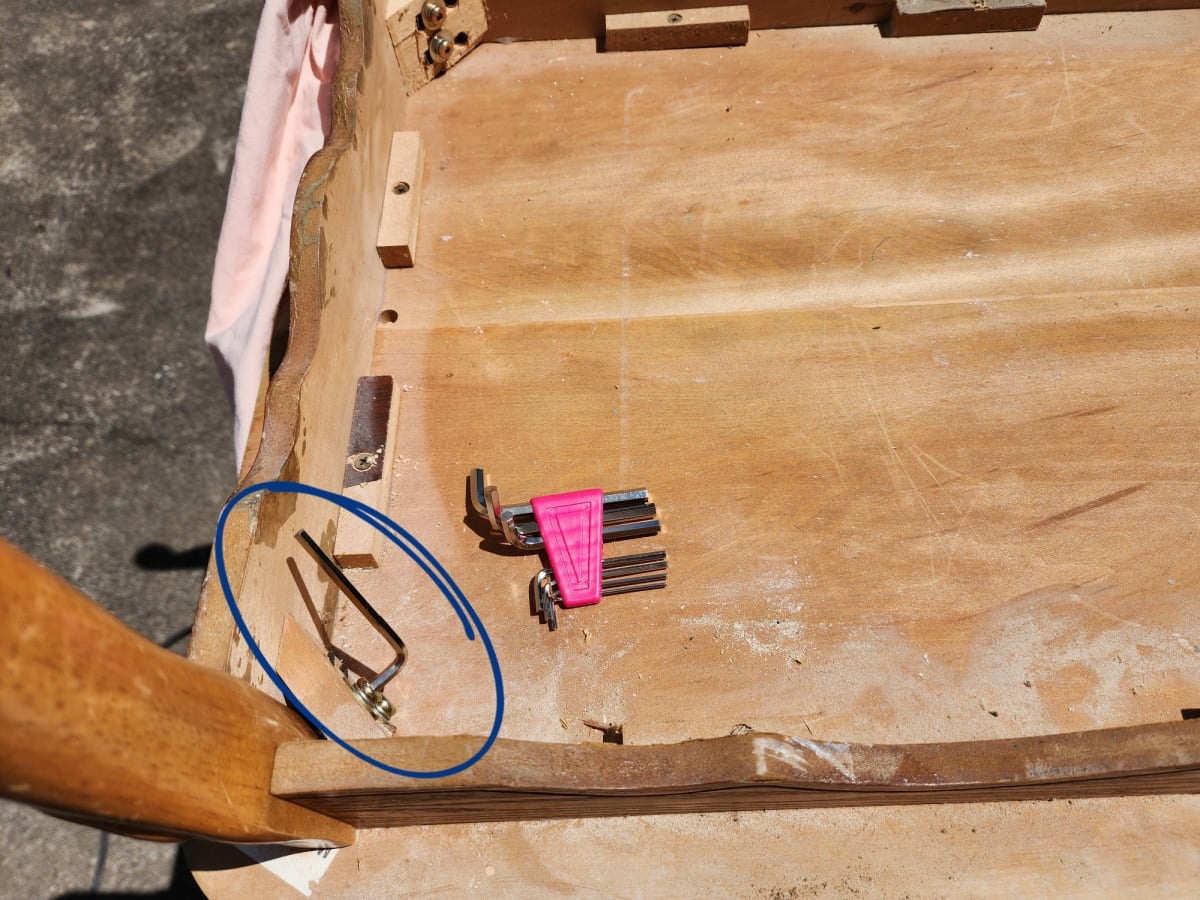
It’s amazing how many cheap or free tables I’ve accumulated, where the only problem was wobbliness. This French provincial coffee table was no different. Every single screw was loose. When tightening screws, I always do it by hand so that I can control the torque. Overtightening can damage the table skirt.
Scuff, Sand, and Clean
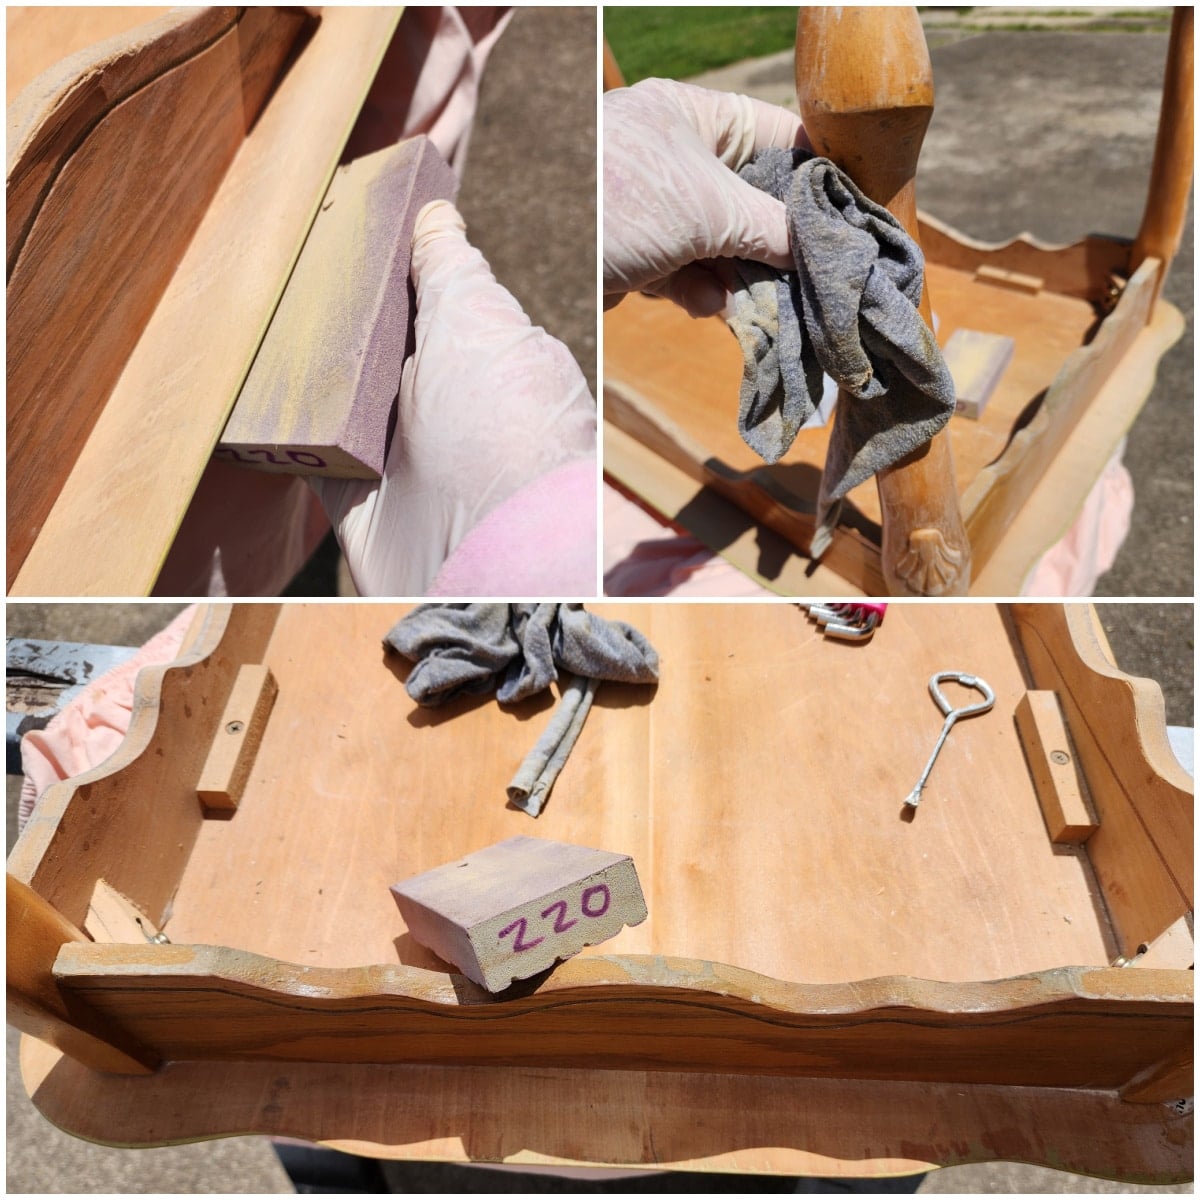
A 220-grit sanding sponge was used to scuff-sand all shiny surfaces. Afterward, the Surface Prep was used again.
It’s Time to Paint
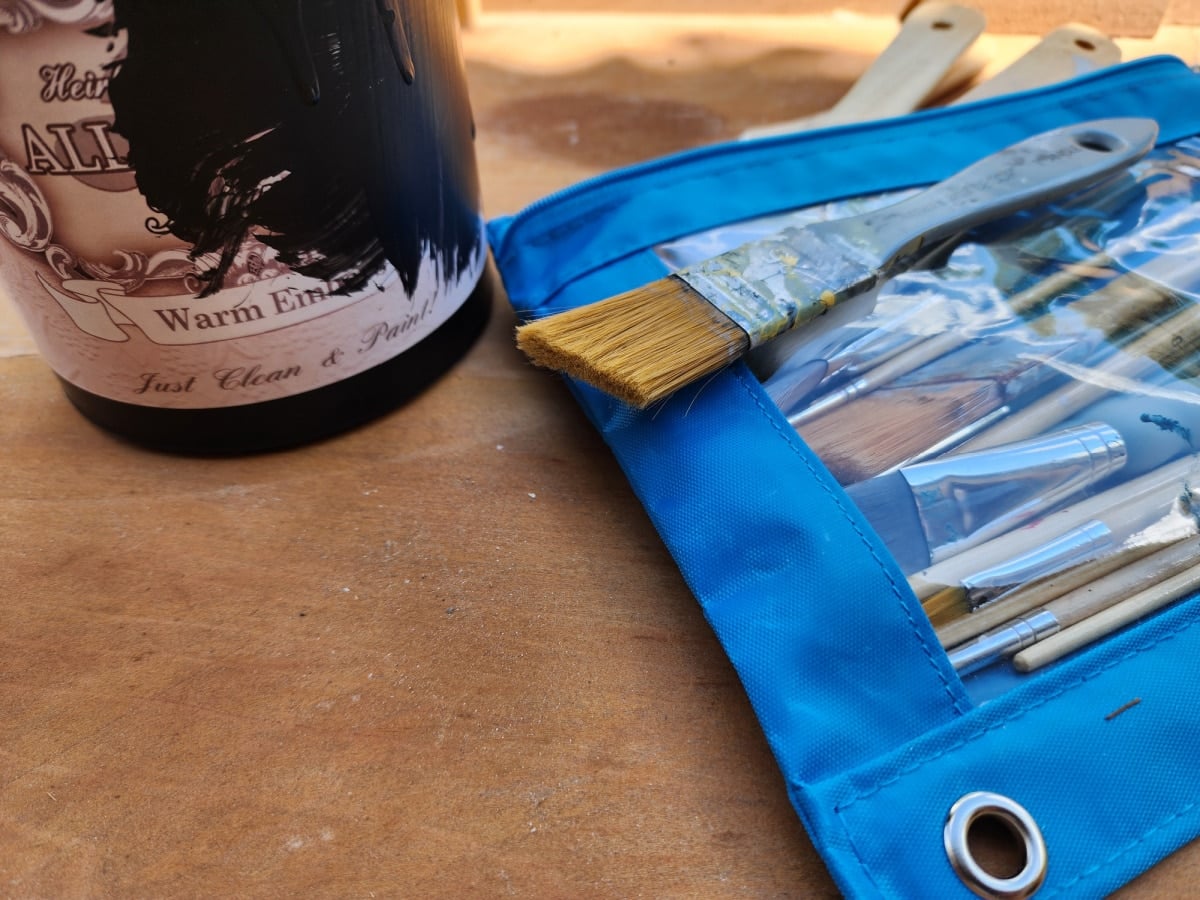
I’m nearing the end of my can of Warm Embers. Refer to the bottom of this article to see the projects with this paint color.
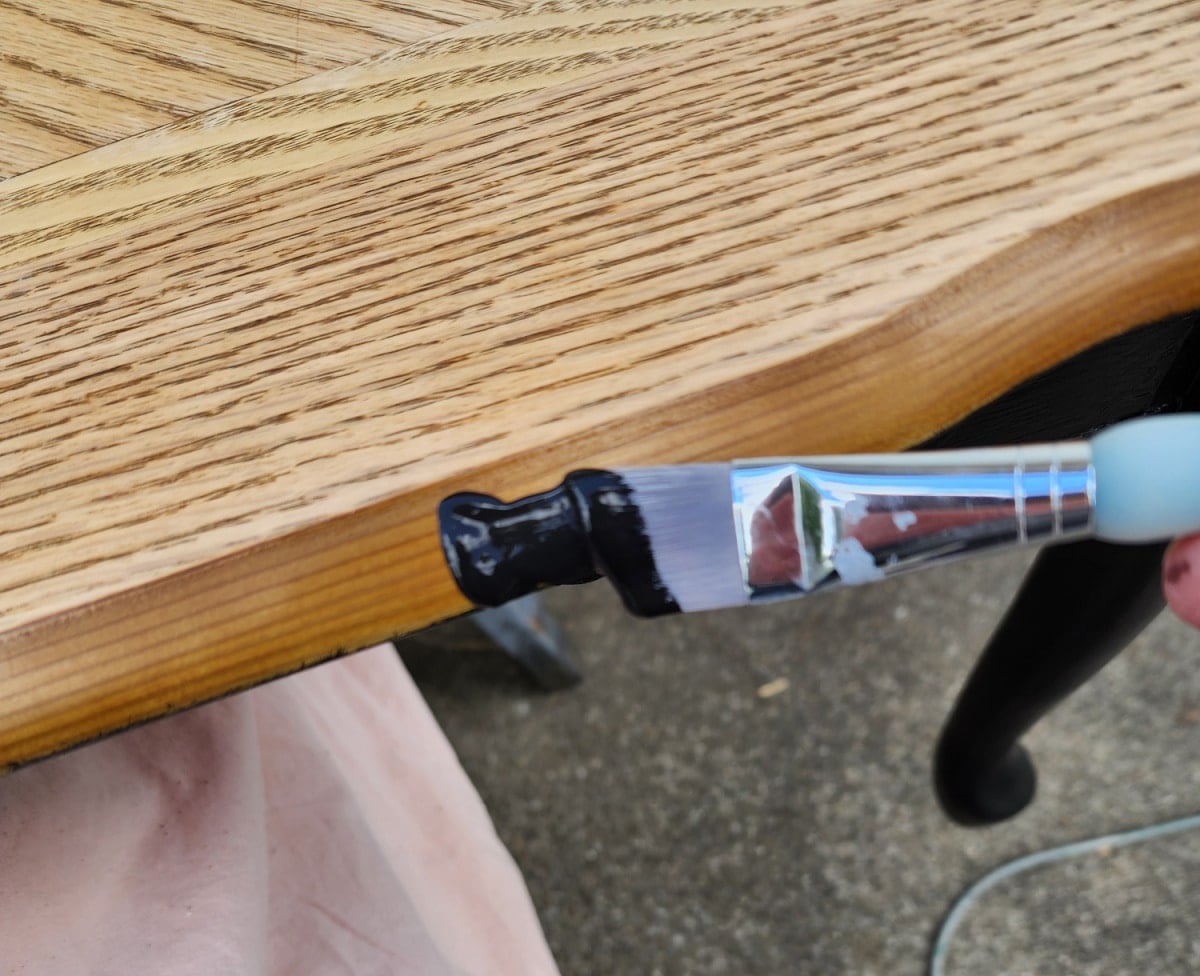
This small brush is my absolute favorite. It’s no longer available, so I have to take good care of it. The clear-window pencil pouch is the best for holding my frequently used paintbrushes.
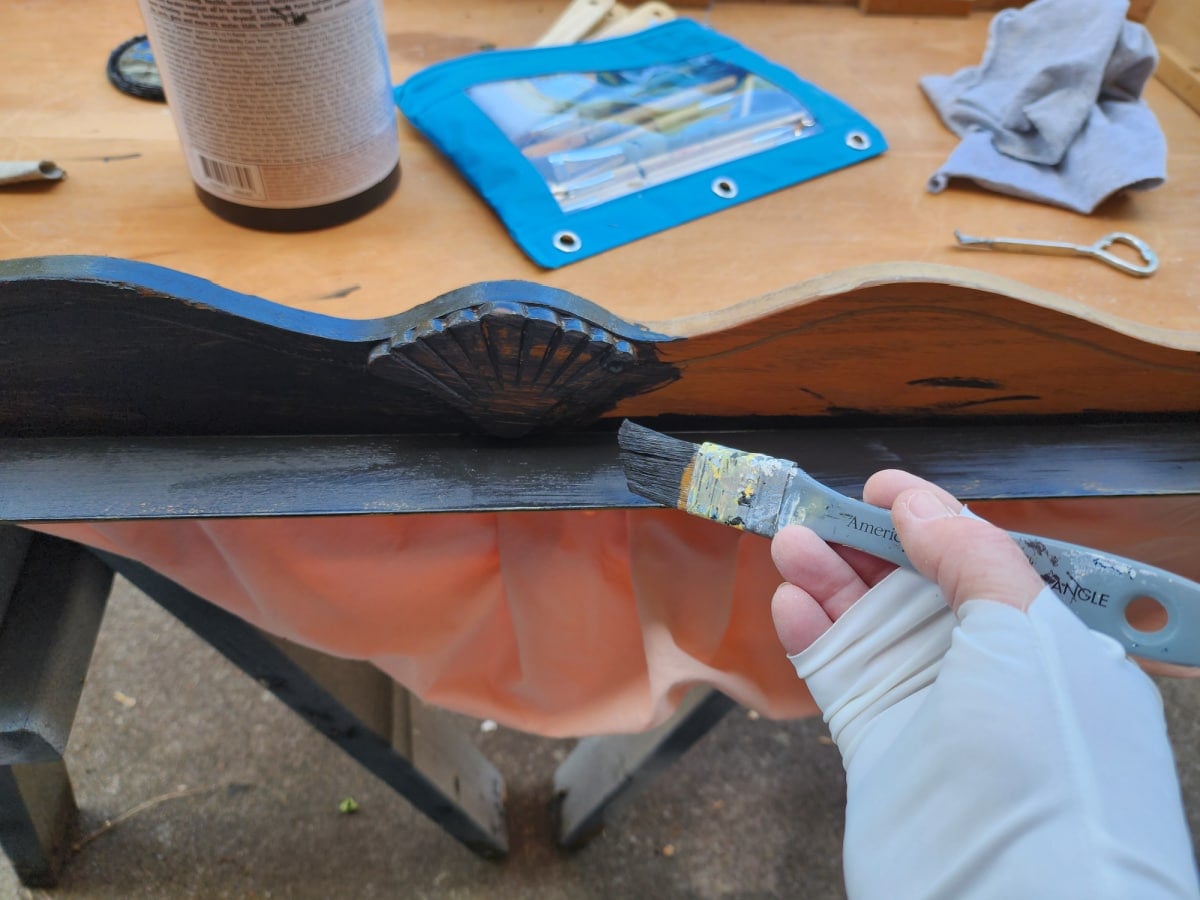
I began painting the table upside down with the small brush.
The gloves I’m wearing are UPF (Ultraviolet Protection Factor) clothing. I’ve had a few kinds over the years; these are very comfortable while working and driving.
The purpose of the first coat is to give a base for subsequent light coats of paint.
After flipping the table upright, I notice a few spots that need a touch-up.
Share this article on Pinterest
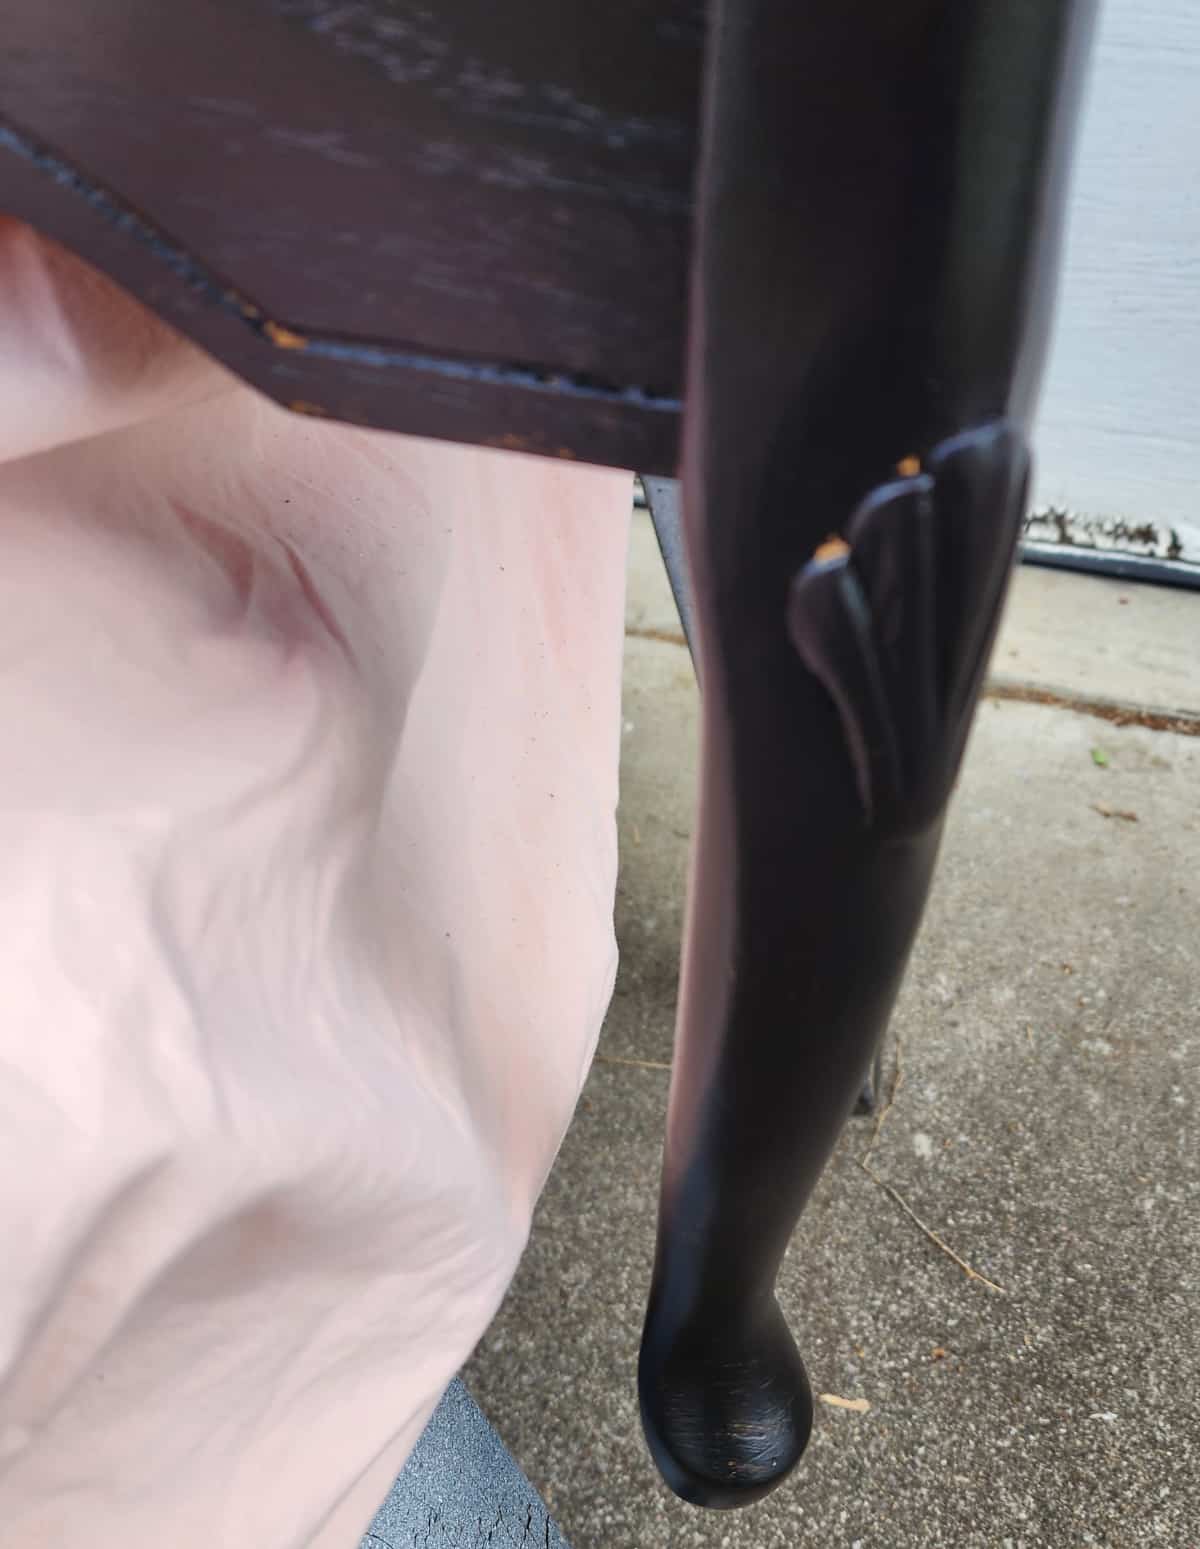
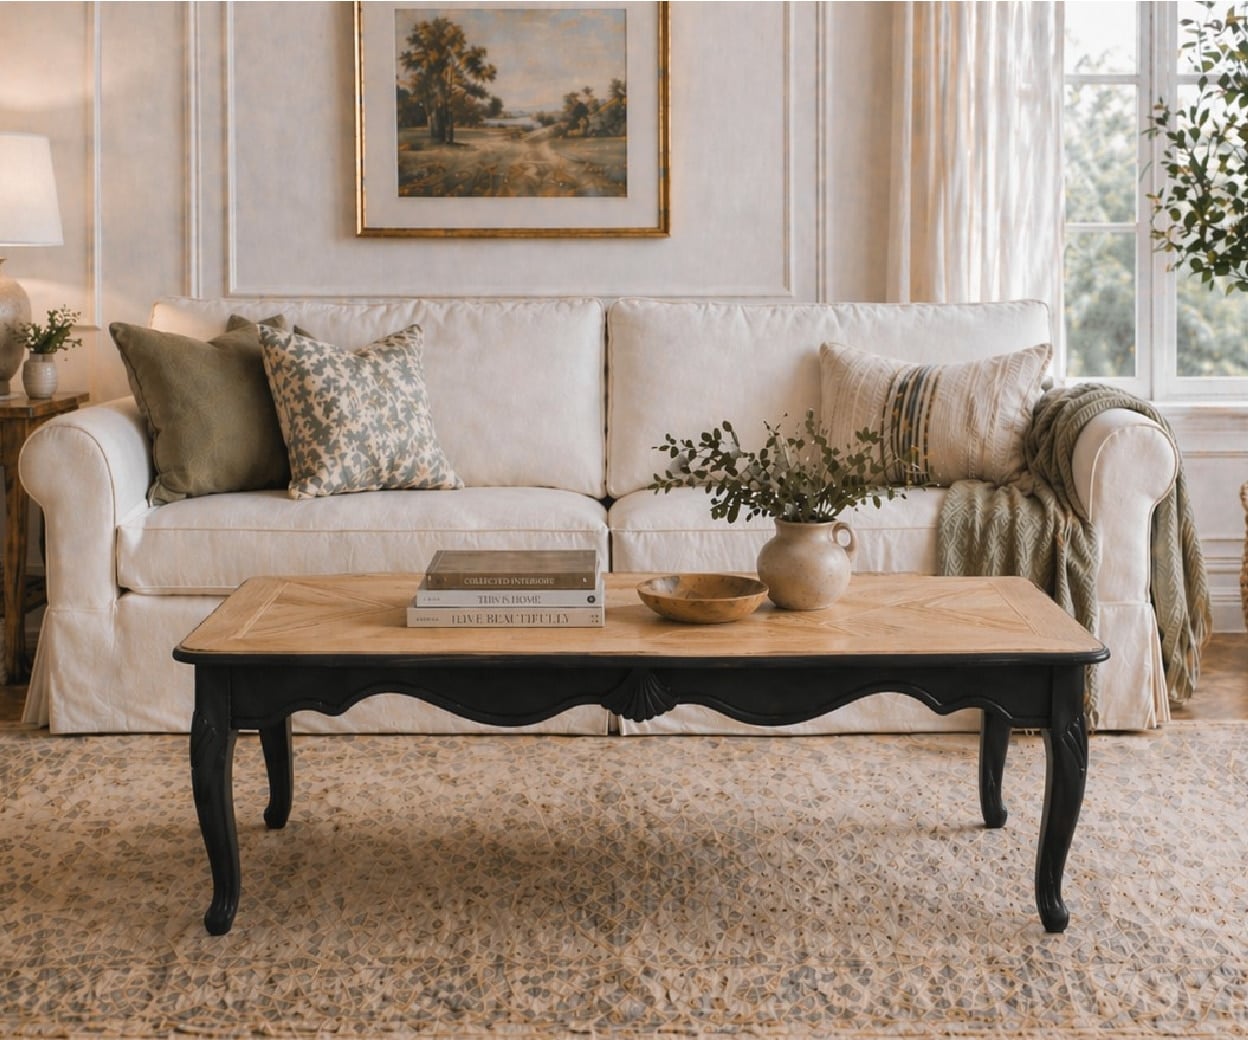
French Provincial Coffee Table with Natural Top and Black Base
Okay, this is where it all starts going wrong! I was surprised how much I liked the light wood top with the black base on the French provincial coffee table!
But that wasn’t the plan. The plan was to do a blackish stain on the tabletop. Let’s see how that worked out.
But First, Let’s Paint the Rim of the Table Black
This is my second-favorite paintbrush. It was perfect to paint the rim of the coffee table black. The top of the table is veneer. I have no idea what this rim is made of; it may even be plastic.
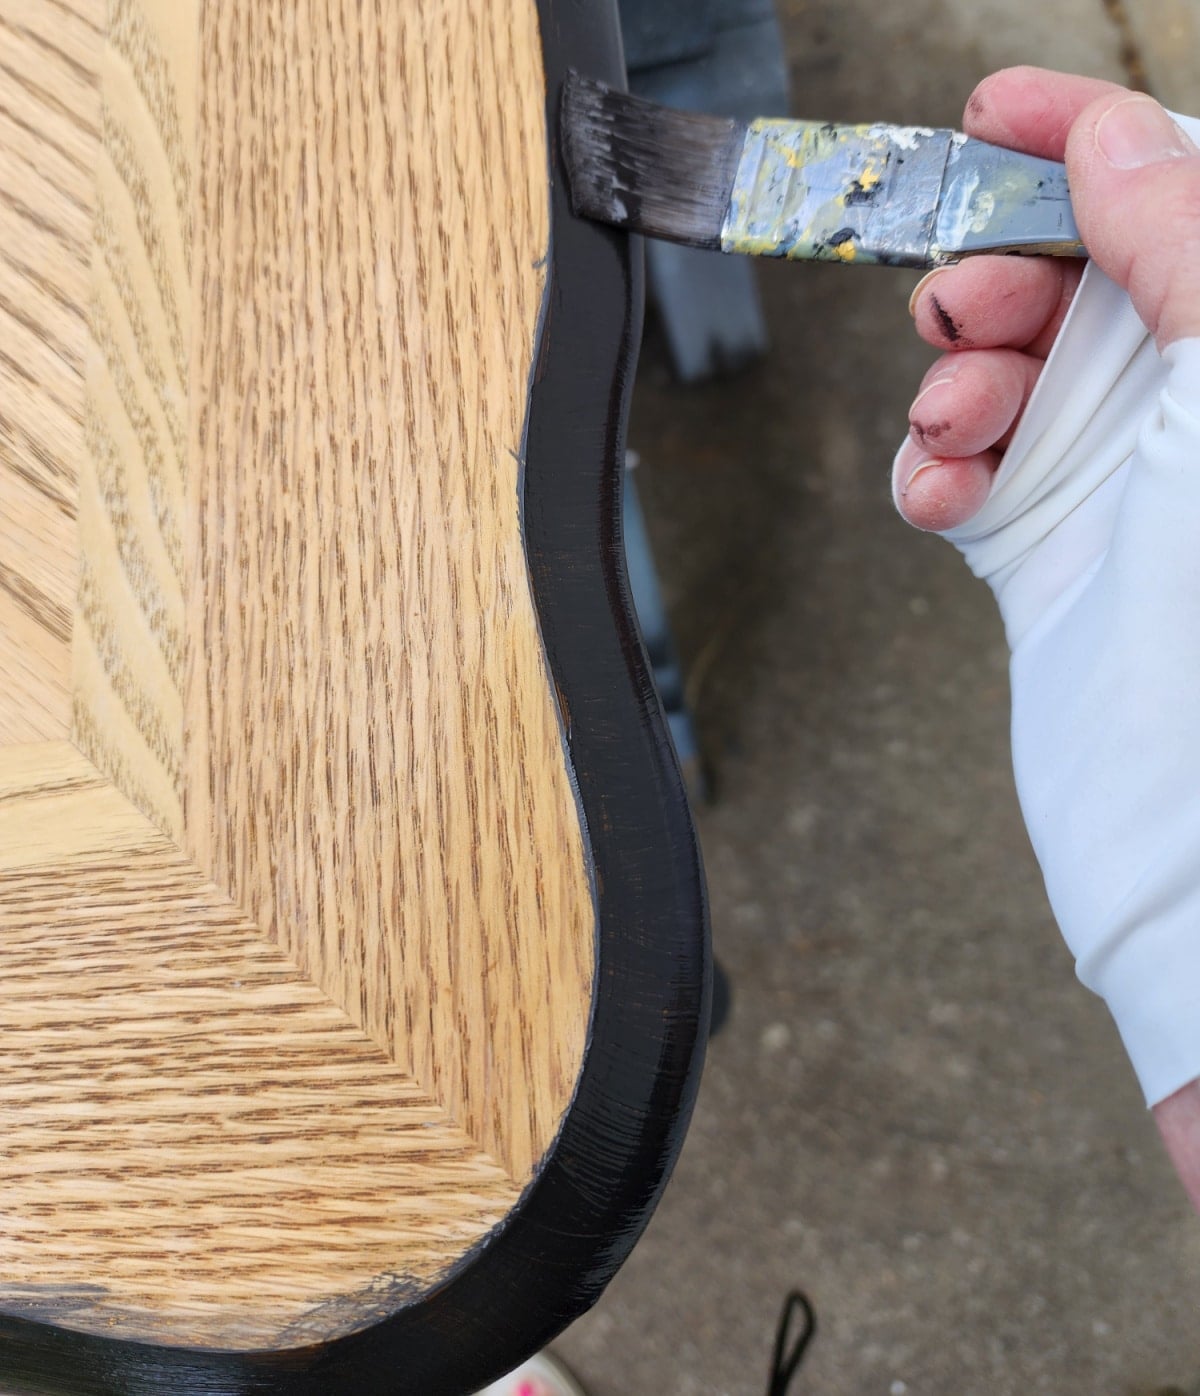
It was difficult to keep the black paint from bleeding onto the tabletop. But I have a good plan in place.
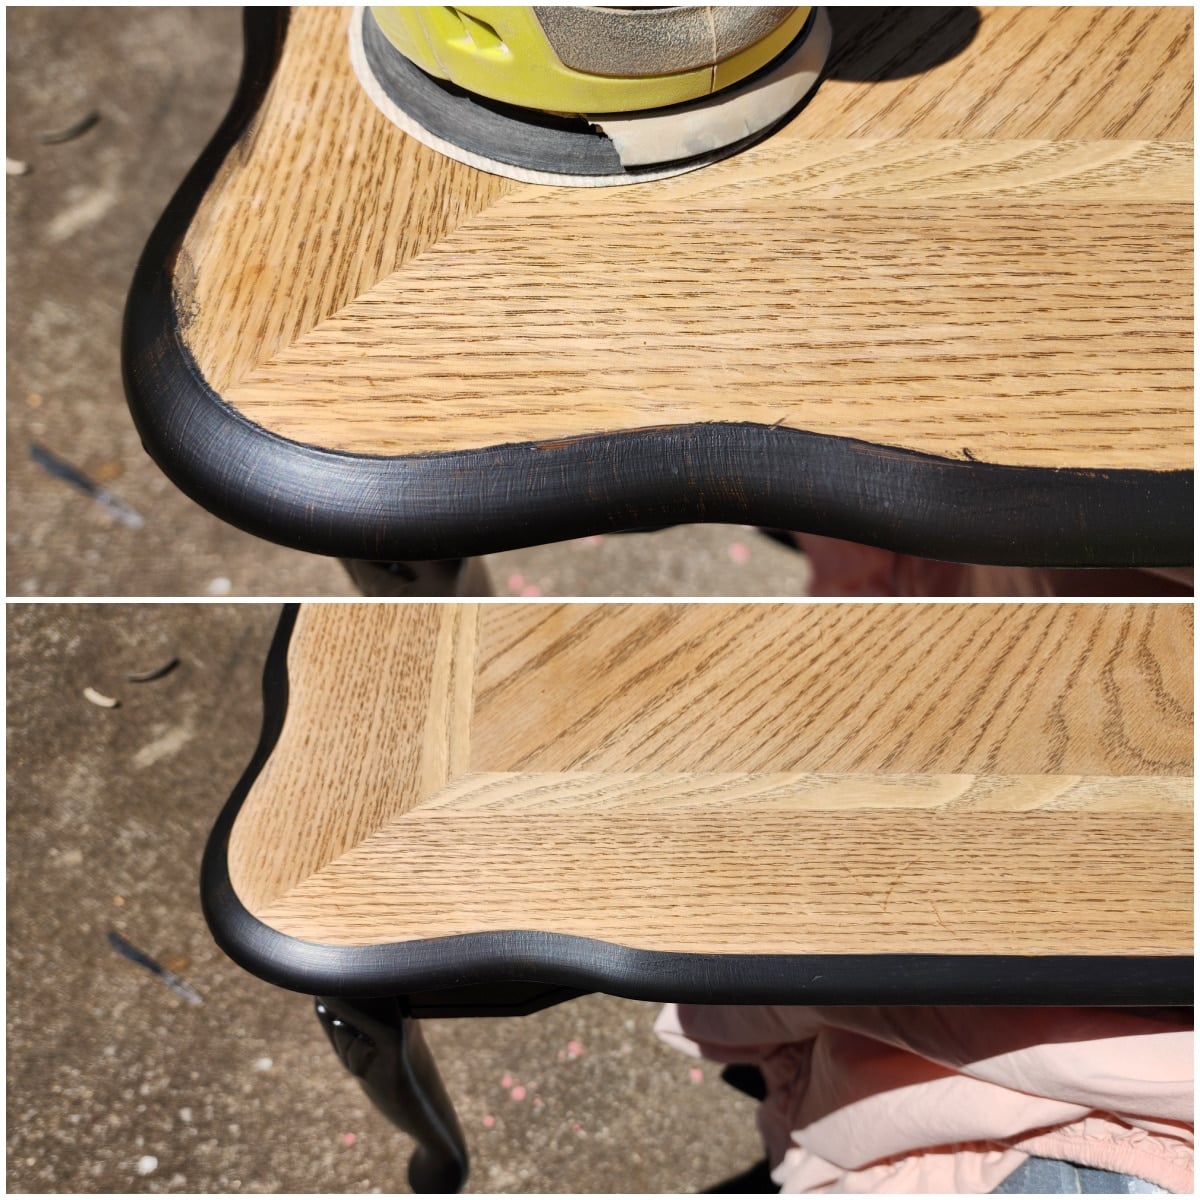
This is before and after sanding the smeared paint from the tabletop. I learned this trick from Denise at Salvaged Inspirations.
Polyshades Aged Barrel
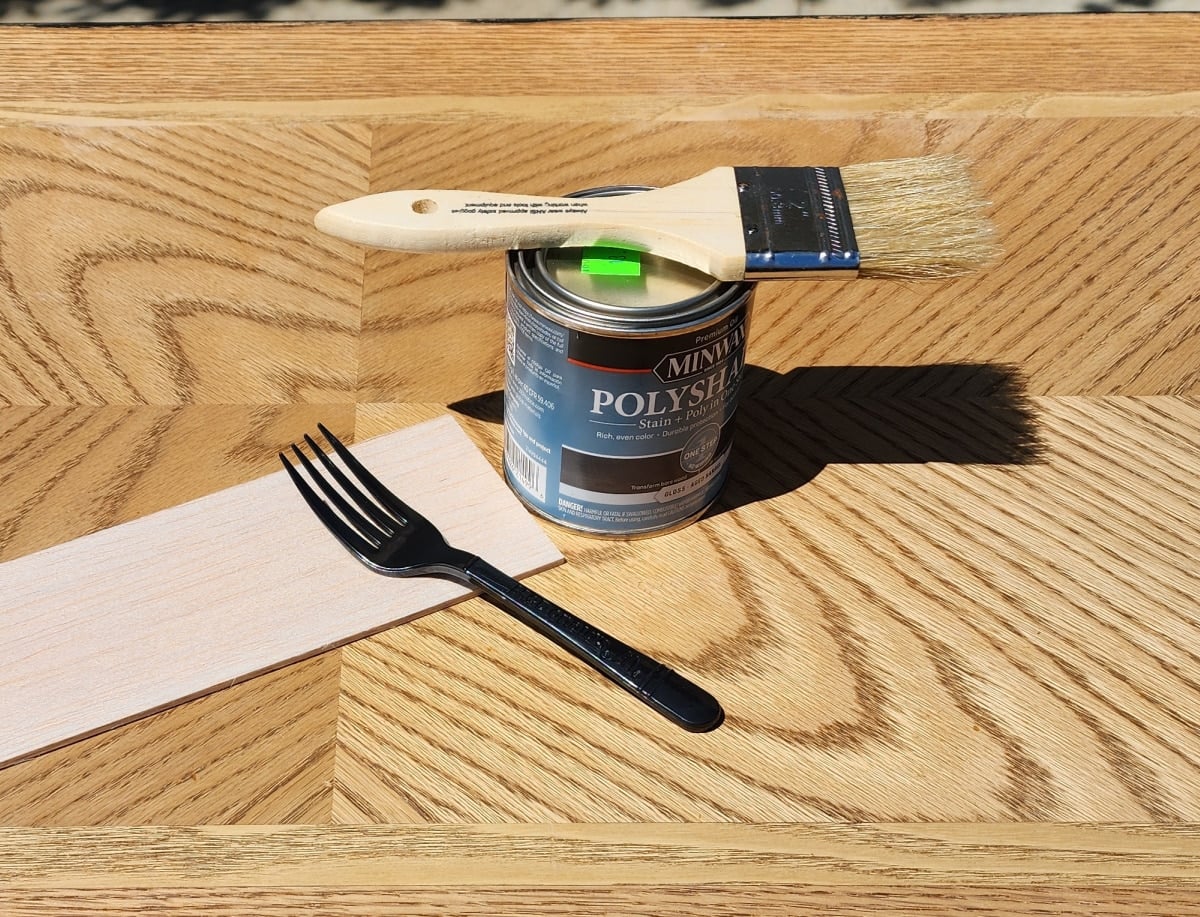
This is the grayish stain I decided to use.
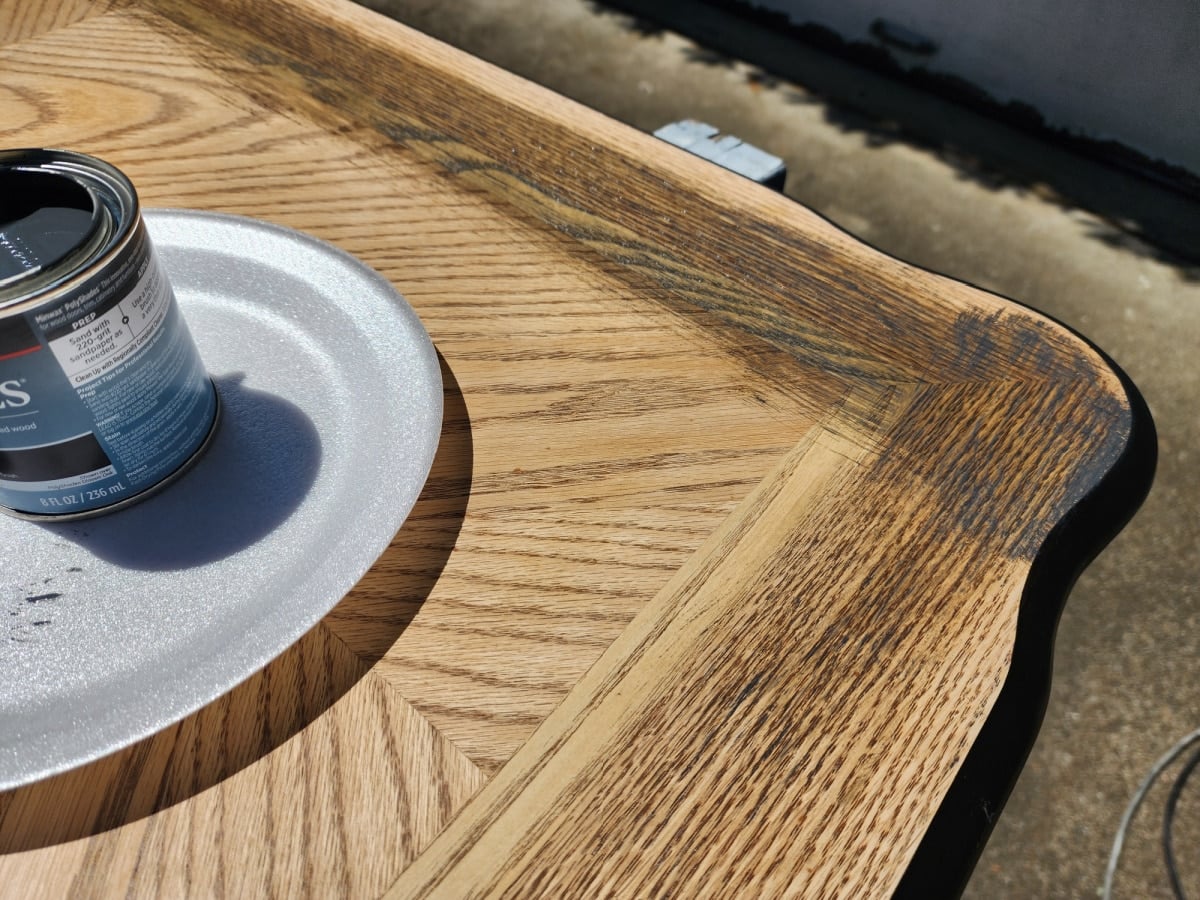
It just wasn’t working. The application was dragging, and I could tell right away I wasn’t going to be happy with the top.
I took the following steps to remove the Polyshades
- The Polyshades was wiped off with a cloth.
- Then I used brown craft paper to rub off as much as I could.
- Finally, after it dried, I used my orbital sander to smooth it again.
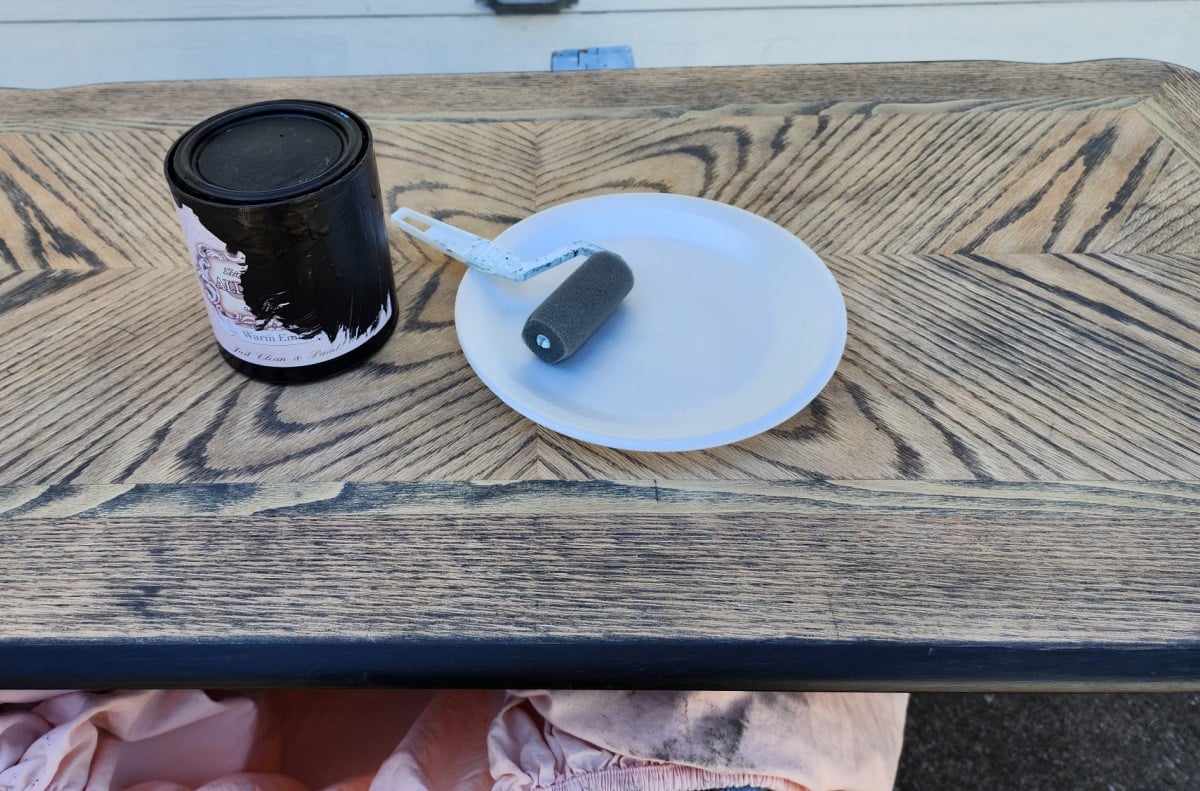
Time for Plan B
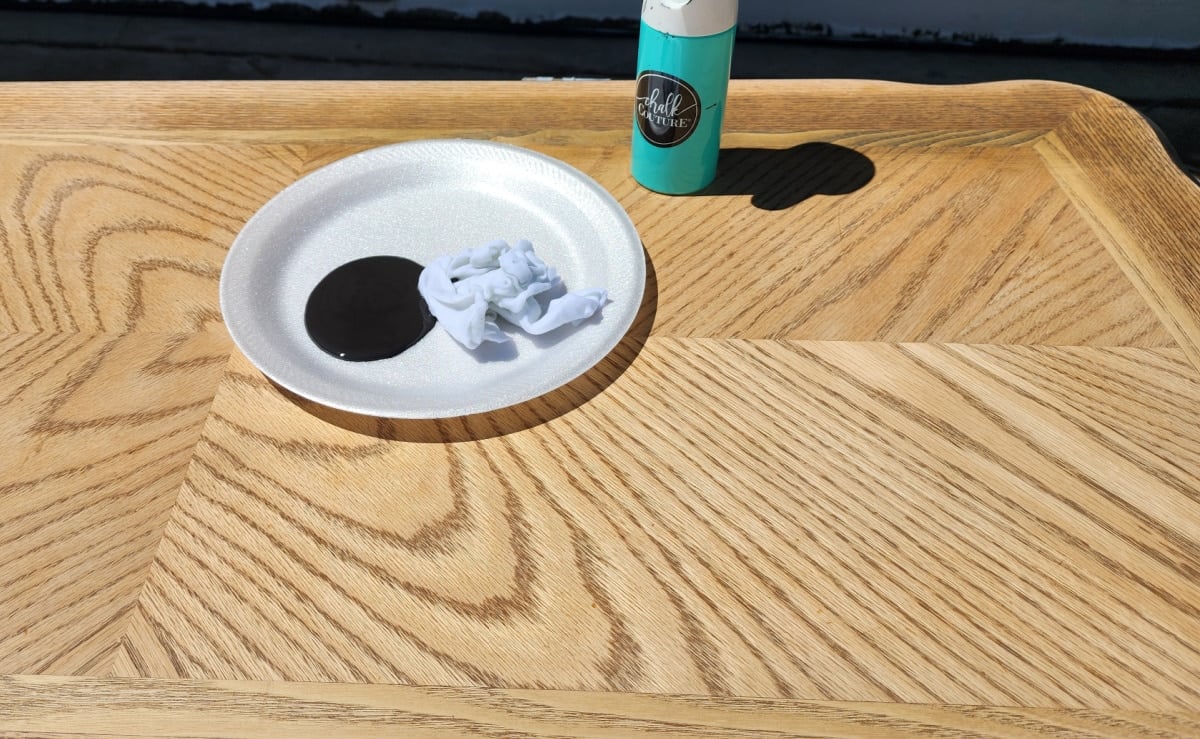
I recently did a black wash on a trestle table, and I love how it turned out. So, I knew the look I wanted on the coffee table top, but so far, I wasn’t having any luck. I gathered what I needed: paint on a styrofoam plate, a wet rag, and a continuous spray bottle to keep the paint diluted.
What went wrong here? I am guessing the wash didn’t work because it was applied to raw wood, whereas the trestle table already had a finish that helped resist the wash. Let’s see the evidence.
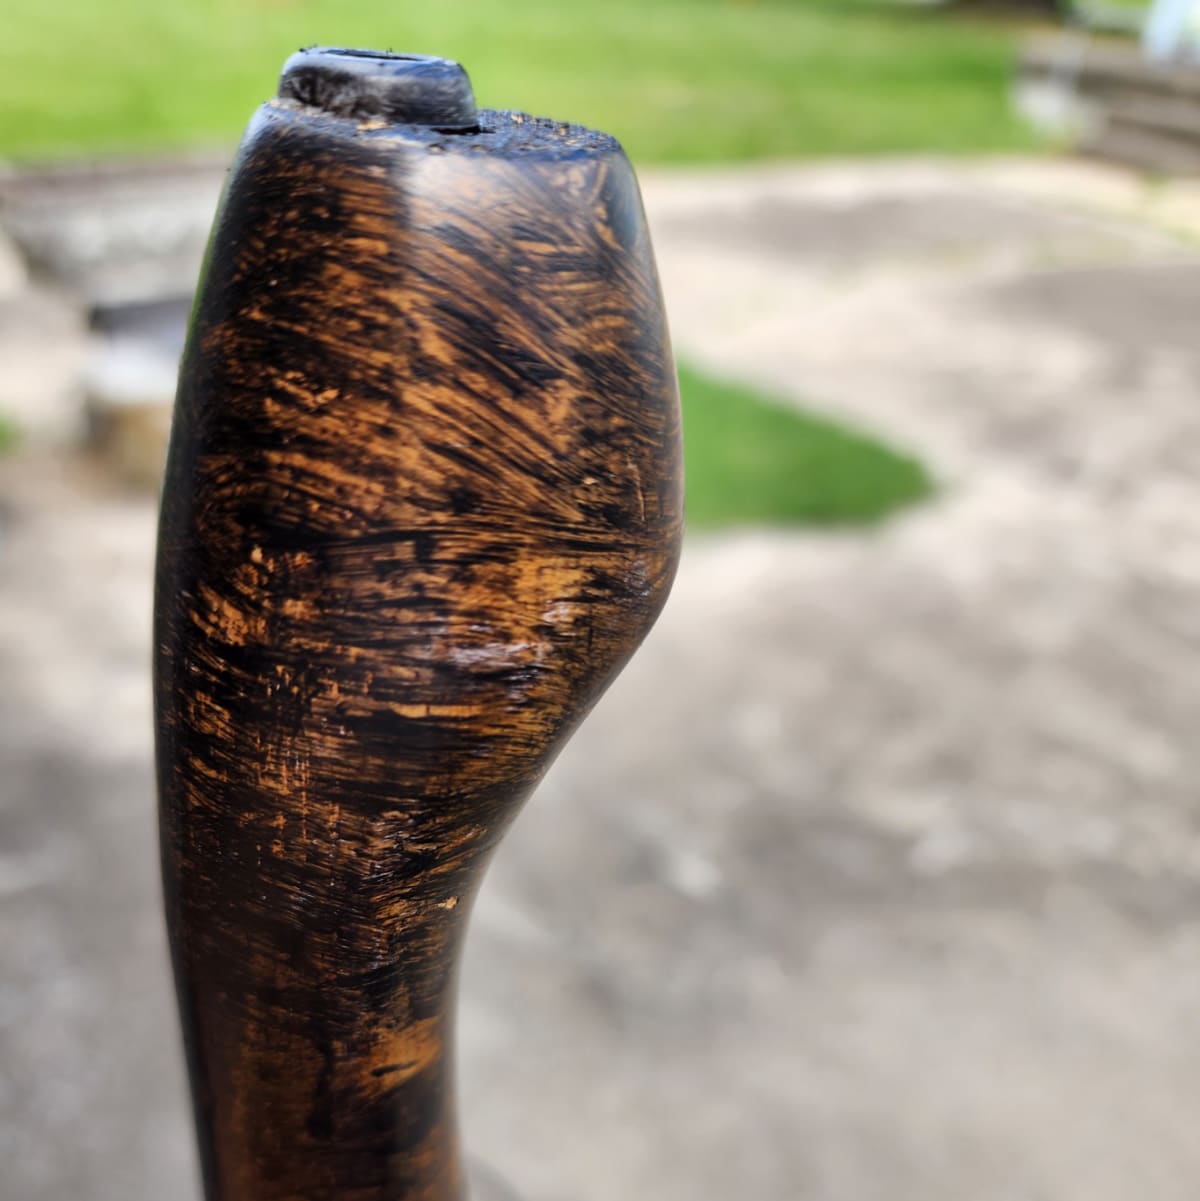
Black Wash Gone Wrong
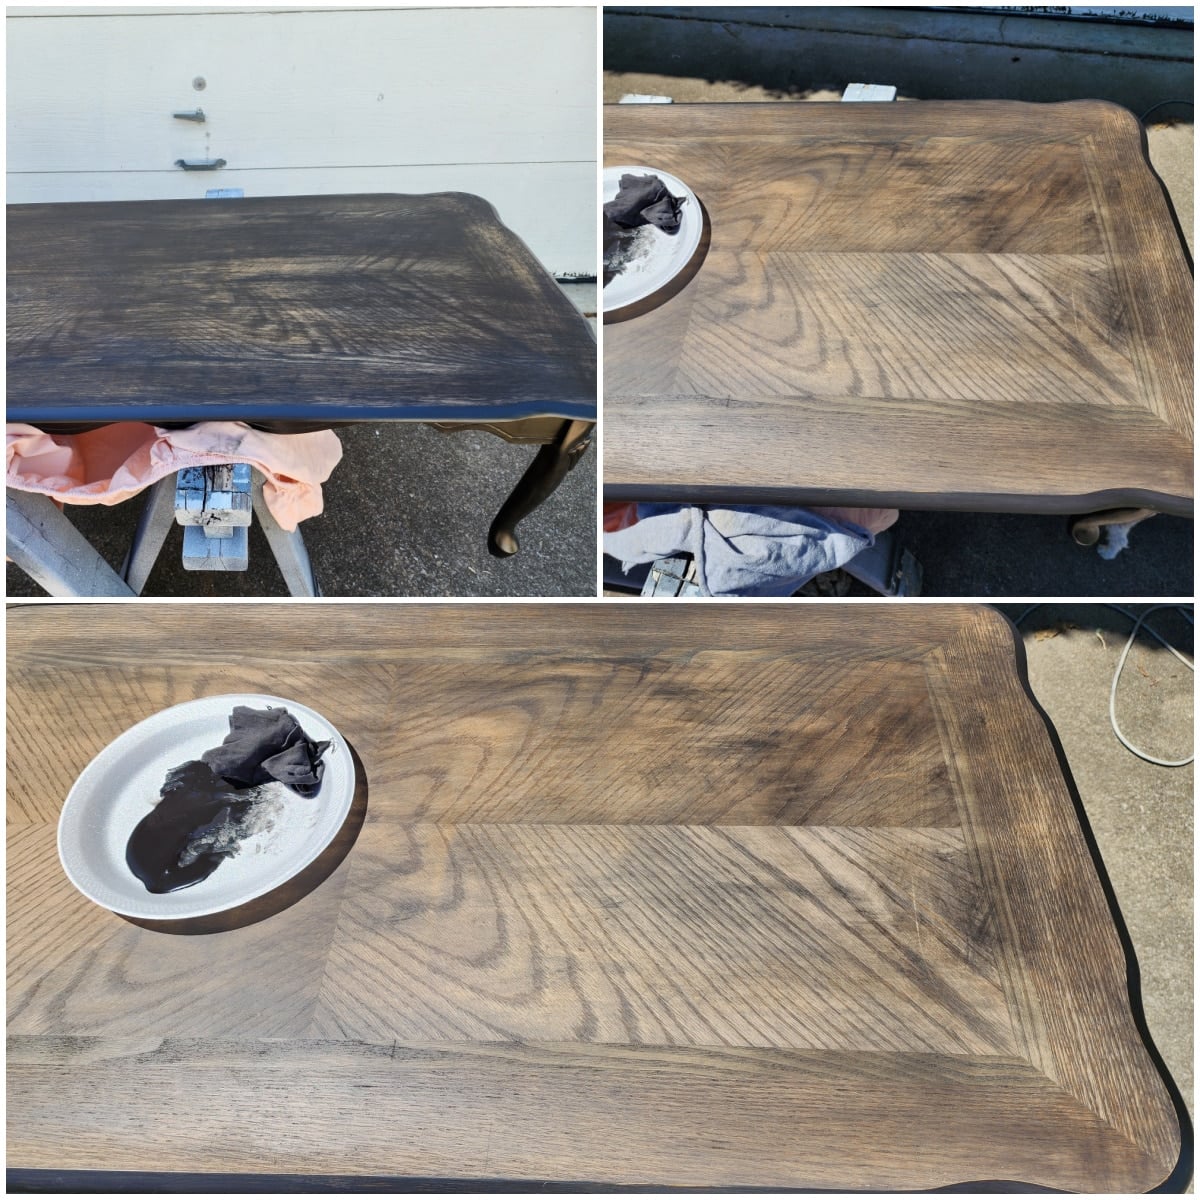
I applied the paint, then tried to wipe it back. The tabletop didn’t accept the paint evenly. Now what?
I went through several sanding discs to get to this point. Because the paint wasn’t thoroughly dry, the sanding discs got gunk on them. Not only did the top not take paint evenly, but it also didn’t sand evenly. What a mess. I was about at my wits’ end.
The Last Resort
I felt there was nothing left to do but paint the coffee table top.
This is after the first coat. Are you feeling my frustration? I truly wanted this table to be unique and find its own look.
Sanding with Brown Craft Paper in Between Coats
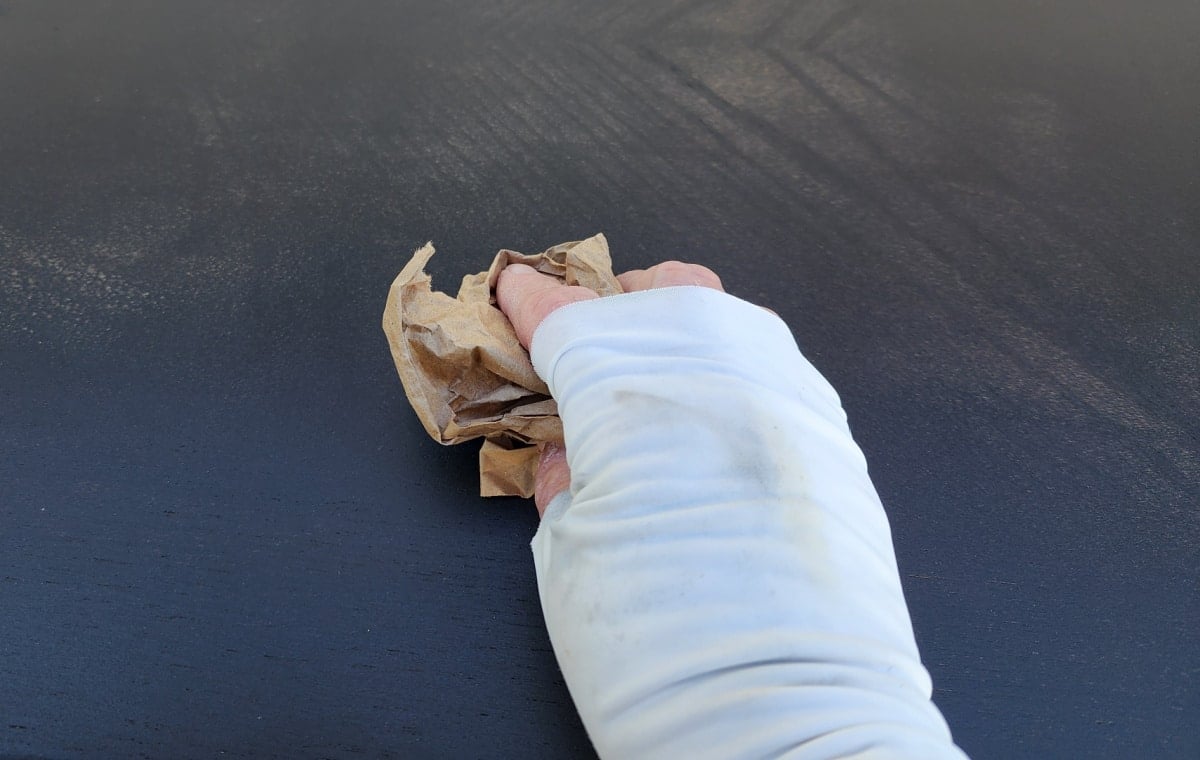
When your paint is brand new, you can probably skip this step. But because this paint has been around for a while, it has accumulated some debris. In addition, stuff is falling from the trees. Brown craft paper smooths the finish, readying it for the next coat. Before using it, I crinkle the brown paper a lot in order to make it “softer”.
After two coats of paint, there are still flaws and the old grain showing through. Can this coffee table be saved?
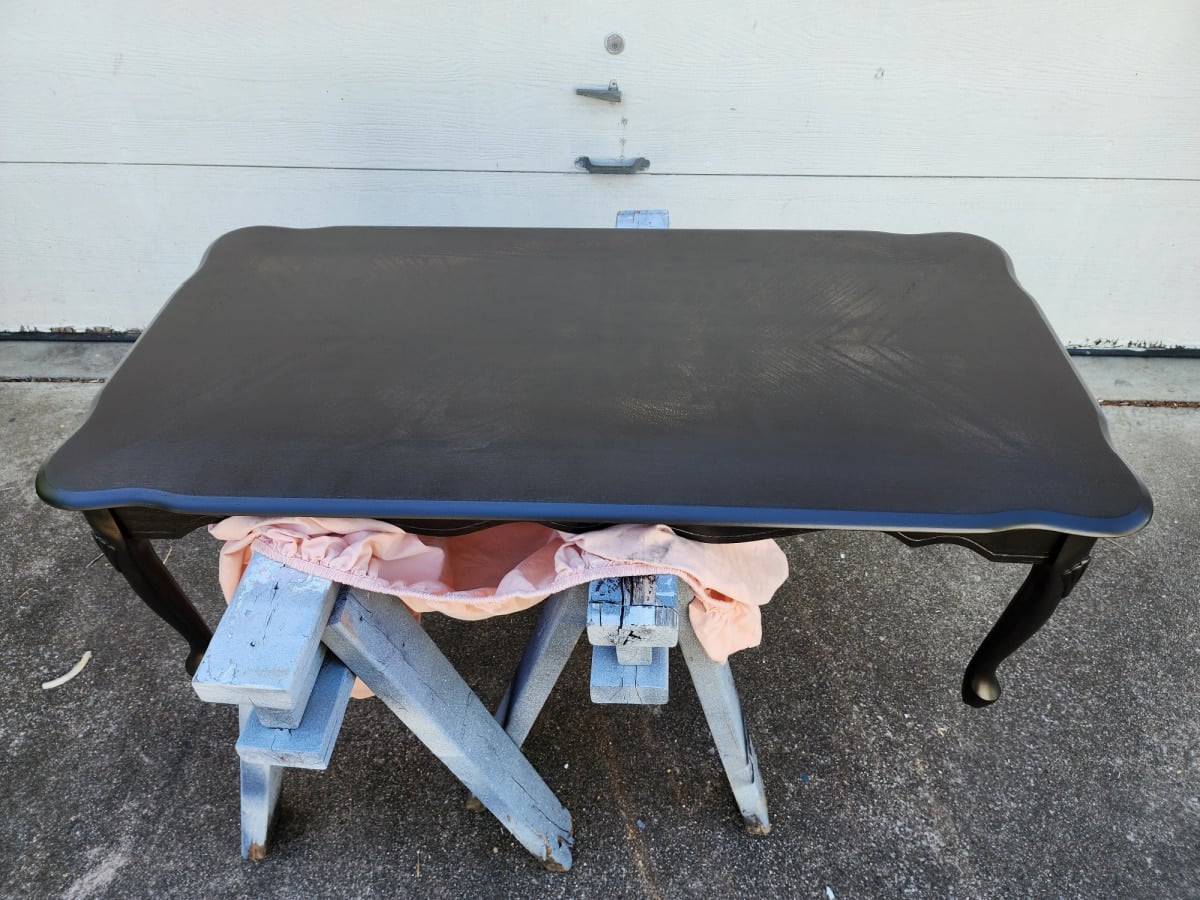
Black Thrift Store French Provincial Coffee Table Makeover
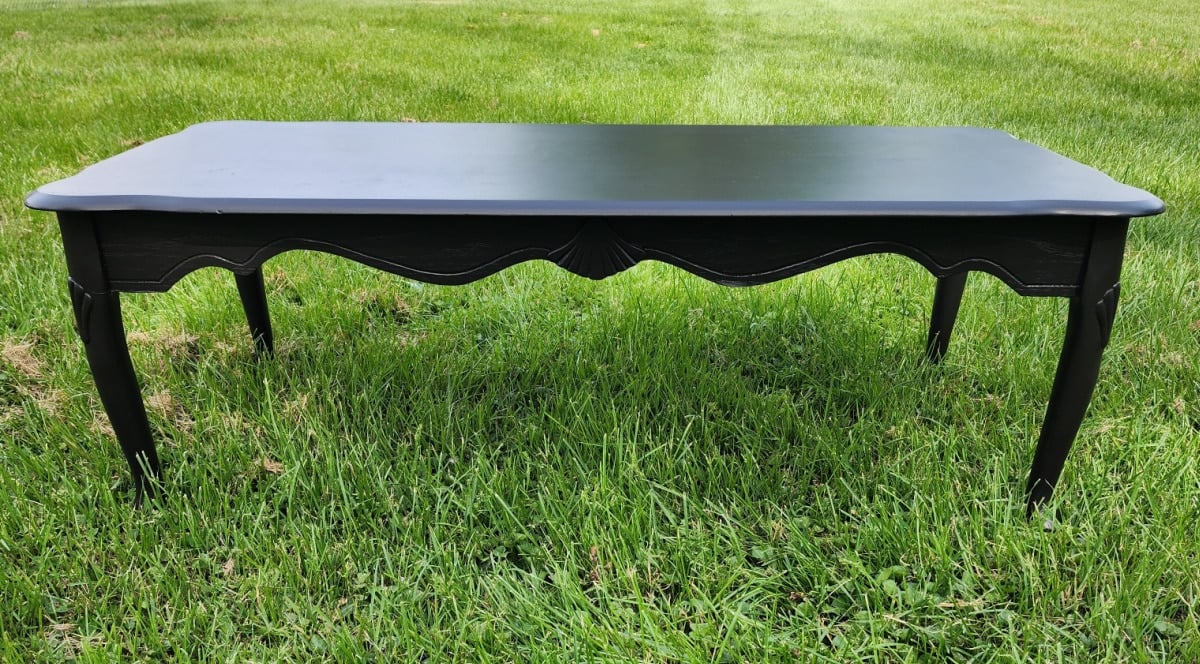
I guess I’m calling it done!
Let’s compare the look of the two different styles I liked.
Elegant Black French Provincial Coffee Table
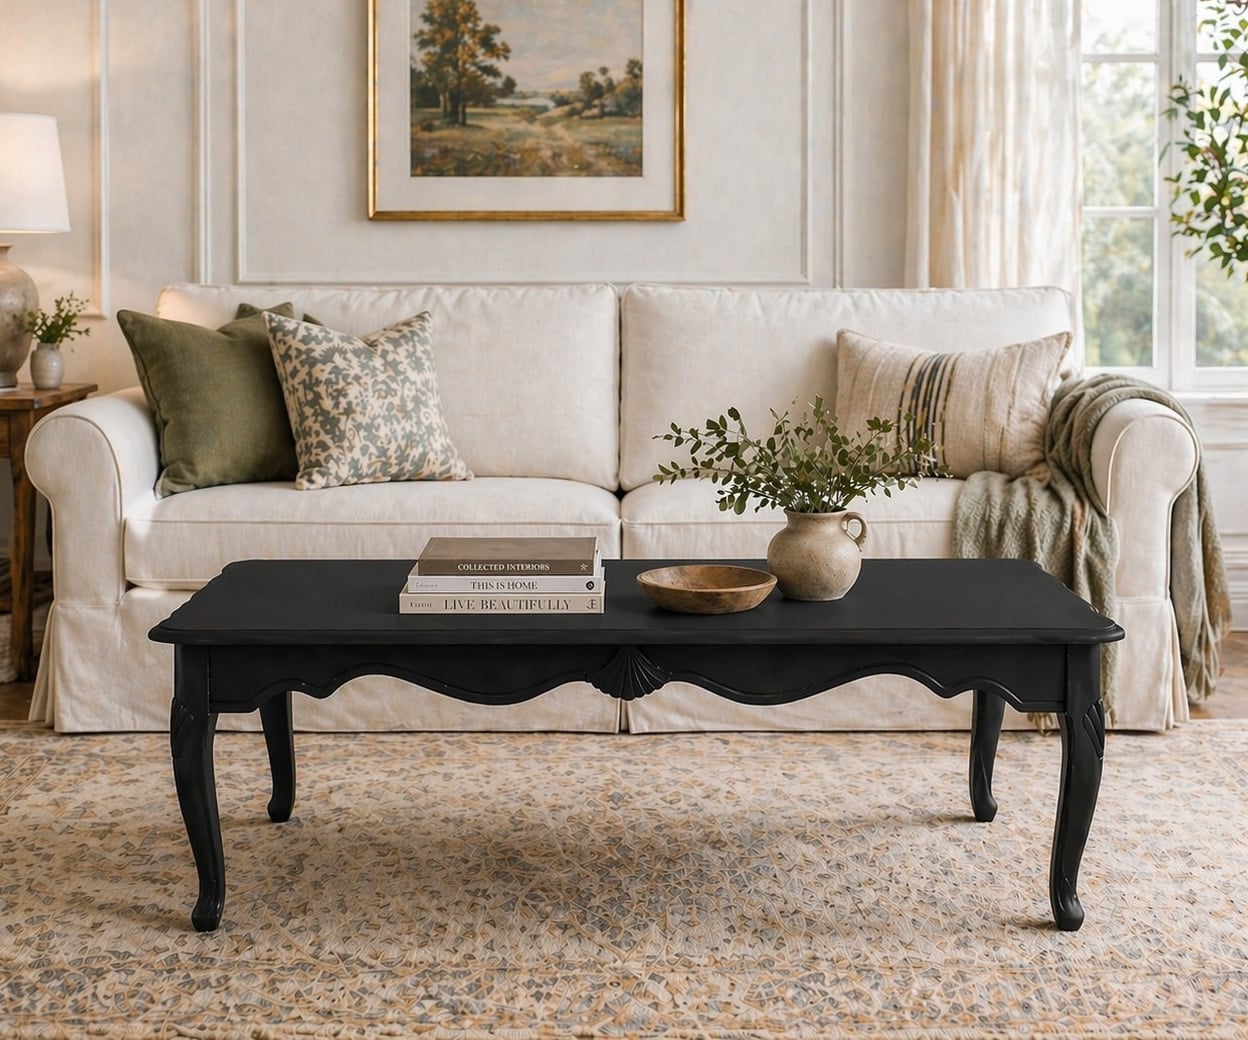
It’s difficult for me to say which I like better. I’m just glad it’s done! A family member has asked for this, but if they change their mind, who knows, I may change it up!
What did I learn, and what would I do differently? I learned you can’t do a black wash over raw wood. I wonder what would have happened had I not sanded the table smooth.
As for what I think I would have done differently, that’s easy! I wish I had taken the time to go to the store to get Ebony stain. Hindsight is 20/20, right? I really think that would have given me the look I was going for.
A budget-friendly furniture makeover like this is always a good reminder that you do not have to spend a lot to get a piece with character. This coffee table had great shape, sturdy construction, and just enough detail to make the transformation worth the effort. Whether your style leans toward painted, stained, or somewhere in between, a $10 thrift store find like this can become a standout piece without blowing the budget.
Now, it’s your turn! What advice would you give me about this nearly failed furniture makeover? Do tell me in a comment below, before you head out to take the Furniture Fixer Upper Tour!
Real furniture. Real makeovers. Real second chances.
Today’s project is part of the Furniture Fixer Upper Tour. The collage below shows the starting point for each makeover. Scroll down to see how every piece was reimagined.
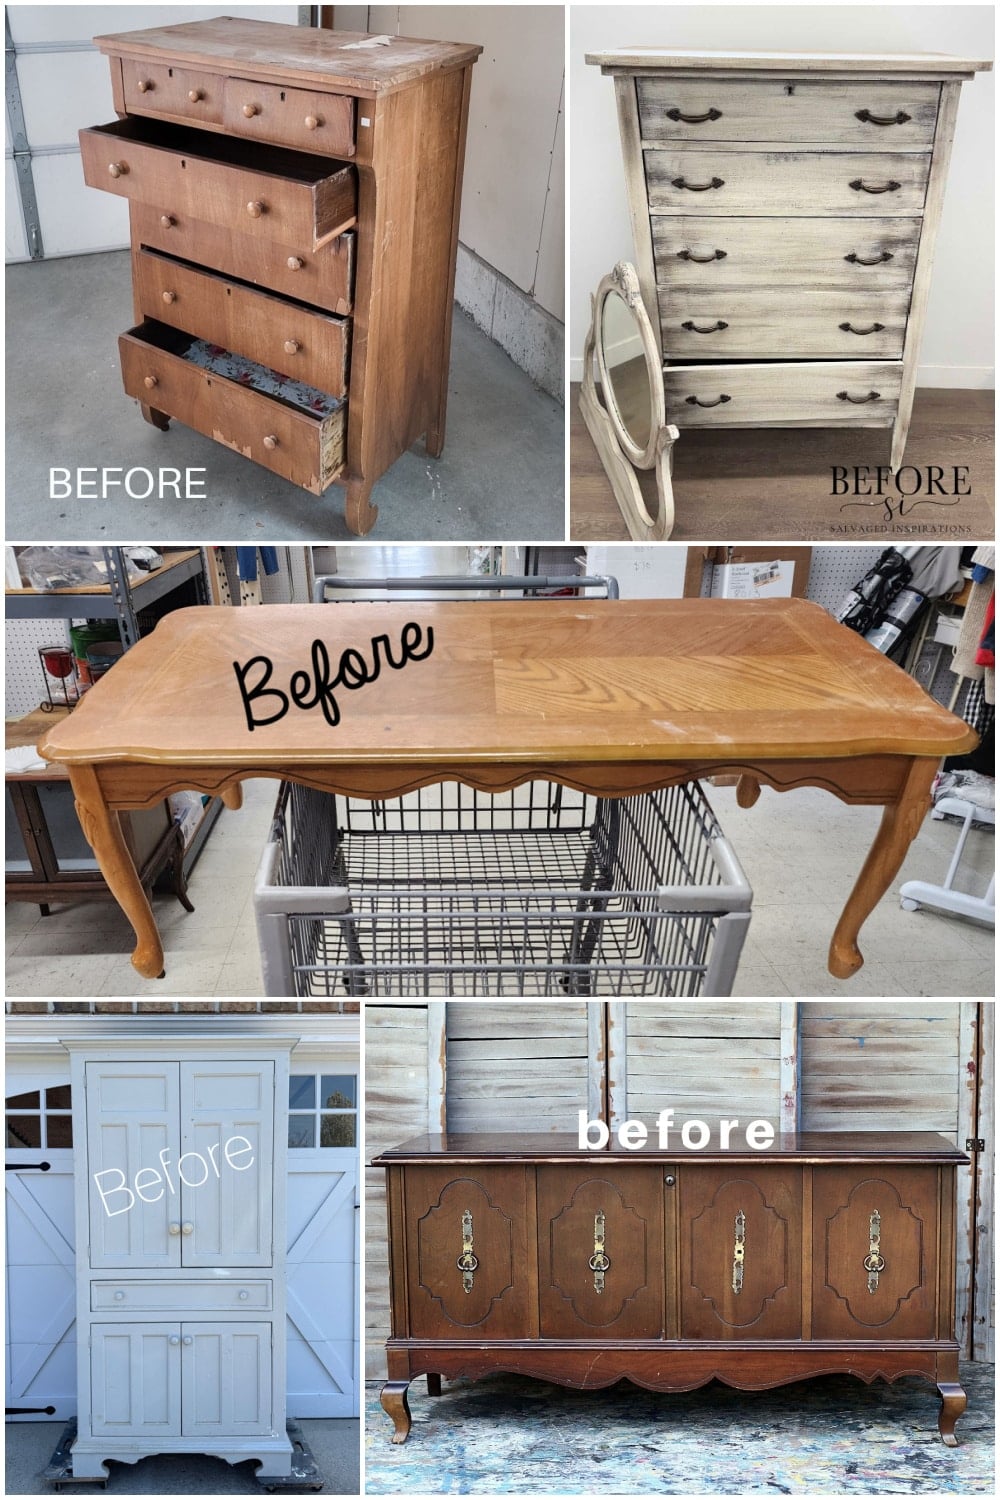
- Damaged Dresser | Beautiful Makeover
- Vintage Rose Dresser Makeover
- Painted Pine Armoire
- Soft Blue Cedar Chest With Gold Accents
Projects Using Warm Embers Paint from Heirloom Traditions Paint
- Hickory & Black Table
- Floral Decoupaged Side Table
- MCM Step Table Makeover
- Kitchen Cabinets at the Hideaway
Furniture Fixer Upper Tour Projects
If you love seeing old furniture get a second chance, be sure to visit more Furniture Fixer Upper Tour makeovers. Each project starts with good bones and ends with a fresh new story.
See more Furniture Fixer Upper makeovers here
You will find everything from small side tables to large statement pieces, all transformed by talented DIY bloggers who believe in saving furniture rather than replacing it.